
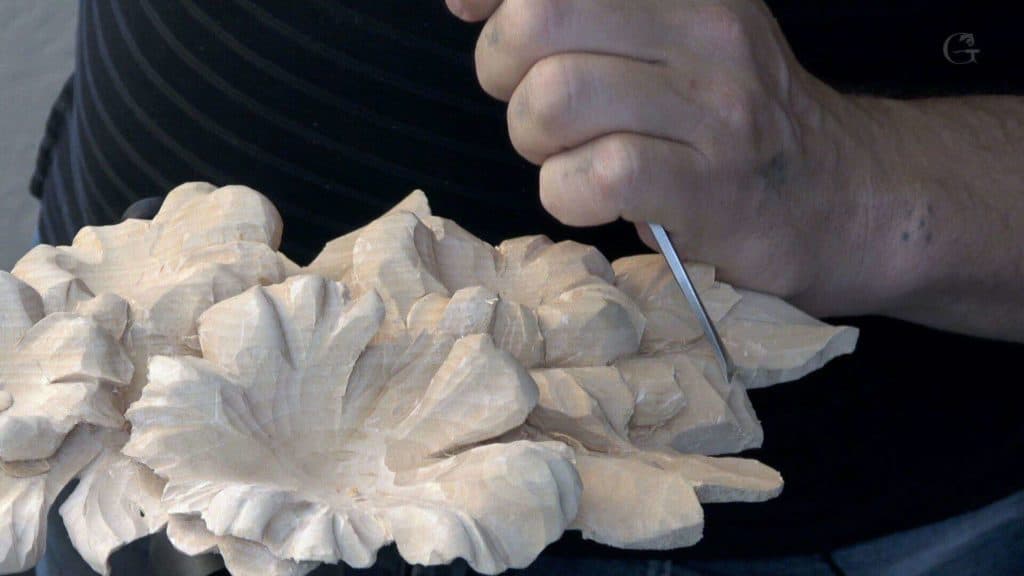
Alexander Grabovetskiy, woodcarver, School of Woodcarving · Published 2018
What do you do when cleaning rubs out your center line?
Quick answer: Losing the center line while you clean a carved leaf is okay, and it happened to me in lesson 38 of my Hashemi panel. The cleaning took it, and I said where the line would be, somewhere close. On other pieces I simply redraw a lost line after cleaning.
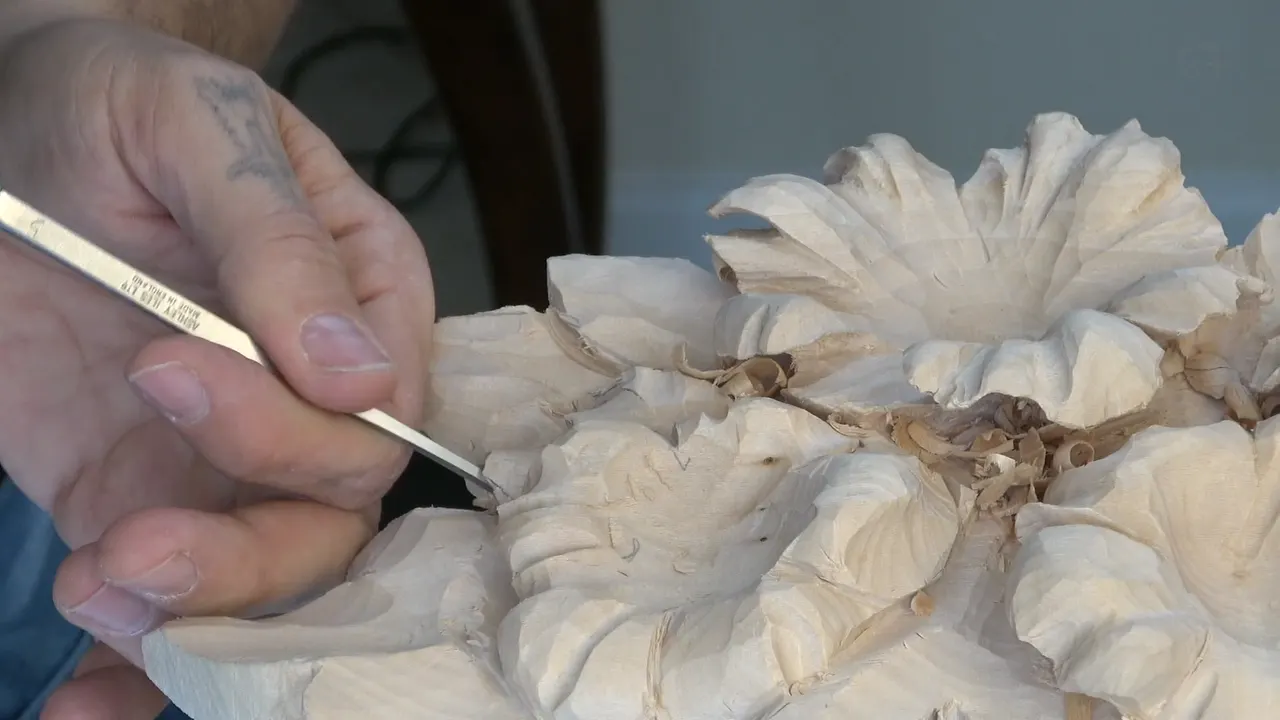
Losing the center line of a leaf while you clean it happens, and it's okay. It happened to me in part three of lesson 38 of Carving Hashemi Flowers, on my limewood panel. Veins had just gone out from that line, and the cleaning after them took it away. After that a small gouge came out, and I went on.
Would you like to see what I do when a line goes? And would you like to see when I draw one again, and how I keep the lines I need? Then take one leaf with me, center line and all.
The whole lesson is short, three parts. Where it runs out, I bring in what I said about lost lines on other carvings, and I say where each one comes from.
What happened to the center line in lesson 38
I set it off to one side, about six parts out of ten, and I eyeballed it.
Veins came out from it with a number four.
The cleaning after them took the line, and I said roughly where it would be.
Next came a small number eight, to exaggerate.
One undercut went too far, and I said that's okay.
Elsewhere I redraw the line, or keep it with a straight down cut or a notch.

What do you do when cleaning rubs out your center line?
You go on with the line close enough, or you draw it again. My exact words in the third part are that I cleaned and lost my line, and that it is going to be right there somewhere. The next thing I said was about a number eight.
In the Venice Room course, working on acanthus pipes, I had the same moment. Although I lost the line, which is okay, I said, so now I have to exaggerate that pipe. Two carvings, two lost lines, and both times what came next was to exaggerate.
In another Venice Room lesson I needed to go at least 6 mm (1/4 in) down. The line will be somewhere right here, I said, and that is the curvature, but I still have to remove.

Why does cleaning take the line away?
The wood the line sits on comes off. While I was still drawing my Roman acanthus leaf, I said it. I'm just eyeballing everything, I'm not that accurate, because most of that material is going to be gone anyway, and I have to redraw and refigure out all my movements. So I wasn't trying to be dead on with those lines, just approximately, visually really close.
A number two at 40 mm (about 1.5 in) went over a surface in the Venice Room, and I said, clean it. For me, it will be easier to redraw everything. It also helps me to create a really nice, smooth, flowing line, I said.
On my plate with butterflies the order was the same, and I said just clean it until you're happy. Now I need to redraw whatever I lost.
Clean first, line after. And on that Roman acanthus I took two charcoal pencils, black and white, to show my low and my high, and I said that is not a necessary step.
Should you redraw a lost center line?
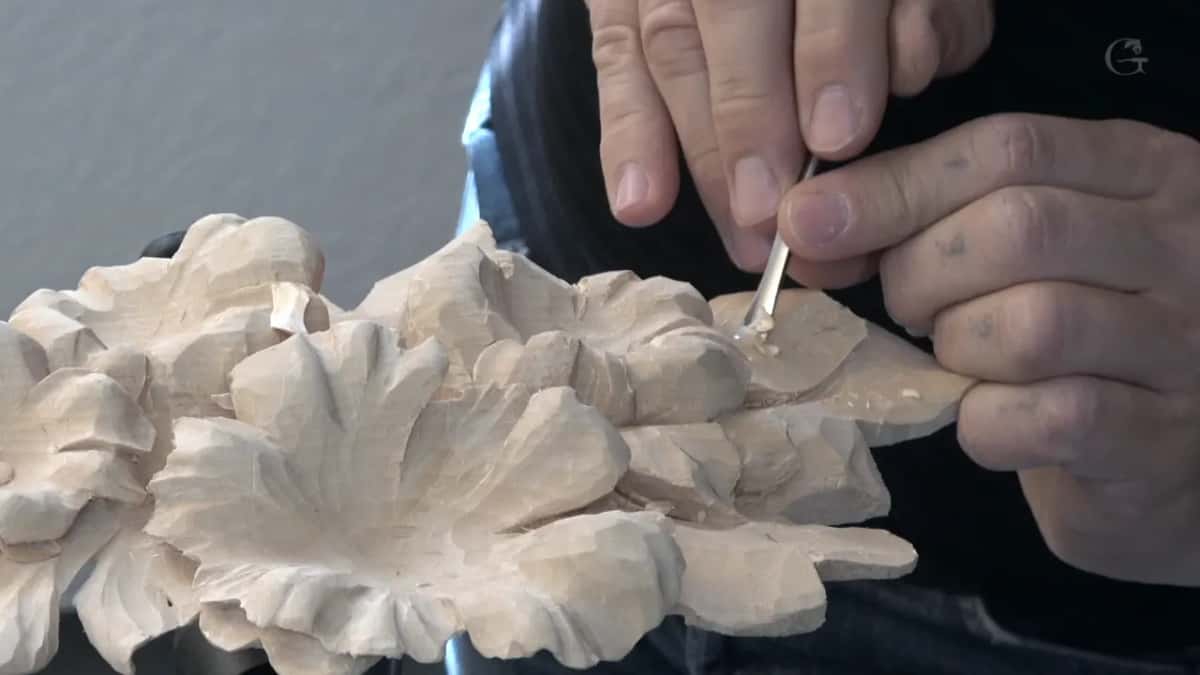
When you need it, yes, and on a leaf I have done it. On my Lily box one spot was not so good, and I said I can blend it with the knife, and after I blend, I will recreate my middle line. Let me redraw that, I said, and it's the middle line right here.
I redrew a center line on the Greek acanthus leaf too. I said I'll move my center toward the left, about an eighth of an inch (3 mm) again, and recreate my flow middle line, or center line. A V tool then made a V cut right in the center of that acanthus, and I did not want it too deep.
On the first layer of the Lily box I put it in one line. I can always redraw stuff, with no problem.
Two lessons later, on that same box, there was more. When you look at the paper, it's different, I said, because you look at the two-dimensional world, and in the three-dimensional world you have a lot more space. So make sure when you redraw those lines, they also are flowing nicely. Then I took a pencil, because that way I can always redraw.
How do you keep a line you need later?
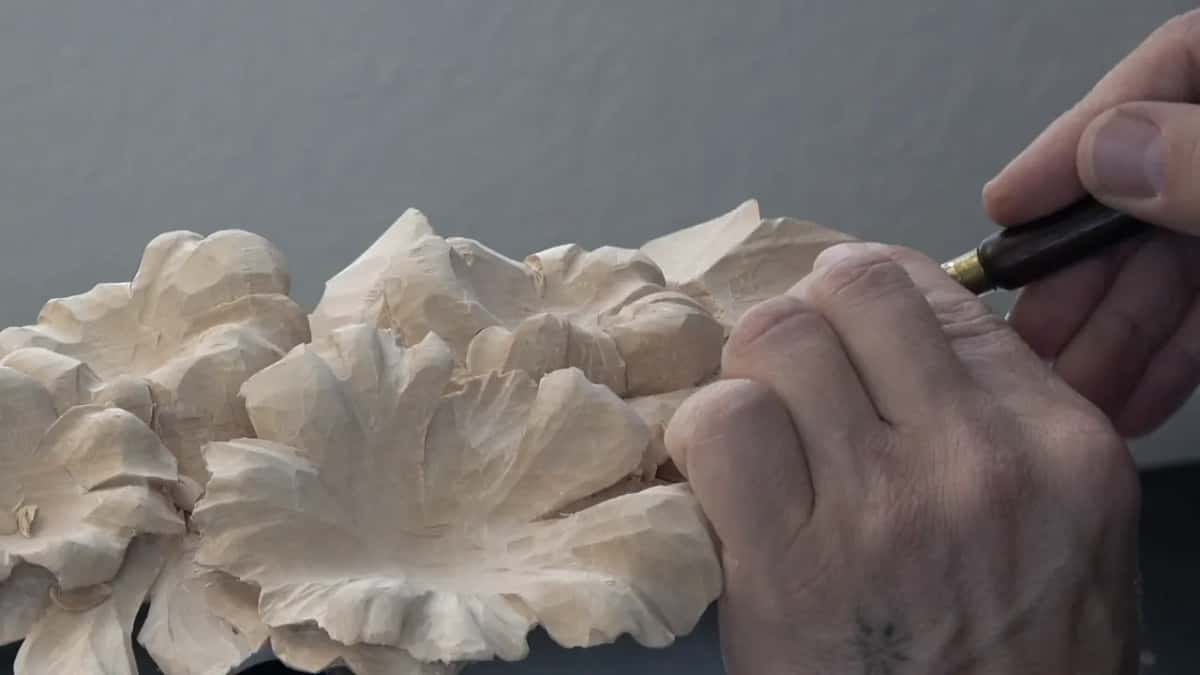
Carve it in, or stop just short of it. For a line I had just placed in the Venice Room, a number two went straight down. That way, I said, I'm not going to lose the position of that line. At least in my opinion it's one of the best ways to do it, and I'm pretty sure there are more ways.
Although it's not a big deal, I said, I can redraw it anyway, but still, why not do it that way if it's easier?
On the Venetian flowers rosette I went almost to the line and stopped. That line is the boundary of my molding, I said, so I'm almost there, but not all the way.
A notch does it too. A notch cut went in on lesson 6 of the Lily box, so I'm not going to lose my design later on.
And on the Roman acanthus, before the middle section, I said I don't want to lose my lines, and I don't want to lose my middle line. So I said I'll carry that line downward, onto my leaf, for future reference. Outlining helps as well. I started outlining in the Venice Room, because that way it's much easier for me not to lose the line.

Where did the center line sit on this leaf?
Off to one side, not right in the middle of it. Split the width into ten and the spine lands near the sixth mark rather than the fifth. I say on camera that this comes from the Fibonacci sequence and the golden ratio rule, and then immediately that I eyeball it and never measure.
But if it's just slightly off-center, usually that means it's good, I said. That same six-in-ten line is quoted in lesson 30, and lesson 34 has a leaf where the center line went closer to one edge. About a minute and a half after I said I eyeball it, the cleaning took the line.
What did I carve from the center line?
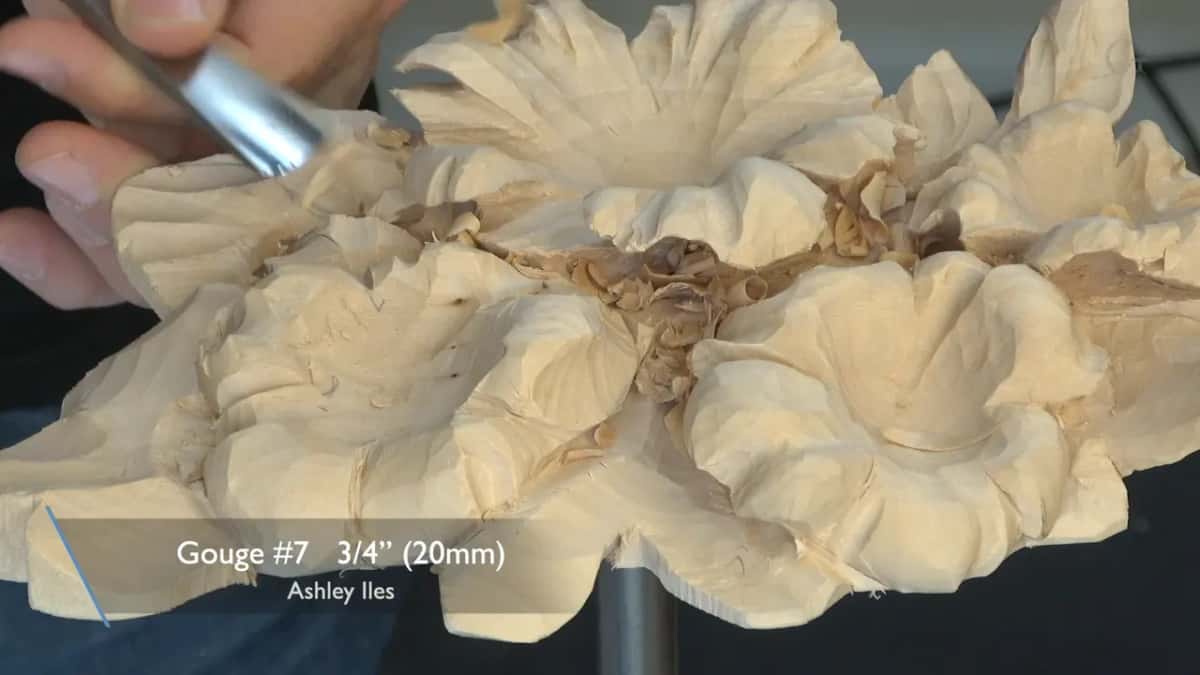
Veins, going out from it. That was my center line, I said, and I'd do the next part with a number seven, or even five, or even four. Let me do with the four, I said, and I'll create veins from the center line. Those are veins of the leaf.
The first thing I do in this lesson is put movement inside a leaf, running outward from its middle, and I hedge the word on camera, calling them veins if I can call them veins. That one got a number five, and I said a number seven will work. Some I could make deeper, I said. Okay, and I do like how it looks, I said.
In lesson 34 I said all the veins go to the center line. Here they started from it.

Which gouge came out right after the line went?
My number eight, a small gouge of an eighth of an inch (3 mm), came next, and I said I'd exaggerate with it, to make it more distinguishable. Then came maybe slightly more undercut, I said, and a number five.
I have a name for those cuts. In lesson 6 I called them exaggeration cuts, and I said they make the veins inside leaves more distinguishable.
In the Venice Room, after that lost line, I gave the reason for a pipe. I need to raise and exaggerate that pipe, I said, because I really want to see that shadow casting.

Which tools did lesson 38 use?
Here they are in the order of the lesson, with the sizes I said. The V tool was my number 16, and the reason why I like it, I said, I mentioned many times before, because it's not 45, but it's 35 degrees. The angle itself gets its own page in lesson 22.
| Tool | What it did in lesson 38 | Part |
|---|---|---|
| A number five | Veins inside the first leaf, going from the middle outward | One |
| A small Ashley Iles carving knife | Small details, tiny spots, some undercutting | One |
| Small number five, a quarter inch, about 6 mm | A nice undercut | Two |
| V tool number 16, 35 degrees | The undercut, keeping an eye on the material left underneath | Two |
| Number four, 10 mm or 3/8 inch | Cleaning, then more undercutting in part three | Two |
| Number seven | The move from this leaf, just before the center line | Three |
| The four again | Veins off the center line, then the cleaning that took it | Three |
| Number eight, 3 mm (1/8 in) | To exaggerate, more distinguishable | Three |
| Small V tool, 3 mm, same number 16 | Separation cuts on those two | Three |
Why a small knife for the small details?
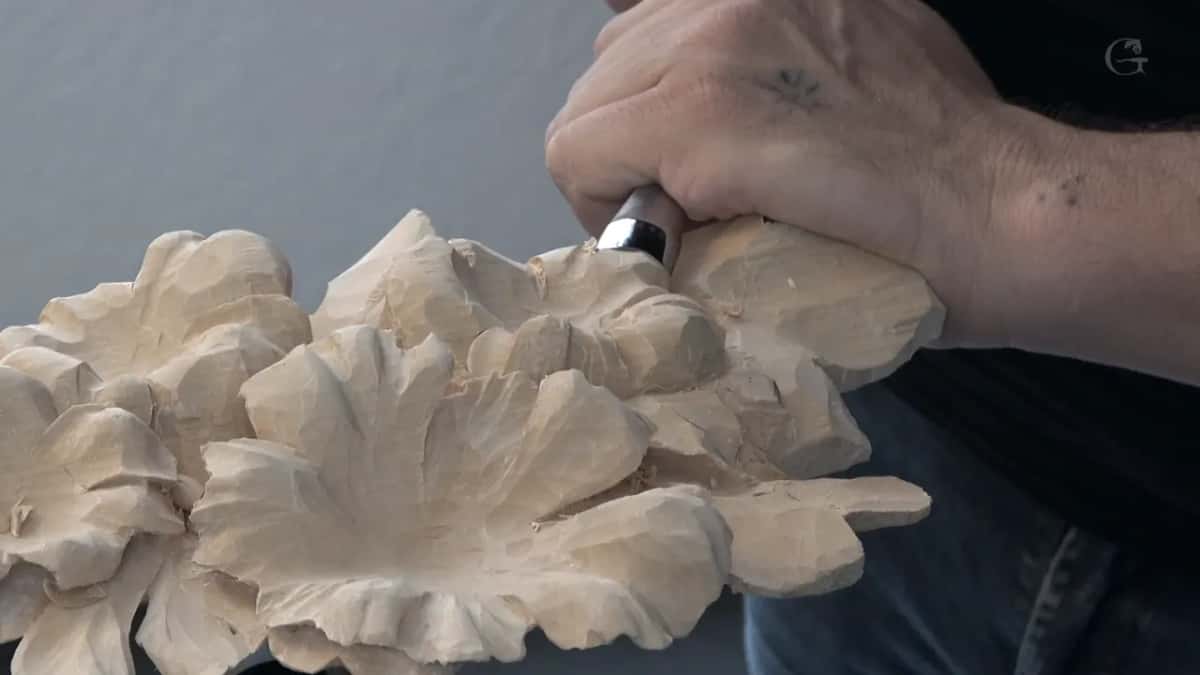
It gets into the really tiny spots. For small details, I'm going to use just a small carving knife by Ashley Iles, I said, and it's actually the Peter Benson collection. Those tools are really handy tools to have, and I have multiple different tools. This one also gets some undercutting done.
In part two a small, tiny knife made an outline. Then the V tool went in for undercutting, and I said just be careful, I am going against the grain.
The Peter Benson name comes up in the Venice Room too. There I took one of the detailing tools, and I said it's a Peter Benson.
Part one had me choosing out loud. Take a V tool, I said, and let me see what will be the best. Then a number four, and I could take this one downhill, and then maybe it's better to use a knife.

Why did I add a leaf at the top?
I was pretty sure it would create nice movement. Whether it would help, I wasn't sure, I said, and if I don't like it, I can always clean it and take it away. Extra material was there, some thickness, and a V tool started it.
Part one had already added a really tiny, small leaf right beside another one, in a spot I called a really good area to do that. Later I cleaned that small leaf and said it's actually a really good spot for it. Under the flower I could undercut right away, I said, and the side of the flower petal needed a little cleaning, just slightly. One part was just too plain right now, so I'd make some concave. And at the end of part one, with that small, tiny one, I can create a nice flip on this leaf, I said, and I think it's going to look good. Lesson 31 is about a leaf the drawing never had.

What if you undercut too far?
It happened in part three, and I said that's okay. I took a number five and said I'll just bring it right to the edge. And I know I was too extreme, I said, but that's okay. Anyway, I'm going to make some small subdivisions, I said next.
Part two shows the other side of it. I had a lot of meat there, I said, so I can actually take down quite a bit, although it's better probably to attack from this side. During that undercut with the V tool, I said I still keep an eye on how much material I have left underneath.

I also turned it. Flip it upside down and remove the junk, I said, and then, does look good, in my opinion. How thin a carved leaf can be is lesson 7.
Why blend the ridges at the very end?
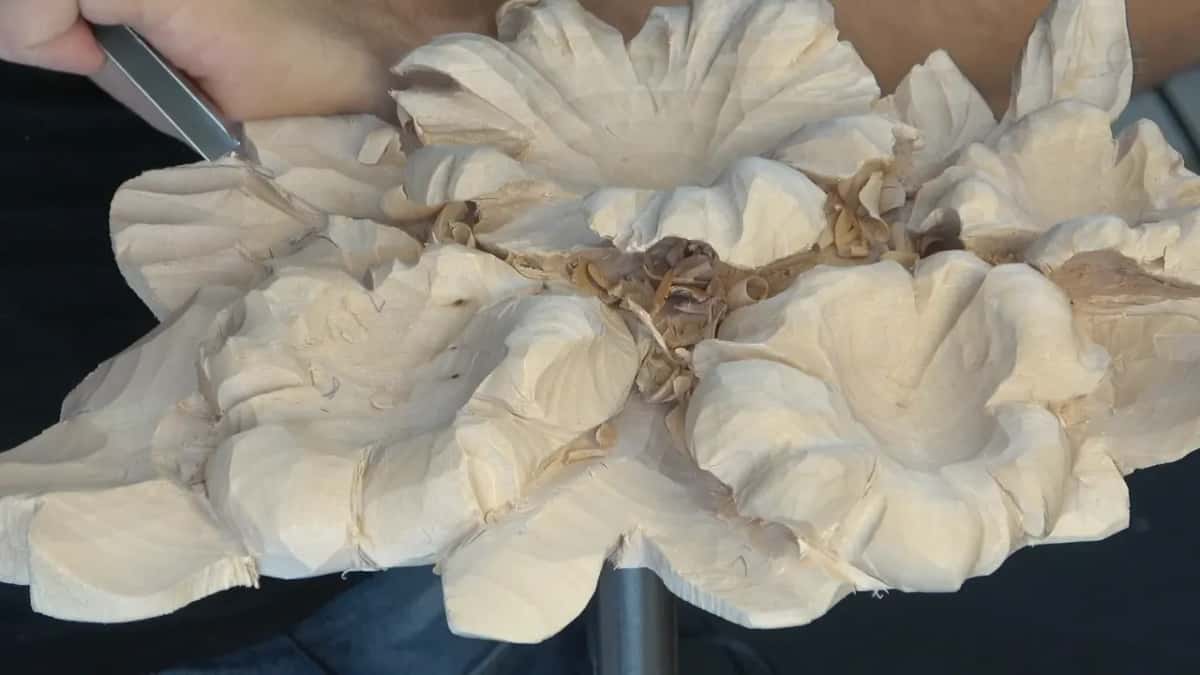
The last thing in lesson 38 is cleaning cuts, just to blend those ridges a little more. Before that, I said this one has to go that way, and I made separation cuts on those two. I can always add as many details as I wish, I said. The tool was just a V tool, a small one, 3 mm, and still the same number 16.
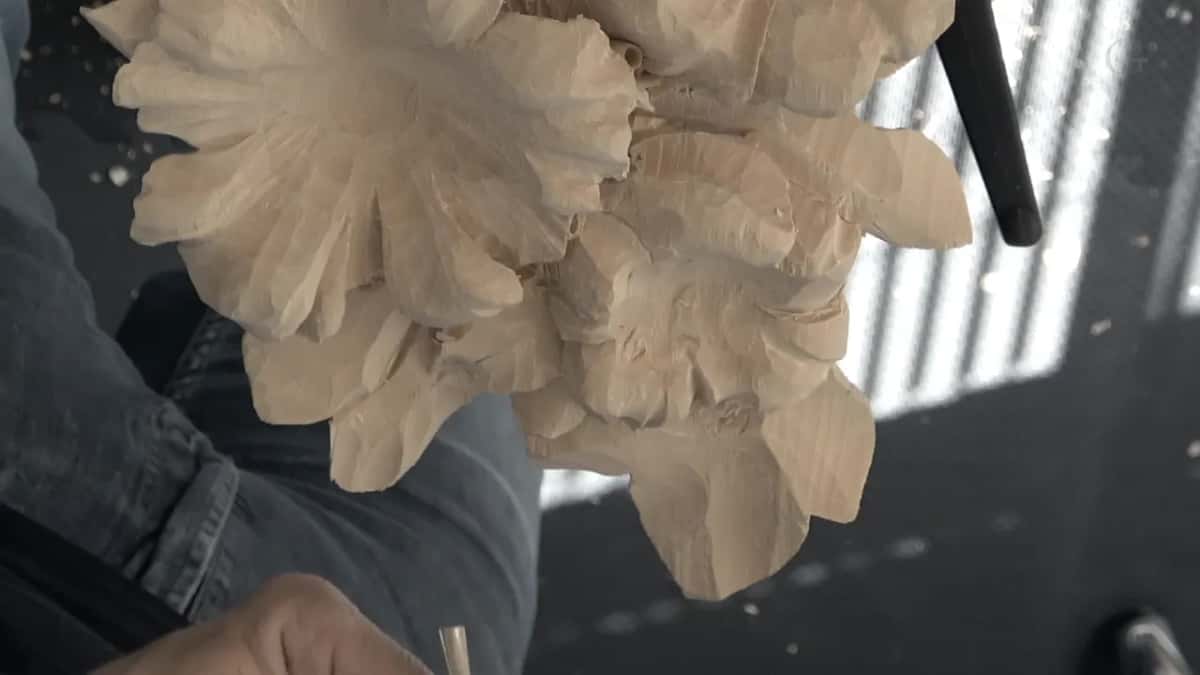
So the lesson ends the way my line went, with cleaning. I had said it in part two as well, clean it all the way until all the junk is gone, and then let's establish the final form. And I like what I see, I said.
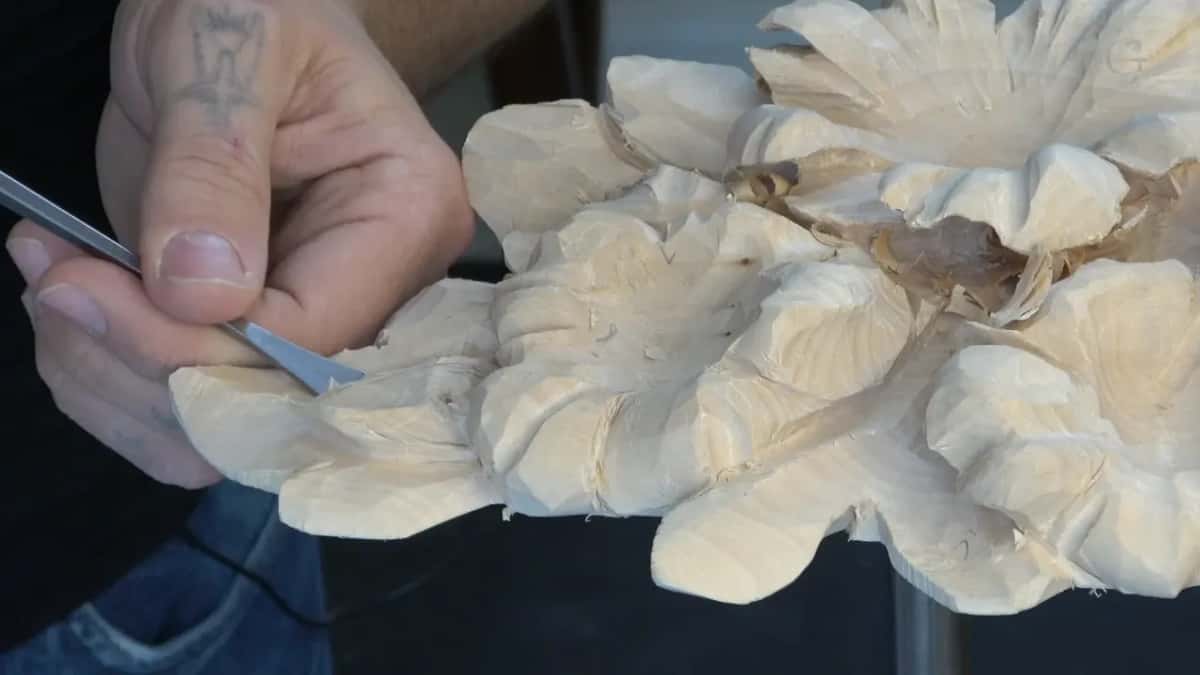
Do you want to see the cleaning take my line, and the number eight come out after it? Then the videos of all 49 lessons are part of tuition at the school. Lesson 39 is the next one.

How it's done
- Set the center line to one side. About six parts out of ten across the leaf. I just eyeball it, I don't measure it, and slightly off-center usually means it's good.
- Carve veins off that line. On this leaf a number four did it, and I said a seven or a five would do too.
- Clean the surface. That cleaning is what took my line in part three.
- Find the line again or redraw it. I said roughly where it would be. Other times I redraw, and the new lines have to flow nicely.
- Exaggerate with a small gouge. A small number eight first, and a number five after it.
- Blend the ridges. Separation cuts with the small V tool, a number 16 at 3 mm, then cleaning cuts to blend those ridges a little more.
Frequently asked questions
Should I redraw a pencil line after cleaning?
Redraw it when you need it, and make the new lines flow nicely. After blending one spot on the Lily box, I said I would recreate the middle line. For me, it will be easier to redraw everything, I said in the Venice Room, after a 40 mm number two cleaned the surface.
How do you stop losing a line while you carve?
Carve the line in before the waste comes off. On a Venice Room panel a number two went straight down on a line I had just placed, and on the Lily box a notch cut kept the design. Outlining first makes it much easier, I said.
Which small gouge is good for exaggeration cuts?
Right after the cleaning took the center line on my Hashemi leaf, I took a number eight, a small gouge of 3 mm (1/8 in), and said I would exaggerate, to make it more distinguishable. Then a number five, for slightly more undercut.
What to carve next