
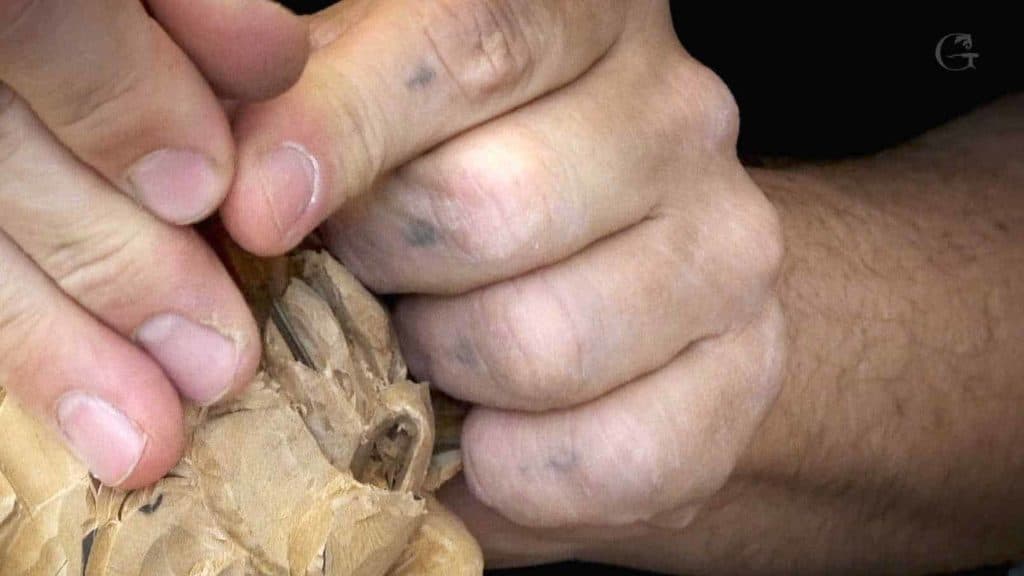
Alexander Grabovetskiy, woodcarver, School of Woodcarving · Published 2019
Does the wood tell you which way a carved petal should curl?
Quick answer: A petal's natural tendency is the curl its shape already seems to want. In lesson 46 of my Hashemi flowers I followed it twice with concave cuts, the first with a knife. On another petal I could not tell which way it should go, so I chose a deeper concave myself.
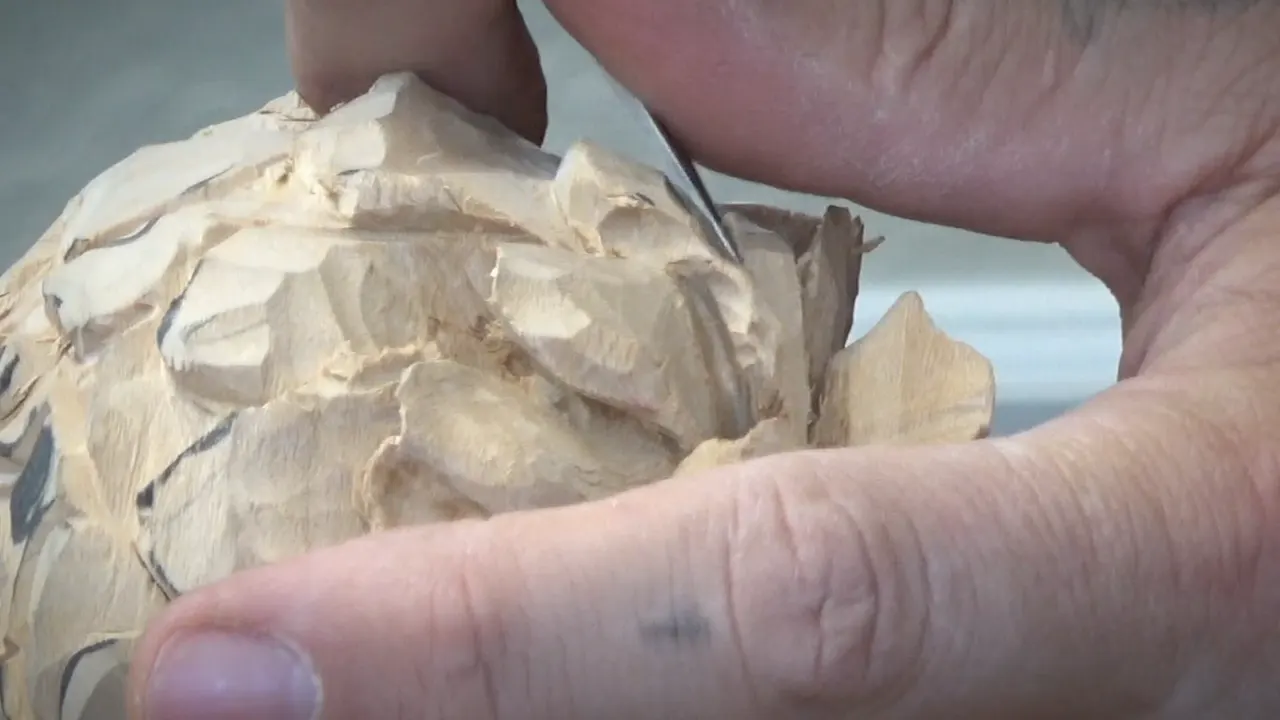
A natural tendency on a carved petal is a shape it already seems to want. In part one of lesson 46 of Carving Hashemi Flowers I came to a petal where I could remove a section, and I said it looks like it has a natural tendency to do that, and I have to just follow the natural tendency. I used a knife, carefully, for a concave cut. That was for a small lip, lipping out.
Have you held a half-carved flower and felt one petal lean a certain way? Did you stop, gouge in hand, and ask yourself whether to follow it? Then come through this lesson with me, petal by petal.
The lesson is four parts. On some petals the tendency was plain to me. On others I wasn't sure, and I had to choose. Where the lesson runs short, I bring in what I said about natural movement on other carvings, and I name each one.
The petals I carved in lesson 46
Two spots in part one looked like they wanted to curl out, and I followed both with a concave cut.
Part two has a slight curl that changes direction.
Part four brought a petal I couldn't read, so I chose for it.
A crack, blended and left.
Each undercut went into a hole, toward the same center.
One petal I left as it was, for now, because I thought it looked good already.
Does the wood tell you which way a petal should curl?
On two spots in part one, I felt it did. Just before the lip I had taken a number four to clean the edge a little bit, and also there were too many ridges. Then, oh, by the way, I said, what I could do, I could create a small lip.

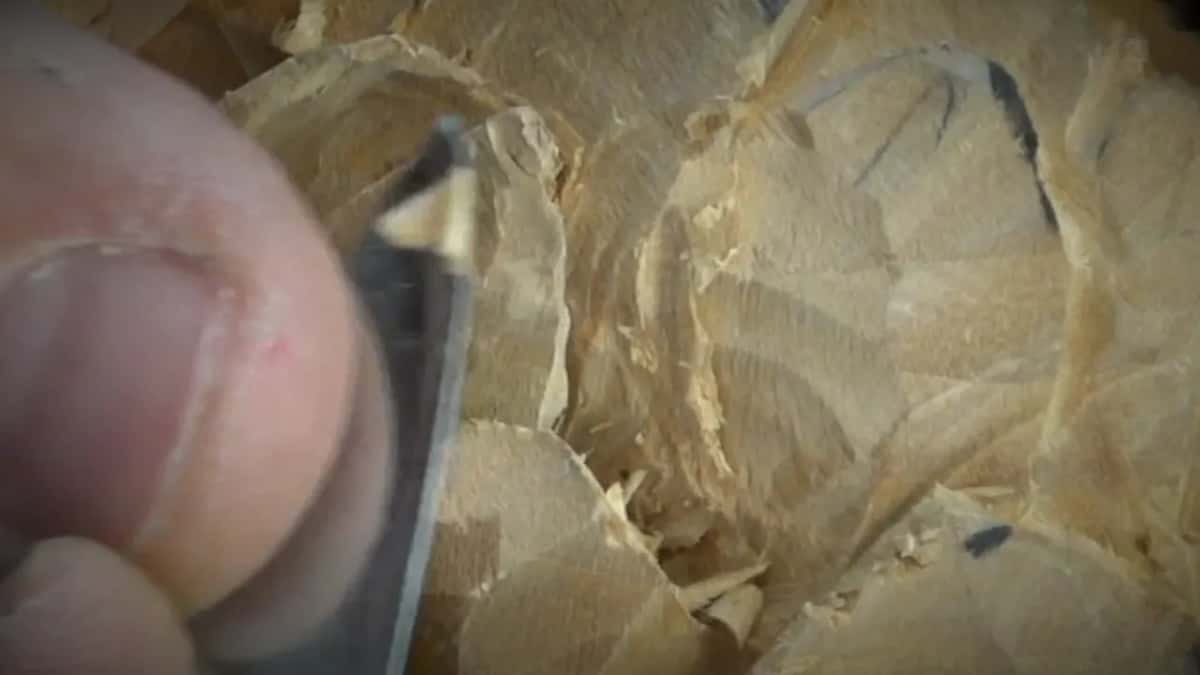
About a minute later I looked at another place and said, also, the same idea, actually, right here. It just looks like it naturally wants to curl out, in my opinion. Just a concave cut again, and I really did like it.
Hear that "in my opinion"? I said it three times in the first two parts of this lesson, about this curl, about the petal I loved as part one closed, and about a movement in part two.
How far did I take that first curl?
To the edge, and then the same again from inside. Close to the end of part one I said let's bring it to the edge, and then exactly the same, all the way to the edge, just from inside. I really loved that one. It looked, in my opinion, really nice.

The lesson had opened under another curl, and I needed to excavate even deeper under it before anything else. In went a number eight, an eighth of an inch (3 mm). Just work your way in, I said, until you feel like you reach the edge. Can you see that curl? I asked. All that junk, later on, I would take out and just clean.
I could actually take it even more to extreme on this side, I said, but I wasn't sure if I should or not.
What happens when the petal does not tell you?
I chose, and I changed my mind while I did. Part four opens on a petal that looked like it actually can curl that way. I asked myself should it or not, and said maybe not, maybe it should curl in instead. I'm not sure, I said. Let me think, let me create something else.
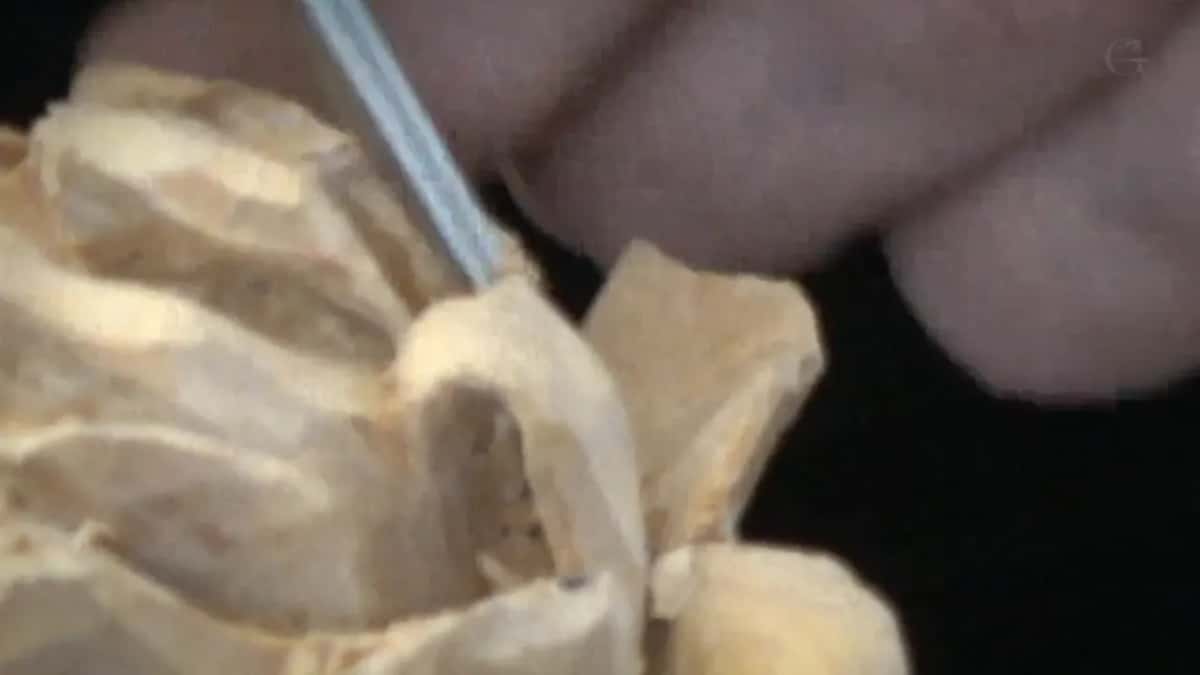
I made a concave right here on one side, then a deeper concave, and I said that's going to give me a really good movement. The number 11 established the boundary, just around. I fixed the movement and thought maybe it can curl inside right here, so I got the V tool and made it curly this way. My number 11 went around once more to make the curl even more distinguishable.
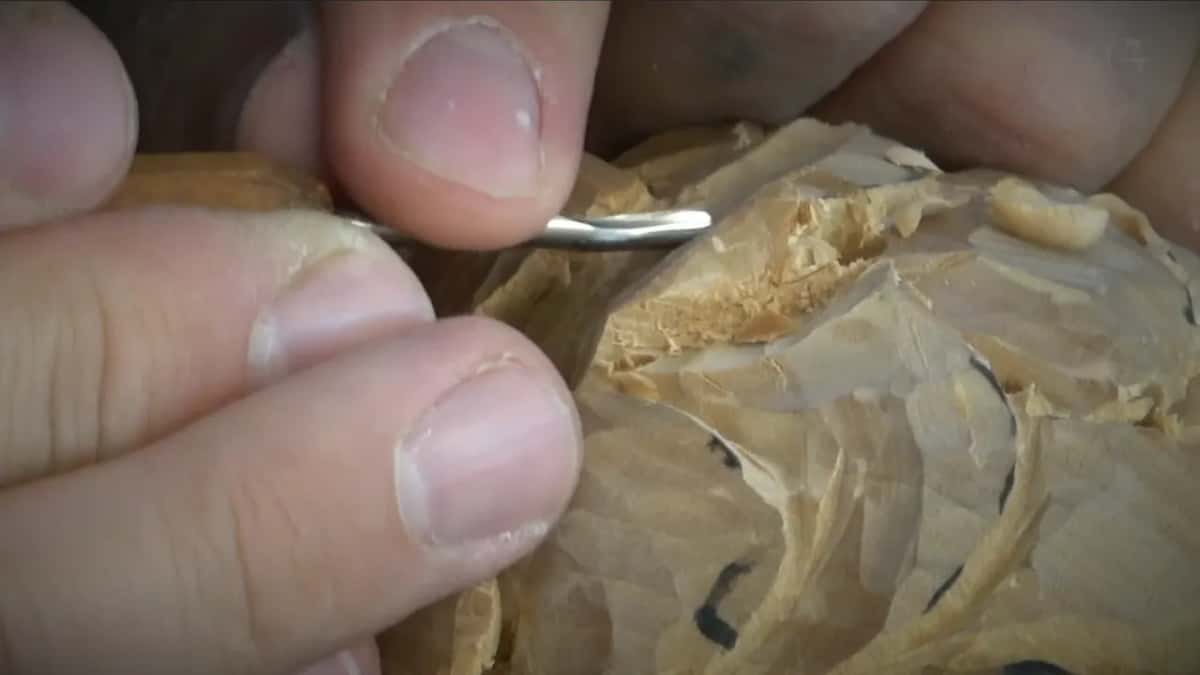
One more question came after that. Should that part grow from underneath of this one? Not sure, I said, but it would give me even more depth, so I tried that first and made the separation cut. Maybe yes, maybe no. Maybe not.
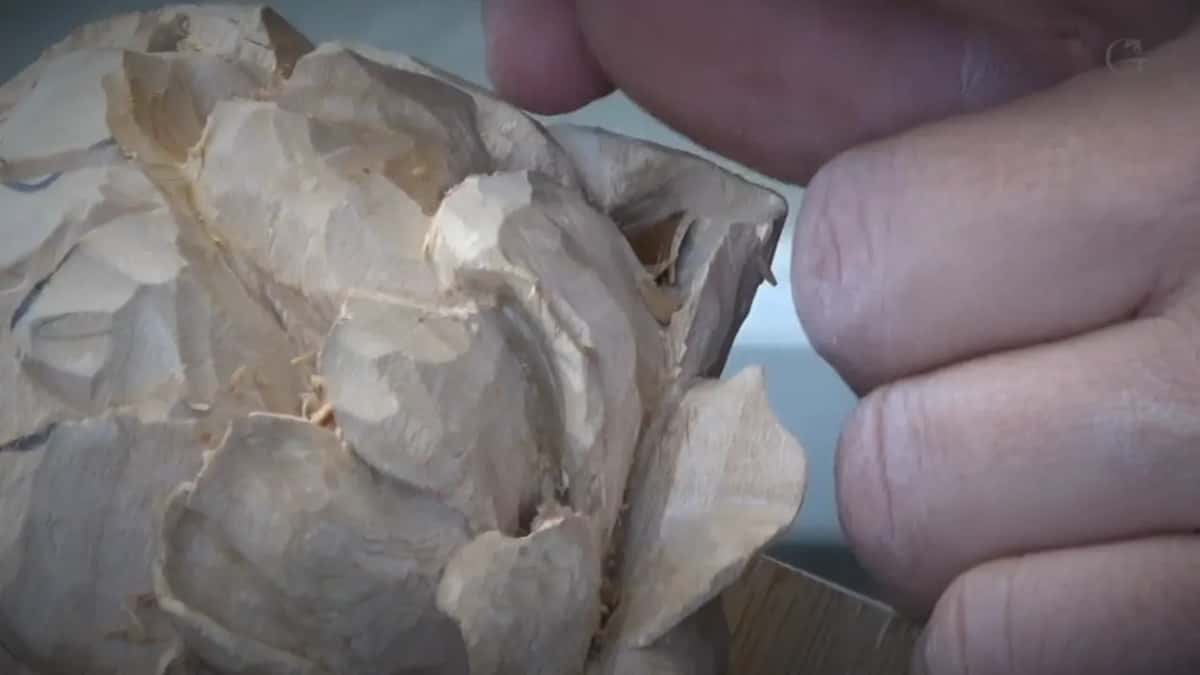
A minute later I said I definitely need to attack my edges and clean them a little bit, but overall I was really happy with the movement.
Should every petal curl as far as it can go?
Not every petal needs to. Late in part two I wasn't sure how extremely I should go on the inside of one petal. Maybe just leave it like that, I said. I think it looks good already like this, because not every petal is supposed to be curling that crazy. But we'll see.
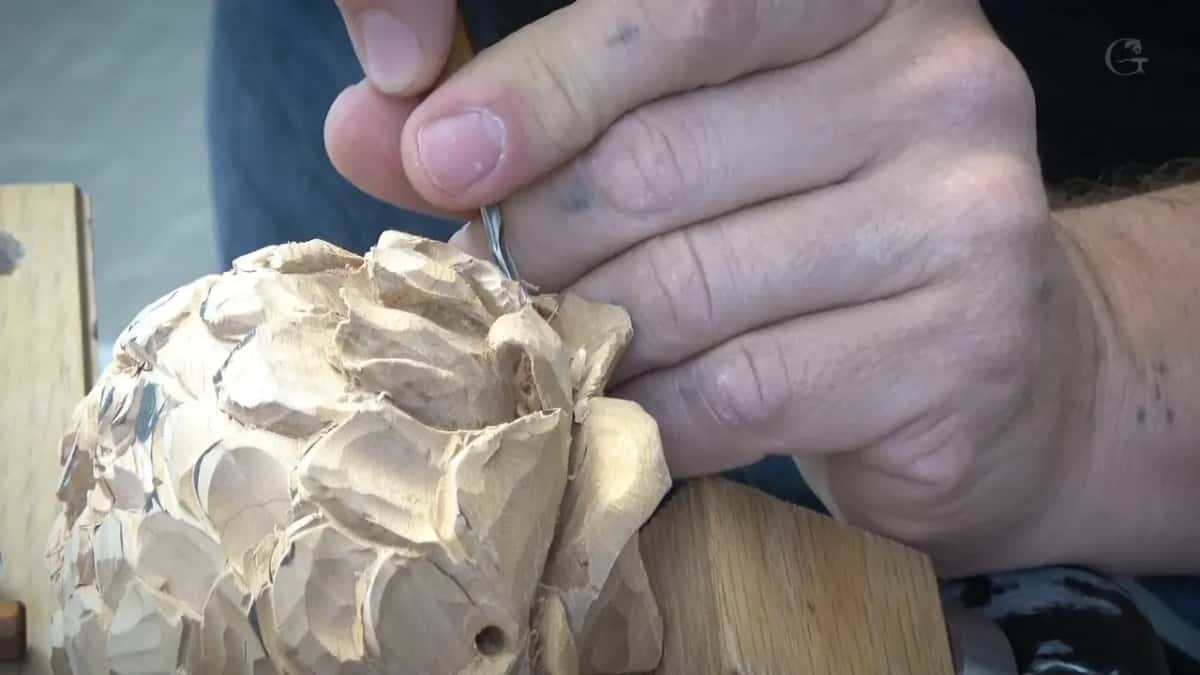
Earlier in that same part I asked out loud, should I do something crazy with this one or not? I said let me think, and chose a slight curl. Not big, but a slight curl, and it was going to curl out.
The next lesson came back to this. After undercutting for a nicer curl, I said usually you don't see too many curl outs on that type of flower, on a peony. It's mostly on roses. But still, I think it creates a beautiful effect when you do that, and gives a three-dimensional look. Once in a while, in some spots, I can do that. Not everywhere.
What is a curl that changes direction?
In this lesson it was the slight curl from part two, the one that turns back. You can see it just curls out, I said. A little later came this. It curls out and then going to curl in. Just changing direction, okay? I thought it would be a really nice movement.
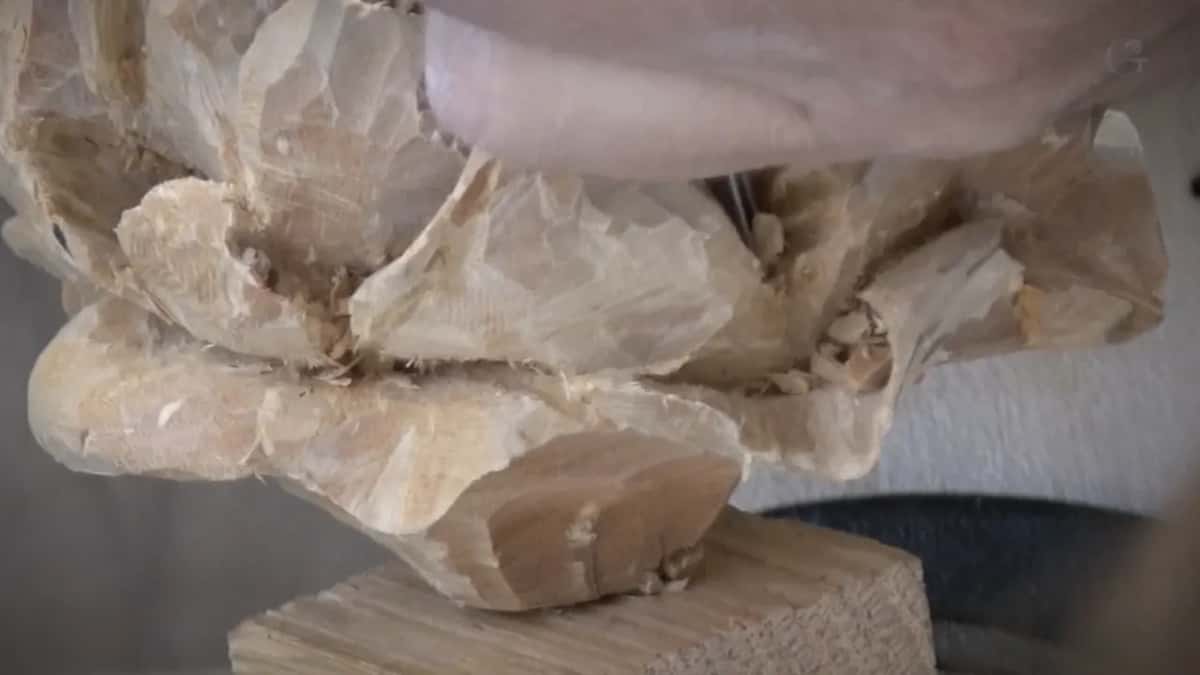
And after that, I think it's really nice. At least in my opinion.
A different word comes late in part four. Maybe I can actually excavate a twist, I said, I call it twist, right here. My in cuts came next, and the edge. I really liked the result of that one, and I said so. A lot of movement. Beautiful thing. After that I removed the undercut under this twist.

The same out-then-in idea came up one lesson earlier, in lesson 45, where I said it's hard to explain what I mean, but it looks like I can create a curl outward and then inside, and I took a number four for it.
Where does each undercut on the flower end?
In a hole, toward the center. The undercut from above, in part one, used just a small gouge. I worked my way in, as far as the center. Next came a number three, then a small gouge again, and everything to the hole. Part two was everything through the hole.

Part three starts with another hole right here, which means all those have to go all the way to that hole. It's a deep excavation, I said. Everything has to go to the same center.
I know it's almost impossible to see what I'm doing, I said a little later, but my goal is everything, all the cuts, still bring it to the center, to that same hole we created. The last part was the same again, everything around this hole goes inside of that hole.
How deep can you undercut a petal before it breaks?
I went as deep as I could, and at the start of lesson 46 I told you to expect a break. More excavation you do, more fragile this will become, which means you have to expect you could break something. It's unfortunate, but sometimes it happens.
Your tools can break too. Just be careful, I said in part one. Don't break your tools. And I promise you, when you're doing the undercutting like this, extreme undercutting, you can easily break your tools. Lesson 44 has its own page on whether you can break a carving tool.

In part two, under the slight curl, a small, tiny gouge went in. This one is a 1/16 of an inch, I said, maybe one millimeter, a number 11. Even deeper, still with the 1 mm. Don't want to break it, I said, and one area got the half a mil (0.5 mm, about 1/50 in), carefully.

One petal in part three I really liked, because I can actually really extremely undercut it. A number 11 at 1 mm went in after that. Nothing exciting, I said, just excavating deep as much as I can until I can't even see.
Every tool I picked up in lesson 46, by part
| Tool | Where it went on this flower | Part |
|---|---|---|
| Number 8, 3 mm (1/8 inch) | In under the first curl until I felt the edge | One |
| A number 3, then a small gouge | Everything went to the hole after it | One |
| Number 4 | Cleaned the edge where there were too many ridges | One |
| A knife | Concave cut for a lip | One |
| 1/16 inch gouge, maybe 1 mm, a number 11 | Undercut beneath the slight curl | Two |
| Half a millimeter (about 1/50 in) | Followed carefully in one area, then everything through the hole | Two |
| 3/16 inch, five millimeters | The bigger tool, to remove this side | Three |
| V tool | Made one petal curly this way, then a number 11 went around it | Four |
I do apologize if I'm not naming my tools, I said in part one, and those are just the same tools I used before.
Why did I keep saying number 12?
My favorite knife is a number 12. Twice in this lesson I said number 12 when I meant number 11, and in part three I worked out why. I don't know why I'm always saying number 12, I said, because probably number 12 knife is, as of now at least, my favorite knife.
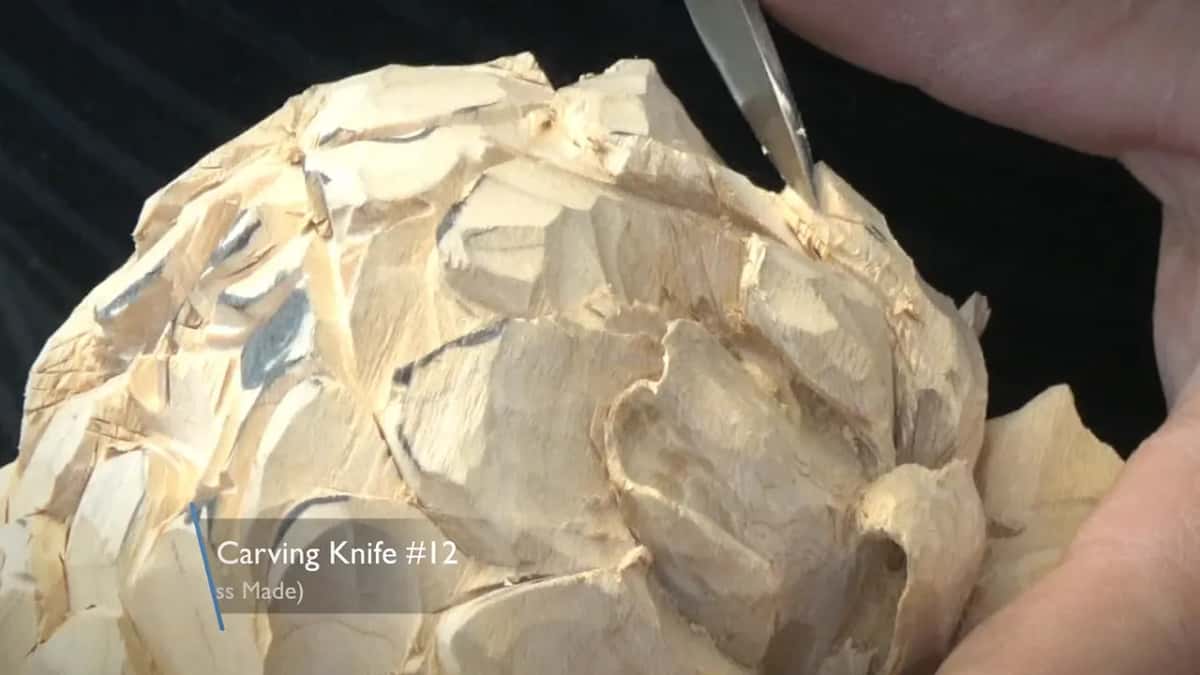
The card on screen as part two begins names it, a #12 carving knife. Three lessons later, in lesson 49, I picked it up again and named it my favorite once more. I can do a lot of stuff with just this knife, I said, any type of wood carving, and I can go as deep as I wish with it.
My favorite gouge is a different question, and lesson 33 has the answer.
What do you do with a crack in a petal?
I tried, and then I blended it. Underneath a curl in part two I needed to undercut, and there was a natural crack right there. Not sure should I save it or not, I said. It's okay. I'll try it.
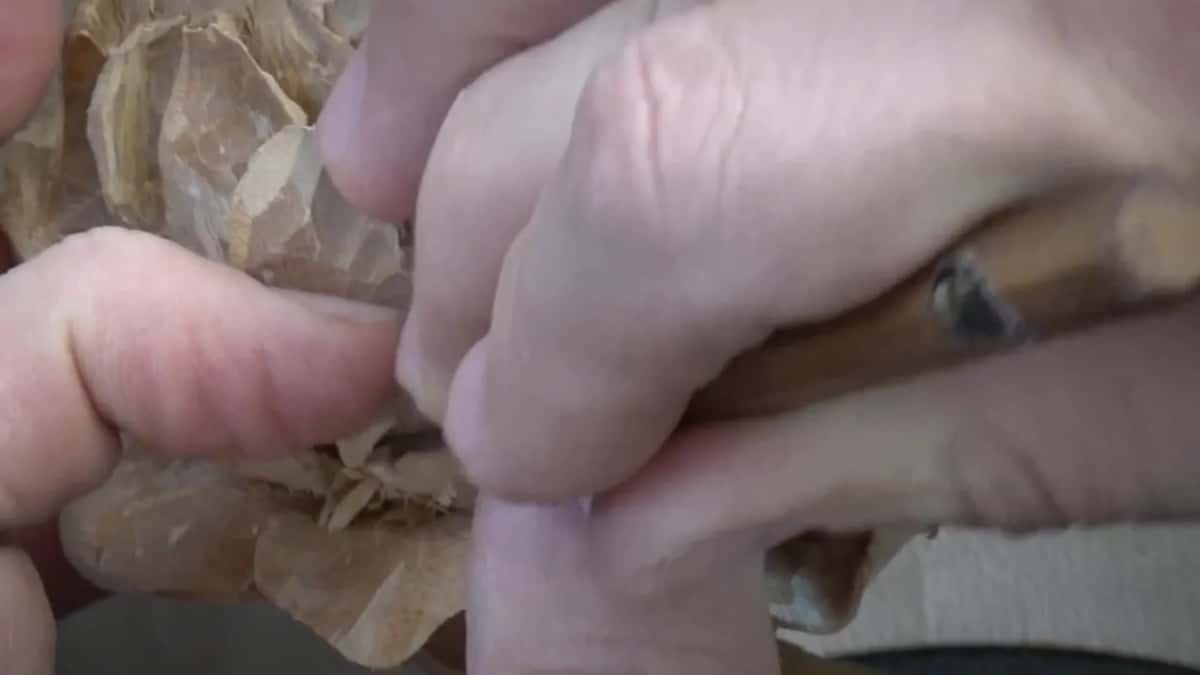
Soon after I said that natural crack bugs me. I'm not going to risk too much. Just going to blend it and leave it like that. I doubted you'd be able to see it on the camera, but anyway, there is one.
The Lily Box had a lot of cracks on the inside of the wood, and that was not really helping too much. It's actually a good idea, I said there, to use that natural movement, and I kind of liked what just happened. Maybe I'll just follow the natural movement, I said, and reached for the 0.5 mm tool for now.
Is the grain what sets the curl?
In lesson 46, nothing ties the curl to the grain. The grain comes up once, in the last minute of part four. I was removing the undercut under the twist, and I said looks like I am working against the grain. All right. Clean that. Soon after I said I am happy with the result of today's work.

Short grain, long grain and where they meet have their own page, carving with the grain.
For the olive wood Lily Box flower I used the words natural movement of the wood for something else. My biggest fear there was how that olive wood is going to hold the detail. Not when you're banging at it, I said. I'm talking about the natural movement of the wood, how it's going to behave once it's dry.
Where else have I followed a natural tendency?
Across this same Hashemi panel I said it in other lessons too. Back in lesson 6 I could see the natural movement, it just goes like this, and I said a small number five, maybe a quarter inch (about 6 mm), could follow it instead of the number one.
For the division in lesson 9 I saw a natural tendency right there. My number three made a notch, and then I took a number nine. A leaf in lesson 36 showed the natural tendency with movement going upward, and I could turn it a little bit this way and make it more round on one side.
Lesson 41 brought a subdivision, just like that, with a small number three of just about 3 mm (1/8 in). With lesson 48 I saw a petal that already curls this way. From previous cuts, I guess, I said, and then I corrected myself. We did it actually today, that natural curl. And in lesson 49 a concave was the natural tendency, so I said I'll just follow this tendency right here.
The Venice Room turned the question around. I didn't really want to curl one part this way and end right there, because it would just contradict this movement. So I somehow had to create a semi movement, about the same as the main movement. It's not parallel, but really going to the same line, gradually.
For a rosette, in Venetian Flowers Rosette 3, I didn't want a perfect line or even a perfect half a circle. I needed to make sure it's wavy. Wavy and naturally curls up. And then it still looked a little too flat to me.
Every lesson of this limewood panel is part of Tuition, with lesson 47 waiting next.
How it's done
- Look from above and from the sides. That is how I began part two, before I picked which petal to work.
- Follow a tendency when you see one. Where a section looked like it wanted to lip out, I used a knife carefully and made a concave cut.
- Choose when you can't tell. I wasn't sure about one petal. So I gave it a concave on one side, then a deeper one.
- Work your way in under the curl. With the number eight at an eighth of an inch, go in until you feel like you reach the edge. Later, everything goes to the hole.
- Be careful with your tools. Extreme undercutting like this, I promised you in part one, makes it easy to break one.
- Blend a natural crack. The crack bugged me. I blended it and left it like that.
Frequently asked questions
Should a carved petal curl out or curl in?
Both, on this flower. I carved both here, and the curl from part two turns back in on itself. Another petal, in part four, could have gone one way or maybe in, and in the end it got a deeper concave on one side.
What is a natural tendency in wood carving?
In my words, a natural tendency is a shape some part of the carving looks ready to take. On my Hashemi panel I have said it about lips, curls and concaves, about where a division goes and about a subdivision, and in those lessons I followed it with the tool in my hand.
Can a crack in a carved petal be saved?
I tried, then stopped. A natural crack sat right where I needed to undercut beneath a curl, and it bugged me. Rather than risk too much, I smoothed it into the shape around it and let it be, and I doubted the camera could even show it.
What to carve next