
Alexander Grabovetskiy, woodcarver, School of Woodcarving · Published 2018
What is air carving in wood carving?
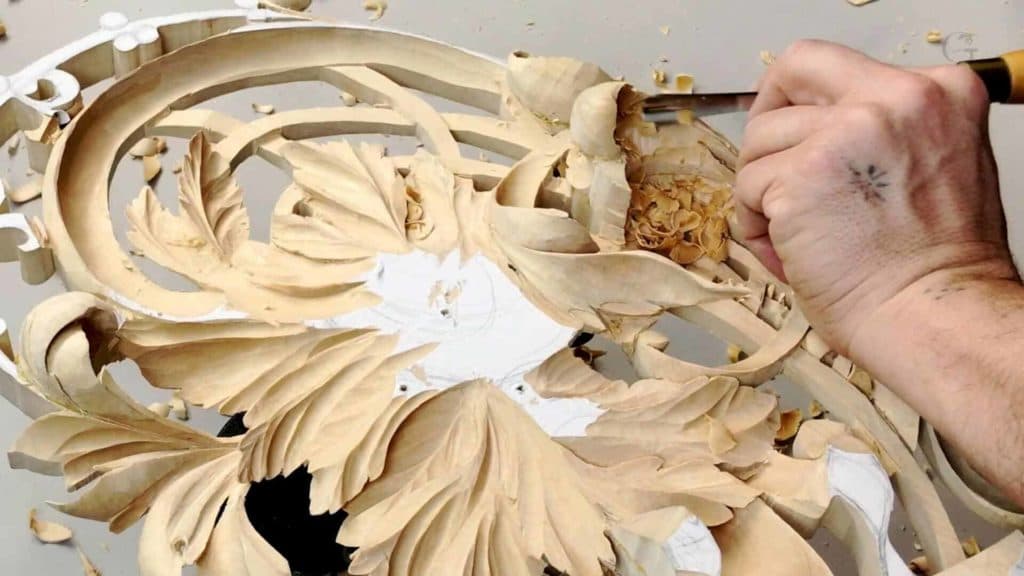
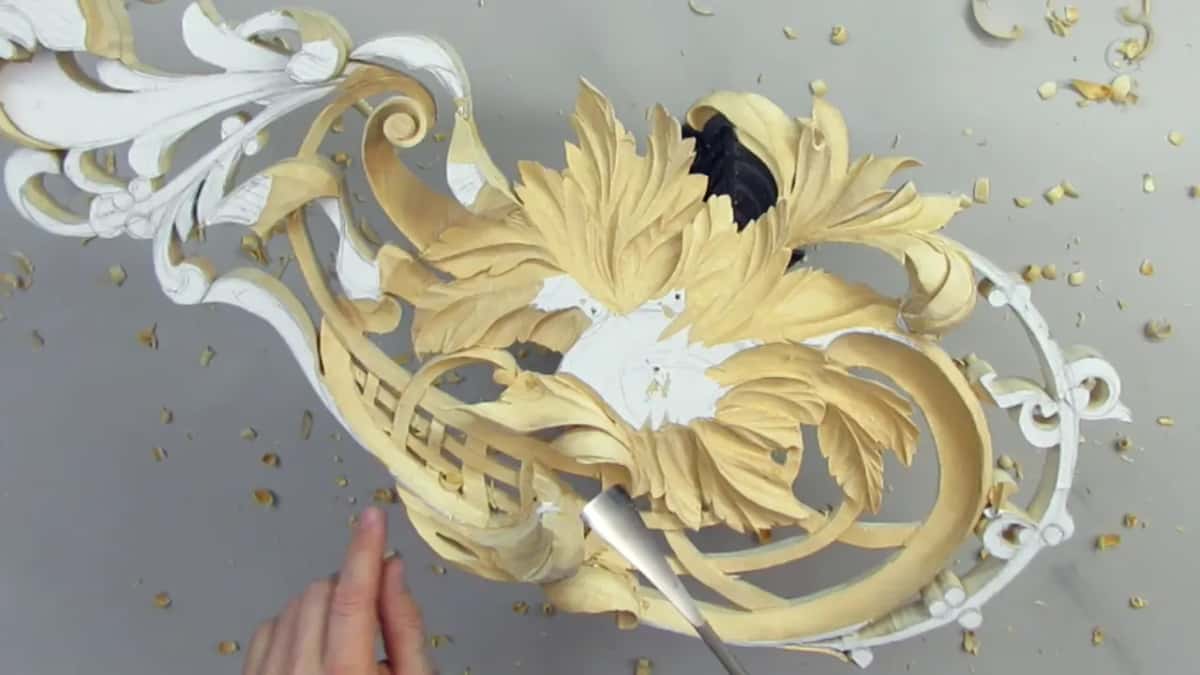
Quick answer: Air carving is my name for carving with the tool held in the air and the hands off the piece, like an airbrush that never touches. Only the edge touches the wood. I did it in lesson 12, on a Hashemi panel so fragile it shook. On a solid block of wood I tell my students never to do it.
Air carving is my name for carving with your hands up off the piece, the way you hold an airbrush and paint without touching. Only the edge of the tool touches the wood. I said it on camera in lesson 12 of the Hashemi flowers course, when the pierced limewood panel had grown fragile and shaky in front of me.
Have you seen carved leaves so thin they almost float off the panel? Would you be a little afraid to touch them with a sharp tool? Then this lesson is for you. I tell my students to keep a hand locked on a solid block, and on this Hashemi panel you will see me break that rule, and see how I held the tool to keep control.

Six plain lines about this lesson
I call it air carving when I hold my tool up in the air, with just the edge touching the wood.
Part four of lesson 12 is where I say it.
For students on solid wood my rule goes the other way, and the hand locks on the block or on whatever surface they can find.
With the fragile Hashemi panel I gripped my tool near its edge.
A V tool relief cut stood in for pressure.
Deeper means more shadow, and more risk of a break.
What does air carving mean?
The idea comes from painting. There is such a thing as an airbrush, where you hold it and paint without touching the piece, and on this panel I said I call that type of carving air carving. You hold your tool in the air without too much support. Your hands don't touch. You work your way along, controlling the tool without supporting the hands too much.
In lesson 23 of the same course I put it another way. Same as painting with an airbrush, I said, only with chisels instead of the airbrush. Once, on workshop 65 of the Venice Room, I even wished out loud for an airbrush carving, where you can stay away with your tool and still paint something.
Why was the Hashemi panel too fragile to lean on?
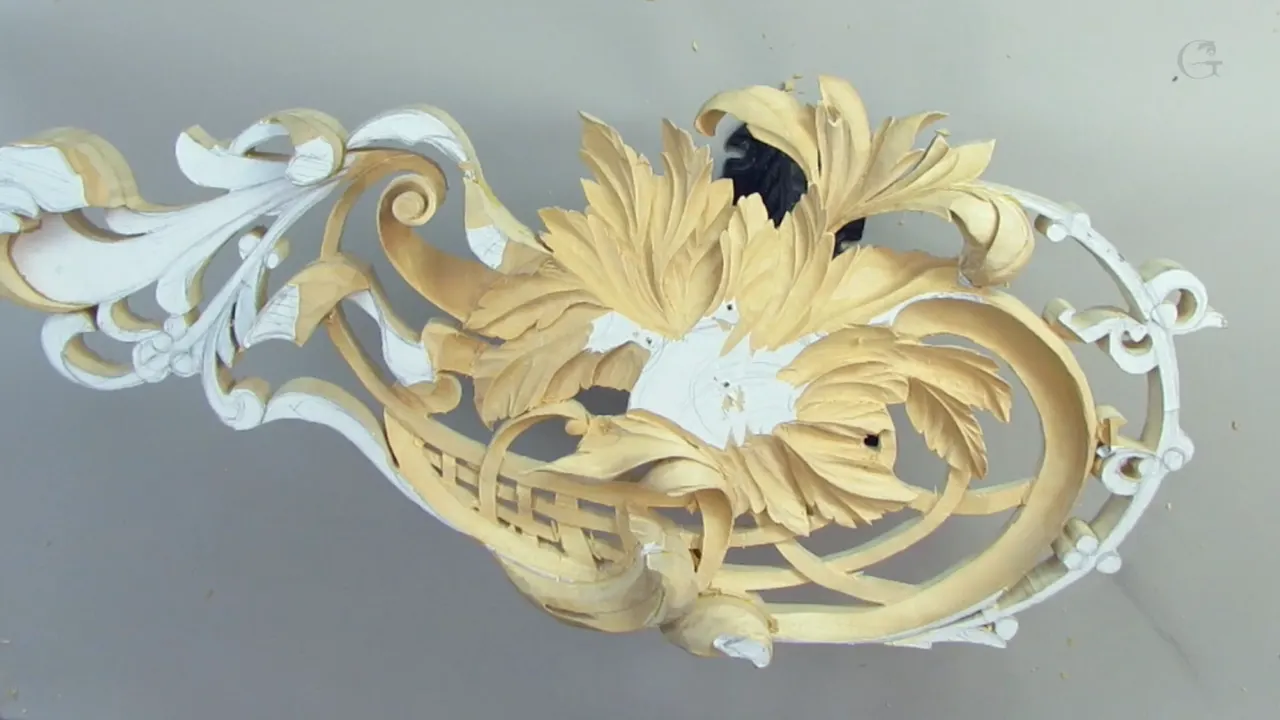
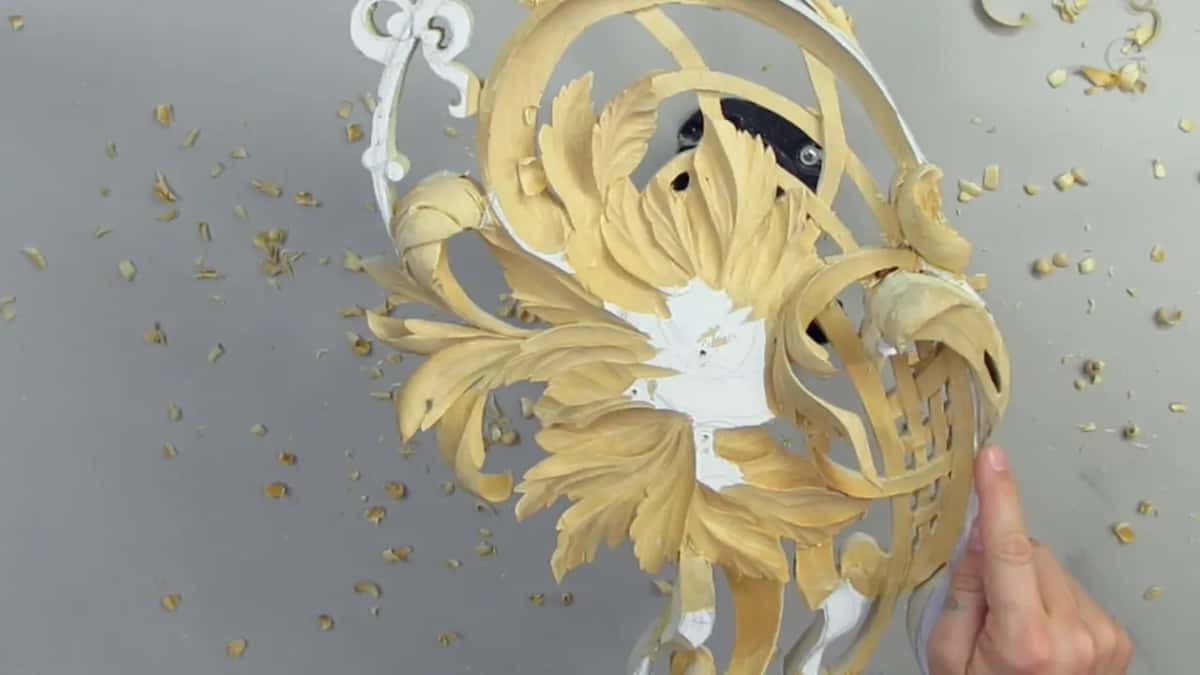
By lesson 12 the piece had become fragile. Part one puts it simply. I can't carve really heavy now, because the piece becomes more fragile and I can easily break it, and I don't want to break it. Pressure is not going to help either, because there are multiple points you can break now, as part four says.

Then the panel started to wiggle, and I apologized for it on camera. I don't want to over-tighten my screws on the bottom, and they were already kind of loose, so I made them a little tighter. Less shaky. But the more fragile the piece becomes, the more shakiness you are going to see, because some areas of the piece itself were already really shaky. So also keep an eye on how your hands are supported, I said. Next came the airbrush.
Why do I tell students never to air carve?
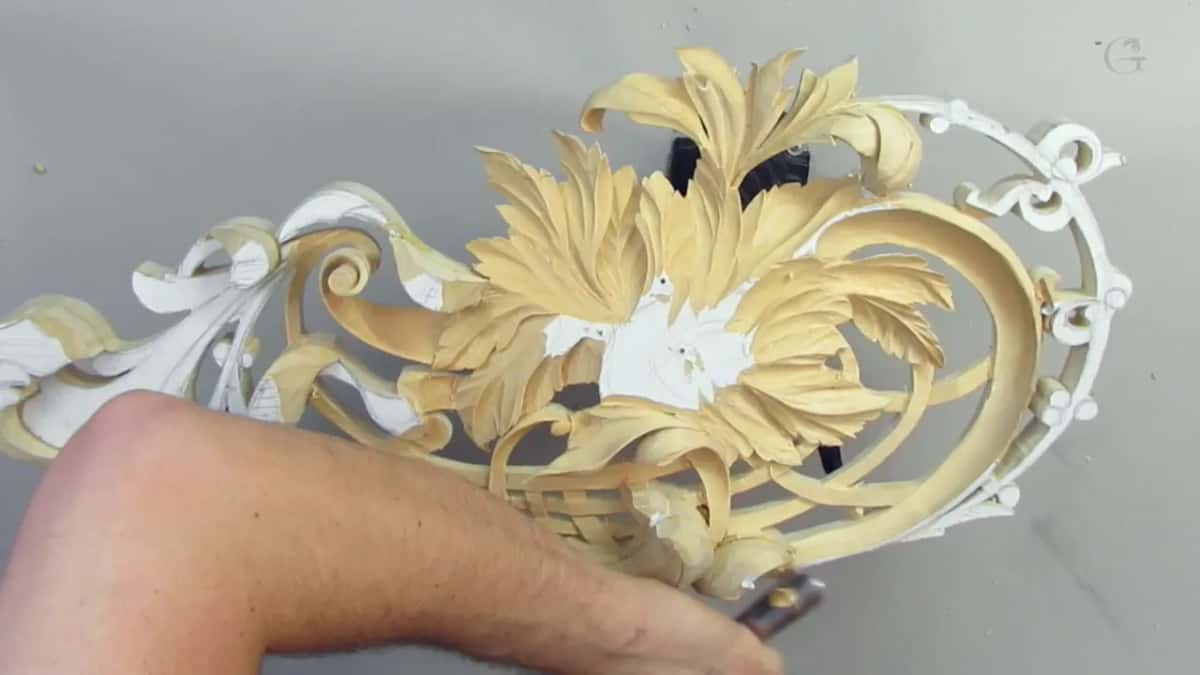
My hand always goes down on something when the wood is solid. On the Tray of Blessing I told students there is no such carving technique as air carving. You don't carve with both hands in the air. If you are right-handed, the left hand is always locked in position, so the tool stays under control.
The Modern Acanthus course gets the same warning, and it gets it twice. Do not do air carving, I said there. Both hands in the air is no bueno. Your left hand goes solidly on the background or on the piece, as close as possible to the blade. In its second lesson I said it again, never do air carving, and I said I know I am going to repeat that multiple times, because I see it all the time.
Same thing on the Byzantine acanthus. Don't air carve, it's not airbrush. Some people try to do that, and it just doesn't work. Always lock on something, and if it's not the block of wood you're working on, lock on whatever surface you can find.

Then why did I air carve on the Hashemi panel?
The panel left me very little to put a hand on. In lesson 23 of this course I told you to just hold your hands above the carving. Right now it's almost impossible to lay the hand right on top of it, so you kind of need to get creative. Even there one point stayed. The only place I put my hand was one finger.
Lesson 10 had the same moment. Those pieces become fragile, so almost in the air, I said, and that's how I'm supposed to hold my tools. On Venice Room workshop 84 I said I feel like I'm almost air carving, like airbrushing, with no support, just chipping away little by little.
Where does the hand go when there is nothing to lean on?
Close to the edge. Part two of this lesson has me holding my tool as close as possible to the edge, because that way I can control much better.
On the Venice Room, workshop 69, it looks like I'm holding my hand really high, but I'm not. I'm referencing on one finger, and that's why I can raise my handle a little higher. I'm never air carving, I said there, I'm always referencing somewhere, and in that spot I could put two fingers.
The furniture panel says it plainly. If you raise your hands like this and try to do something like airbrushing, it doesn't work in wood carving, so you really have to support your hands. When my right hand was raised up there, I still placed my pinky right on the board. And if I can't use my pinky, I'll place two fingers.
How does a relief cut help a thin panel?
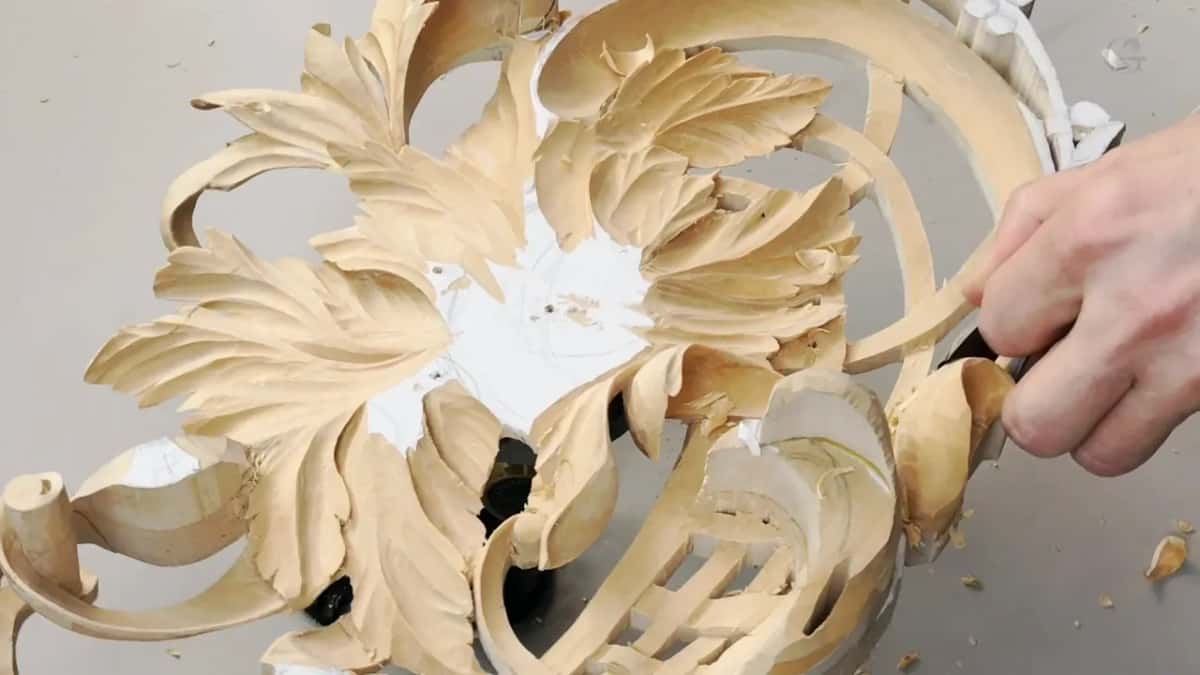
A relief cut, in this lesson, is a V tool pass I make because I can't press the gouge anymore. Part five brought the V tool back, number 16, 6 mm, a quarter inch, and I made my relief cut. The reason I call it that is that I can't press it anymore. With the gouge alone I'm going to break it. So I constantly have to go back to the V tool and make my relief cuts, how I call them, and then bring my movement to the cut.
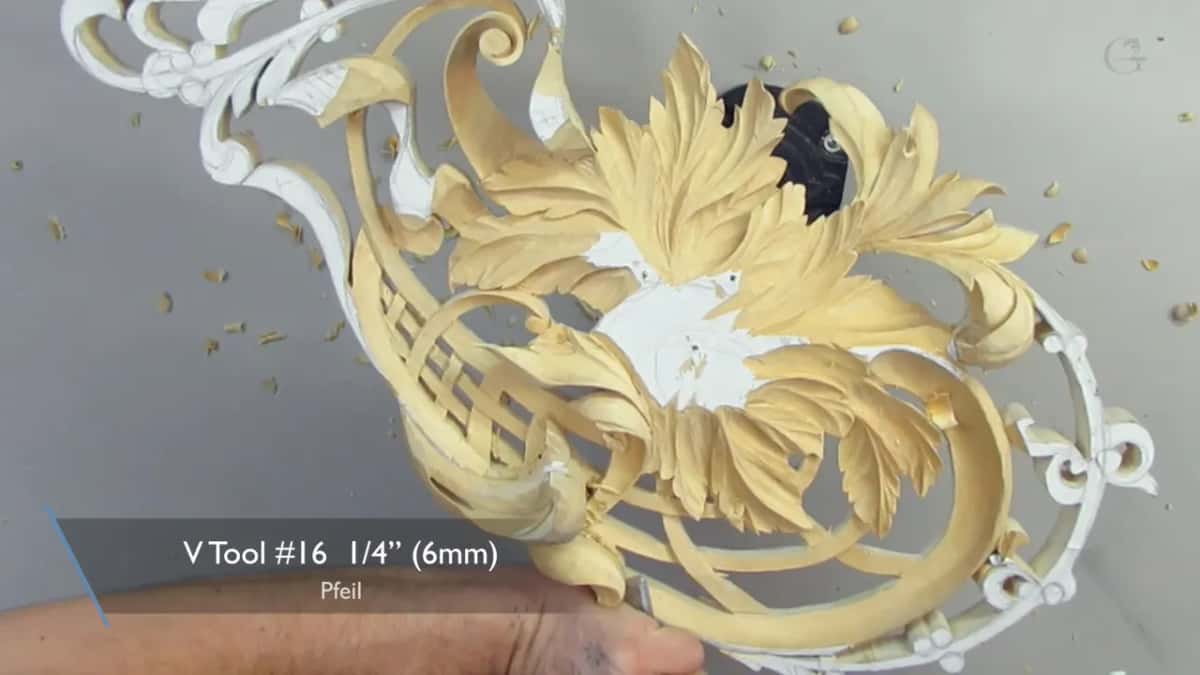
Separation cuts came from the same V tool. I made one with the V tool in the second video, because I did not want to touch my round detail, and another in the fourth video to take out material between the high ridge I wanted to keep and the rest. This acanthus movement had to go lower too, because I wanted the curl back as a high point later on. The scroll page from lesson 3 has more on relief cuts.
Does the V tool angle matter?
Any V tool will work. But I really do have a preference, like 45 degrees or even less. Having one is going to help a lot, and my number 16 is less than 45 degrees.
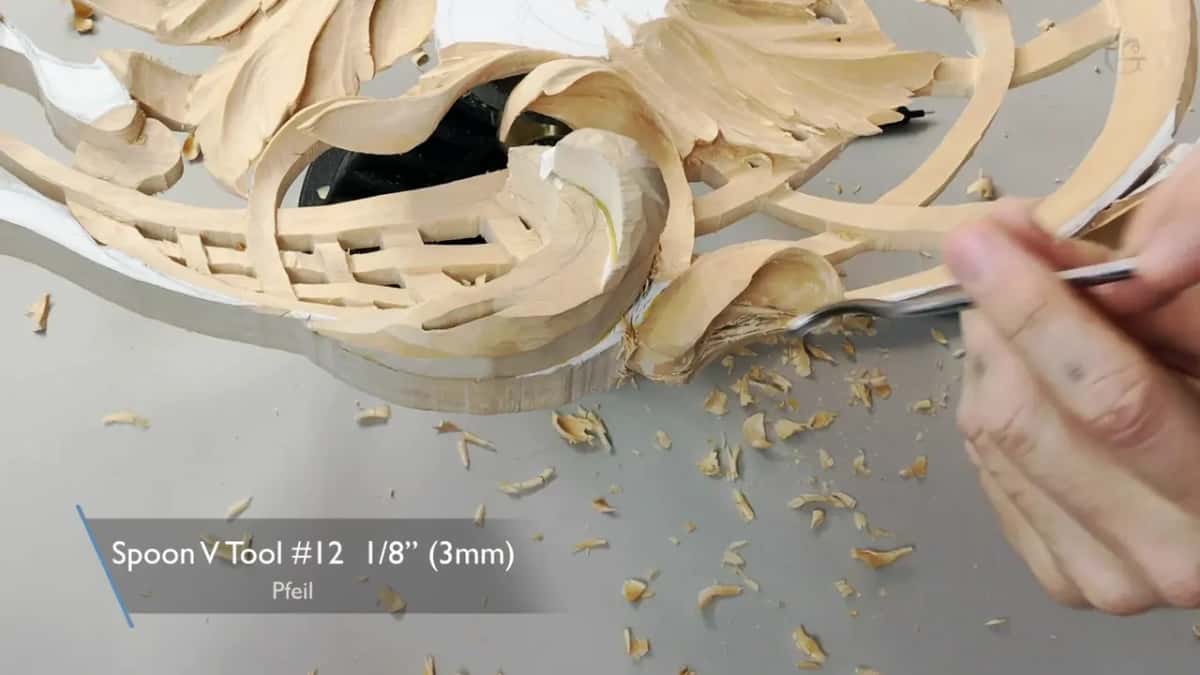
Pfeil marks them 12, 14, 15 and 16. The higher the number, the smaller the angle. It goes from 90 degrees, 60 degrees, 45 degrees, and 35, I believe. Smaller ones came out too: a number 15 at 3 mm (1/8 in), a number 16 at 3 mm, and a spoon V tool, number 12, also 3 mm. Near the end of the lesson the number 12 spoon V at 8 mm (5/16 in) was actually really good.
Which tools did lesson 12 use?
Seven of the tools I named on camera, and the job each one did.
| Tool | Job | Quote |
|---|---|---|
| Gouge #9, 20 mm (3/4 in) | Removed the whole side so the piece looks like it is curling downhill | Remove the whole thing |
| One inch #7, 25.4 mm | My rounding cut, so the shape has to be roundy, in my own word | Works every time |
| V tool #16, 6 mm (1/4 in) | Relief cuts, because I could not press the gouge anymore without breaking it | Make my relief cut |
| Number 5, one inch (25 mm) | Taken instead of the number seven for a little less sweep and more control | More control |
| A #3, 12 mm (just under 1/2 in) | Tried in that area to find which tool was easier to use there | Trying different tools |
| Tiny #11, 1 mm | A cleaning cut on the inside, right after the one inch number seven | Just a cleaning cut |
| My knife | Fixed the edge once I was happy with the overall detail there | Fix the edge |
I hope you understand why I do that, why I am trying different tools. I just try to find the easier tool for this area. Number 9 is a true half round, and number 8 is a little less. Really close, actually.

Why carve against the grain on purpose?
The right side is sometimes blocked. Part two had me carving against the grain, and the reason why is that I really can't attack from that side, because that movement is in my way. I said it for some of you who want to know why I do it. Earlier in that part, across the grain and against it, the surface looked choppy a little bit, but it's okay.
Part six adds that it's okay if you have sharp tools, and that one was just a preliminary cut. Right now you really can't work sometimes with the grain. You limit it. Part seven gave the same reason, a limited space to work with, and later on it was end grain, so you do have to be patient.

There is a sound to it, too. By the final video the grain was against me again, which is why you hear that cranky sound, and I was going uphill, which doesn't help at all. That is not my clean cut. I can always come back and clean it from the opposite direction.
How deep can you carve before it breaks?
Deep looks good, up to a point. I know it's kind of deep, I told you in part three, but it's going to look really good. The deeper you go, the more shadow you create. But on the other hand, the deeper you go, the more fragile it becomes.
There I was at no more than 1/16 of an inch of thickness, about 1.6 mm, and it was pretty close. I can't take any more, I said, I can't dig any more. I still made that curl really pronounced, moved closer to the edge to make it a really sharp edge, and then took a knife to fix the edge. How thin a carved leaf should be is the question of lesson 7.
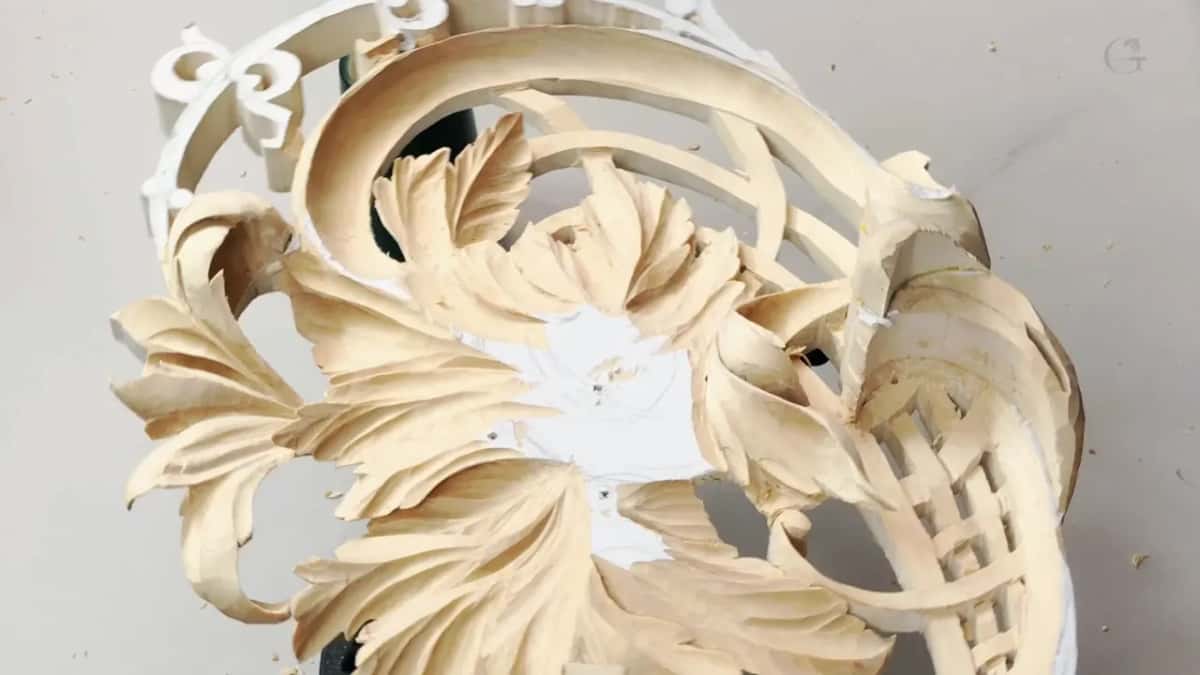
What happens when you pry on a fragile panel?
You can break it. With a number 8 in part five, there is going to be a pipe, I said, an eye and a pipe. That's what I shouldn't do, I said next. When I'm trying to pry too much, I can break it, so don't create too much pressure. Like I said before, it's much better to take multiple passes and get the result slower than to rush it and make mistakes.
A little later I had to lower one area even more, and I didn't like it. You can see what I did there, I said. Because I'm working with the grain, I got to be careful, so now I have to lower this down even more. I don't like that fact, but it is what it is. It's not going to look as bad as you think, just a little different movement, going downhill and growing up.
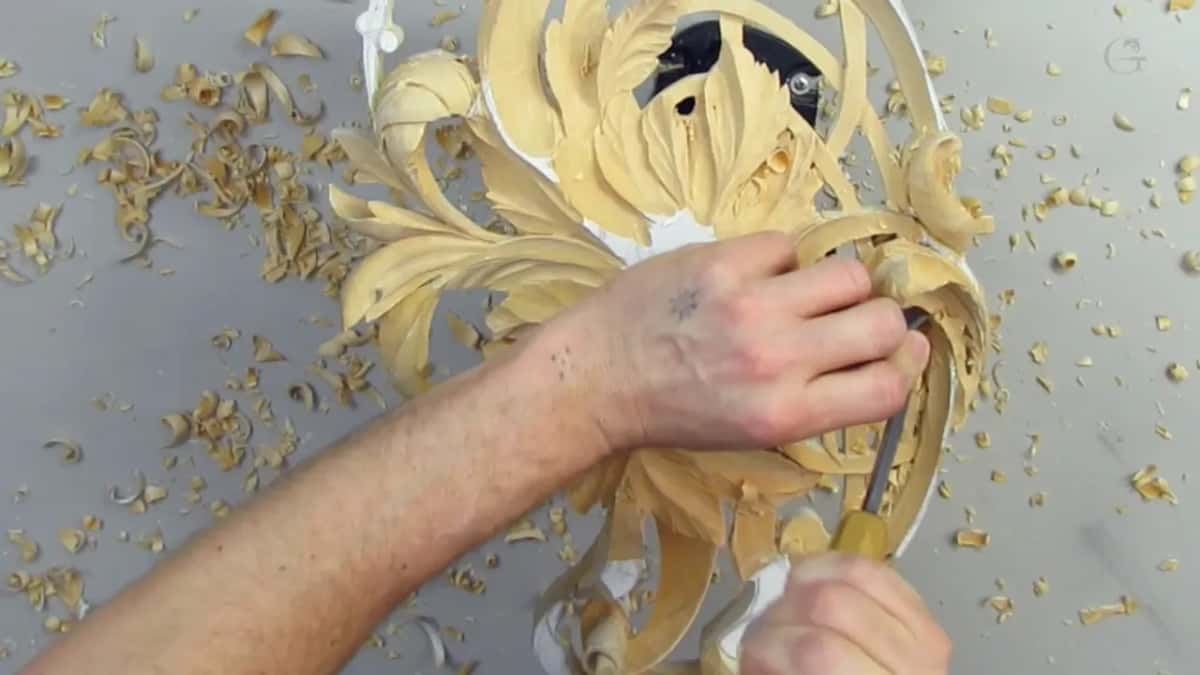
The last video had the same pull. Something was in my way, and I just have a tendency to pry, and that's not so good. Prying and hoiking get their own page in lesson 10.
Big tools, a mallet, or neither?
The big ones, as much as possible. Right at the start I said try to use the big tools all the time. That way it's much quicker and easier. And you can always go back and clean with the smaller tools. The bigger the tools you use, the cleaner it carves, so there is much less to clean later. Even with the big tools I still had to be really careful.
The mallet came up twice. Early on I said even in this case I could use a mallet carefully, but I do have to be really careful now. By the seventh video I said maybe I can use just a slight mallet. Then, no, it's too fragile. The mallet itself is the subject of lesson 8.

What is a sweeping cut?
A sweeping cut is when I'm just rotating the tool as it goes. The trick is always to make the rotation move. I'm not forcing it, because I do have a marriage line there, kind of zip, but I still have to attack from both sides.
Then came my rounding cut with the number 7. That's how I call it, so it has to be roundy. I'm not sure, I just made this word up myself, but it works every time, and when I'm using that word, I know exactly what I'm talking about. The goal was a curl that flows underneath like a flow line, attacked from all directions until I'm happy with what I see.
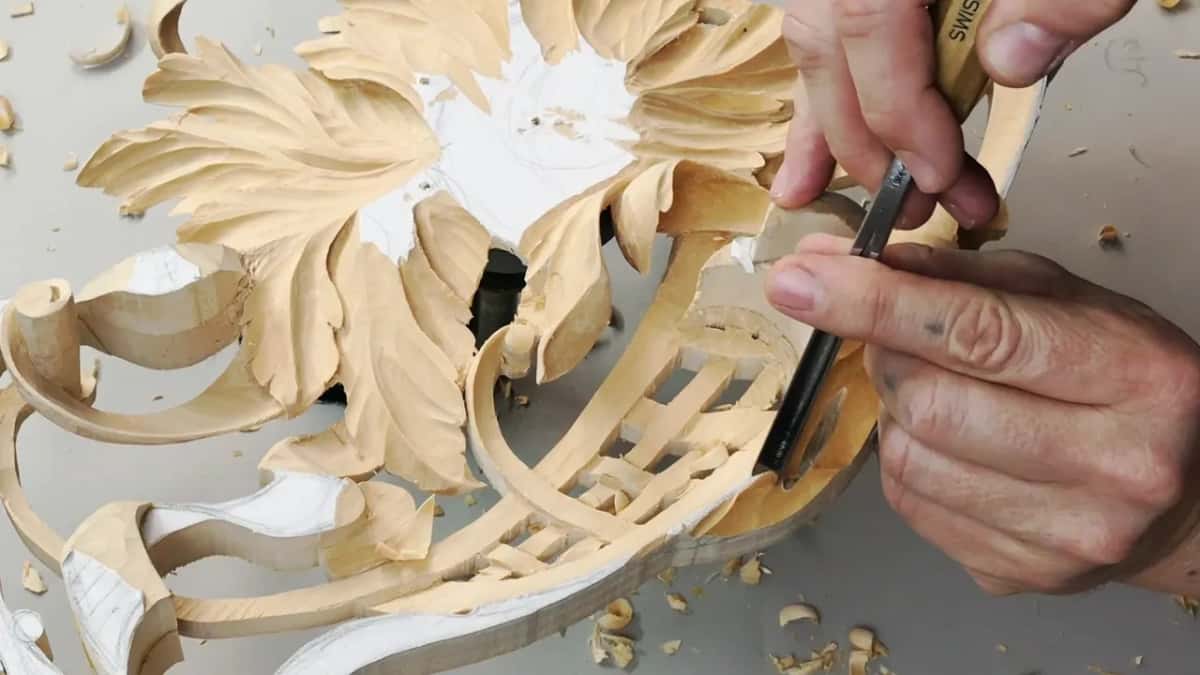
Where can you watch lesson 12?
All eight parts of lesson 12 sit inside the school. You get the relief cuts, the wiggle in the screws, the stop at a sixteenth of an inch and the air carving moment itself, all on the limewood Hashemi relief that starts in lesson 1. Do you want to see where my hands go on a piece this thin? Come and watch.
How it's done
- Start with the big tools. Use the big tools as much as possible, then go back with the smaller ones to clean.
- Rotate as you go. Rotate the tool as it goes. The trick, I said, is always to make the rotation move.
- Make a relief cut. When the gouge can't be pressed anymore, go back to the V tool first. I used the 6 mm number 16 again and again.
- Hold near the edge. Grip the tool close to its edge, because that way you control it much better.
- Keep the pressure low. Don't create too much pressure. Take several slower passes rather than rush it and make mistakes.
- Change your position. If one side is blocked, rotate the piece and attack from the opposite side. Keep your tools sharp for it.
- Stop when it gets thin. When the wood was down to a sixteenth of an inch thick, I stopped digging and made the curl really pronounced instead.
Frequently asked questions
Is air carving a real technique?
On my Tray of Blessing course I said there's no such carving technique as air carving, and that you don't carve that way. For the Hashemi panel, once the piece got fragile and shaky, I used the name for what I was doing.
Where should your left hand go?
Down on something solid, if you are right-handed. Mine sat right on the handle on the Modern Acanthus, and I said it belongs on the background or on the piece, right by the blade. The muscles of that hand work too, and I'm not getting tired.
How thin did the Hashemi wood get?
At one spot in lesson 12 I was at no more than 1/16 of an inch of thickness, about 1.6 mm, and I said I can't dig any more. At another spot, later, I wanted about 5/8 of an inch overall, about 16 millimeters.
What to carve next