
Alexander Grabovetskiy, woodcarver, School of Woodcarving · Published 2018
What is the difference between a long bend and a short bend spoon gouge?
Quick answer: The difference between a long bend and a short bend spoon gouge is where the bend starts on the blade. A long bend starts almost at the handle and bends a long way. A short bend starts close to the edge. A medium bend starts in between, and on my Hashemi panel both bends I named were medium.
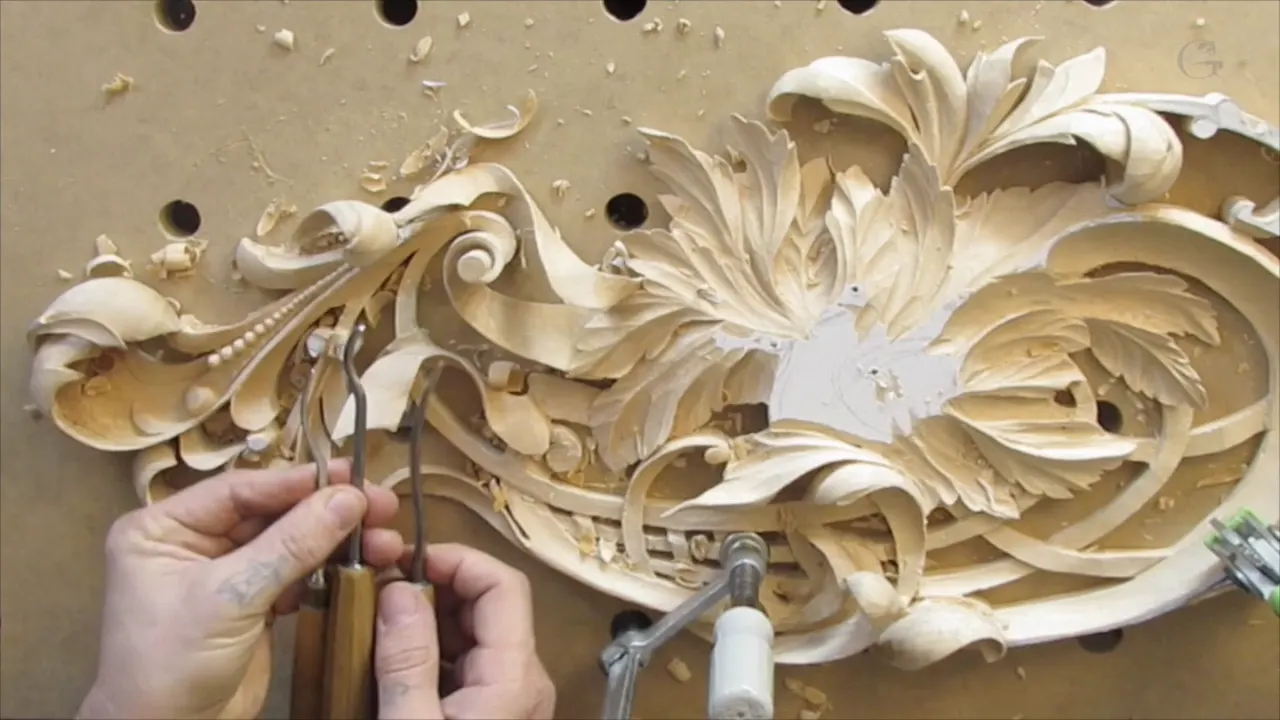
A long bend gouge is one whose bend begins up by the handle, and a short bend is one whose bend begins right by the edge. In lesson 20 of Carving Hashemi Flowers I held three bent gouges up together over my limewood openwork panel. This one is a long bend, I said. You can see it bends a really long way. The next was a short bend, a really short bend, and it starts somewhere right here. And the medium sits right in between.
Looking at bent gouges in a catalog? Seeing a long bend listed next to a short bend under the same sweep number? Then the first thing to check is where the bend starts.
Below are my own words on it, from this lesson and from my other courses, each one linked so you can see where it comes from.
Where each bend begins
Long bends curve from far back, near the handle.
A short bend starts very near the edge, and wood carvers know it as a spoon gouge.
Medium is in between, and I use that one a lot.
On a long bent the handle rides above the parts already carved, so it doesn't hit them.
Not every maker marks the medium, but English makers still do.
Why is a short bend called a spoon gouge?
Carvers call it that because it looks like a spoon, pretty much. I said so on a live stream in April 2020, holding a short bent beside a long one, and added that the profile just looks like spooning. My back bent sharpening lesson puts it the same way. There are three types of front bents, I said there. One is the short bent, otherwise called a spoon gouge, and then come the medium bent and the long bent.
I use the word loosely too, and then catch myself. Lesson 20 has me calling my number 8 a spoon gouge, medium bend. On a furniture panel I stopped myself. Not really spoon gouge, I said, I shouldn't say spoon gouge, it's a medium bend.
Earlier in that 2020 stream I said spoon gouge isn't really the right name at all. My spoon gouge sharpening lesson tells what the normal name is. The V tool has its own version of this mix-up, and I sorted it out in lesson 14 of this course.
How far back does a long bend start?
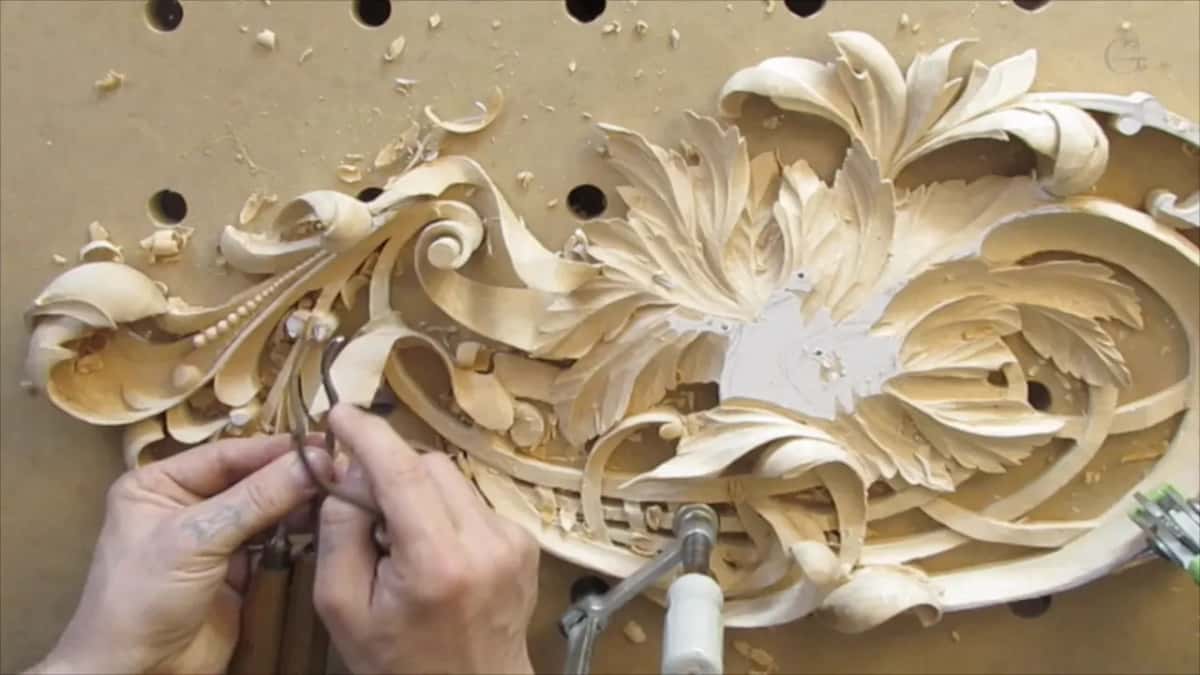
Nearly back by the handle. Back in workshop 4 of the Venice Room I took a number 11 long bend, about half an inch (13 mm), and explained it just in case you didn't know. It bends a little bit, I said, but it starts almost at the handle. That's the name of it, long bend.
Room for the handle is what it buys. Workshop 58 had a chunk in my way, so I couldn't carve upward, and I switched to a long bent tool. It's just a tool with a really bended carving part, I said, and it gives me ability to stay above and not hit the parts already done with the handle. My tool there was a number four long bent, 25 millimeters, one inch.
Later I saw really high detail on the left-hand side, where the straight tool would not let me carve that direction, I said. But the long bend tool would.
My Grinling Gibbons class in Maine heard the same reason. The long bent helps me better, I told the class, because I'm not going to touch the flowers. Be careful not to touch it.
Workshop 40 called for much deeper excavation, and I said I should use a long bent there instead of a short bent. Probably a little wiser, I said. There I could go deep if I wished, because it was a really good spot for the shadow to travel.
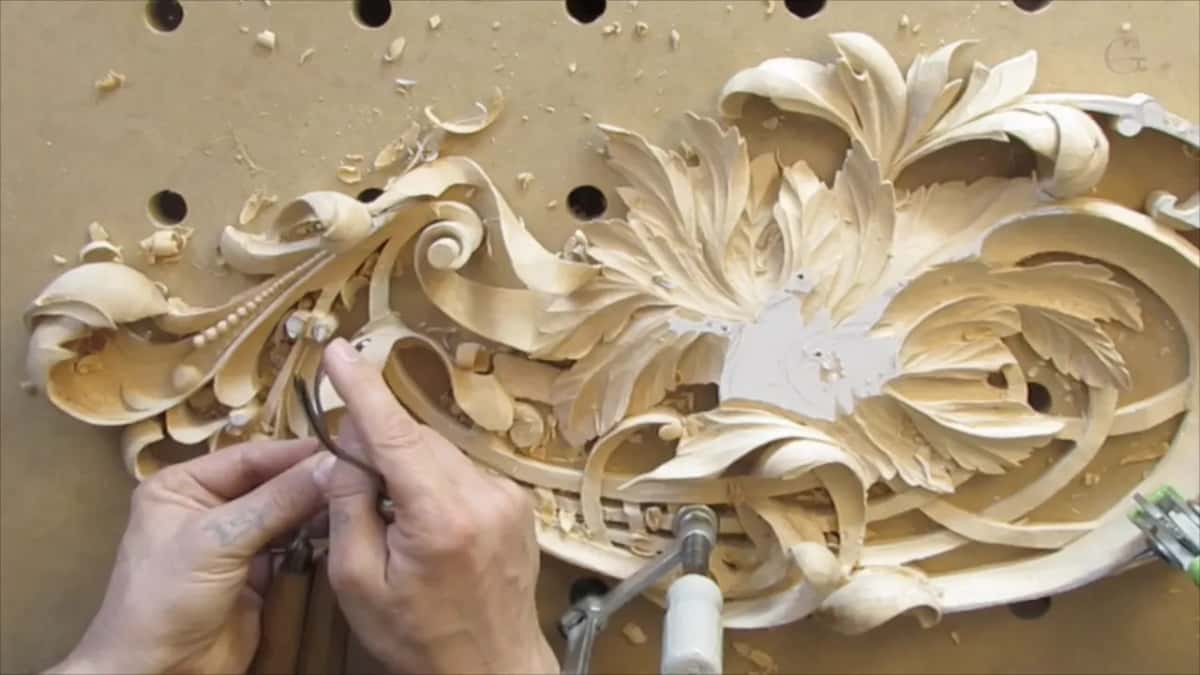
It isn't always the one to take, though. During workshop 64 I picked up a long bend number 11 and noticed it has thick walls. It's not my favorite, I said, although the brand is my favorite. A slightly bent one, an eighth of an inch (3 mm), worked much better for me there.
Where does a short bend start?
Really, really close to the edge. That's how I said it in the back bent lesson, with a long front bent and a short front bent side by side, so you could see the difference in where each one starts bending.
Workshop 60 of the Venice Room had me hold one up for anybody who still didn't know a medium bend from a short bend. Here is a short-bent spoon, I said. See how short the spoon part is.
Some spots need one. I had a really beautiful shadow spot in workshop 34, but even a long bend didn't work there, and I said I had to use a short bend or a medium bend. I tried the medium, also a number 11.
The tiny ones go further. For the Venetian rosette I picked up a really, really, really small, tiny, really short bend. Extra short, I said. It gives me ability just to get whatever curvature I need.
Makers mark them their own way. My Greek acanthus leaf got a number 3, five millimeters (3/16 in), short bend. It's a 3A to be exact, I said, and that's how Pfeil marks those short bends. My sharpening course uses an Ashley Iles number 26, which stands for a number six sweep, and the first number, the two, means it's a spoon gouge.
What is a medium bend?
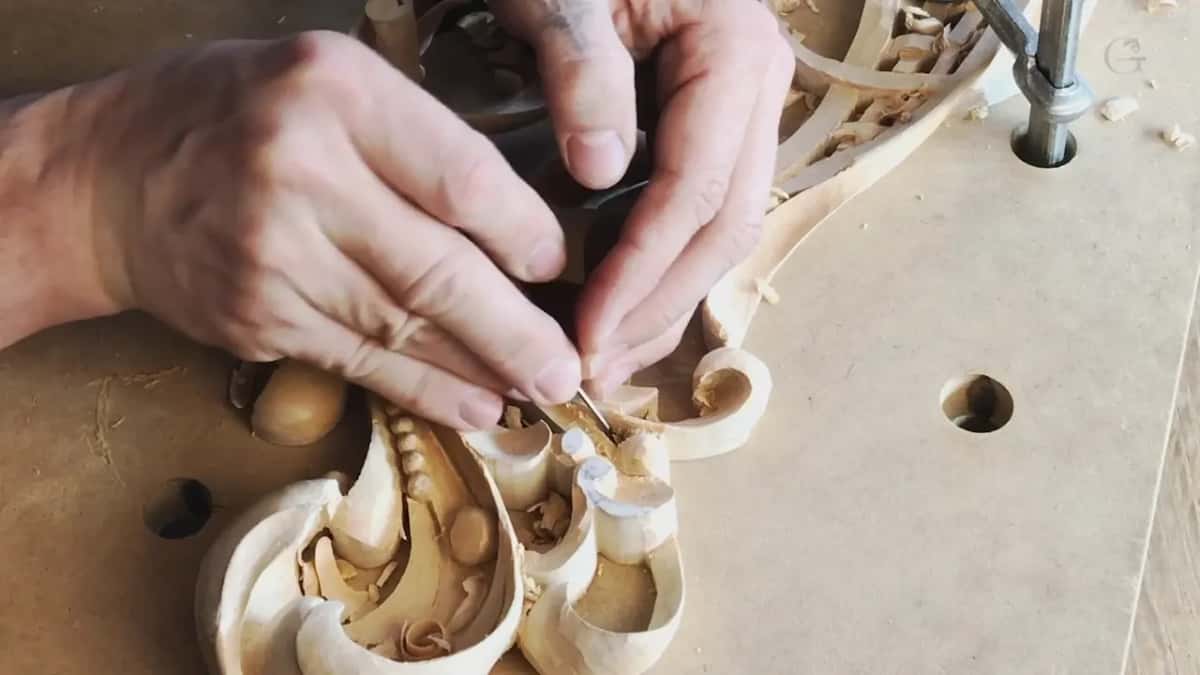
A medium bend starts between the other two. I use that a lot, I said on the April stream, with a short bent, the medium and a long one lined up. It starts somewhere right in the middle part of the long bent.
The medium in workshop 60 is a number 4 spoon. If you just line up, it's much longer, I said, holding it beside the short one. Then I talked about markings. They do mark long and short, but they don't say that is a medium. English manufacturers, they still do that, and that's why I love those tools.
Both bends I named in lesson 20 were medium. A number 8, about an eighth of an inch (3 mm), cleaned inside first. Once I needed a smaller one I took a number six, also medium bend. It's still bent, I said, even if I say medium bend, and that's when I held up the three. Afterwards I gave a size, about 3/32 of an inch (2.4 mm).
Even I blur the names. In workshop 63 I called a number seven, about 14 millimeters, about half an inch, a short bend, then corrected it. It's actually a medium bend, I would say.
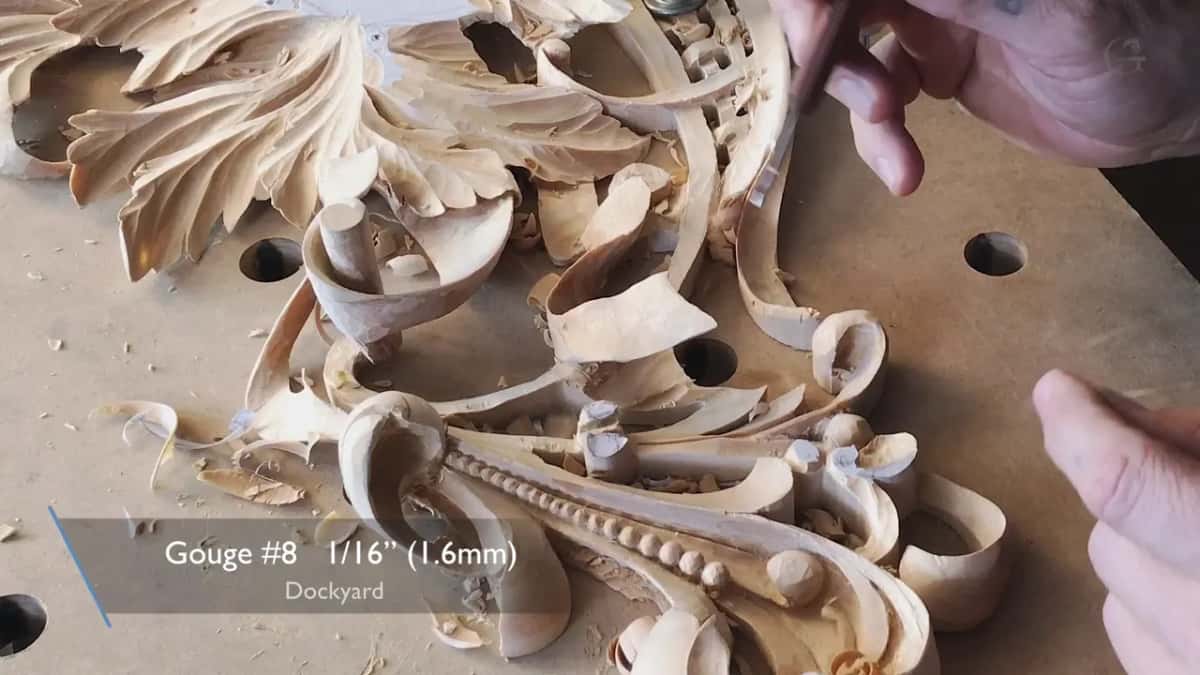
For the furniture panel I used a number six medium bend at 1/16 inch (1.6 mm), by Ashley Iles. Those are really nice handy tools to have, I said.
Here are the three as I've described them, with the straight gouge and the back bent beside them.
| Bend | Where on the blade it starts bending | As I put it |
|---|---|---|
| Long bend | Up near the handle, and it bends a long way | To stay above carved parts |
| Short bend | Right by the edge, with a short spoon part | Whatever curvature I need |
| Medium bend | Somewhere in the middle part of the long bent | Used a lot on my bench |
| Straight gouge | Nowhere, because it is just completely straight | Most beginner tools |
| Back bent | Bends backward, with the bevel on the opposite side | Short and medium only |
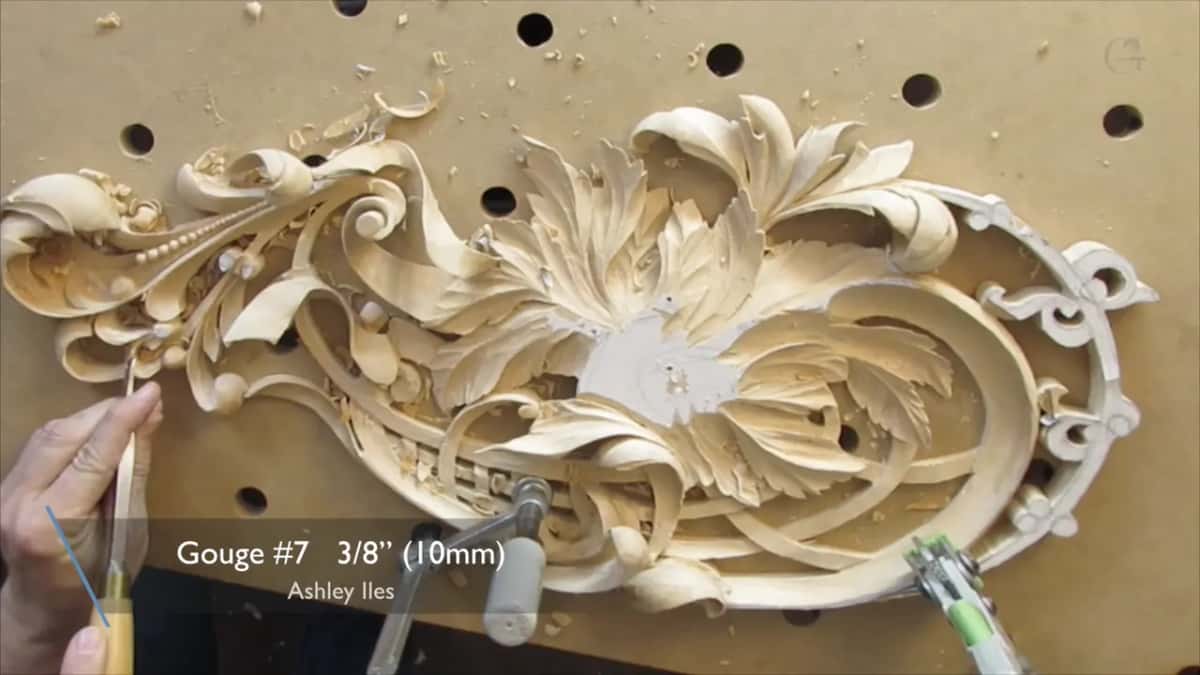
When did the bent tools come in on the Hashemi panel?
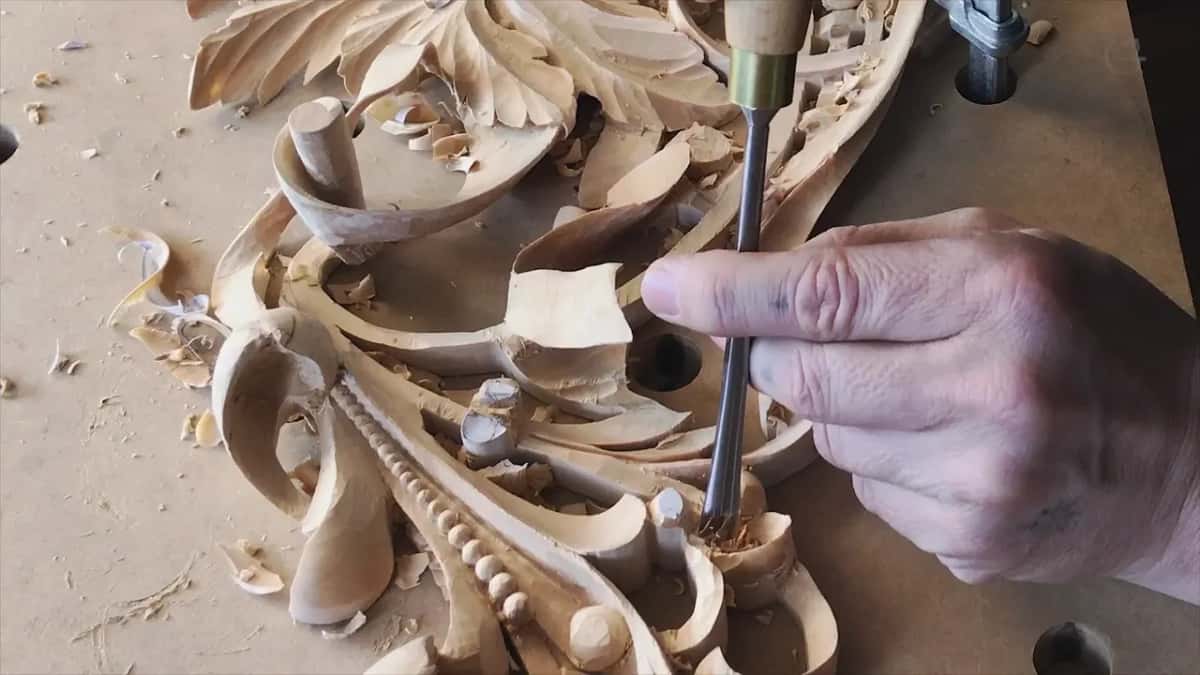
The ones I named as bent came in part three, to clean inside, and in part four as the hole opened. The number 8 and the number 6, both medium bends, came first. Next was a small micro tool, a number three. Peter Benson designed those tools, I said, and Ashley Iles make them. After that a number 7 at 10 millimeters (3/8 in) made one part round.
That side was almost done. What I had to do now was undercut one section. I know you probably can't see that this wall needs to be removed, I said, and you'll see it's going to be pierced.
For that I took the same V tool, number 16, laid it on its side and carefully started removing some of the waste. Attack from this side first and then from inside, I said. Next, a number five at a quarter inch (6 mm) removed the next wall, since that's waste too, and I was through. Same tool, opposite side next. Just make sure you're doing that rotation movement, I said.
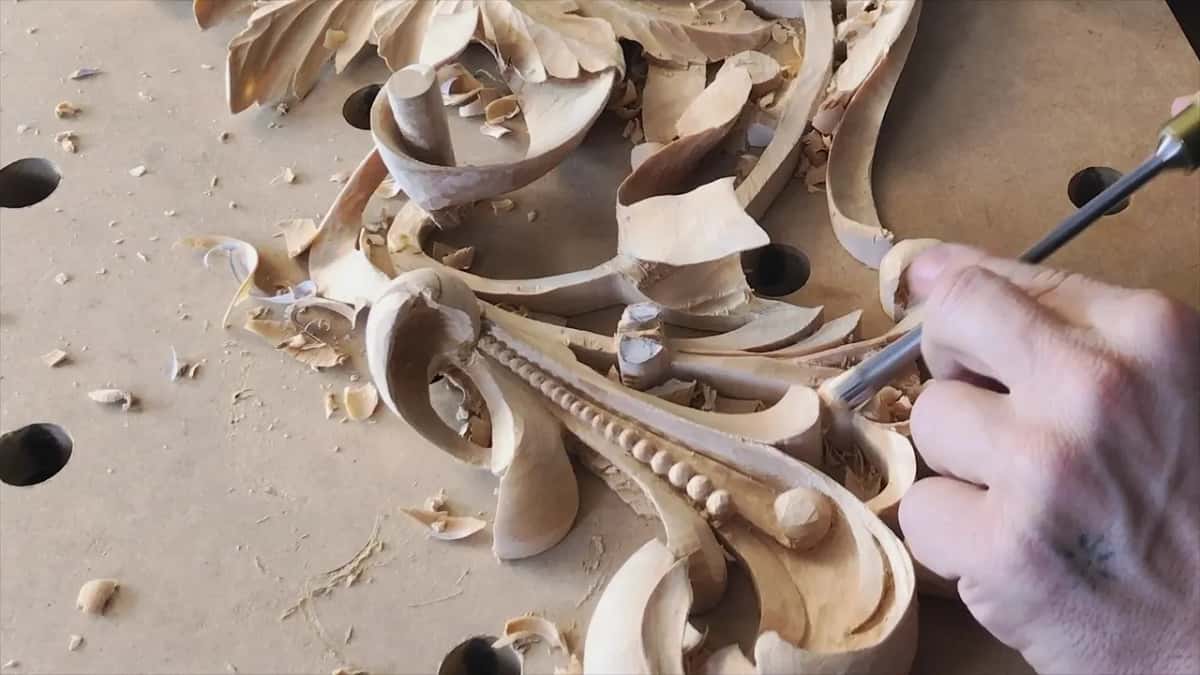
Part four brought in the small spoon. A small number five, a quarter inch, had gone in again and again, but I wasn't digging out all that waste yet. What I could do, I said, was take a small number nine, a two millimeter (5/64 in) spoon, and clean that carefully. And now you can see I'm all the way through.
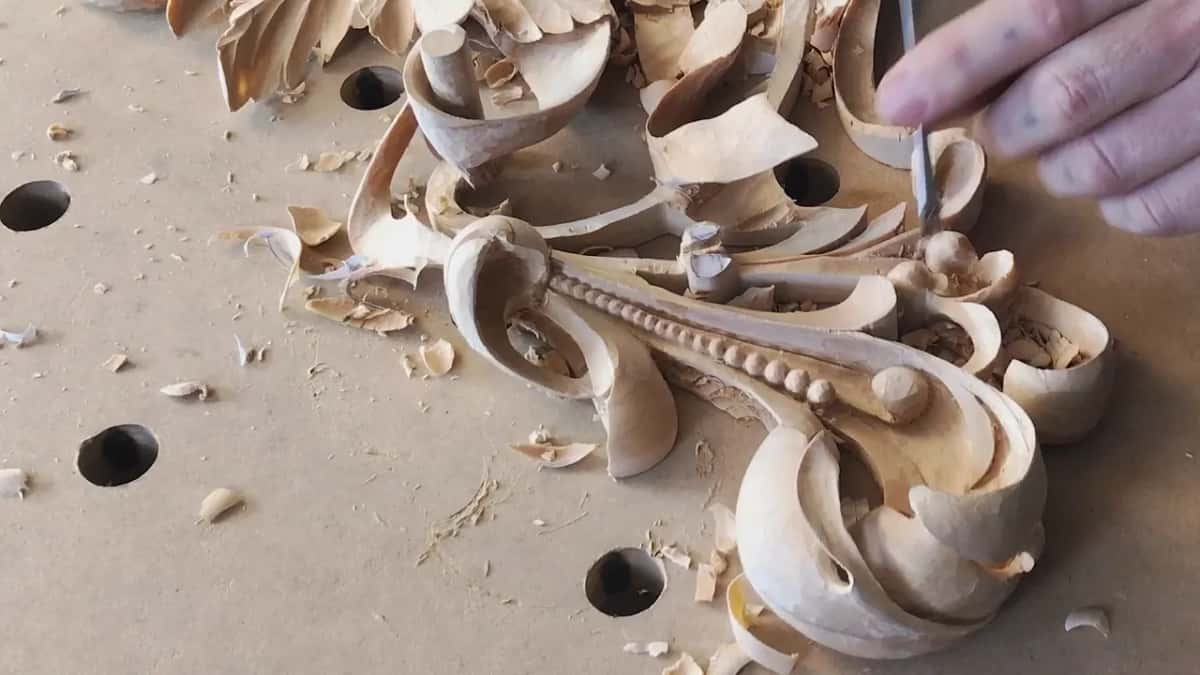
The last stage of that section needed one line to show on the inside, with all the waste gone. My tool was a really small gouge, like 3/32 of an inch (2.4 mm), going straight down, little by little. The number five went back in. The idea is not to force it, I said, because if you force it, it's easy to make a mistake. Part one says that at more length, and lesson 3 quotes it.
Then it separated. A little bigger number three could clean it, I said, or even the knife, with a little undercutting. Three millimeters (1/8 in) was the size of the number three that did my cleaning, and I said I needed to go deep enough on that side.

Cleaning the first opening in part three, I said to be really careful, and that you could use an actual number one in this case, or even a knife. I went with the number one, a double bevel at eight millimeters (5/16 in).
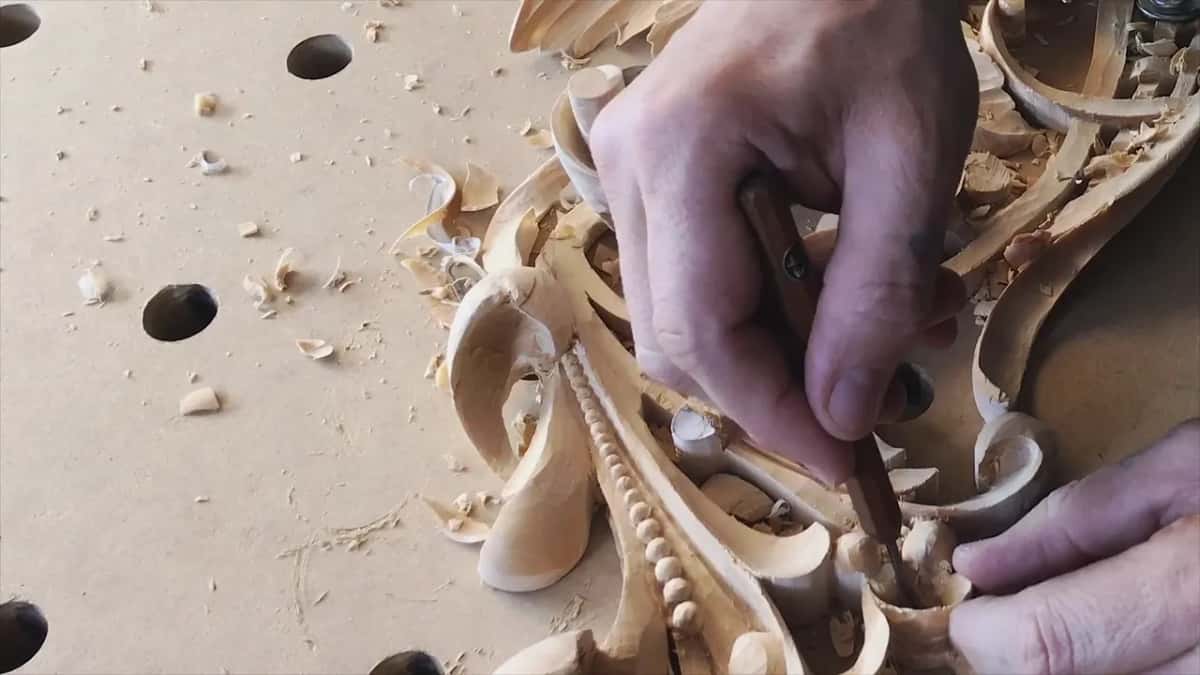
The last words of lesson 20 were about the back. Cleaning and undercutting from the backside, I said, and this section will be pretty much ready. Why the back of this relief gets carved at all is in lesson 4.

Could a big gouge do the same job faster?
Much faster, and I said so in part two. Just a big number 7, one inch (25 mm), could blend that rough spot in one go, I said. Later a number 8, 1 inch, started digging underneath, like an undercut, and I warned you. Just don't overdo it with the big tools right now in this stage, I said. I've done that many times, trying to use bigger tools. It's much quicker, that's true, but it's also much less control right now. Even so, I was still able to control it and use just the edge of it.
Part one had a bigger shortcut on the table. Little by little I was making it deeper, and I could make it as deep as I wished, right to the back. That was my goal. I could actually take it back to the scroll saw and scroll that section out, I said, but I don't think I need it. An even smaller gouge came out next, like 1/16 of an inch (1.6 mm), and I continued to dig.
One warning came a little later. Just make sure you don't go below this level.
How do you pick the right sweep for an edge?
By trying it against the edge. Early in the lesson I needed the right sweep to clean an edge. Let me check with number eight, I said, smaller number eight, probably. This one is about 5/16 inch (8 mm), number eight, and looks like it does work. My number seven, 10 millimeters, went straight down after it.
A leaf edge that wasn't flowing got the same test in part two, with a number 8 set straight down, and lesson 9 of this course covers that flow line.
The same video gave a shape its name. Here is going to be just a small volute start, I said. It's how I call it. It's a start of a leaf, and this leaf grows like this. Later in that part a number 5 at 8 millimeters (5/16 inch) went in carefully, and then I changed my mind. A knife would actually work in this case, I said, and it's even better. Just the number 12 knife.
Heights mattered too. Maybe it's a good idea to make this a little lower than this one, I said in part one, and I brought it down a little bit. And yes, I think it's the right decision I made. It's going to look much better. Part four had two more, one slightly lower than another.
I also wanted one part to look like it's flipping, going downhill and then going from inside out. I'm not sure I can explain that, I said, and took the V tool, the same number 16. I really hope you can catch my idea, I added.
Do you need all three bends?
For serious work you do, and I said it plainly in the Lily box course. Back bent, front bent, I said, and then this. You have to get a short bent, medium bent, long bent, all types of bends, if you really want to get a serious work done.
Most of what a beginner buys is straight, though. When you just buy the beginner's tool, I said in the back bent lesson, most of them are just straight gouges, and a straight gouge is just completely straight, like it sounds.
The back bent is the other family. Its bevel sits on the opposite side, so it bends backward, and it comes in only two types, a short back bent and a medium back bent. My page on back bent tools covers what that one is for.
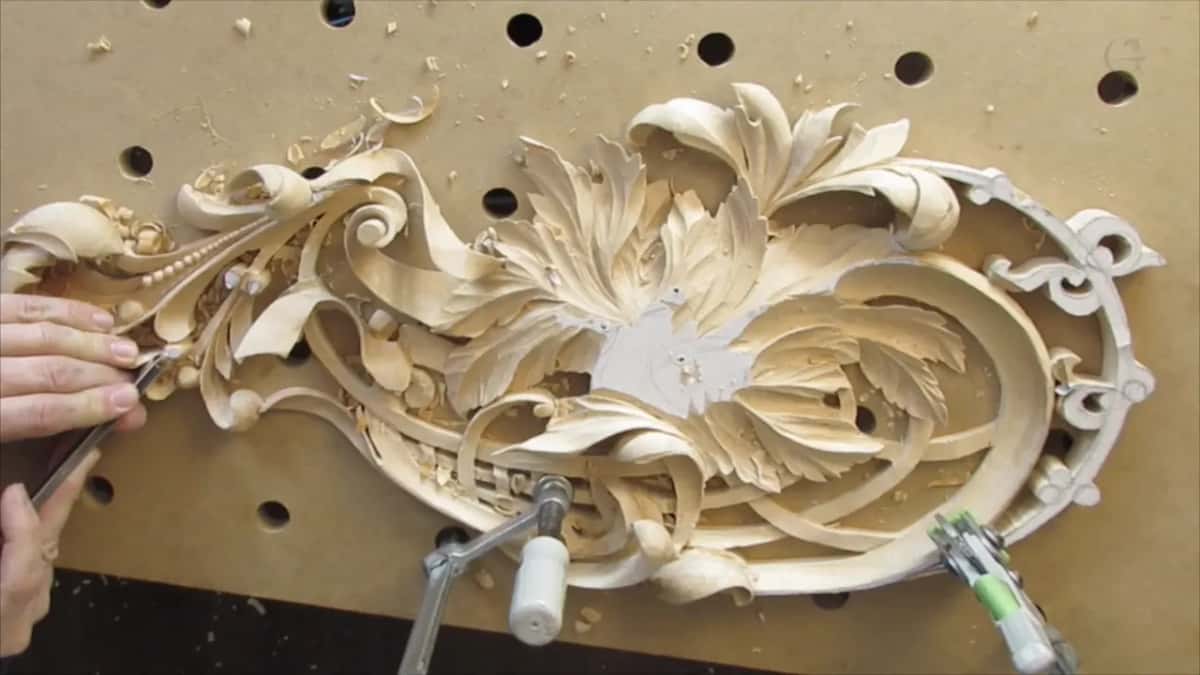
In that Lily box lesson I said some people who joined the school call themselves beginners and never carved before, yet they already got really good results, even on complicated projects like Hashemi flowers. All four parts of lesson 20 come with tuition at the school, and the next one is lesson 21.
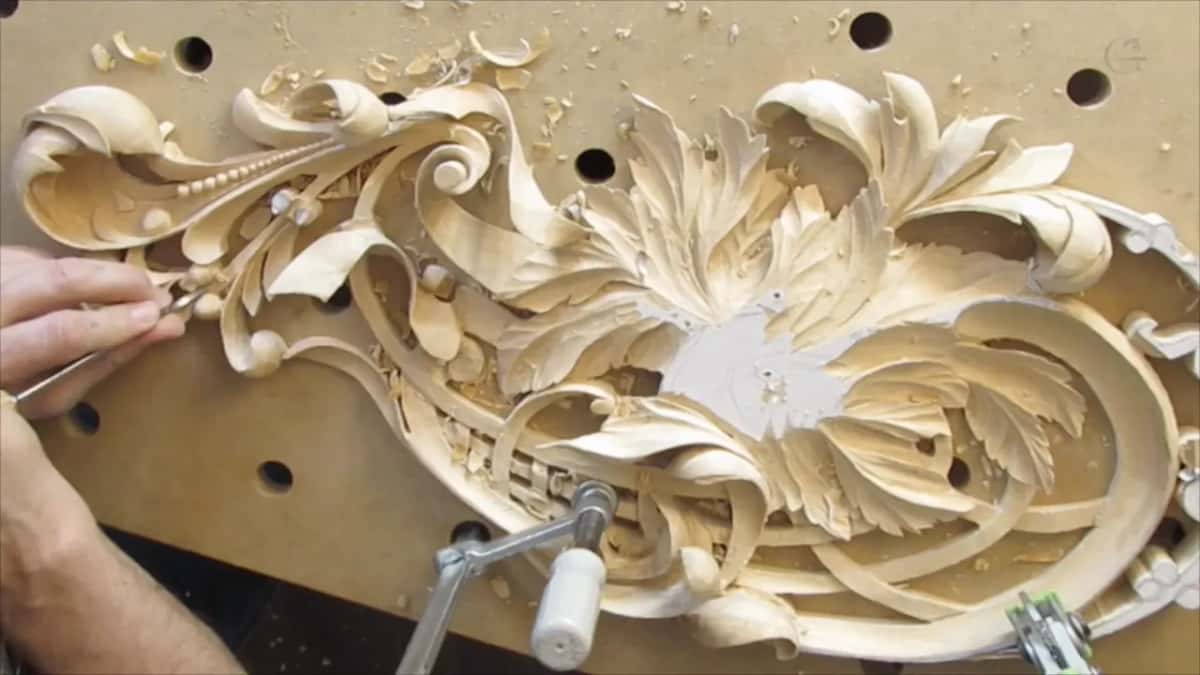
Okay, you can see, I said in lesson 20, with the three held up together. A few seconds later I reached for the micro tool.
How it's done
- Lay the V tool on its side. Number 16 in my case, taking some waste away from this side first and then from inside.
- Take the wall out with a quarter inch number five. That wall is waste too.
- Come back from the opposite side. Use the same tool with that rotation movement, and keep going until you're through to the other side.
- Clean with a small spoon gouge. Mine was a number nine at 2 mm (5/64 in), worked carefully until the hole opened.
- Go straight down in small steps. A gouge around 3/32 inch, in many small passes, with no forcing.
- Clean the walls, then undercut from behind. Clean with a number three near 3 mm, a double bevel number one or a knife. The backside comes last.
Frequently asked questions
Is a spoon gouge the same as a short bend?
Wood carvers call the short bent a spoon gouge, I said in my sharpening course, and on a 2020 stream I gave the reason, that its profile looks like a spoon. My own usage is looser. Lesson 20 has me calling a number 8 medium bend a spoon gouge too.
Which bend do you reach for most?
The medium, going by my April 2020 stream, where I put a short, a medium and a long bent in a row. Lesson 20 agrees. The two bends it names, on a number 8 and a number 6, are both medium.
Why choose a long bend over a straight gouge?
To keep the handle off finished work. In Venice Room workshop 58 a chunk blocked my way upward, and the high detail on the left was more than a straight tool could get past. My number four long bent, 25 mm (1 in), went that way instead.
What to carve next