
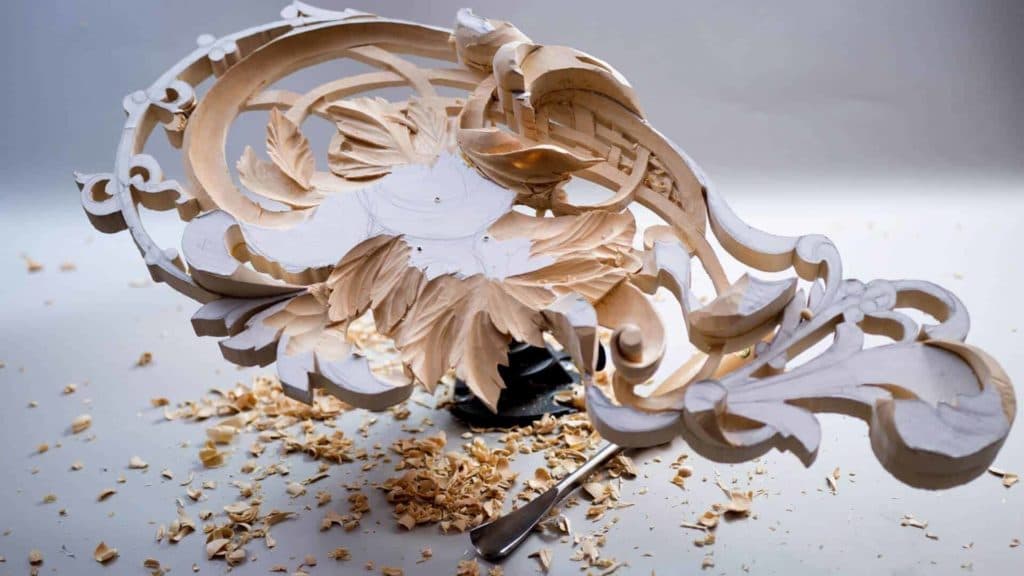
Alexander Grabovetskiy, woodcarver, School of Woodcarving · Published 2018
Should you use a rubber or a brass mallet for wood carving?
Quick answer: Choosing a rubber or brass mallet is mostly about the job in front of you. Rubber is the one I use most of the time, because it saves tool handles. Brass is heavier and smaller, so I pick it for oak and other harder woods, for micro moves where a light hit still cuts better, and for tight spots.
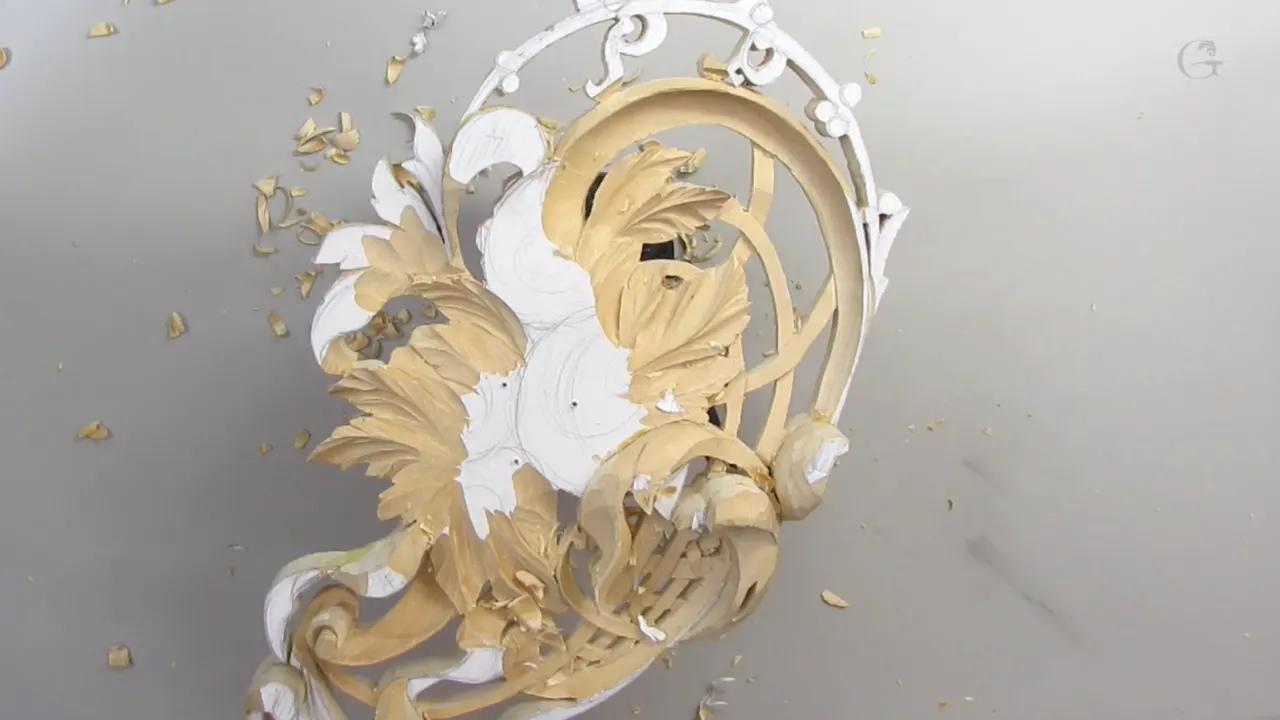
Choosing between a rubber and a brass mallet is simple for me, because most of the time I use the rubber one. The main reason is the handles. Sometimes I use brass, on oak, since it's a heavier mallet with a smaller head, and for micro moves, where a light hit with brass cuts better.
Do you strike your gouges with a mallet? Does each blow land on the end of a handle? Then the mallet you pick is part of why that handle end stays clean for years or slowly gets smashed.
I know some of you do have a question about the mallets, I told you in part two of this lesson, so I answered it right there, less than a minute after I picked up the V tool. This page keeps that answer whole. It adds what I said about the same two mallets on other pieces and on a live stream, and it tells you where each line was said, so you can go and watch it.

Rubber and brass in six lines
Rubber on most days, because it saves the handles.
Oak gets brass.
Hold brass on your palm.
Micro moves get brass too, when I barely hit.
I collect wood mallets, and my favorite ones have nothing on them.
Late in this lesson, on the limewood panel, I was barely hitting.
Why is rubber my everyday mallet?
The handles. In part two I said it twice in a row, that I use the rubber one because I'm saving the handles, because it's not destroying the handles.

Let me tell you a story. About 2011, I believe, I posted a picture of my tool rack on Facebook, and one commenter said my tools looked just like brand new, like I never used them or just got them. Those tools were about 20 years old.
You watch other carvers on YouTube, and their handles look like a mushroom, beaten and smashed. Mine are not. I respect my tools, and I don't want to replace my handles, although you can replace a handle any time and it's not a problem. The reason mine still look like I bought them yesterday, I said on the live stream of April 2020, is that I'm using the right mallet.
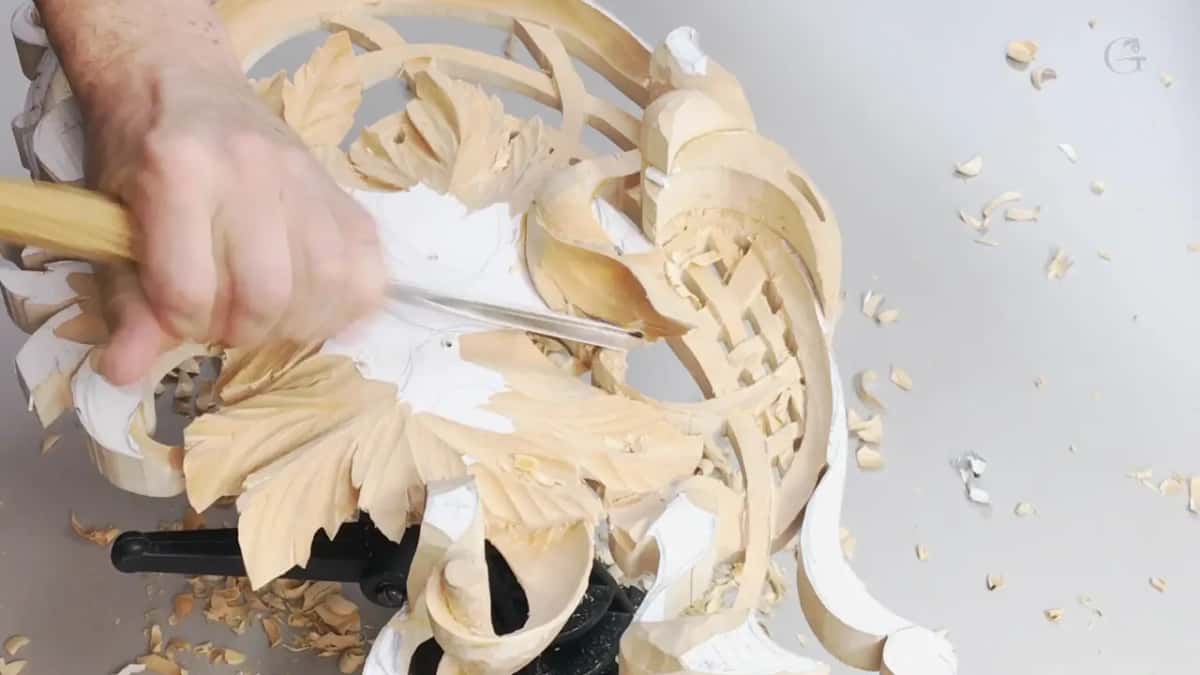
In my case the right mallet is a rubberized one by Wood is Good, and it's still heavy, 32 ounces (about 0.9 kg). On that stream I banged with it really heavily on the piece in front of the camera and said I'm not damaging my tool at all. It doesn't look too nice. I have no idea why they made it green.
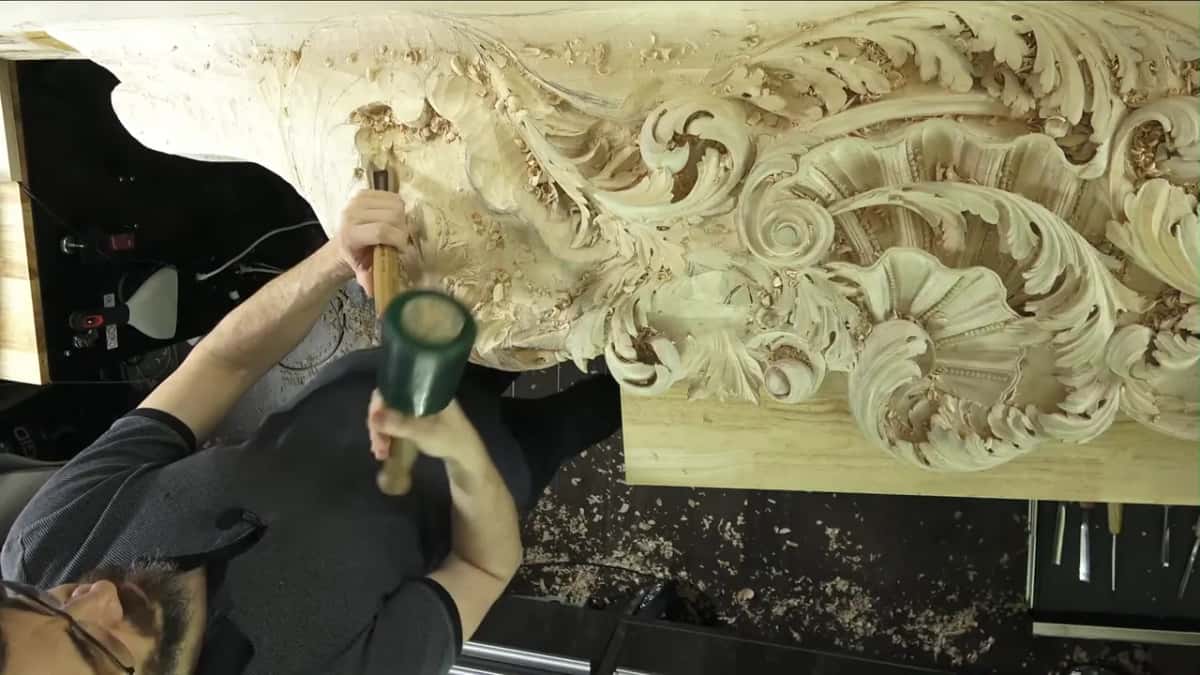
When one viewer asked what it's made from, I said it's just rubber, a rubber or silicone thing on it. Later someone suggested epoxy. Maybe, I said, and I apologized, because I'm not a chemist, and all I know is that it's a thing that wraps around maple.
Two more reasons came out on the same stream. A rubberized mallet is a lot easier on your hands, because it absorbs the stroke on its own, while with a traditional mallet all the stroke goes inside of your hand, and banging with one all day long creates some kind of pain. It's also much quieter with the same amount of stroke.

When does a brass mallet cut better than rubber?
On harder wood, first. Sometimes on the harder woods, like oak and some other harder woods, it's much easier to use brass, I said in this lesson, because it's heavier and smaller.
The second case is the micro moves. If I need just the micro moves and I barely hit, the brass one still cuts better than the rubber with the same amount of force. I'm not always using it, I added, and twice I said I hoped it made sense.

The third case is room. In Venice Room workshop 50 I was carving an eye with a ceiling already in the way, so I couldn't use the tools the normal way, and the head of my mallet was just too big. So I took a brass mallet.
Small tools ask for it on other pieces too. In workshop 84 of the same room a number 11 at 2 mm (5/64 in) separated two parts, with a small brass mallet, and I had to be really careful. For the first cuts on the small flower rosette, I held a little brass one in my hand while a number 6 at a quarter inch (6 mm) went straight down. I couldn't force it there. If I hit that too hard, I could snap that part out.
How do you hold a brass mallet?
On your palm. The brass ones have an absolutely different use, I told the live stream. You hold your hand like this, just in your palm, and you tackle little by little. Back in workshop 50 I said you usually place it right on your palm and knock, and then I said sorry in case the camera couldn't see it.

The rubber mallet is about the palm too. When you bang on the tool, you're not supposed to use the whole body or even the whole hand, just your palm. That way you're not creating stress on your arm and shoulder. I let my mallet do the work. That was the heavy one, about 32 ounces, and I asked you to watch my hand, because I'm not stressing my arm at all.
My brass one is a small guy, about half a pound (about 230 g), and after the rubberized mallet it's my favorite. Yes, it gets noisy. People don't know how to use it, I said, since it's a different mallet. How heavy a mallet should be is a separate question.

Rubber, brass and wood, where I said each
| Mallet head | Where and when I said it on camera | My words |
|---|---|---|
| Rubber, every day | Part two of this lesson, just after taking the V tool | Because I'm saving the handles |
| Brass for oak | The same part, a few seconds later, talking about oak | Much easier to use brass |
| Micro moves, brass | Still part two, on the moves where I barely hit | It still just cuts better |
| Tight space, brass | Venice Room 50, with a ceiling right over an eye | Head itself is just too big |
| Wood, a collection | The April 2020 live stream, holding up my collection of mallets | I did not use those |
| Rubber, small tools | Lily box, first layer, undercutting a stubborn spot by mallet | Small bronze one is overkill |
Is brass harder on a handle than rubber?
Rubber is the one that saves the handles, and that is why it is my everyday mallet. I know there are some master woodcarvers, especially in England, who never use any brass mallets at all, I said on that stream, right after I called brass my favorite after rubber.
In this lesson I closed my answer with one more line. It is better to use some protection, like I said, with rubber.

Small tools are where my answers part ways. Undercutting a stubborn spot on the Lily box with small tools, I told you I don't like to use a bronze mallet there. I have a small one, but it's overkill. A rubber one was lighter, I could control it much better, and I held it just by the head of the mallet. Later on that same box I said I usually use just a rubber head on those tools, but you could use the bronze also, and I had already used it a couple of times.
The furniture panel had a number 11 veiner at half a millimeter (about 1/50 in). You're not supposed to use a mallet on those micro tools, I said, but if you have a mallet like me with a rubber head, you shouldn't have any problem. Just don't hit that too hard.
So in this lesson brass got the micro moves, and on the Lily box rubber did. Both lines are mine, said on different pieces about different tools.
What about a wood mallet?
I love collecting mallets. One of my favorites was made by a famous wood turner, a friend of mine from Israel, and another by a really famous turner, a friend from Canada, and both are beautifully done. If you noticed on that stream, I did not use those mallets at all. There is nothing on them.
Two lessons later, in Hashemi workshop 10, I gave my reasons for not using wood mallets much. First of all, to protect my handle, so it doesn't get smashed and look like a mushroom, and second, it's just too noisy sometimes.
Noise is one reason, since a wood mallet just produces not too pleasant noise if you bang it all day long. Finish is another. A slick finish tries to jump out when you hit the tool, so it's not really grabbing, and if you're planning to turn your own mallet, it's always better not to put any finish on it. The one I held up then had absolutely no finish, a tiger maple. I can't say enough how I love tiger maple.
Brass is not quiet either. In Venice Room workshop 27 the brass mallet just gave me too much noise, and I don't want to hurt my ears.
How hard did I hit on this panel?
Barely. Early in part five I said the spot was already less than a 16th of an inch (about 1.6 mm), so I had to make sure I'm not cutting too much. A minute and a half later I placed my V tool on its side and, again barely hitting with the mallet, started undercutting.
Part four had a fragile spot, less than an eighth of an inch, about 3/32nds (about 2.4 mm) left. I can't dig too much there, I said. Just little by little. Later in that part I said that leaving no more than a 16th of an inch is what I think makes a design like this beautiful, and yes, you can break it, definitely, and I've done it multiple times. How thin a leaf can go is the lesson before this one.
In part five I could see the light lighting through, so I'd got under a 16th, probably paper-thin, but still solid. If it's fighting you, always take it back and take a smaller chance, as part three puts it. And back in lesson 5 I'd warned that at some point I'm not going to be able to use any mallet.
What else did I carve in workshop 8?
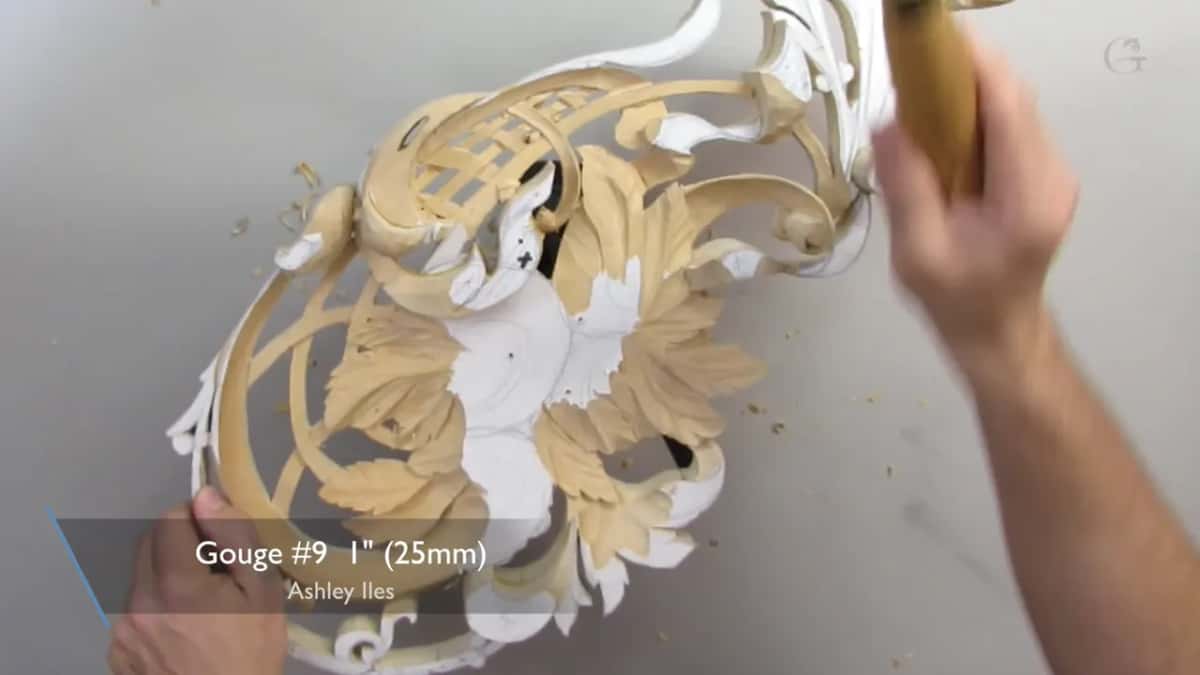
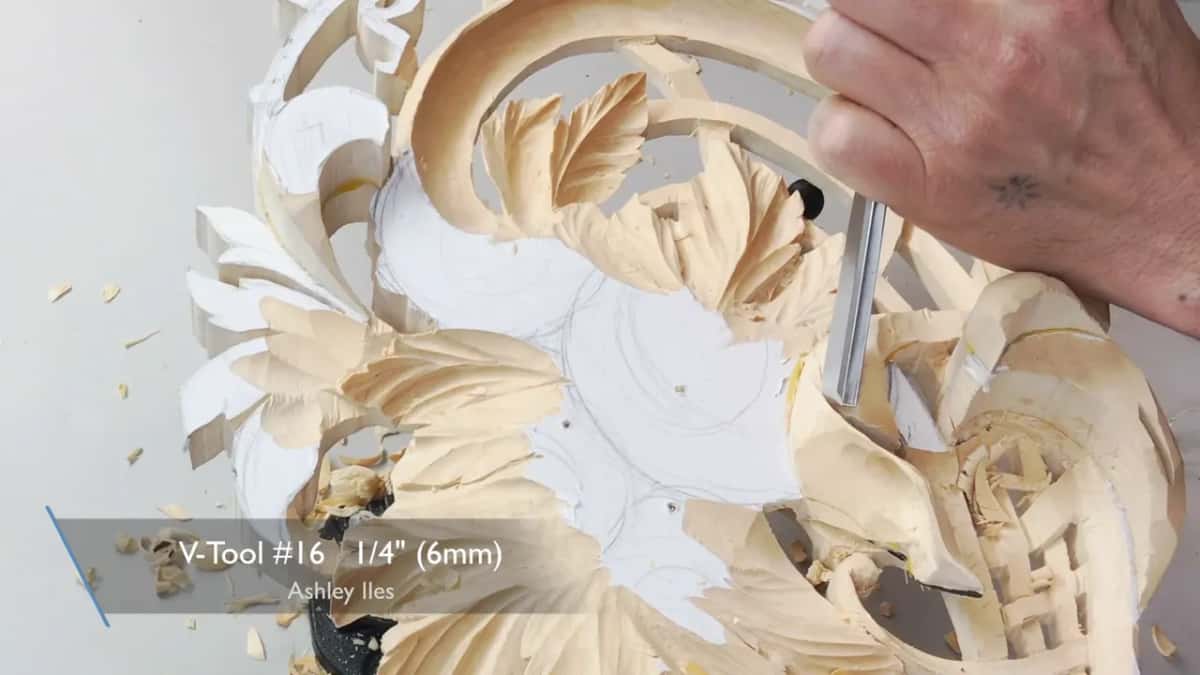
A preliminary undercut came first, using the V tool from before, a number 16 at 6 mm, a quarter inch. Then a number 9 at 10 mm (3/8 in) took one leaf all the way down to the edge for a more three-dimensional look, and a back bent number 5 at 10 mm curled another leaf a little inward. Not everywhere, but some spots are safe. Somebody else calls a V tool the parting tool, I said in part two, because you are making cuts and divide that in separate parts.

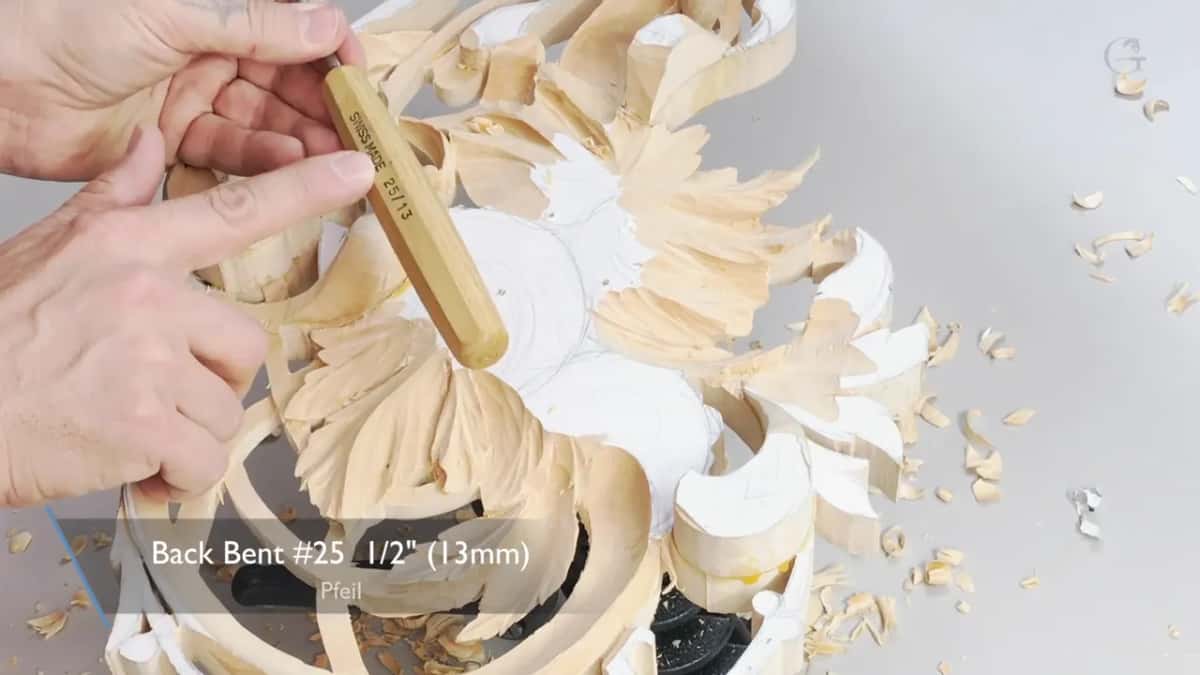
That back bent is marked 25, 10. On the other back bent, marked 25/13, I said the 2 means it's a back bent, the 5 is the sweep, and 13 is millimeters, half an inch. For undercutting in areas like that I really found it the best tool, although maybe there are multiple ways.
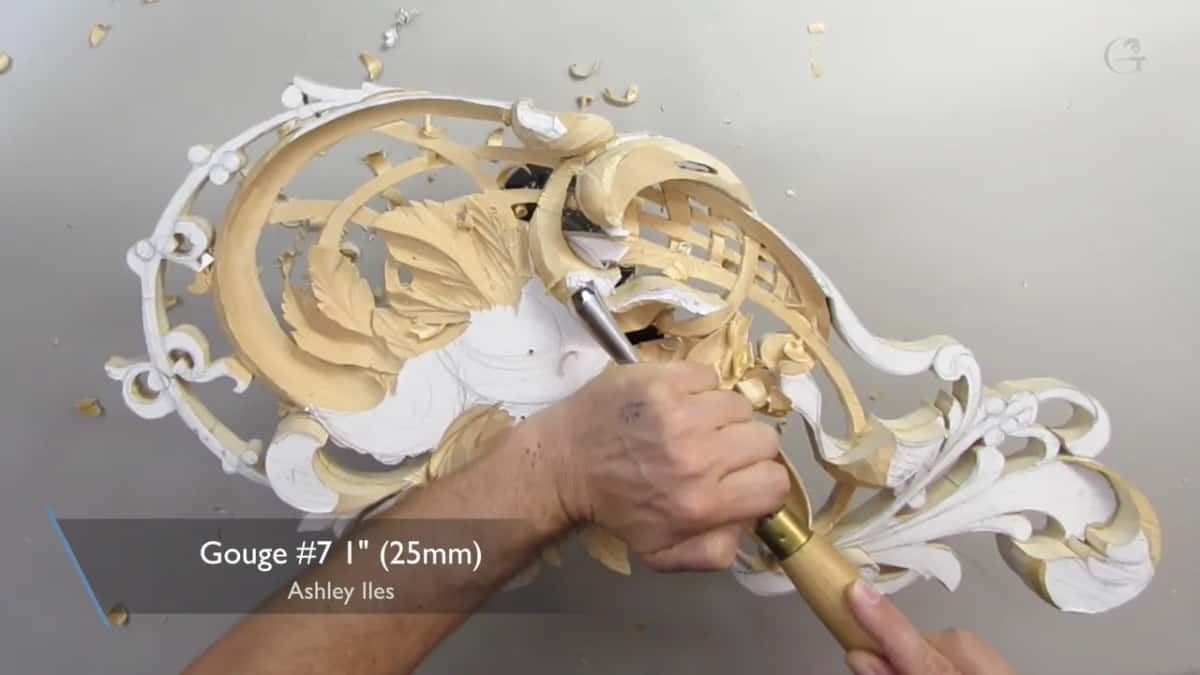
Bigger tools came next. A number 3 at 5/8 of an inch (16 mm) was my first pick, then I changed to a one-inch (25 mm) number 7, and it made a lot quicker move and a lot cleaner cut in a single pass. Almost no ridges left. Again, much quicker and much cleaner, I said, and that is what bigger tools give you.
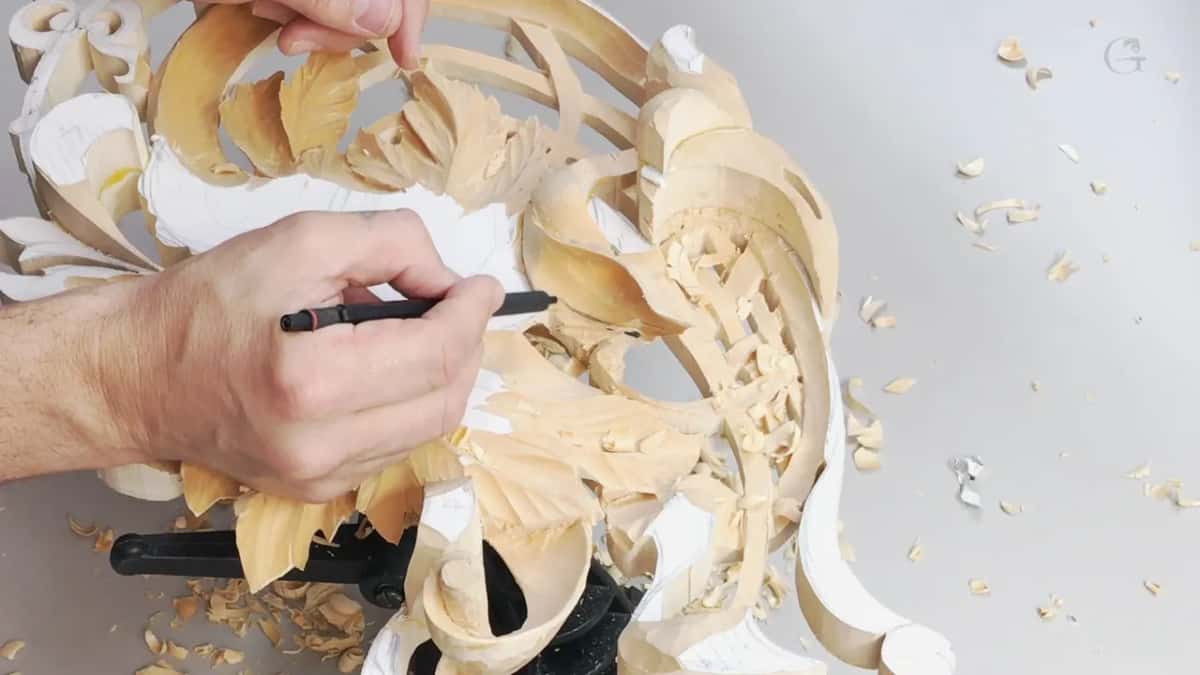
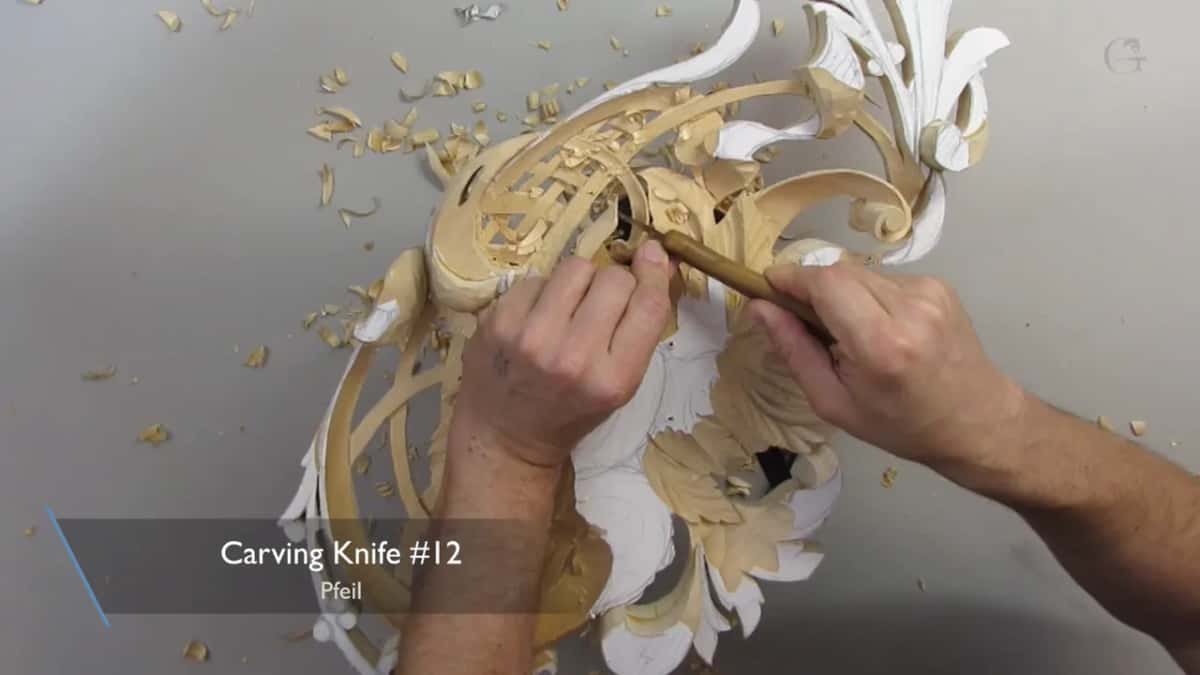
The grain ran two ways from a ridge at the highest point, barely noticeable, so I worked from both directions. I call it the marriage line, where the grain meets. When the glue line showed, I hid it with a separation, because it's an acanthus leaf and I can do those separations with no problem, using a number 15 V tool, also a quarter inch. This panel is limewood, as I said in lesson 1. Part six also had a knife doing some reshaping, since a knife was going to be better in that case.
Why couldn't I answer one phone call?
About a week and a half before I filmed part three, one person called me. They found me online. But they didn't see the school, they found the other side, that I'm doing custom wood carving. Oh, how exciting, they said, so you are also a wood carver. Yeah, I am, I said. Well, I'm also a wood carver, they said, and they asked how I sharpen my tools.
I said I have a school, and I teach how to sharpen tools and how to carve. And this person said, well, I don't need anybody to teach me how to carve, I'm already carving, I just don't know how to sharpen tools. To be honest with you, I had no answer.

Poking wood with a chisel doesn't mean that person carves. Carving is the ability to think in a three-dimensional world, the ability to design for carving, and of course to carve. And probably one of the most important skills is the ability to sharpen your tools and reshape them to your desire, because sometimes you have to redo the shape of a tool to achieve certain results. Right in the middle of that story I stopped and stropped my V tool with leather.
Anybody can learn to poke a chisel into wood in a couple of weeks, I said in part four. But you can't become a master until you learn how to design for wood carving, and to design it you have to learn how it was done before you. Back in part one I said even a beautiful designer on paper may not have the ability to design for woodcarving, because it's an absolutely different medium.

So please feel free to be creative. You don't have to repeat exactly the movements I do. The idea is to learn how to do it on your own, to make your own designs.
This lesson has six parts. Every one of them is inside the school, with the rest of Carving Hashemi Flowers, and if the mallet answer made sense to you, Tuition and Access is where you start.
How it's done
- Take the rubber mallet for most work. I do, on most work, because that way I'm saving my handles.
- Strike with your palm. Keep the whole body and the whole hand out of the blow, and let the mallet do the work without stressing your arm.
- Change to brass for oak. Harder woods are much easier with brass, as I said in this lesson, so oak gets it.
- Rest the brass mallet on your palm. A brass mallet has a different use from the rubber one, so knock with it from your palm.
- Barely hit near a thin spot. Lay the V tool on its side and barely tap, the way I started undercutting in part five.
- Take it back when the wood fights you. Then take a smaller chance on the next pass.
Frequently asked questions
Why do woodcarvers use a rubber mallet?
Mostly to save the handles. Rubber doesn't destroy the end of a tool, so mine still look new after years of daily use. Rubber also absorbs the stroke on its own, which is easier on your hands, and it is much quieter than a wood mallet hitting just as hard.
When should you use a brass mallet for carving?
Oak is one place, since a heavy, small head makes that work much easier. I also pick brass for micro moves, when I barely hit the tool, and for tight spots where a bigger mallet head will not fit. Let it rest in the palm while you stroke with it a little at a time.
Can you use a mallet on very small carving tools?
A half millimeter veiner is one of those micro tools a mallet isn't meant for, I once said. Rubber gives no problem there, though, as long as you don't hit too hard. Small bronze mallets are another matter, since on small tools I have called mine overkill, and a rubber one controls much better.
What to carve next