
Alexander Grabovetskiy, woodcarver, School of Woodcarving · Published 2018
What is hoiking in wood carving?
Quick answer: Hoiking is the word English carvers use for a cut followed by a hook, where the tool goes in and then lifts the chip out. In America it's just hook out. I do it on backgrounds and undercuts, but on a Hashemi leaf in lesson 10 I said a V tool was the safer way.
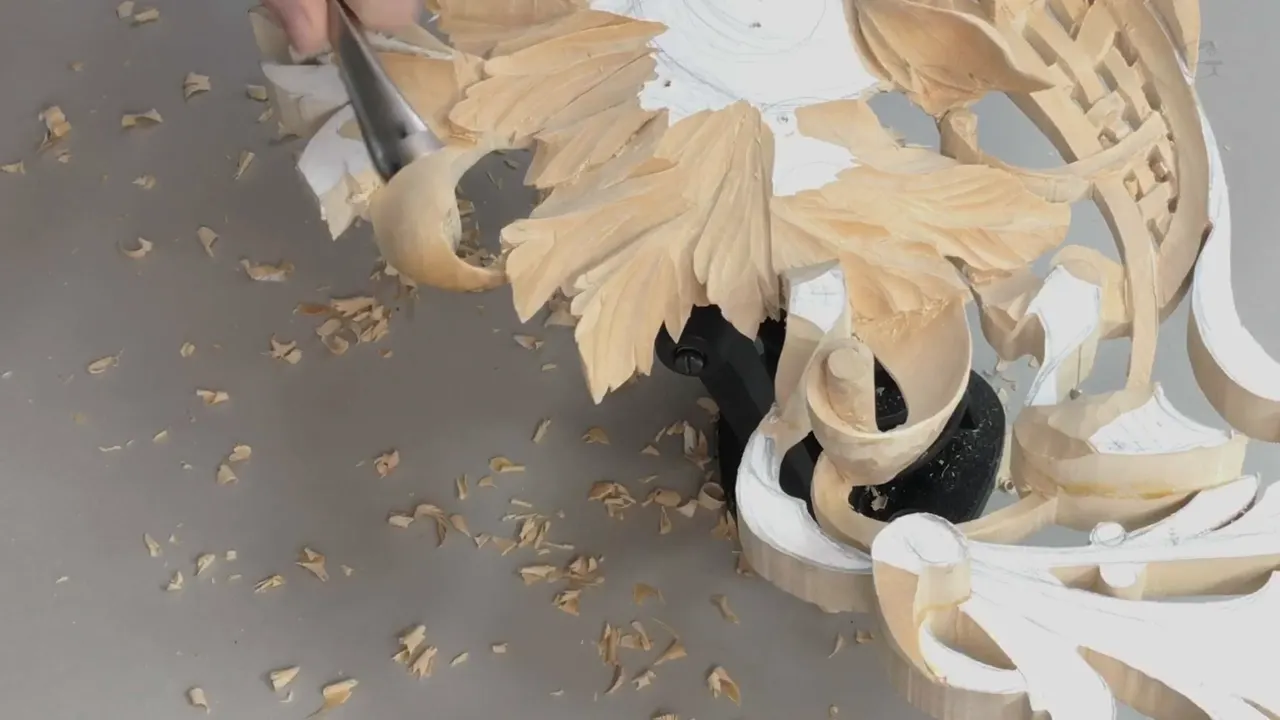
Hoiking is what English carvers call it when you carve into the wood and then hook the chip out with the same tool. In lesson 10 of the Hashemi flowers course I said it in five words: "You cut and hook it." By English I meant Great Britain, the UK.
Have you ever had a chip stay put after the tool went in? Did you tip the tool and lift it free? Then you know the move already. I use it on backgrounds and undercuts in my other courses, and in this lesson, on a Hashemi leaf, I told you it was not necessarily a good idea and picked up a V tool.
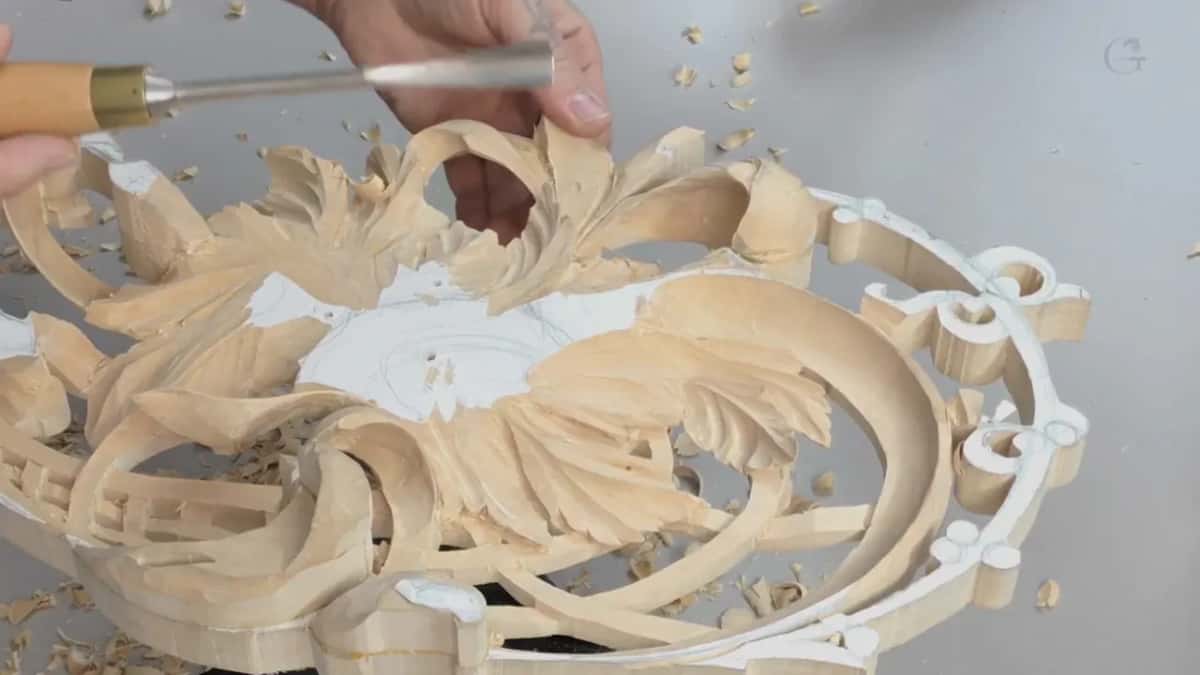
Hoiking in a few plain lines
Hoiking means a cut and then a hook that lifts the chip out.
In the United States the same move is just hook out.
I hook waste out in other courses too, on a flower rosette, a lily box and a furniture panel.
On this Hashemi leaf a V tool was the safer way, I said.
Prying is a different move, and I warned that it can break the tool.
A back bent lets me get in close because of its gooseneck, and I called that safer.
What does hoiking mean in wood carving?
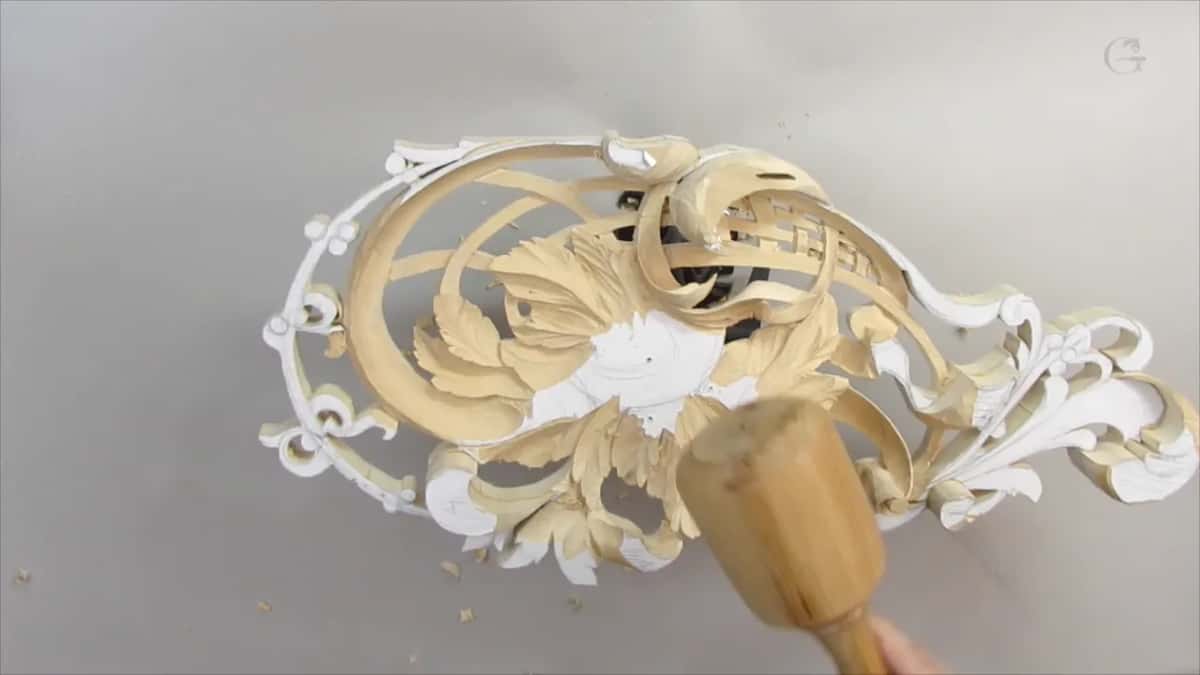
The same tool carves in, and then it hooks the chip up and out. Lesson 10 is where I named it, while I refined the movement using a number five, one inch. "So when I'm saying hoiking, it's exactly what I'm doing right now." English carvers would call it that, I added.

The word comes up in my other courses too, each time a little different. On the Greek acanthus leaf I said there's a specific term in England for this technique, and I think they call it hoiking. My furniture panel got it by country. If you are in the United States, then it would be hook out, and if you're in Europe, it would be hoik out.
Over on the lily box, some call it hoiking, I said, but it's actually hook out all of that waste. With a 1 mm tool on lesson 49 I kind of hooked it out and said some other carvers say hoik it out. And on lesson 44 I gave up picking one word. "Crank it or hook it, whatever is the best word, or hoik it, if you wish." Same result, I said, just cleaning out.
A dictionary gives the plain English sense. Wiktionary lists hoik as informal English for lifting a heavy thing carelessly, or for throwing something out.
Where did the V tool take over in lesson 10?
It came early in the tenth part. I wanted to take one side kind of all the way back, so the leaf would look really high and grow farther from the back. That gives a lot more movement.
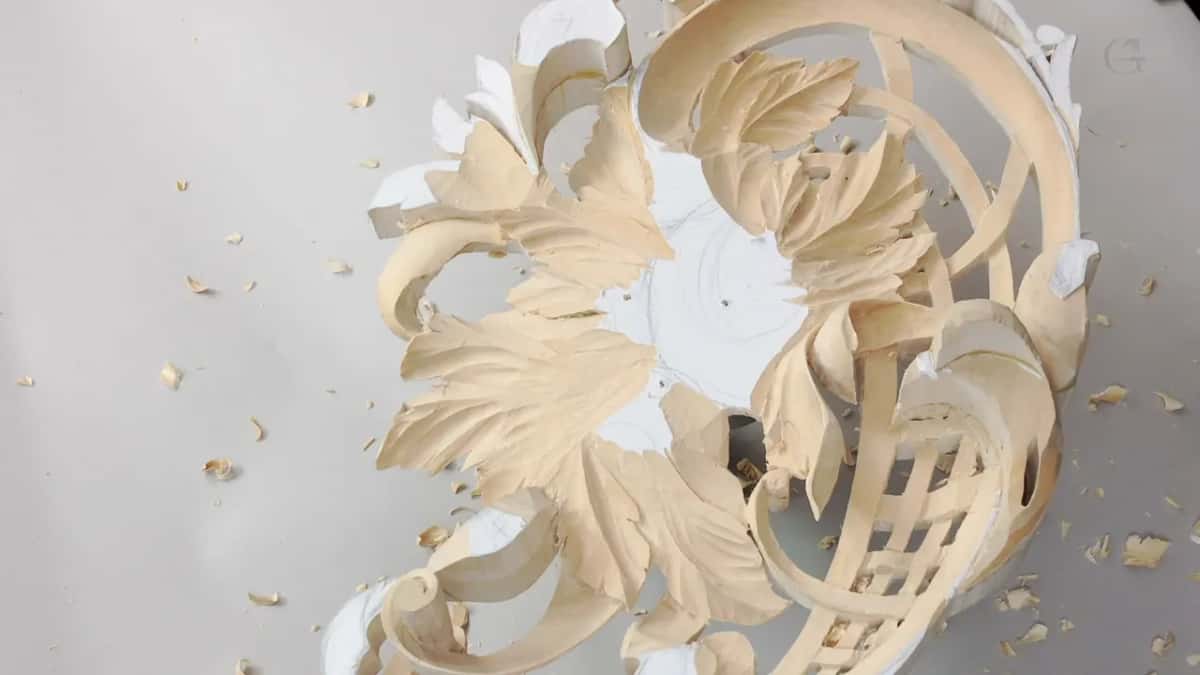
First came a preliminary cut with the V tool, a number 16 at 6 millimeters (1/4 in). The number five moved the waste gradually downhill after it. Then I picked up the V tool again and said this to you.
"Never force it." "I know you do have a tendency, same like everybody else, like me, to hoik it or hook it up, but not necessarily a good idea in this case." "It would be safer if you would just take your time, grab a V tool, and do that more safer way."
Mind the last three words. In this case. About two minutes later, refining with the same number five, I hoiked on camera so you could see what the word means. You get the warning and the move itself in one lesson.
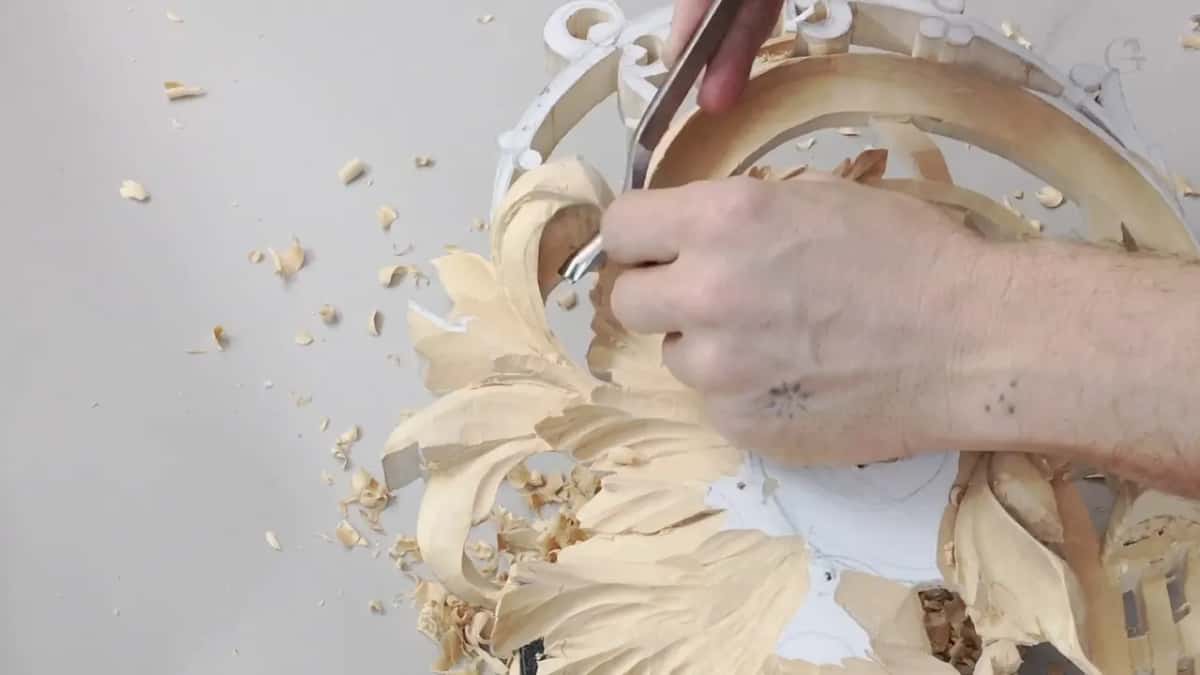
I took that side almost all the way down for a reason I gave right there. The more distance you can reach between this point and down below, the more movement you get, and the more of a three-dimensional feel. Especially if somebody's going to look from the side, it's going to look beautiful. That leaf also got no details until the overall movement was there.
Once it looked three-dimensional, at least to me, the division lines went in with the smaller V tool, the 16 at 3 mm, an eighth of an inch. Then a return flip. A number nine was too small there, so I took a number eight, about half an inch (13 mm).
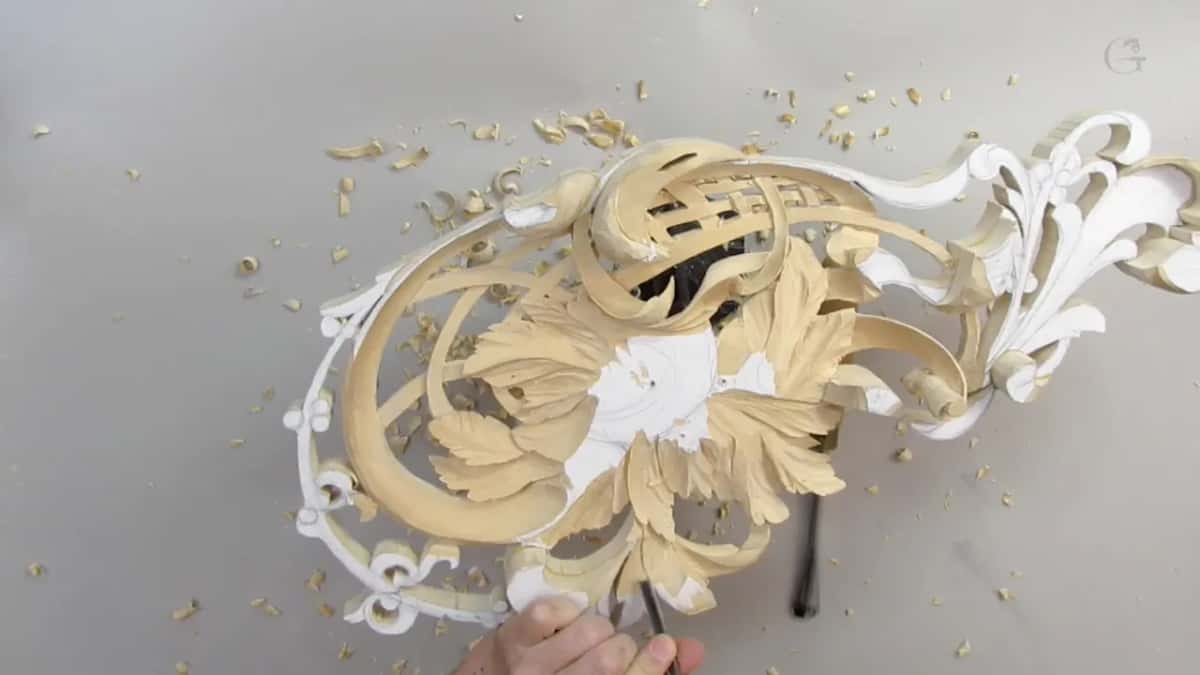
That is where the piece went fragile. You could see it move. Now, I said, your sharp tools make the biggest difference. Across the grain after that was not the smartest way, and still possible with sharp tools.
Why take a V tool instead of the hook?
A V tool separates. Some people call it a parting tool, and in 10.7 I said why. You're separating two parts, pretty much, so that is why it's called a parting tool. Earlier, in 10.5, I didn't worry about all that, because I can always take a V tool and clean that.
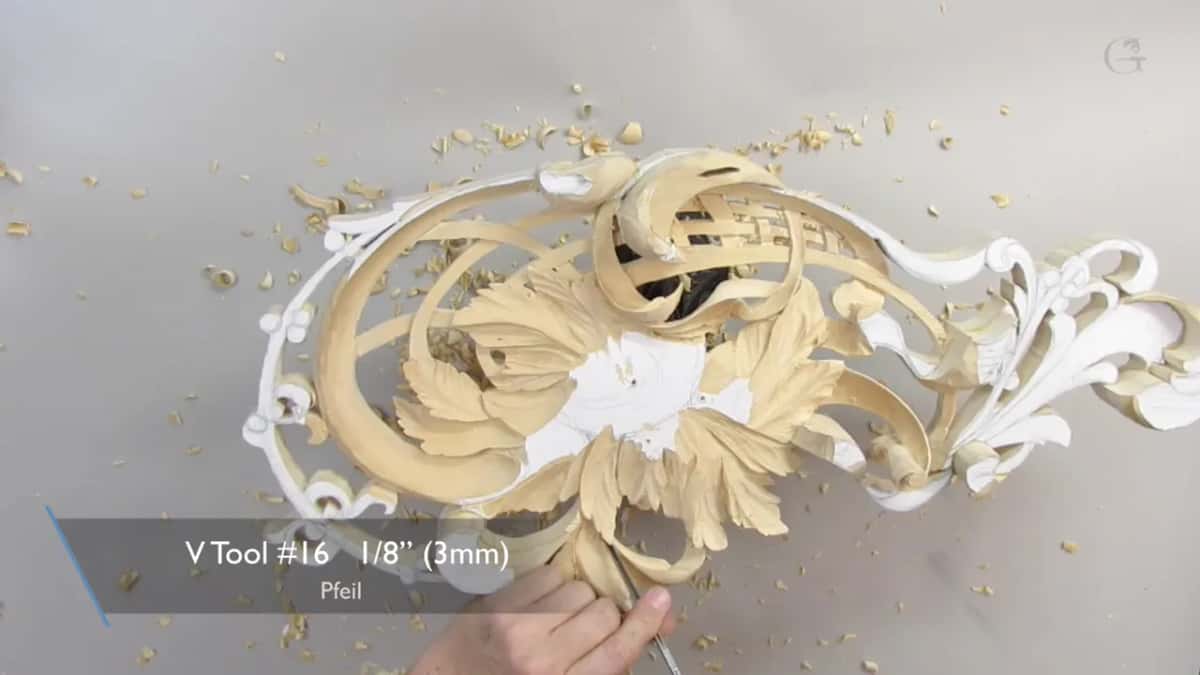
By the eleventh part the piece had become fragile. With every move, I said, I can easily damage it, and my goal is not to. Even with the mallet, I barely hit that. So an even smaller one came out, a number 16 at 3 mm by Pfeil, and I went little by little.
For now, I said, I can easily use just a V tool to remove all the stress. A small gouge would give the same results too, I added.

On this panel a mallet works with the V tool in more than one part. The first part had the 16 at 6 mm. The mallet behind it is kind of special for me. Eli Avisera, a famous woodturner from Israel, made it for me a week before I filmed this. That week I was teaching a one-week class in person at the Marc Adams School of Woodworking.
It looks really nice with all the indentations. Simple, but nice. For everyday work I still use rubber, to protect my handle so it does not look like a mushroom, and because a wood mallet is just too noisy sometimes. The other ones I collect, different styles of mallets just for collection.
Is hoiking the same as prying?
On camera I hook waste out on purpose, and I warn you about prying. Back on that acanthus leaf I told you I can kind of hook it, but little by little, because if I force it I can make a mistake. It's better to carve in multiple times until you're 100% sure that once you hook it, it comes out just like that.

Prying is the one I warned about in 10.8. With a number nine at three-quarter of an inch, 20 mm, I was taking a sphere out of the inside of a flip, with rotation moves. "Just be careful, don't pry your tool, okay?" "So I know, and I've done it also, and probably other carvers did it also." "If you're going to pry, so you can break your tool."
"It's better to remove less in one cut, take your time, than to break really expensive tool."
| Move | Words | Where |
|---|---|---|
| Hook it out | In the United States, then it would be hook out | Furniture panel, 19.10 |
| Hoik it out | If you are in England, it would be called hoiking | Hashemi flowers 14.4 |
| The V tool | It would be safer to just grab a V tool | This lesson, 10.10 |
| Pry the tool | If you're going to pry, you can break your tool | This lesson, 10.8 |
| A back bent | Because of that gooseneck, I'm not prying against the material | Same lesson, 10.9 |
| Your own finger | You can pry against the finger, not against the wood | Hashemi flowers 17.5 |

Lesson 17 drew the line in one sentence. You can pry against the finger, but not against the wood, and that would be not really smart.
I have the pull myself. On lesson 12 something was in my way, and I said I just have a tendency to pry, and that's not so good. A half-inch number eight worked instead.
A hook can hurt the wood as well. I warned you on the oak dining table apron to be careful when you carve with the grain, because you can hook it and just snap this piece really easy. A few minutes earlier on that apron I had said that if you snap it, just glue it back.

Does a back bent gouge stop the prying?
A really good tool in this case, I said in 10.2, would probably be a back bend. I took a #7 by Ashley Iles, about 13 mm (1/2 in), which Ashley Iles marks as a 37. That tool I can use safely with no problem.
The ninth part brought a number seven back bend again, about 1/2 an inch, for a deeper excavation. I really want to get close to this area, I said, and excavate as much as possible. Then came the beautiful thing.
"Just because of that gooseneck, I'm not prying anything against the material." "I'm still able to make a cut barely touching this side." That's why I love those back bends.
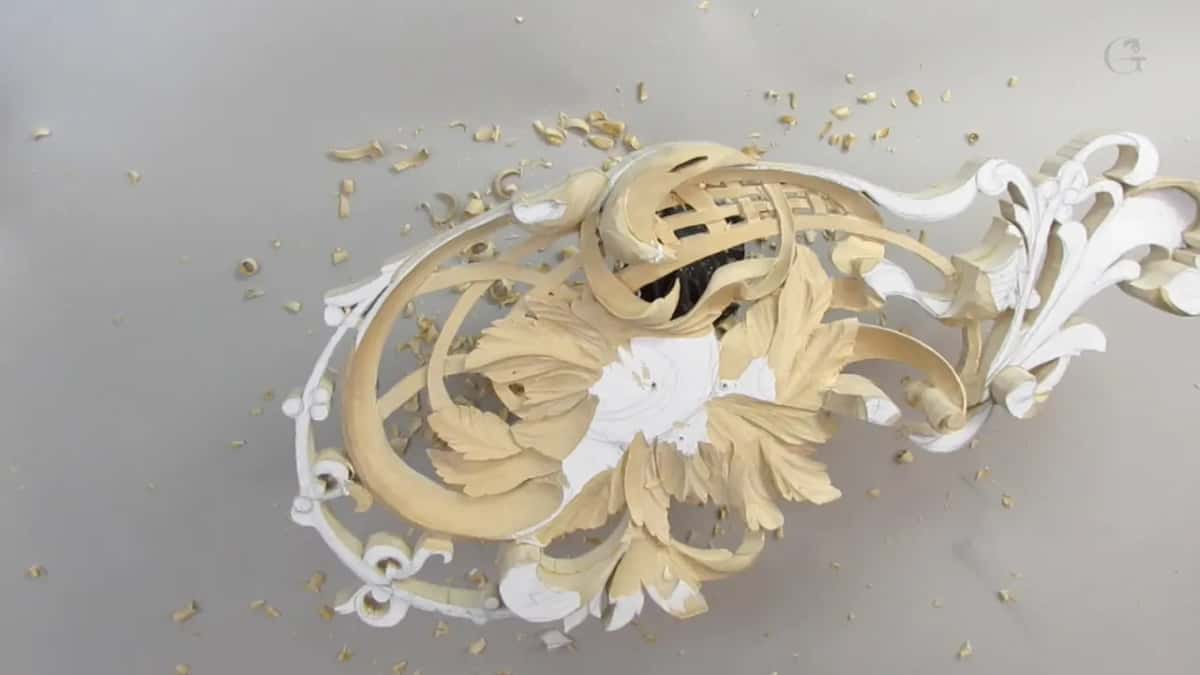
Really, it's safer. I can achieve the same results with other tools, probably, but I think it's nice to have a back bend. Later on the spoon gouge cleans what the back bend took out. Near the end of the lesson I tried one more, a number eight at 6 mm, a quarter inch, and the 2 in its marking, I said, means it's a back bend.
Why don't gouge numbers match between makers?
I name my numbers on camera for a reason, and I gave it in 10.11. All manufacturers are different, and they all mark differently. Number two in the UK would be a skew chisel, and number two in Europe would be just like a number three sweep, just slightly swept. It's still a gouge, I said, so gouge versus a chisel.
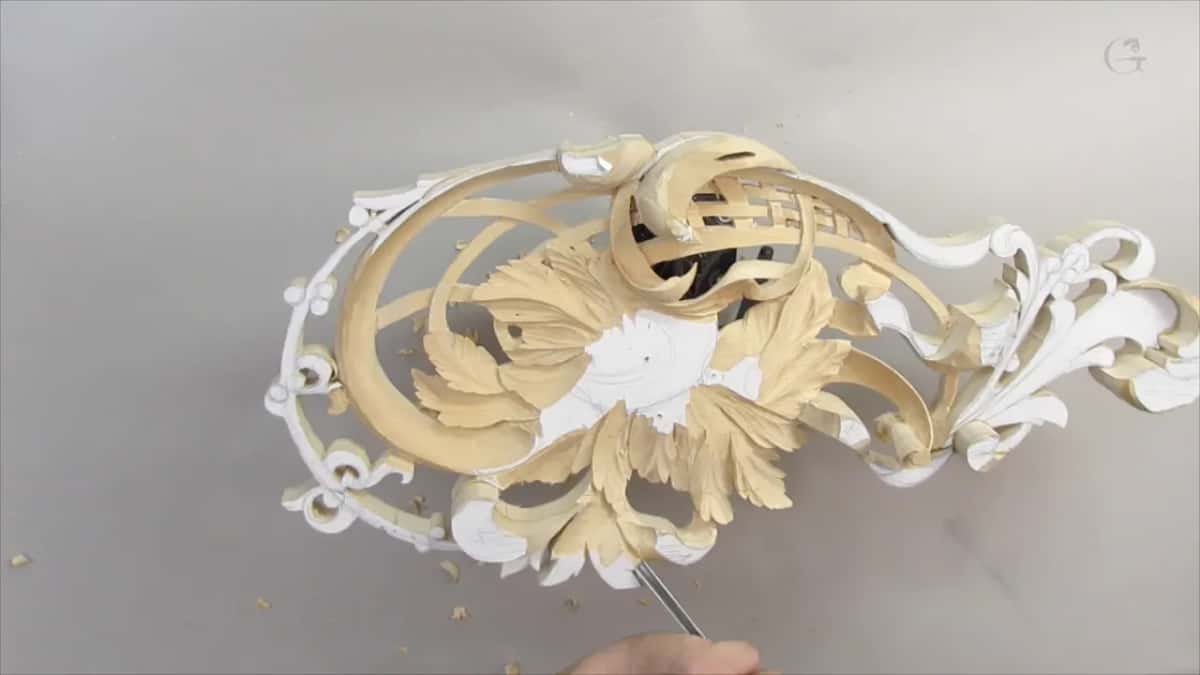
Widths can be a guess as well. All I could say in 10.9 was about 3/8 of an inch (about 10 mm), because Ashley Iles don't mark it as 3/8 or 1/2 an inch. They mark just the number of the sweep, so you have to kind of guesstimate. If it's close enough to the task you need to achieve, that should be fine.
I slipped on my own numbers in 10.2. "I'm sorry, I actually said it's a #7 what I used, but it was actually #5. I apologize."
How do you hold a panel once it turns fragile?
Fewer screws than I had, for a start. A couple of screws should be plenty, I found in 10.3, and even one was holding it pretty good. The next part had a warning about the holes. Those were still the same holes, and every time I over-tighten them, the hole becomes deeper and wider because of the nature of the screw.
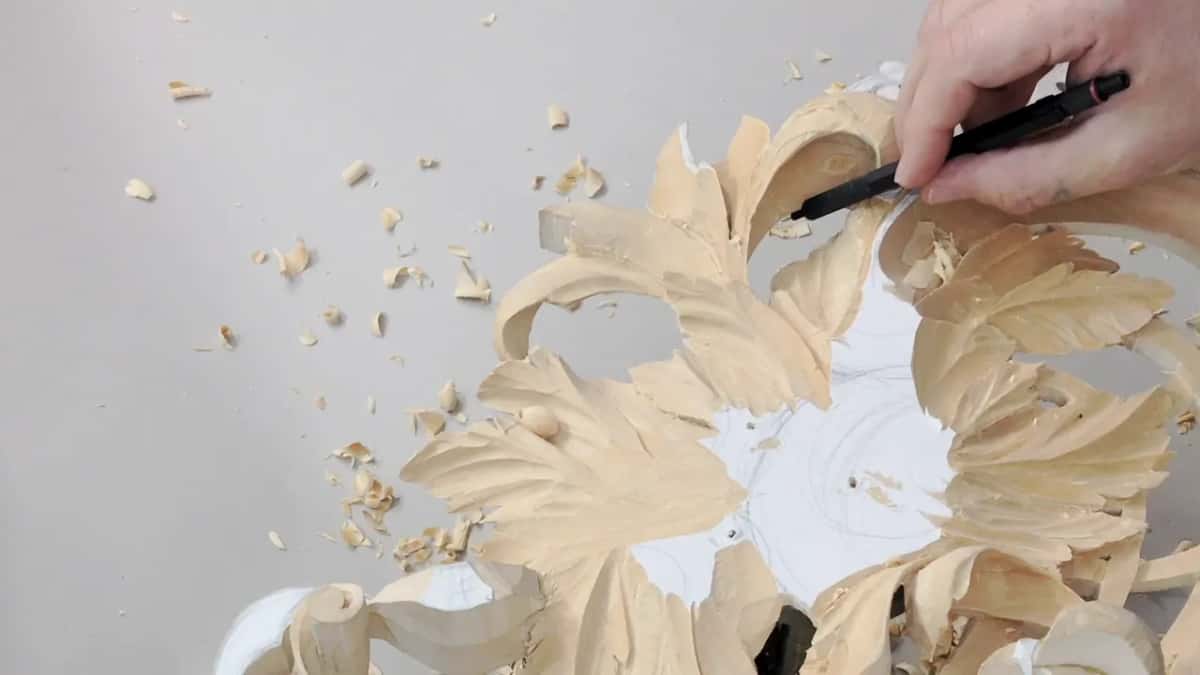
A day was coming when I would not be able to lay the panel on its front side, because it would be way too fragile. Not yet, though. It felt okay. Those pieces become fragile, I said in the same part, so I hold my tools almost in the air.
The last part shows my finger. My finger was supporting that piece because right now it's fragile, and I can easily break it, and the grain going this direction is my weak point. Even with the big tools I barely create any pressure, I said in 10.11, though maybe it doesn't look like it.
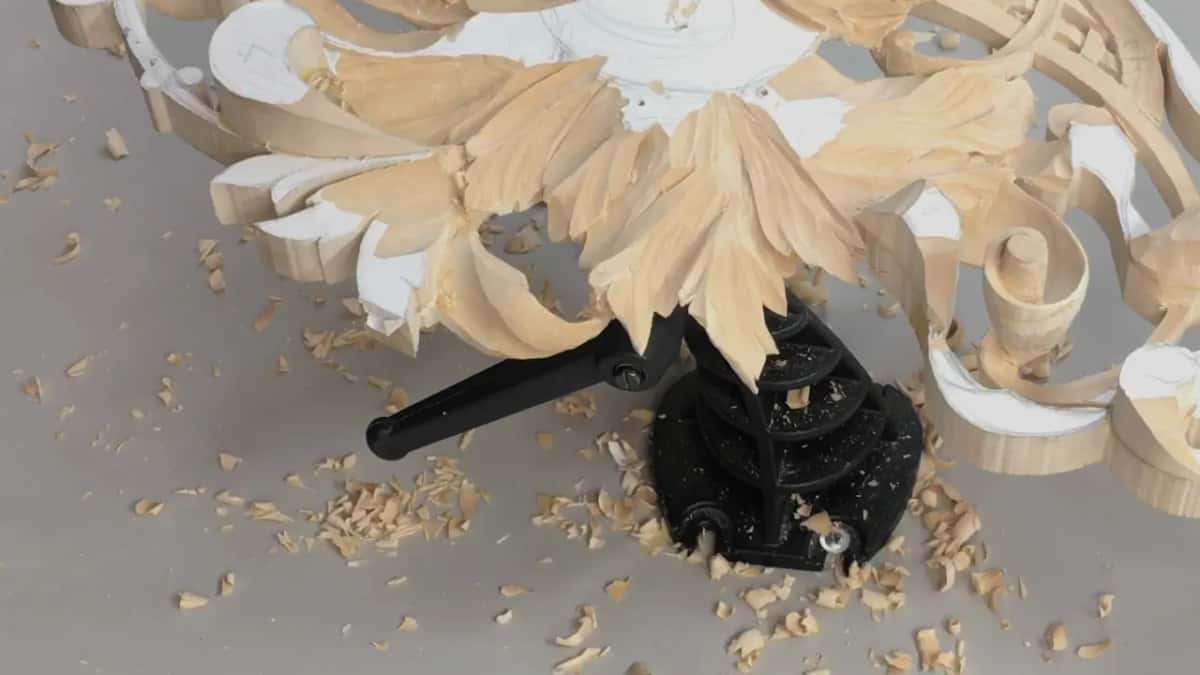
At one spot in 10.9 I got about maybe 1/32 of an inch (about 0.8 mm) from the back, and I wanted to keep it that way. On lesson 14 the two habits sat side by side. Keep an eye on what I'm doing with this hand, I said, because I'm supporting, and a few seconds later all it took was hooking out.
Why use the biggest gouge that fits?
The first part opens with it. The bigger tools you have, it's always better, I said, whatever is going to fit. I tried a number nine at 3/4 of an inch, or 20 mm, and it was just slightly too big. That's okay. I was still able to make my cut.
Later in the same part I said it again for the boasting stage, when you just set preliminary forms. Use the biggest tools you have, and you get much quicker results, and much cleaner. All I had left was pretty much three ridges to clean. Small ridges are not a big deal at all, I said at the start of 10.2.
Small tools work too, and the last part says so. With micro tools, let's say Dockyard gouges, it just takes much longer and creates much more ridges, but it's still possible. About five millimeters (3/16 in) by Dockyard made one part look like it's flipping.
What is a marriage line?
A marriage line is my name for the place where the grain meets. In 10.3 I approached it from both sides and cleaned it until that marriage line disappeared. I wasn't pushing my tool. Sometimes I rotated it right to left, sometimes left to right, and I said those sweeping or rotating movements are really important.
Another one sat inside the hollow in 10.9, almost impossible to see on camera, and I still had to approach it gently. The grain picks your direction. Against it, in 10.2, I said that is not the smartest way to do, so rotate it and attack from the opposite side.
Even on the flower rosette the hook came second. I used a chip carving knife, made the cut, and then I would just hook that and move it out.
Where can you watch lesson 10 in full?
All twelve parts of lesson 10 sit inside the school. You get the V tool work, the back bent, the slip with my numbers and the hook I named on camera, all on the limewood Hashemi relief that starts in lesson 1.
How it's done
- Make the V cut first. Run the number 16 V tool, 6 mm (1/4 in), along the line before any waste comes off. I called it my preliminary cut.
- Take the waste downhill. Go in with a number five and move gradually downhill, downward.
- Go back to the V tool. When the chip wants to be hooked up, never force it. Pick up the V tool, which I said is the safer way in this case.
- Rotate the panel. Against the grain, turn the work and attack from the opposite side.
- Hold it from below. Put a finger under the fragile piece, where the grain makes its weak point, and barely press.
- Keep every edge sharp. Once the leaf moves under the tool, your sharp tools make the biggest difference.
Frequently asked questions
Do American carvers say hoik?
Americans would say hook out, and in Europe it would be hoik out, as I said on my furniture panel. For the Hashemi panel I tied the word to English carvers, and I made clear that by English I meant Great Britain, the UK.
Is hoick the same word as hoik?
Wiktionary treats hoick as another spelling of hoik, and its informal sense is lifting a heavy thing carelessly, or throwing something out. At the bench I mean a smaller thing. The chip comes up and out after the steel goes in.
Can hooking a chip snap the wood?
On my oak dining table apron I warned that, with the grain, you can hook it and snap the piece really easy. On a Greek acanthus I hooked only a bit at a time, after carving in several times, so the waste came out just like that.
What to carve next