
Alexander Grabovetskiy, woodcarver, School of Woodcarving · Published 2018
Should you wiggle a gouge as it cuts?
Quick answer: Wiggling a gouge is fine when you need it, and on end grain I do it. In lesson 41 of my Hashemi panel I wiggled a little, because it was end grain and I didn't want it to split. Many carvers don't approve of it. I use it all the time.
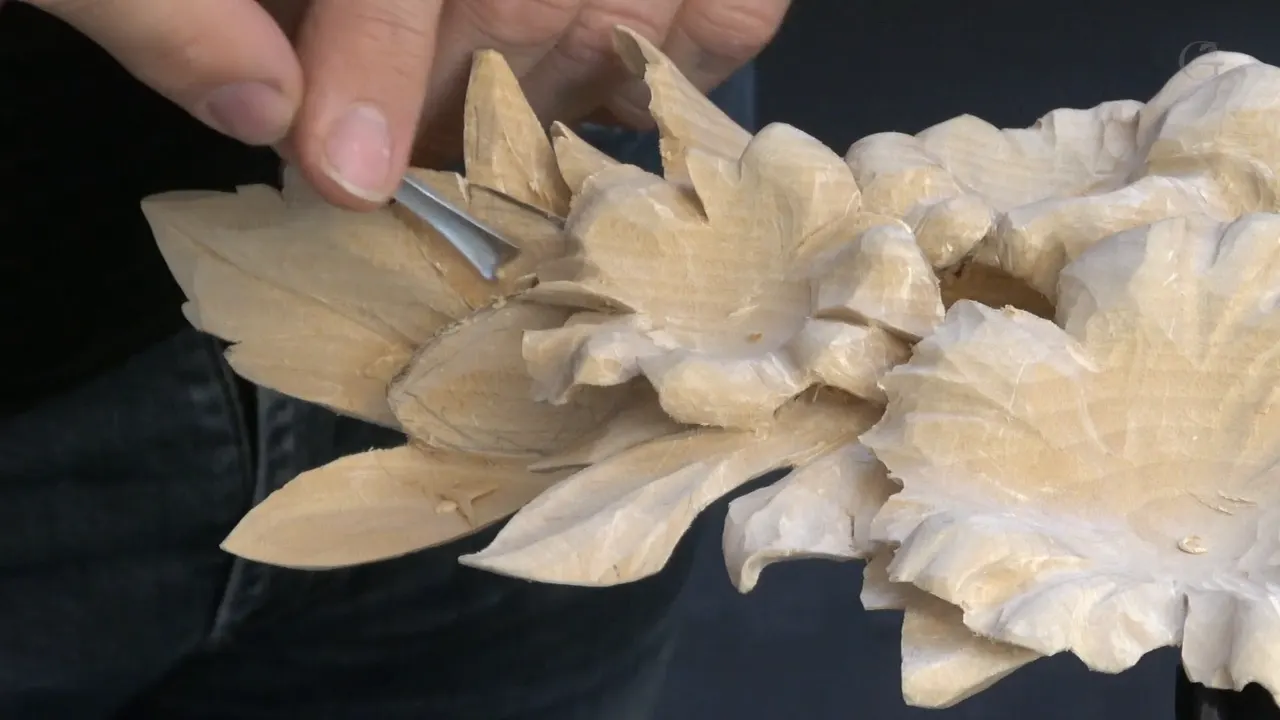
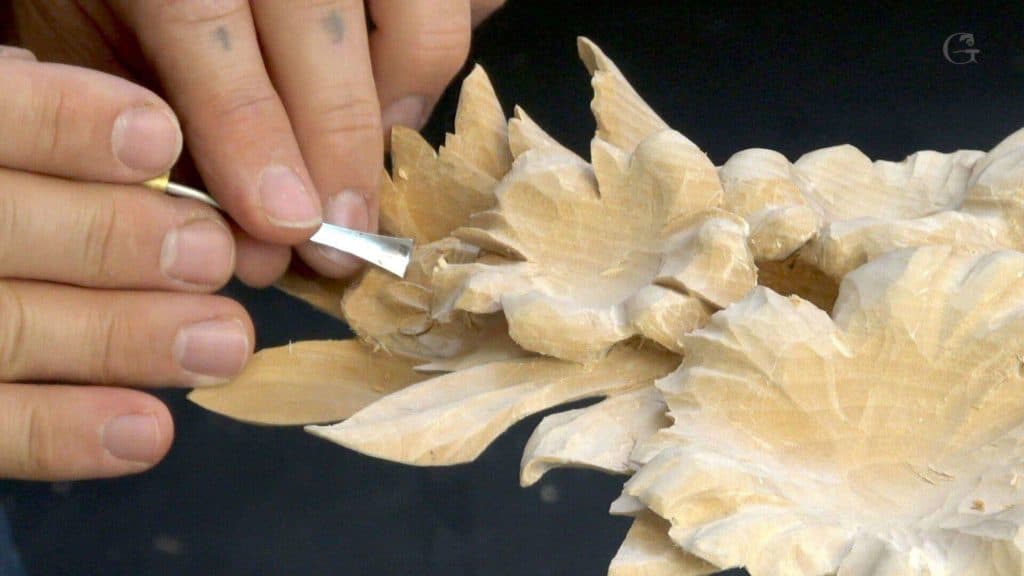
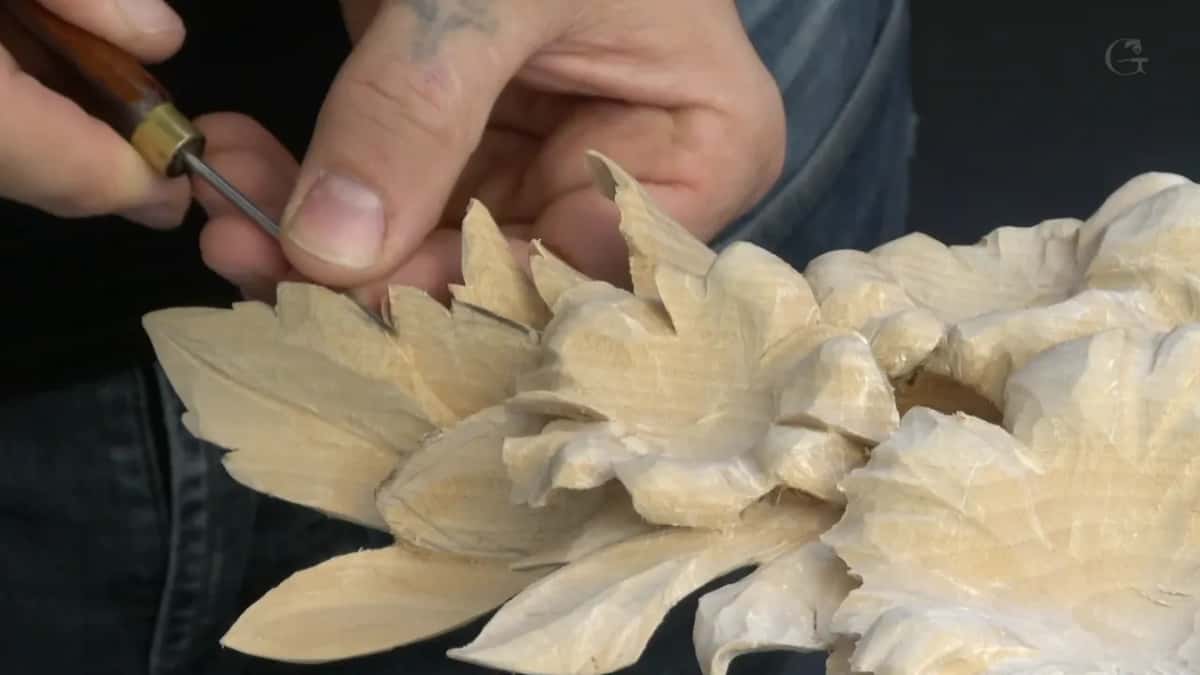
Wiggling a gouge is fine with me, and it is how I keep end grain from splitting. In part one of lesson 41 of Carving Hashemi Flowers, taking a leaf deeper on my limewood relief panel, I said you can see I'm wiggling a little bit, because it's the end grain. I wanted to make sure it was not going to split on me.
Would you like to know where I wiggle, and where I stop? And would you like to hear what I say to carvers who call it not professional? Then come and work this leaf with me.
The lesson is three short parts. Where they run out, I bring in what I said about wiggling on other carvings, and I name each one.
How I wiggle a gouge, and the rest of lesson 41
A little wiggle on end grain in part one, so the wood would not split.
Barely any pressure, and many small passes, because a twist the wrong way could break it.
Excavation under one piece, deeper than the camera could show.
A small twist on a 3 mm (1/8 in) wall, with a gouge of maybe 2.4 mm (3/32 in).
Two berries, started with a quarter inch (6 mm) number nine, wiggled slightly.
One undercut too deep, then super glue.
Is it wrong to wiggle the tool while it carves?
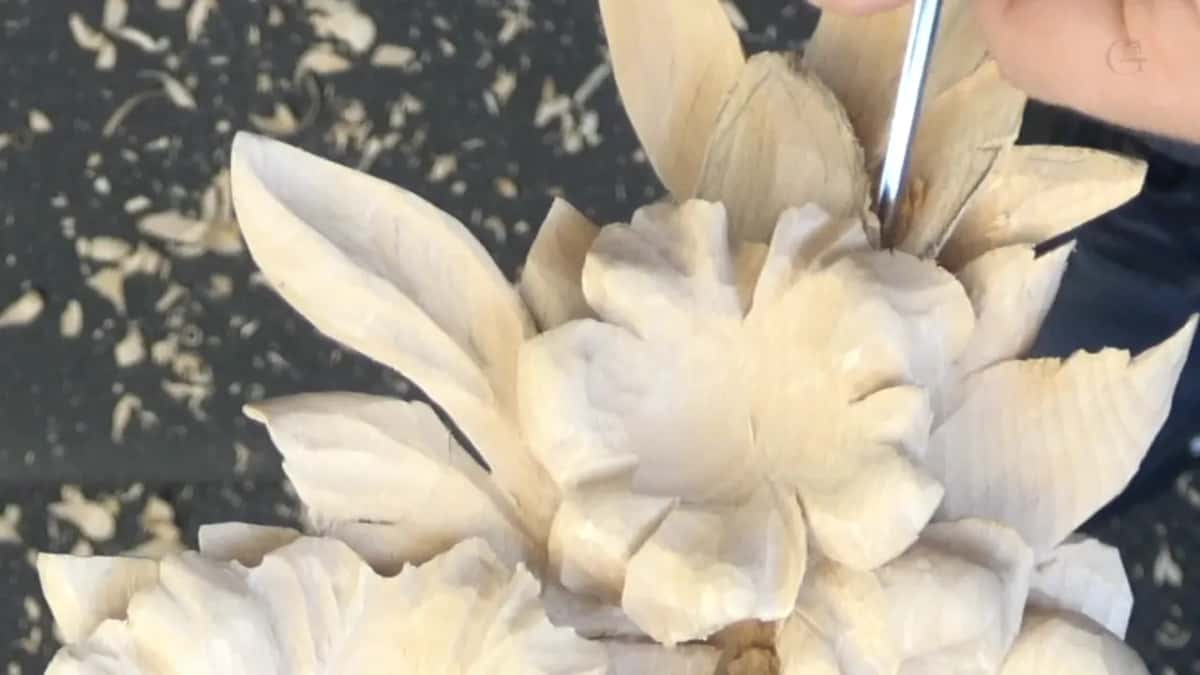
Many wood carvers say so, and I disagree. The Lily Box is where I said the wiggling technique is not approved by many wood carvers. Some of them would say it's not professional, but that's not necessarily true.
First of all, I use wiggling all the time. Second, it's a technique of the jewelry makers, and you can't say they are not professional. They work with dense materials, with metals, and sometimes that's the only way to get the material out. Wood carving is my 100% profession, my bread and butter, so nobody can tell me otherwise when I use it in my own work.
On a lily for the same box, in a later lesson, I put it shorter. If I need to wiggle, I will. If you want to judge me, I'm okay, and anyway I don't hear you. And if you have a different technique and it works for you, I'm okay with that too.
One lesson before this one, in lesson 40, I was slightly wiggling again. Some of you probably don't like the idea of wiggling with the tool, I said, but it actually helps. It does help.

Why does a wiggle matter on end grain?
To keep it from splitting on me. That is the reason I gave in part one, for the end grain there. Here is what came before it, in order.
A leaf still had to go even deeper, right underneath the one next to it. So I took the V-tool again and made it deeper, but I still had to check how deep I could go. Next came a number 11, to create an even deeper shadow, and after it a number four, a quarter inch, 6 mm, which I took right inside. Constantly, I have to check and double-check the thickness of the material on the backside, I said.
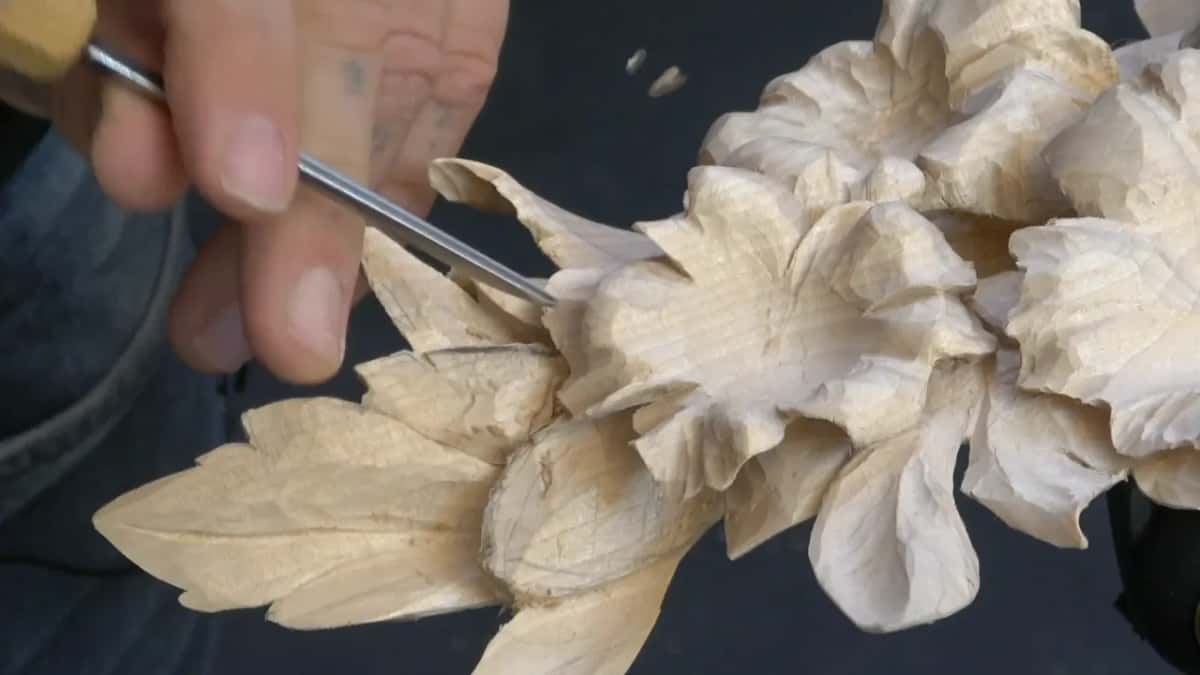
Again the number 11 came out, to clean. A little later came the wiggle, and the words about the end grain. After that I just kept moving deeper and deeper, as deep as possible, and I said I know the camera can't show it. Once we make a picture of it later, you'll see how deep the excavations go.
This panel had a wiggle earlier too. Lesson 10 had me working against the grain with a quarter inch number nine, so I wiggled, and I said it's not a clean pass, because I still have to clean it from the backside. I talked about end grain on the claw in lesson 16 as well, and lesson 23 is all about detail in end grain, so I won't repeat those here. Micro wiggling is what I called it in lesson 14.

How much pressure goes into the tool?
Almost none. In part one I said I barely create any pressure at all, because I understand that if I press it or twist to the wrong side, I can break it easily. So for me it's better to make many passes, micro cuts if you wish, than to make a big mistake.
While wiggling on a petal of the Floral and Molding panel, I said the same. My words were that I don't push it and don't really create any force. Little by little I'm just wiggling with my tool, using just the sharpness of it, and I'm not taking lots of material at once. And I have to be patient, because sometimes it takes a little longer than you expect, but I'm okay with that.
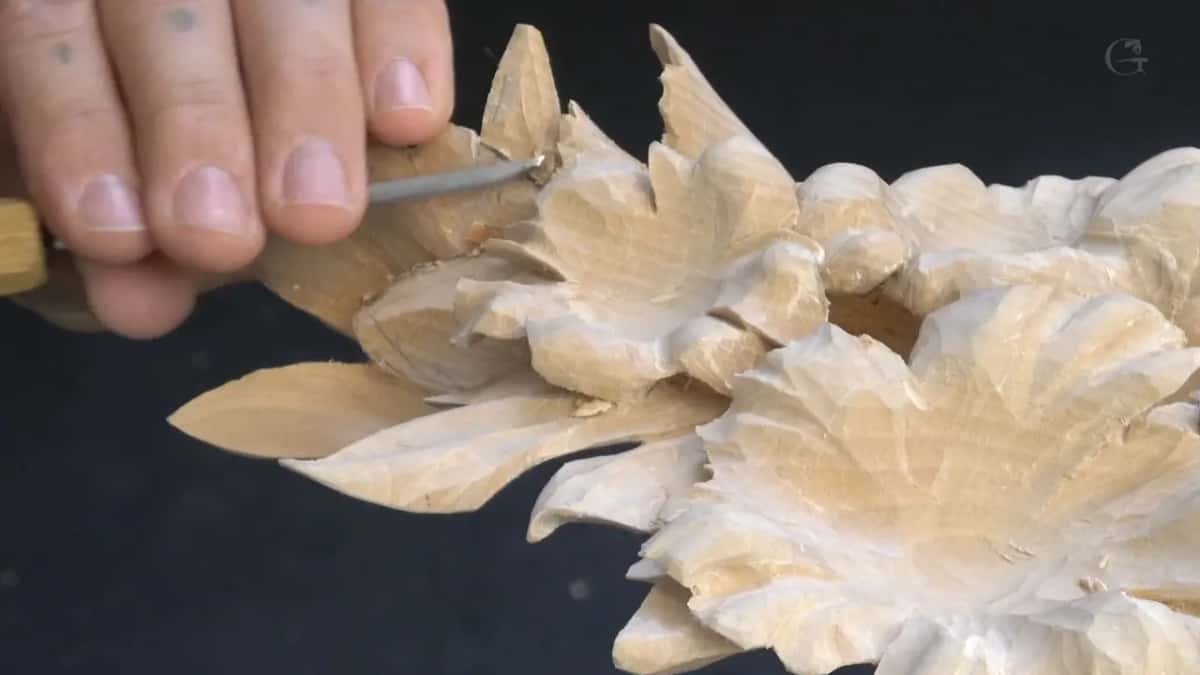
The Furniture Panel had a dangerous area. There I wiggled a little because I didn't want to push it too hard, and sometimes just a little wiggle helps. I can control much better by wiggling, I said, and I'm not creating too much pressure. I let the tool do the work.
On another part of that panel, going as deep as possible among the flowers, I said a little wiggling helps me, and when I'm wiggling, it helps me make a nicer pass. A mallet would give even better control, I said there.

Does a wiggle leave a clean surface?
It doesn't, and that is one of the reasons some carvers really don't like the idea. I said so on a second Lily Box lesson, while I carved concave shapes with a small number 11. But you can always go back and clean it with a normal pass, just straight, without the wiggle. That way it's clean, and nobody's going to know that I wiggled.
My words on the Floral and Molding panel were that wiggling won't leave a really clean surface, and later on you have to go back and clean it. But it gets the job done.
On a Greek acanthus leaf I said a lot of wood carvers would call it anathema, something you're not supposed to do. I had a couple of points running really close to the edge, and I wanted to be safe. I come back after that and just make a clean pass, I said.

Which gouge wiggles best?
A number nine gouge, for me. A Venice Room lesson is where I said if I'm wiggling, maybe I should use a number nine, because it doesn't have extended wings. A true half round, I said.
Later in the Venice Room course I asked myself why a number nine, and my answer was that I can wiggle it, since it's a half round. The number 11 will work also, I said, but with a lot less ability to wiggle.
For the Hashemi berries in part three, the tool was a number nine, a quarter inch one. Just wiggle that slightly, I said.

What went into the two berries?
A couple of berries, no more than that, and a number nine. I took just a quarter inch one, because I didn't want to make those berries too big. It was a good thing I had extra material right there, so I could create something like that.
It's tiny, I know. But like I said before, every little tiny detail will create a beautiful look. If you think that is easy, not really, because the grain is running one direction there, and once you try, you'll see it's a challenging area. But we like those challenges.
I made it round by attacking it from different angles. The second one sits almost underneath the flower, where the camera can't see it. Just trust it's there, I said. Smaller tools came next, a number five of an eighth of an inch, a little less in fact, 3/32 of an inch, and I worked around. Beads and berries had a lesson of their own in lesson 19.
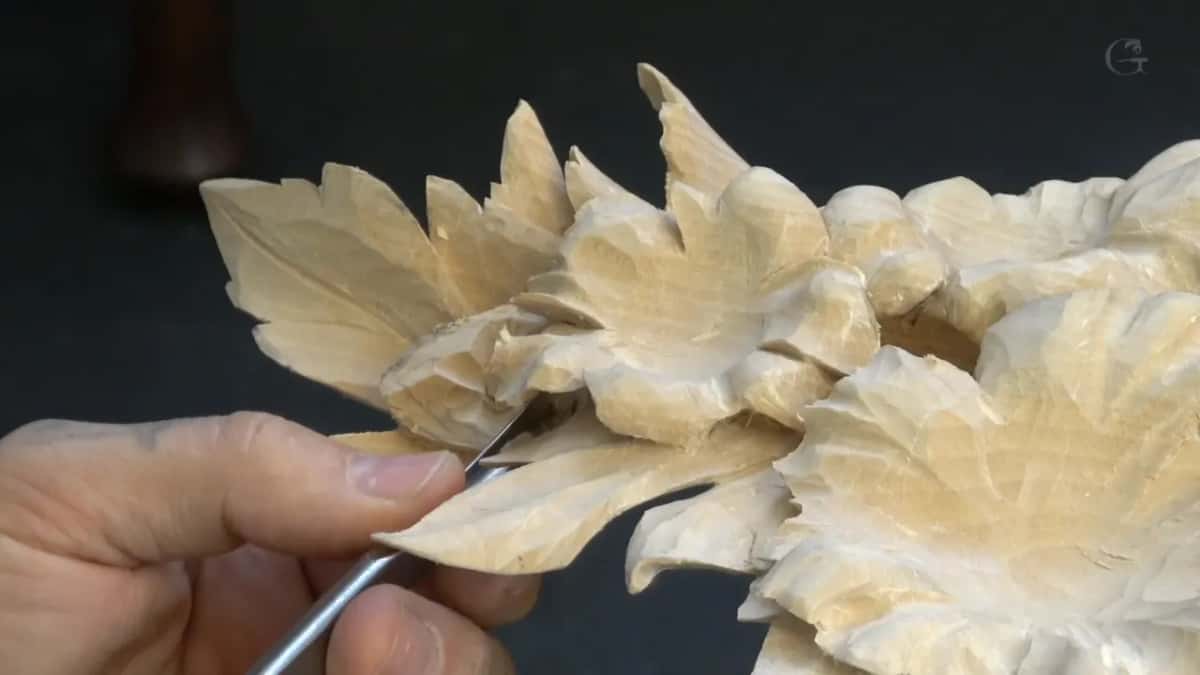
Can the tool slip while you wiggle?
It can. In that same Lily Box lesson I said I'd try to wiggle as much as possible and control it, but it's still possible to slip and cut yourself. Please don't try it, I said, if you don't feel comfortable doing it.
What I did there was keep my finger close to the blade, with no more than about a 16th of an inch (1.6 mm) showing, and reference that finger right at the edge. I placed it to prevent slippage. I don't want to slip and cut myself, and believe me, I've done it, not once but multiple times.
Back on that Greek acanthus carving, I said this about my hand. If I'm able to control it, referencing my hand right on the wood, I can make those wiggles safely, especially when I'm working against the grain.

Where did the wiggle help on other carvings?
Each row below is a spot where I wiggled, with the reason I gave on camera. The fourth row came from a hard spot on the Grape Onlay, with a bunch of grapes on one side and a really high leaf.
| Where | What I said about the wiggle | Part |
|---|---|---|
| End grain on a Hashemi leaf | I want to make sure it's not going to split on me | 41.1 |
| Dangerous area, furniture panel | I don't want to push it too hard | 21.14 |
| Points near the edge of a Greek acanthus leaf | I want to be safe | 2.3 |
| Beside a high leaf on the grape onlay | I can't push it, there's just no way | 6-3 |
| Hashemi berries | Just wiggle that slightly, then remove some of the material around | 41.3 |
Each part number in the last column shows where in that course I said it.

How deep can you go under a leaf?
About half an inch (13 mm), in this lesson. That was the excavation underneath one piece as part one closed, and I said I know on the camera you can't see that.
There's not a big secret about extreme excavations underneath. It's all about how deep you can go, and how patient you are. You can go all the way, attack from the other side, and connect the two together, so it looks like the piece is glued on. Nobody's going to see it. But you will know.
That piece is one solid piece with no glue in it, and that is all junk, I said. A piece carved right through, so it looked completely in the air, would be really fragile, I said, and I've broken pieces like that many times. So what? Just glue it back. It's better not to break it, though.
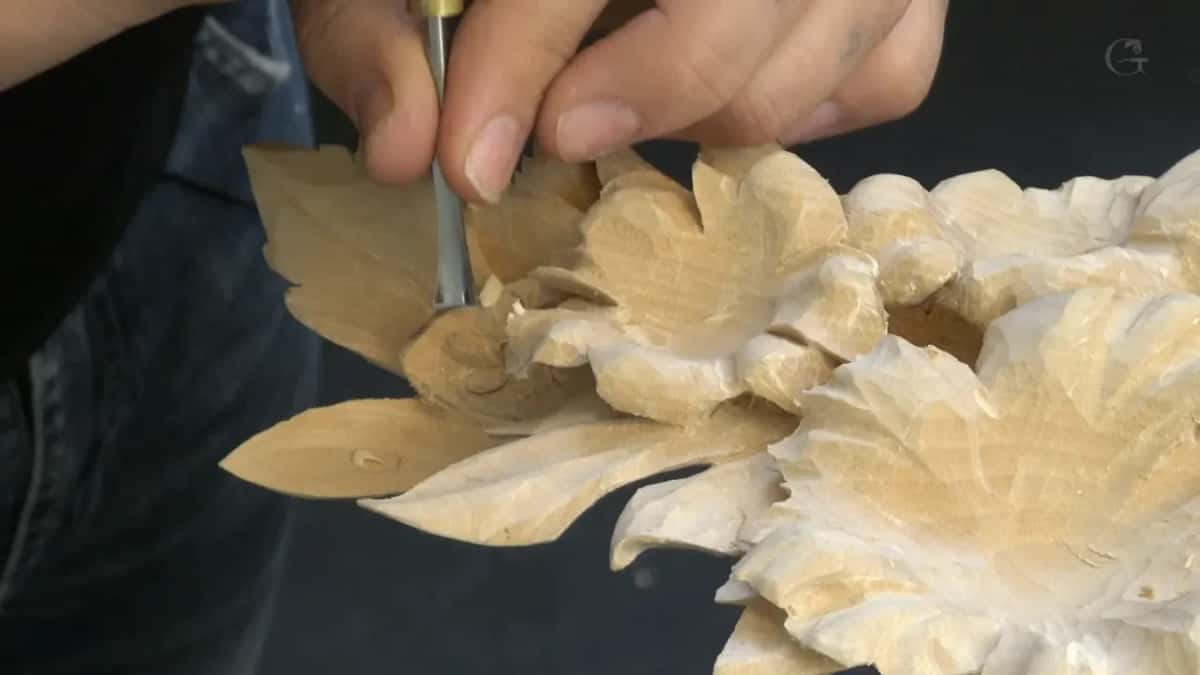
What do you do when a piece comes off?
Glue, or a redo. Near the end of part three I undercut a leaf and said I had to be careful, because I can easily remove it, and I don't want that. It looks like I almost did, I said, and then, by the way, you can see I undercut too much.
What you could do is take it out and just redo that deeper, I said, or use a small, tiny super glue, and this one is by Gorilla. First I had to find that piece, if I could. And glue that back.
Those leaves started earlier in part three. I could use a small, tiny gouge, I said, and make my outside lines right away, with undercutting. That means it doesn't go straight down. I'm pointing inside a little bit. The number four after it was a quarter inch, and I went in from the other side too, carefully.
The small, tiny tools there are made by Ashley Iles, in a collection called Peter Benson. He's an excellent wood carver, I said.
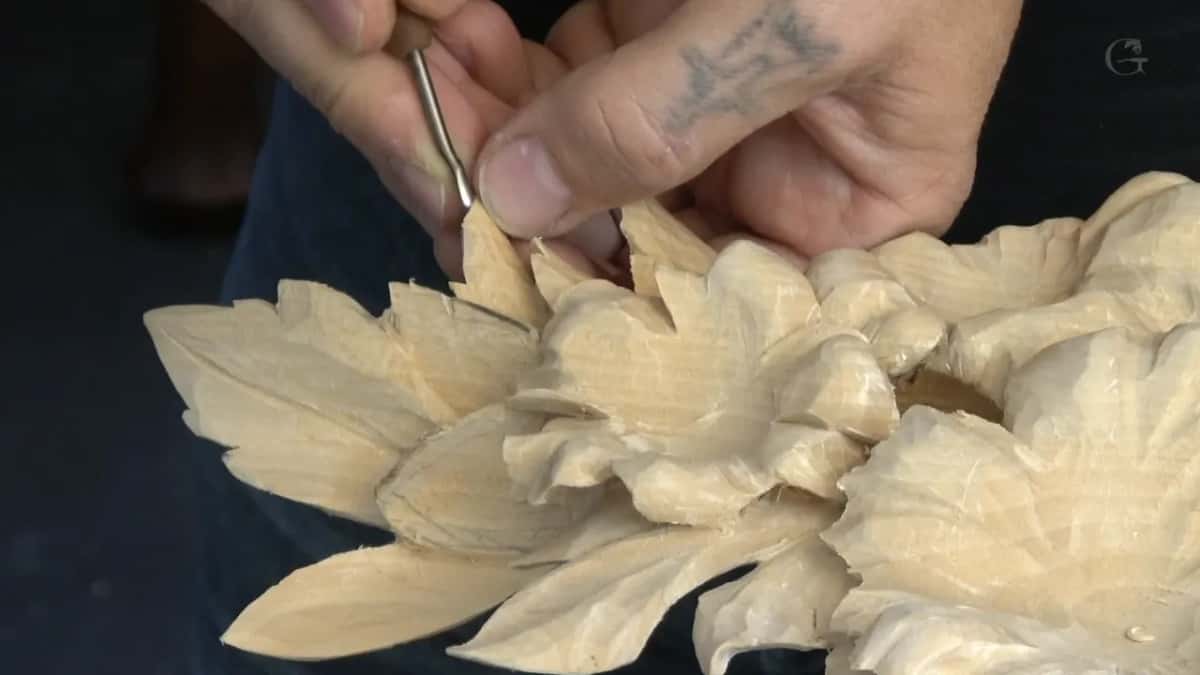
Why round a wall instead of removing it?
Rounding it makes the shape look like it's trying to wrap around the piece beside it. One side had a wall. There were a couple of ways. I could attack it from the backside and remove that wall, or round it and make a movement. I rounded it with just a small knife, and made it more round this way.
I like it, I said, although it's not the final form yet. Then I cleaned the pencil mark. And I removed all that junk from underneath.
Part two had another wall, about 3 mm on that side, and almost impossible to see. Let me think, I said, should I or not. Maybe just make a little turn, and bring it all the way to the edge.
When is a detail too small to try?
When the material runs out, and in part two I wondered if it had. Almost impossible, I said, but let me try. Then I said maybe I shouldn't even try, because it's just not enough material left.
So the small gouge came out. I've got about 1/8 of an inch, I said, actually less, maybe 3/32 of an inch. With it I made that twist.
I think it just looks much better with that small, tiny detail. I know it's almost impossible to see, but every little bit of detail like that makes it look unique.

Next came the final form of another shape, and I said it looks like I do have a natural tendency to make a subdivision. I was using a small number three, about 3 mm. To clean, I used a number three at a quarter inch, and then a number 11 at 1 mm to undercut a little deeper, carefully. I use a lot of number 11 for extreme undercutting.

Where the panel stands after lesson 41
At the end of part two I turned the panel upside down. I do like it, I said, except one piece that needs to be taken care of also, and I asked myself whether to create a detail like that there. Maybe. Maybe it's a good idea. Why not?

Every lesson of this panel is part of Tuition, with lesson 42 waiting next. That covers this end grain wiggle, both berries and the glue fix, all on limewood.
How it's done
- Check the grain where you carve. On end grain, a little wiggle keeps the wood from splitting on you. That was my reason on the Hashemi leaf.
- Reference your hand on the wood. Keep a finger near the blade, with very little of it showing, and rest your hand on the work. That control is what makes the wiggle safe.
- Press almost nothing. Many small passes beat one big mistake. Press or twist the wrong way, and you can break it easily.
- Clean up with a straight pass. Go back over the wiggled spot without any wiggle.
- Stop if it feels unsafe. A slip is still possible, and you can cut yourself, so skip it when you're not comfortable.
- Glue back what comes off. Find the piece and put it back with a small super glue, or take the part out and redo it deeper.
Frequently asked questions
Do professional carvers wiggle the gouge?
Some carvers say it's not professional, and I disagree. Wood carving is my whole profession, my bread and butter, and I use wiggling in it. Jewelry makers use the same movement on metal, I said while carving the Lily Box, and you can't say they are not professional.
Will wiggling leave marks on the surface?
A wiggled pass is rougher, and some carvers dislike it for that reason. My advice on the Lily Box was that you can always go back over the spot with a normal straight pass, no wiggle at all, and then it's clean, and no one can tell.
Which sweep is easiest to wiggle?
My pick is a number nine, a true half round with no extended wings. One Venice Room lesson has me saying a number 11 works too, though with a lot less ability to wiggle. A quarter inch nine did the job on the Hashemi berries.
What to carve next