

Alexander Grabovetskiy, woodcarver, School of Woodcarving · Published 2018
Which way should the veins on a carved leaf go?
Quick answer: Vein direction on a carved leaf is one rule in lesson 34 of my Hashemi panel. Each vein runs to the center line, I said there, and none should go too deep. I used a small number seven, in just a few spots, not everywhere.
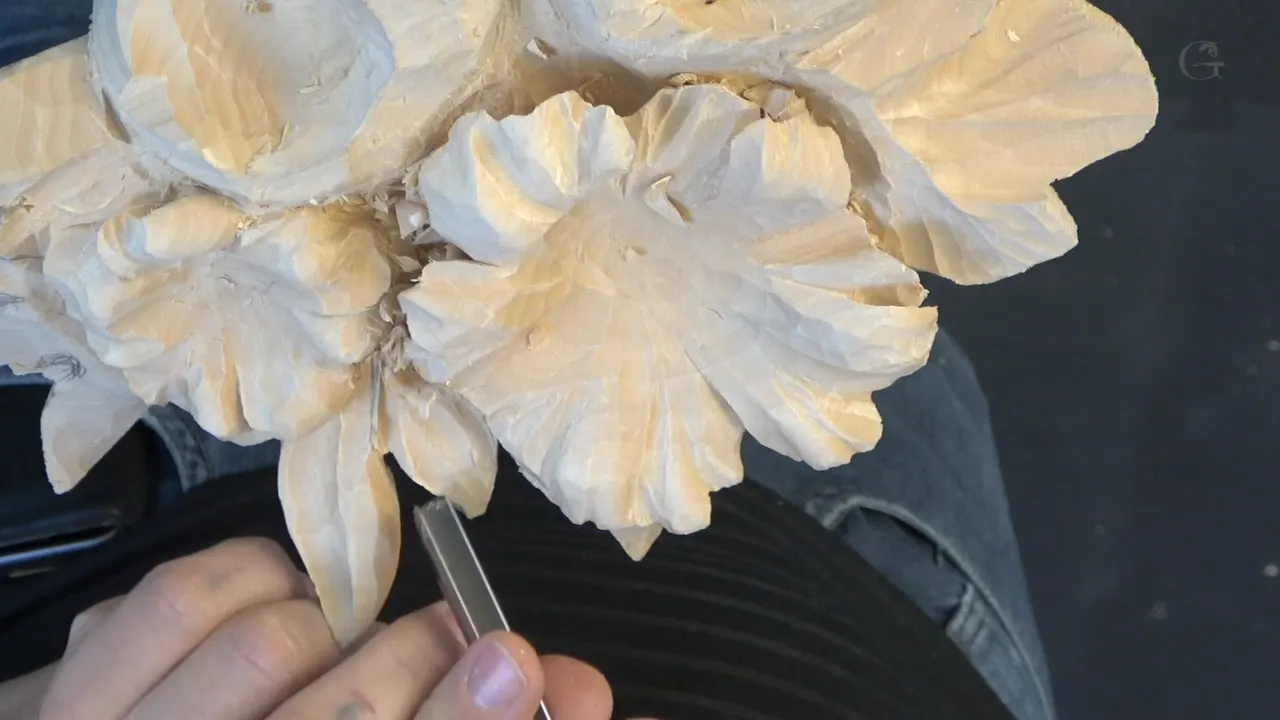
On a carved leaf, the veins all go to its center line. That is the rule I gave in lesson 34 of Carving Hashemi Flowers, on my limewood panel. Every leaf is supposed to have some kind of veins, I said, and all the veins are going to the center line. But I did not want them too deep.
Would you like the veins on your own leaf to look right? And would you like to know how few of them it takes? Then follow one leaf with me, start to finish.
The lesson is short, three parts. Where it runs out, I bring in what I said about veins and middle lines on other leaves, and I name the place each time.
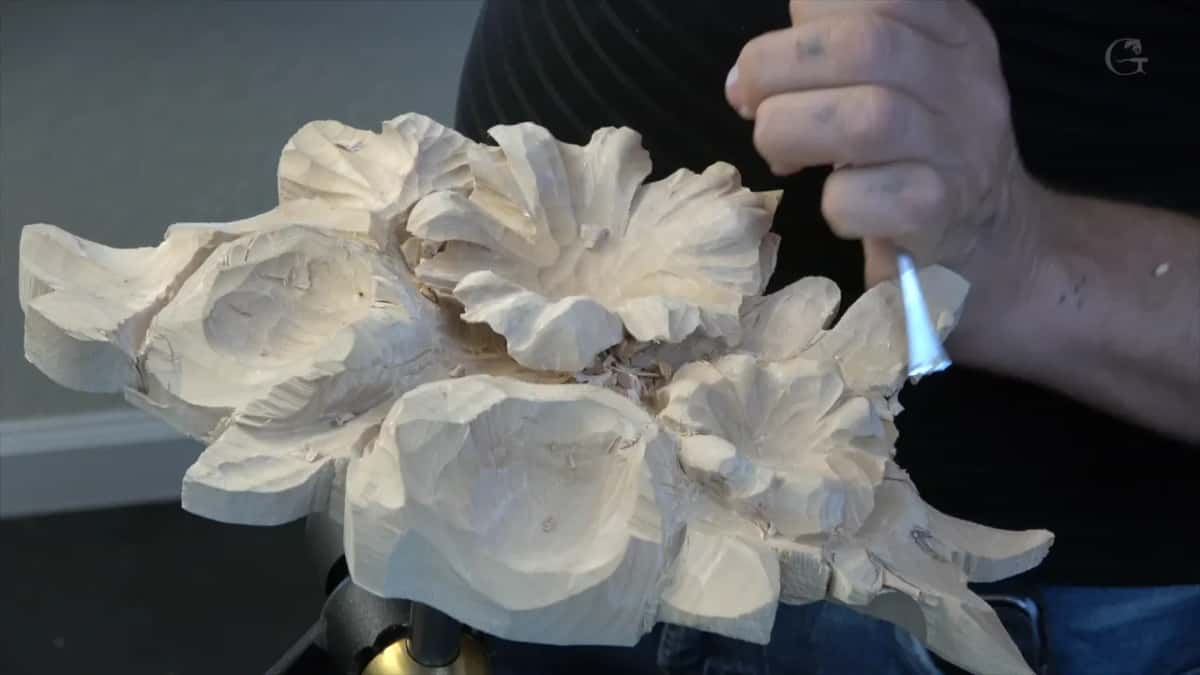
What I did to one leaf in lesson 34
Every vein went to the center line, as I said it would.
Only some spots got one.
On one leaf I put the center line closer to an edge.
Before any vein, the leaf got a ridge in its middle for the shadow's sake, with one side convex and the other concave.
The end of one leaf got a tiny flip from a small gouge.
Part three sent one side downhill with a number nine, and a little undercutting made separation.
Which way should the veins on a carved leaf go?
To the center line. Part two began with a number four and a little cleaning, and right after it I said it plainly. Every one of them runs to that one line.
Which end of the vein you start from is another thing, and my lessons show it both ways. In lesson 6 of this course I worked out from the middle, and the tool marks left standing between those strokes look like veins of the leaf. Later in that lesson I went from outside in, to the middle line.
In lesson 38 a number five went outward, starting at the middle. I was creating veins, I said, if I can call them veins, inside of that leaf, and a number seven will work too.

On my furniture panel I put it this way. Think how the leaf grows, and all my strokes are supposed to go from inside out. The ones on this side go this way, that side goes that way, and that is how we create those veins.
So the line every vein meets stays put, and the end I started from changed. Botanists have their own word for that line. Wikipedia's article on the leaf calls the central vein of a pinnately veined leaf the midrib, and says the side veins branch off it and extend toward the margins.
How many veins does a carved leaf need?
Only some. I took the small number seven and said it as I went. Just a few spots, not everywhere.
Right after that, one of them got more. Maybe I can make this one deeper a little bit, I said.
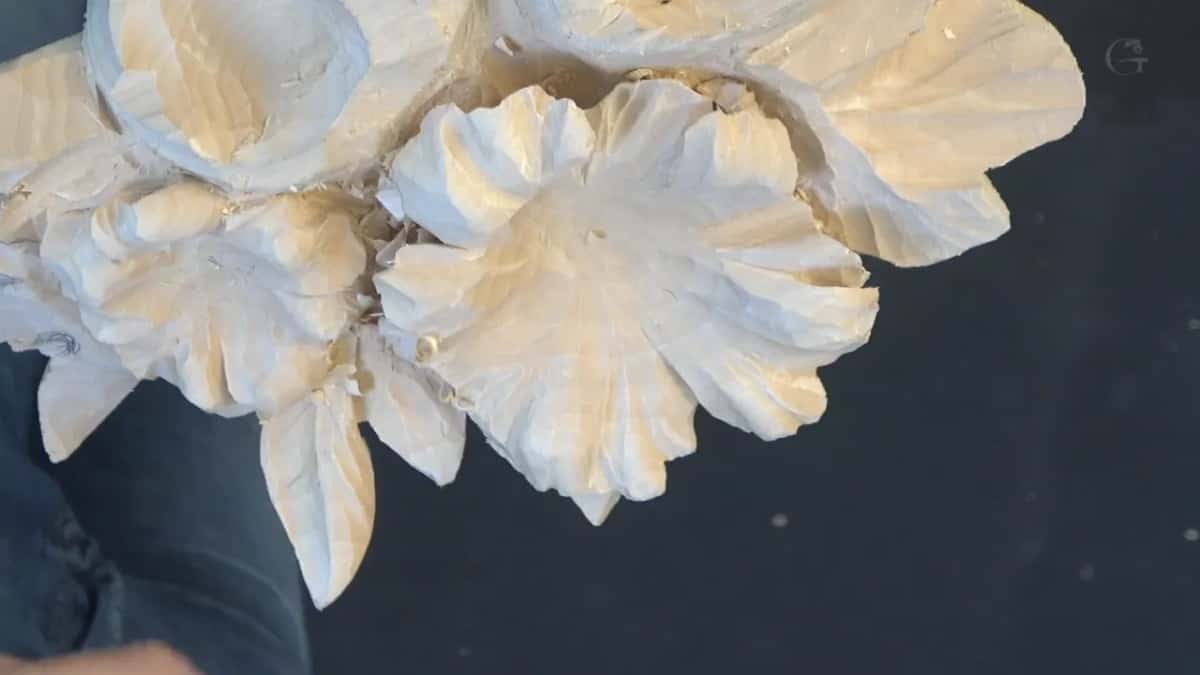
That furniture panel got stronger words. Don't do them a lot. Please do not overdo them, because it's not going to look nice if you do too many of them, kind of stupid even, I would say. Somewhere, not everywhere.
Earlier there was a problem of room. I really don't have too much property, I said, I'm talking about real estate, how thick I can go. Still there was a little we could do, and a number seven went in right there.
Then came a true veiner. I wanted even deeper exaggerated veins, all really smooth and nice.
Back in lesson 6 I had my own name for the deeper ones, exaggeration cuts. Not everywhere, some spots. For some reason they make leaves more realistic, and the veins inside of those leaves more distinguishable.
Where does the center line sit on a carved leaf?
Closer to one edge, on the leaf where I said it out loud. Find the center line, I said later in part two, it's going to be closer to this edge. And now I'm going to create the veins.
Lesson 6 has the reason. I never put my line in the middle of the leaf. If this side is higher, the middle line goes closer to the higher side, and there is a wider spot on the other one. That makes even more of a 3D look.
I find it by eye. Just the eyeballing, really, I said there. We are doing flowers, and if there are some inconsistencies, it should not be a problem.
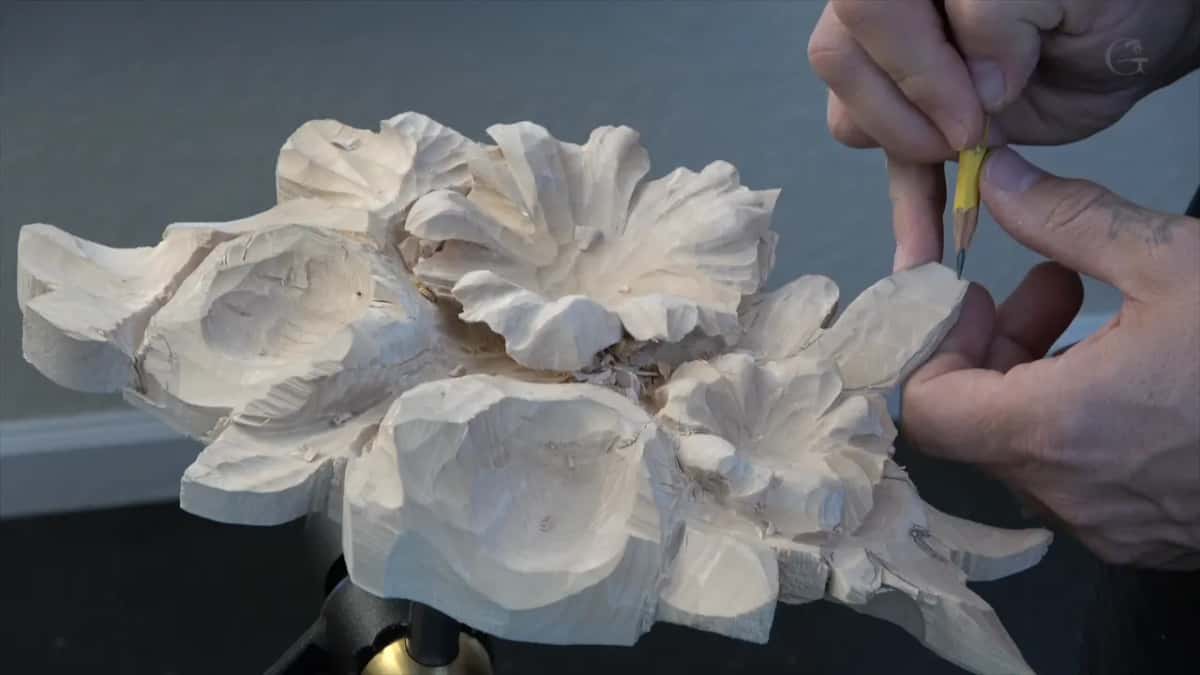
My Greek acanthus leaf follows the same thinking for the shadow. The movement of that leaf goes downhill, and I wanted my shadow on the right side. A middle line right in the center would not look good there, so I moved it to the higher side, slightly.
On another part of that leaf I moved the line less than an eighth of an inch, maybe 3/32 of an inch (about 2.4 mm), toward my higher point.
On a vase with grape leaves I put even the middle line of the leaf on a golden ratio. If the whole line is 100 percent, the middle line falls somewhere at 62. The 60-40 rule is what I called it on the Byzantine acanthus.

Why carve a ridge before the veins?
For the shadow's sake. Later in part one the leaf was close to its final shape when I worked one side, and I said this side I can do the actual opposite direction.
Then my words got tangled. This would be concave side, I started. Convex side, and that is going to be concave side, I said instead, and I apologized for the confusion right there on camera.
First a small seven went in, and then maybe a little bigger number seven. And the reason why I did it is just for the shadow, to create the ridge in the middle of the leaf. Part two brought the veins, after that ridge was there.
My lily box went the same way. All I worried about there was my middle line, that is the most important for me, and a number seven made my strokes just on the sides of that line. Further on in that part I gave one side a little concave, carving just to the middle line, then a concave on the other side. For one of the sides I switched to a number eight, one eighth of an inch (3 mm).
Colors mark it on my Byzantine acanthus. Orange is a convex, sunshine, and the blue is ocean.
Which tools carved this leaf in lesson 34?
Here they are in order. One more, the tool that made this leaf grow from underneath that one, I named with a word the captions do not catch clearly, so it stays off the list.
| Tool | What it did on this leaf | Part |
|---|---|---|
| The number four, 10 mm (3/8 in) | Cleaned the surface while I was only making a form | One |
| A knife | Created the shape of the leaf, almost the final one | One |
| Small seven, then a bigger one | Made the ridge in the middle for the shadow | One |
| Number seven, the small one | Veins, here and there, not too deep | Two |
| A small gouge | Fixed the edge, then made the flip | Two |
| Number five | Established the semi-final form on those ones | Three |
| Then number nine | Took one side down | Three |
Does the grain matter while you shape a carved leaf?
In this lesson it could wait. Early on I was going against the grain and said I don't worry about it for now. I was actually making just a form at that moment, and what I needed was a clean surface.

The 10 mm number four did that cleaning. Then, let me reestablish the movement, I said, and a knife created the shape. At about four minutes in I called it almost final shape for this leaf.
Whether to make one more movement, I was not sure. Maybe I should, I said, took a number four and took out this edge. Yes, I think I like it.
Grain came back once the veins went in on the furniture panel. I cannot carve just across the grain right now, I told the camera there, so the strokes had to run from inside out.
Why does a carved leaf get so fragile?
Late in part one I turned the work to the back of the leaf, which is where the trouble started. Okay, let's attack that from the backside, I said. Again, this piece becomes fragile, and I don't want to overdo it.
I could use another tool, maybe, I said, to make this one grow from underneath that one. Again, I have to keep an eye, I said. Can't overdo it.
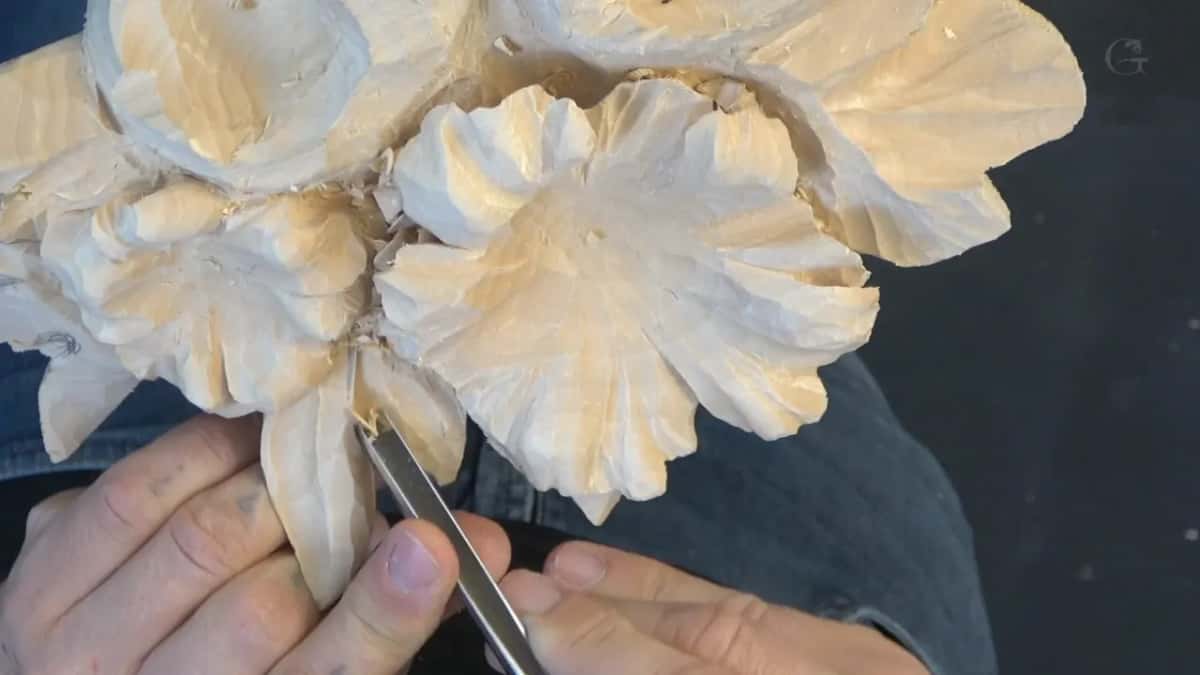
Thirteen seconds later, oh, I got a hole.
The same word came back in part two, when I said you can see how fragile it's already becoming. But those small details, they create beauty. How thin a carved leaf should be is the question of lesson 7.
What is the flip at the end of a carved leaf?
A small movement on the leaf's end. On one leaf I could actually flip this direction a little bit, I said. I took just a number seven, maybe just to create a small movement at the end.

Next a small gouge fixed the edge. I used a small gouge again and created that flip. Just a small, tiny flip, but that small detail makes a huge difference.
Do the leaves have to match the flower?
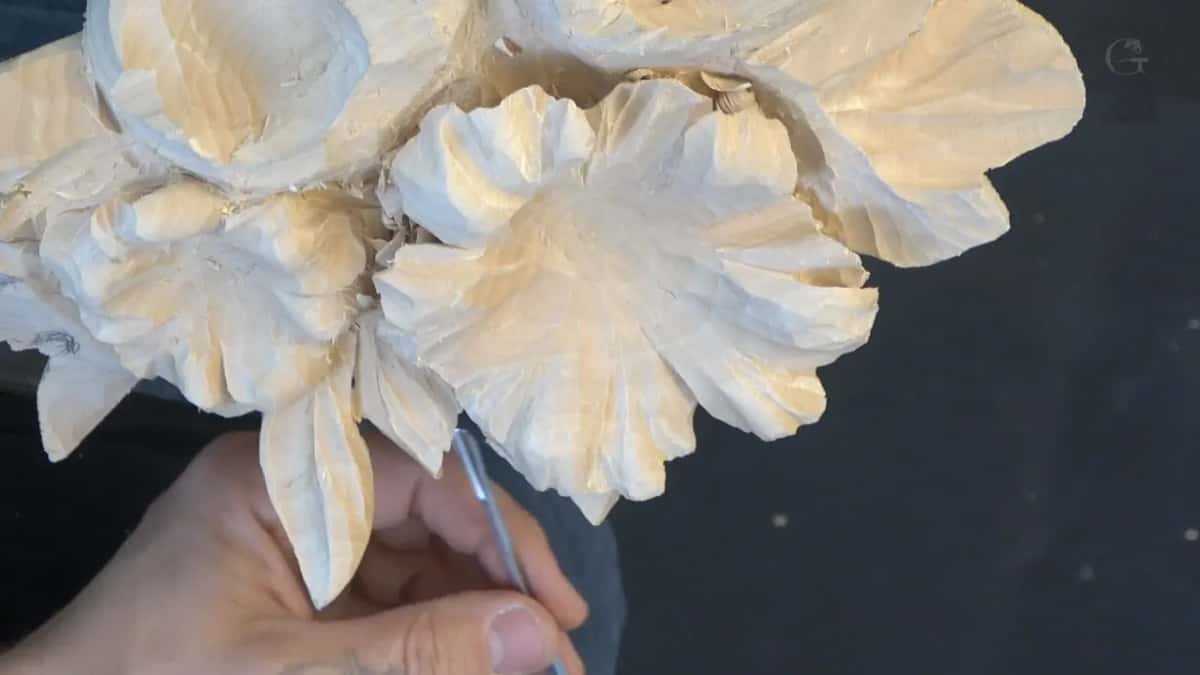
On this panel they do. The lesson opens with my plan. This flower will be like a peony, and in some spots I have to add some kind of leafage similar to the peony leafage.
I picked one area for it, just to make one at least. And I was not sure. Should I do that one? Or maybe this can be a different type, going from inside.
Toward the end of part two came small, tiny subdivisions on this leaf, and then, I need a knife.
Wikipedia's article on the peony describes compound, deeply lobed leaves. Its glossary of leaf morphology lists the words botanists use for leaf edges and tips.
Lesson 43, further on in the course, has me calling the peony the most complicated flower, actually. A lot more complicated than a rose.
Over on the furniture panel the flowers were not really roses. Some sort of rose, maybe peony or something like that. To make them look nice and big, I said, we would create something inside of those leaves that makes sense, like a frame for those movements.
Do acanthus leaves follow the same vein rule?
They do. On my Corinthian acanthus leaf I said every acanthus leaf has to have some type of movement, and we'll just establish the center line.
Then the sharp point, the detail you always find on the Corinthian type, goes all the way to the center line. All of those subdivided elements, I said, they go to the center line, or to the main movement.

That Byzantine leaf had the middle line of the pipe drawn right to its central line.
The acanthus ornament comes from a plant. Wikipedia notes that both Acanthus mollis and Acanthus spinosus have been claimed as its main model.
How sharp do the tools need to be for leaf veins?
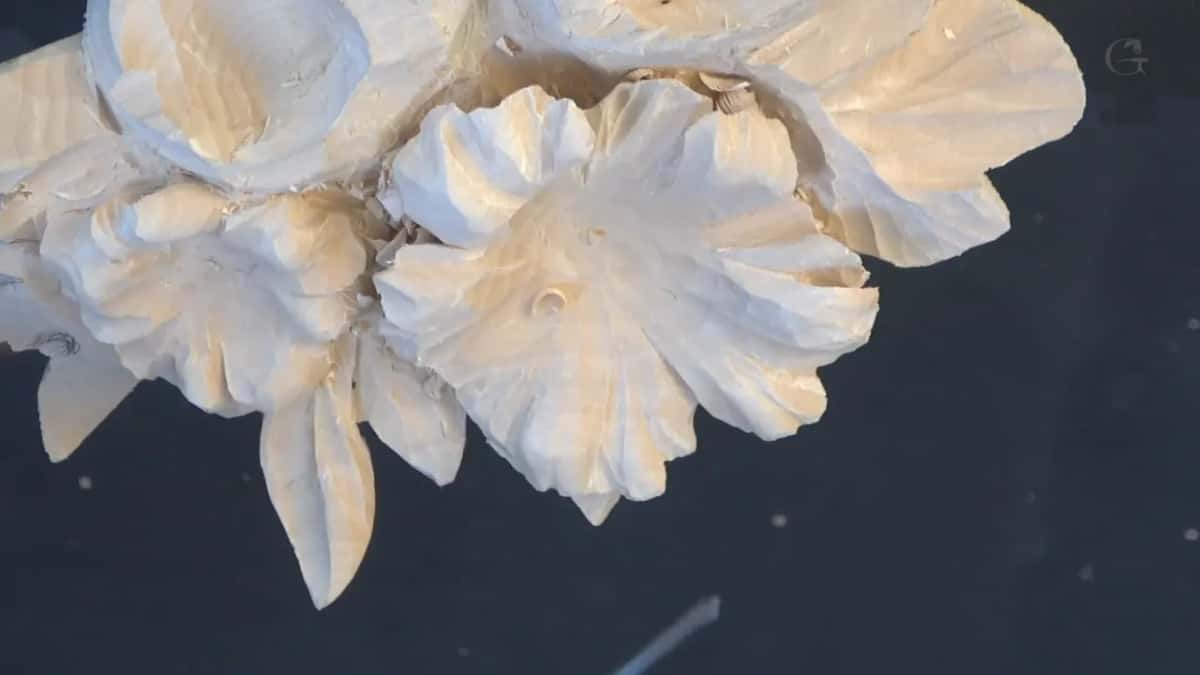
Really, really sharp. Near the close of part two, I hope you can see the results, I said, so let me take all the trash out. I really like the movement right here, I said, and soon after, I could probably leave it like that.

Just before, I said it to you straight. If you want to do exactly what I'm doing, the tools, they just must be really sharp. It's just an absolute must. All the tools, they must be really, really sharp. Otherwise, it's not going to look as nice.
How does the carved leaf meet the rest of the panel in part three?
Downhill on one side, with a little undercut. Part three opened with let's concentrate on those ones, then let's establish semi-final form, and I took a number five.
Okay, let me think what I can do. Looks like I do have some space right here, I said, so I can actually take this side downhill. But I got to be really careful right here.
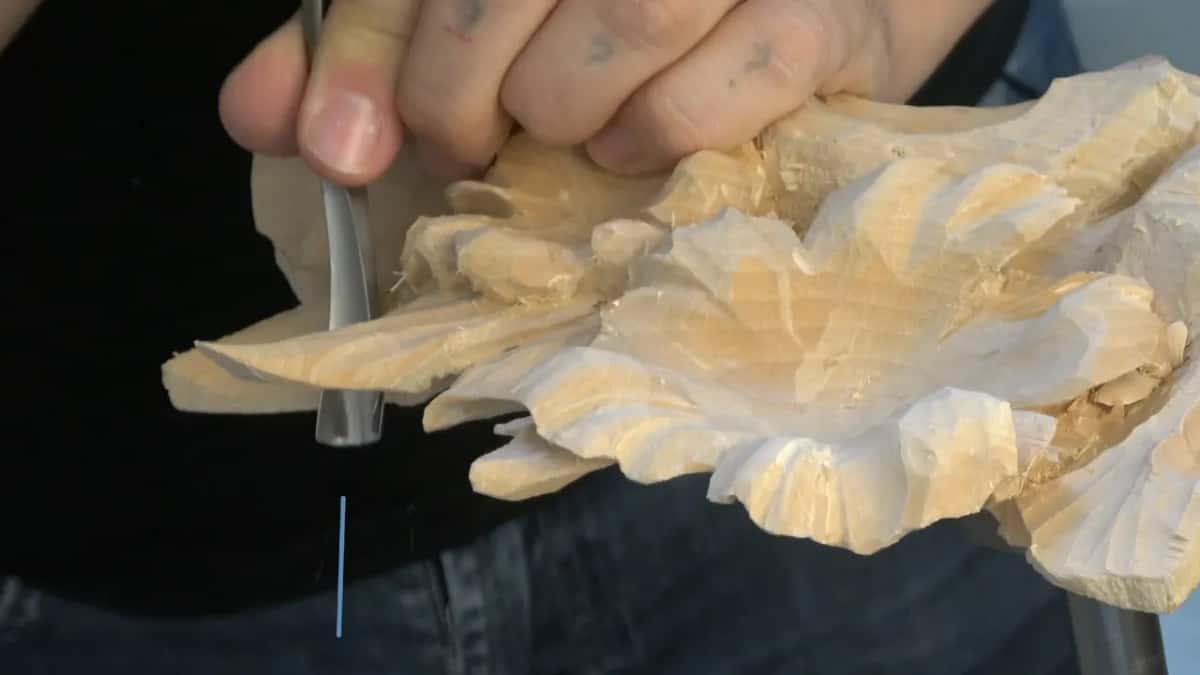
Number nine, maybe, first. All the way down. It's just going to create a more three-dimensional look, in my opinion.
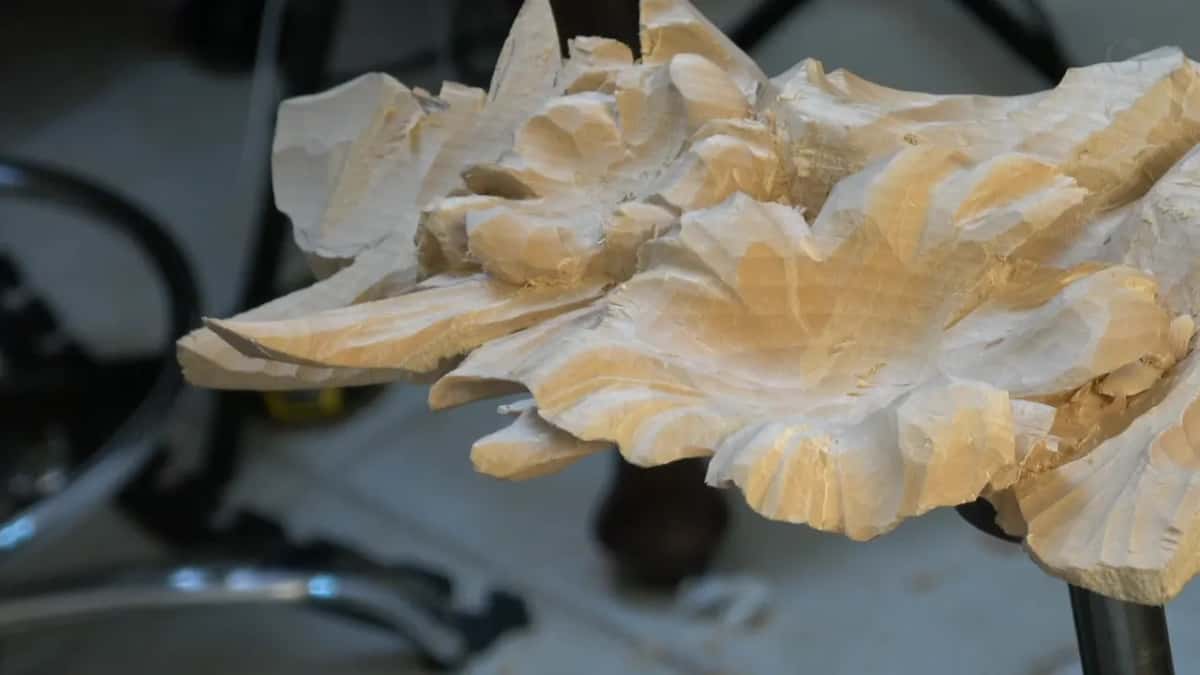
Finally I worked this side and brought it to the edge, just undercutting a little bit right here, to make separation. I think that I'm happy.
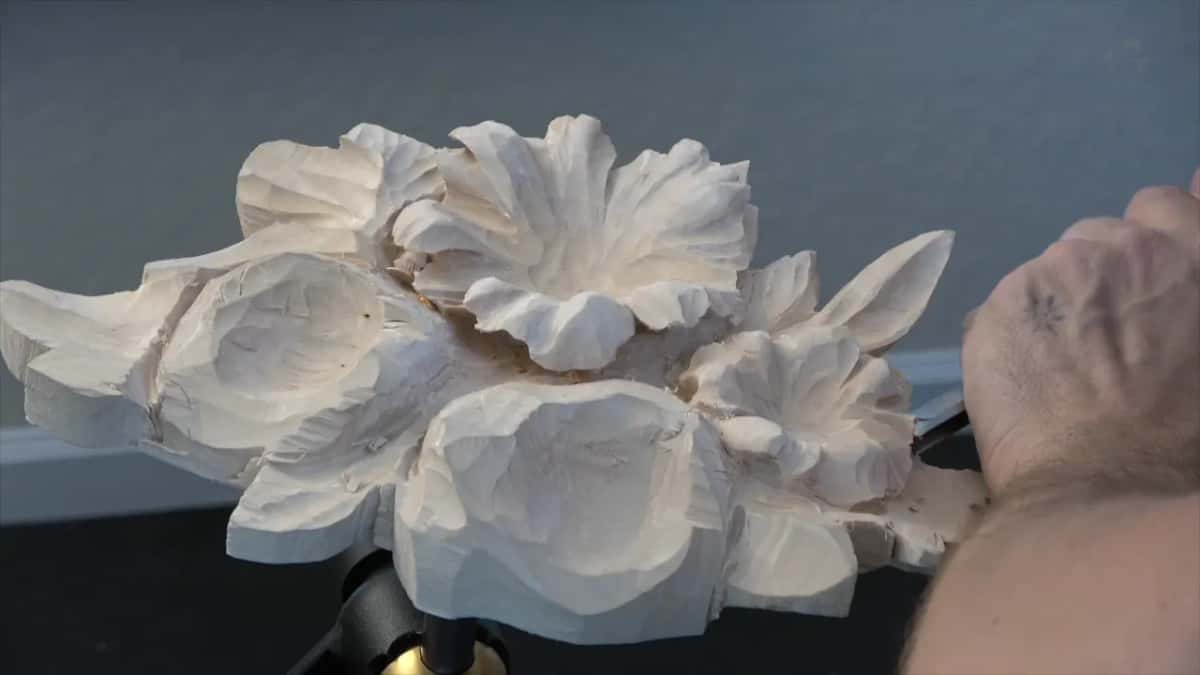
The whole Hashemi panel, lesson by lesson, opens with tuition at the school. This leaf took three short parts and one hole, and it is one of many on that wood carving.
How it's done
- Clean the form. Take a number four, 10 mm (3/8 in), and clean the surface. Grain can wait while you are only making a form.
- Shape it with a knife. Reestablish the movement, then create the shape with a knife until it is almost final.
- Make the ridge. One side convex, the other concave. The small seven first, then a little bigger one, for the shadow.
- Find the center line. My leaf in part two had it closer to one edge.
- Carve a few veins. Every one goes to the center line. Use that small seven, not too deep, in some spots, and maybe make one a little deeper.
- Flip the end, then lower one side. Make a tiny flip with a small gouge. In part three a number five gave the semi-final form, a nine sent one side downhill, and a little undercutting made separation.
Frequently asked questions
Should carved leaf veins be deep or shallow?
Mostly shallow, with a few deeper ones. On this Hashemi leaf I said I did not want them too deep, and the small seven went into a few places. Then one got a little more. The furniture panel had a true veiner carving even deeper exaggerated veins, somewhere, not everywhere.
Do you carve leaf veins from the middle out or from the edge in?
Both appear in my lessons. Lesson 6 had my strokes going outward first, and later I went from outside in, to the middle line, and a number five went outward in lesson 38. Every vein still ends at that one line.
What gouge carves leaf veins?
For lesson 34, a number seven, a small one. Lesson 6 used a number nine for them, and lesson 38 a number five, where I said a seven will work. For the deepest ones, the furniture panel got a true veiner.
What to carve next