
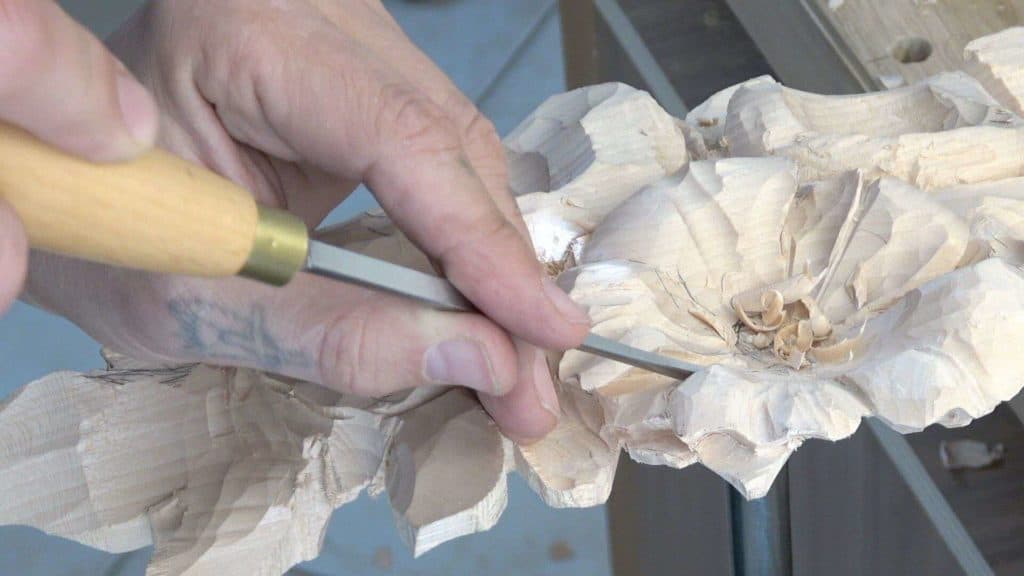
Alexander Grabovetskiy, woodcarver, School of Woodcarving · Published 2018
What is a fishtail gouge used for?
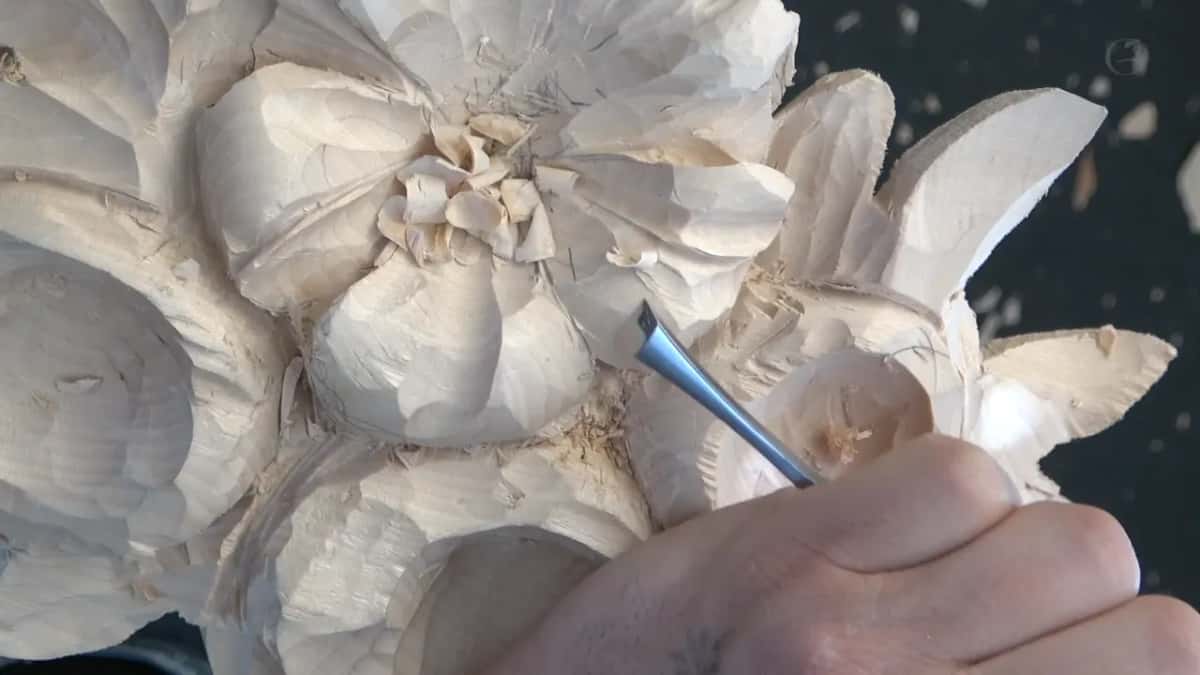
Quick answer: A fishtail gouge is used when you want to carve with just one corner of its edge. The blade gets wider at the cutting end and narrows down toward the handle, so those corners get into really tiny spots. On my Hashemi flowers a number 4 fishtail, 10 mm (3/8 in), did the smoothing and the corner work.
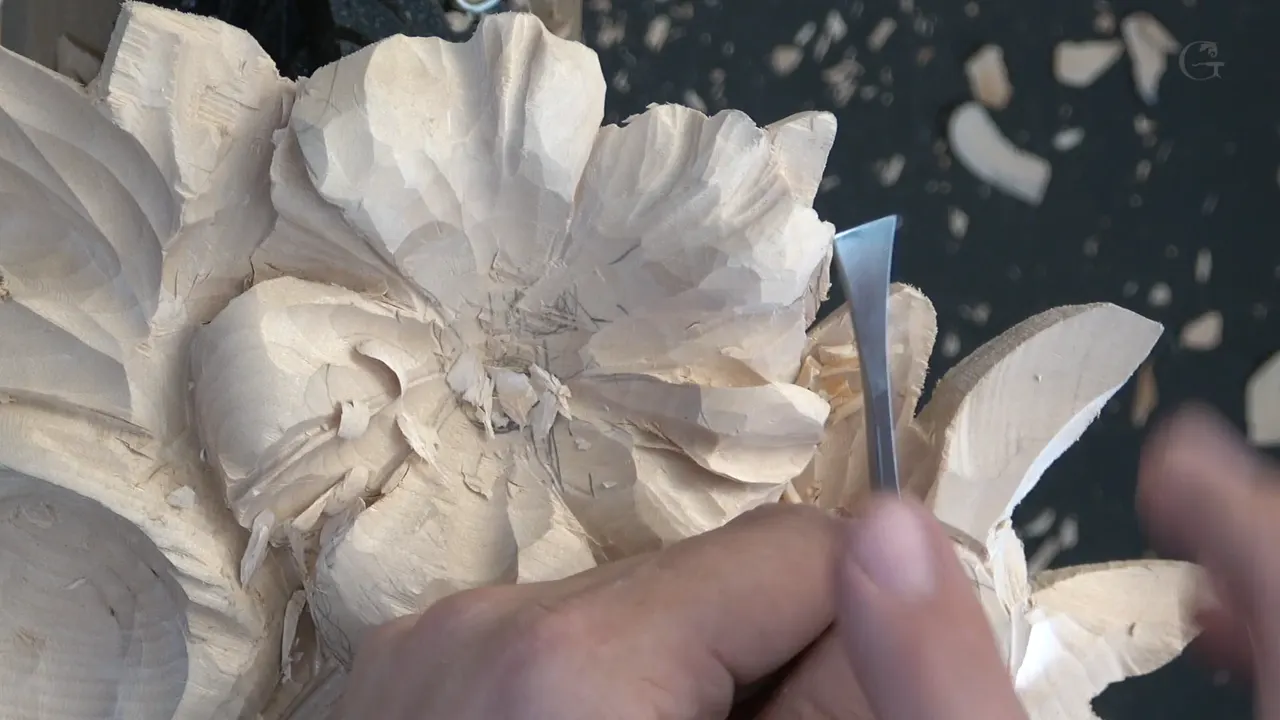
A fishtail gouge is a gouge you can carve with by its corner alone. The blade looks like the tail of a fish, as I say in this lesson. So I can put one corner precisely where the work needs it.
Do you own a gouge that gets wider right at the edge and narrow near the handle? Does it carve the same sweep as a straight one of the same number? Then you own a fishtail.
Lesson 32 of the Hashemi flowers panel finishes the first ring, straight after lesson 31. Small tools, almost no pressure, and edges that have to look really nice and sharp.
What the shape of the blade buys you
One corner doing the job on its own, which I call just a good thing on camera.
A way into the smallest spots on a flower.
Smoothing and blending.
Straight tools for most of this ring, and no spoons yet.
Almost no pressure, since this work is all about how you control the tool.
What is a fishtail gouge for?
Tiny spots, mostly. That is how I put it in my flower rosette lesson, with a straight gouge in my right hand and a fishtail in my left. The straight one is straight all the way. The fishtail has the shape of a tail of a fish, and those corners help me get to really tiny spots when I'm carving.
Someone watching asked me there whether I like fishtail gouges. Yes, I do. I love them in all of my work.
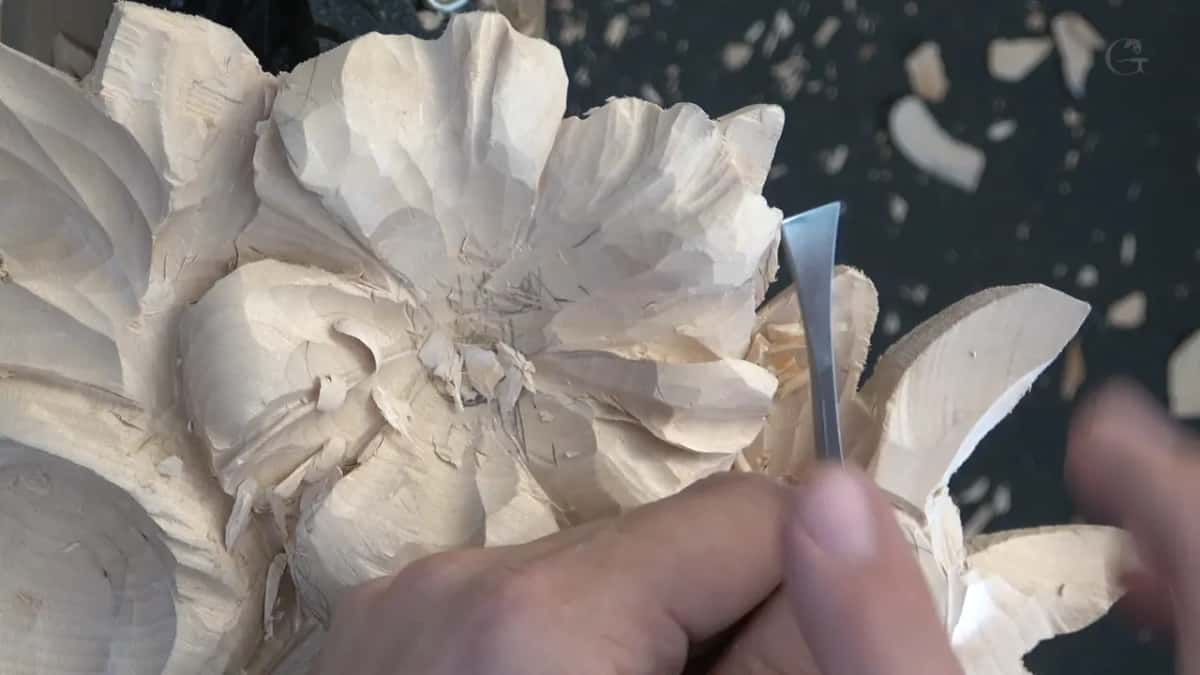
Mine here is a number 4 at 10 mm, three eighths of an inch. Smoothing, blending, corner work, and some undercutting on one side where I had to be a little more careful. On that side I put down the number five and took the number four. Right after, I said what I like about a fishtail: I can use just a corner for my operation, and that's just a good thing.
The second part shows the same tool again. I take the number 4, refine one spot, work the edge as well, and say I'm happy with this one. A minute later it goes all the way to the edge.
Working on my dining table apron, I was using a lot of Ashley Iles, and I said I just like how the tool is built. It's called a fish tail, and it looks like a fish tail. It's wider at the cutting part and just narrows down, and you can easily get to the corners with it. When I'm buying even a new tool and I can find a fishtail, that is my choice number one.
My tool selection lesson says the same thing about the corners. Most of my tools there were fishtails, and I told people I'm not getting any money from Ashley Iles for saying so. I also said to check, when you buy, that the handle and the gouge part line up really straight. Although it's not that big of a deal.
Why does the corner matter so much?
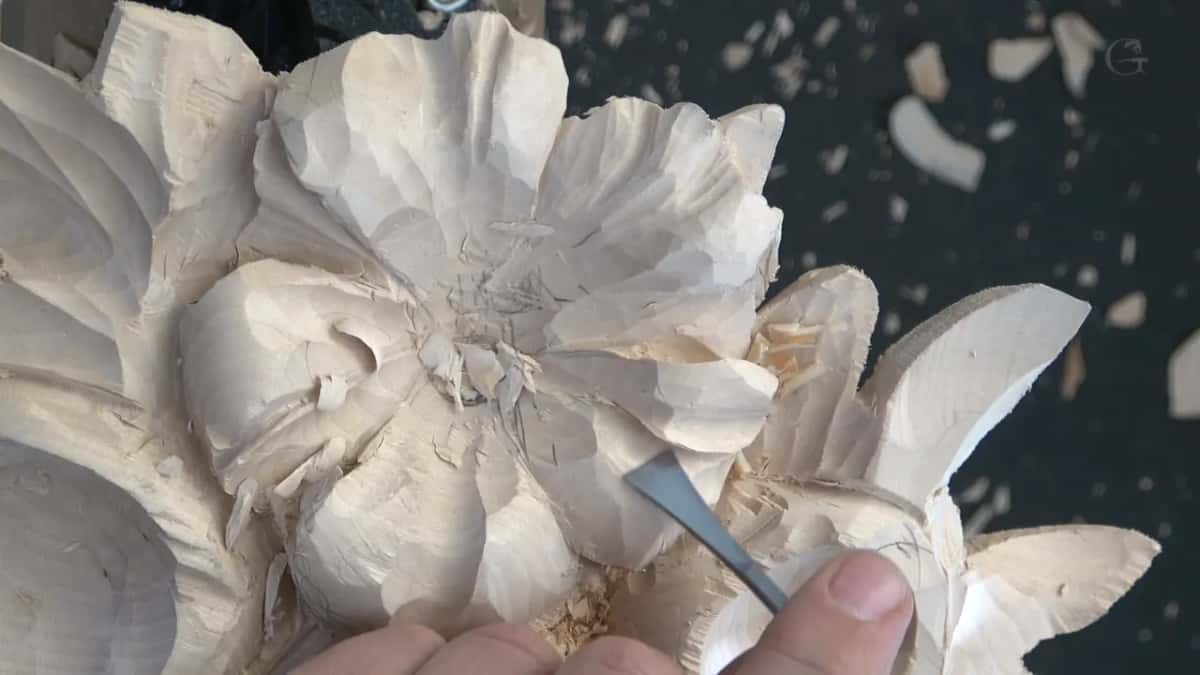
It lets me use just the edge of the tool. My furniture panel is where I said it that way, going around the eye of an acanthus leaf with a number seven. The concave I made there is almost invisible. When the light hits it, you can still see it.
Back in lesson 23 of this course I did the same with another tool. I used just the corner of a number three, about 10 mm, or 3/8 of an inch, and that one is a Henry Taylor, a different brand. I took it in without forcing it.

Other gouges get in too. For the grape onlay I took a number two, 5 mm (3/16 in), to get to two tiny spots. It is not a fishtail, I said, but it's okay.
Here on the flowers I said I could use a small number three or number four. This time it was the number four, to make it a little smoother. Still, when one sweep and one width come in both shapes, I would buy the fishtail, and I said so at the rosette.
Do you need spoon or bent gouges for this?
Not at this stage. Part two is where I point it out: I'm still using just straight tools. I don't use any spoons right now because I don't really need them at this point, so I'm able to do most of that work with just the straight tools. At least now.
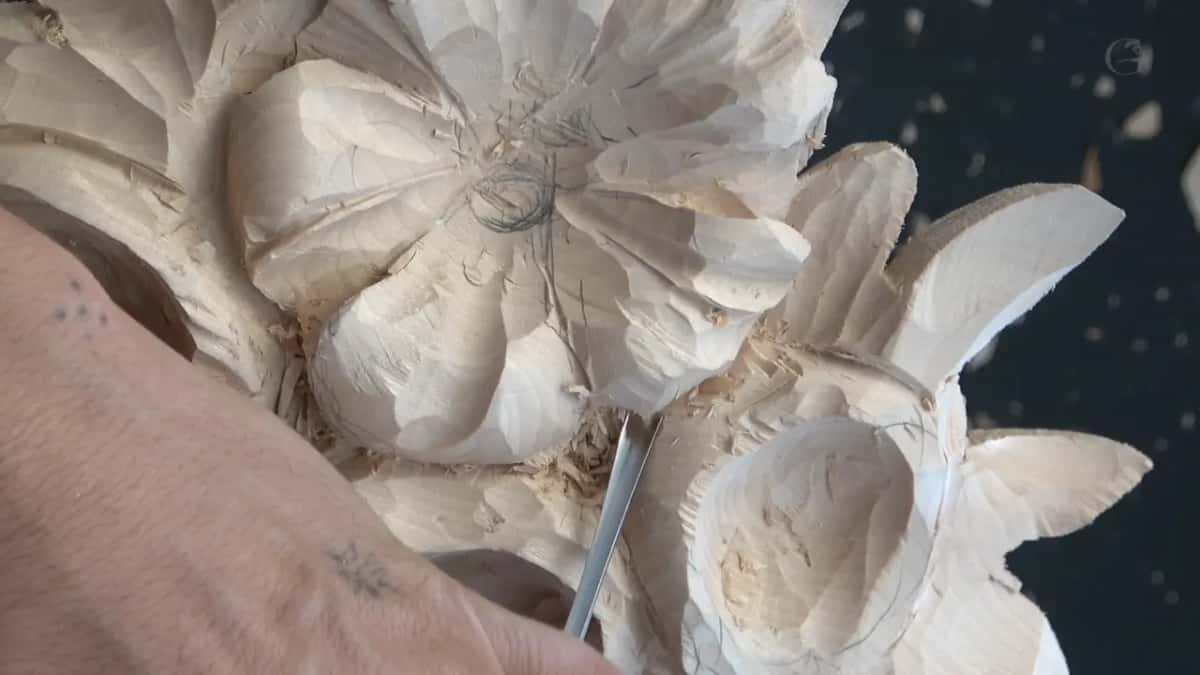
When a bend does matter, I compared a long bend and a short bend spoon gouge in lesson 20.
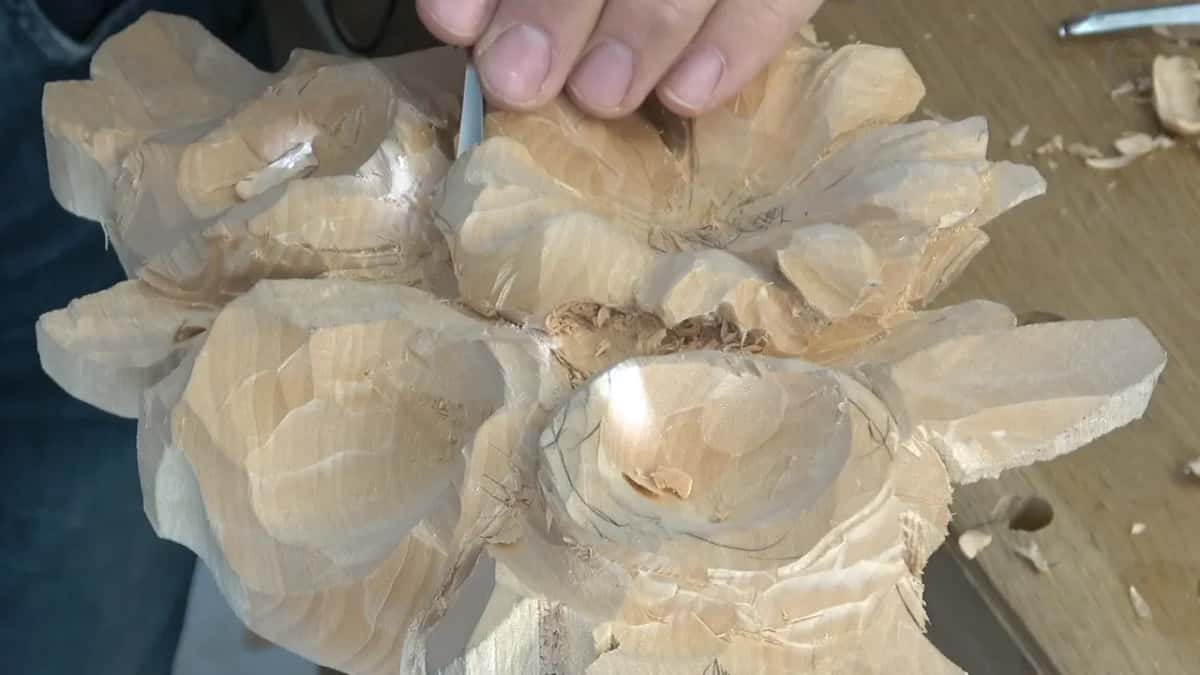
The third part has a big undercut, made using the number five, a quarter inch (6 mm). I was just flipping it upside down, then the normal way.
Which tools did these flowers need?
No fixed list. There is no restriction at all on what sort of gouges go onto a project like this, which I state plainly in the video. Here are five I picked up in this lesson.
| Tool and size | Job | From the video |
|---|---|---|
| Fishtail number 4, 10 mm (3/8 in) | Smoothing and blending | Just a corner for whatever I need to make |
| Number 5, a quarter inch (6 mm) | Shadow and undercuts | Big undercuts, and the edge hit in a few spots |
| Two number 9s, a quarter inch, then a smaller one | Small concave cuts | Another one on the other side so both look the same |
| Micro veiner, 0.5 mm (1/64 in) on screen | Waste from underneath | I call it 1/32 of an inch when I talk |
| V tool, a small one | Undercuts and shadow | Does exactly the same operation as the micro gouge |
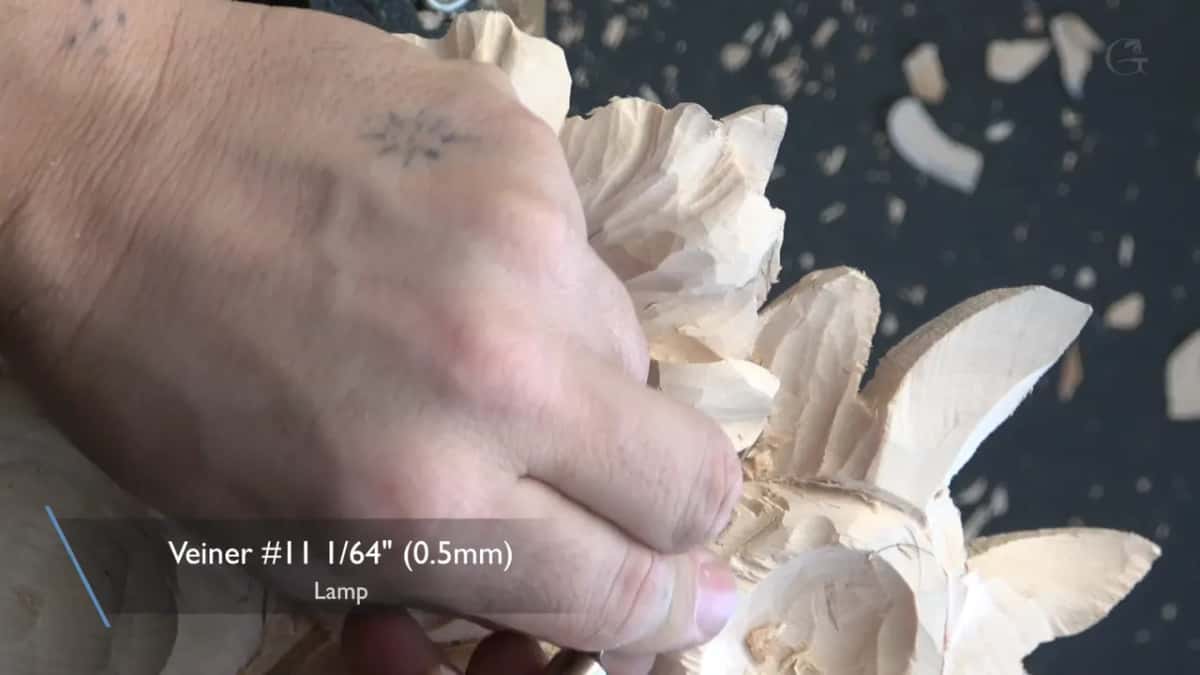
That micro tool is how I get a shadow where I can't go too deep. When I'm saying small gouge, this is really small. The caption on screen calls it a veiner #11, 0.5 mm (1/64 in). When I talk I call it 1/32 of an inch. And I said, look how beautiful a shadow this undercut made. Well, in my opinion.
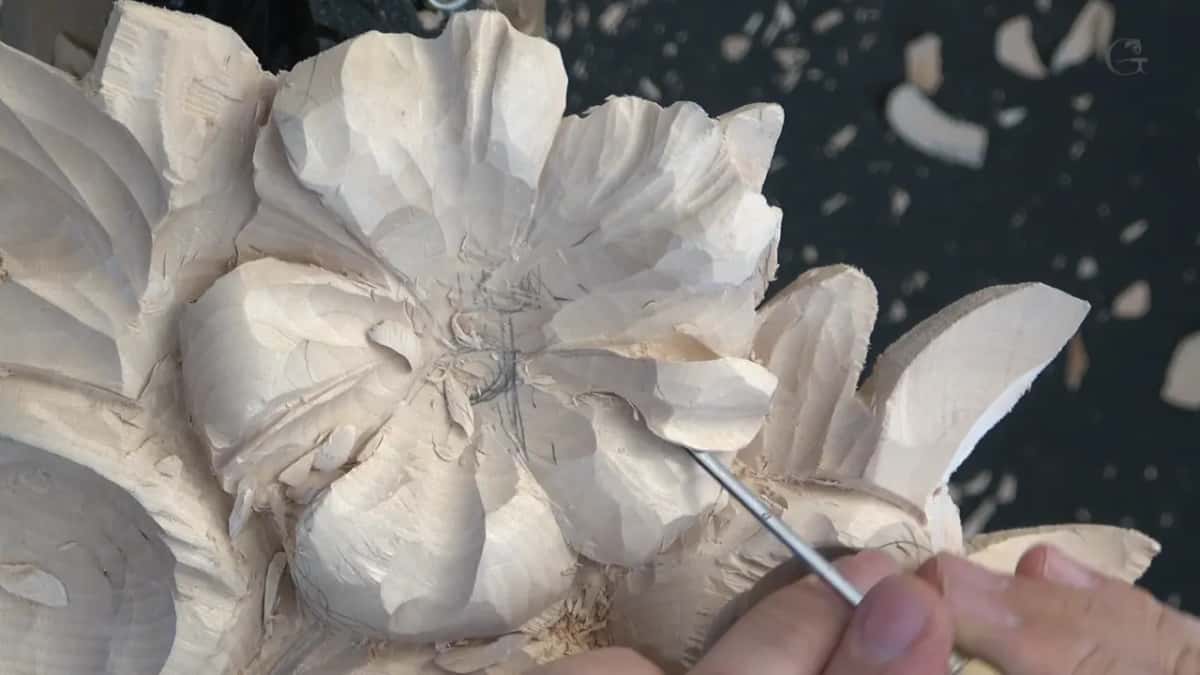
A really small, tiny gouge came back later to dig out the waste I had just made. Near the end I took the 1/32 again to go a little deeper and make some waviness.
A quarter inch number 9 made a really small concave in part two. I said I thought it was going to look really awesome, and when it was done, yep, it did look good. So I made another one, just for it to look the same on both sides. Part three called for a different, smaller concave, about an eighth of an inch (3 mm), because it gives a really beautiful shadow.
Is the size stamped on a gouge accurate?
Close, and not exact. One of the tools I used here, a number seven, is marked a quarter inch, but it's a little smaller than a quarter.
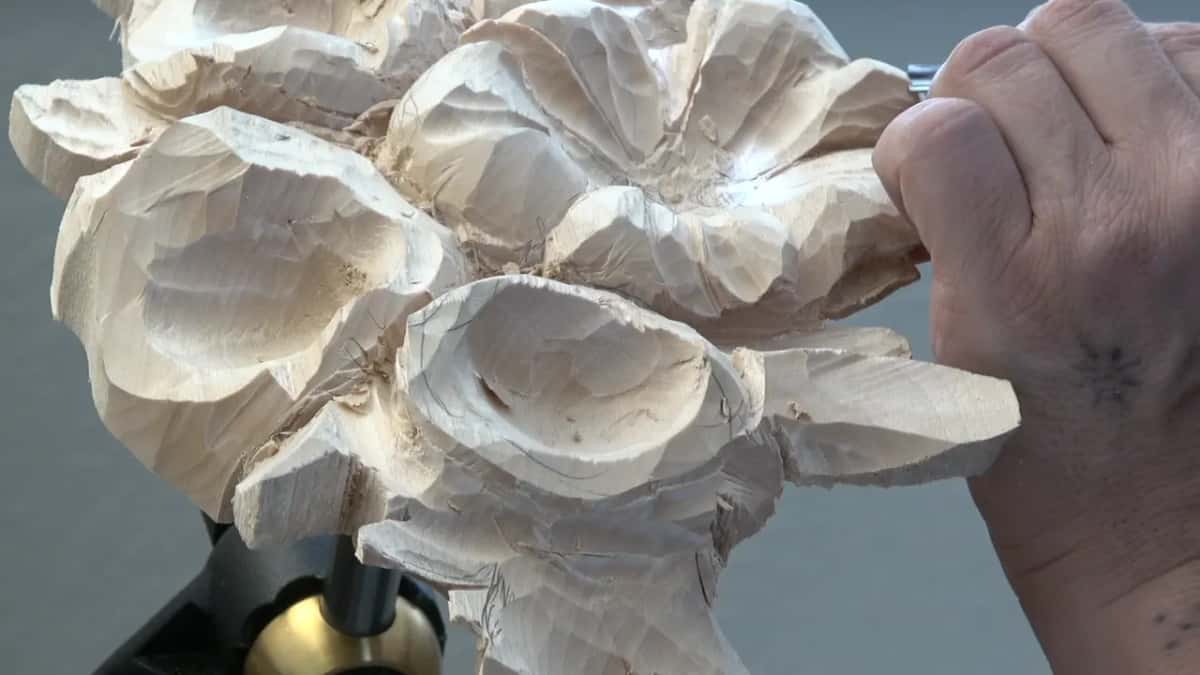
A marking can be missing altogether. For a later furniture panel lesson I used an antique fishtail by Marples and Sons. It's not really a seven and not really an eight, more like seven and a half. No marking on it. I don't know why they didn't mark it. Pretty much any number seven or any number eight will work there, I said.
On one of my tools the steel says it outright. My number seven on the grape leaves vase is a fishtail, and that letter F on it shows it. That one is 14 mm, a little bigger than half an inch, and I guessed it's the size most common in sets. It doesn't have to be 14 mm, I said. Pretty much any number seven will work, and 12 mm or 10 mm, roughly 1/2 and 3/8 inch, will do.
It was my main tool on that vase for taking the background down, no more than a sixteenth of an inch (about 1.5 mm) deep. Where leaves overlap I used the same number seven to shave and blend underneath.
How much pressure should you use?
Almost none, and I mean that literally. In the video I say there is practically no pressure in this work, that I do not create any, and that the result comes down to controlling the tool rather than driving it.
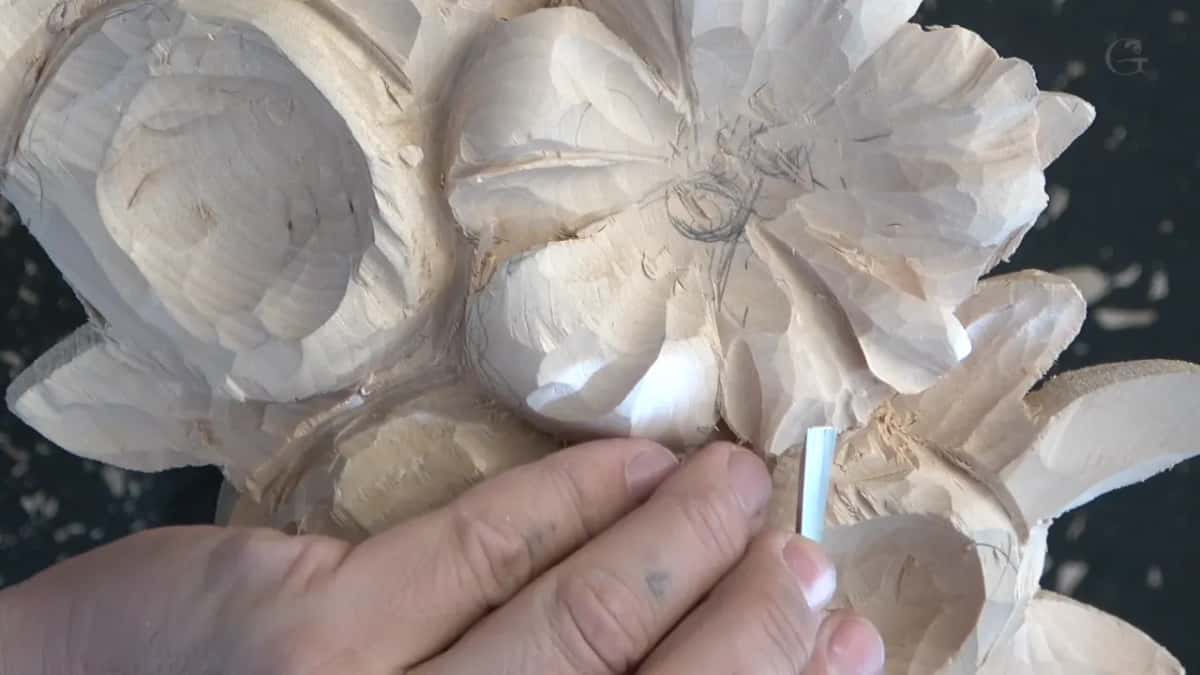
The same care goes for a mallet. For the rosette I set a number six fishtail, about half an inch wide, right on the line and drove it straight down with a mallet. Don't hit that hard, I said, because you can make a big mistake and snap it. That rosette is only three eighths of an inch, 10 millimeters, thick, and I went in maybe a sixteenth of an inch (about 1.5 mm).
With a number seven fishtail on the grape onlay I said the same thing. I have to be careful, I don't want to create too much force.
Wood can hide trouble too. That table apron had one edge where I had to be really careful, because I could see an internal crack, a micro crack. If I forced it there, it could become a problem. It's almost invisible, I said, but you can feel it with your tool.
And in lesson 1 of this panel I warned about one part where the grain runs in a weak direction. Keep an eye on how hard you strike with a mallet there, I said, because you can easily break it. The piece in that lesson is limewood, kept for over ten years, I believe.
Could a V tool replace the tiny gouge?
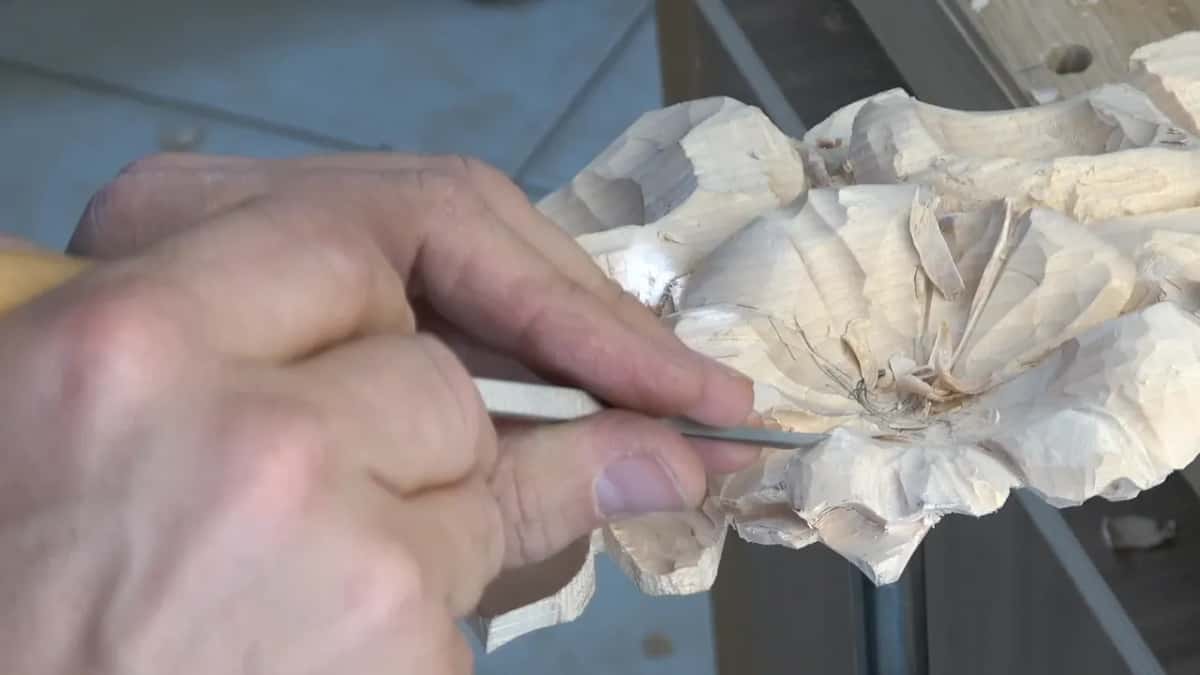
A small V tool does the same job. Partway through I say so, because the job I was doing with a tiny gouge, clearing waste out under a rim for a shadow, works just as well with a V tool.
Early in part one I reached for one. I think I have to use a V tool, I said. The final flower in part three got the same: take a V tool, undercut.
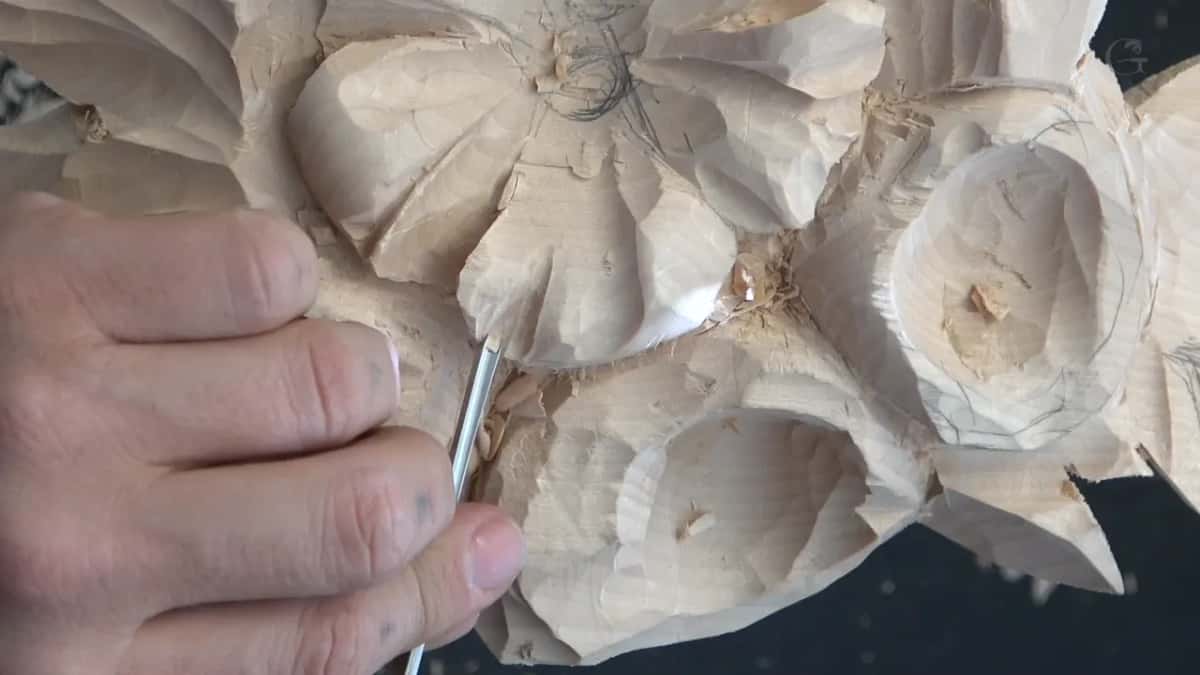
That table apron had a V tool moment too. I got a little closer with my V tool before I used my flat chisel, so there was going to be less stress on the fibers.
Gouge or V tool, the job there was shadow. Most of it is going to be hidden anyway, I said, but still, I'm all about the shadows.
Why undercut a flower's edge?
People look at a panel from the side, at least now and then. I undercut as far as I can reach on flowers for that alone. It makes a big difference if a flower's edge looks really, really nice and sharp when you see it that way.
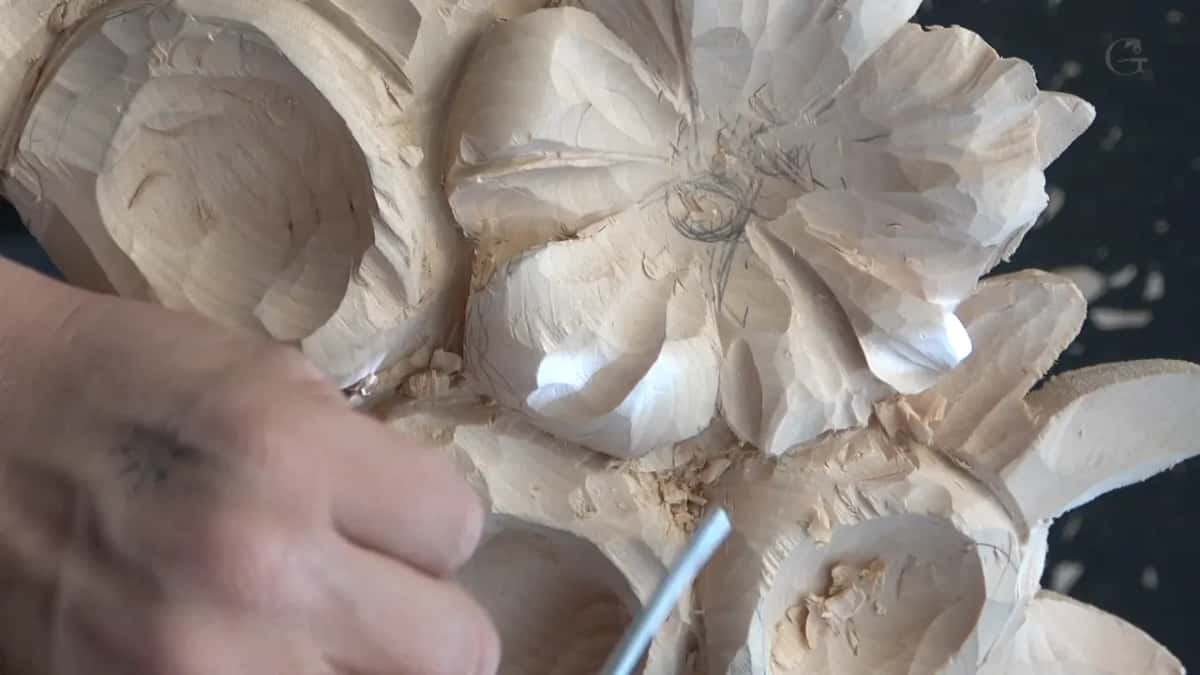
Some of the inside stays rough on purpose. Another layer gets glued in over it later, so I do not chase the parts that will be buried, and I said out loud that one spot went deeper than I meant. But it's okay.
A few spots I can leave rougher, and they still look nice. One concave in part one, made with a smaller number nine, went too deep, and I said it's okay. I blended it in with the number five after.
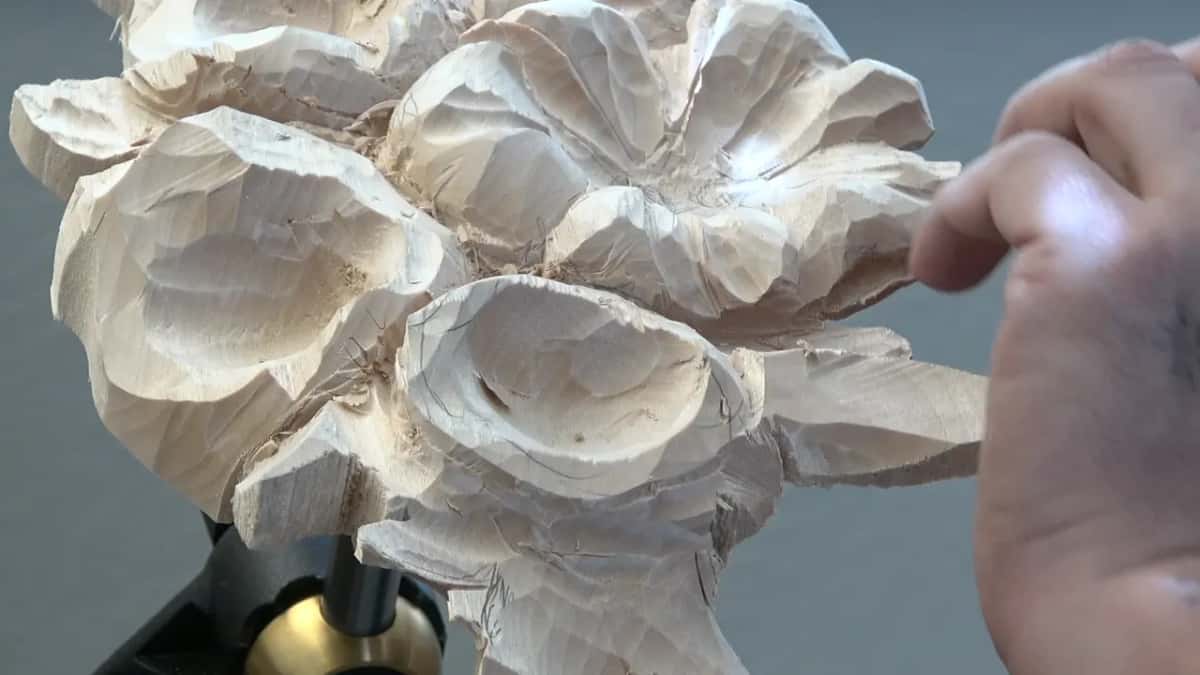
What are micro movements?
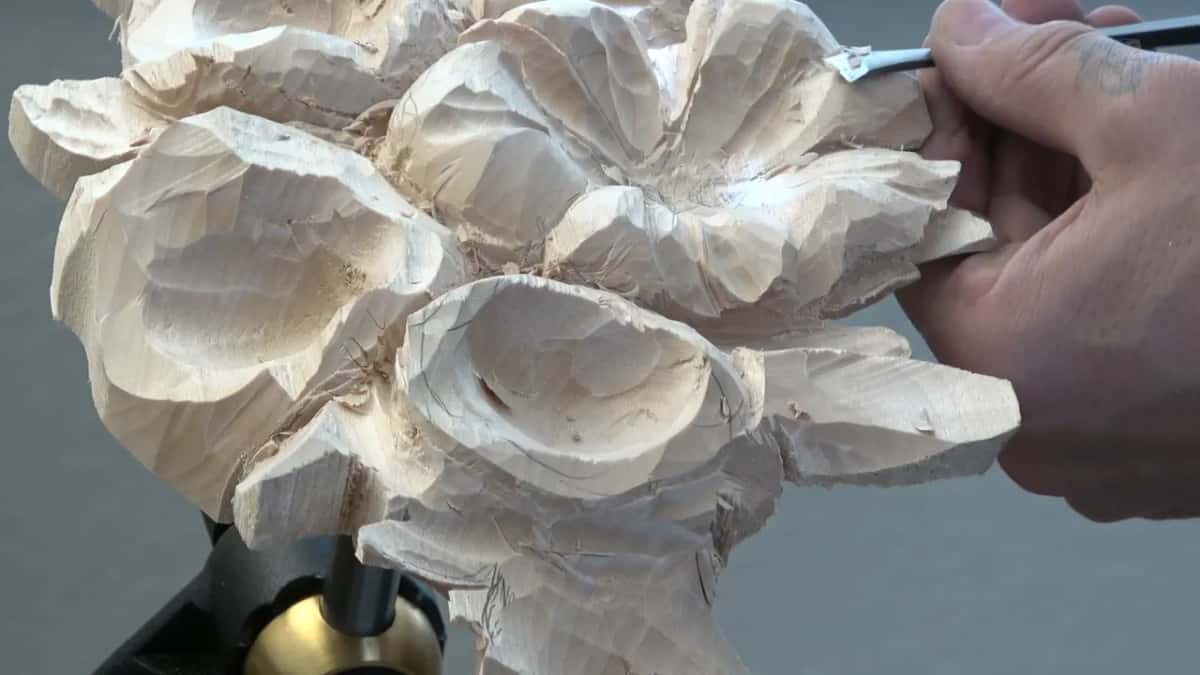
Tiny waves carved along an edge. The number five hit the edge in a few spots to make it a little rougher, or more wavy, like microwaves. Later I hit the same tool in from the edge, for micro movements. Can I call it a micro movement? I said I probably could.
Let's exaggerate this wave, I said in part two, and I made another small concave on that side. By part three I carved the edge to look a little more wavy, then one smaller one somewhere right there. It's all about concaves and convex cuts, like I said before.
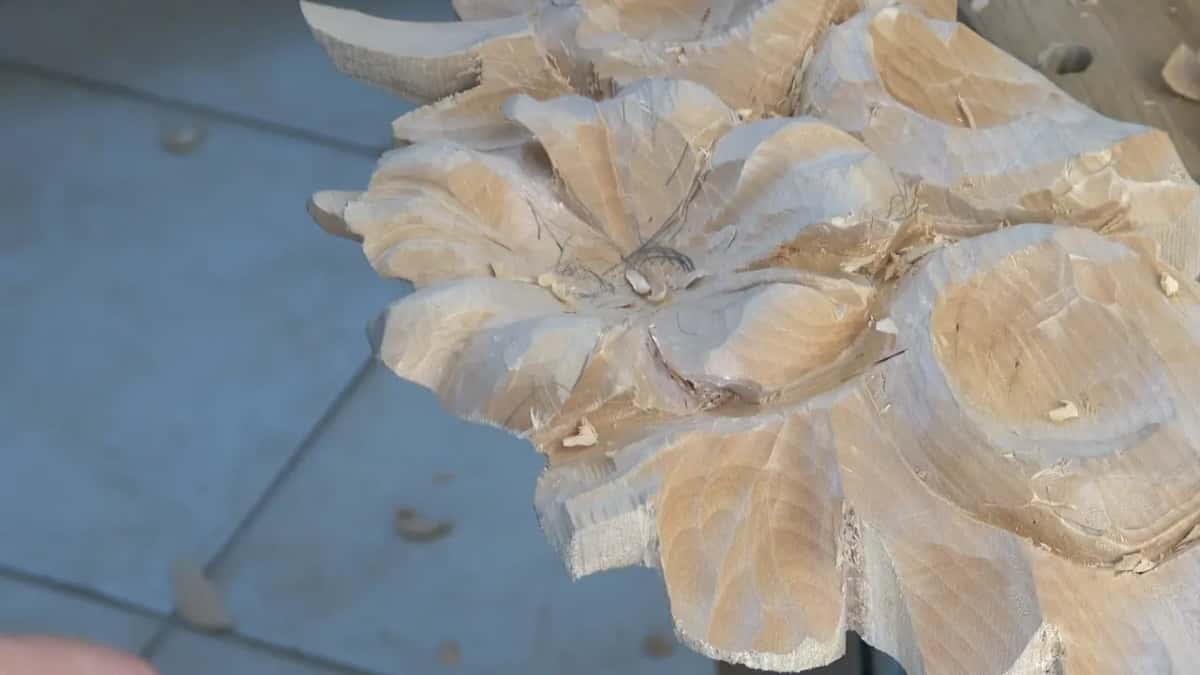
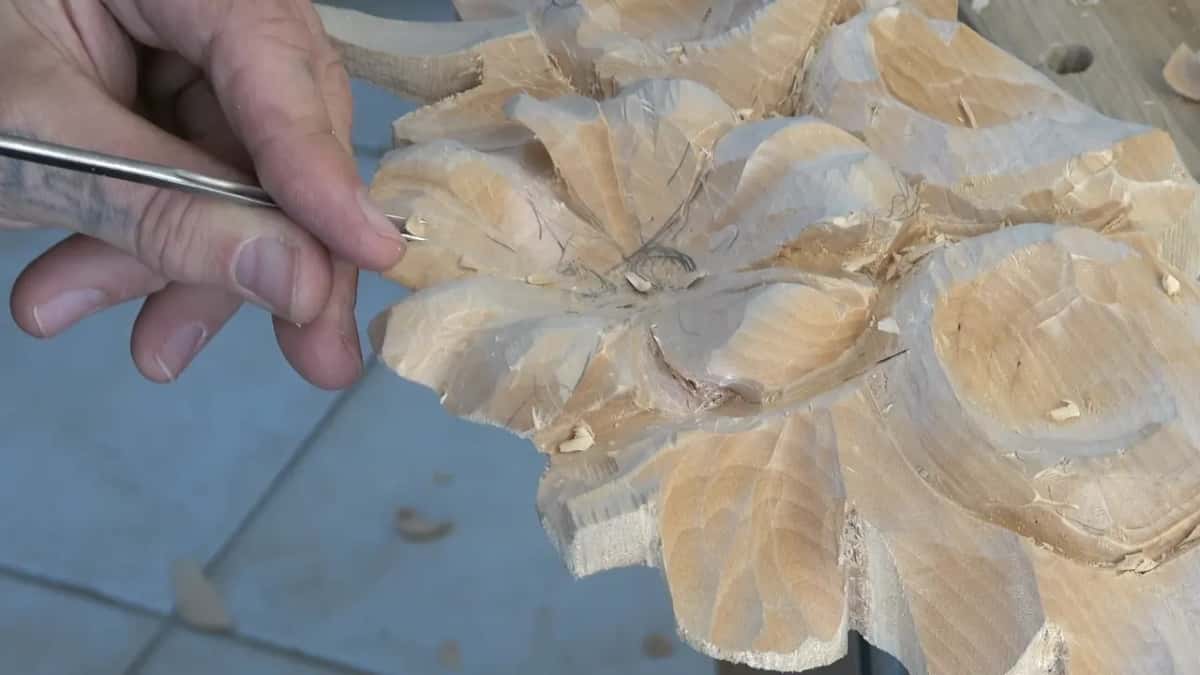
Where this leaves the panel
First ring finished, ridges left standing. The next lesson starts on the remaining flowers, which is lesson 33.
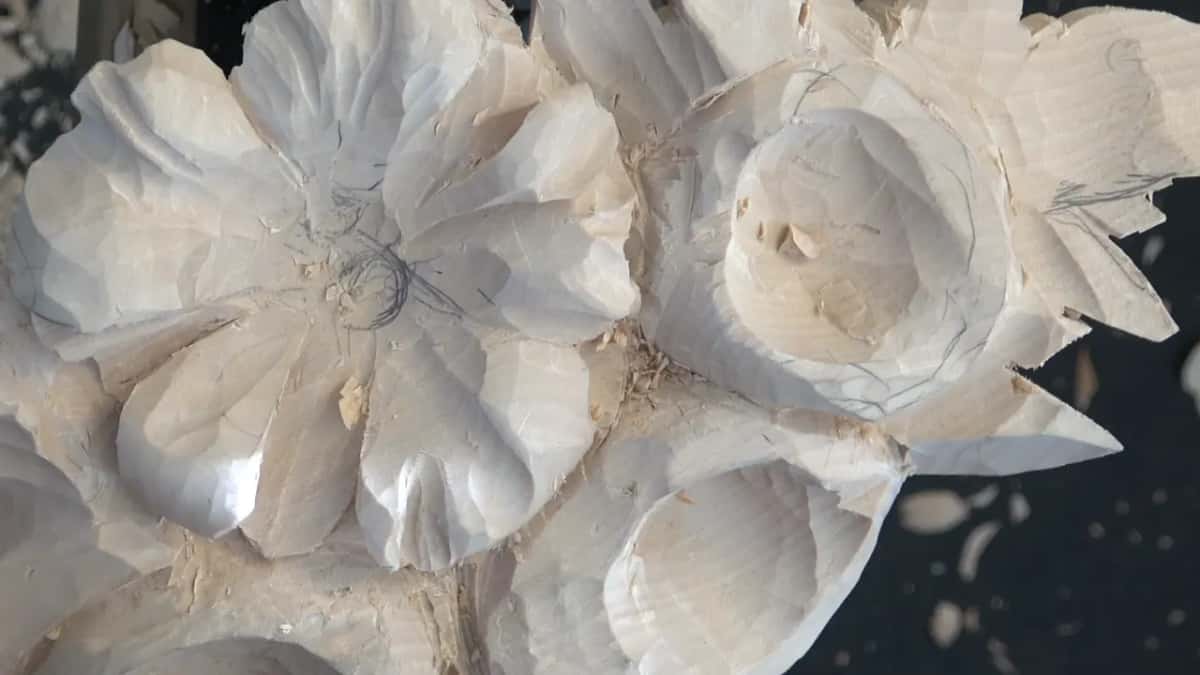
I like the ridges. I really like how this flower is going to look when I finish it, with all those ridges there. I'm not sure what you think, but I like what I see.
Turning it to look from different angles, I said I do like it. Still, I could refine it a little more.
Before calling the first ring done I said I kind of like what I see, and now I just have to clean it a little bit.
Don't want to overdo it, I said at the start of part three. The last flower I worked got the same rule. I wasn't going to do too much to it, just a deeper excavation in one area. After that I reset the movement the opposite way, because I thought it would look better.
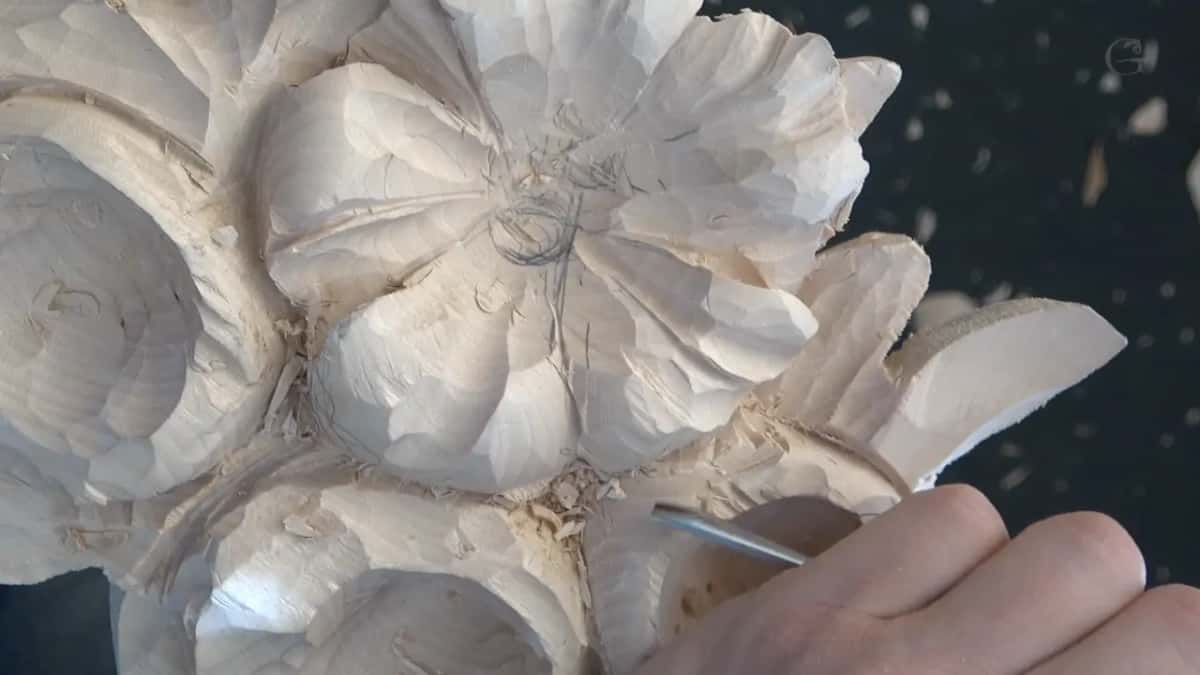
The full lessons of this wood carving panel, all three parts of this one included, come with tuition at the school.
How it's done
- Undercut the petal for shadow. Take the number five, a quarter inch, and go under the petal. Dig inside a little so the shadow opens.
- Lift the waste with a micro tool. A tiny veiner lifts the waste from underneath, where you can't go deep. Or use a little V tool.
- Smooth and blend with the fishtail. Pick up the number 4 fishtail to make things smoother, and where you need care, work with only its corner.
- Add a small concave on each side. A quarter inch number 9 makes it, and the number 5 blends it in afterward.
- Break the edge into waves. Hit the edge with the same tool in a few spots so it reads wavy.
- Look from different angles and stop. Turn the panel around and check it. Don't overdo it.
Frequently asked questions
How does a fishtail differ from an ordinary gouge?
Shape behind the edge. A straight gouge has straight sides up its whole length. The fishtail flares out at the end and narrows down behind it, yet both can carry one sweep and one width. Its corners are what reach the really small places.
Would you buy a fishtail or a straight gouge?
Given the same sweep and the same width in both shapes, I would pick the fishtail, and when I find one it is my choice number one even for a new tool. A gouge that isn't a fishtail still works, though. A number two at 5 mm got into two small spots on the grape onlay.
Are the sizes stamped on carving gouges exact?
Near enough, not always. My number seven in this lesson is marked a quarter inch but comes out a little smaller. An antique Marples and Sons fishtail from my furniture panel has no marking at all, somewhere between a seven and an eight.
What to carve next