
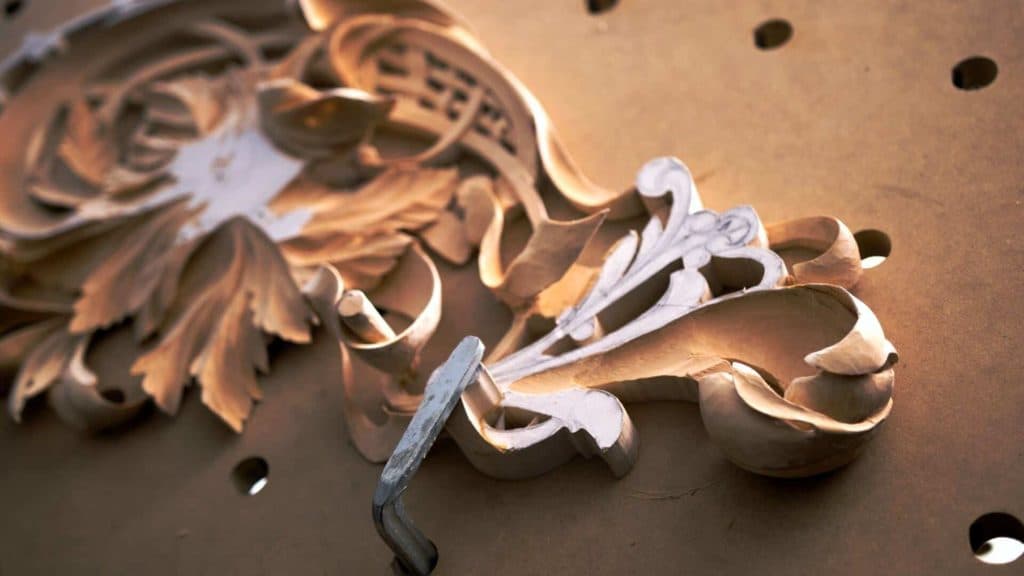
Alexander Grabovetskiy, woodcarver, School of Woodcarving · Published 2018
Is wood carving about speed?
Quick answer: Carving speed is worth money to me, but it is not the point. Every minute I save gets me paid quicker, I said in lesson 18, and still the work is not a matter of speed. Big gouges go fast where the wood is strong. Weak spots and end grain get small, sharp tools and patience.
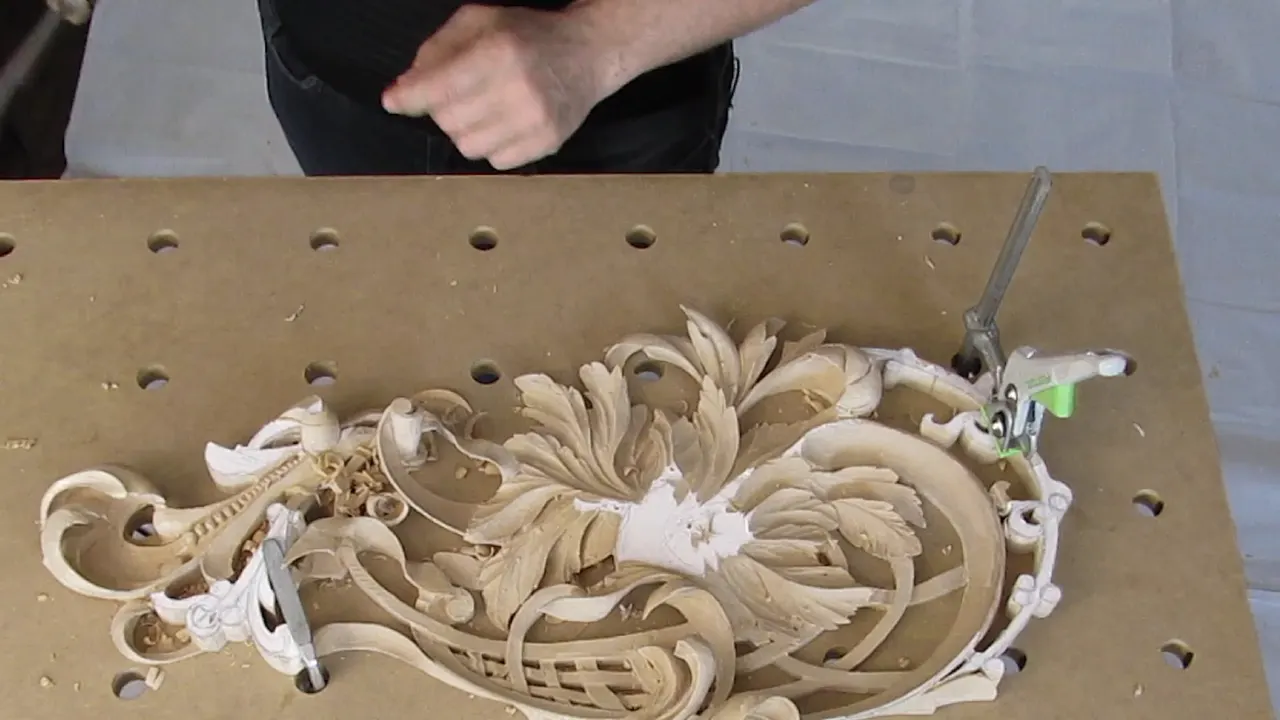
Speed in wood carving is worth minutes and money to me, and yet it is not what the work is about. I said so in part four of lesson 18, at the bench with this pierced limewood panel. Every minute I can save, that means I can get paid quicker. Although, wood carving is not about speed. You wish, but it's not.
Would you like a carving to be done sooner? And would you like it to still have every edge on it when it is done? Both wishes are fair, and this lesson put the two side by side on one panel.
I will give you each tool with its number and size, and the words I said while I used it.
Five lines from this lesson
A one-inch (25 mm) number 7 went in first, and I named it three times in part one.
For end grain I went smaller, for less fight.
A deep V tool separation still left half an inch (13 mm) of wood at the back.
A back bend, number 5, got past what was in my way, and then I broke an edge while talking.
The edges got a number 12 knife and a Dutch reed, with no sandpaper, by choice.
What came right before the money line?
A small tool, upside down. Part three ends with a number 5 gouge and a quarter inch (6 mm), and my words were, I'm working upside down with this tool. Part four opens on one line. It's just much quicker for me this way.
Then the money. I get paid for this work, so a minute counts. The rest of lesson 18 shows both halves of what I said next.
Does a bigger gouge make the work go quicker?
It does, wherever the wood has enough strength, and I put it this way in lesson 21. Definitely, if there is enough strength, the bigger tools, much quicker. But it is not always the safest.
This lesson starts that way. Get number 7, I said, and maybe I can actually get even a one-inch number 7 right here, and I made my preliminary cut with it. Same idea, I said. I have to make my movement in like that, and I'm going to blend those two together.

The same one-inch tool came back to make a part round, and once more to make it even more round. And you can see I left my paper. That is my high point, I said, which might be a more proper name for it.
The short version came in lesson 15. Bigger tools you have, quicker you do. In the next breath I added, attack from different sides, and keep an eye on what the grain of the wood is doing.

In lesson 21 I also compared three tools, the small one I had in my hands, a mid-size one and a bigger one. This one is an airplane, that one is a car, and that one is walking, I said. That's how you compare the speed. With the smaller tools, the process is much slower.
And then the other half, which I said too. You don't create too much pressure with small tools, so there is also an advantage, and if the time is not an issue for you, there's going to be less stress for you.
Why go to a smaller tool on end grain?
Less fight. The wall I had to remove completely in part two was end grain, and it's a good idea to start with the smaller tools there, I said.
First a number 7 of about 5/16 of an inch (8 mm), and I said a number 9 will work and a number 8 will work. Maybe even smaller, I said a little later, and went to a number 5.
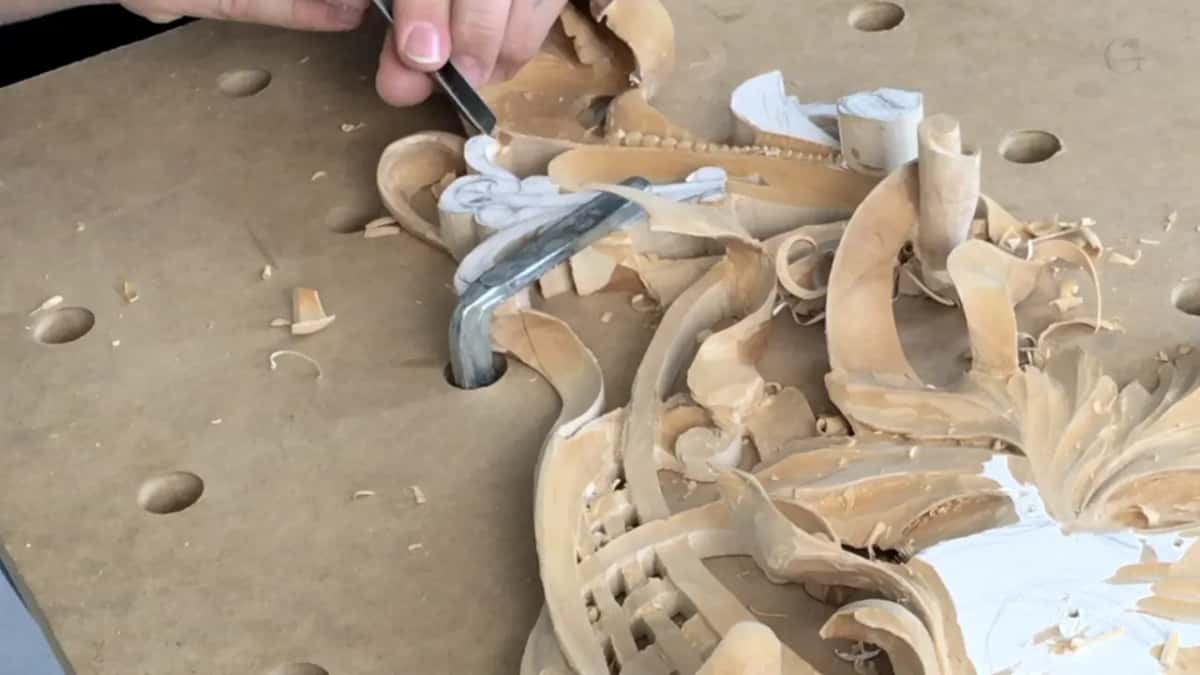
Right then it was a kind of dangerous spot. I was working along the grain, and if my tool is sharp, I should be safe. Just like I said before, don't create too much pressure.
The same thing came up again at the end of part three, on a number 5 and a quarter inch. Just because the tool is really small, that is my advantage at this point. Smaller chunks. A lot less resistance.
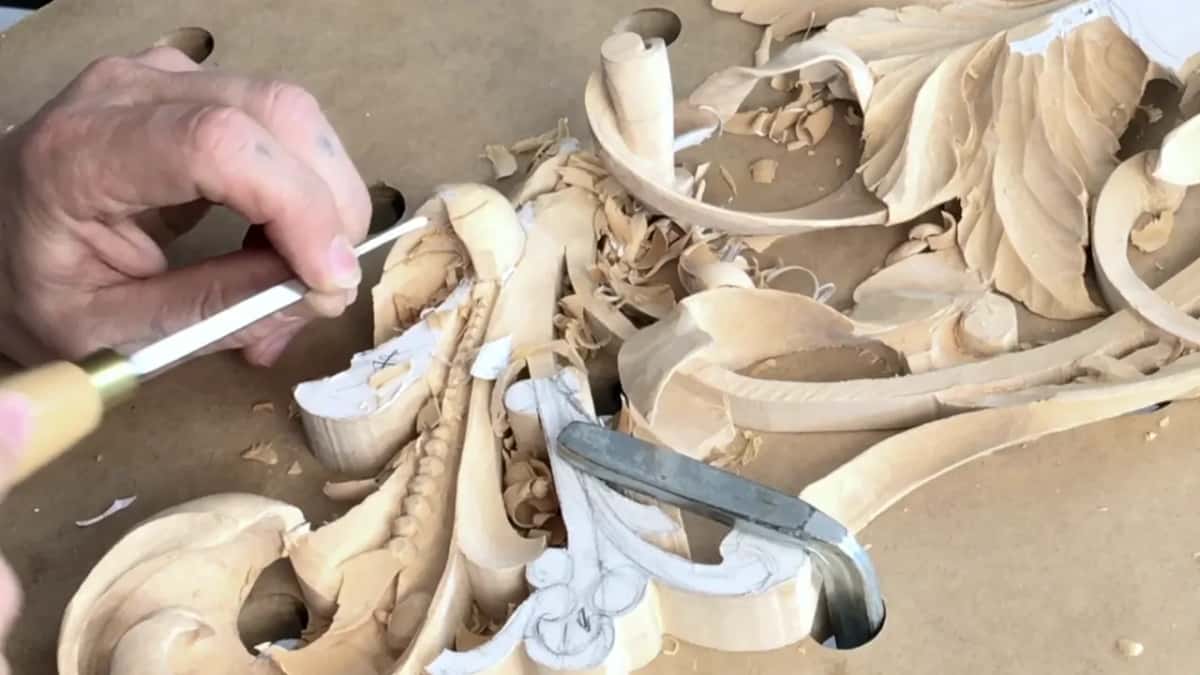
Patience comes into end grain as well, and I said so in lesson 12 while I tried a smaller number 8 on it. It is end grain, so you do have to be patient.
Seven of the tools from lesson 18 are in this table, with the job each did and my own words for it.
| Tool | Job | Said |
|---|---|---|
| One-inch number 7 | Preliminary cut, then blended those two together | Same idea. |
| V-tool number 16 | A deep separation, a half inch left | Deep enough. |
| Number 7, 5/16 | Started removing the wall, all end grain | Less fight. |
| Spoon number 9 | Blended the cut and the marriage line | Bigger spoon. |
| Back bend #5 | Got past what was on my way | A gooseneck. |
| Quarter-inch number 5 | Worked upside down to remove a wall | Less resistance. |
| Chip carving knife | Number 12, cleaned the edge a little | My edge. |
How deep can a V tool separation go?
Deep, but short of the back. This part had to be higher than that one in part two, so I made a separation cut with the V tool, again the same number 16. I went kind of deep and kept an eye that I don't go all the way down, but still deep enough.

What stayed between my back and that cut was about half an inch, roughly 13 mm. That was this openwork panel, at that spot. Back in part one, that V tool had made a preliminary cut to separate a part. Now I'll attack this wall from opposite direction, I said next.

What is a marriage line?
A marriage line is the place where the grain meets inside one piece of wood. I found mine in part two. Here's my grain meets, I said, here's the marriage line, and now I'll just blend that in.
Two spoon gouges came first. A spoon of about five millimeters (3/16 in) took out some of the waste inside, and a bigger spoon, a number 9 at 10 millimeters (3/8 in), blended my cut.
Back in lesson 8 I left wood inside a leaf for the same reason, because there is going to be a marriage line inside when the grain meets. For me, I don't want to rush it, and it's better not to rush. Take the time and make the right movement. You can see my marriage line, I said later, and I have to attack that from both sides.
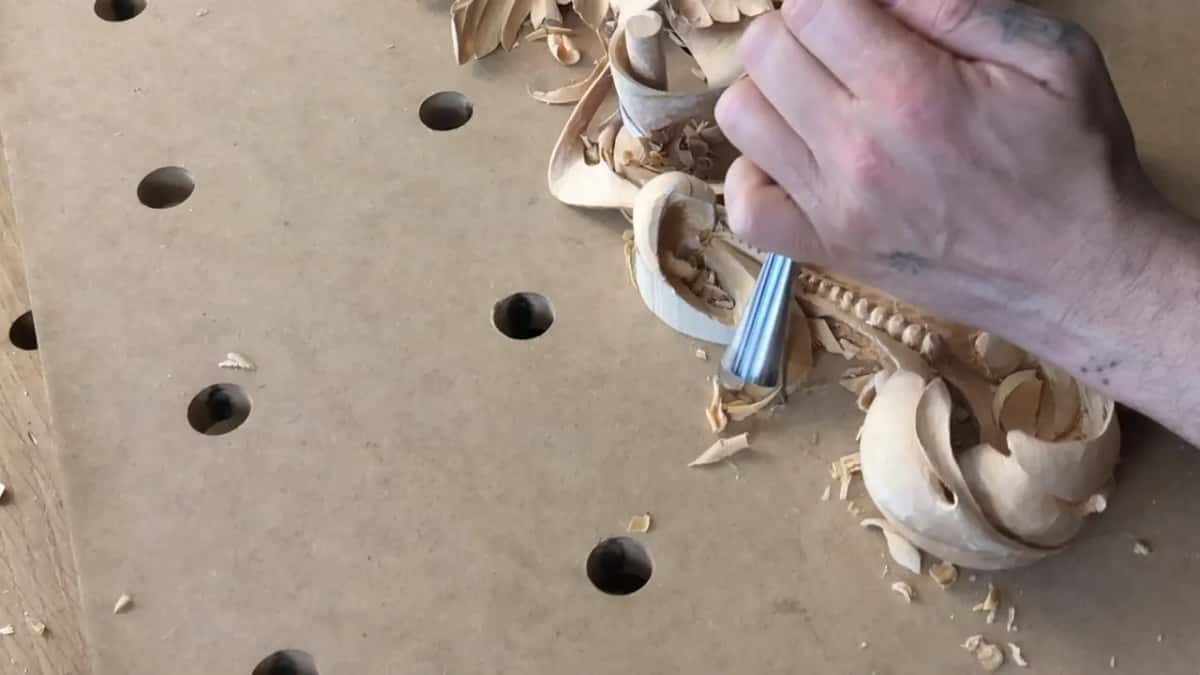
The goal in part two of lesson 18 was a flip, how I call it. This part goes from underneath, flips and goes above that one, which is my goal, and I hoped you could clearly see it.
Why reach for a back bend?
A back bend gets to places a normal tool can't. Part three has a number 5 back bend for blending, to get rid of a ridge, and I said why. Something was on my way, and because I have a gooseneck right here, I am actually able to get to the areas that with the normal tool, I would not be able to.
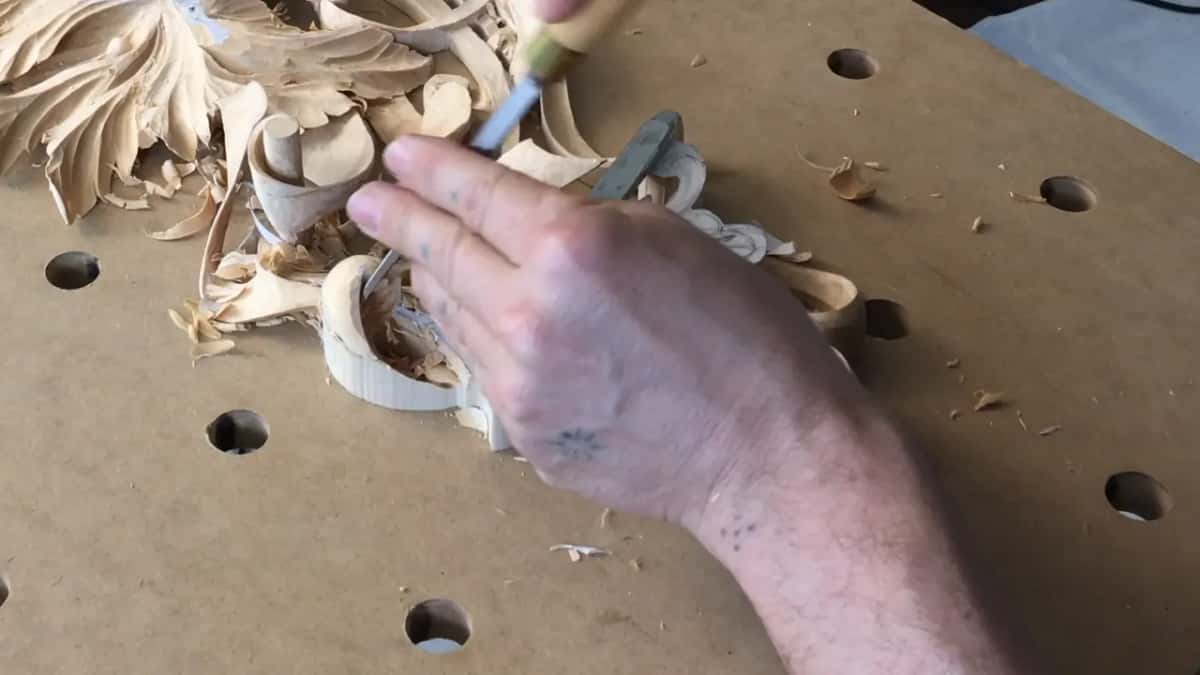
A few seconds later I said, that I should not do. I just broke the edge.
So again, we have to be really careful, and it's hard to be really careful when I'm just talking. After that I worked from the opposite direction, and said again, this is just a number 5, but a number 5 back bend.
The flip side shows up in lesson 43. Please forgive me if I'm carving and not talking, I said there, because sometimes I really have to work and concentrate on exactly the same technique over and over, and I sometimes even don't know what to say.

What does a single pass give you?
A single pass is one blending cut that runs all the way down. My goal in part three was exactly that, if I'll be able to.
Just before it the inch-wide number 7 was in my hands again, and I said, you should see how clean it looks now. Then I said I could actually use a bigger back bend, and made my blending cut just like that.
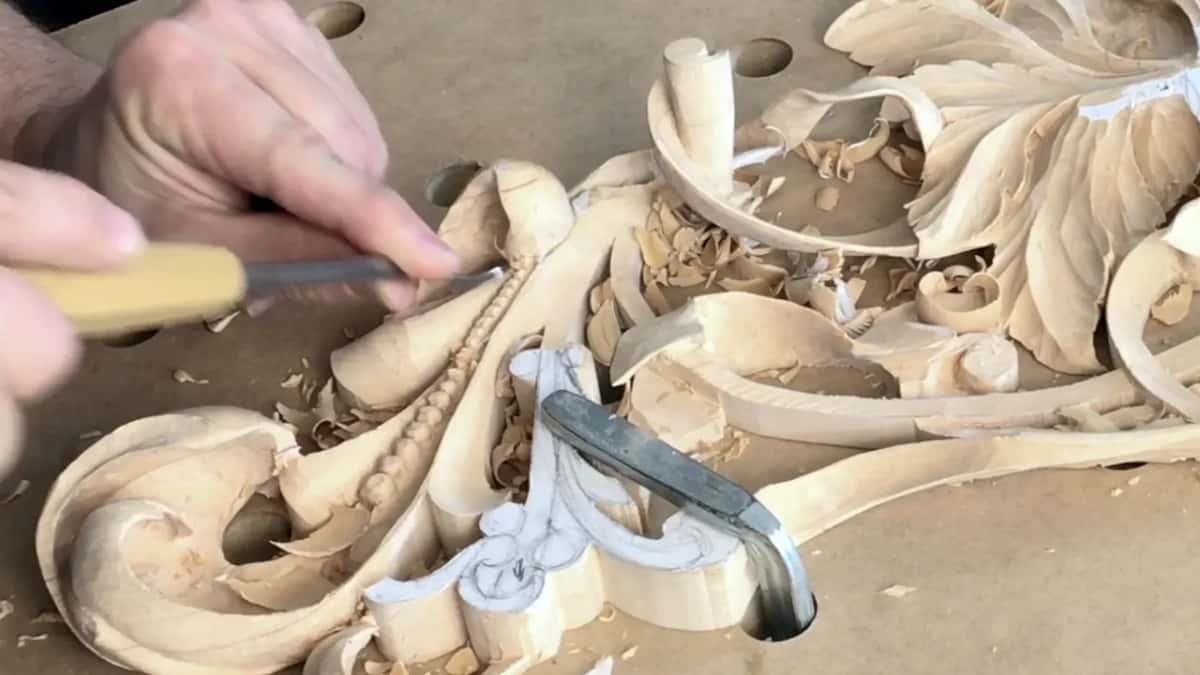
Fewer ridges leave less to clean. The biggest tools in lesson 10 gave much quicker results and a much cleaner cut. All I had left was pretty much three ridges to clean, and to clean those doesn't take too much at all.
When must the tool be really sharp?
Against the grain, and I said it with two musts. Just because I'm right now working that way, the tool must, absolutely must be really sharp.
That came on a concave. I had a separation, and I have to make a concave cut on it so it would look nicer, I said, with probably just a number 7, about 5/16, I would say. It wasn't too clean of a cut. Now I can go back, I said.

An edge like that is a skill of its own, and it has its own course here, carving tool sharpening.
When does hurry turn into a mistake?
For me it shows when I try to get as much as possible in one day.
That came out plainly in lesson 30. You set in with the big tools, the boasting, and then try to get the final detail the same day, and I have a tendency to make a few more mistakes. You're trying to rush everything with the big tools and make quick movements. Then you take tiny tools in your hands, but your hands already did the big stuff.
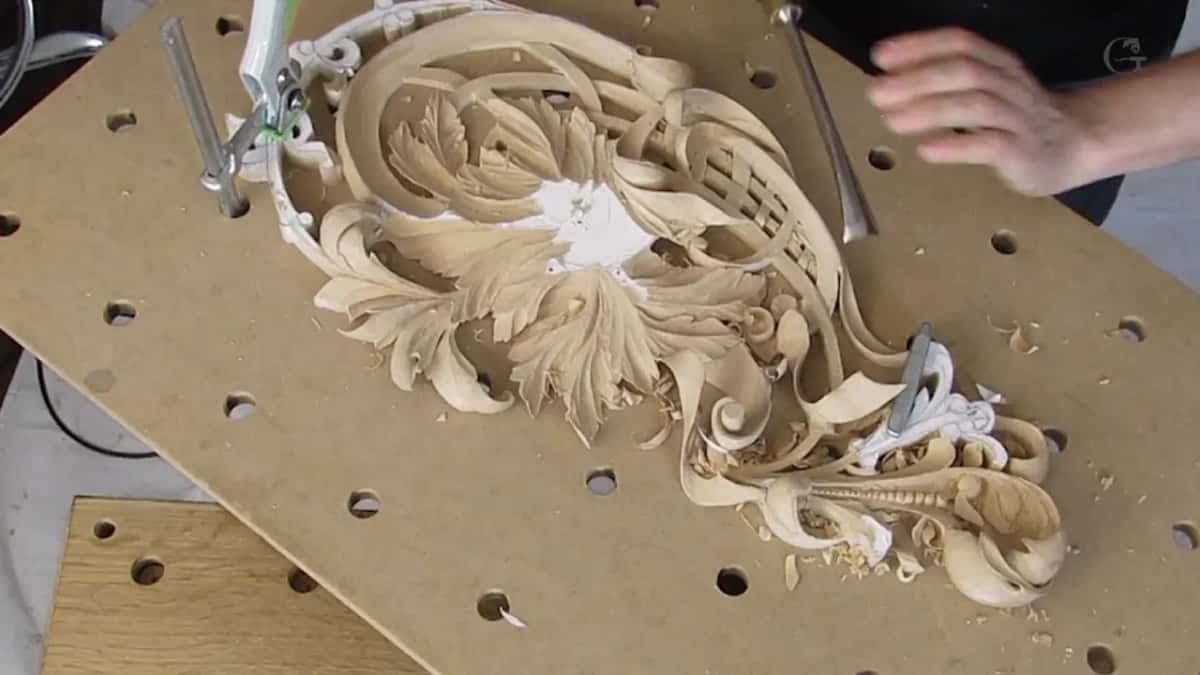
It happened on film in lesson 29. Oh, that's not what I wanted to do, I said, and I removed that edge. So that is exactly what happens when I am trying to be really quick, when I'm rushing. I know I made too many mistakes on this project.
During lesson 26 I said it's tempting, I know, because I'm also trying to rush it. But that would be a big mistake. The plainest line is in lesson 11: that is always a mistake, to rush it.
Hurry has a price in steel, too, and lesson 10 names it. Don't pry your tool, I said, or you can break it. Better to remove less in one cut and take your time than to break a really expensive tool.
Why did a knife finish the day?
A knife does a lot, and does it fast. You can do a lot with just a knife, and much quicker. Those are my words from lesson 39, and that's why, when I at first was trained in carving, my teacher would teach me knife techniques first.
In part four the knife came after a small change to the design. What I could do, I said, I can actually make a subdivision right here and make this leaf go right above that part. A V tool of three millimeters (1/8 in) did it, and I liked it.
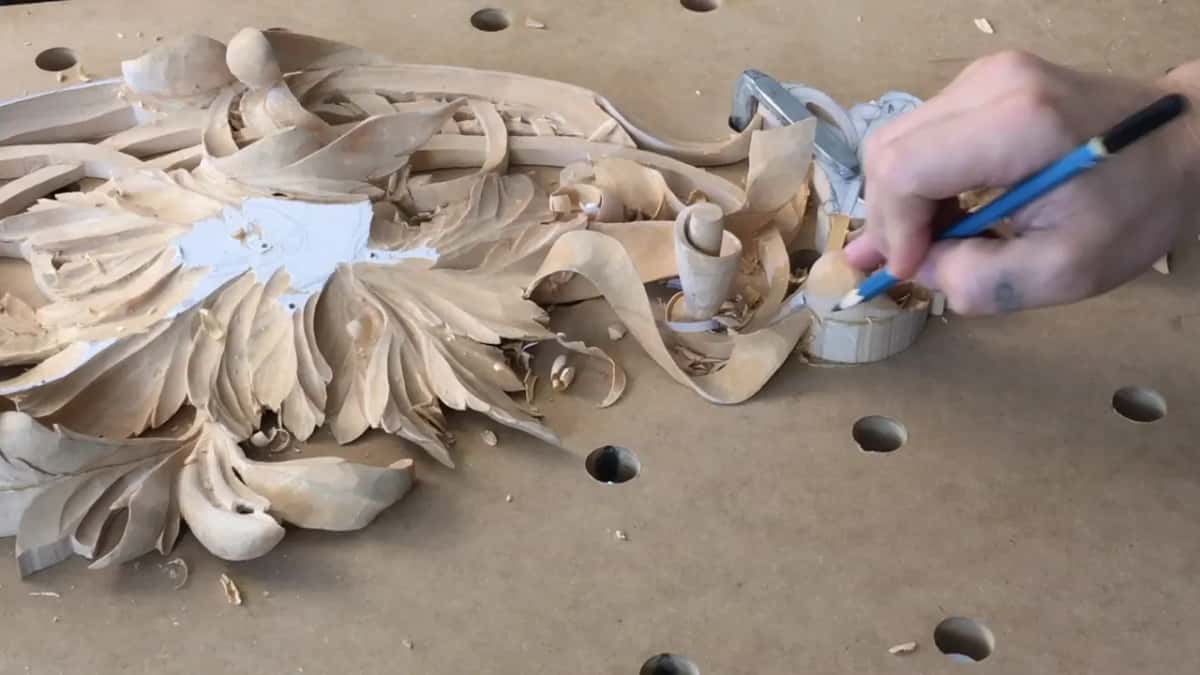
That V tool also made the notch more pronounced. Then I took just a knife, a number 12, a chip carving knife, and cleaned my edge a little bit.
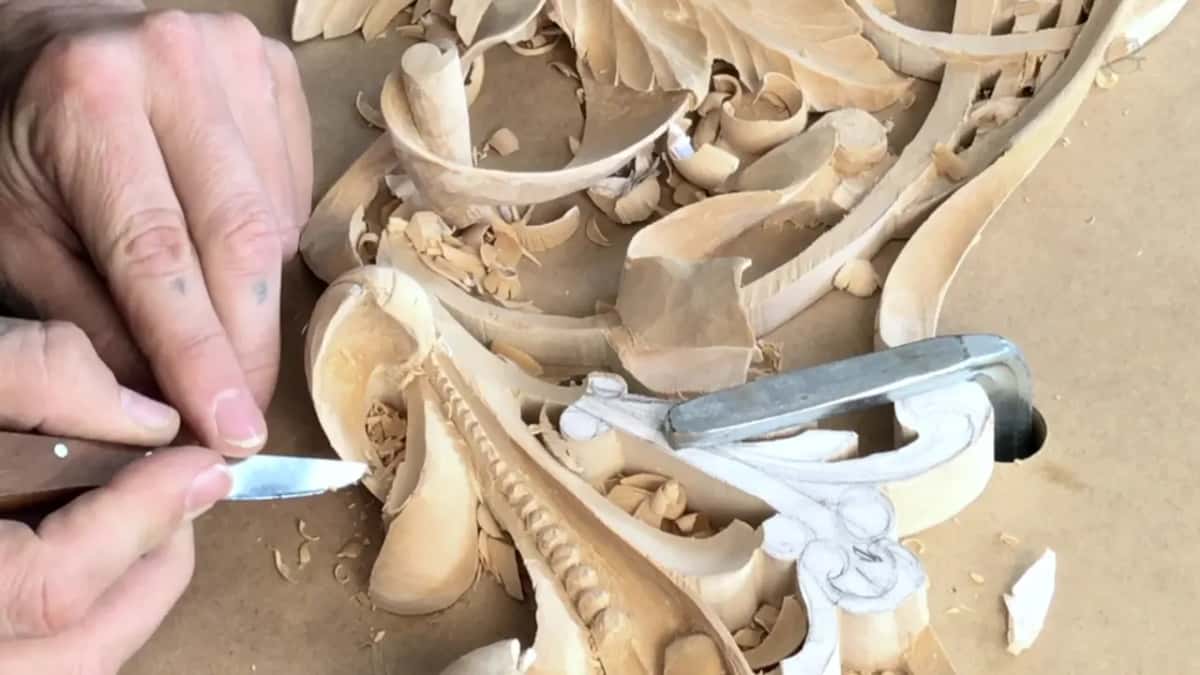
Why a Dutch reed and no sandpaper?
A dried Dutch reed works my edges, and it takes the place of sandpaper. Let's say if you would be working in the 17th century, I said in part four, you would use a Dutch reed.
Mine sits on a roll of paper. While it was wet I placed it on the roll and let it dry, so it works as a tube, and they used that to work on the edges.
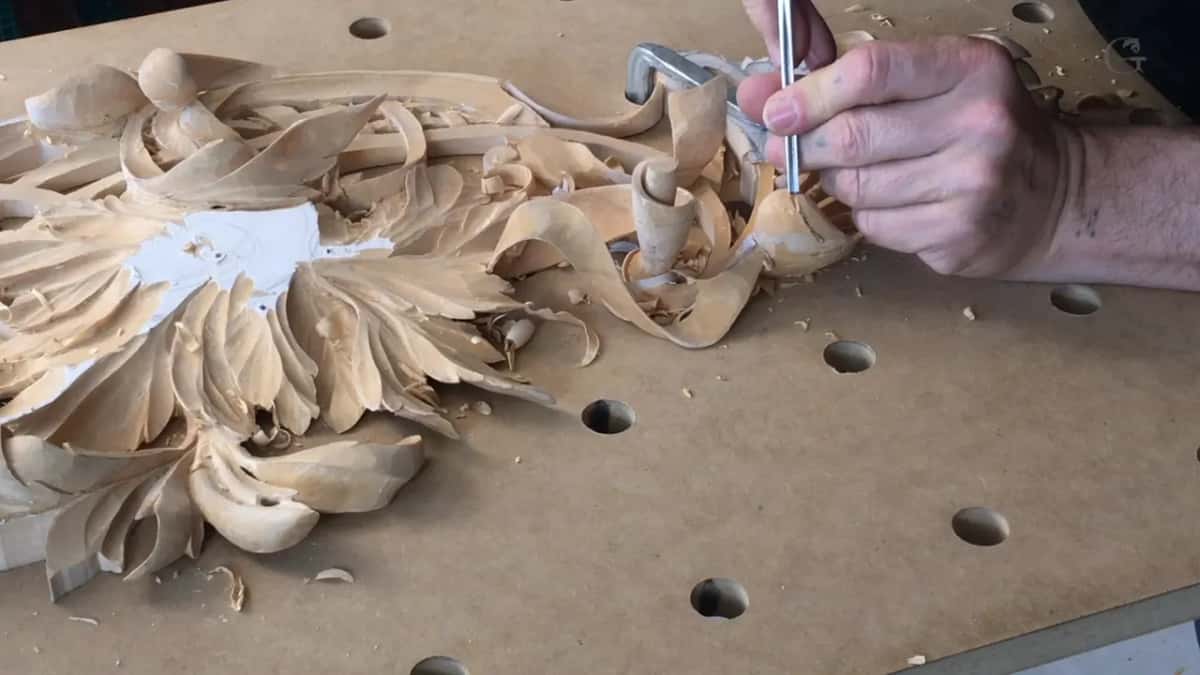
If you have a really sharp edge and you don't want to use any sandpaper, and I don't, I want to be authentic. It's not really sanding. It is, I said, but not like a sandpaper, so it's a more natural, more authentic way. That way I can work on my edge and see imperfections, then go back again with the knife and refine a little bit.
It has a limit, and I named it in lesson 24. Light sanding with the Dutch reed should be fine, because Dutch reed really doesn't take out those ridges. It just makes it smoother.

Can a hand-carved piece be hurried?
Not if you really want the hand-carved product, and in lesson 24 I said there's no way to expedite that. Yes, there are CNC machines, computerized routers, but they are limited, and they're still not able to do what you are with your hands.
That same lesson has the customer side. That is not a trade for people who want to get something done quickly, I said. Some customers do understand, some customers completely don't, and I have to explain to them.

A mallet comes into it in lesson 23. I know it's tempting to take a big tool and just take a mallet and just boom, just in one cut. But it just doesn't work on that type of carving, and this type of carving is actually not the fastest. But believe me, it trains your character. Trains your patience.
An extreme excavation underneath, in lesson 41, is all about how deep can you go and how patient you are. Nobody's going to see it. But you will know.
How long the skill itself takes is another question, and the mastery lesson is where I answer it.
What can you carry to your own bench?
Big tools on strong wood, small ones on a weak spot. One area in lesson 21 got small tools because it looked weak, and I was afraid a bigger tool could break it. Keep the edge really sharp, and go easy on the pressure, as I said before.
One line from lesson 20 is worth carrying. It's better to spend a few minutes more than to force it and make a big mistake.
Lesson 19 is next, and every part of this panel is inside the school, with the tools named as I pick them up.
How it's done
- Rough it out with a big gouge. On strong wood, make the preliminary cut with an inch-wide number 7, and blend the two shapes into one movement.
- Separate with the V tool. Take it deep with a number 16, and stop with 13 mm (1/2 in) still left at the back.
- Go smaller on end grain. Remove an end grain wall with a 5/16 number 7, then a number 5, and keep the pressure low.
- Blend with two spoons. Take out waste with a 5 mm spoon, blend with a 10 mm number 9, and find the marriage line.
- Reach past with a back bend. When something is in the way, a back bend, number 5, gets in with its gooseneck. Take care there.
- Keep the edge really sharp. Working against the grain, keep a really sharp tool, even on a small concave.
- Try for a single pass. Make the blending cut in one pass down the shape if you can.
- Finish the edge with a knife. Clean the edge with the number 12 knife, look for imperfections with the reed, and refine with the knife.
Frequently asked questions
Do bigger gouges carve faster?
Bigger gouges are quicker wherever the wood has enough strength, as I said in lesson 21, though they are not always the safest. On a spot that looked weak I took small tools, afraid a big one could break it. Small ones work slower, yet they put less pressure on the piece.
Why use small tools on end grain?
Smaller tools give less fight on end grain, so I start there with them. On this panel I went to a 5/16 inch number 7, and next a number 5 with light pressure. A sharp edge, I said, keeps you safe in a dangerous spot like that one.
How much wood should stay behind a deep V cut?
About a half inch, roughly 13 mm, between the back of my panel and the bottom of that separation. My V tool was a number 16, and I kept an eye on the depth, because the groove had to stay deep enough but not go through.
What to carve next