

Alexander Grabovetskiy, woodcarver, School of Woodcarving · Published 2019
What is a wall on a carved petal?
Quick answer: A petal wall is what I call a section of the edge that still stands thick. In lesson 47 the first one was about 1/16 of an inch (1.6 mm) and the next about a millimeter. I don't like how it looks, so I bring it to a really fine sharp edge, from inside or from outside.
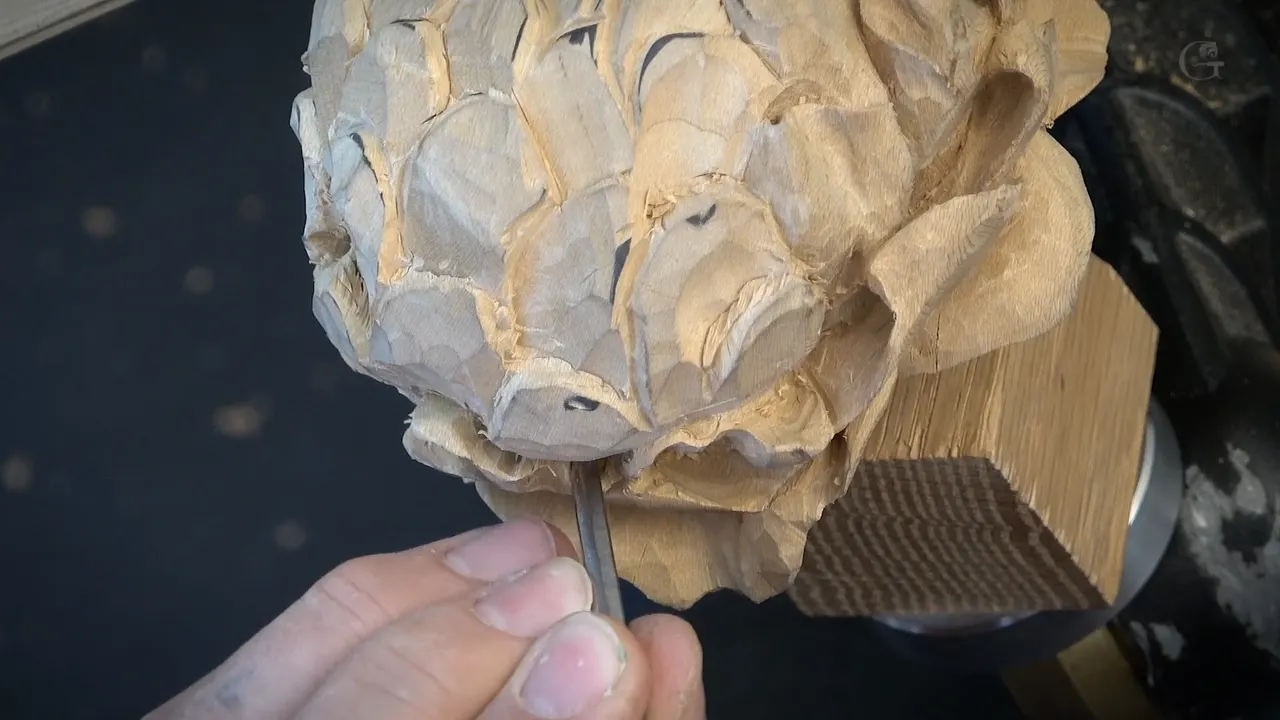
A wall is my word for a part of the petal's edge that still has thickness. Part four of lesson 47 of Carving Hashemi Flowers is where the word first comes up in this lesson. If you can catch it, I said, this petal has, I call it, wall, and then I exaggerated it so you could understand what I mean. That one was about 1/16 of an inch (1.6 mm), and I don't like how it looks.
Do you want the edges of your flower to look thin, the way a real petal does? Can you go slowly for that, a little at a time? Then come through the walls of this lesson with me, one by one, with the tool I used on each.
Lesson 47 has nine parts, and most of them are about petal movement, the curls and waves and concave cuts on a peony carved in limewood. Walls come up in parts four, five and eight. Where those parts run short, I bring in what I said about walls in other lessons of this course, and I name each one.
What lesson 47 showed about walls
One wall was about a sixteenth of an inch, and the next was maybe one millimeter.
Some wood carvers keep that wall, and they would say it looks more stylish.
Working from inside, my goal was to repeat the outside shape.
Cranking against a thin edge will break it.
On the lesson 14 ribbon, part of a wall stayed a while, as support.
Where did I point to a wall in lesson 47?
In three of the nine parts, four, five and eight. Part four came first. I was undercutting with a number five, about an eighth of an inch or 3 mm, and I said I don't have to use this number five, since a small gouge of 1/16 inch (about 1.6 millimeters) would do too.
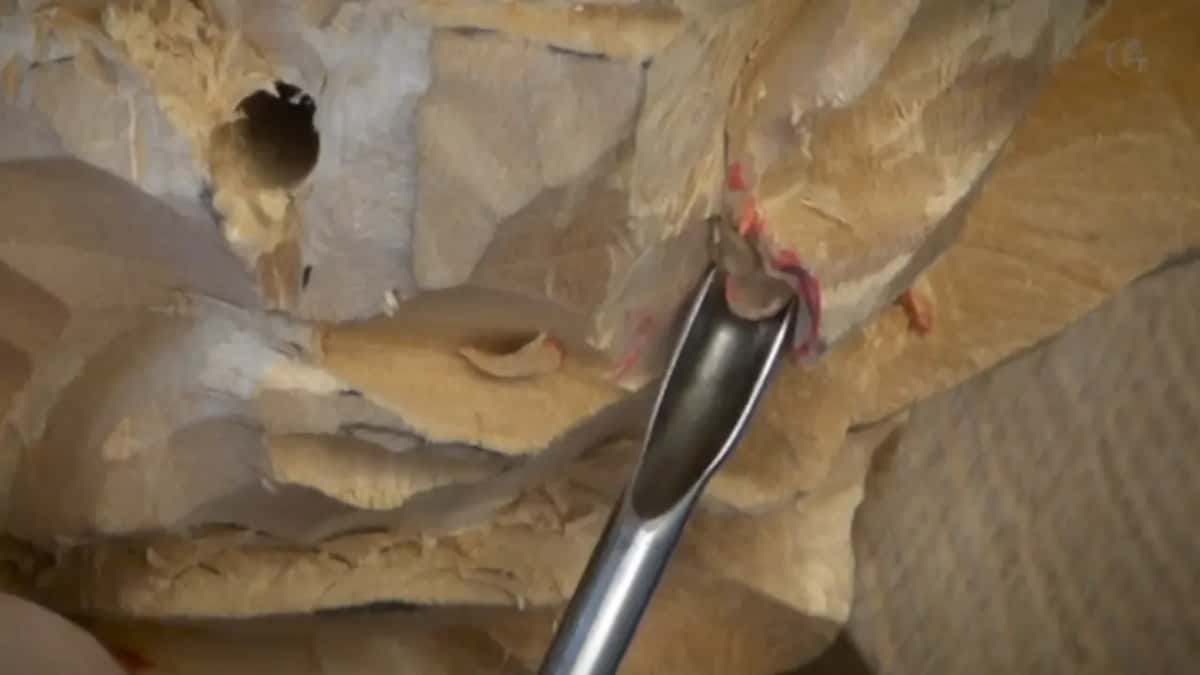
Then came the wall, and I didn't like the look of it.
By part eight I tried to explain again what I mean by wall. This section right here, I call it a wall, and I need to bring everything to the edge.
How thick can a wall be?
Thin enough that the camera may miss it. Two minutes after that first one I said I know it's almost impossible to see, but I do have maybe about one millimeter (about 0.04 in) of wall right here, and I don't like to see that wall. A number seven made that wall disappear, right to the complete sharp edge.
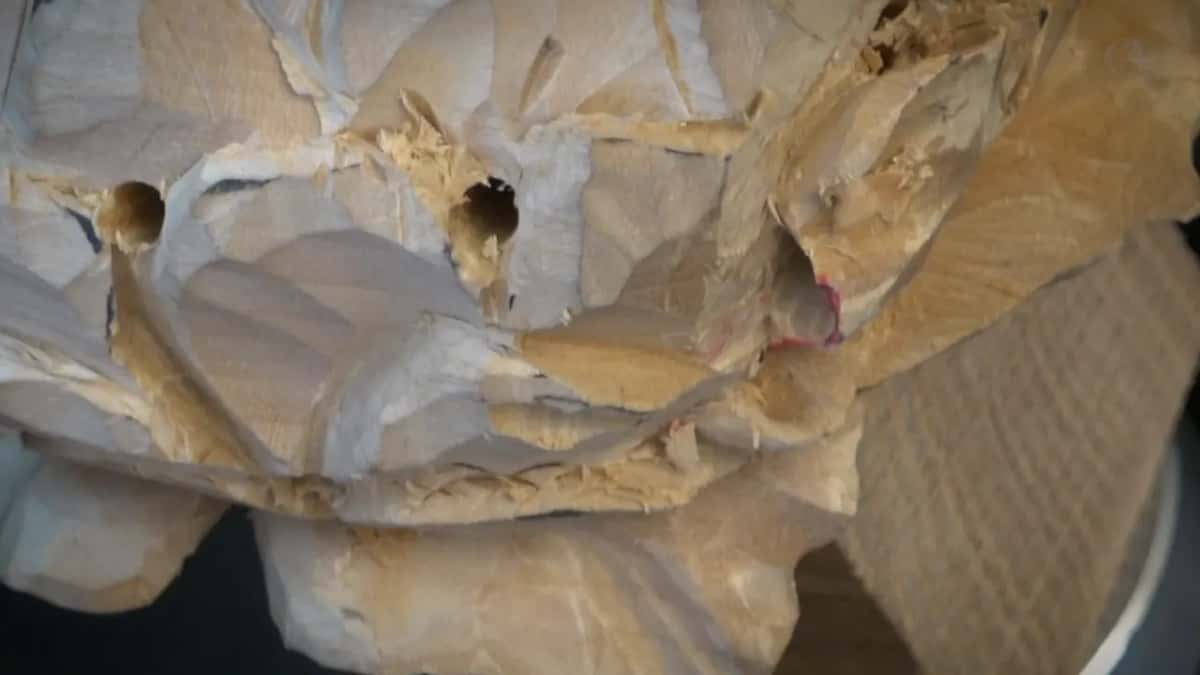
The fifth part had the next one, marked with red. It's a micro wall, I called it, only about a millimeter thick.
On a petal in lesson 41 I had a wall of about 3 millimeters (1/8 in) on one side, and said the same thing, that it's almost impossible to see. I could bring it all the way to the edge and even make a small twist, I said, and then that maybe I shouldn't even try, because there was just not enough material left.
A millimeter is small. Still, at least that's how I see it, this micro movement is not too big, but even a small detail like that still makes big difference.
Do some carvers keep the wall?
They do, and part five is where I said it. I know some wood carvers, they actually leave that wall on purpose, and that makes it more stylish, that's what they would say.
I go the other way. I like to bring two points to the really sharp point, just completely to the sharp point, and I kept working on that petal till no wall was left.
Two lessons on, in lesson 49, I tied the edge to the kind of flower you want. If you want it to look like a realistic flower, make sure your edge is really sharp point, so don't leave any wall.
Which side do you take a wall from?
Either side works. I'm always trying to bring it to the really fine sharp edge, either from inside or from outside, were my words in part four, and that one looked like some from inside, some out.
I started inside, with just a knife, and carefully attacked that edge. Because I attacked it from that side, I then had to make even more undercut and bring it completely to the edge. You have to be really careful, I said, or I have to be also really careful.

Part five went inside first too. Let me try first from inside, how deep I can get with the knife, I said, and after that I cleaned from outside until that wall completely disappeared. I was happy with the result.
With the petal in part eight, I liked how it looked on the outside. So that wall I attacked from inside, to remove it and bring everything to the edge.
Each wall, and how it went
Here is every wall from this lesson, with two from earlier lessons beside them.
| Wall | How I took it down, and with what | Lesson |
|---|---|---|
| Near 1/16 inch | A knife from inside, then even more undercut to the edge | 47.4 |
| Maybe one millimeter, hard to see | Number seven, to the complete sharp edge | 47.4 |
| A micro wall marked in red, a millimeter or so | Knife inside first, then cleaned from outside | 47.5 |
| One I liked from outside | From inside with a number six, then sweeping cuts till the inside repeated the outside | 47.8 |
| Roughly 3 mm (1/8 in) | Toward the edge, with a twist if the wood allowed | 41.2 |
| A wall kept for support | Number seven took part of it, not all yet | 14.8 |
Which tool takes a wall down?
A knife or a gouge, and part eight named both. Different ways we can do that, I said, and probably I need my number eight or number six. Number six will work.
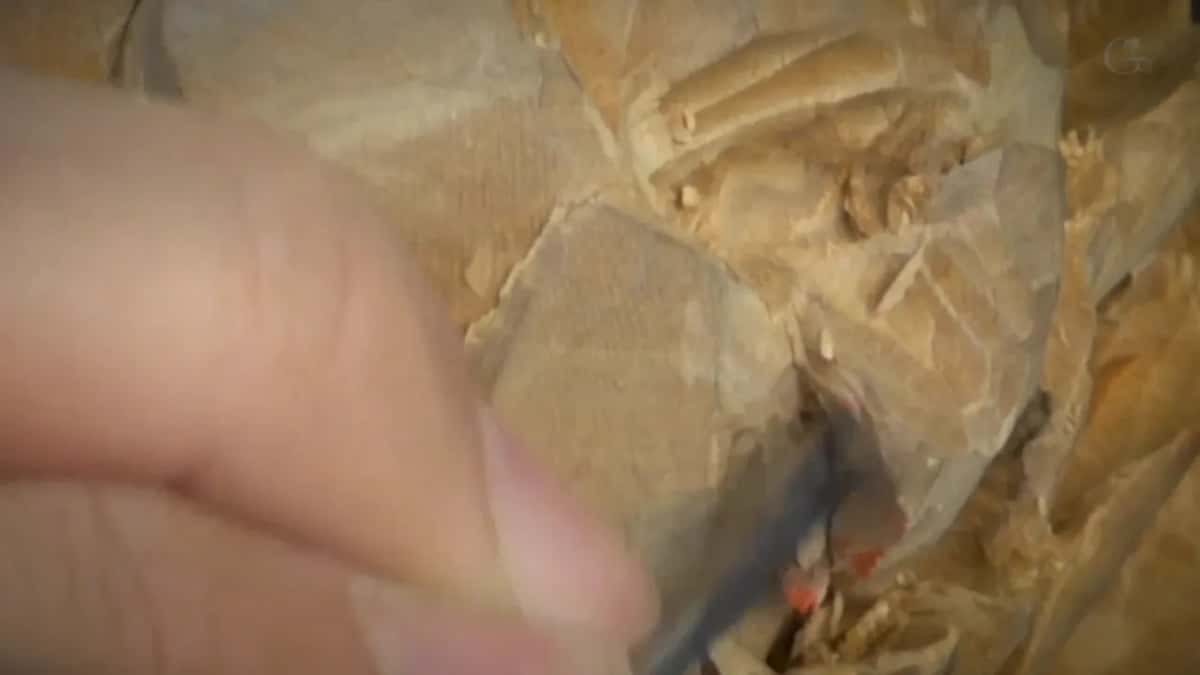
After it came a number three, 1/8 of an inch (3 mm), or again, I could use number 11.
Late in part four, after blending, I took what I called a number seven. I'm wrong, it's marked number six, I said, but definitely it feels like number seven.
For part five it was a micro gouge, one-eighth of an inch (3 mm), taken in as deep as possible, as extreme as possible.
Back in lesson 33 a number five and quarter inch (6 mm) did that job. I used it to find all of what I'm calling walls and take those walls on the inside.
How deep do you undercut behind a wall?
Until the inside repeats the outside. That was my goal in part eight, to repeat as much as possible the outside shape but on inside, and I kept going with the same tool until I could feel it.
The strokes went right to left and back again, just sweeping cuts, carefully. A number five at 3 mm (about 0.12 in) took out the waste after that, and I said it was going to create beautiful shadow.

Obviously this wall has to be gone, I said in part five, and it's just a lot of undercutting I have to get done.
That part had a trick for the deepest point. What else I could do, I said, is take a smaller number eight gouge and kind of drill that in, then bring the sides all the way to that point. If I need to drill more, I'll just rotate the same tool multiple times and remove all the waste, or hook it out, until I can't even see inside.

Part one went deeper still. I took a half a millimeter (0.02 in) number 11 and kept going until I almost couldn't see the vanishing point, or vanishing line, I should say. That cut has a page of its own, the vanishing point.
Why not crank against the edge?
You'll break it. Just be careful not to crank against the edge, because if you're going to crank it, you're going to break the edge, I told you in part one.
And I found myself guilty also when I'm making cuts like that. I have a tendency to crank.

Two more warnings came later. It's really important not to crank anything, I said in part three, and in part six it was please make sure you don't crank it too much, because you will be breaking.
Almost no pressure, just sharp tools, is how part two put it. In part seven, on the end grain, I said if you want to get nice results, especially on the end grain, tools absolutely must be sharp.

When do I leave a wall standing?
When the work still leans on it, or when the wall can become part of the petal. On the ribbon in lesson 14 I said this wall also has to be gone. Then I took only some of it with the same number seven, because I still had to work on that part and needed some type of support yet.
In lesson 35 a spot was already a wall. We can use it as a side of the petal, I said.

That same lesson 41 started with two ways for a wall. I could attack it from the backside and remove it, or round this wall and make a movement, so it looks like it's trying to wrap around this piece. I rounded it with just a small knife, and I liked it.
Is every wall at the edge of a petal?
In this course I used the word for waste, too. Lesson 13 had one, and I said this wall is kind of waste now. A big number seven, one inch (25 mm), removed some of it, careful not to touch the leaf.
The rough wall in lesson 36 came from the cut I made with a jigsaw. I had to remove it carefully, because a small leaf was going to grow from underneath.
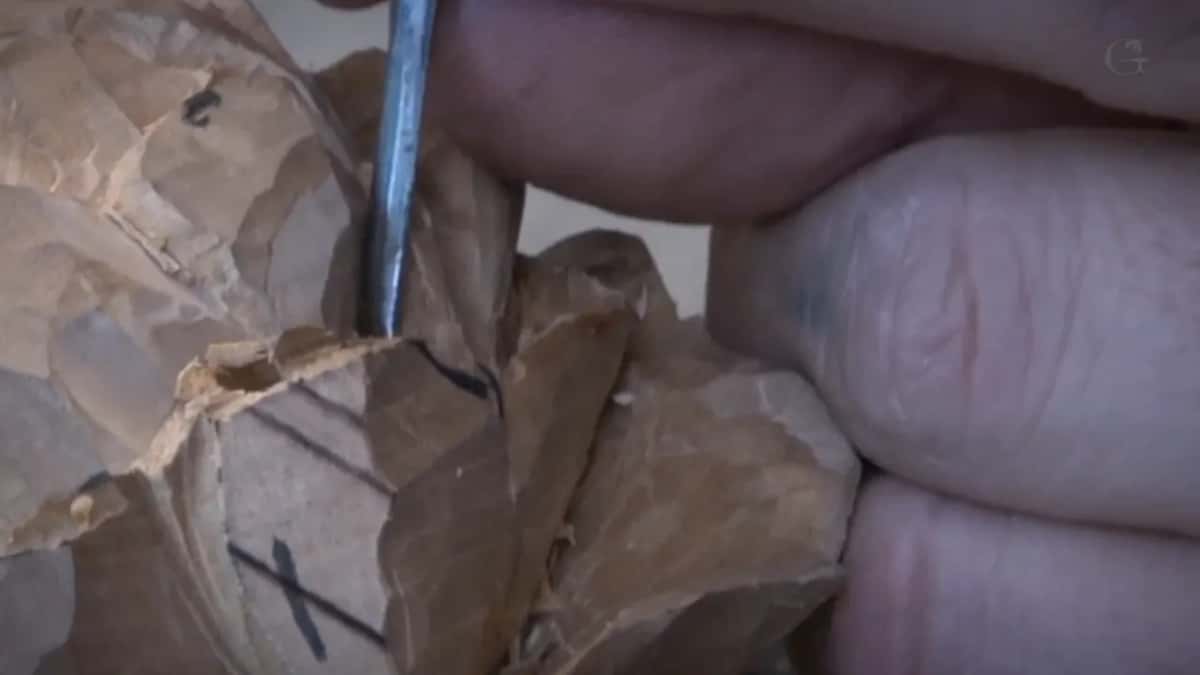
And in lesson 39 I said I need to remove this wall, I just don't like that wall, but on that side I had extra meat. So I tried for an even smaller leaf under the leaf, with a knife at first.
What I'm calling the wall, it's a section like this, and I need to remove it. Those were my words in lesson 10, about a wall I would meet later, when I attacked that piece from the backside.
What did the red marker show?
The wall, in part five. You can see I marked it with the red marker, and that is the wall, I said.
A marker went on a mess in part six instead. Let me mark that with a red marker or pink marker, I said, and all that waste had to go. Some marker was still left near the end of part five, and I saw it.
Do peonies curl outward?
Not often. Usually, you don't see too many curl outs on that type of flower, on a peony, I told you in part three. It's mostly on roses. When you carve roses, you can see that movement outward.
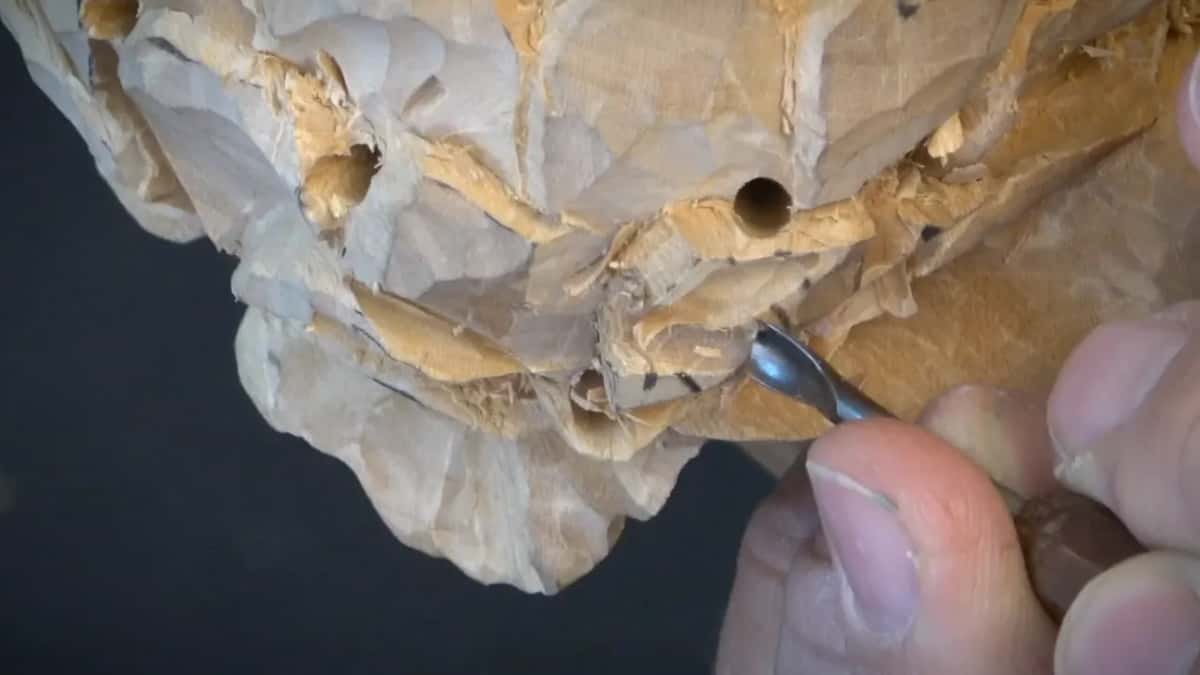
But still, I think it creates a beautiful effect, and it gives a three-dimensional look. Once in a while, in some spots, I can do that, not everywhere.
A curl out leaves waste behind it. In part six there was a triangle, and this triangle is a waste, because I have a movement that curls out. It had to come out without touching the edge, and my number 11 at 1 millimeter (0.04 in) helped, as deep as I can, but without too much pressure.
What did I mean by waviness?
Waves, everywhere I could make them. I call it waviness, and I'm not sure if it's a correct word, I said at the start of part one. It goes inside, it goes outside, it goes in, and it's also on the sides.
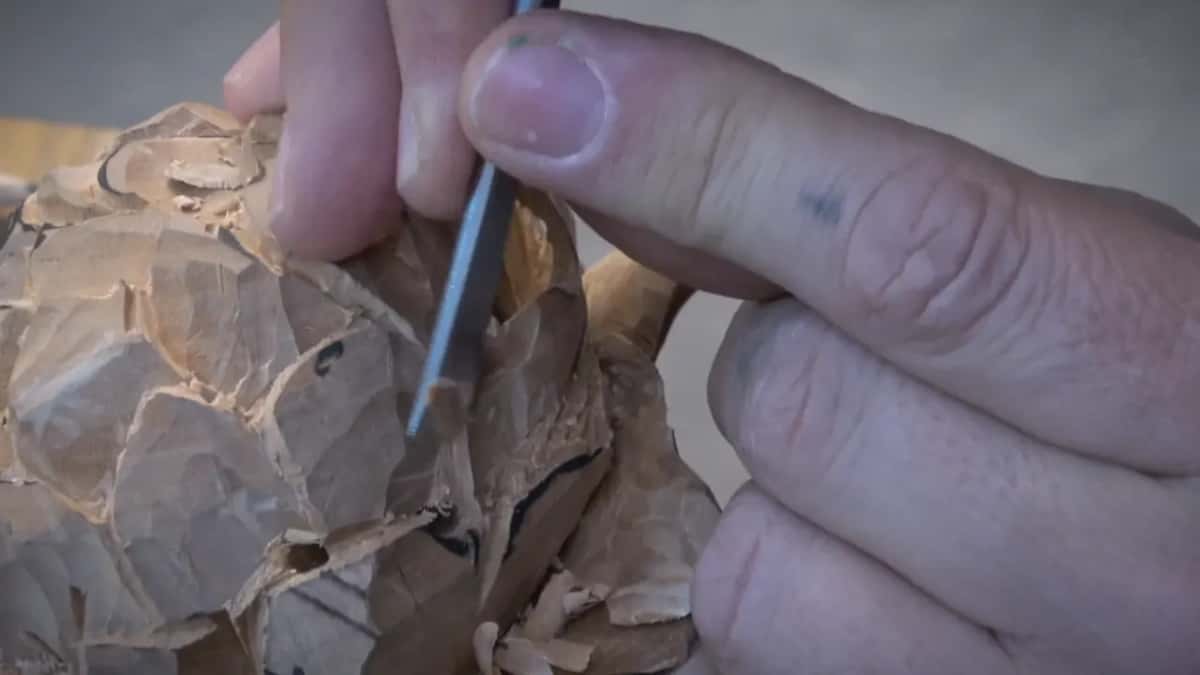
More waviness you make, more unique the flower is going to be. Two flowers will never match anyway. Even if you try to copy one you've done before, it still comes out different, and that's the beautiful thing about carving flowers.
Part nine had a leap backward, a curl that looks like leaping from inside out, and I said details like that need to be random, not as often, because too much movement is not going to look good. The lesson before this one asks which way a petal should curl.
Should every tool mark be blended?
Not every one. I don't have to blend them, by the way, and if you wish to leave them like that, it's up to you, because those ridges actually create a beautiful movement.

Blending, as I put it in part four, is for when there's too many ridges or too many facets, too many tool marks. Earlier in that part I blended with a micro knife made by Ashley Iles, from the Peter Benson collection, and at the end a micro knife made a little more smoother transitions.
My micro gouge needed to be buffed in part five, or stropped on a leather. A little later I said, much better.
How do I decide what looks good?
Work, feel and logic. I do apologize for being quiet sometimes, I said during part three. It's just pure work, that's it, what logically is good and what logically is not so good.

Every lesson of this limewood panel is part of Tuition, and lesson 48 is the next one.
How it's done
- Find the wall. Look along the petal for a spot where the edge still stands thick. I marked one with a red marker in part five.
- Try the inside first. Use just a knife and see how deep you can get under that edge, carefully.
- Undercut until the inside repeats the outside. A small gouge does this, a number six or seven. Sweep right to left, then left to right, until the inner face follows the outer one.
- Clean from outside. Bring the outer face down until the wall completely disappears.
- Keep the pressure low. Don't crank, or the edge will break. Strop a micro gouge on leather when it needs it.
- Blend what you want, keep what you like. Blending cuts go where there are too many ridges or facets. Ridges you like can stay, since those create a beautiful movement.
Frequently asked questions
How thick were the walls in lesson 47?
Thin. The first was near a sixteenth of an inch, about 1.6 millimeters, and the next one close to a millimeter, with a red-marked micro wall of a similar size in part five. I knew they were hard to see, and I still did not want them on the flower.
Is a thick petal edge ever left on purpose?
By some carvers, yes, and they call the look more stylish. My own taste runs toward two points that meet completely at a sharp point. Two lessons later I tied that sharp edge to carving a realistic flower, the kind I encourage you to try.
Which side should you attack a wall from?
Either, and on one petal in part five I used both. First I tried the inside, to see how deep the knife could get, then I worked the outside until the wall disappeared. Elsewhere, going in from inside meant extra undercutting afterward to reach the edge.
What to carve next