

Alexander Grabovetskiy, woodcarver, School of Woodcarving · Published 2018
What do you do with the leftover wood between carved petals?
Quick answer: The wood left beside a carved petal is not always waste. In lesson 35 of my Hashemi panel I kept two chunks like that for small leaves under the flower. I undercut, and in one spot I left about five millimeters of thickness for a leaf.
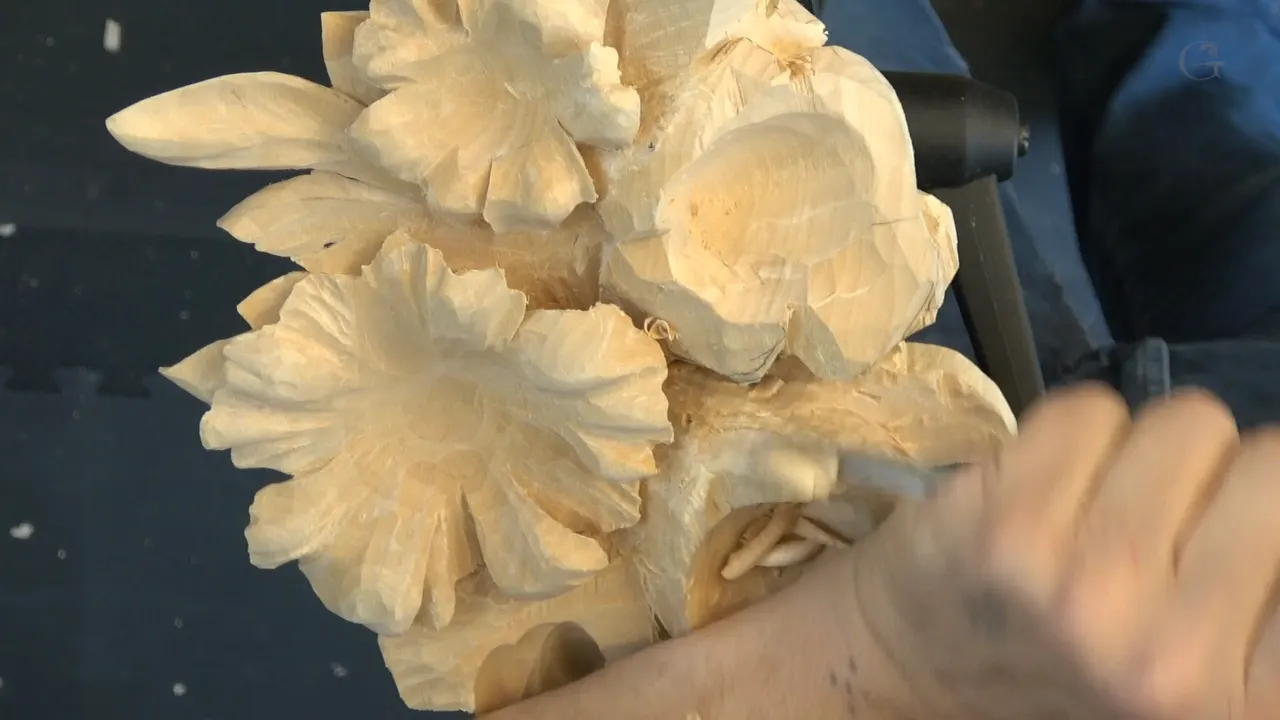
Leftover wood between carved petals is not always waste. On my limewood panel, in lesson 35 of Carving Hashemi Flowers, I showed you a section past one petal and said it's not going to be waste. Other spots on that same ring were waste, and I said that too.
Would you like your carved flower to look deeper? And would you rather use the wood you already have than sweep it up? Then follow one flower with me through this lesson, start to finish.
The lesson has three short parts. Where it runs out, I bring in what I said about saving wood and deep undercuts in other lessons and courses, and I name the place each time.

What I kept, and what went, on one flower
Two chunks beside the petals stayed, each one saved for a small leaf growing from underneath the flower.
One wall, I said, can serve as the side of a petal.
The real waste came out under a number nine.
In one spot I left about 5 mm (3/16 in) of thickness for a leaf.
A V channel, I said, can make solid wood read as two glued parts.
And my tools had to be really, really sharp, because on a flower I had to attack it from more than one angle.

Which parts of the first ring were waste?
The ones I named out loud. I started the next flower with exactly the same idea as the last one. Let me think what's the best way to divide it, I said.
I subdivided it in five. On one I planned to go down the whole way. So that is waste. Right here is waste. There will be waste, and right there.
And one, I said, can actually go underneath of this flower.
Later in part one came the section that was not waste. My petal could stop right there, I said, but this section is going to be just a leafage underneath of it. I think that's a good chunk of wood we can save and utilize.
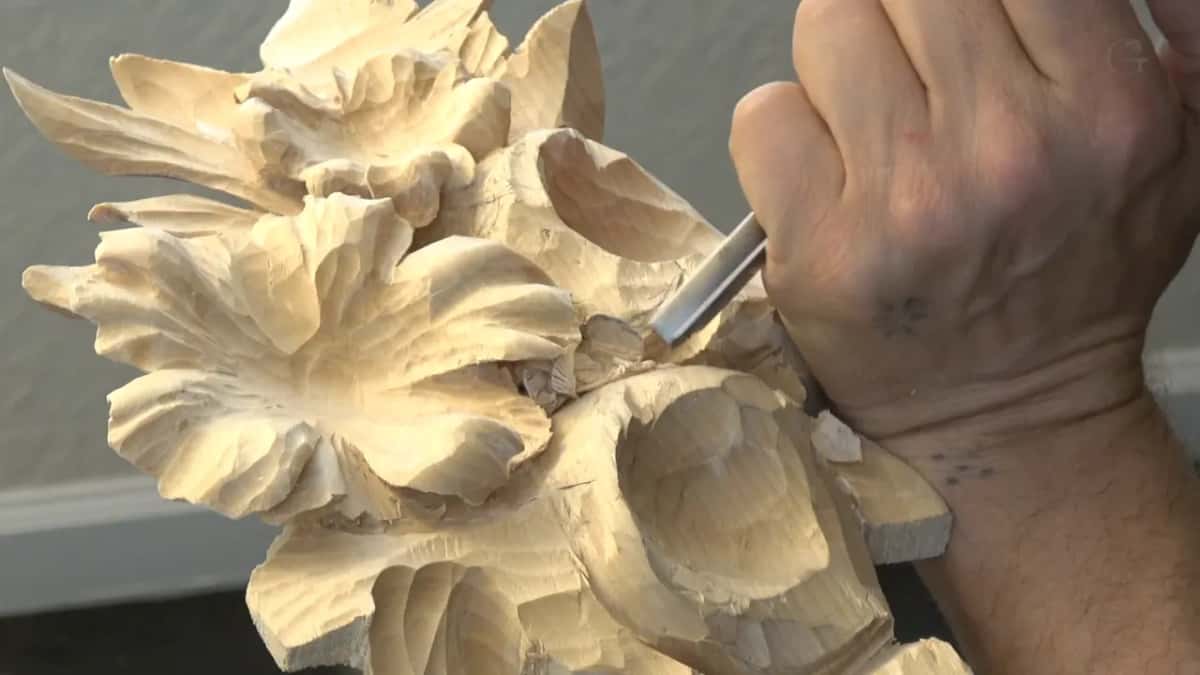
How did I save that chunk for a leaf?
With a V tool first, then an undercut. Right after naming the waste, I picked up a number 16 V tool and made some separation cuts, and preliminary, I undercut slightly. Lesson 22 is where I said that number 16 is not 45 degrees, it's 35.
For the chunk itself I just undercut. I can go deep if I want to, I said, but hopefully you get my idea. I am saving this chunk, and it will be just like a small leaf sticking from underneath.
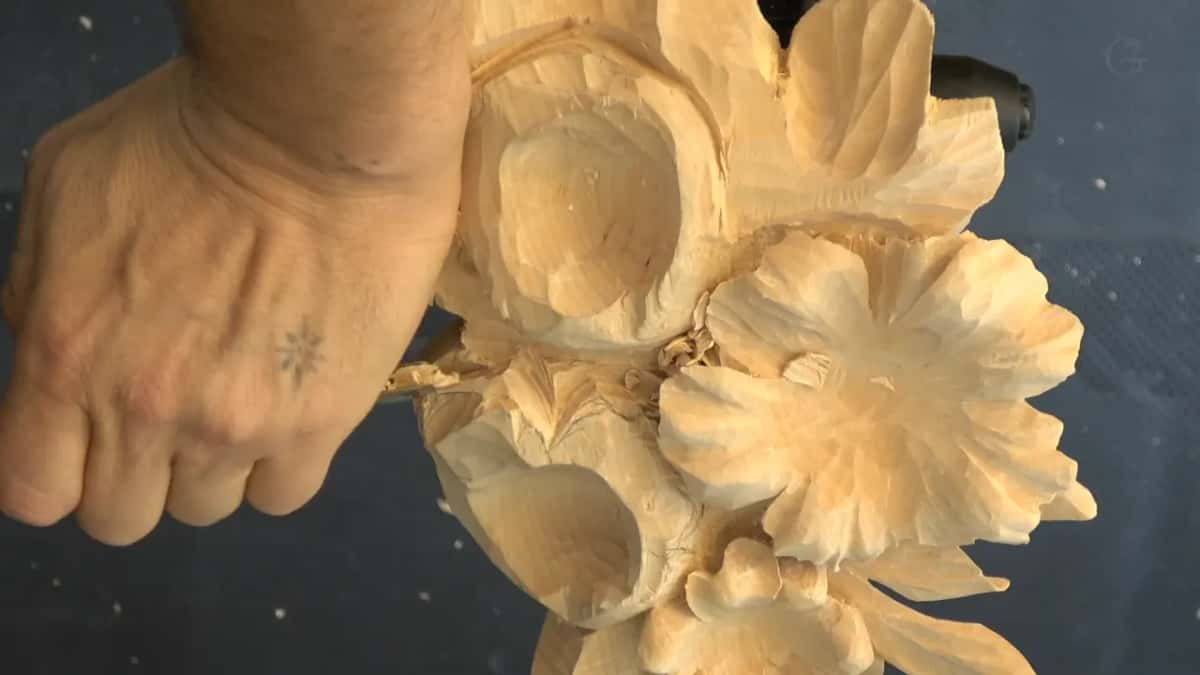
It doesn't have a form yet, I know. But definitely it will have form.
Near the end of part one it happened again, in another spot. We still can use this chunk, I said. I don't want to waste it, so we can actually utilize it as a small leaf growing from underneath of the flower.
The payoff comes in lesson 36. You can see this chunk, I say at the very start of it, I said I'm going to utilize it as a small leaf, which is growing from inside of the flower out.
If a leaf that was never in your drawing sounds odd to you, lesson 31 takes up that question.

Can a wall be kept as the side of a petal?
It can. Next I showed you a spot that was already a wall, and I said we can use it as a side of the petal, the flower petal. The same idea as the chunk, only here the wood would stay on as part of the petal.

Which tools took the real waste out?
Mostly a number nine. Part two opens with my warning about sharp tools, and then I went to work on details. I made the main shape with a knife, just a cheap carving knife.
Next I said let's take out some junk. Well, it's not the junk, I said right after, but extra material we don't need. I took a number nine gouge, 5/8 of an inch (16 mm), and excavated as much as possible.

| Tool I picked up | What it was for on this flower | Part |
|---|---|---|
| Number 16 V tool | Some separation cuts, the first tool in part one | One |
| A cheap carving knife | The main shape | Two |
| Number nine, 5/8 in (16 mm) | Took out the junk, which I then called extra material | Two |
| A smaller nine, 1/4 in (6 mm) | A deep channel | Two |
| The V tool again | A channel that would look like a line between two glued pieces | Two |
| Number seven, 20 mm (about 3/4 in) | Rounder petals | Three |
| Number five, one inch (25 mm) | Named in part three, just after I said one I had done was fragile | Three |
How deep can you go under a petal?
As deep as you wish. I'm not afraid to be really deep right here, I said, because it's going to create even more of a three-dimensional look.
After that I took a smaller number nine for a really deep excavation on one side. That one needed to be sharpened or just buffed, I said, and a few seconds later it was much better and let me excavate deeper right between them.
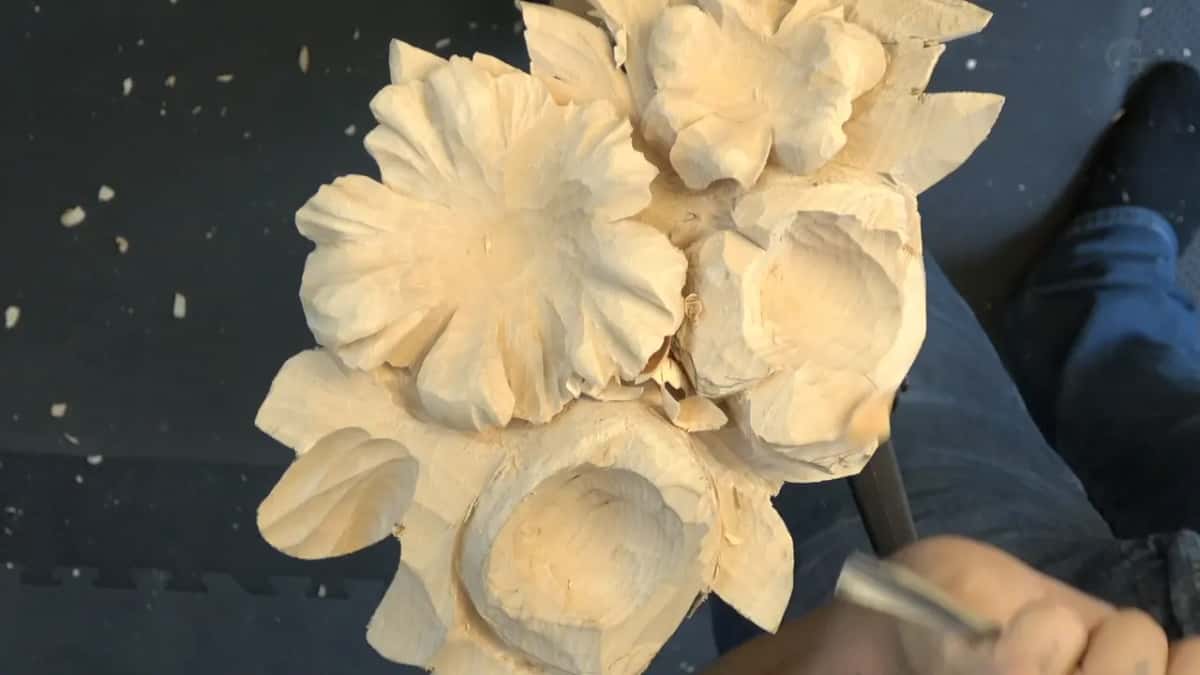
This number nine is just a quarter inch (6 mm). I made a deep channel with it, and said I can even undercut with the same tool.
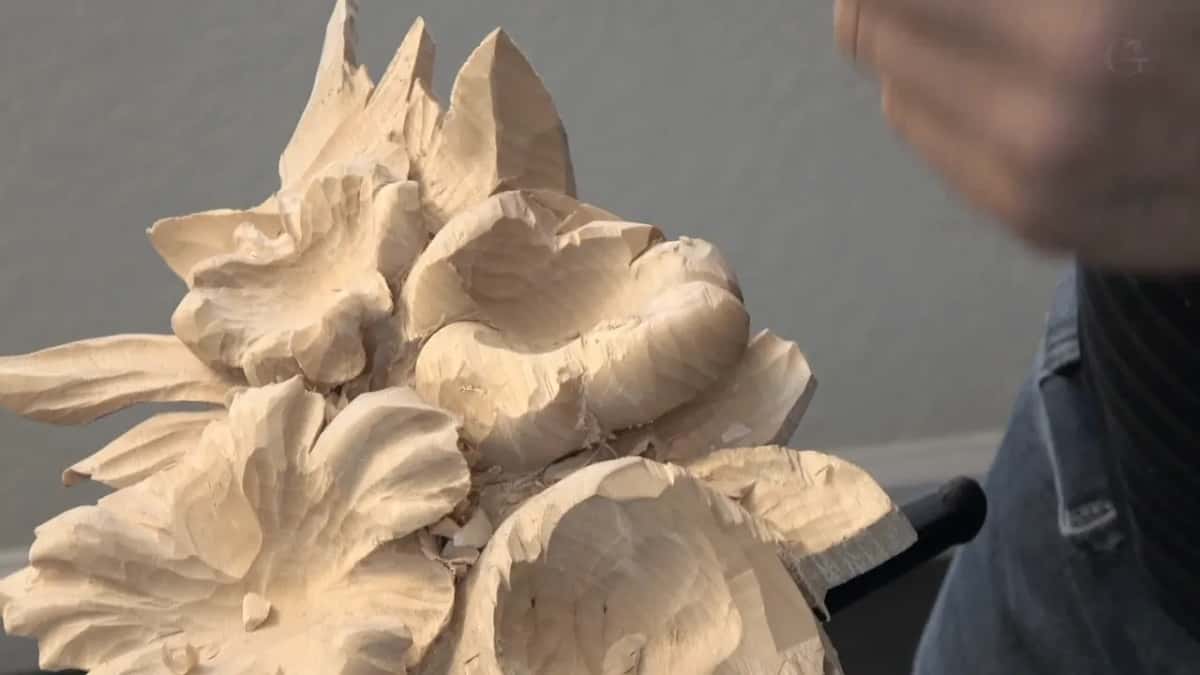
Late in part two I went even deeper underneath one petal, with the quarter inch again, all the way extreme. I know it's impossible to see what's going on under there, I told the camera, but you can probably picture it.

I put it plainly in lesson 41. There's not a big secret about extreme excavations underneath. It's all about how deep can you go, and how patient you are. You can attack from one side, connect two cuts together, and completely create the illusion that the piece is glued on. Nobody's going to see it, but you will know.
And if you ask me whether a piece carved that far into the air is fragile, definitely, yes, I said in the same lesson. Really fragile. Can you break it? I have, many times, I said, and so what? Just glue it back. It's better not to break it, though, and under that piece the hollow was about half an inch (13 mm) deep.

How much wood should you leave for a leaf later?
Roughly 5 mm, or 3/16 of an inch. After I lowered one section with a bigger tool, I said I left about maybe approximately five millimeters thickness, which is enough for me for creating some kind of leaf right there.
That block is only where a leaf starts. A leaf on this panel went down to maybe a 16th of an inch (1.6 mm) of overall thickness in lesson 7.
Can one solid piece look like two pieces glued together?
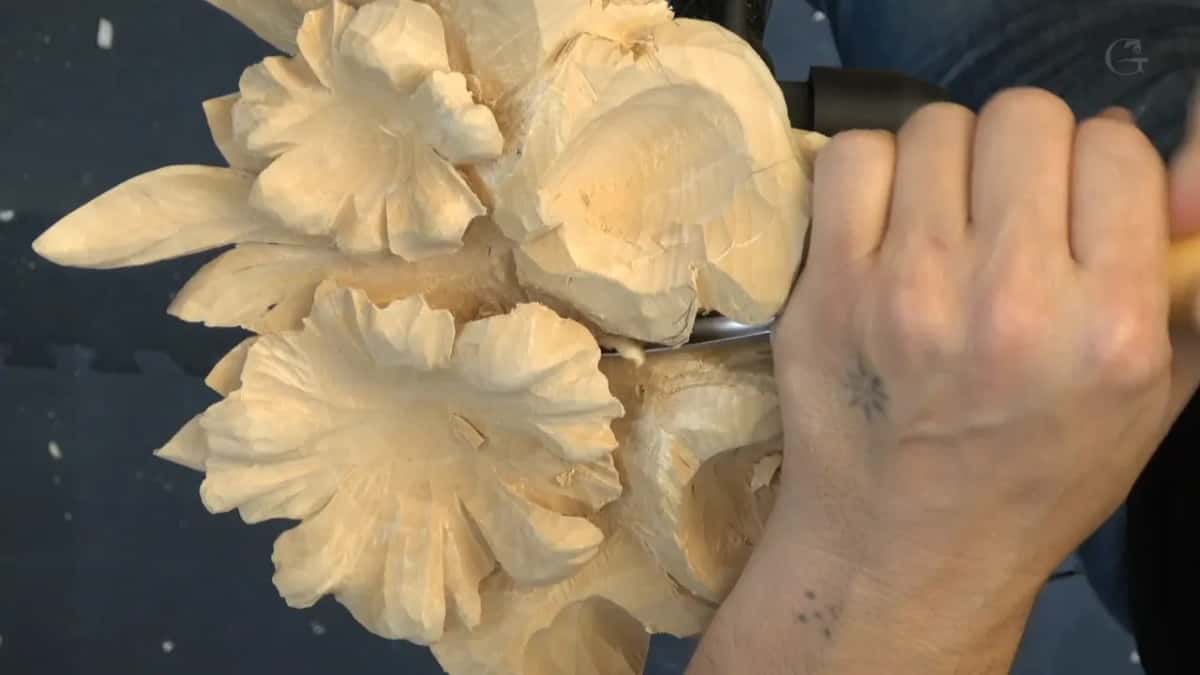
It can, with a V tool. To make it look even more extreme, I said, I could excavate with the V tool to create a V channel, which makes a line going like this. And that will look like it's two separate pieces glued together. But it's actually a solid piece.
I chase that look in other lessons of this course too. In lesson 44 I went even deeper with a number 11, one millimeter (about 1/25 in), to make it look like it's not a solid piece, but glued together.

Later in that lesson I said you would have a feel like every petal is actually glued together, but it's not. You will know, and looking at the grain, you will see the piece is solid. The goal there was every petal going from in, out, and some of them grow from underneath, so the V tool had to start from inside.
My grape onlay had two leaves overlapping. For the undercut I used a number 11 at two and a half millimeters (about 3/32 in), said I would turn to a much smaller one a little later, and said I can just excavate to the extreme. Until it looks like it's glued together, I said. It's a solid piece.
Why do the tools have to be so sharp on a flower?
A flower makes you break the rules of the grain. Really important, again, and I know I said that a million times, at the start of part two. The tools must be really, really sharp.

When I'm doing flowers like this, you work against all the carving laws, I would say, like working only with the grain, with the direction of the grain. It's just impossible sometimes. I wish, but it's impossible. You have to attack from different angles, and the only way you could do that is if the tools are really sharp.
Earlier, in lesson 12 of this course, I spoke to those of you who want to know why I was carving against the grain. I really can't attack that from this side, I said, because I do have that movement in my way.
What does rolling a petal down and inside look like?
A bigger gouge does it. In part three I made the main shape of those petals with a number seven, 20 mm (about 3/4 in), to make the flower more roundy going downhill. I was flipping it all the way down, and somewhat inside, I should say.
I liked that one. More details come later, I said, the same as what I did over there, but the main movements were what I was working on right then.

The next petal got exactly the same idea, the appearance like it's flipping inside. One more I made go under the one beside it.
The goal in lesson 12 was a full flip, I said, one that flips on inside and then goes out again.
What if you plan five petals and count four?
You add one. Supposed to have a five, I said, but I see only four. So I made another subdivision somewhere right there, to subdivide it in five.
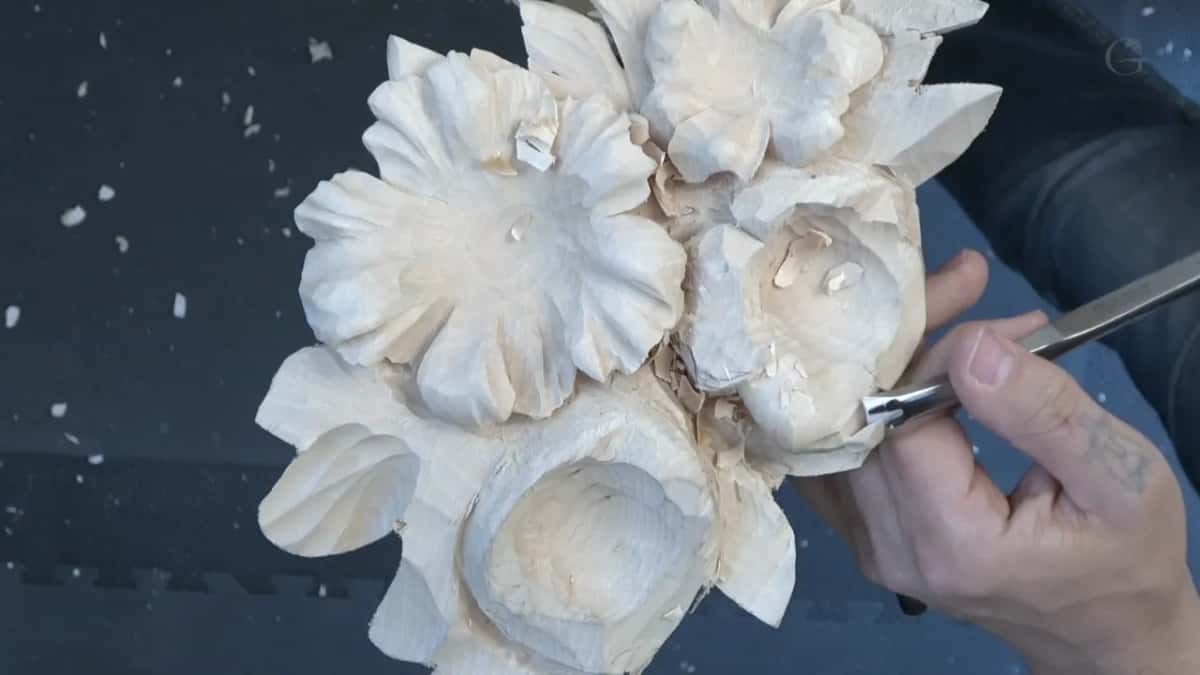
Then I made another area a little smaller, and I needed a different sweep for it. Soon after, I said I was using a number five, one inch (25 mm).
As for why five on the first ring, I answered that later in part three, and I believe I already said it once before. Subdivide as many parts as you wish, I said, five or more. And I brought up the Fibonacci numbers. If you don't like that idea, just feel free, and create whatever you feel is going to look better. Lesson 30 is built on that question.
How careful do you need to be near finished petals?
Really careful. I do have to be really careful when I'm touching the one I already done, I said, because right now it's just kind of fragile.
With one tool on my hazelnuts course I named that risk. If I push too much, I can catch the grain and I can lose an important chunk of wood.
Do you save every chunk?
I don't. On the Venice Room, in lesson 64, I looked at one and said I don't need that chunk, so I can probably eliminate that right away.
A chunk looks one thing on paper and a little different in real life. I said that on the Venice Room too, in lesson 55, looking at the chunk in front of me.
Sometimes the saving starts before the carving. For my floral and molding course I start the band saw where the design is closest to the edge, because starting somewhere else makes a lot of waste. I want to keep that part, I said. I'm going to use it for something else.
At the very start of this course, in lesson 1, I kept all the offcut pieces from the scroll saw, to save material and utilize every inch of it.
Back in lesson 13 I could actually chop a section out. But I think it's actually a good idea to have some extra material, I said, and I planned another acanthus there.
And on my butterfly plate, the back side carries some carving on a board I brought from school when I was teaching in person. I didn't want to waste that board, so I decided to make something on that side.

Does the waviness matter?
To me it does. The more waviness we make, the nicer it's going to look, I said at the start of part one, and right after it, that's my opinion.
I wasn't even sure the word was right, waves or unevenness. But so far it looked fine to me, especially since it was just the first rings of the flowers.
Where the flower stood at the end of lesson 35
I liked my subdivision, and in part three I said I'm happy with what I see.
This whole course sits behind tuition at the school.
How it's done
- Divide the ring. Think what's the best way to divide it, then subdivide the first ring in five.
- Make separation cuts. Use the number 16 for them, and undercut slightly, preliminary.
- Choose what stays. Some spots are waste. A chunk past a petal can stay for a small leaf later, so undercut it and leave it.
- Excavate the waste. Take a number nine and dig out the waste, then a smaller one for a deep channel.
- Leave thickness for the leaf. Leave roughly 5 mm (3/16 of an inch) there for a leaf later.
- Roll the petals. A 20 mm number seven (about three quarters of an inch) makes each petal more roundy, going downhill and flipping inside. Count them, and if you see only four where five are supposed to be, subdivide it in five again.
Frequently asked questions
How thick should the wood be where a leaf will be carved later?
About 3/16 in (5 mm), on the flower I carved in lesson 35. That was enough for me, I said, for creating some kind of leaf in that spot. On this panel a finished leaf went much thinner in lesson 7, down to maybe a 16th of an inch (1.6 mm) of overall thickness.
Is all the wood between two petals waste?
Some was and some was not on my panel. I called a few spots waste out loud, then said a section past one petal would be leafage underneath of it. Two chunks were kept that way on one flower in lesson 35.
Which gouge digs out the gap between petals?
My number nine did most of it in lesson 35. First came the 5/8 of an inch (16 mm) one, then a smaller one for a deep channel right between the petals. With the small one I also went underneath a petal, to the extreme, where it's impossible to see.
What to carve next