
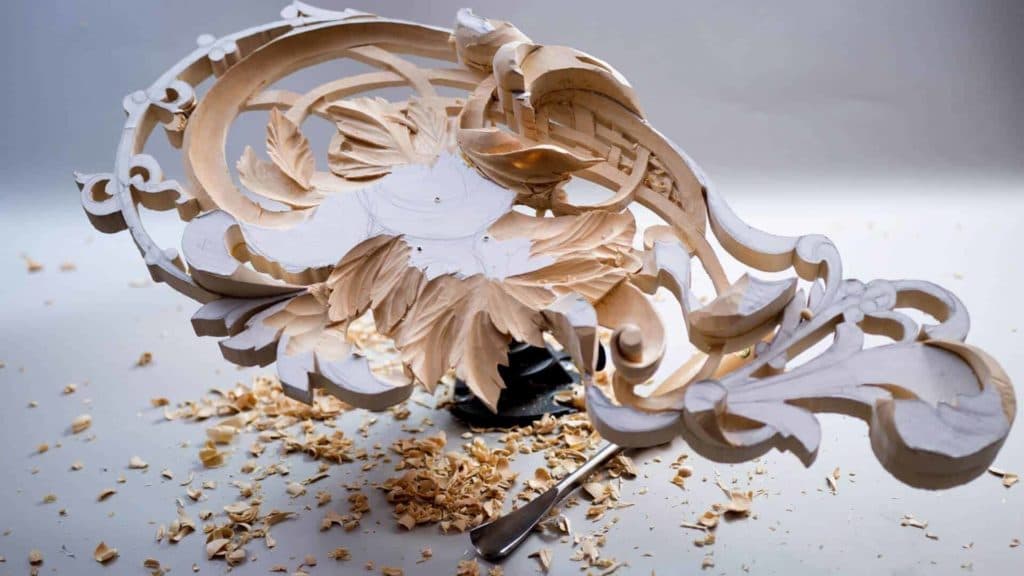
Alexander Grabovetskiy, woodcarver, School of Woodcarving · Published 2018
How do you tell if a carved line flows properly?
Quick answer: A properly flowing line is one that looks good from all sides, and on my Hashemi panel I check it by rotating the work and looking again. In lesson 9 a bump spoiled the main flow, and a number 12 knife took it out.
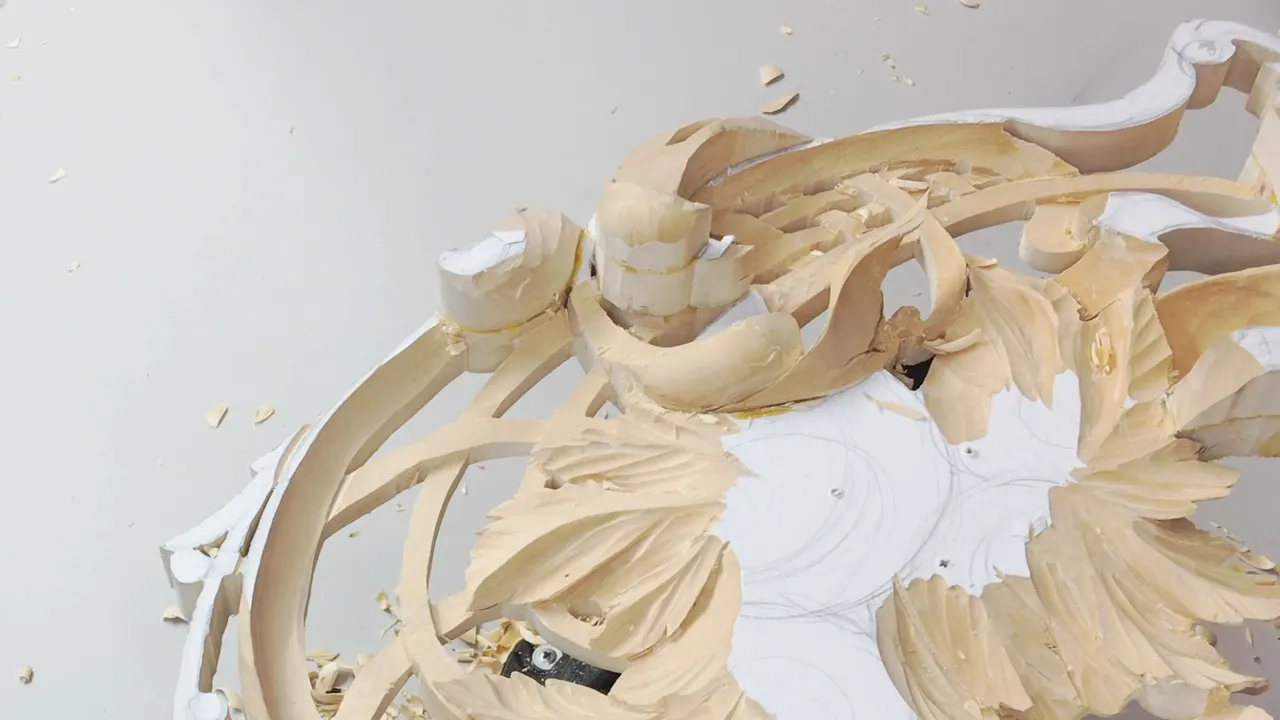
A carved line flows properly when it looks good from every side, and the way I tell is to rotate the work and look again from a new angle. That was the test in lesson 9 of my Hashemi flowers panel, a pierced openwork piece in limewood.
Can you turn your carving around on the bench? Will it let you see it from one side, and then from the other? Then you can see exactly what is going on with a line, as I put it in that lesson.
One bump spoiled my main flow in part six. Below is how I found it, which knife took it out, what a later fix cost in wood, and the other checks I made in the same seven videos.
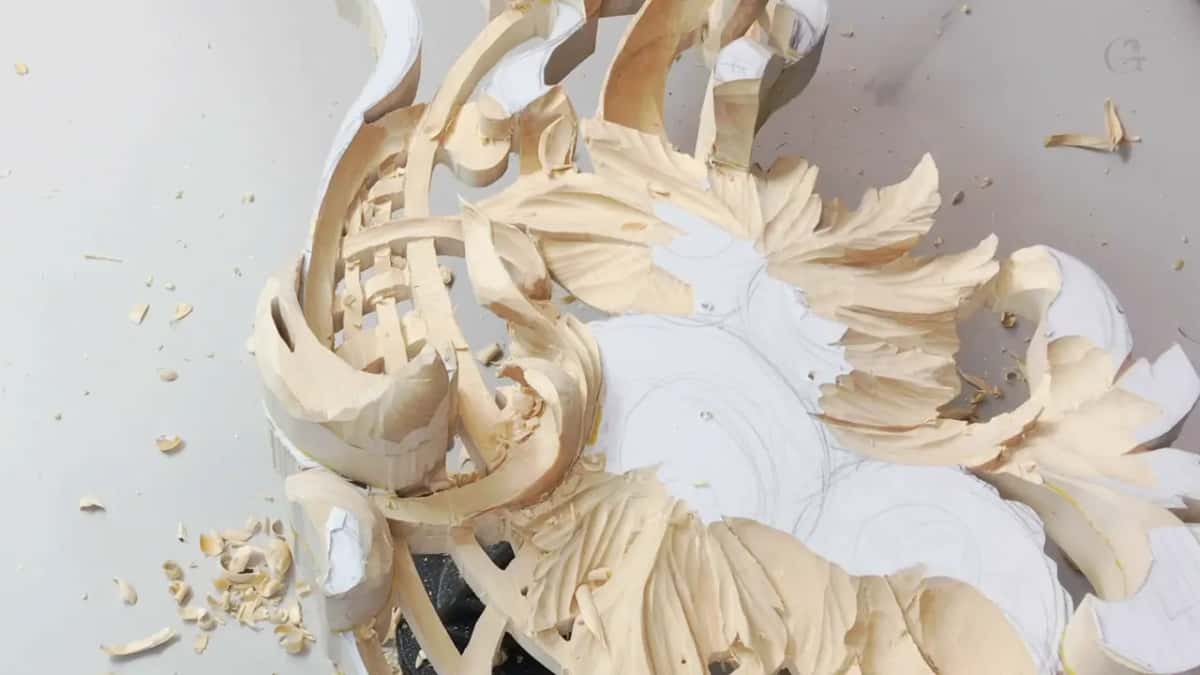
What I checked on the panel in lesson 9
The main flow, by rotating the panel and looking at it again.
One bump in that flow, which my knife took out.
Edges so thin that light came through.
Shadows, with the light switched off.
Depth, kept above the basket and short of the glue line.
Ridges, cleaned with a wide number three.
How do you check that a flow line is right?
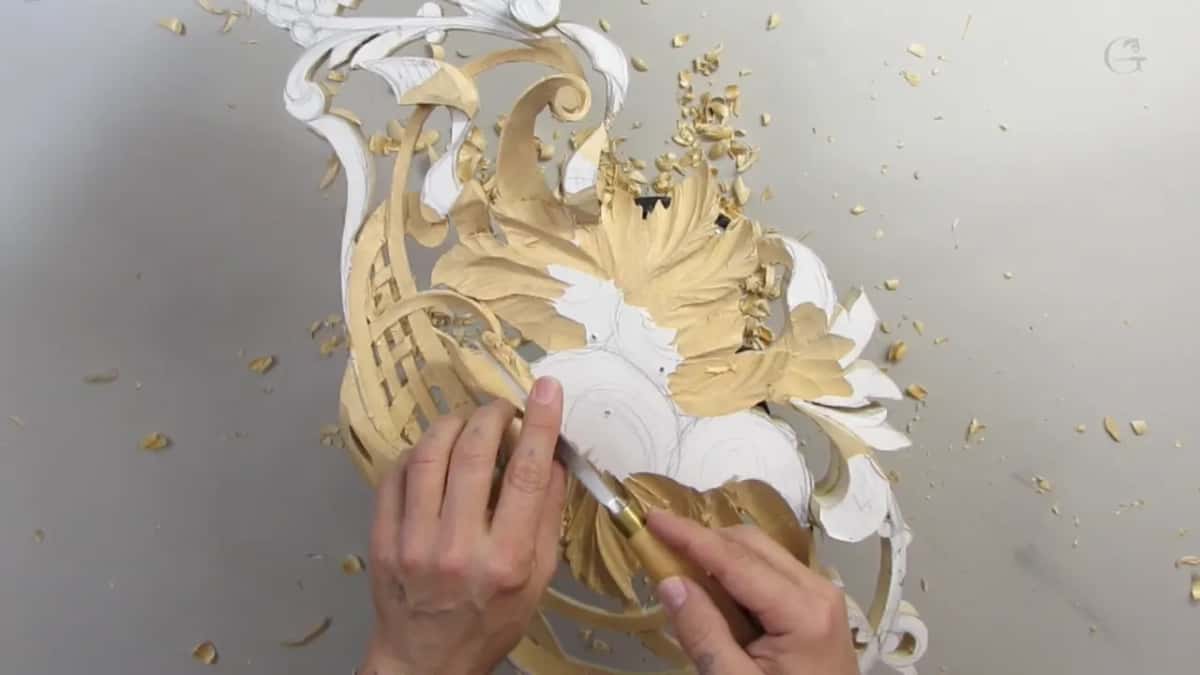
You rotate the piece and look at it. Near the end of part six, after a concave cut, I said sometimes I have to just rotate and look how everything flows.
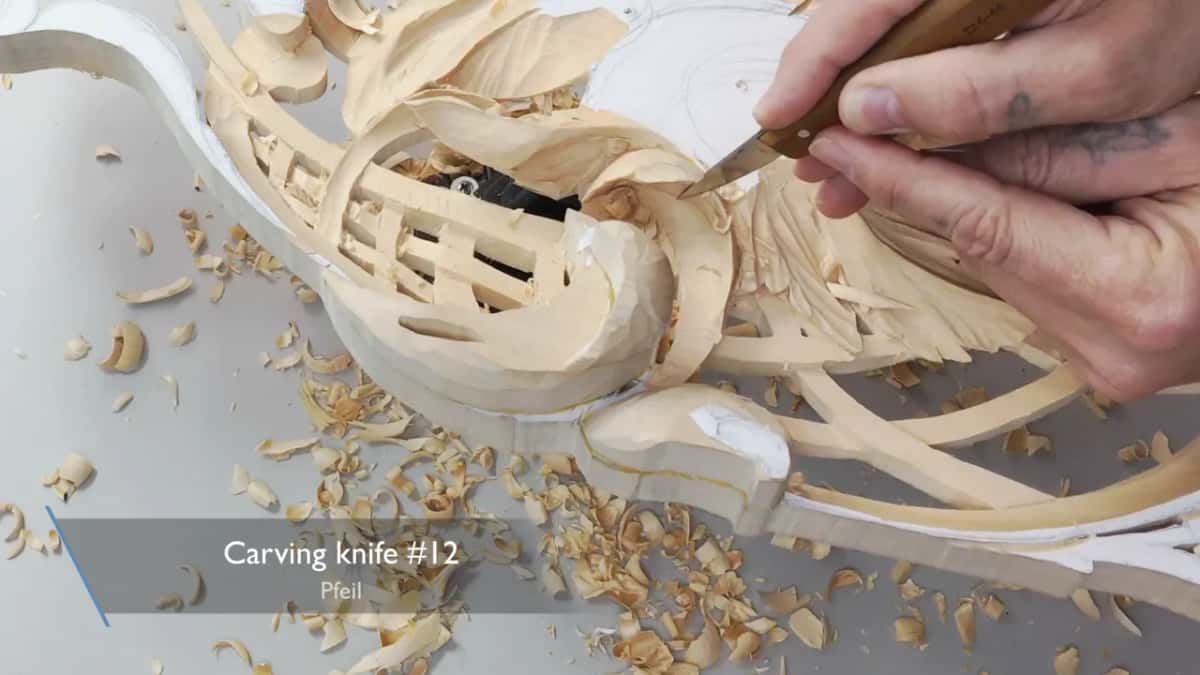
Right then it looked like I had to fix my main flow, in a spot where I didn't like how it looked. I had to remove that bump. Naturally, it just doesn't flow good, I said, and I took a knife.
The easiest way to see a thing like that is to look from different points of view, from different angles. That way, you can see exactly what is going on.
Where each part of this panel gets its high point, and the side view I check that from, are in lesson 2. I checked the scroll in lesson 3 from the side too, even though that part was smaller.
Which tool takes a bump out of a flow line?
A knife did it in part six. I'm using just a knife, number 12, I said, while the bump came out.
Part two had the same job earlier. Looks like I need to get the knife again, I said there, and refine the movement, or a flowing line, and I used just the edge of the knife.
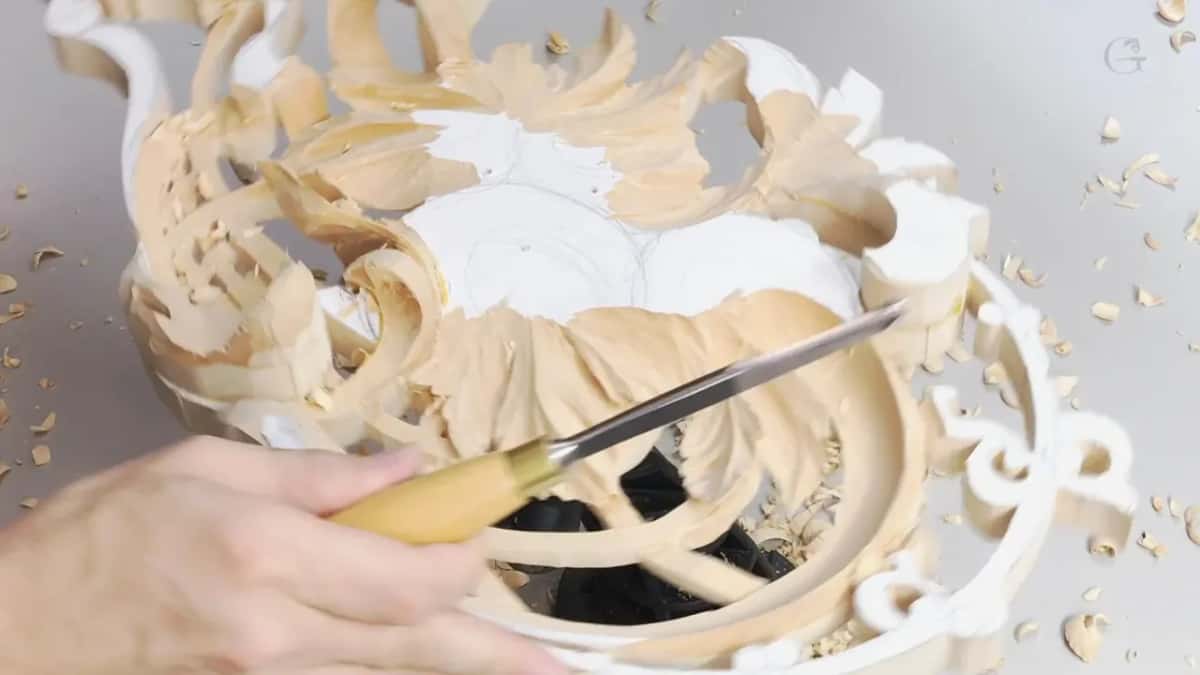
A gouge can do it too, when the edge of a leaf is the problem. In lesson 20 I pointed at a leaf whose edge didn't look like it was flowing, and I said the easiest way would be to find a gouge that matches the edge. A number 8 was perfect there, set straight down, carefully. That way the leaf is perfectly flowing. That's how I call it, a perfect flow line.
The knife came back at the end on the basket in lesson 26. The final stage, I said, is to refine the grid with a fine line and fix all the flowing line, so it just naturally, organically flows. Only a few spots needed it, not everywhere.
I pick the tool for a fix by eye, as I told you in lesson 11. I look at the piece of wood and guesstimate what tool is going to work the best in that section. There's not too much math involved in that. In the same breath I liked one part and still didn't like how the flow line looked.

How much wood does a flow line fix take?
Very little, the one time I said it. Part seven began on a number eight at a quarter inch, 6 mm, to make one spot look nicer, and then I cleaned the edge.
Now I like it, I said, but not quite. Same idea, the flowing should look good from all points of view. Sometimes it's impossible, but still, if I can catch it, and if there is room to fix it, I'll fix it.
I barely removed any material, but now I liked how it flowed from all sides.
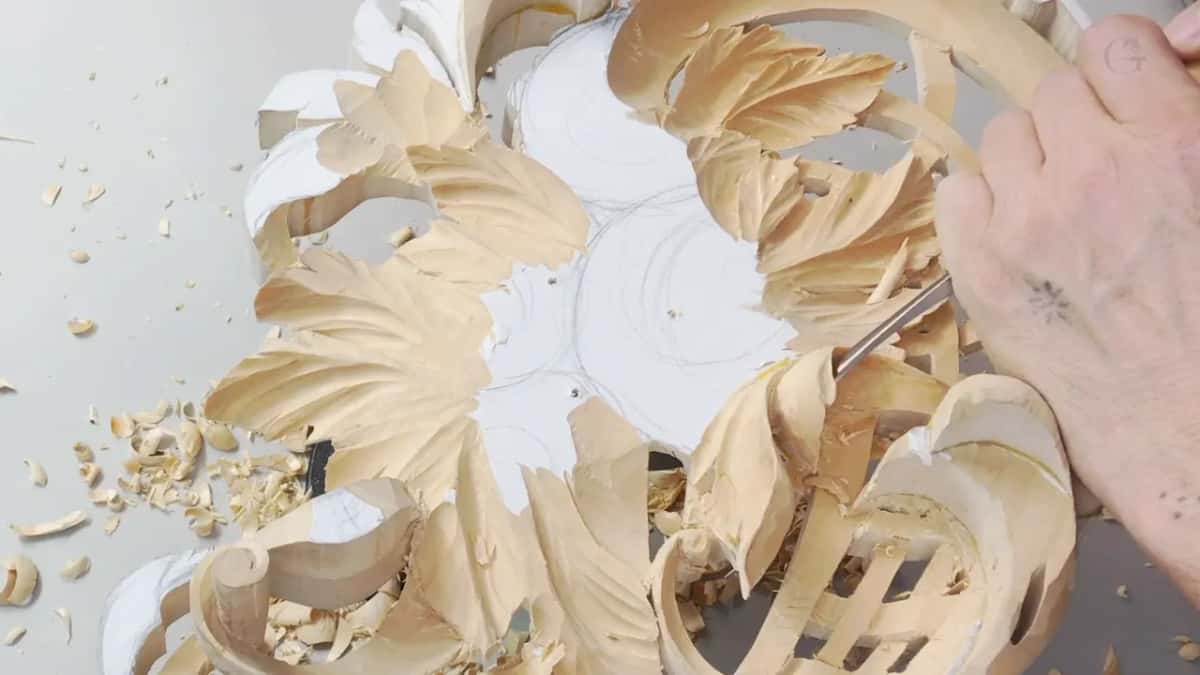
Overdoing it is the danger. On the ribbon in lesson 14 I didn't like the flow line, and a little later I said okay, looks better, so the flow line is good. Then came my warning to you. Keep an eye on the material thickness, what you got right there, because it's easy to overdo it.
When does the flow get checked?
Again and again, right up to the end. Late in part seven a skewed number three took out the waste, and I said I am happy with the results. Then I looked once more from other sides. Yep, I liked it, although one spot was too messy, so I took a number nine and just removed it.
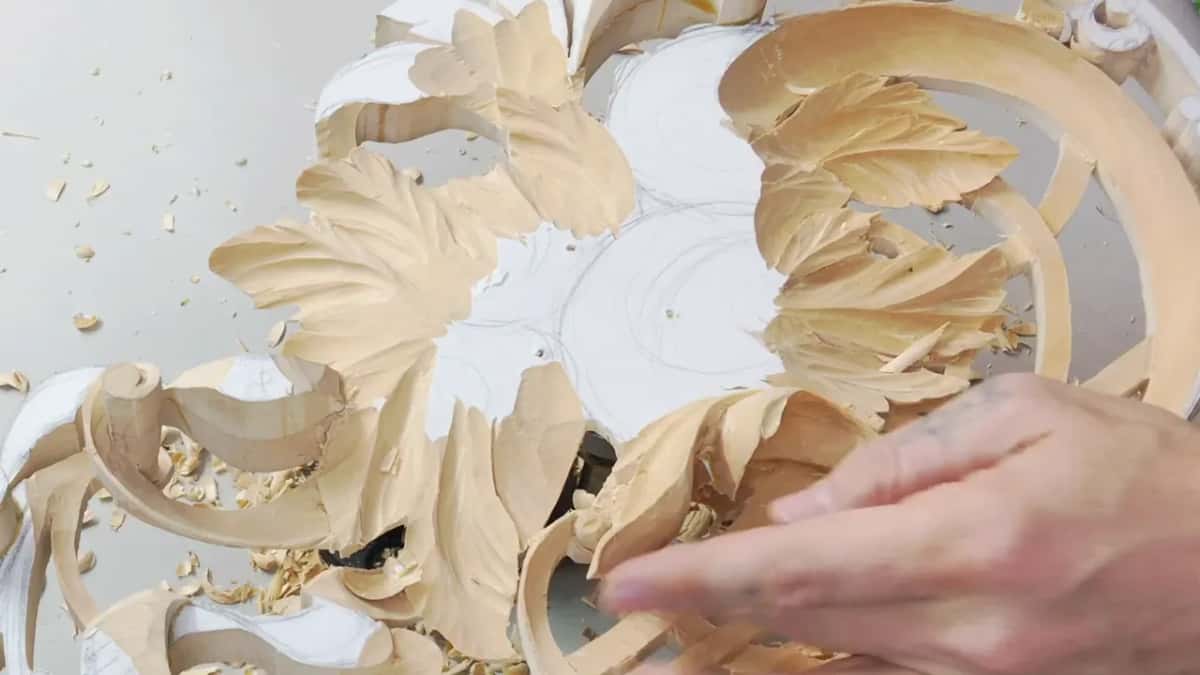
An edge can wait while the flow is wrong. One edge in lesson 11 did. I didn't really worry about how it looked yet, because I still didn't like the overall flow line, and I would have to look again from other sides and fix that first.
Looking around a piece is also how I plan a movement. On a flower in lesson 47 that is what I usually do, look from different sides and think about what movement I can do. There the idea was a curl out and a curl in.
Why turn the light off?
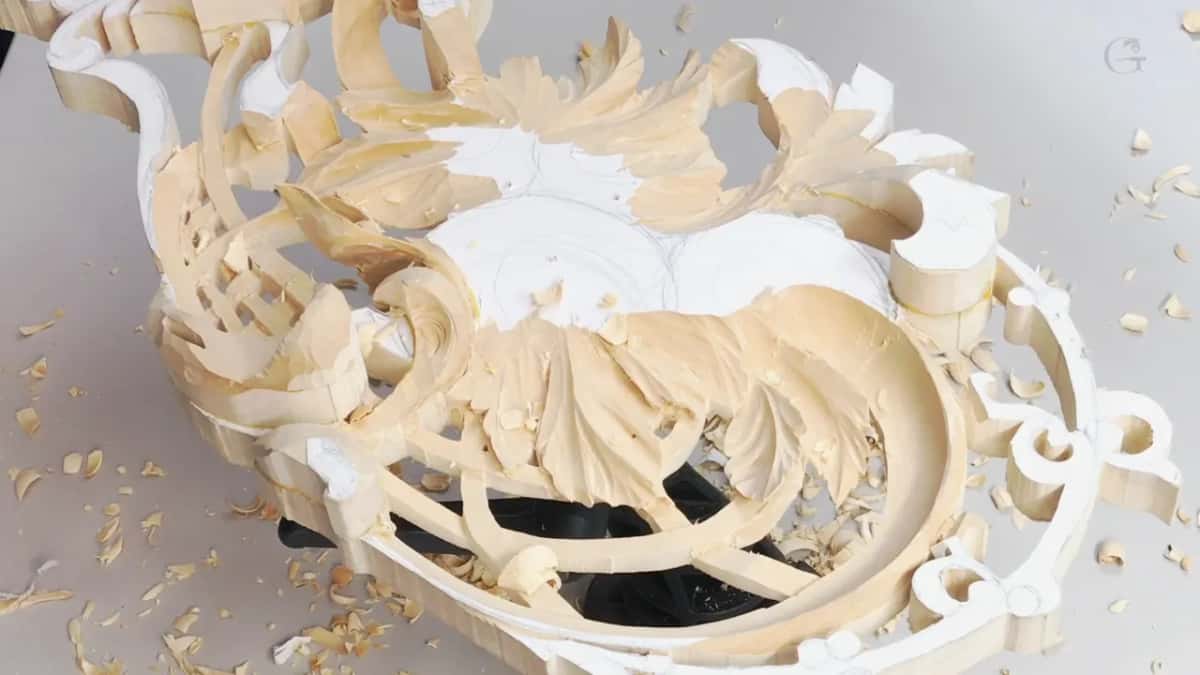
To see if the shadows are really there. I know it's hard to see those shadows, I told you in part three, but believe me, they are there. Let me turn the light off and check if I'll be able to see those shadows.
And now you could see the light through the wood. I fixed one spot a little bit. I liked what I saw, except for one place I really didn't like. Then the lights went back on, I used the knife, and a small number five, a quarter inch, cleaned a few ridges.
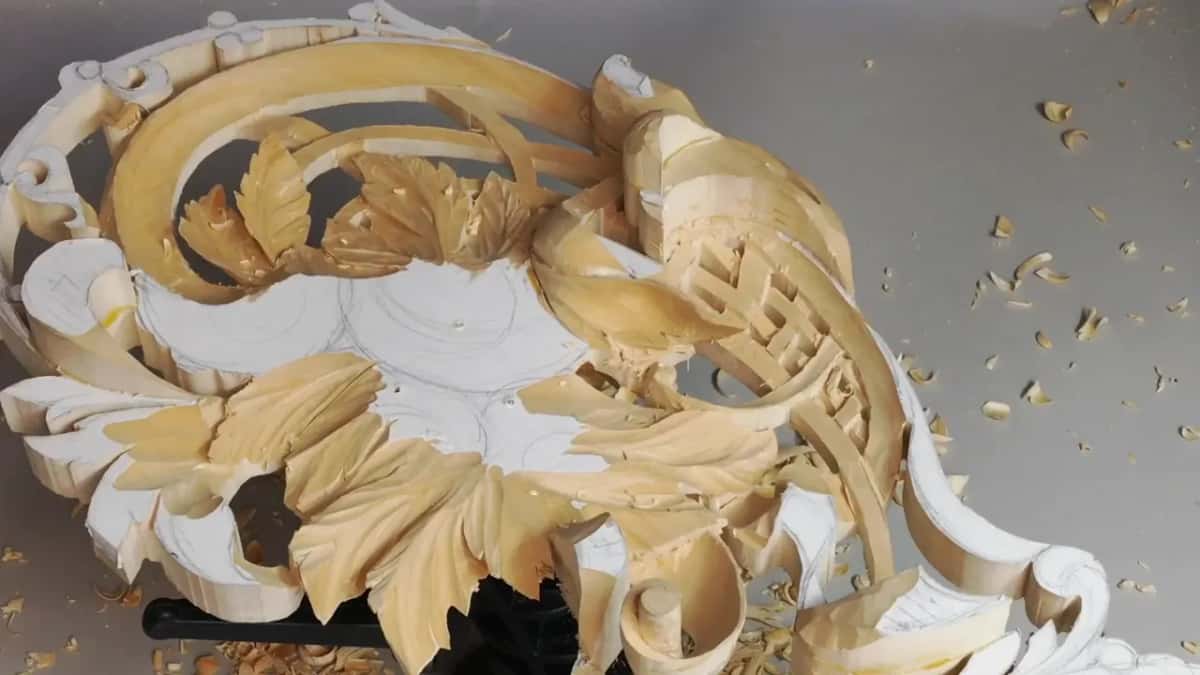
Light coming through is my thickness test too. I constantly have to check the thickness, as I put it in part one, and the only way to check is just to look at the light. If the light is already penetrating, if you can see through, then that's probably too much.
On one curl I could not touch it any more, because it was about 3/32 inch (2.4 mm), maybe even 1/64 (0.4 mm). Close to one edge, after an undercut, I could already see through, and I said I can't do any more. How thin a carved leaf should be is the subject of lesson 7.
Why carve such small details?
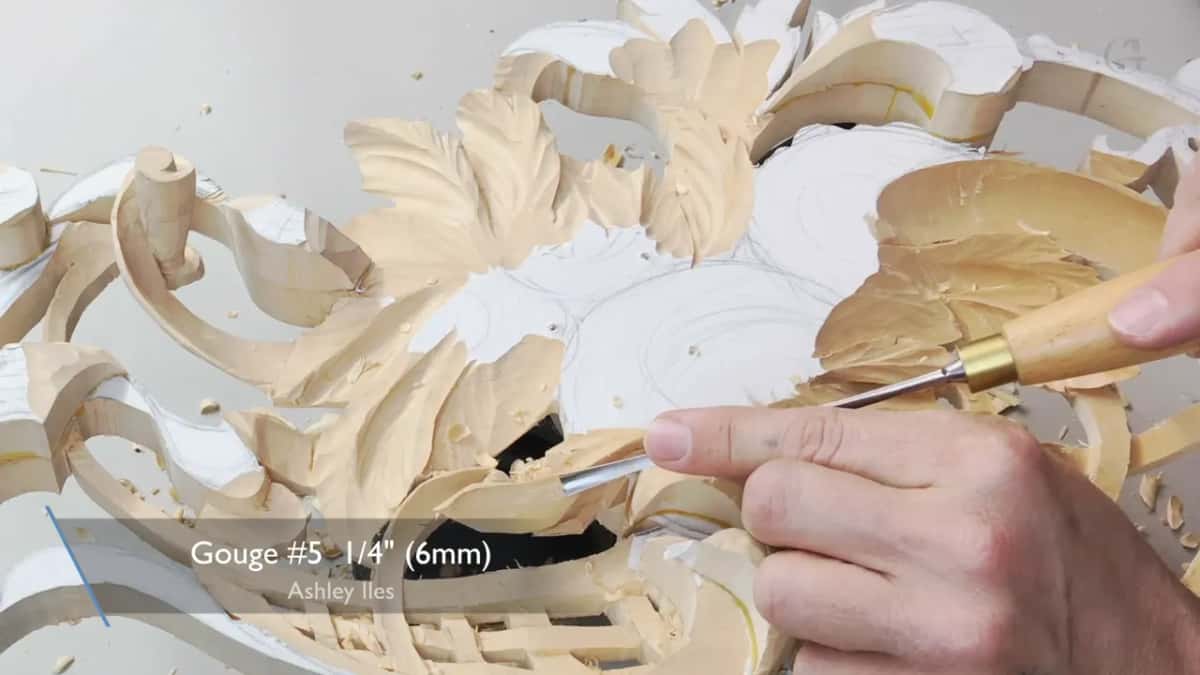
For shadow. Why I do those small details, if you would ask me, was my question in part one. Well, every little bit, every little shadow will help.
That was on a return curl. Where I still had about an eighth of an inch (3 mm) of wood, a really tiny number nine of the same size made a return curl, for a beautiful movement like that.
A number 11, only one millimeter, came next for an undercut, while one finger held the part. Look what I'm doing with my finger, I said. I'm just holding.
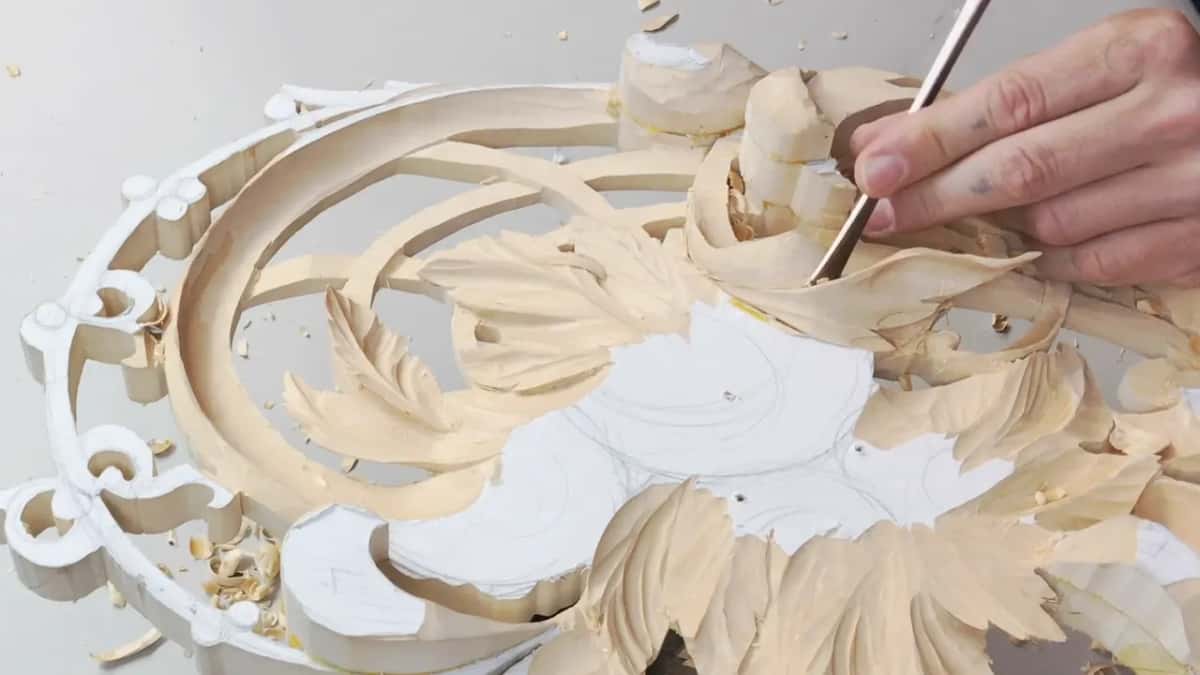
A concave cut on the inside of the sleeve went in for the same reason in part three, with a number eight of about 5/16 inch (8 mm). I wasn't sure it was a good idea, but I thought it was. It's going to create even more shadow, I said, and the ridge it left separates that movement from the main one.
I went really deep in part four, with a straight number nine at a quarter inch. Again, the reason, just a shadow.

How deep can you go under a flow line?
The basket sets the limit. With a number eight, 16 mm (5/8 in), I went little by little, and my goal, I said, is not to go lower than the basket move is supposed to be. That has to be a distinguishable line. That means I don't want to go all the way to the glue line, so I have to be really careful how much material I'm taking out.
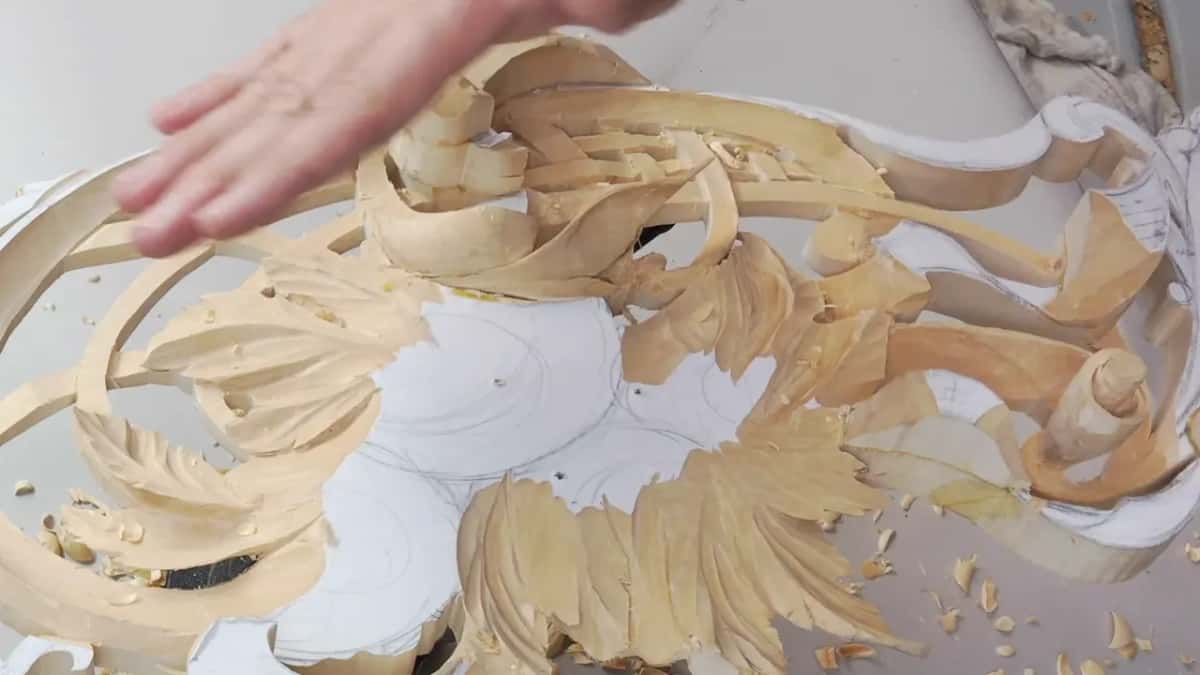
In part five I changed my mind about the board, not about the grid. I said I don't want to go lower than my original board, but I think I could, as long as I'm not going to be at the same level with the main grid. I think it's going to look more 3D.
A bigger number eight or nine, about three quarters of an inch (19 mm), took it deeper. Then a number nine spoon at about five eighths of an inch (16 mm) excavated, and yes, I thought it would look much better like this.
I had plenty of thickness. About half an inch, and in some spots three eighths, 10 mm. From 13 to 10 millimeters, I said, and later on I'll just unify it.
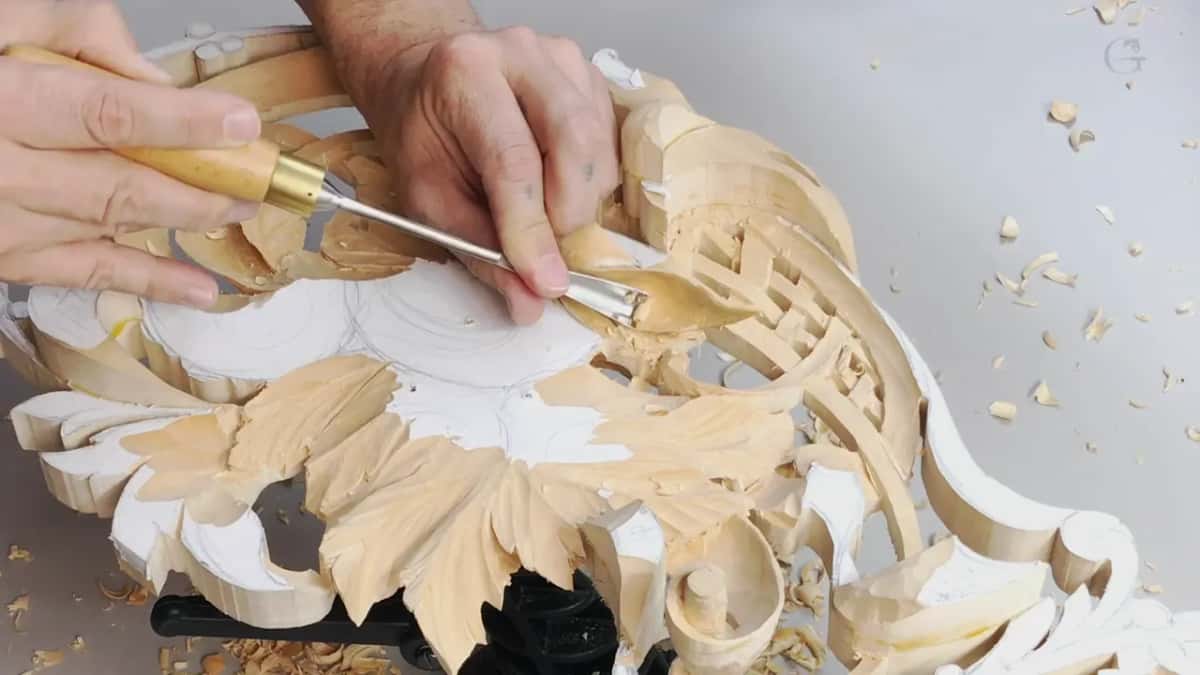
Which tools reach where a straight gouge can't?
Skews and back bents. A skew gouge, a number 7, opened part five, and I called it an excellent tool right now to reach some areas that other tools wouldn't let me.
Near the end of that part I took a skewed number three, and I said I don't have to. With every tool I do a sweeping movement, slicing. When I push a straight tool, I don't have enough space to make a slice, and with the skew one I'm just pushing forward, but it's still slicing. It makes me much quicker.
Back bents came in part six. Mine was a number 25 at 13 mm, which is a number five sweep, and I said I could use an Ashley Iles number seven back bent instead, which is actually marked 37. Ashley Iles marks the back bends a little differently, and that number seven looks like almost a number eight sweep. With the back bends, I can get to the spots no other tool would let me.

A spoon V tool, number 12 at 8 mm, defined my movement in part seven. Then came a back bent, because a movement was in my way. Getting there with the straight tool is impossible, but with the back bent, a sweep five at half an inch, I could still work from interesting positions.
| Tool and size | What it did in lesson 9 | Said on camera |
|---|---|---|
| Small #9, 1/8 inch (3 mm) | Made the return curl in the last bit of thickness on that part | A beautiful movement |
| One millimeter #11 | Went right under the edge, my finger holding the part | Can't do anymore |
| Number eight, 5/16 inch (8 mm) | Hollowed the inside of the sleeve for more shadow | Even more shadow |
| Spoon gouge #9, 10 mm (3/8 in) | Dug deeper while staying short of the glue line | Continue to dig |
| Skewed #3 | Sliced in a spot too tight to sweep the tool | Much quicker |
| Back bent, sweep 5, 1/2 inch (13 mm) | Reached past a movement that a straight tool could not get around | I am still able |
| Knife number 12 | Took the bump out of the main flow | Doesn't flow good |

Does the grain change how you fix a line?
It changes how carefully I go. In part one the grain went both directions, and I went really carefully, rounding one part with my number five. A little later I changed position and attacked from another side.
Working against the grain in part six, I said that's why I'm wiggling. I did not break anything, because that part was waste anyway, and it gets removed later on. So don't be scared. I did not make a mistake.
Against the grain was okay a couple of minutes later as well. The sharp tools, they just must, my words in part two while working against it. That is one of the biggest musts.
How sharp does the tool have to be?
Really, really sharp. That is also the biggest secret in wood carving, I said in part one. Tools, they just must be really sharp, and with dull tools you're not going to be able to do what I was doing right then.
You probably don't see that on the camera, but I don't create any pressure. I just let the tool do its work.
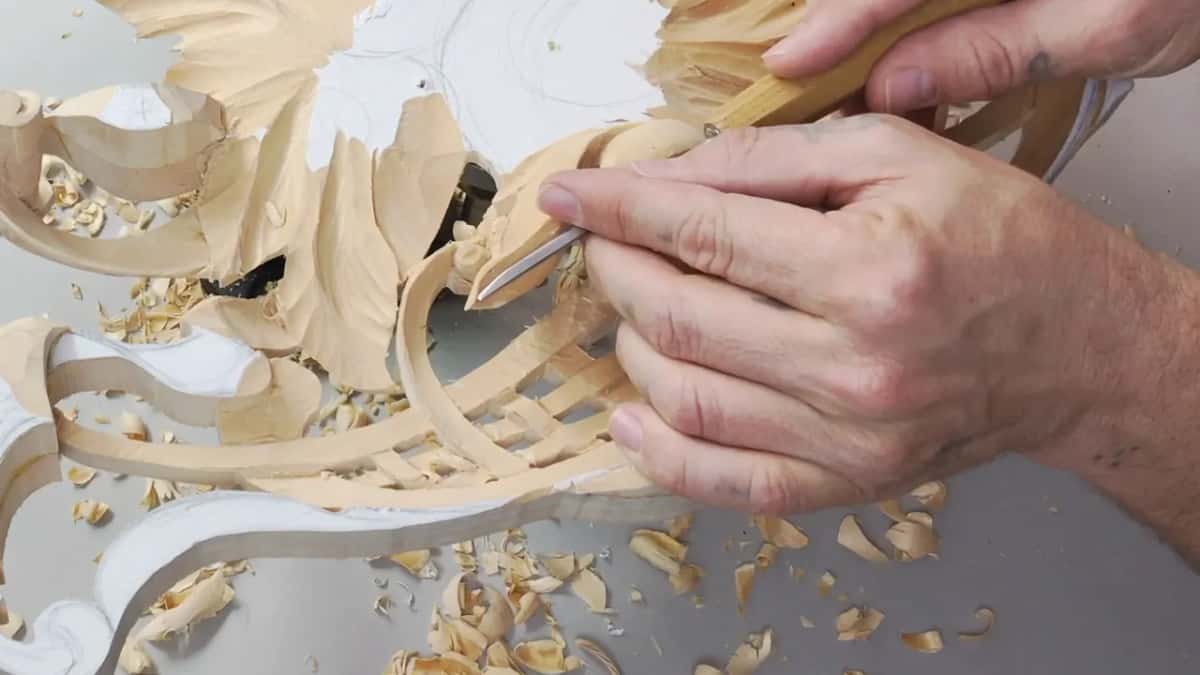
Two fingers were controlling my tool. And I don't use any sandpaper, because I think it just looks much better without it. Getting an edge that sharp is what my sharpening course is for.
Should you mark a flow line with a pencil?
Better not. I wish I did not put that pencil mark, I said in part four. I really don't like to use a pencil. The only reason I was using one at that stage was to show you what I was doing, and it's better not to, because it leaves dirty marks. Earlier, in part two, I had to take out a pencil mark, which I don't like to do.
Lesson 9 is seven videos long, one of 49 lessons in this course, and all of them come with tuition at the school. The next one is lesson 10.
How it's done
- Rotate the piece. Turn the carving and look how everything flows, the way I did after a concave cut in lesson 9.
- Try a few more angles. From the side, and then from the far side, because each new angle shows you what the line is doing.
- Find the spot that does not flow. Mine was one bump in the main flow of the panel.
- Take it out with a knife. The knife I used on my panel was a number 12. For a leaf edge in lesson 20, a matching gouge set straight down did the same job.
- Keep the fix small. Watch the thickness you have left. Overdoing it is easy, my words in lesson 14.
- Check it once more. Even when you are happy with it. I was, late in lesson 9, and one more look still found a messy spot for the number nine.
Frequently asked questions
What knife do you use to fix a flow line?
My number 12 carving knife, on the panel in lesson 9, once rotating the piece showed a bump in the main flow. Earlier in that lesson I refined a flowing line with just the knife edge, and in lesson 26 a knife fixed a few spots on the basket.
How much wood comes off when you correct a flowing line?
Very little on this panel. After one correction in lesson 9 I said I barely removed any material, and after it I liked the line. My warning in lesson 14, on a ribbon, was plain, keep watching the thickness you have left, because it is easy to overdo it.
Does a carving have to flow from every angle?
As much as it can. Sometimes it's impossible, I said in lesson 9, but where I can catch it and there is room, I fix it. Lesson 11 had an edge that had to wait, since the overall flow line still looked wrong to me and came first.
What to carve next