
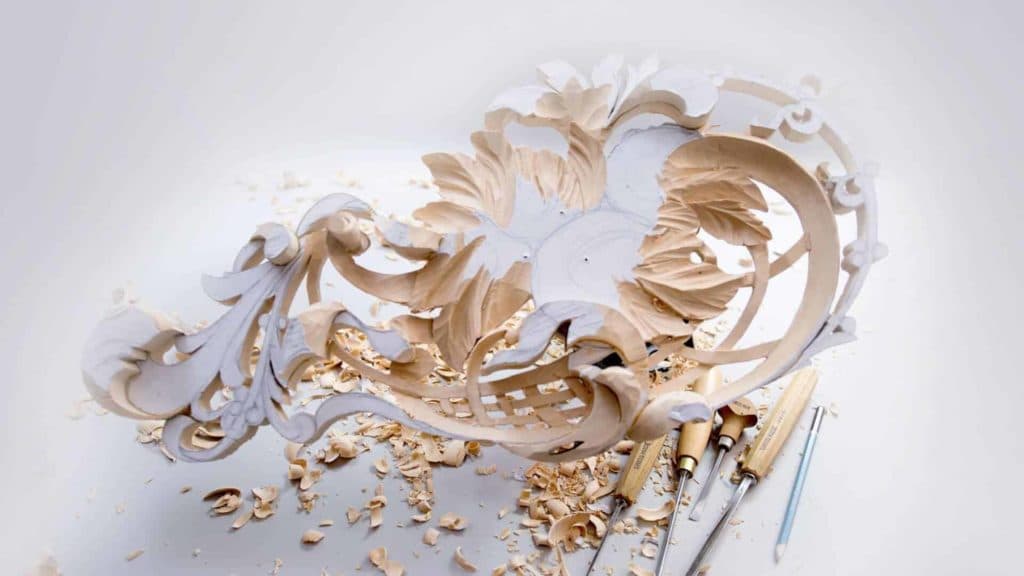
Alexander Grabovetskiy, woodcarver, School of Woodcarving · Published 2018
Should you finish one area of a carving before moving on?
Quick answer: Jumping around a carving is working one area for a while, then moving on to another and coming back, so the overall picture stays in view. I do it on purpose on my Hashemi flowers panel. In lesson 5 the basket weave comes first, then the leaves, and sometimes I see design changes I have to make.
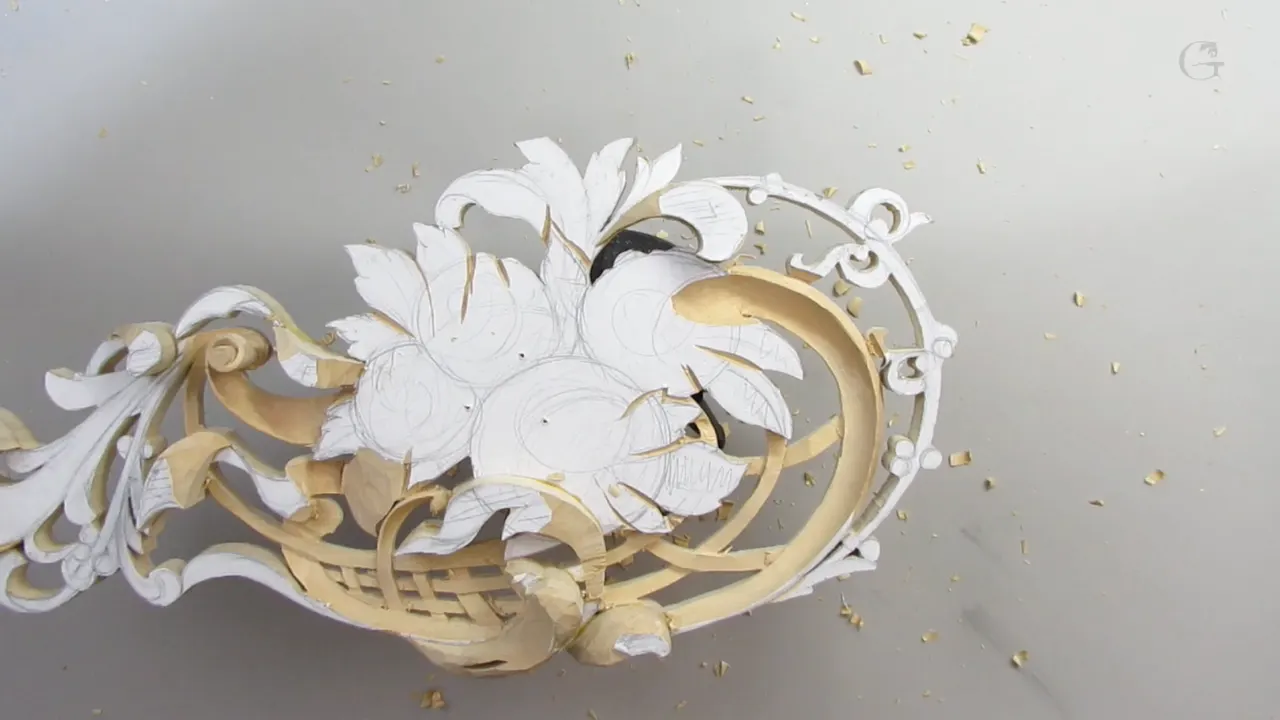
Jumping around a carving means working one area for a while, then moving on to another, so the overall picture of the piece stays in front of you. I do it on purpose. I have a tendency to jump around my design, I said at the start of lesson 5 of my Hashemi flowers panel, and when you just concentrate on one area, you are losing the overall picture sometimes. Maybe not you, but I do.
Want every part of a carving to look like one piece? Want to see the changes your design needs? Then work one area, walk away to another, and come back to look.
For me it's much easier that way. I work on one area, then jump on another, and I can see how it's developing. Sometimes I see some changes I have to make, design changes and so on. This page follows one session on the panel, the basket first and the leaves after it, with the tools I named and the reasons I gave on camera.
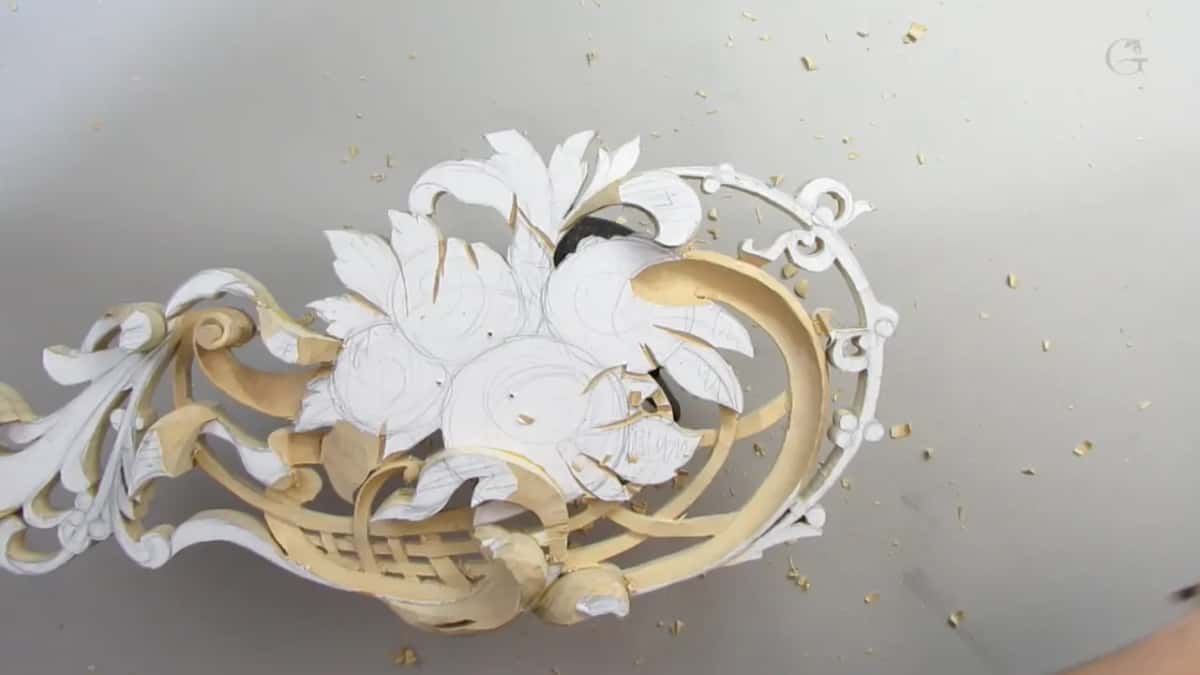
What lesson 5 does to the basket and the leaves
Pencil first. Decide over and under before any tool moves.
A V tool outline, three sixteenths of an inch (about 5 mm) deep and no deeper.
A mallet is still safe early on, but at some point the wood gets too weak for any mallet.
Main forms only. Undercuts wait until the leaves above exist.
A leaf gets its high point where its movement starts, then runs downhill.
I change gouges on purpose, to show the same task done with two of them.
Why jump around the design?
To keep seeing it. Sometimes when you work in a detail, I said in workshop 45 of the Venice Room, you don't really see the final picture. Well, you do see the final picture, but not 100%.
We have a saying for it in the Russian language, soaping the eye, like applying a soap to your eyes. After a while, when you work in one detail, your eye gets used to it, and you don't really see if you're making something wrong. So it's better to jump to another area and continue your work.
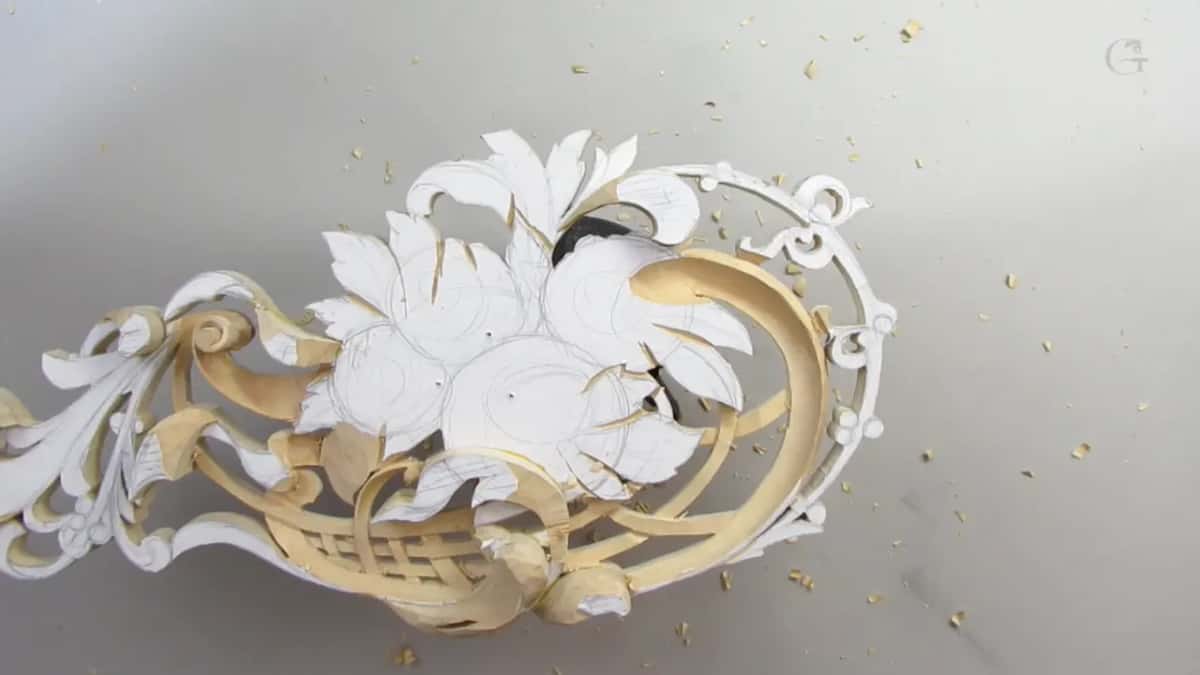
In Venice Room workshop 124, I was kind of tired of one side. I wanted to see the overall picture, and sometimes it's a good idea to walk away from one area and jump on another, I said. Then I said I'm going to jump on that side and take care of the overall movement.
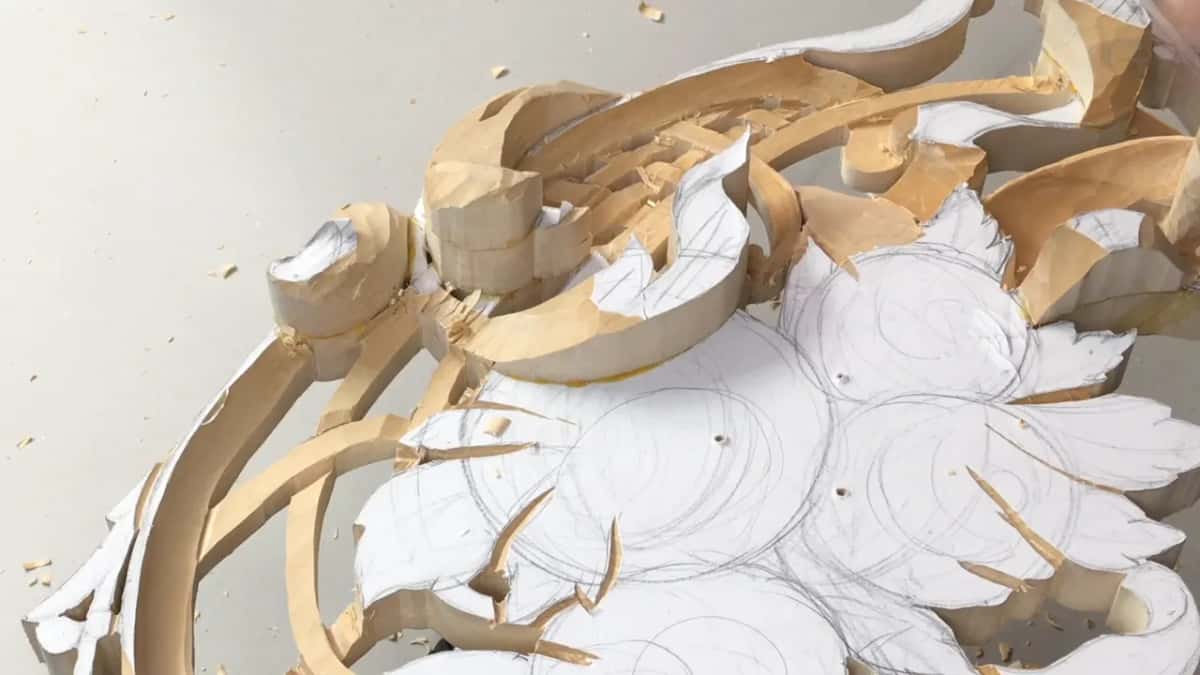
The outline does part of that job in lesson 5. I picked up the #16 V tool at 6 mm (1/4 in) in part four to outline again, because I don't want to lose the overall picture. Later in that part, outlining another side, I said I don't want to lose the main picture.

Is it ever right to stay in one area?
Sometimes, for a long time. Both happen on this panel. Near the end of part four I said my goal today is not to work on this part, but on the leaves right now. And I won't touch anything else right here, at least for now.
Patience is part of it. In lesson 24 I talked about the person in the Bible who built the Ark of the Covenant. He was a woodcarver and a stonecarver, and it says God filled him with wisdom, knowledge, and understanding. I would probably add patience. Believe me, you have to work for a long time in one area, and there is patience involved in that. It really builds your character.
Over or under?
The pencil settles it before a tool touches anything. Let's work on this grid, or basket, or whatever you wish to call it, I said. I put the pencil marks. How am I going to divide that? I decided which part goes above and which goes below.

That one goes above here, and then below this part. And I like it. A little further on I made one part above and the next one below, just like that. It's like a basket weave, I would say. I'm pretty sure I can say that.
Then the V tool marks where each part will go underneath. Later on I am planning to undercut it, so it's kind of hiding behind the main part of the structure.
What depth works for a V tool groove on a basket weave?
Three sixteenths of an inch, close to 5 mm, and no deeper. The first tool was just the V tool, a #16 at 3 mm, about 1/8 in, and first of all I established my outline. Then I said I can actually go deeper, approximately an eighth of an inch. Maybe you can go even deeper, I said, maybe even 3/16 is going to give an even more three-dimensional look. Let's make it about 3/16 deep.
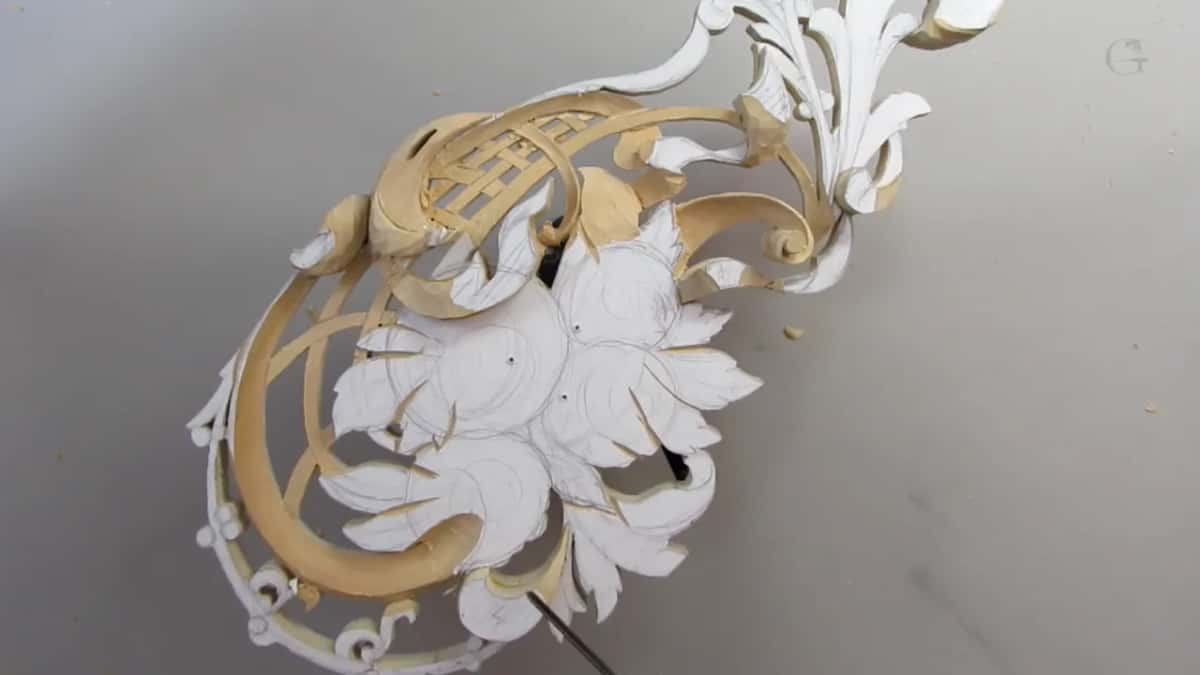
For that I took a bigger V tool, a #16 at 6 mm, or a quarter inch if you are in the USA. But I wouldn't go deeper than 3/16. Go any deeper than that and the surface turns bumpy on you. Too much bump in this area.
Here's a little tricky part, I said as part two began, and I have to probably use a smaller V tool. At another spot, two minutes on, I said right here I won't go 3/16, maybe about 1/8 inch. I think it should be plenty. I could use a short bent V tool in an area like that, but it's okay.
| Tool | Job | Said |
|---|---|---|
| V tool #16, 3 mm | The first tool on the basket | Establish my outline |
| Bigger #16, 6 mm | Grooves taken to 3/16 in (5 mm) for a more three-dimensional look | Let's do that |
| Half-inch #3 gouge | Next on the basket after the V tool, 13 mm wide | Main movements |
| Micro #3 | Got inside at one-eighth inch (3 mm), slower, with more ridges | Really handy tool |
| Back bent #1, 10 mm | Three-eighths of an inch, with the bevel on its upper part | Like a spoon gouge |
| Larger back bent | About 3/4 in (20 mm), still a #1, and I kept slicing | Not pushing straight |
| One-inch #7 gouge | The leaves, 25 mm wide, high point first and then downhill | One inch will do |
| Wide #8 gouge | Also one inch, used on a few leaves instead | Same task |

Why use a V tool here and not just poke straight in?
I use the V tool there for a specific reason. In some areas, if you go in straight, just poking and so on, the wood is weaker, and I can break it. So the V tool helps me to make a relief cut. Be careful when you're going with the grain, too. I said that just before a dumb mistake, which comes up further down.

When do you put the mallet down?
When the wood gets weak. Early in part two I said I could probably use a mallet here and be safe. You can control a lot nicer with the mallet. But the more material you take out, the weaker it becomes, and it's easier to break.
At some point, I'm not going to be able to use any mallet. But now I probably could, and that's actually going to save me some time. Nothing else in this lesson says where that point is. It is still ahead in lesson 5.
Small tools or big tools?
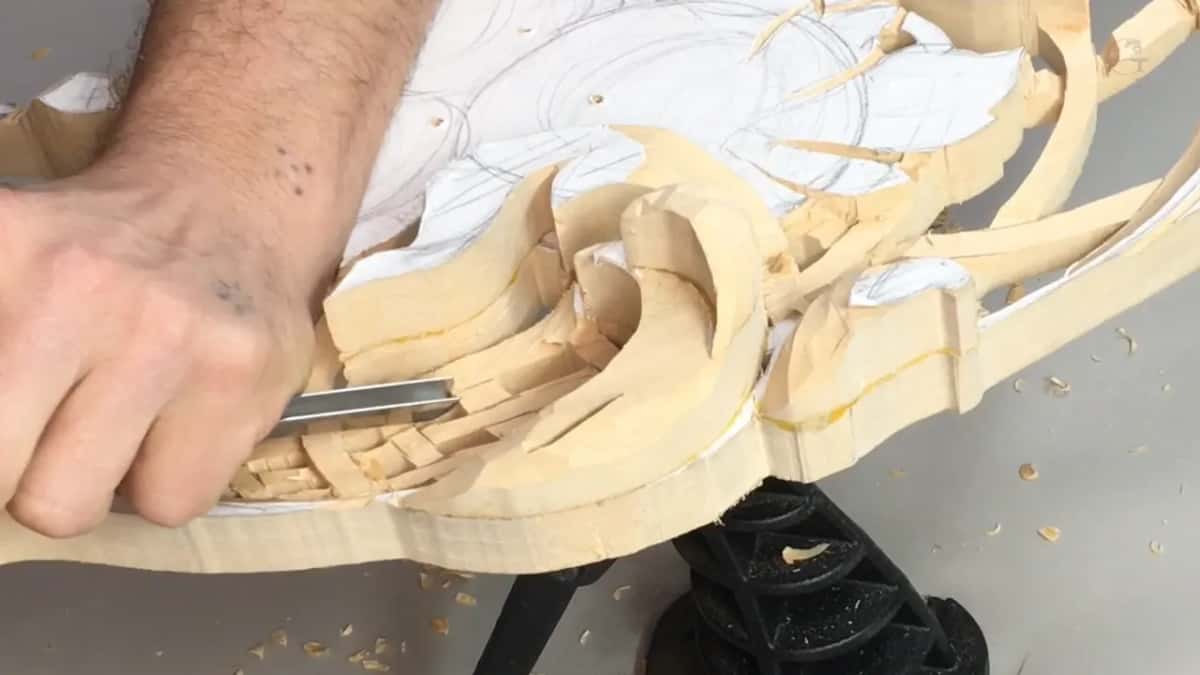
Big tools as much as you can, and small ones to clean. That one is from lesson 12, where I said try to use the big tools all the time, as much as possible. That way it's much quicker and easier, and you can always go back and just clean with the smaller tools. Bigger tools you use, the cleaner it carves, so much less to clean later.
Part three needed a smaller tool to get on inside. I definitely could use the micro tool #3, I said, and that's on my workbench. It's only about 3 mm (1/8 inch). Really handy tool to have.
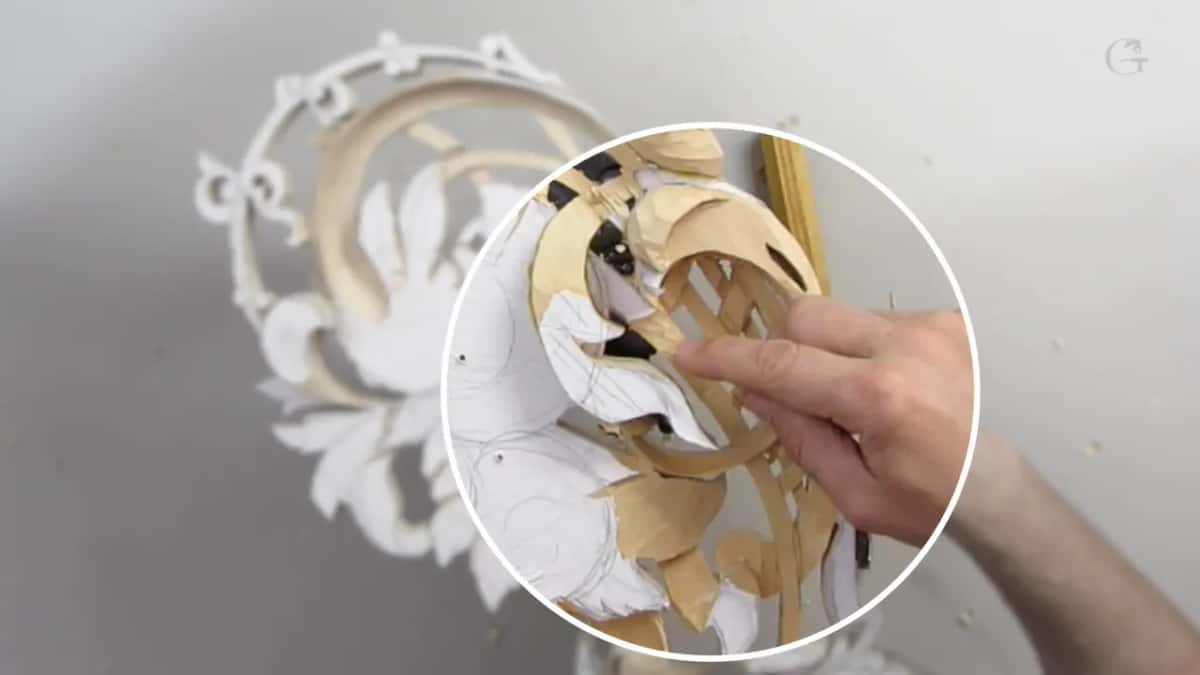
The work slows right down, though, since each pass takes a lot less material out. On the other hand, you do have a bunch more control. If time is not the biggest concern of yours, sometimes with the smaller tools you can get more accurate results. Not in every case, though, because smaller tools leave much more marks, and you're going to see much more ridges.
In my talk on big tools vs small, I said one of the biggest mistakes, when people start carving or even carve for years, is to take a small tool and zig and zig and zig. They spend so much time, and they get frustrated.
Slicing, even with a back bent chisel
Of course, number one will help in this area, I said, so the #1 tools came out next, starting with one with a double bevel. After it came a #1 back bent at 10 mm, three-eighths of an inch. So it is a back bent, but it's pretty much like a spoon gouge, with the bevel at the upper part of it.

In part three I went bigger, a back bent #1 at about three-quarters of an inch (20 mm), and I said I need to sharpen this one. Even though that is a number one chisel, a back bent chisel, I'm still doing slicing. I'm not just pushing straight. After that I left it like that and took a small one, just to take a ridge out, preliminary. My tools course has more on what a back bent gouge is used for.
Main forms first, undercuts later
The basket waits for the leaves. What I'm doing now is just preliminary, as I put it in part three, before we do undercuts and make a final look. I need to work on my leaves. I need to establish the forms of the leaves, and then I'm going to undercut this part underneath the leaves and continue to develop my basket. And that will make more sense.
There was a word I wasn't sure of back in part two. We have to undercut later on to make it look like it's really, truly weaving, I said. I'm not sure if I can say that word, but for me, it does make sense. It interweaves.

The leaves got the same treatment. I could undercut those leaves in the early stage, but I will not, because it's just the main form, not the final cuts. You'll understand just slightly later what I mean by that. Back in part three, with the #7, I went almost all the way down on one leaf. Most of it will be hidden, but still.
How do you know which end of a leaf stands high?
Each leaf here has a direction, and once you can read it you know which end stands high. For the leaves I needed a bigger gouge, and I said a #7 at one inch (25 mm) will do. Logically, I really like to follow the law of movement. It moves from this point out, and that makes sense for me. This part would be a higher point, and this goes downhill because of the movement.

A movement starts somewhere, and that end is the summit. On the next leaf I said this one goes downhill like this. Still a high point, but my second point will be lower, and I have to do it from the right position. On another leaf in part five, the movement goes this way, so the higher point should be on my right-hand side.

Why does the movement matter?
For the finished panel. I know it maybe doesn't make sense right now, I told you in part five, but when you look at the final work, it's going to look organic. Just more pleasing to the eye. I know you can't explain to everyone about those laws of movement and rhythm and so on, but it's really important in the composition. My design course gives the law of movement a lesson of its own.
On one leaf I made a little twist. I really like the twist like this, and it just keeps moving, this one pointing in this direction and that direction pointing to that one. So I hope it makes sense why I did that.

You do not need my tools
One leaf was shaped by a #7 an inch across. A few of the others got a #8 of the very same width. On some of the leaves I probably could use even a number eight, so I took a one-inch #8 gouge in part four. The reason I'm changing my tool right now is just to make sure you also understand there's more than one way to do exactly the same task. So you don't really have to have exactly the same tools that I have, and you're still able to do that.

I said it in lesson 10 as well. Please don't get me wrong, there is more than one way to achieve the same results. What I am trying to show you is my approach.
What if you slip at this stage?
It depends how close you are to the finish line. Early in this session I ran a pass the wrong way. Dumb was my word at the time. It has to go this way, I said. It's okay. And yes, I do make some mistakes once in a while.
But in this stage, it's still forgivable. Later on, if you make a mistake, you screwed up. That's it. You're done. So I have to be more careful myself.

Part four had a rushing move, on a leaf with the #7, and I said oops, I should not do that. Again, I made a rushing move. You should not rush. Or should I say, I should not rush. Later in that part I said to make sure you're doing sweeping movements and don't force it, because you can break the main design. It's better to come back and outline it again.
The same idea came up in Venice Room workshop 69. I grabbed a #17 first, a specialty tool that looks like a #11. Somehow it had got inside the wrong drawer. Then, with the #11 at 20 mm (3/4 in), the grain was already breaking, which was okay in that case. If it was closer to the finish line, that would be a big mistake to keep going, I said.
Almost every mistake is forgivable, but the consequences you can't change. There's a forgiveness and there's the consequences, same like in the Bible, actually. You can get forgiven, but you still have to face the consequences after you've done something wrong.
Why do my tools lie blade toward me?
To know each tool on sight. Every tool on my bench lies with its blade pointing toward me. The reason is that I can read the sweep and the size at a glance without picking anything up. You probably already noticed, I said in part five, and for me it's much easier to grab it like this, use it, and place it back. It's always easy, and I always know if it's on my bench.
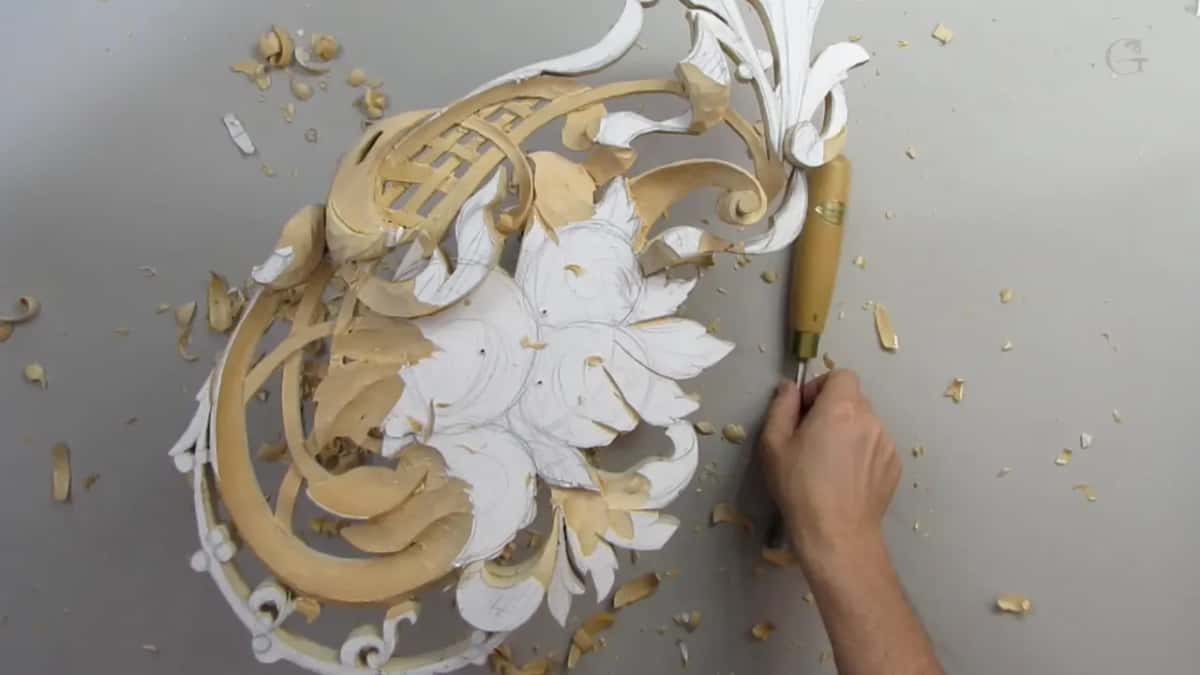
Turned the other way, you really don't see too much. The workbench lesson of my tools course goes further, on how carving tools should lie on the bench.
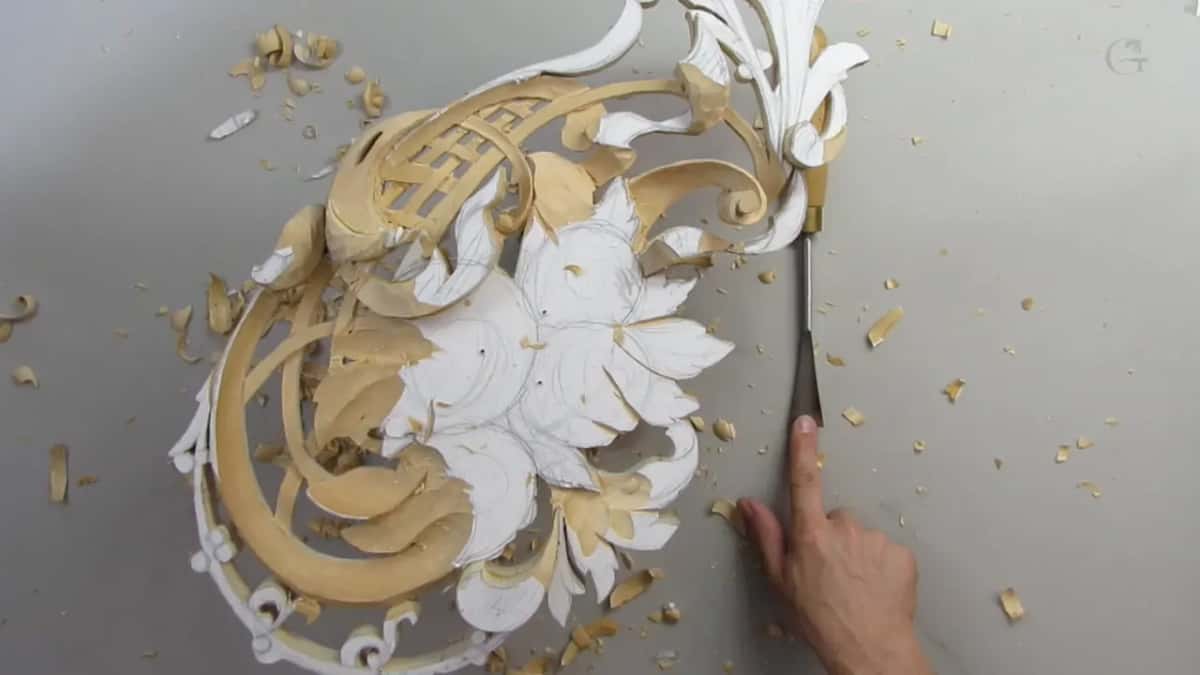
Lesson 5 ends on the leaves, and the basket waits for its undercuts. It comes after lesson 4, and lesson 6 is next. All five parts of this lesson, and the rest of the openwork panel, come with tuition at the school. You see the tools go into the wood on camera, the mistakes too.
How it's done
- Mark over and under in pencil. Divide the basket, then decide which part goes above and which goes below, before any tool touches it.
- Outline with a #16 V tool. Start at 3 mm (1/8 in) to set the outline, then change to the 6 mm (1/4 in) one.
- Take the grooves to 3/16 inch. Stop near 5 mm, because past that the basket gets bumpy and shows too much bump. In one spot, an eighth was plenty.
- Develop the main movements with a #3. A half-inch #3 (13 mm) did it on my basket, and a micro #3 gets on inside.
- Shape each leaf from its high point. Find where the movement starts and keep the high point there. Run the leaf downhill with a one-inch #7 or #8.
- Save the undercuts. Give the leaves and the basket their main forms only. Undercuts and final cuts come later.
- Jump to another area. Work one area, move to another, and come back. That way I can see the overall picture, and sometimes the changes the design needs.
Frequently asked questions
Do you finish one leaf before starting the next?
Not on this panel, at least not in lesson 5. I gave the leaves their main form, with a high point and a downhill run, and I left the undercuts for later on purpose, because those are final cuts and the forms come first. The basket under the leaves waited the same way.
What depth is right for V tool grooves on a carved basket?
On my Hashemi panel, 3/16 of an inch, roughly 5 mm, with the 6 mm V tool, number 16. More than 3/16 and the basket gets bumpy, I said. In one spot, an eighth (3 mm) was plenty for that groove.
Are small carving tools more accurate?
Sometimes, if time is not your biggest concern. A micro #3, roughly 3 mm (an eighth) wide, gives a lot more control, but it takes much less wood off each time and leaves more marks, so you see more ridges. Big tools are quicker and leave less to clean up afterward.
What to carve next