

Alexander Grabovetskiy, woodcarver, School of Woodcarving · Published 2019
How many tools do you need to carve a flower in wood?
Quick answer: Carving a flower in wood is, by my count in lesson 49, a job for about four basic tools. A V tool, a number 11 of one millimeter (0.04 in), another of half a millimeter (0.02 in), and a small gouge near five millimeters (3/16 in). Small knives help with the cleaning.
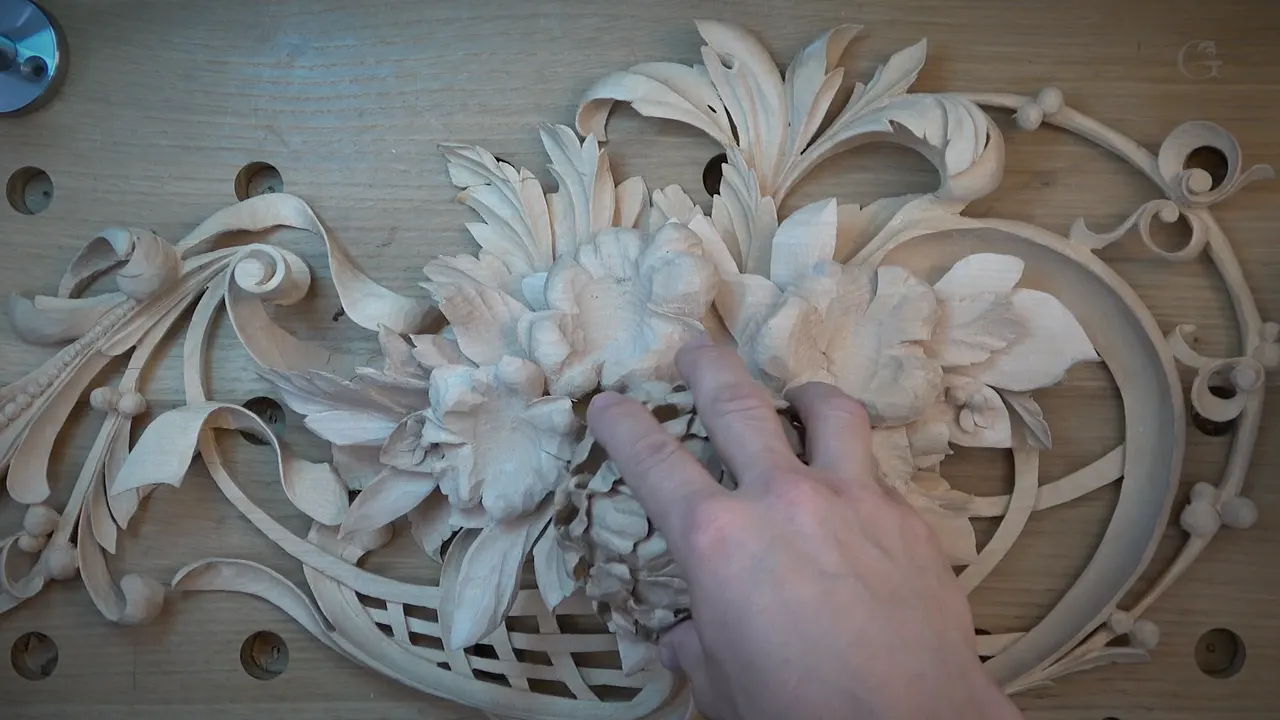
The tool count for a carved flower is about four basic tools, and I said so at the start of lesson 49 of Carving Hashemi Flowers. A V tool, a number 11 of one millimeter (0.04 in), a second number 11, this one half a millimeter (0.02 in), and the small, tiny gouges. The one in my hand was about five millimeters (3/16 in). With those, I said, you can do unlimited types of flowers.
Have you ever looked at a flower carved in wood and wondered how many tools went into it? Did you go looking for the answer before you bought one more gouge? Then come through the nine parts of this last lesson with me, and count them as I pick them up.
Four, maybe five.
The short list from lesson 49
Any V tool. I really like my number 16, because it's a really sharp angle.
A number 11 at one millimeter, the tool I use for flowers all the time.
Another number 11, half a mil. You don't have to have it.
Small gouges. Mine was five millimeters, and from part three on I called it a number eight.
Mini knives on top, to clean everything, since it's still a good idea to have them.
On every petal, the same three main things, as wavy as possible, as deep as possible and as clean as possible.

Which four tools does a flower carving need?
Two number 11s, a small gouge and a V tool make the four. I named them in the first two minutes of part one, soon after I said let's move to the next petals, with a small gouge in my hand.
Any V tool will work, I said, and mine is a number 16. The angles themselves are the subject of lesson 22.
That 1 mm number 11 is really handy. I'm using it all the time for the flowers, I said. The other one is also a number 11, only half that size. Then come the small, tiny gouges. In my case right then I was holding five millimeters, which is like 3/16 of an inch, as I put it in part five.

There are some specialty tools too, and smaller gouges. The one I showed was an eighth of an inch gouge by Dockyard, a number eight, and later I said that one is only three millimeters. But pretty much those four, five main tools, basic tools, are all you're going to need for the flowers.
Why use a number 11 where a V tool would do?
Control is the reason I gave. Late in part one I took the one millimeter 11 to go after the petal underneath the one I was on. I could actually use a V tool there, I said, and it will do exactly the same idea. But this one is just one millimeter, and I do have much more control.
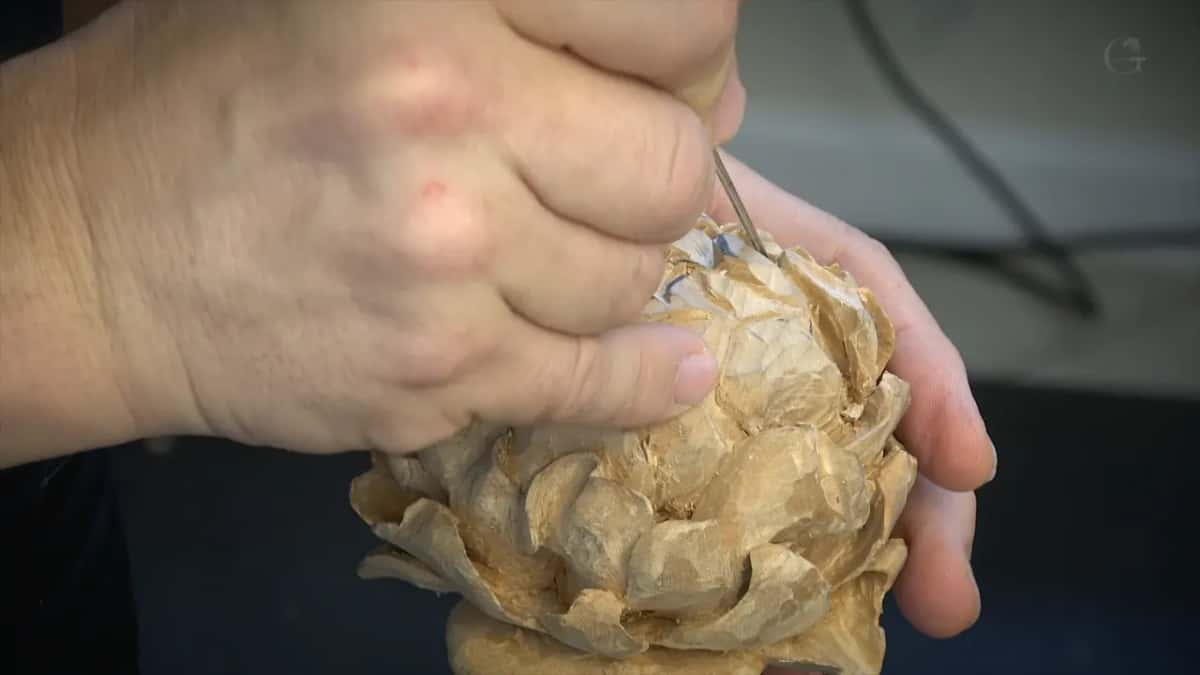
Part two came back to the same choice. You have more control at this point with just a number 11, I think. Or use a V tool of one millimeter, since I have a number 16 that size too, and you'd get the same idea.
Do you really need the half millimeter number 11?
You don't have to have a half a mil, by the way. But in my opinion, if you do have it, it creates a beautiful deep cut. It goes in so far that it isn't even detectable, yet it's still going to create the shadow. And, like I mentioned before, wood carving is all about the shadow.
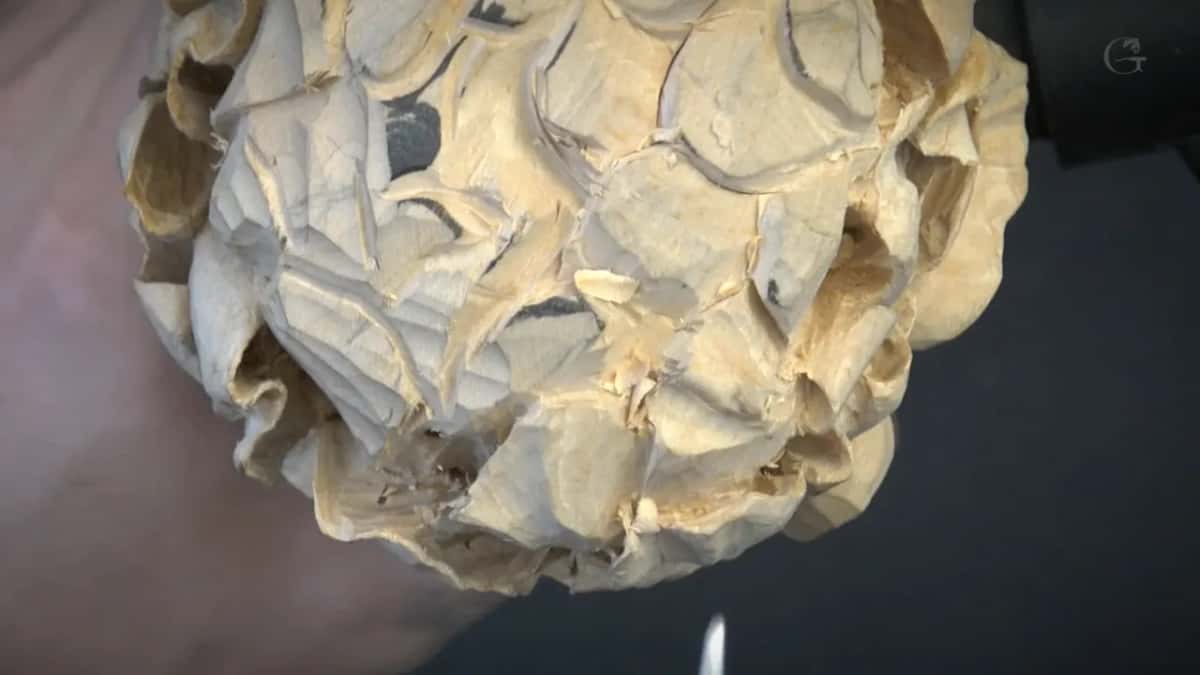
Part three put it to work under one petal. The small number eight went in first, five millimeters, to excavate under it. The number 11 followed. After that came the half millimeter for even deeper excavation, although after the one millimeter it was already so deep you couldn't even see it. But still.
In lesson 45 I needed what I called a vanishing point cut, and I said maybe a number 11 would do it.
What does the small gouge do on a flower?
The small gouge gives a petal its hollow, then its rise, and much of the undercutting. It's sometimes a good idea to point your movements toward the main point, I said early on, and here that was the center of the flower. With a five millimeter gouge I made a concave cut from about half of the petal toward it.
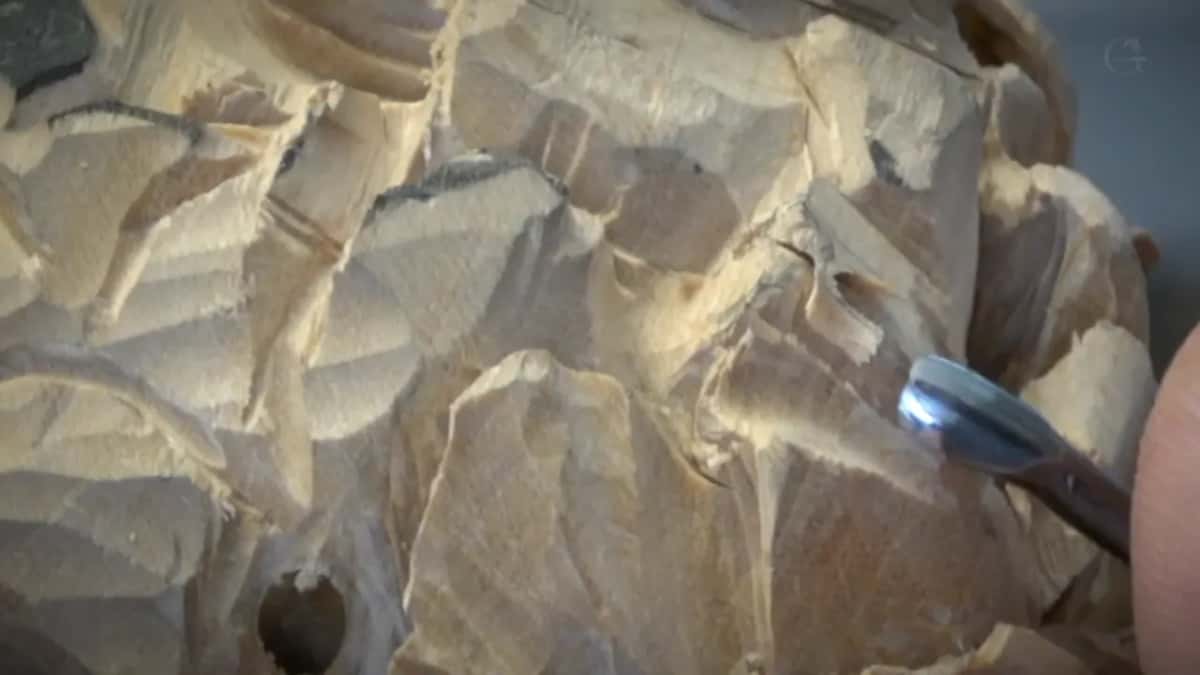
Then the convex side. I can just turn the same tool upside down, I said, and create my convex cut just like that, and clean the side of it. With that very tool I undercut the petal before, and said I could actually call it final, not initial. Concave and convex together are what lesson 39 is about.
Part four had a good word for that gouge. Five millimeters, number eight, and that is actually an excellent tool for the undercutting. Part five brought back the Dockyard number eight to take up a lot of material, all the way to the hole. I could use five millimeters, or 3/16, but this one is only three millimeters.

Part six went back to how the flower began. One petal did have a natural tendency to have a concave, and I just followed it. When we started this flower, a gouge alone gave it that round shape, and that already pre-established some facets and movements. Sometimes you just follow the natural pattern those first gouge strokes left, which is the whole subject of lesson 46.
The tools I picked up in lesson 49, part by part
| Tool | What it did on this flower | Part |
|---|---|---|
| One millimeter 11 | Took the petal underneath, with more control than a V tool | One |
| Small gouge, five millimeters | A concave toward the center, then upside down for the convex | One |
| Small knife | Cleaned an edge that looked a little rough | Two |
| Half mil 11 | Even deeper excavation, past what the eye can see | Three |
| Number three, upside down | Rotating micro moves to blend the facets on one petal | Four |
| Eighth of an inch number eight | Took up a lot of material, all the way to the hole | Five |
| A knife | Softened a movement of almost 90 degrees | Five |
| Five millimeter number eight | Lots of different concaves at the same time | Eight |
| Air compressor | Blew out the mess before I tried the flower in its place | Nine |
Why keep knives if four tools are enough?
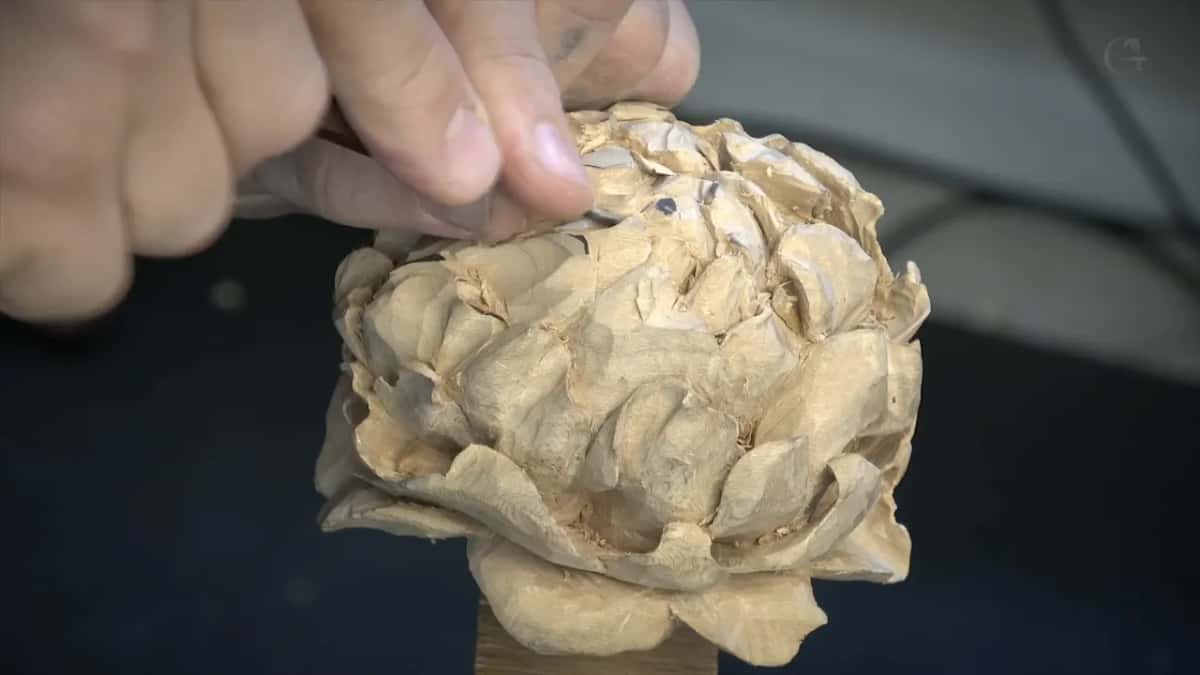
The main tools will get you by, I said in part two, but it's a good idea still to have multiple tools, like micro tools, mini tools and mini knives to clean everything. That small knife is really handy to clean an edge that looks a little rough, and that looks much better after.
And if you want it to look like a realistic flower, make sure your edge is a really sharp point. Don't leave any wall. That wall is the one I talk about in lesson 47, where I say I don't like to see it.
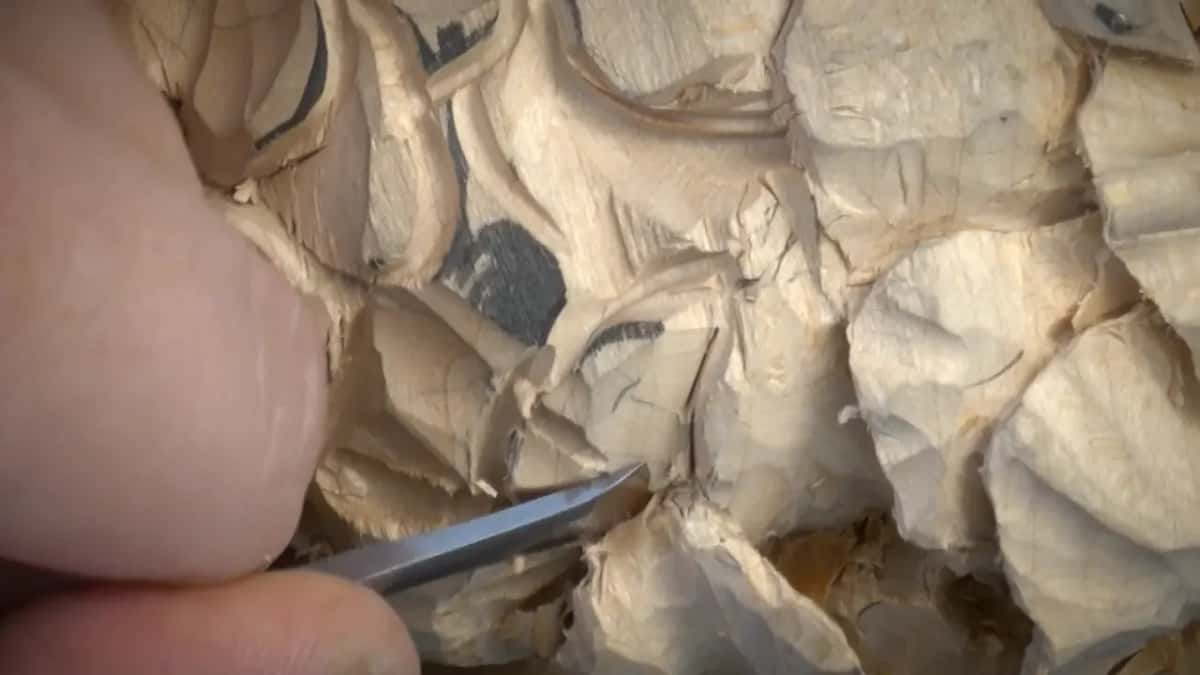
I don't even have to use this small knife, I said during part three. A carving knife would still work really nicely. I just wanted to show you the varieties of tools you could use for carving flowers.
The knife also saves a spot where the grain fights you. In part five the grain didn't feel like it was in my favor, so I attacked that spot with the knife. Next, a movement of almost 90 degrees needed softening, and the knife did that too. What I could use, I said, is just a number 12 knife, and it's still going to work.
That number 12 came back in part six, and I called it my favorite knife. I can do a lot of stuff with just this knife, any type of wood carving, and I can go as deep as I wish with it. Whether a carver has a favorite gouge is what lesson 33 asks.
Then in part eight I said every petal has to come to the sharp edge, and a small knife or a number 12 big knife takes it there, undercutting to the sharp point.
Do flat gouges and back bent gouges help?
Part two gave undercutting to a small gouge first, or sometimes to back bent gouges. They are really handy also.
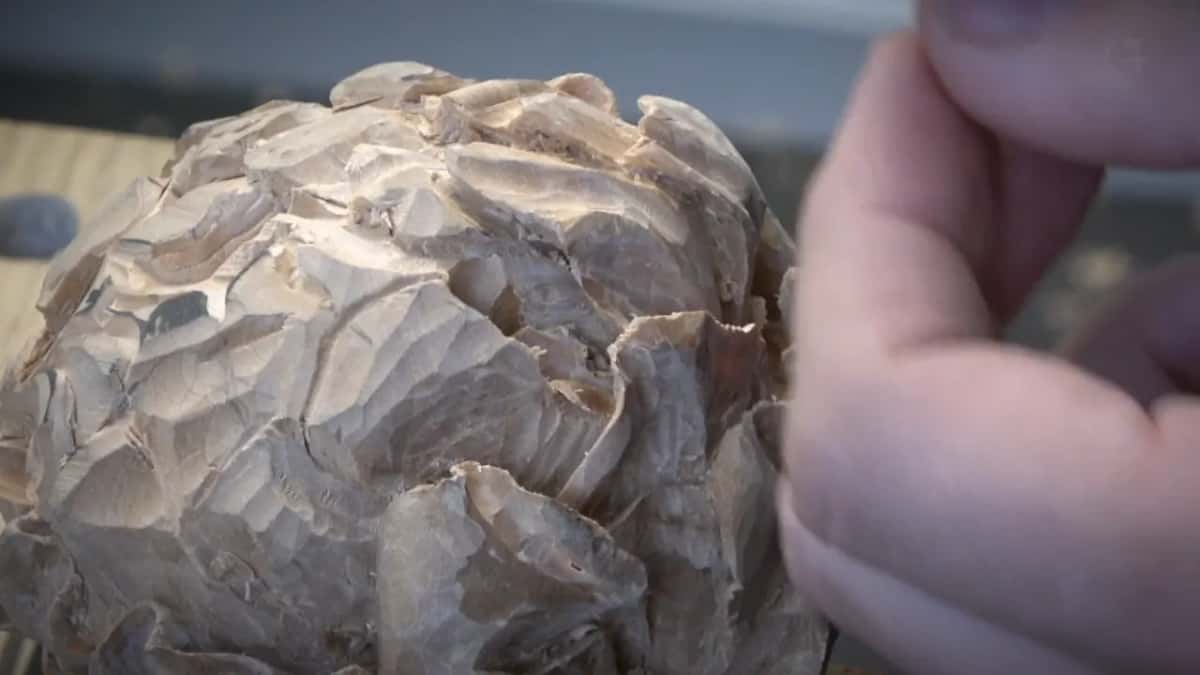
Flat gouges are another story. I know some carvers use just flat gouges for that type of work, and a number three can be used a lot. But I think it kind of limits it, and with a number three I can't do too many movements. It's much quicker, definitely. At least it helps to do the main forms, I would say. It doesn't help with the waviness, though.
How do you blend facets without sandpaper?
With a number three turned upside down, moved in small rotating movements, which is how I blended a petal with a lot of facets in part four. If I exaggerate it, I'm moving my hand like that. Just the micro moves. That way I'm taking care of the smallest facets. It's still a facet, and I'm not sanding anything. It's just not as rough-looking.
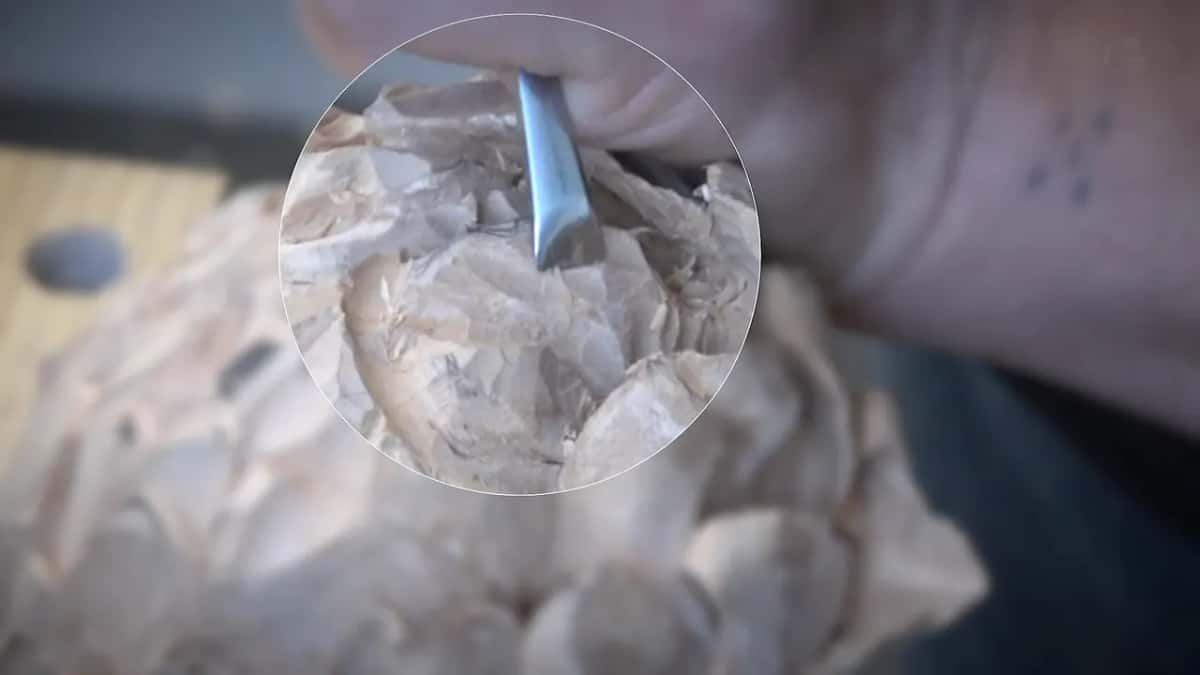
Sandpaper stays off this flower by choice. You could use it if you wish, I told you in part one. But I really like the chisel marks, or tool marks, and the overall composition with all those facets, because they're going to create the shadow. Even the tiniest shadow casting makes a big difference.
A small number five did the same job upside down in part six, blending the movements on one petal. And later, a number five gave a really rough petal a middle convex and an outer concave, and it was going to look absolutely different.
Is it quicker to work tool by tool?
It is, if you're doing commercial work and have a lot of work to do. One of the techniques, from part eight, is to use the same tool as much as possible until there's nothing left for it, and then move on to another one.

With the five millimeter number eight I made lots of different concaves at the same time. I think it's just going to be much quicker, I said. The next tool was the 1 mm number 11, and I went everywhere and undercut everywhere, going deep. Now I do have a form.
Some spots still needed the number eight again for the undercutting, and then I went back to the 11. That is the idea.
Where do you crank a gouge on a thin petal?
Against your finger, and never against the other petals. Part three shows me being careful not to force the tool or crank on the other ones, and that's why I was cranking against the finger.

Part four said it again. Please don't crank against the petals, crank against the fingers. And if you would say I already said that too many times, it's probably because I've done it many times, and I learned that the hard way.
Your project is almost done. You already cleaned everything, and it's really fragile. You decide to go in one more time, just because you don't feel like it's enough, and boom, you crank against some detail and you just break it.
Deep undercutting carries the same risk. The deeper you go, the more fragile it's going to become, so keep an eye on it, and if you touch it after, be really gentle. A tool can break as well, as lesson 44 shows.
Is a complicated flower hard to carve?
By part two, you should see there is nothing complicated about carving somewhat complicated flowers. It is the same work over and over again.
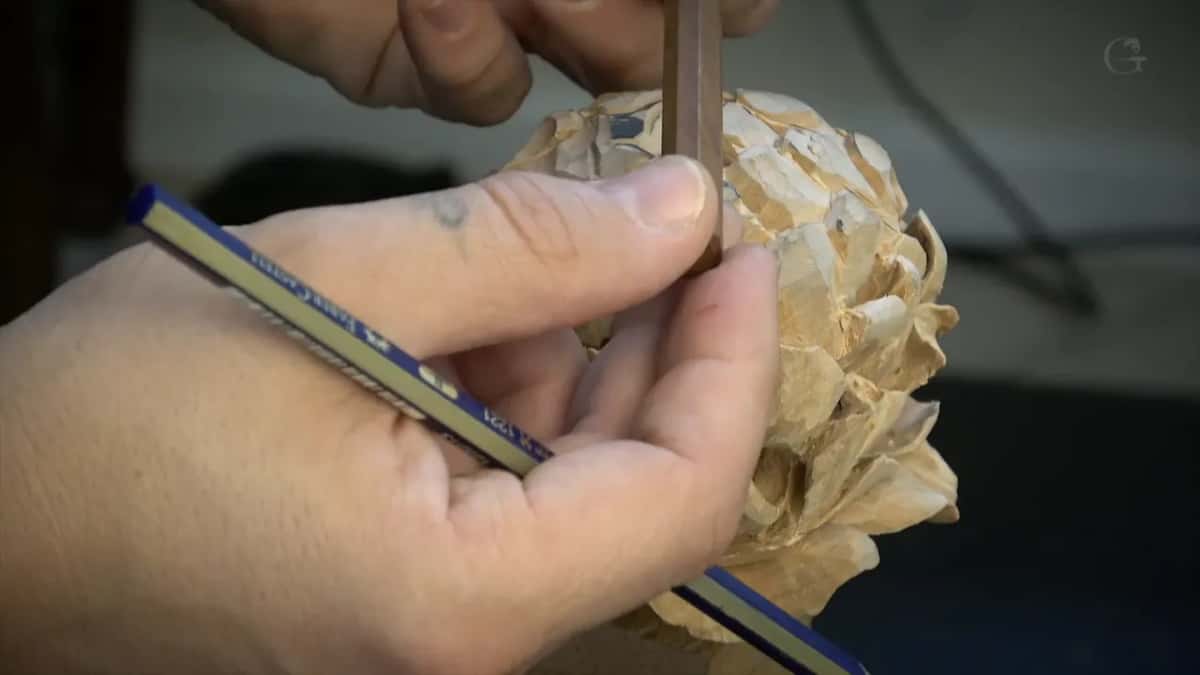
This flower, I think, is the most complicated in this composition, as I put it in part seven, and the other flowers, to the left and bottom and up, are going to be easier. In lesson 43 I called the peony a lot more complicated than a rose.
What do you do off camera?
Mostly the cleaning, and I do it under a lamp. When I'm not talking and not trying to teach anything, I use that type of lamp with the magnifier glass, as part seven explains, and I can see much better. Even the tiniest details are no problem then. But it's not practical when I'm filming it.
A lot of that blending happens off camera too, because it just takes so much time and there is no reason to watch it. I have nothing to say while I'm just cleaning.
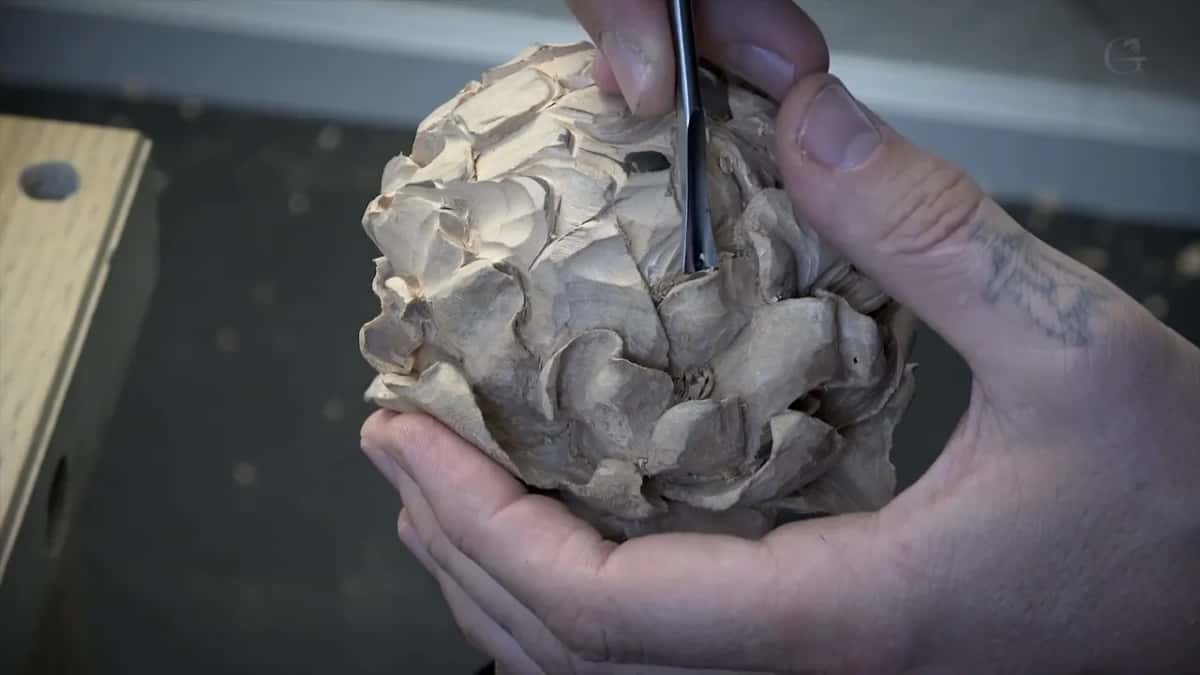
What changes as you get close to the center?
Less waviness, and less depth. Closer to the center, as part three shows, I have a lot less waviness to make, and I'm not going to go so deep there as on the lower parts of this flower. And the closer to the center I got, the more petals I got, until the last petal goes underneath of another one, as I showed in part seven. How many petals a flower gets is what lesson 30 asks.

And in part six I went in from two sides, one side and then the other, and that way you can go really deep. But keep an eye on it, because the inside of the movement goes in, so you can't go too deep. If I go too deep, I create a hole, which is okay, and even on this flower I do have a couple of holes. But still, try not to do that, if it's possible.

What happens at the moment of truth?
Two screws come out and the flower goes into the panel. We got to the point, in part nine, where I'm not going to do any more refinement of this piece. You could take it to extreme, and it can be even more beautiful, but I think it's enough for this particular project.
I just blew it with the air compressor and we tried it on. Out came the two screws, a really big one and a smaller one, the smaller first. It looks like it fits perfectly from everywhere. Maybe it's too big compared to the next ones. Maybe yes, maybe no. I won't fasten this one until I put in the other three flowers, and if I need to make it lower, I can always do that.
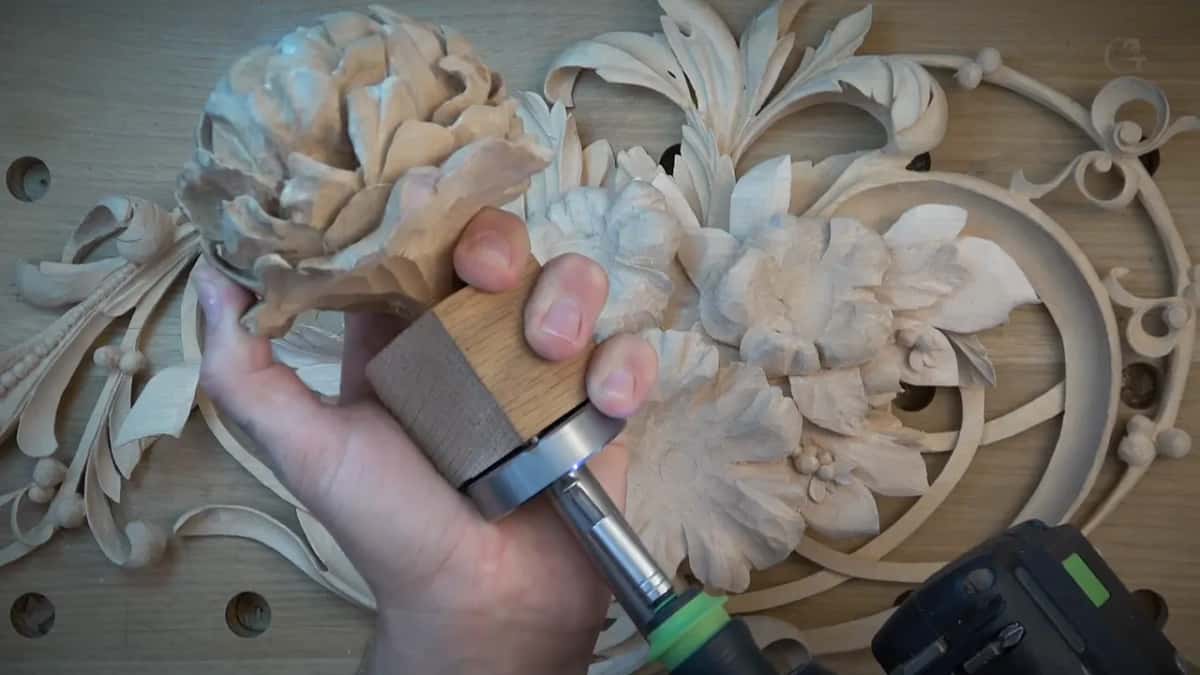
By the way, I decided to glue my second layer right away, and later on I'm going to put the dowels right through to reinforce it. Off camera, back in part one, I had decided to glue that second layer on top of the first, so I could see exactly my arrangement and how the flower was going to look. How a flower attaches to the panel is the question lesson 27 answers, and why this one was carved on its own is the one lesson 42 answers.
Every lesson of this limewood panel is part of Tuition, starting with lesson 1.
How it's done
- Lay out the four. One V tool, two number 11s (one millimeter and half of that), and a small gouge of about five millimeters.
- Hollow toward the center. Point the hollow toward the middle of the flower, using the small gouge.
- Turn the gouge over. Upside down, that same gouge makes the convex beside it and cleans its side.
- Undercut deep. Follow the one millimeter tool with the half millimeter one, going deep, cranking only against your finger.
- Bring each edge to a point. Use a small knife, or the number 12, to bring each petal to a sharp point, so no wall is left.
- Try it in its place. Blow out the chips with an air compressor and fit the flower before you fasten anything.
Frequently asked questions
Which V tool works best for carving flowers?
Whichever V tool you have is fine, I said in lesson 49. My own pick is the number 16, whose angle is really sharp, and I have one at one millimeter too. In parts one and two I still reached for a tiny number 11 instead, since it gave me more control.
Is the half millimeter number 11 worth having?
Owning one is not a must, I said. In my opinion, though, it leaves a beautiful deep groove, so deep nobody can even detect it, and that groove still makes shadow. I took it after the one millimeter tool in part three of lesson 49, to dig even deeper under a petal.
Can you finish a flower carving without sandpaper?
Every petal on this peony was finished with edge tools alone. A number three or a number five, held upside down and rotated in tiny moves, blended the facets without sanding anything away. I keep the tool marks on purpose, because they make the shadow.
What to carve next