
Alexander Grabovetskiy, woodcarver, School of Woodcarving · Published 2018
How do you carve a scroll in wood?
Quick answer: Carving a scroll in wood is outlining its curl with a V tool about 1/32 of an inch (0.8 mm) from the final line, then trying gouges until one fits. On my Hashemi panel the second number 8 I picked up was perfect, and one spot stayed the highest point.
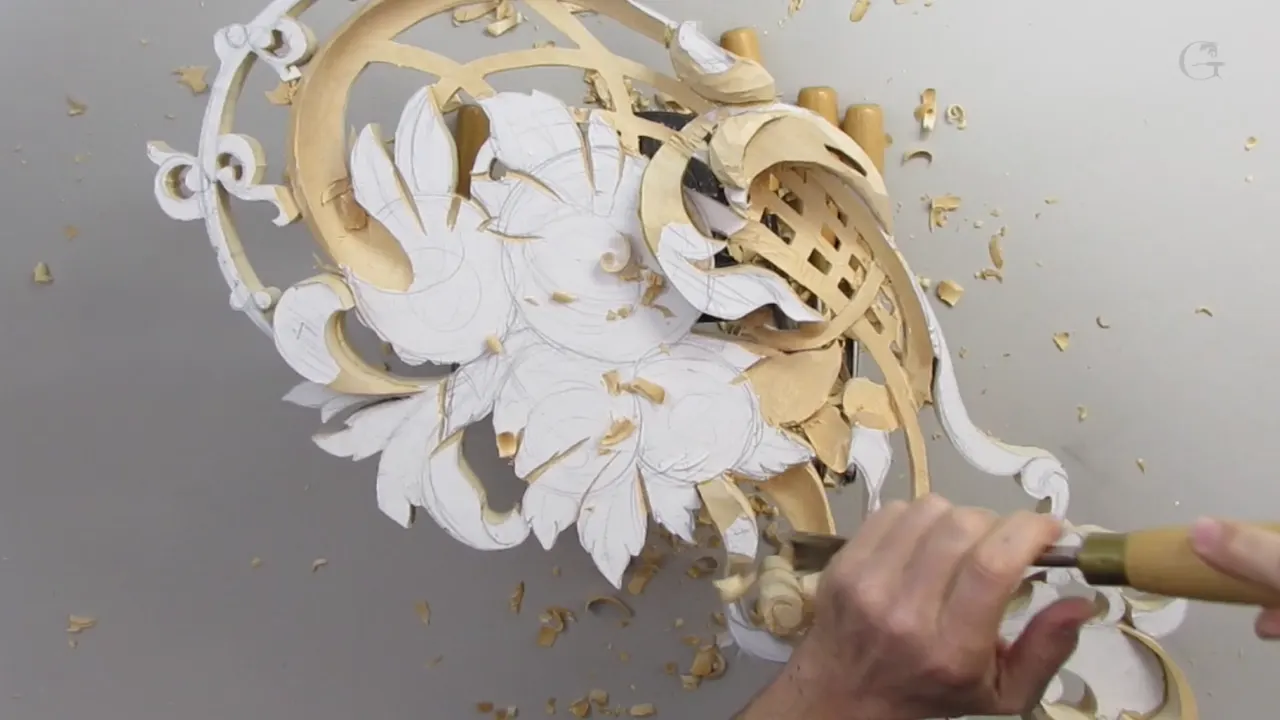
Carving a scroll is outlining its curl, finding the gouge that fits that curve, and keeping one spot as the highest point. That is how the scroll went in lesson 3 of my Hashemi flowers panel. Okay, let's concentrate on this scroll, I said at the start.
Want your scroll to look good? Want its flowing line to look good side-on as well? Then the first tool is a V tool.
This page follows that one scroll through the lesson, with the tool sizes I named on camera, and where lesson 3 only touches a point, I add what I said about scrolls and volutes in other lessons. Each one is linked.
What lesson 3 does to the scroll
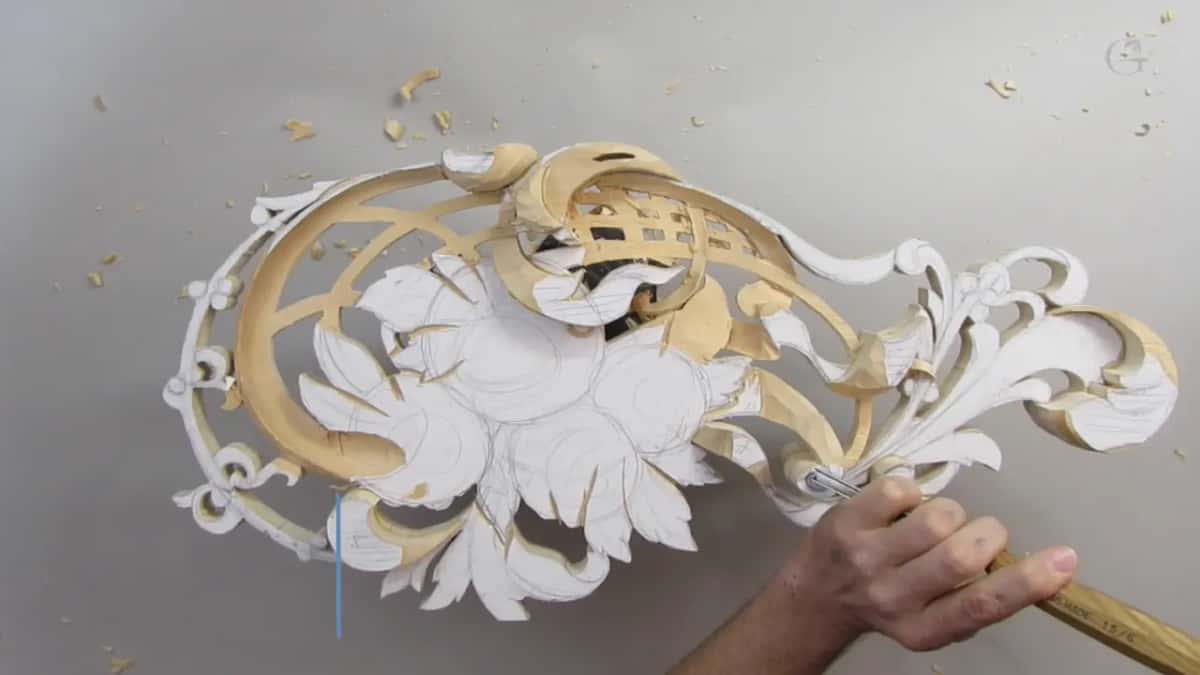
The V tool outlines it first, and the paper comes off.
I tried two number 8 gouges before one was perfect.
One spot became the high point.
The side going down gets a flowing line instead of a straight drop, and I check it side-on.
Step cuts from a number 5, then a blending cut.
Tiny tools remove the junk inside, and a small knife flattens the top.
A V tool on the left starts the undercut.
Why outline a scroll a little away from the line?
To get the paper off. First of all, I need to figure out what kind of tool I need, I said, and the first one was just a V tool, to outline it around the main movement.
Well, I'm approximately just maybe 1/32 away from the final line. The reason why I did that, because I want to remove paper. And now I can work with my gouge.
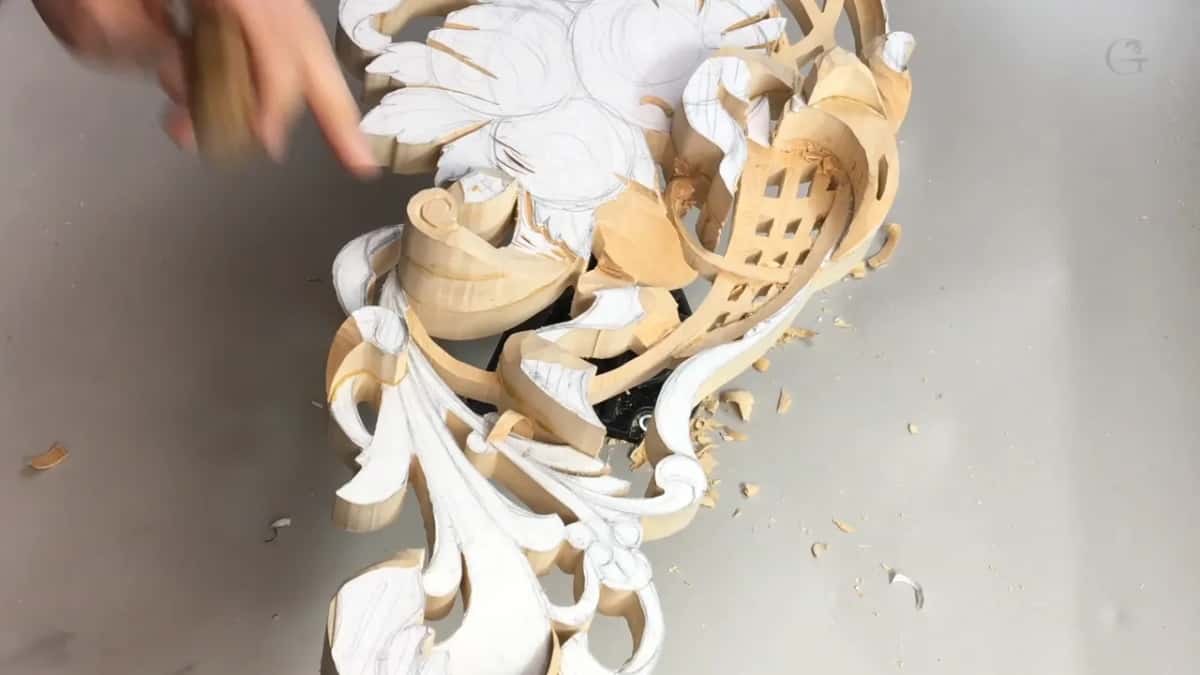
That paper is my drawing. As I explained in lesson 1, I drew on a piece of paper, applied that on the board, and took it to the scroll saw.
It peels off easily. Lesson 1 gives the reason, just because of that photo mount glue. The paper was flying out under my V tool in lesson 23, and I called that glue really mild, so it doesn't leave any residue, but it's still easy to remove.
That V tool was a number 16, and I said six millimeters or three millimeters will work, at 35 degrees, before I carefully made a channel.

Later the V tool came back on this scroll with the mallet. Just create the groove, I said, and then again with the V tool.
Which gouge is right for the curl of a scroll?
The one that fits. So let me think which gouge I could use, I said. Let me try number eight. It's a little too big. A different number eight, and this one is perfect, about 3/8 of an inch (10 mm).
Then I went from the sides.

A bigger one came next. I need bigger now, I said, and a little bigger gouge, another number eight, fit perfectly. Just work my way around.
There is different ways you could probably do, I told you while I went around again with the V tool, and a number five took over.
Lesson 23 needed two tools for one round shape. My volute had to be rounded nicely, I said there, and I used a number seven, 14 millimeters (9/16 in). Although I could use something different, maybe a smaller tool. That one was a number four, 10 millimeters (0.4 in).
Sharp steel matters most at this point. Especially now, the tools, they just absolutely must be really sharp, I said on that volute.
Where is the high point on a carved scroll?
Wherever the design puts it. Here, that is going to be my focal point, my highest point, actually.
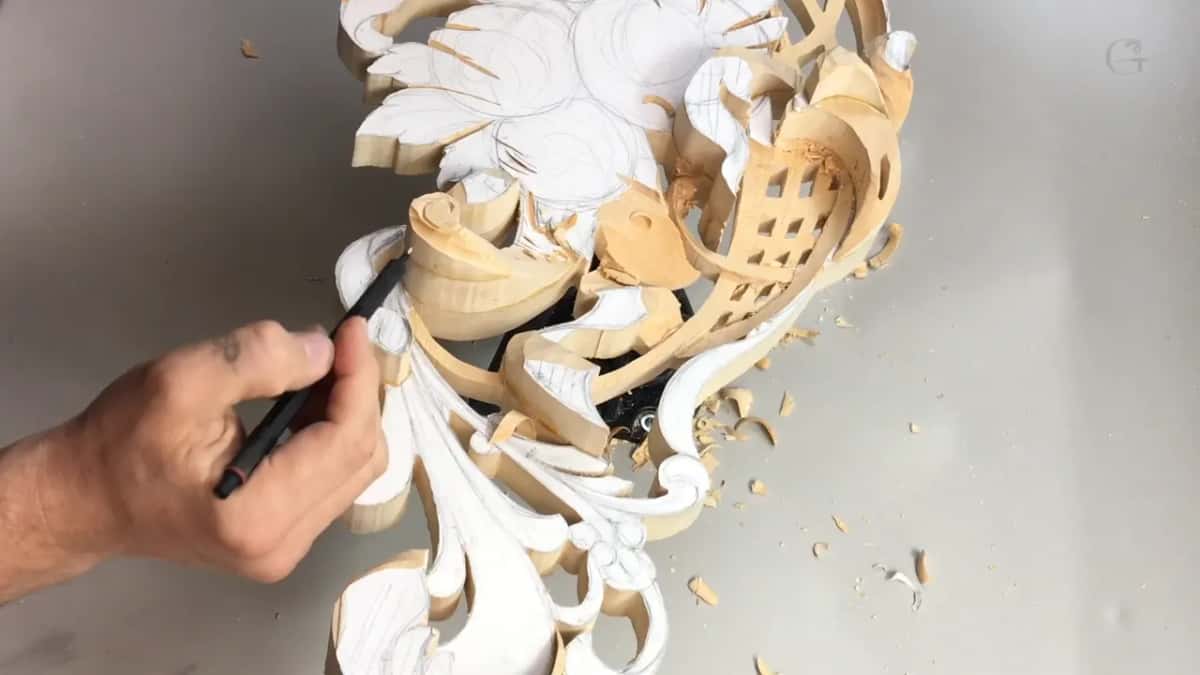
I planned that point before any carving. The board is thin, only 7/8 inch (22 mm), and in lesson 1 I said I could use probably a two-inch or even a four-inch board and carve from a solid piece. But my goal is to show you that you don't really have to, because you can save material.
So the offcut pieces went back on top as layers. Like for example, the scroll. This point is my high point, and I applied that piece as a third layer.
The parts around a scroll decide its height too. Two berries and one volute sat together in lesson 23, and it's a good idea, I said, to make those two berries lower than the volute. So let's make that volute kind of higher. I'm not sure if I can say that, but it gives pop to this volute.
Another volute in that lesson got its round part as a high point, with one side a little lower. And there is multiple ways to do those volutes, by the way. On one I did the same level. On another side, I did the high volute.
Keeping it high takes care. Got to be a little more careful now, I said on a Venice Room volute. I want to keep this ridge high, otherwise I'm going to lose that transition upward.
A focal point does not have to sit in the middle, either. On the furniture panel design I said my volute is going to hit that golden line, which is in line with my minor focal point. I kept it off the center to develop my acanthus movement in one direction.
Why does the side of a scroll need a flowing line?
It has to flow. Really important, I said, if you can see that on a camera. I really need to make sure right here it also has some kind of flow, or flowing line, so it's not going to be just a straight down. Hope it makes sense.
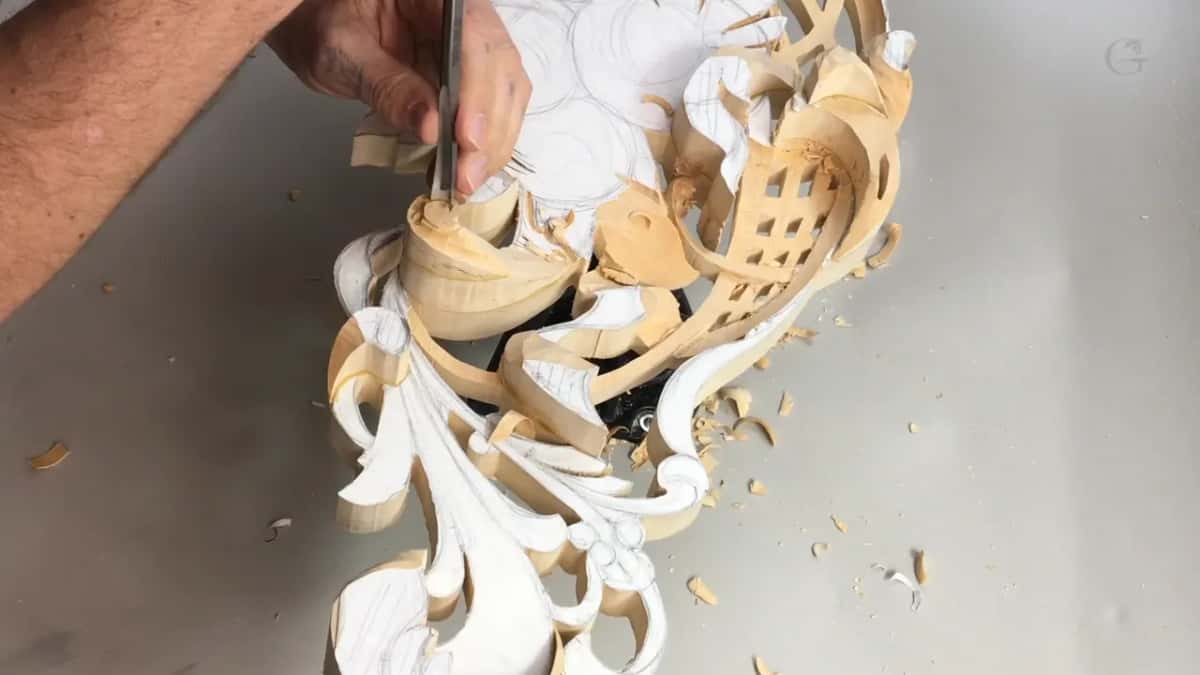
And I'll take my time, I added. Near the end of that video a big gouge came out for a flow line. Also, what I could do, I could use a big gouge, like number seven, to create that flow line. I would probably have to do it lower and preliminary establish my movement. And now I can see where it's supposed to go.
I moved it lower after that. I think I should probably start somewhere lower, I said.
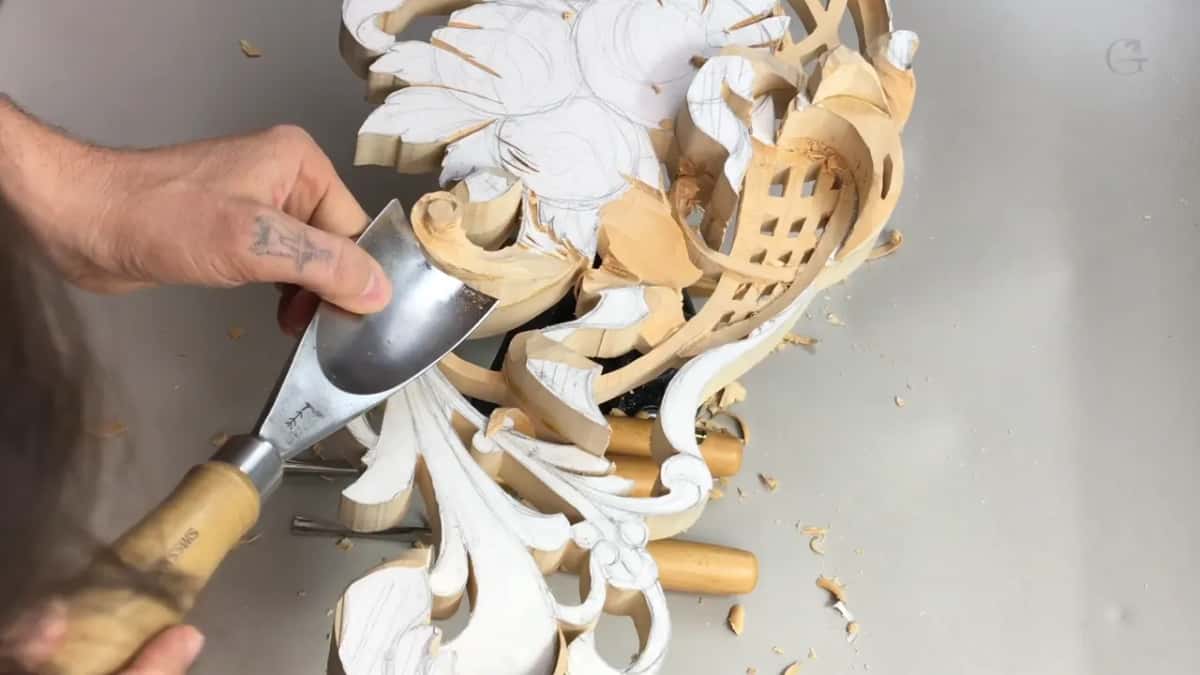
The side view is how I judge it, and when I moved on to the upper part I said same idea, even if it's smaller. I still have to make sure my flowing line is actually looking good from the side view.
One side didn't flow well. On this side, I don't like the flow, I said, so it should come lower down a little bit.
Lesson 2 has the same check on another scroll. That's going to have a scroll, that's how I call them, I said in lesson 2, and a little later, it's a good idea to check that from the side view.

What is a step cut on a scroll?
One side first, then a step. Use the number five again, I said, I'll make step cuts. I call it step because I can start on one side and make a step.
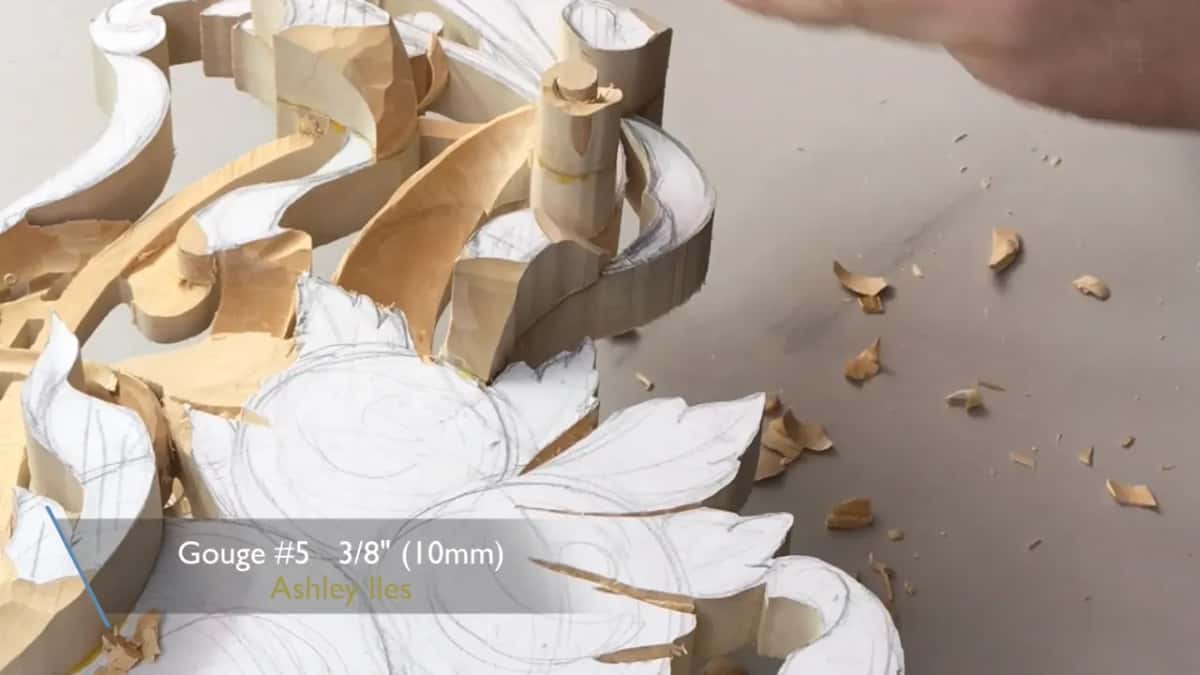
Same tool, number five. I'll just go to the line, I said, and in the next video, little by little, make it deeper. A bigger number seven came after, again, for my blending cut. I do like what I see.
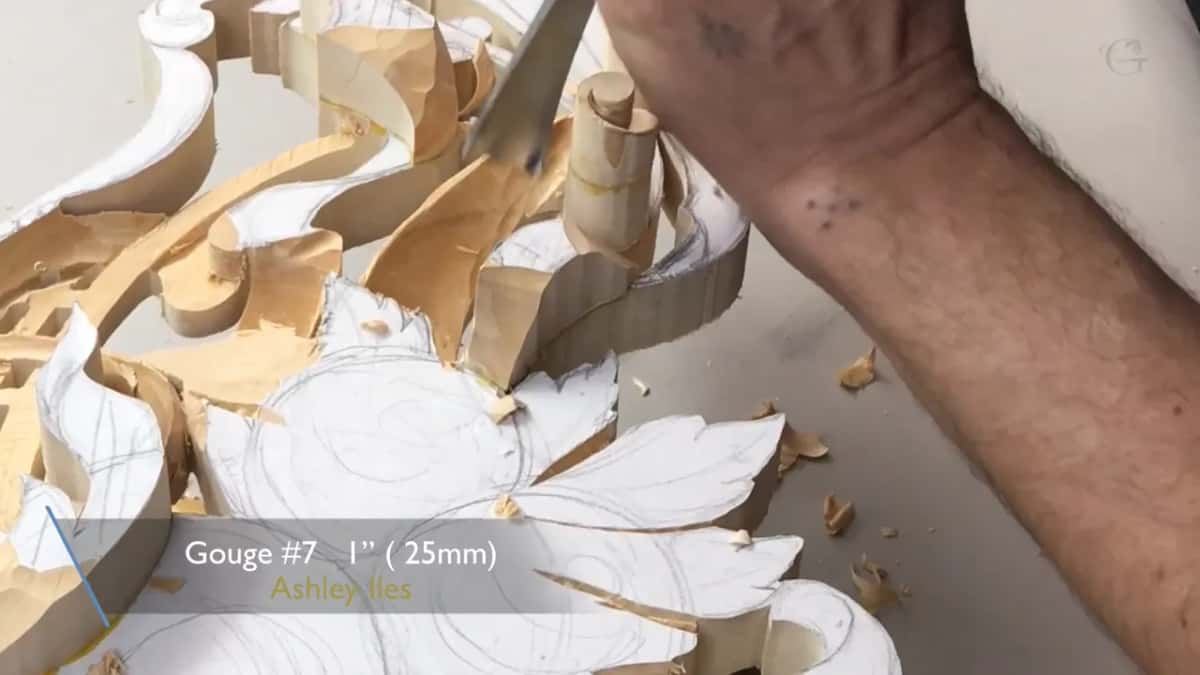
The caption on screen gives that number seven as 1 inch (25 mm).
Another volute in lesson 23 went down the same slow way. The depth at that point was about one-eighth of an inch, three millimeters, I said, and I easily could go even lower than that. Then carefully, multiple times in.
Why does the edge of a scroll get weak?
Grain direction is one reason I gave. Just be careful on this part, I told you in lesson 1. The grain goes this direction, and that's kind of weak, so you have to keep an eye on how hard you strike when you're using a mallet. You can easily break it. A number three came next, to create the illusion of the scroll.
The warning on this scroll came in the middle of the cleaning, with a number five in my hand. Please make sure, don't lean your tool against the edge, because your edge becoming really weak.
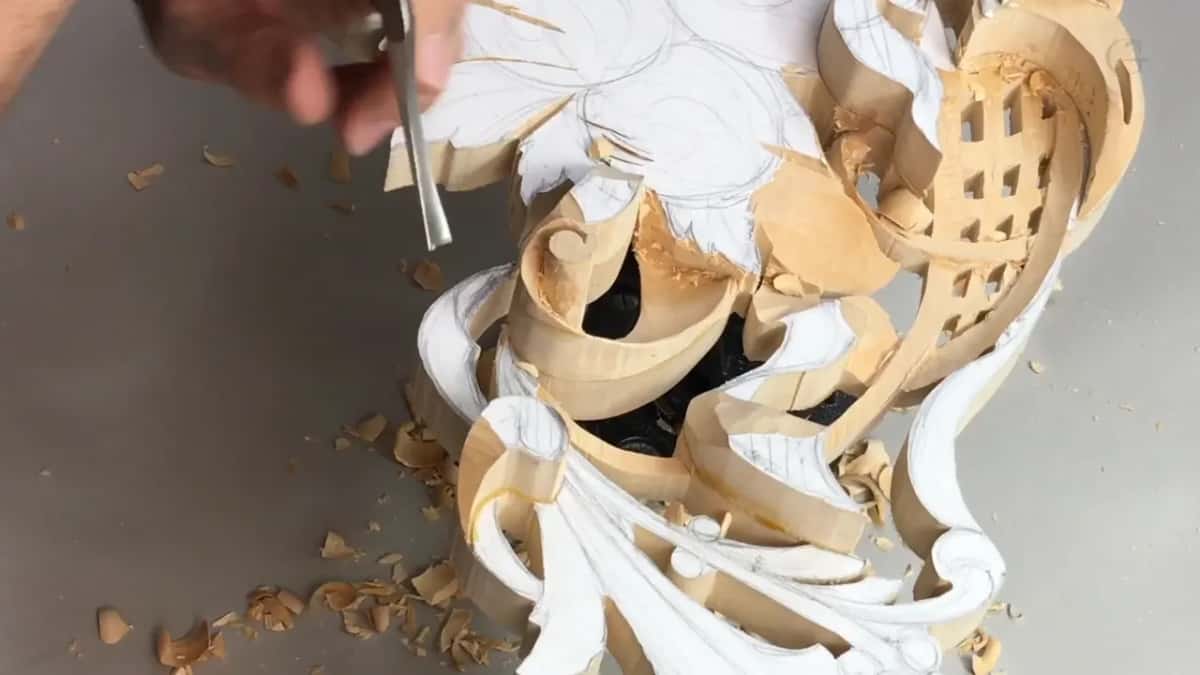
My number 7, the bigger one, went against the grain later in the lesson, and I said I guess that's the only angle I can attack this. See, and this is really becoming weak. So that's why I have to be really careful how I'm doing it.
A relief cut is the help I reached for in lesson 23. Normally, you could just use your tool, put this in, and make the rotation movement. But I can't create too much pressure, so it is a good idea to use a V tool for a relief cut first. Even a small and tiny one will relieve some stress from the grain.
Which tools clean the inside of a scroll?
Really small ones. Now I'll take really tiny, small V tool, only one millimeter (0.04 in), and carefully remove some of the junk, I said. I'm not sure if I can call it junk, but right now it's in my way, kind of, and I don't like to see that.
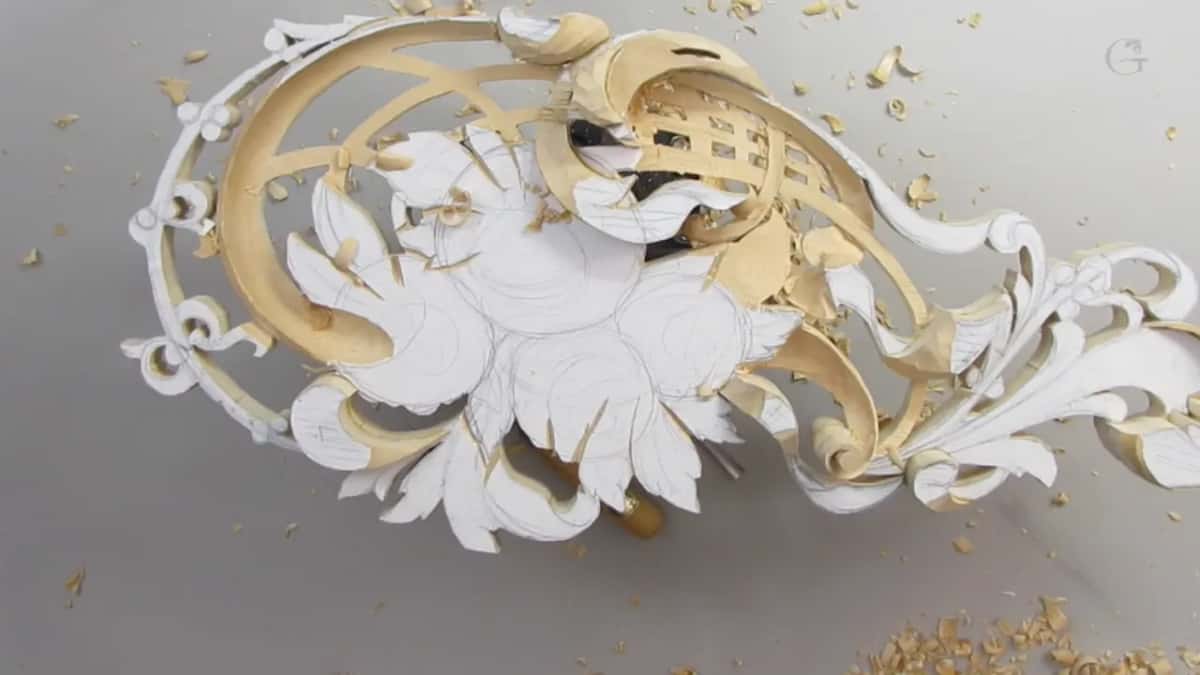
A number five came next, because it's better. The small V tool went back in after it, to clean, since I really have a sharp edge.
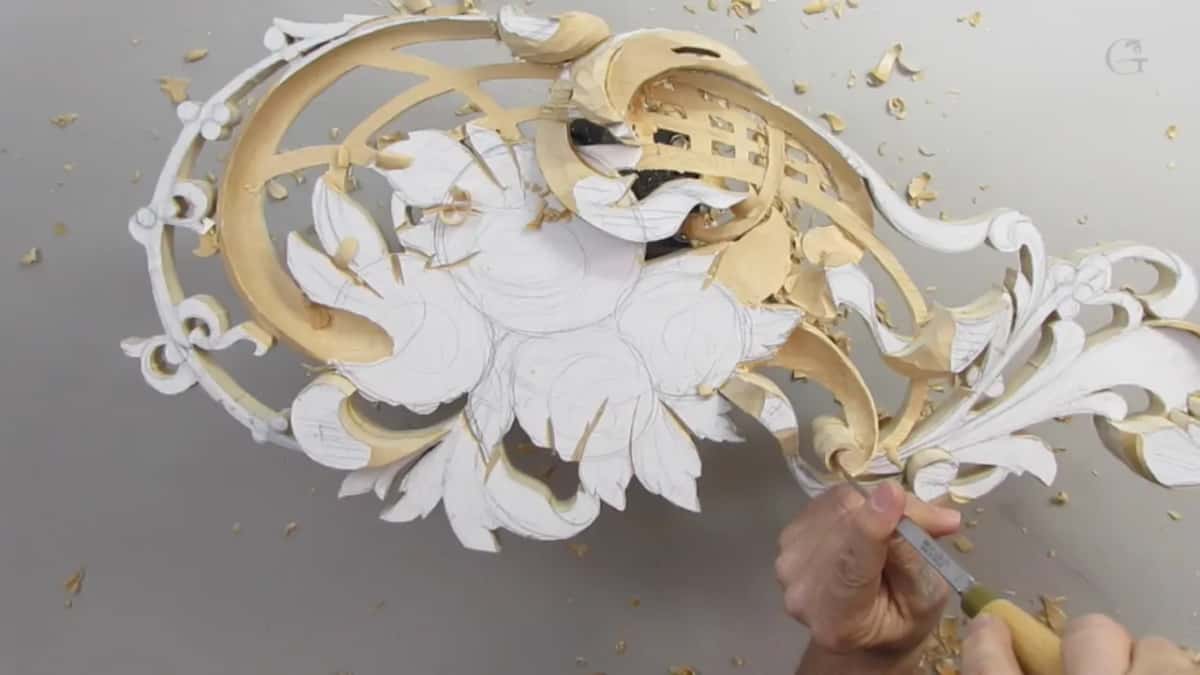
Maybe I can actually get even a smaller, tinier one, I said, even number 11, half a millimeter (0.02 in), and clean on inside. Okay, I'm happy with that.
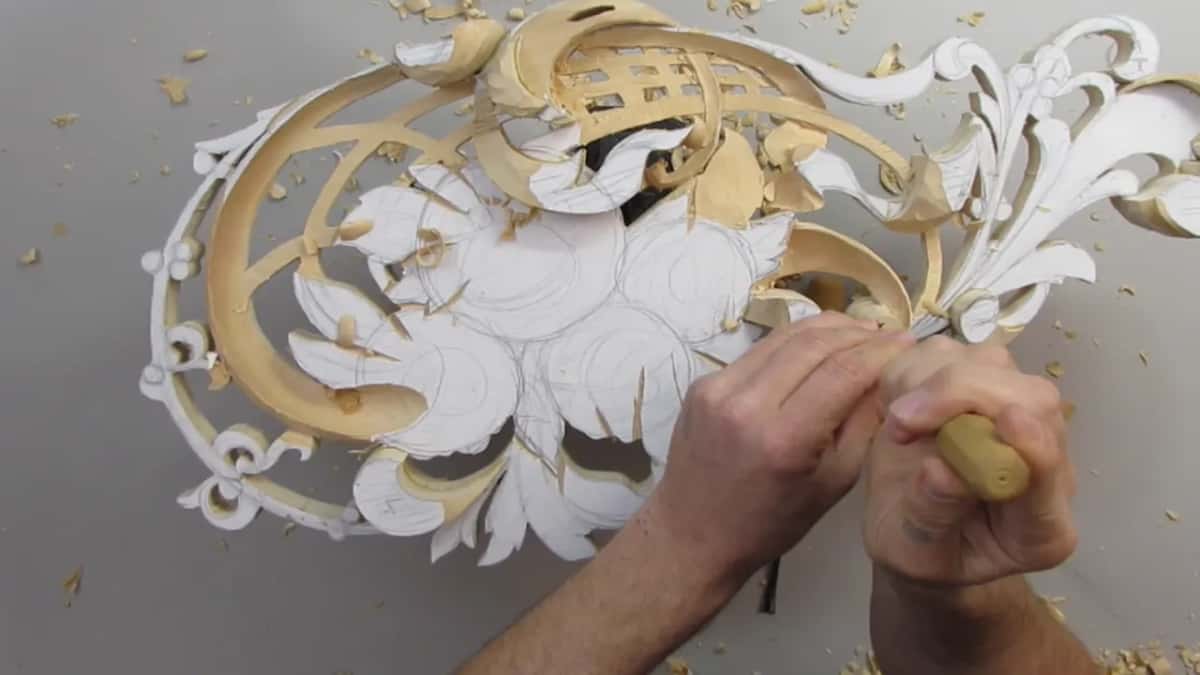
A knife after that. I'll take just a small knife, really small, tiny knife, and flatten the top and make it turn a little bit this way.

The tools I named on this scroll
Most of them are gouges, plus V tools, the mallet and the knife. Here is each one with its job and what I said about it.
| Tool and size | Job | Said on camera |
|---|---|---|
| A V tool, with the mallet later | Outline and groove | Just create the groove, I said |
| Number 8, 10 mm (3/8 in) | The curve | Different number eight, and this one is perfect |
| A little bigger number 8 | Working around | And it fits perfectly |
| The number 5, again 3/8 in (10 mm) | Step cuts | Use the number five again, I said |
| A big number 7, later a bigger one | Flow line, then blending | I could use a big gouge, like number seven |
| Tiny V tool, one millimeter (0.04 in) | Removing junk | Right now it's in my way, kind of |
| Smaller still, number 11 at half a millimeter (0.02 in) | Cleaning inside | Okay, I'm happy with that |
| Just a small knife, really small, tiny knife | Flattening the top | Make it turn little bit this way |
| V tool number 16, 3 mm (1/8 in) | The part from the swirl | I could use probably even a smaller V tool |
| The same number 3, 20 mm (3/4 in) | Shaping downhill | We'll start shaping |
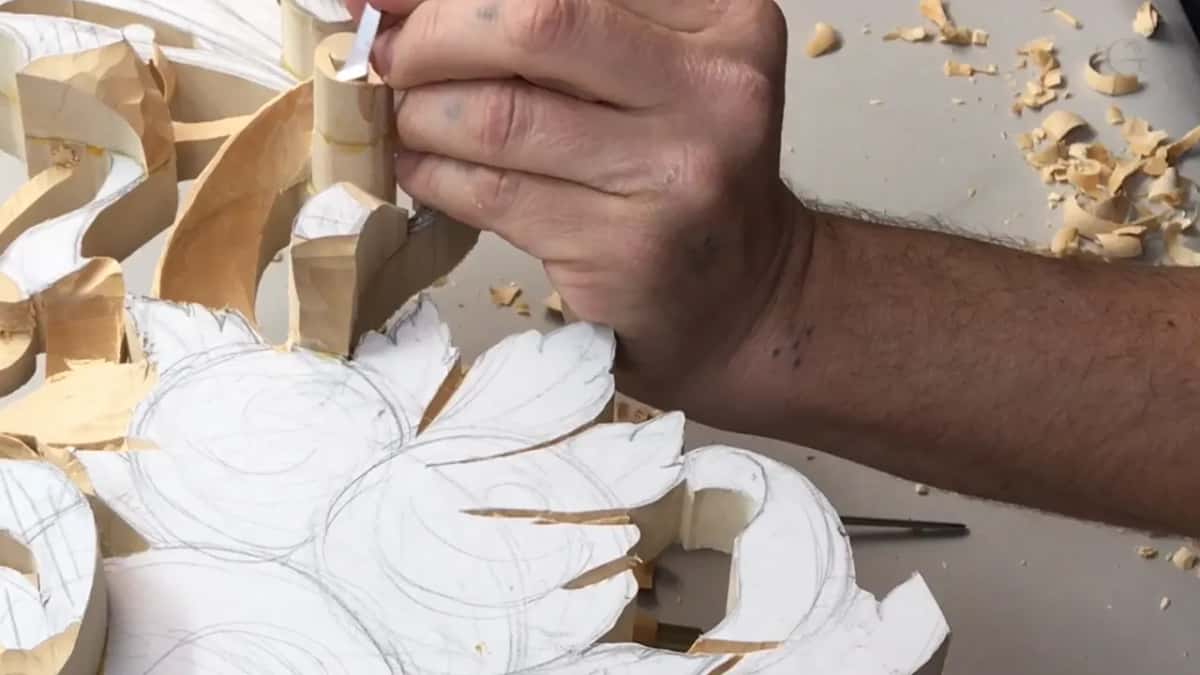
What went wrong after the knife?
One part had to come down even more. Right after the knife I said, see, that's not good, and asked what just happened. That means I have to lower this down even more.

I left it for now. Later on, I have to refine the edges, the movement, I said.
Mistakes come up in lesson 23 as well. It's better to make a couple passes than to make the mistake, I said. I don't want to make any mistakes anymore. Well, I wish I didn't make mistakes before, too. But it is what it is.
Why not rush a scroll?
Forcing it is how a big mistake happens. Just little by little, I said while refining the scroll. Again, I can't force it. I can make a big mistake.
Important not to rush it, I told you on camera, but I am guilty myself. I do have a tendency to rush it because I want to make sure I'm done quickly. But it's better just to work your way in than rushing.
Overdoing it worries me too. I don't want to overdo it, and believe me, it's easy.
In lesson 20 I said it longer. I know sometimes it's tempting to make all the cuts as quickly as possible, and to get to the result as quickly as possible. But believe me, it's not the best idea. Better to spend a few minutes more than to force it.
Take your time. If you're going to do those volutes, take your time, I said on a volute in Venice Room 62. They can be really frustrating. They're not as easy as they look, for some of you, of course, if you've never done one, and working on a slope doesn't really help.
In the next part of that workshop I caught myself talking. It's going to look awesome. Alex, you can do it. I know I can do it because I've done it, and more than a couple times I've done it.
Some spots you can't see on a camera, and I do apologize for that. Sometimes I barely see those spots even myself.
What grows out of the scroll?
The parts around it, and the carving has to show that. At the end of the cleaning I said I'm going to make it go on inside, because those will actually grow from the same scroll. I hope it makes sense.
This is supposed to grow from the same swirl, I said, and I carefully took a V tool downward. A smaller V tool followed, number 16, 3 millimeters or 1/8 inch, to work my way in.
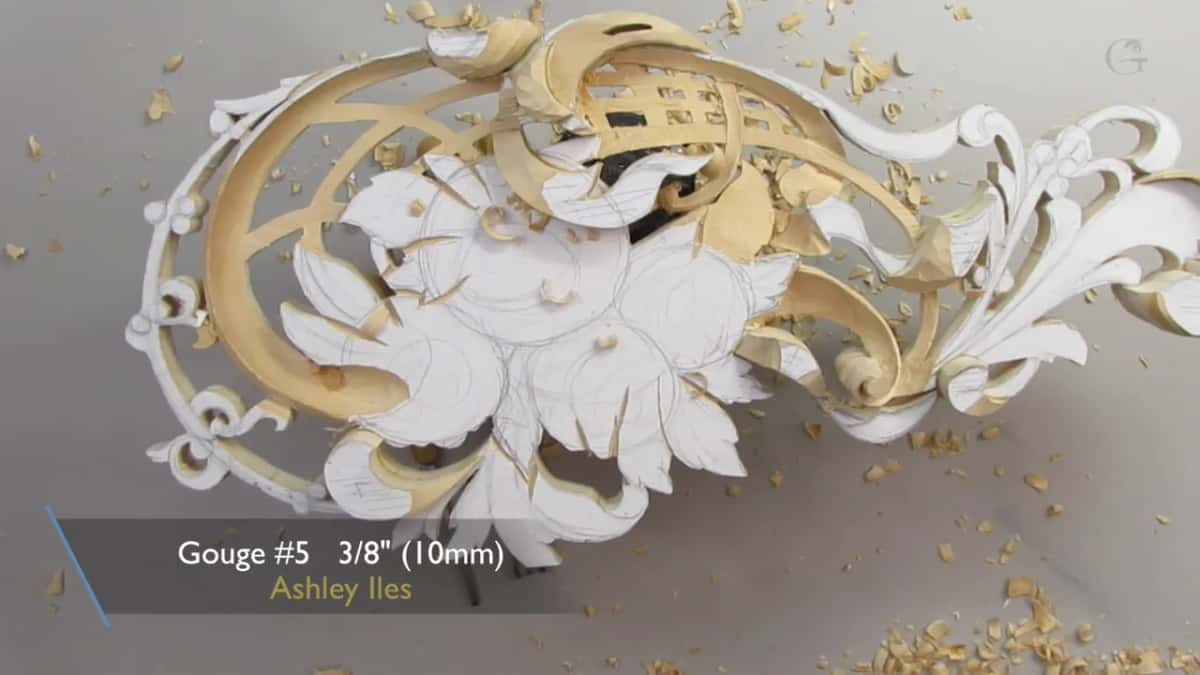
Again, be really careful right now with this detail. The same number 3, 20 millimeters (3/4 in), started the shaping, gradually downhill.
The idea carries on in lesson 4. There I said I want to actually create the illusion that the whole movement goes from this scroll.
A carved panel in Carving Floral and Molding for the Panel has another scroll with its own movement. You can see it's just a really nice scroll, I said, it goes all the way, then twists and rolls like this. It looks like both sides are the same, but they are not.
Scroll, volute, curl or swirl?
All four words come out of my mouth. A detail like this, if you do have a curl on inside, usually in the architectural world it's called a volute, I said in lesson 23. But sometimes I call it myself just a curl.
I call it just a swirl because it's kind of a swirl set, I said in that same Venice Room workshop. It is a swirl. It's exactly what it is.
That one was high relief, not full three-dimensional carving, so the visual is not a true round. More like an oval, I said, so it looks more organic to the human eye.
How many scrolls can one design hold?
Several, as long as they change size. If you remember, there's a rule of rhythm in music when you just repeat yourself, I said in the furniture panel design course, but you can't just do straight repetition. It should not be like pum, pum, pum, pum. Some music has to be in it.
So one volute is bigger, and the next one can be much smaller. But it still repeats, it's still a volute.
There is a limit, too. Lesson 4 of that course went too far once. I drew another volute, a microvolute, then said I think it's too many volutes in the same area. Let me wipe that out, I said, and I'll do this one as acanthus leaf, as you can see in that lesson.
Those volutes are old. Ancient Greeks and the Romans, I said, did those volutes everywhere they could, on the columns.
What happens to the scroll at the end of lesson 3?
The undercut begins. Before it, I reached for a smaller number 3 or number 5, about 3/8 of an inch, or even smaller, like 1/4 inch (6 mm).

Then a V tool again, and somewhat like an undercut movement. I'm placing it on the left-hand side, I said, and we'll start taking a little more on inside. My goal is to make it like this. That's going to go near down like this.
One piece of this panel, from lesson 1, is a beautiful piece of limewood I have had for over 10 years, I believe, and it has a darker, almost pinkish color.
Every video of this scroll, and the rest of the ornament panel, comes with tuition at the school.
How it's done
- Outline the scroll with a V tool. Go around it with a small gap between the groove and your final line.
- Take the paper off. With that outline in, remove the paper, and now you can work with your gouge.
- Try gouges. Try one, then another, and keep the one that fits perfectly. Come in from the sides.
- Pick the highest point. Decide which spot is your focal point and keep it high.
- Give the side a flowing line. Keep it from going just straight down, and check it side-on.
- Make step cuts, then blend. Start on one side using a number 5, go a little deeper each time, and finish with a blending cut from a bigger number seven.
- Clean out with tiny tools. A 1 mm V tool and a 0.5 mm number 11 do it; a small knife flattens the top.
- Start the undercut from the left. Place a V tool on the left-hand side and take a little more on the inside.
Frequently asked questions
How far from the line should the first V tool pass go?
About 1/32 of an inch (0.8 mm) on the scroll in lesson 3. I kept that small gap from my line so the paper could come off, and after that a gouge could do the work. On this scroll, that preliminary outline went in before anything else.
What size gouge fits a carved scroll?
Whichever one matches its curve, and you find it by trying. My first number 8 was too big, a different number 8 was perfect, and a bigger one fit later. Lesson 23 rounded a volute with a number seven at 14 mm, then a number four at 10 mm.
Should a volute sit in the middle of a design?
On a furniture panel I designed, the volute hits the golden line, in line with my minor focal point, and stays off the center. The reason I gave was the acanthus movement, which I wanted to develop in one direction across that panel.
What to carve next