
Alexander Grabovetskiy, woodcarver, School of Woodcarving · Published 2018
How do you carve detail in end grain?
Quick answer: Carving detail in end grain is slow work with sharp tools and small passes. On my limewood Hashemi panel I took no more than about a thirty-second of an inch at a time, cut a small relief with my V tool before turning a gouge, and finished with a number 12 knife.
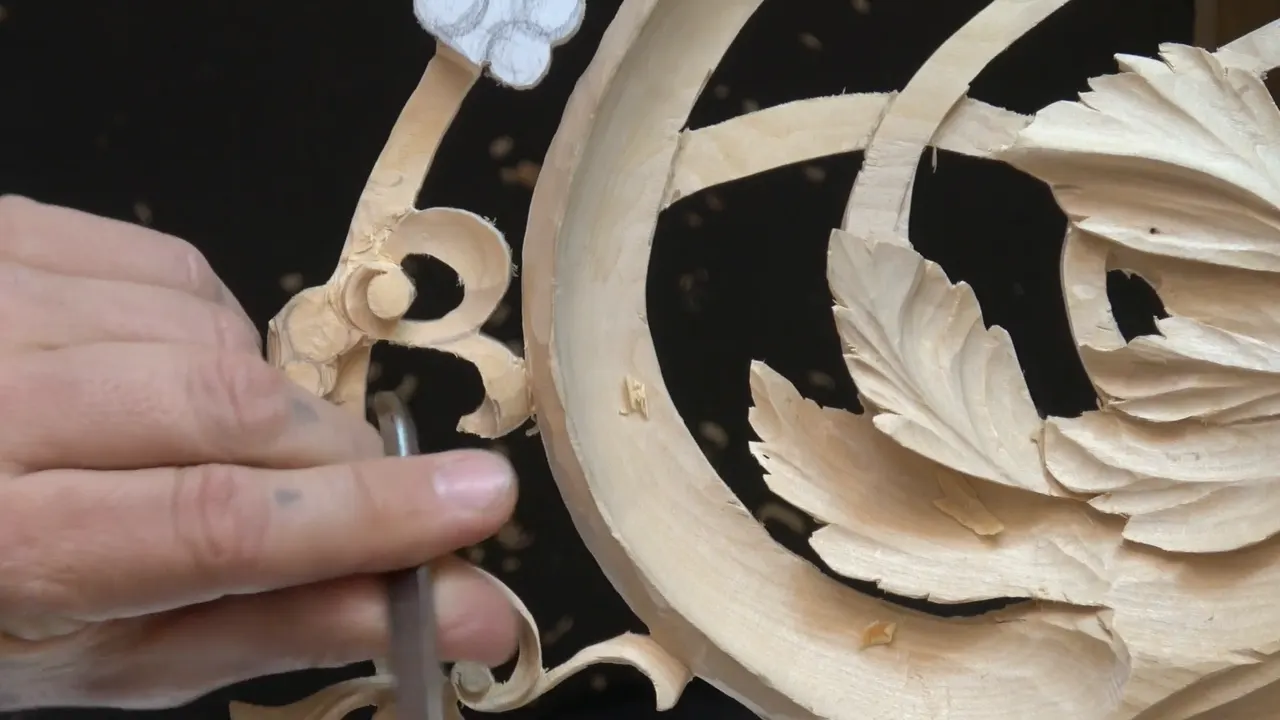
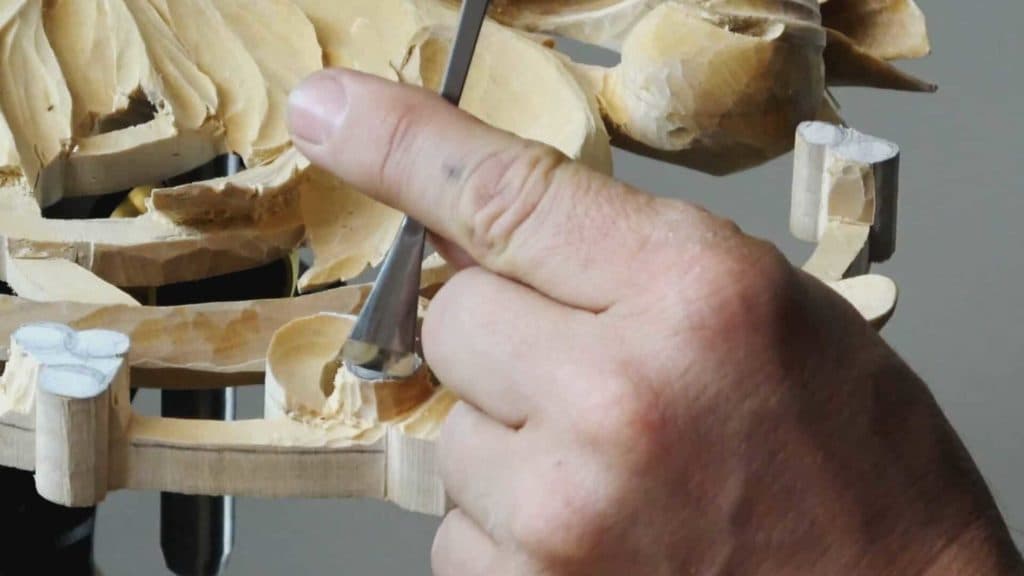
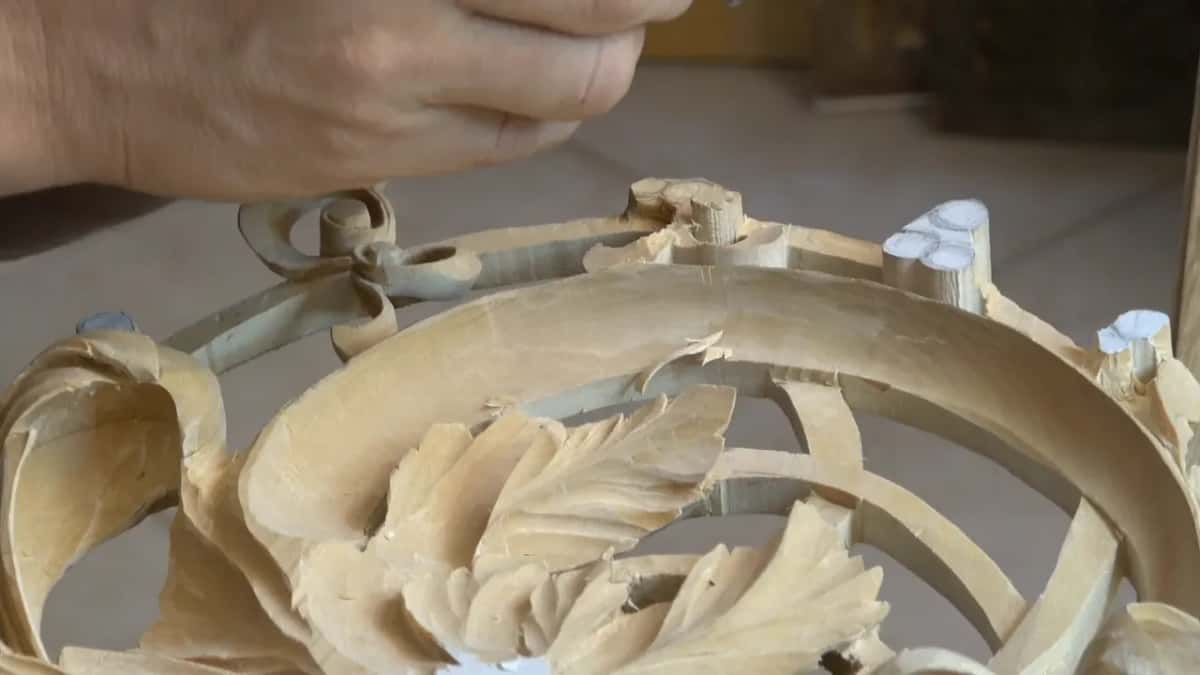
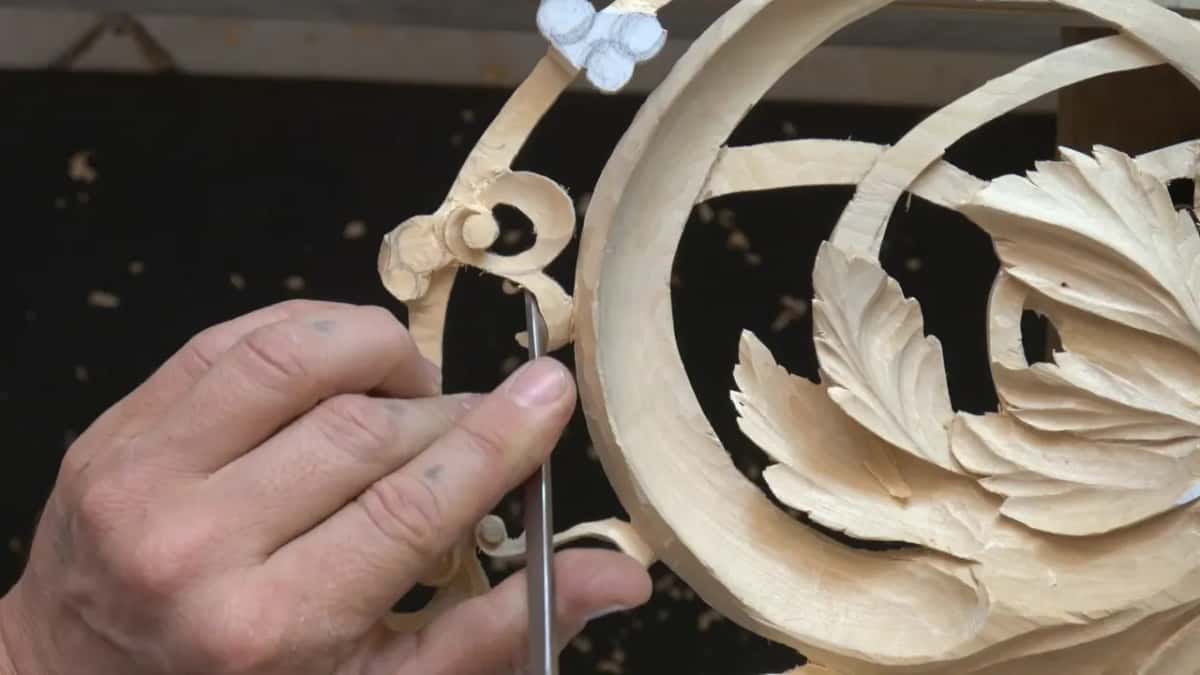
Carving end grain detail is slow, careful work in small passes, with tools that must be really sharp. In lesson 23 of Carving Hashemi Flowers I had two berries and one volute to carve on my limewood panel, the one that starts in lesson 1. Then came two small leaves that flip, and the words end grain kept coming up while I carved them.
Have you ever looked at a carved leaf and wondered how anything that thin stays in one piece? Would you like to see which tool I took for each part, and how much wood came off at one time? You will get every size I said out loud, in the order I used them.
Six things I did on the end grain
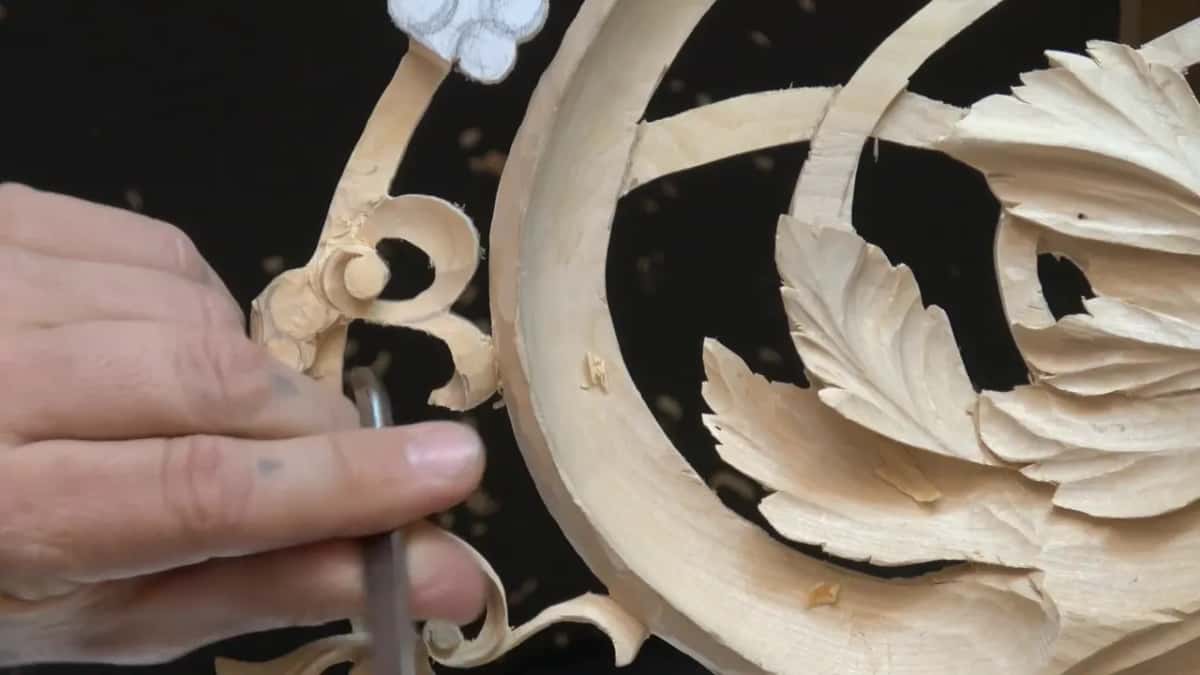
Passes on the waste took off very little, under 1 mm.
Before I turned a gouge in the volute, the V tool gave it a tiny relief.
Around the berries the side of the V tool worked like a chisel.
The flip came from a number 9 at 5/16 of an inch (8 mm), and sometimes I had to wiggle it.
Only one finger touched the panel. My hands stayed up.
The last refining came from a number 12 knife.
What makes end grain different?
End grain is the face you see when wood is cut across the growth rings. Wikipedia's page on wood grain puts it that way. On my panel I picked up a number 9 for the flip and said, again, that is not the easiest spot, but if you have sharp tools, it should be fine. Then I gave the reason. It's the end grain, right there.
Sometimes the end grain doesn't help, I said a minute later. But the overall result is worth it.
In a Grinling Gibbons class in Maine I warned the students about the same thing before a number 9 plug cut. It is the end grain, so don't expect it's going to be exactly the same as before. It's going to be so much different.
How much wood should come off in one pass?
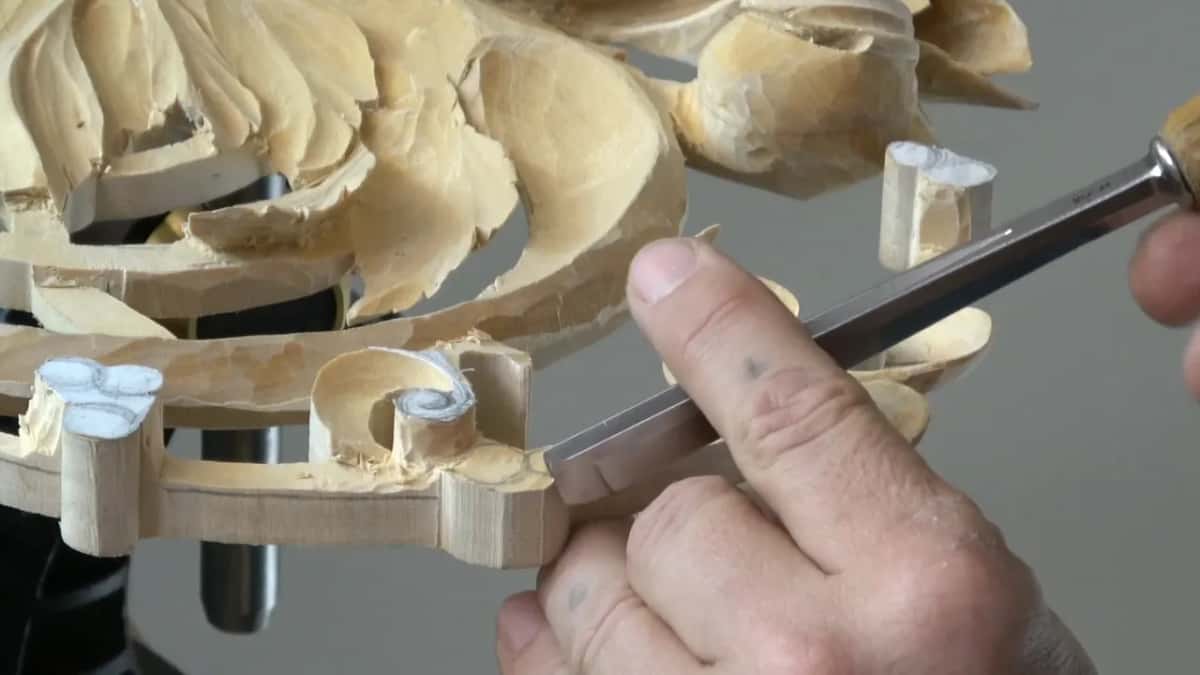
About a thirty-second of an inch, and sometimes even less than that. In the last video I had a number 5 in my hand, taking the waste out carefully. I'm not removing more than that at one cut, I said.
It's better to make a couple passes than to make the mistake. I said that in the second video while I took one side of the volute a little lower, and then I added two more lines. I don't want to make any mistakes anymore. Well, I wish I didn't make mistakes before, too. But it is what it is.
Holding the knife almost like a pencil, on the antique style rosette, I went about a sixteenth of an inch (1.5 mm) deep, no more than that. I'd rather make two cuts, three cuts, than make a mistake and snap it, I said there, because that section was only an eighth of an inch (3 mm), and especially at the end grain. Rushing gets its own warning in that video, and I said it doesn't matter how stable your hand is, because if you rush it, no matter how good you are, the line comes out wavy.

The Tray of Blessing had a stubborn area too, where a number 7 met the end grain. Present the tool at 45 degrees and don't force it, I said there. Small, small, small cuts, small chunks.
What did the V tool do before the gouges?
It made the first channel, outlined the berries and gave the volute a tiny relief cut. For the channel I took a number 16 V tool at 35 degrees, and I said six millimeters (1/4 in) or three millimeters (1/8 in) will work.
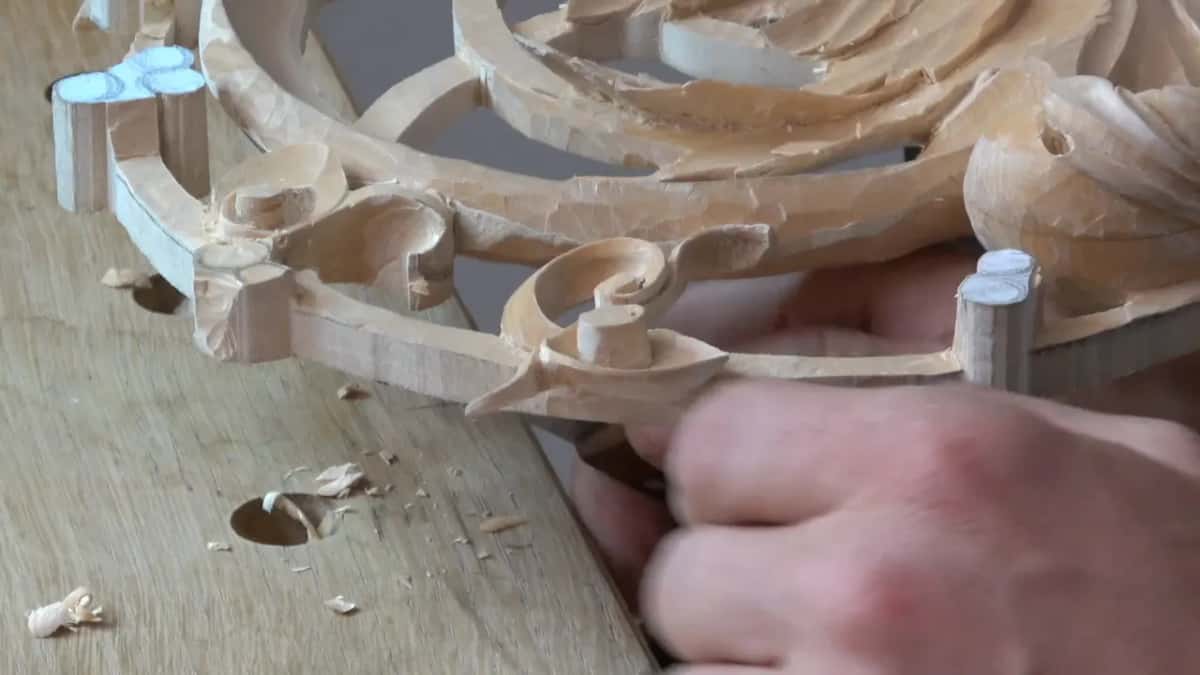
Normally you could just put your tool in the volute and make the rotation movement. But I couldn't create too much pressure there, so I made a small relief cut first, using the V tool, to relieve some stress from the grain. Even a tiny one helps.
Why that first pass matters has a page of its own, and so does the angle of a V tool. More on scrolls and volutes on this same panel is in lesson 3.
Can a V tool work as a chisel?
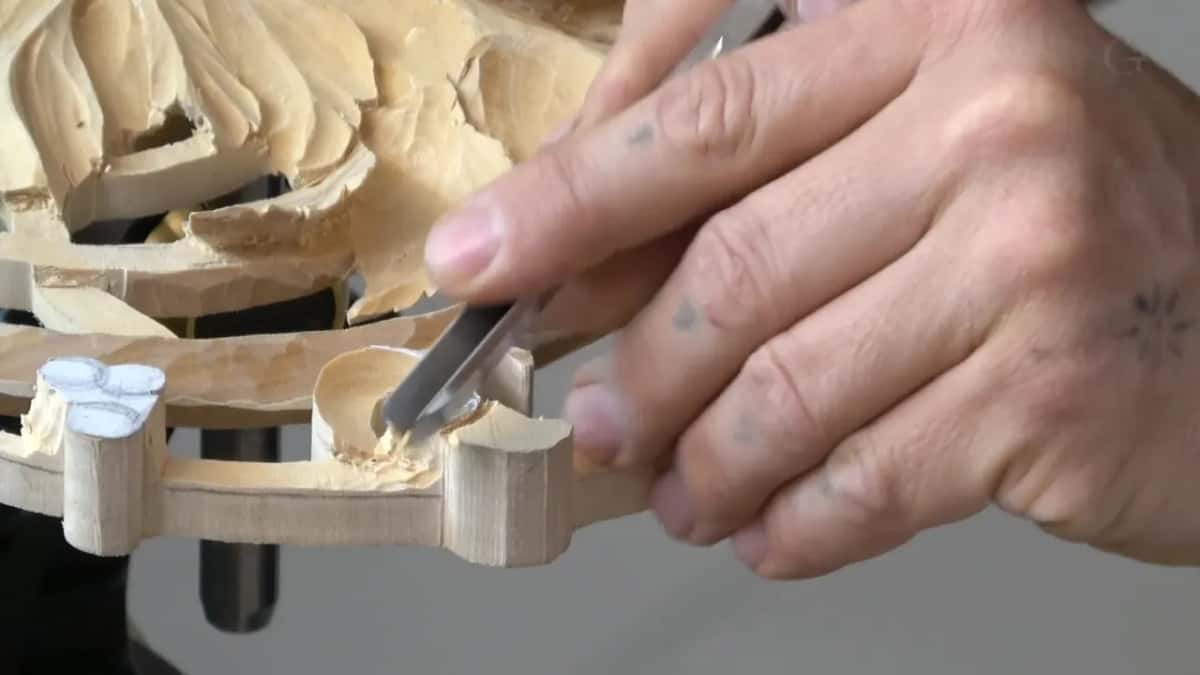
Yes, and around the berries it did. Look at a V tool end on and it is two small chisels with a rounded bottom joining them, and we call that rounded piece the keel.
I used just the side of my V tool as a chisel to outline them. It does make it easier, I said, because it's an end grain, just a really straight end grain. Then a number 5 took off the excess. Taking it back to a scroll saw to refine this line was an option, I said, but I don't really need it.
Which gouges made the flip?
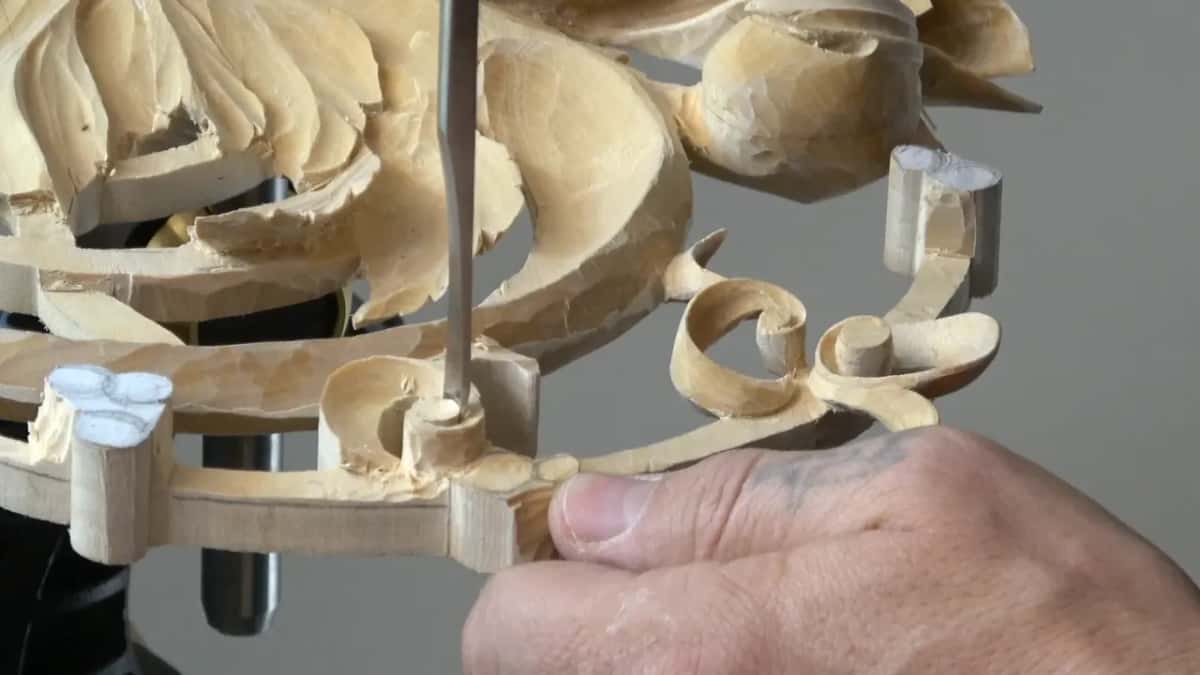
My number 9 at 5/16 of an inch (8 mm) made the first one. What I do usually is easy. I find my high spot and my lower spot, take a gouge like a number nine or number eight, and just remove that, and it creates the flip.
While carving a leaf tip that turns over on itself I stop and ask the camera whether flip is even a word, decide that it is flipping in my opinion, and carry on.
We're working right now on those details on the end grain, I said on that spot. That's why sometimes I do have to wiggle.

I wiggled in lesson 16 too, using the number 16 V tool, because I was working with the end grain in some areas. It just helps me, I said there. Yes, it doesn't produce the cleanest cut. And on the kitchen cutting board in the beginner course I do a little wiggling, just to get the feel of it.
Then I had to undercut, and again I said that is end grain. I'm not going to go too extreme. I could go all the way down, but I don't have to.
For the second leaf I kept it simple, because I didn't want to overcomplicate or repeat what I'd just done. A separation cut came first, from the V tool again, and then a bigger number 9, about 5/8 of an inch (16 mm). Maybe this is too big, I said, and took a smaller one. It has to look like a leaf, just flipping and going up at the top of this section, so I didn't go too extreme down there either.
| Tool | Job | Video |
|---|---|---|
| V tool #16, 6 or 3 mm | Made a careful first channel, at 35 degrees, before anything else | First |
| Quarter-inch #5 gouge (6 mm) | Took both berries lower to give the volute more pop | First |
| The #7, 14 mm (9/16 in) | Rounded the volute nicely, then a smaller #4 at 10 mm took over | First |
| V tool, side on | Outlined the berries like a chisel on straight end grain | Second |
| A #8 at 5/8 in (16 mm) | Made the volute more rounded, and I chose not to undercut much | Third |
| Small #9, 5/16 in (8 mm) | Removed the wood between the high and low spots for the flip | Third |
| Knife #12 | Refined the last shape, following any line, whatever the sweep | Fourth |
What keeps a thin part from breaking?
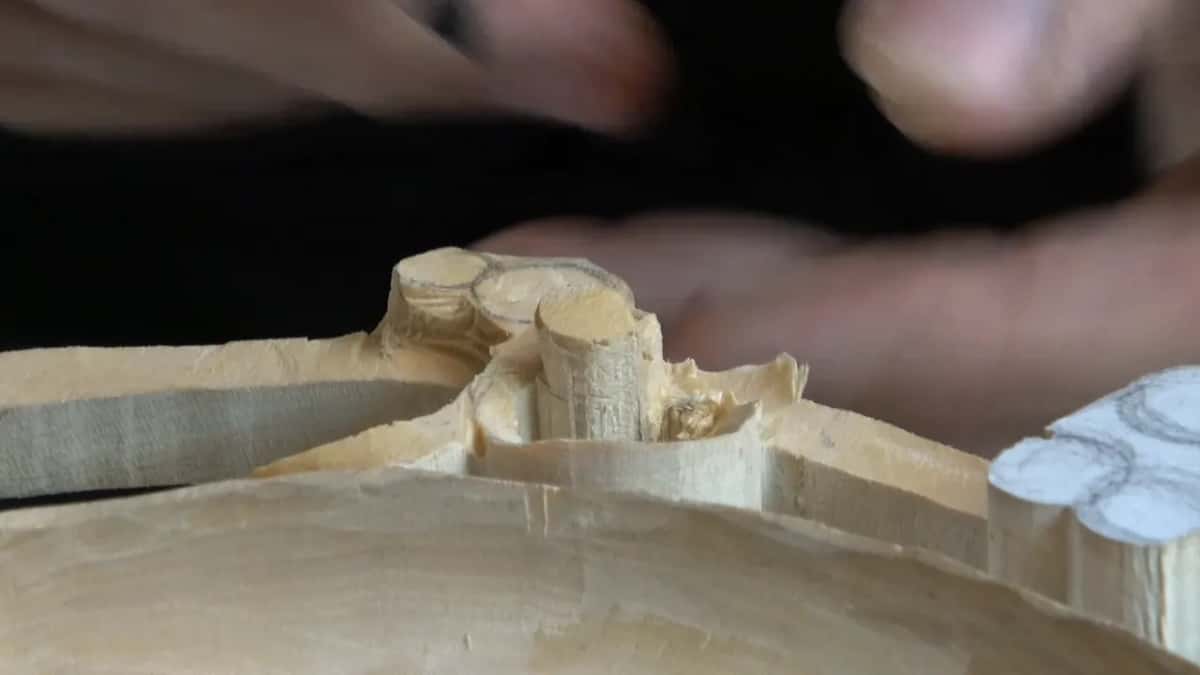
Don't press. And leave some meat under it. I could actually lean my gouge on the inside and undercut there, I said, but in this case the piece is already too fragile and I don't want to risk it. So we still have to leave some kind of meat.
The waste next to the volute was the same story. This part and my volute part, they have to meet, so I can't remove all the way. Although I don't have that line, I know exactly where it is, where it's supposed to be.

My hands stayed off the carving. This type of wood carving is kind of challenging, I said in the first video, and what I had done before was really fragile and easy to break. Just don't press with your hands. Try to stay away and hold your hands above the carving, with one finger down. That is the air carving idea.
Much the same came up on the beginner cutting board. On end grain, if you press too hard, you can break that part and chip away this section. If you need to rotate slightly, just do it, and don't force it.
Going too deep on a lesson 43 flower would be a big mistake, I said, and I stayed shallow. And on the Venice Room I took a 4 mm (5/32 in) number 11 spoon gouge to begin, especially on an end grain like that, and worked my way in little by little. I really have to break some rules here, I said, the direction of the cut, because I'm working on an end grain.

Where does the grain change direction?
At the marriage line, as I call it. I stopped at one point in the last video and said I can see my marriage line, when the grain changes the direction. Now I have to just approach it carefully to blend that cut.
The separation cut between the two leaves was different. Either side worked for the attack, because the grain runs this direction, and then I fixed my own words. Grain of the wood, I should say, not migraine.
Does a knife help on end grain?
Yes, a lot. Just because of that sharp point, I said, I don't have to use the same sweep gouge. I can follow any line, pretty much any sweep. Multi use is the honest word for it, and you can do a great deal of work with a cheap carving knife.
The knife came in earlier, too. The number 12 made the work quicker in the third video. Later I tried it from the backside on the waste. Looks like it works, I said.
I was on end grain on a Roman acanthus leaf too, and said make sure you're slicing with the knife. You don't push the knife. I was shaving little by little, not trying to take as much material as possible at once.
The knife reached the tiny spots on a Greek acanthus leaf. With the V tool I would not get to the corners like that, I said, but with the knife I can, any shape.
How sharp is sharp enough for end grain?
Really sharp. Especially now, I said while rounding the volute, the tools just absolutely must be really sharp. That was a number 7 at 14 mm (9/16 in), and then a number 4 at 10 mm (3/8 in).
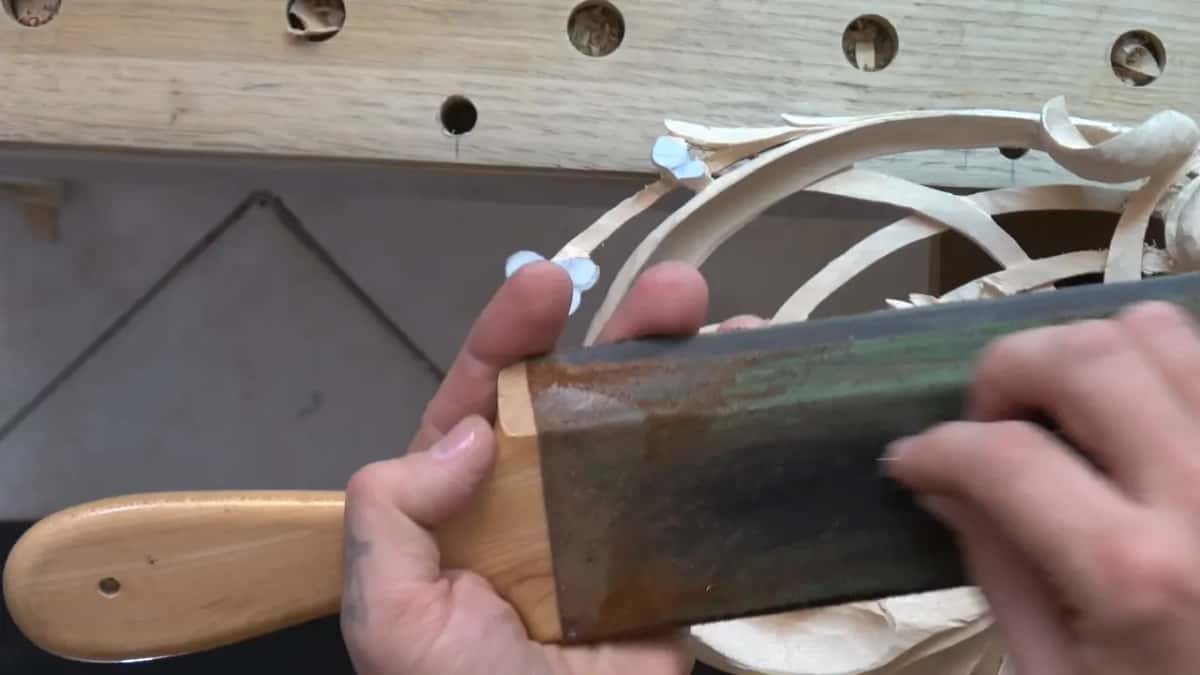
Early in the lesson I stopped to buff a tool. It's a good idea to have a stropping tool like this, I said. It's easy to attack from inside, and you can strop on the leather on the outside.
In the sharpening course I take the burr off a back bent gouge with end grain. I use a piece of soft wood, look at the grain direction, put the edge of the tool right on the end grain and make a couple passes, and that removes all the burr. The burr is described on Wikipedia as something that can be a fine wire on the edge of a freshly sharpened tool. I do the same rub on a skew bent gouge.
Then the edge gets its test on end grain. With a spoon gouge I said now I'm working at the end grain, and you can see just nice and clean, beautifully sharpened cuts.
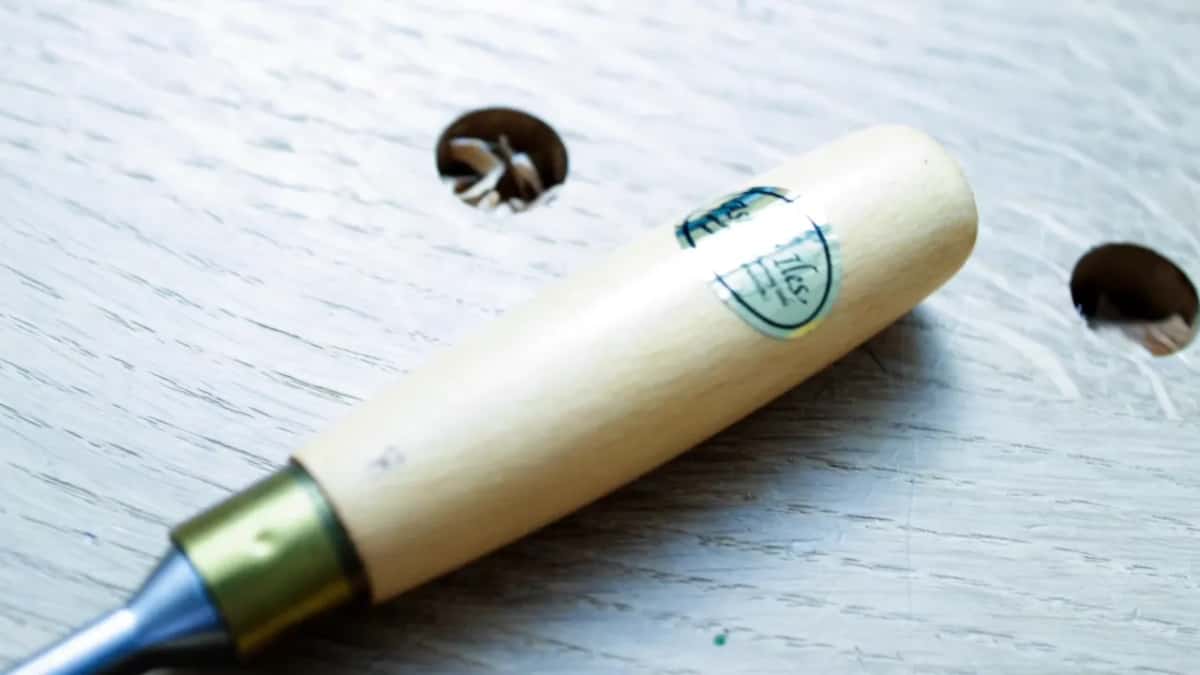
Halfway through the first video I talked about my favorite tools. I still like the tools by Ashley Iles the most, first of all because it's a complete set of all the tools you're going to need. With Pfeil you can get some unique tools which Ashley Iles doesn't provide. I really like Henry Taylor tools also. They're not shiny like the Pfeil, but the metal is absolutely gorgeous, the tools are really light, and you can resharpen them.

What does end grain do under a finish?
It takes more stain and goes darker. Wikipedia's article on wood stain calls end grain far more absorbent, so it takes more pigment and darkens. When I stained the vase with grape leaves, I said whatever end grain you see takes that stain a little differently. Where it went downhill, the end grain sucked a lot more and became more black, and I called that a really good thing.
Even bare wood shows it. About a flower in lesson 44 I said that just because it's end grain, it also creates that dark, richer color.

Is end grain work ever fast?
None of this is fast, and I say so plainly. It is tempting to take a big tool and a mallet and do it in one blow, and on this type of carving that simply does not work. But believe me, it trains your character.
I have plenty of the material, I said on the volute, so I feel comfortable going lower. A little later I told you how far down I went, about one-eighth of an inch, three millimeters, from the top. I easily could go even lower than that.
Want to watch me carve each of these? Every lesson of the course comes with tuition at the school, and if you are new to carving, start here.
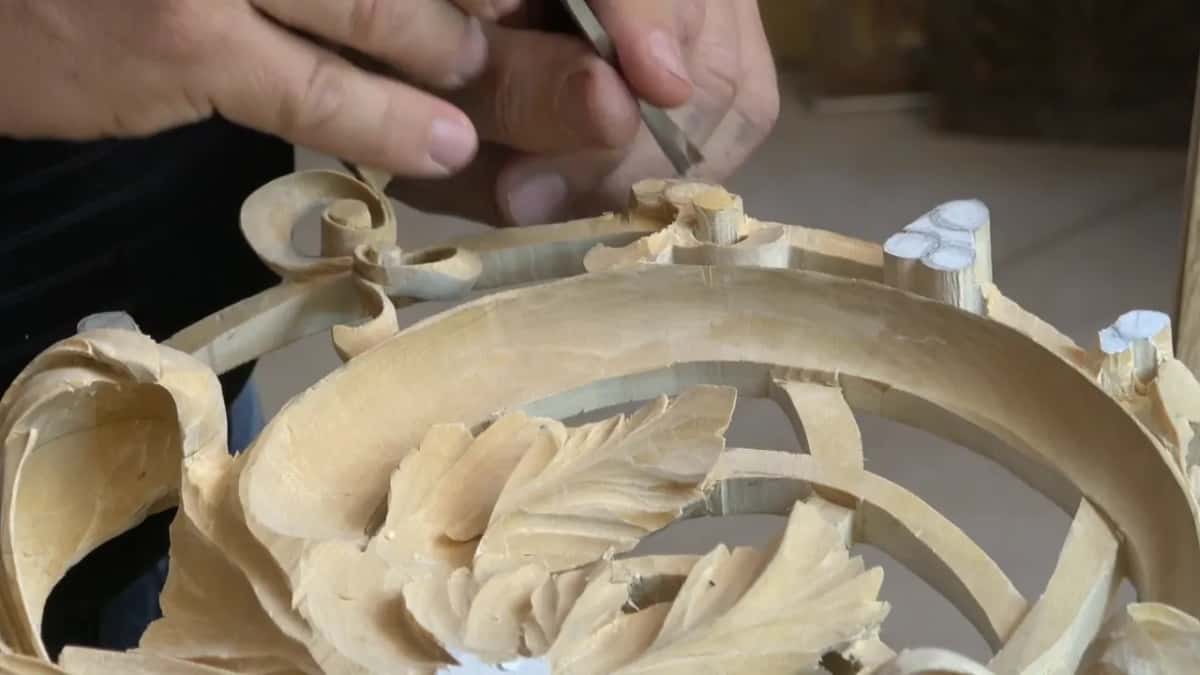
The detail is kind of tiny, I said near the close of the second video. But I hope you can see the result of it.
How it's done
- Outline with the V tool. Run a V tool around each small part first. Where the grain is really straight, the side of a V tool can do a chisel's job.
- Make a small relief cut. Before you turn a gouge in a small curl, make a tiny relief cut. It relieves some stress from the grain when you can't press hard.
- Take thin passes. Remove only a thin layer each time. A couple of passes beat one mistake.
- Leave some meat. Undercut only a little where the piece is already fragile, and keep your hands off it.
- Blend at the marriage line. Stop where the grain changes direction, then come in carefully and blend the two sides together.
- Refine with a knife. Finish with a sharp carving knife. Its point goes along any line, so you don't need a gouge of the same sweep.
Frequently asked questions
Should the first cut on end grain go deep?
Keep the first one shallow. On the kitchen cutting board in the beginner course I said I would not suggest a couple of cuts right away on end grain, because you can snap the grain and break it. Make just one initial cut, not as deep, and deepen it later.
Can you carve end grain with a knife?
You can, with care. My warning on a Greek acanthus leaf was to be careful with the end grain, because it's easy to slip your knife and damage the overall picture. With a sharp knife I could even go against the grain there, without rotating the piece.
What size gouge works on end grain?
Smaller ones helped me. For a lesson 43 flower I took a quarter-inch number 9 (6 mm) because of the end grain. In lesson 16 I said a smaller tool takes smaller material, so there is less fight with the wood, and with small tools I'm still able to work it.
What to carve next