
Alexander Grabovetskiy, woodcarver, School of Woodcarving · Published 2018
Can you add a leaf to a carving that was not in the drawing?
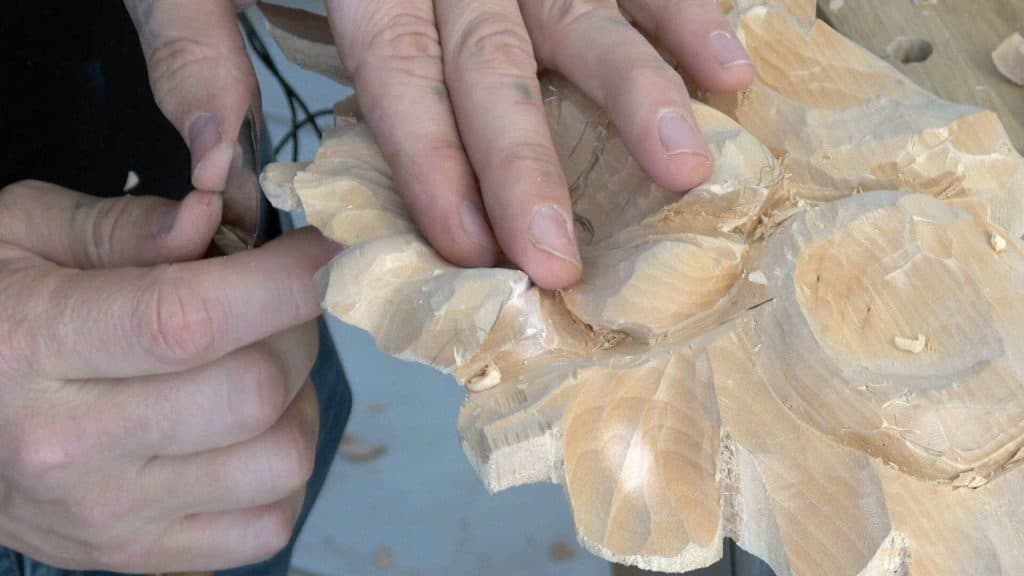
Quick answer: Adding a leaf to a carving that was not in the drawing is a change of design, and on one panel I say you can make it. In lesson 31 a tiny piece of the flower was still standing, so I took a knife to it, and it became a leaf that grows from underneath.
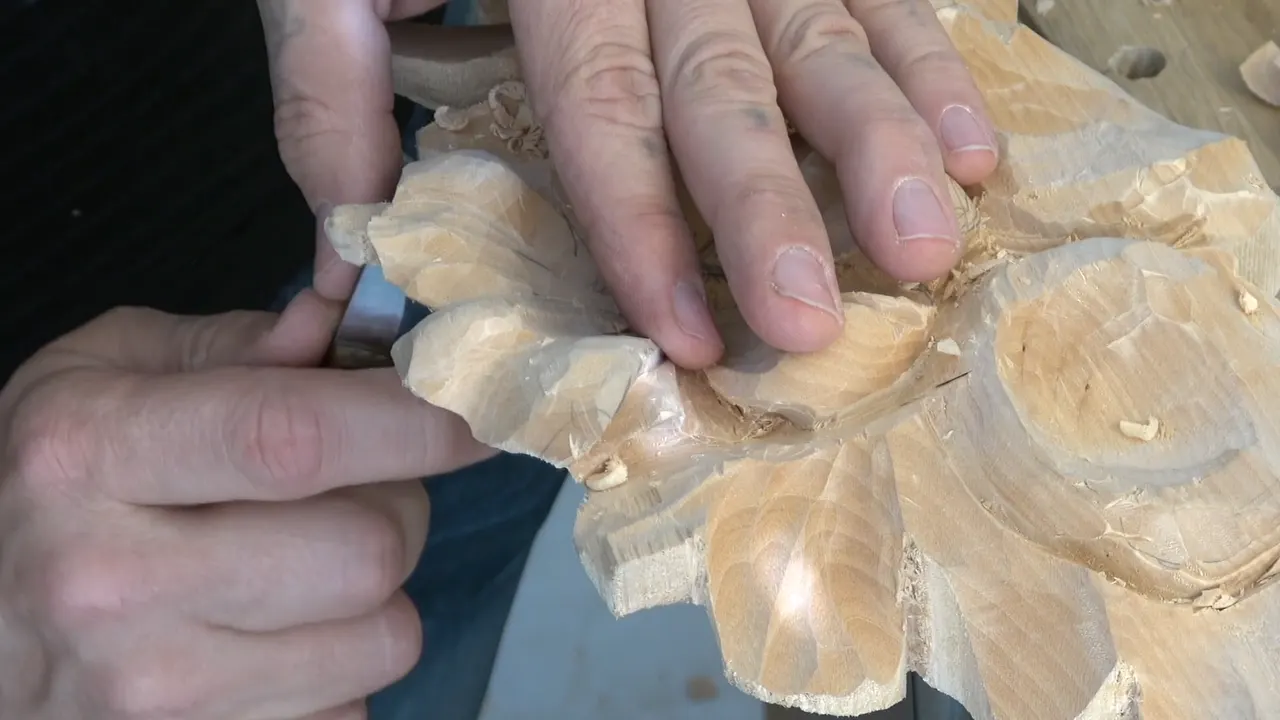
Adding a leaf the drawing didn't have is a change of design, and on a single panel I say you're free to do it. That's how I put it on the furniture panel. One panel, fine. Two panels that are supposed to be symmetrical to each other are another story, because you can't change too much there, and whatever you alter on one, you have to do on the other as well.
Near the end of part three of lesson 31, in the Hashemi course, it happened on one flower. A really tiny piece was still sticking up, and I shaped it like a leaf that grows from underneath.
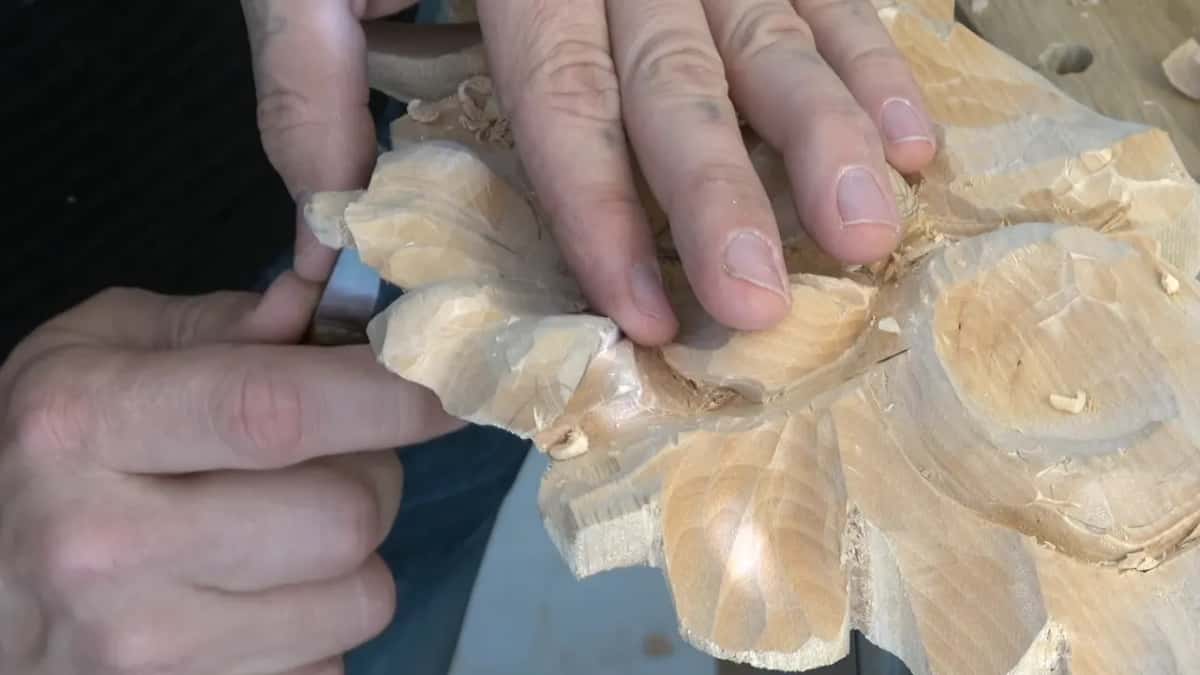
Have you ever had a small bit of wood still standing where nothing was planned? Did your hand go for the gouge to slice it off? Stop and think first. Let me think, I say four times in this lesson. Below are my words on that tiny piece, how one shape goes under another, and the tools I named, in order.
A leaf the drawing didn't have, in five lines
- On one panel you're free to alter the design, but on a matching pair whatever you change goes on both.
- Part three is where a tiny piece became a leaf, and a knife did the work.
- To take shapes under their neighbours I made a blending cut with a number nine and undercut with the V tool, and on a petal after that used a knife and a number five.
- Carving these flowers is all about your creativity, I said, and how much light and shadow you can create.
- A micro gouge only 1/32 of an inch wide let me excavate even deeper.
Can you add to a design while you carve?
Yes, and I added a leaf out loud in lesson 6. By the way, right here, I can actually place another leaf, which will sit above this one, I said. Why don't I do that? The V tool made a separation line, and there was another leaf.
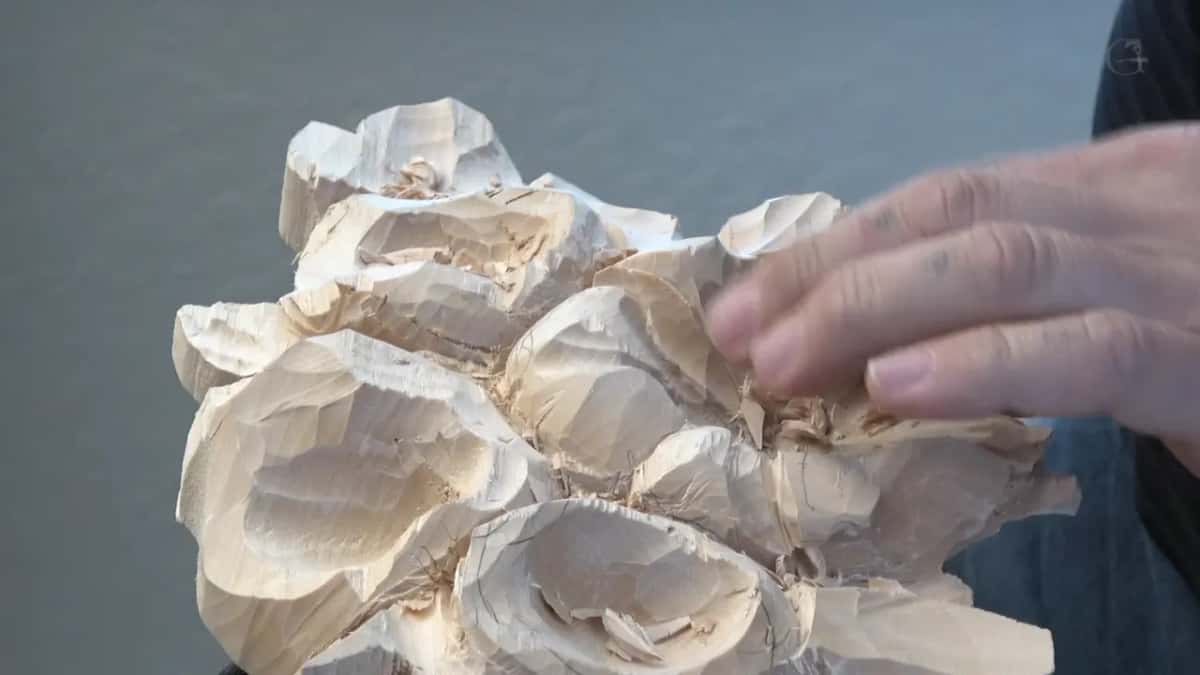
My skew came next, a number three of about half an inch (13 mm). That's a beautiful thing to have, I said, because it has a skew, and I can always attack from the right position. After it I took the V tool again to make the undercut deeper, followed by a number seven at 10 millimeters, three-eighths of an inch.
The furniture panel lesson 21 showed the other half of that. My number eight there was approximately half an inch, maybe 14 millimeters, and I said it does not have to be 14 millimeters. Whatever fits. Yours may be slightly different, so go ahead and change the design if you need to, I said, and I meant the tools you have.
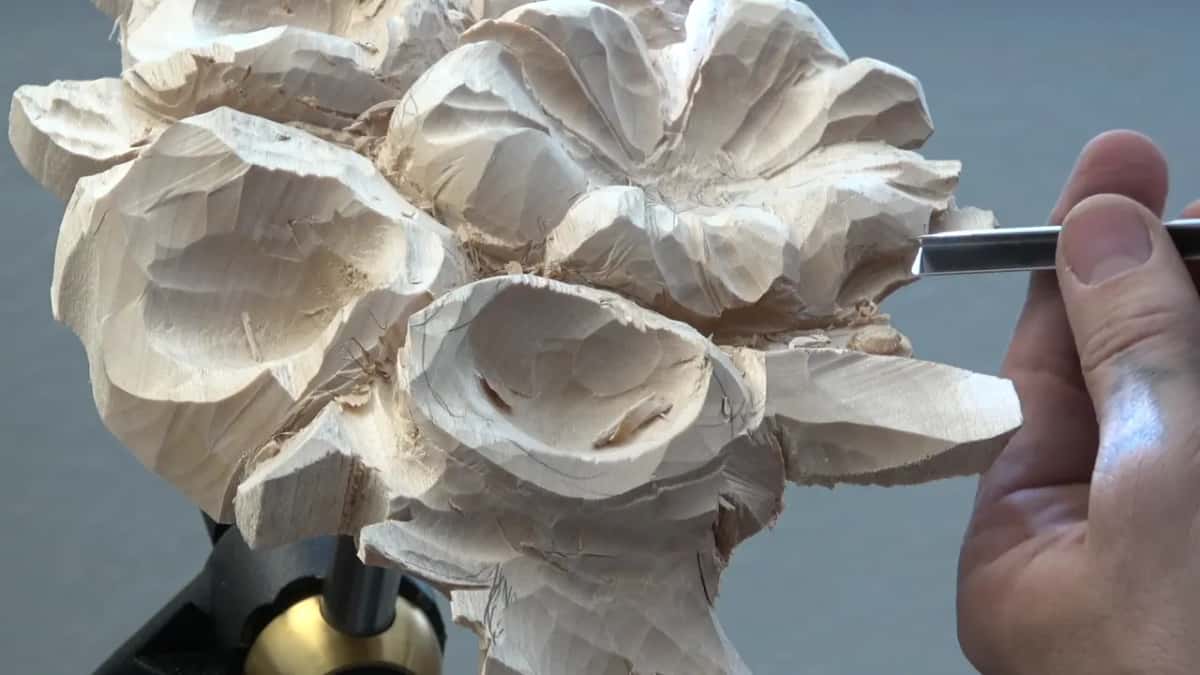
Why doesn't the drawing decide everything?
Paper and wood are different. A beautiful designer who draws on a piece of paper doesn't have the ability to design for woodcarving just from that, I told you in lesson 8, because it's an absolutely different medium. Anybody can learn to poke a chisel in a piece of wood. The main idea of wood carving is learning to design for the chisel.
So please feel free to be creative. You don't have to repeat exactly the movements I do. The whole idea is for you to do it on your own and make your own designs.
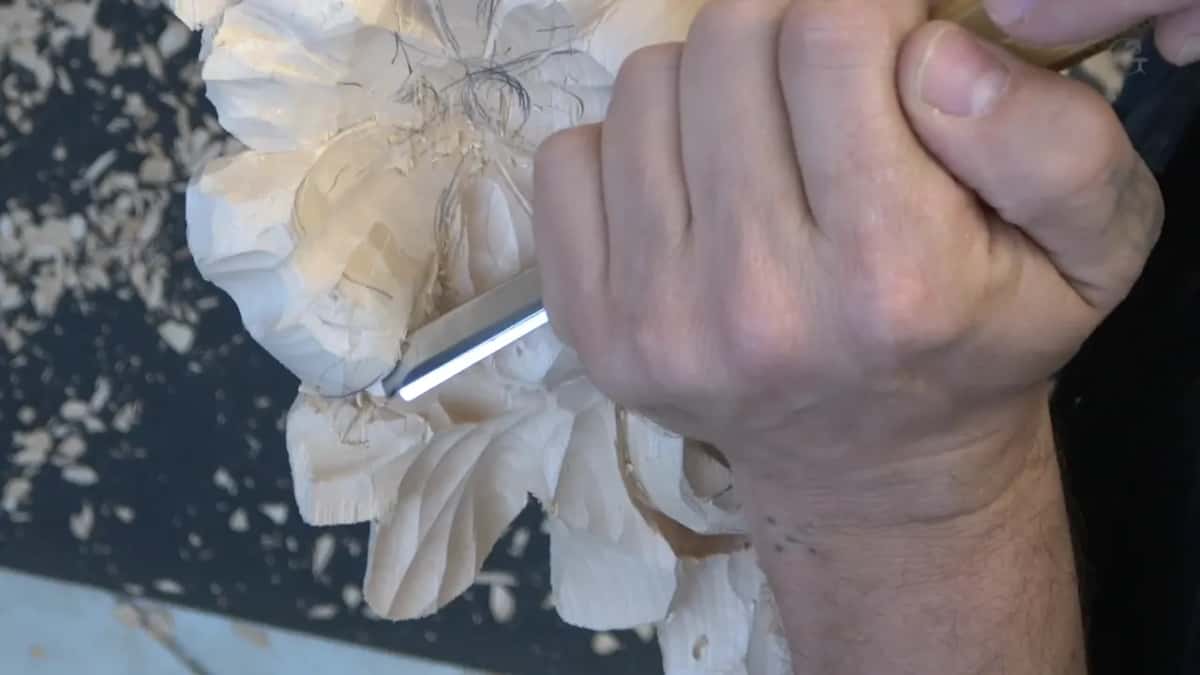
With the Greek acanthus leaf I didn't even redraw the lines. I just eyeballed them. Being slightly off my original design is not a big deal, I said. I altered it on the spot, so one leaf of that acanthus went a little more underneath.
The hazelnuts got the same. If I slightly deviate from the original, I'm okay with that, I said about a stem. Anyway, I designed the thing.
On this panel, in lesson 29, I wasn't measuring anything with the flowers. My goal was to make them look as close as possible to nature and still be more or less accurate to my design. But if I'm off a little bit, I'm okay.
Part one opens with me thinking out loud. I could do a separation right there, I said, then one more. Something not exactly the same, maybe a really small, tiny piece like this, would be really good, I thought. Then I said it would be subdivided in eight, but not equal parts.
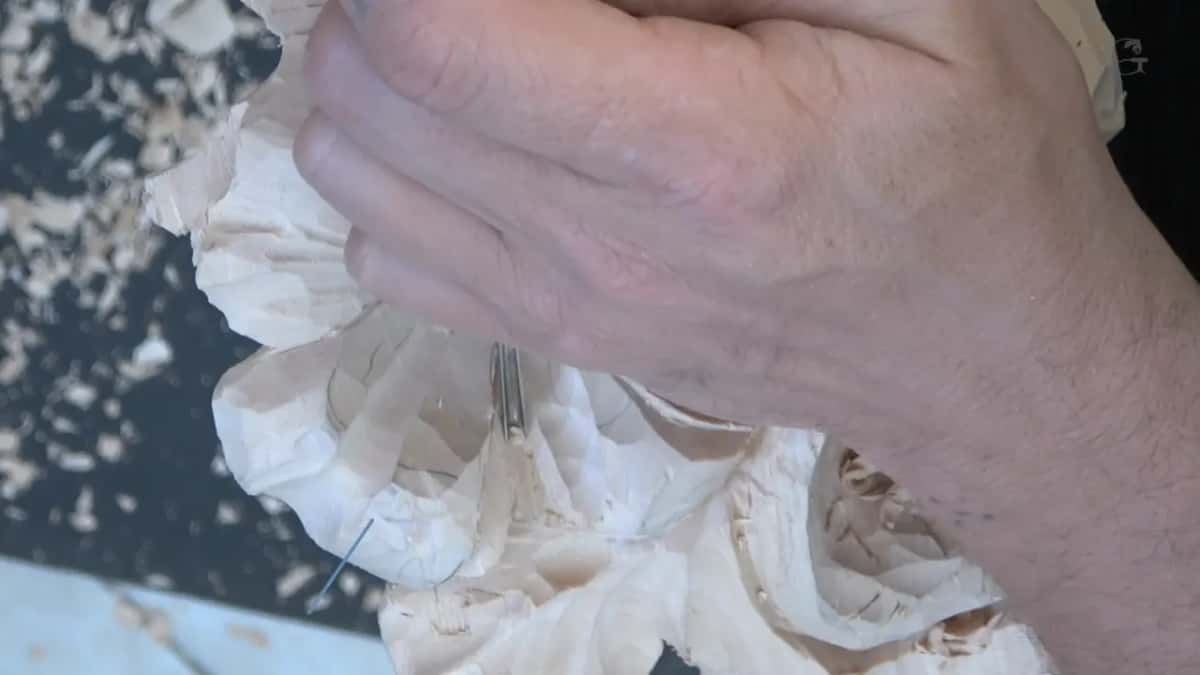
Where did the leaf come from?
From a tiny piece, late in part three, after I'd been refining an edge. I didn't like how it looked, and I said it could go more wavy, with that section removed by a number five upside down and maybe even the V tool. Again, I had to be really careful, because there wasn't too much material left.
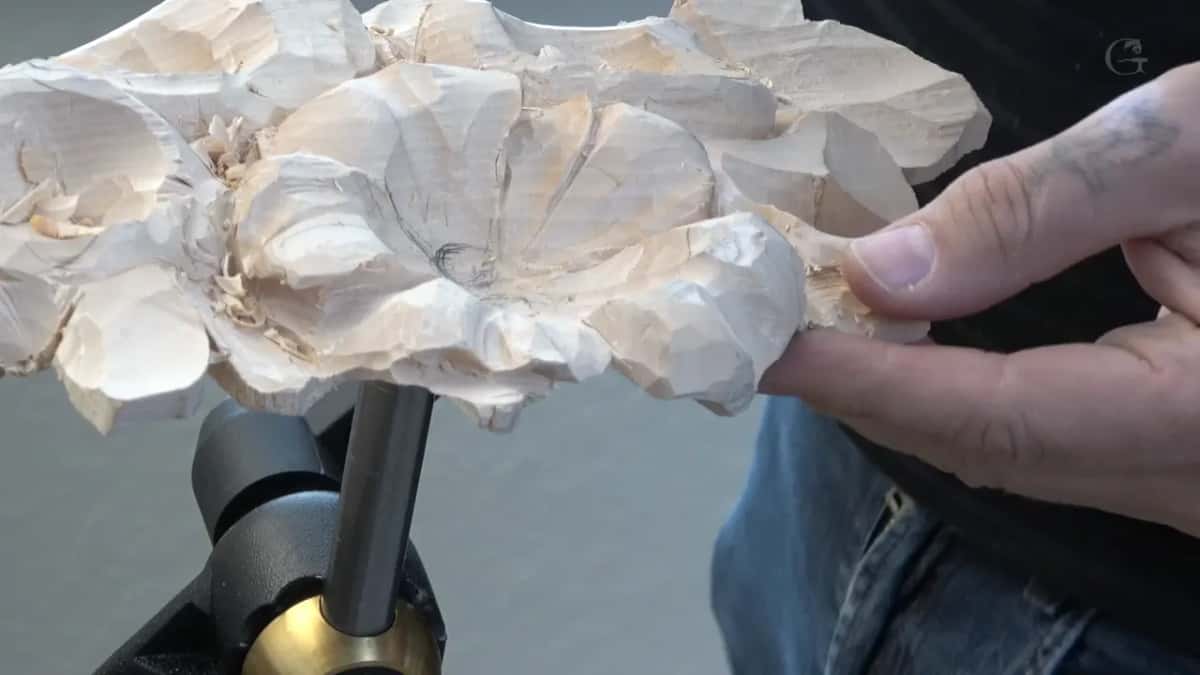
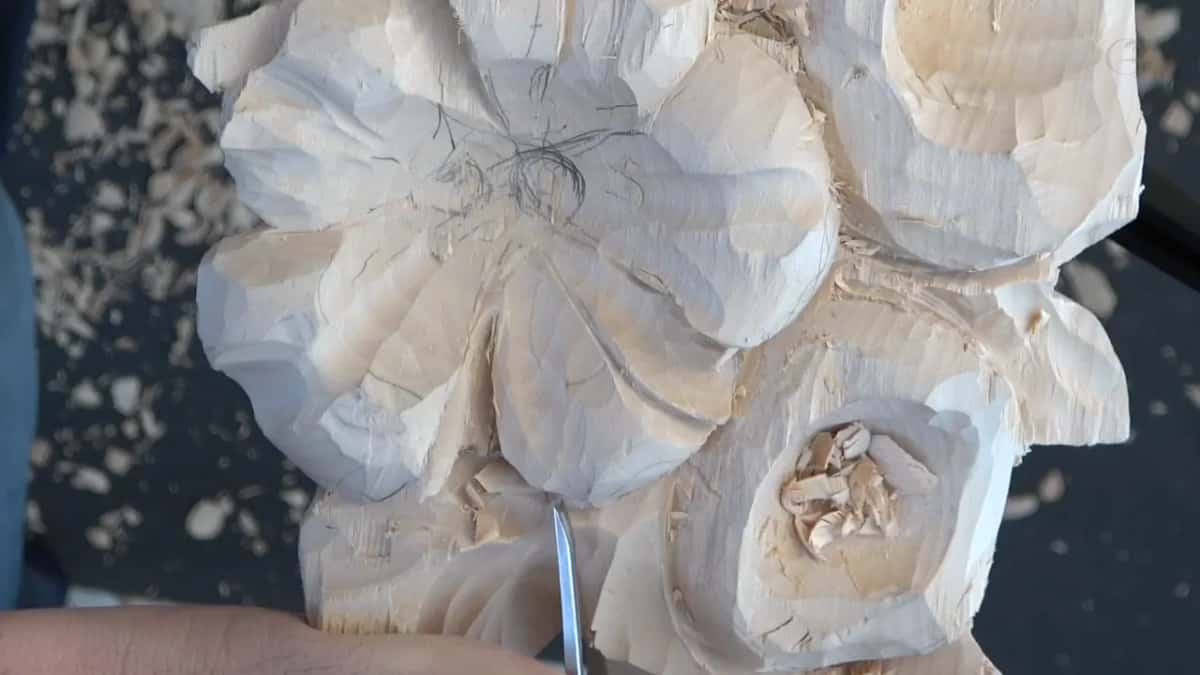
On another hand, if you remember, I had a really tiny piece sticking right here, I said, and I can make it look like a leaf, growing from underneath. A knife made it look nicer. I went on this side too, and said maybe refine this edge also.
I named only the knife for that leaf.
Did other flowers on this panel get a leaf like that?
Twice more, yes. Lesson 35 has a chunk of wood, what's left, and I said I don't want to waste it, so we can use it as a small leaf coming from underneath the flower.
There was a chunk again in lesson 36. I'll use it as a small leaf, I said, growing from inside of the flower out, and it's a good time to shape it. A number seven gave it some shape. This leaf will go downhill, I said, and then I fixed the word. Not go, grow.
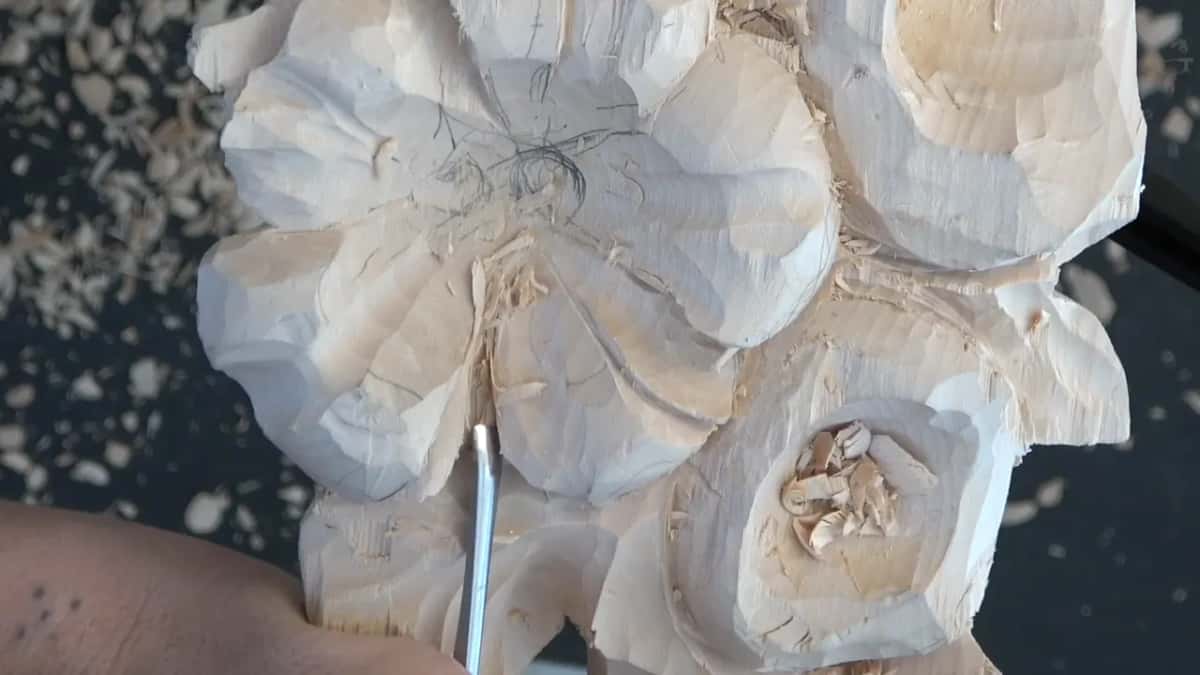
Then came the shadow. To make it look more realistic I have to undercut underneath of this and create the shadow, I said, with a V tool like I always do, or a small number nine of approximately four millimeters (5/32 in). Not 3/16, not five millimeters.
I caught myself on one word there. I said authentic, then took it back, because whatever you do will still be authentic, since you've done it with your hands. More realistic looking was what I meant.
How do you make one shape grow from underneath another?
Blend first, then undercut. In part one I liked what I saw, but I said I could extend a small section under the one beside it and make a concave cut first, and my number nine made it. Just a small concave cut, like a blending. You could call it a blending cut. Right after that the V tool went in for an undercut.
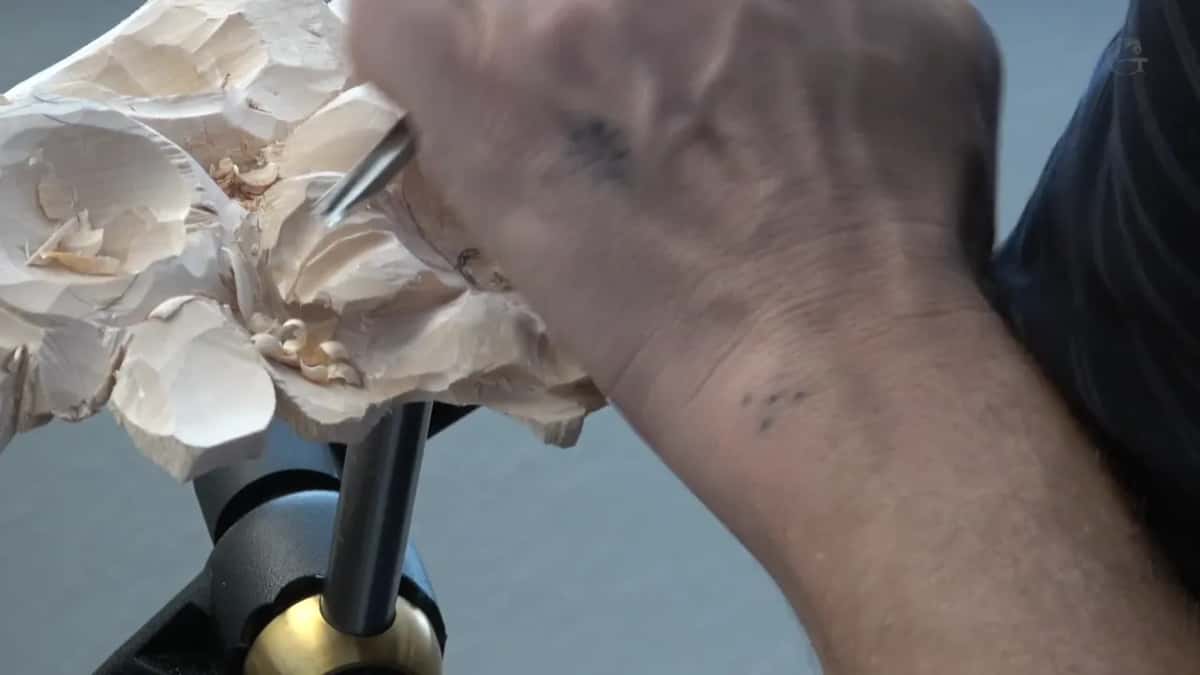
Then one petal had to go underneath another. First of all, let me think what will be the best, how it's going to look, I said. I took a knife, made preliminary cuts, and undercut with it too, and then my number five removed the waste.
Lesson 49 gave a petal the same idea. This one can be the same, I said, and grow from underneath too. It got a separation cut from a number 12 and an undercut, and then a number eight of five millimeters, like 3/16 of an inch. The grain didn't feel like it was in my favor, so I attacked that with the knife. Now it looks like it grows out from under this one and that one.
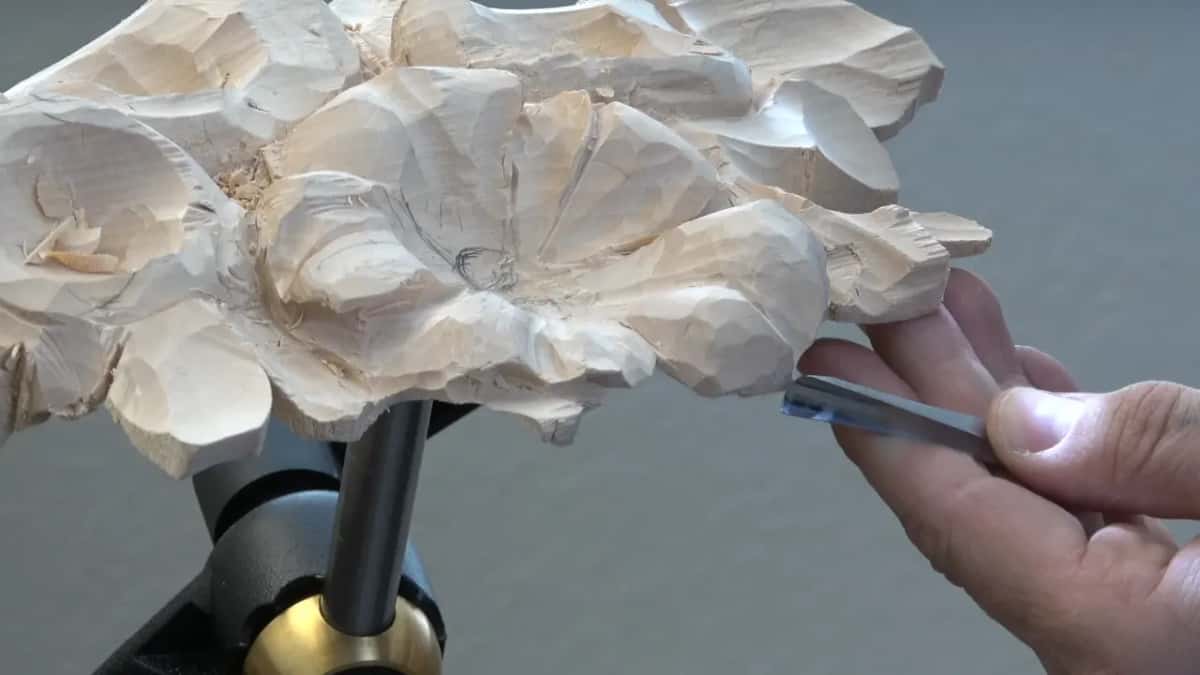
Over in lesson 45 I thought maybe this one has to grow underneath that one, and I got my V tool. A preliminary undercut came first, and I said it's not the final undercut, since the final one would go much deeper.
By lesson 44 I took it further, and a number three blended a petal to look like it grows from inside out, and then I went as deep as possible, so it would look like it's not a solid piece but glued together.
Why change the angle before an undercut?
Easier, I said. Definitely I have to undercut, and maybe I can change the angle, since it will be easier for me. Carefully, just upside down, a number five then made my cuts.
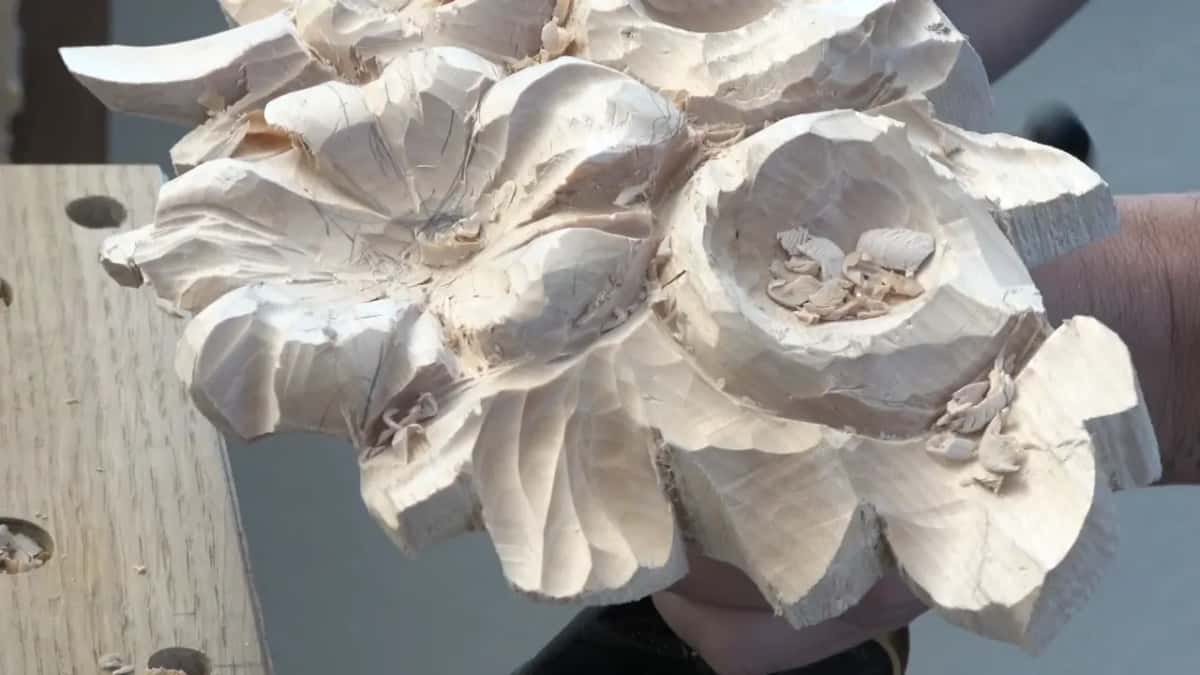
The setup helps there. In lesson 21 I showed one Veritas vise on the side of my workbench and a second one on a board, and talked about getting at it from different angles and different positions, and attacking from different sides. Back in lesson 1 I said I can rotate this vise and work from different angles, and it's really solid. You're still going to see some shakiness, but that's solid enough for me.
Why turn the gouge upside down?
To get the other shape out of the same tool. That will be my convex, I said in lesson 49, and I can just turn the same tool upside down and create my convex cut, then clean the side of it.
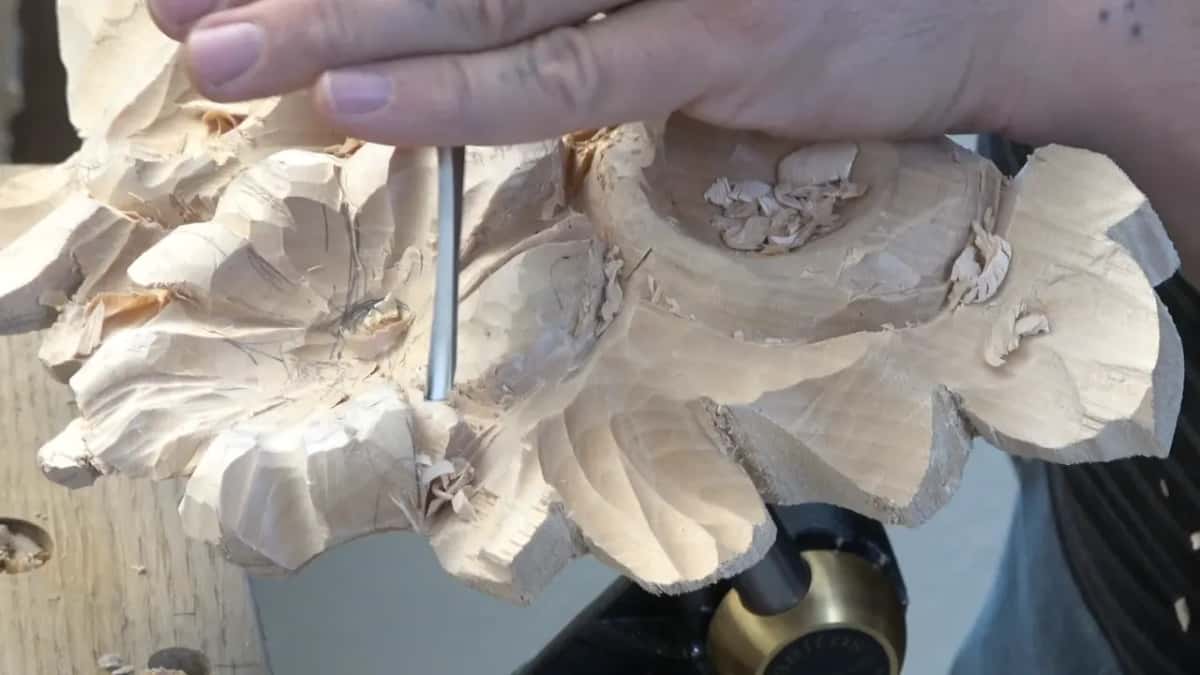
Upside down comes up three times in lesson 31. First came a number five, in part one. Then in part two it was a number seven, which I swapped for a number five, and part three had a number five again, on that wavy edge.
When is a sweep too much?
This lesson gives no rule for it. In part two I asked what would be the best tool and said probably just a knife would do, then maybe a gouge, a number nine, for a deeper concave cut. I said I'll use an upside down number seven, and then that number seven is too much of a sweep. The number five at one inch (25 mm) took its place.
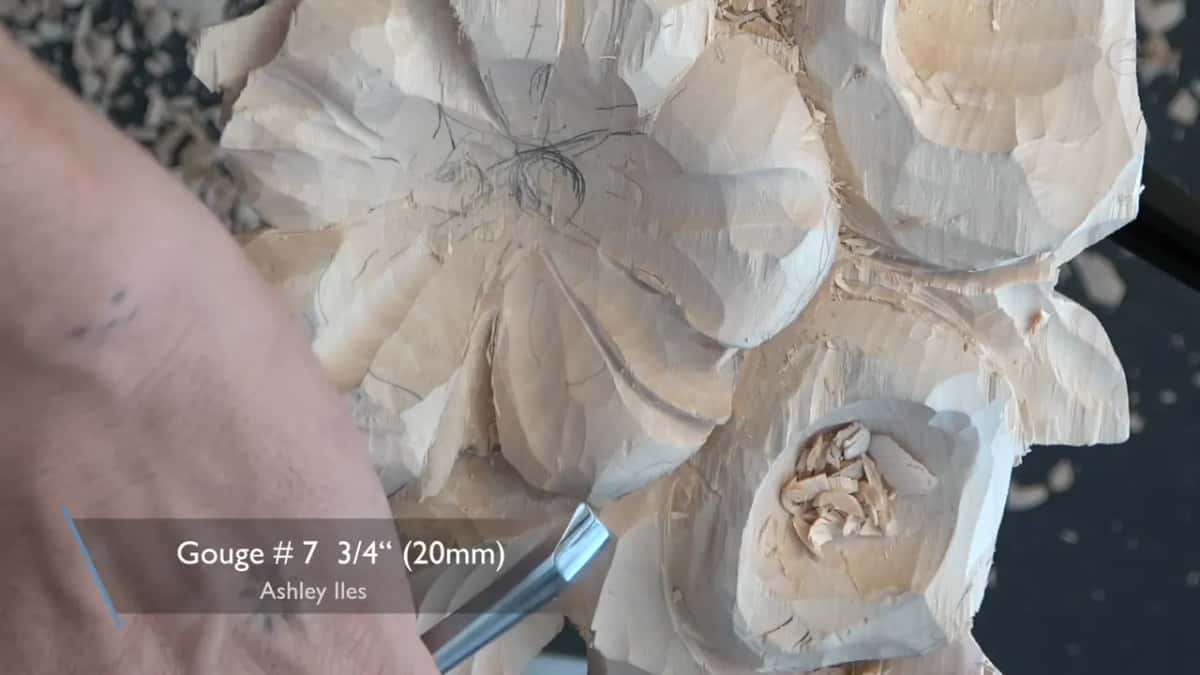
Then a cleaner cut came from the number nine, and maybe, I said, I could create some kind of flipping movement. The number seven came back to attack from the side, and I tried to make it more wavy.
Part two had opened on a tricky spot. I'm still able to get this with my straight tools, I said, and most of it will be covered anyway. A kind of spoon gouge could refine that. A little later I didn't worry about how the inside looked, because, like I said, it will all be covered.
Which tools went into these flowers?
Here are the main tools from the three parts, in the order each first came up.
| The tool and its size | What it did on the flowers this time | Where it came |
|---|---|---|
| Number five, used upside down | Made my cuts after I changed the angle | Opening, part one |
| The knife, for deep excavations | Preliminary cuts, cleaning, then the leaf from underneath | In every part |
| Micro gouge, one thirty-second inch | Excavated even deeper after the knife went in | Part one again |
| Number nine, a blending cut | A shallow hollow first, then the V tool | Late in 31.1 |
| The V tool, for undercuts | Went in underneath, right after the blending cut | All three parts |
| Number seven at three-quarter inch | Refined the movement, came in on the right | Early in 31.2 |
| One-eighth inch, a number nine | A curl inside, then a cut kept shallow | Parts two, three |
| A one inch number five | Replaced the seven, which had too much sweep | Late in 31.2 |
| Quarter inch number five, again | Made a smoother transition, then flipped this direction | Start, part three |
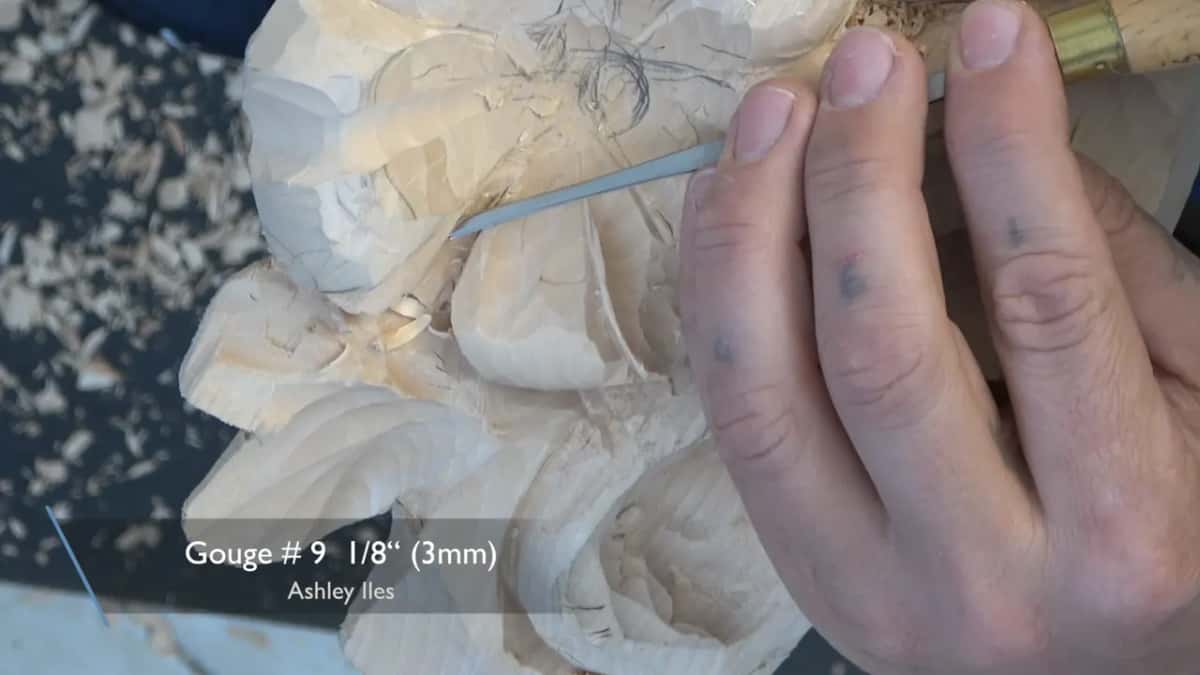
The bigger number seven was 20 millimeters, or three-quarter of an inch, and it refined one movement. I'm going to have to attack that from the right side, I said. I want to make it like a curl inside. One-eighth of an inch (3 mm), a number nine, did the curl.
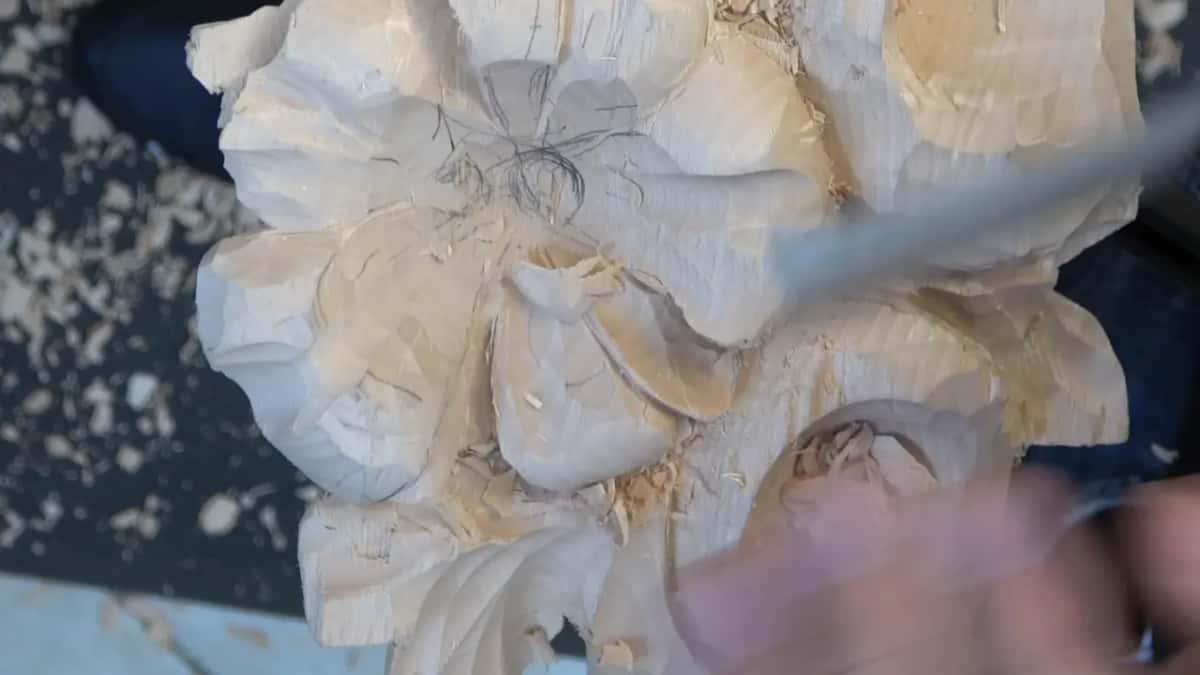
The tiny one gets its own lines. Sometimes it is a good idea to have micro tools like I have right now, I said, and this one's only one thirty-second of an inch. The caption on screen calls it a number 11 veiner and prints 1/32 inch with 0.5 mm beside it. With it I excavated even deeper.
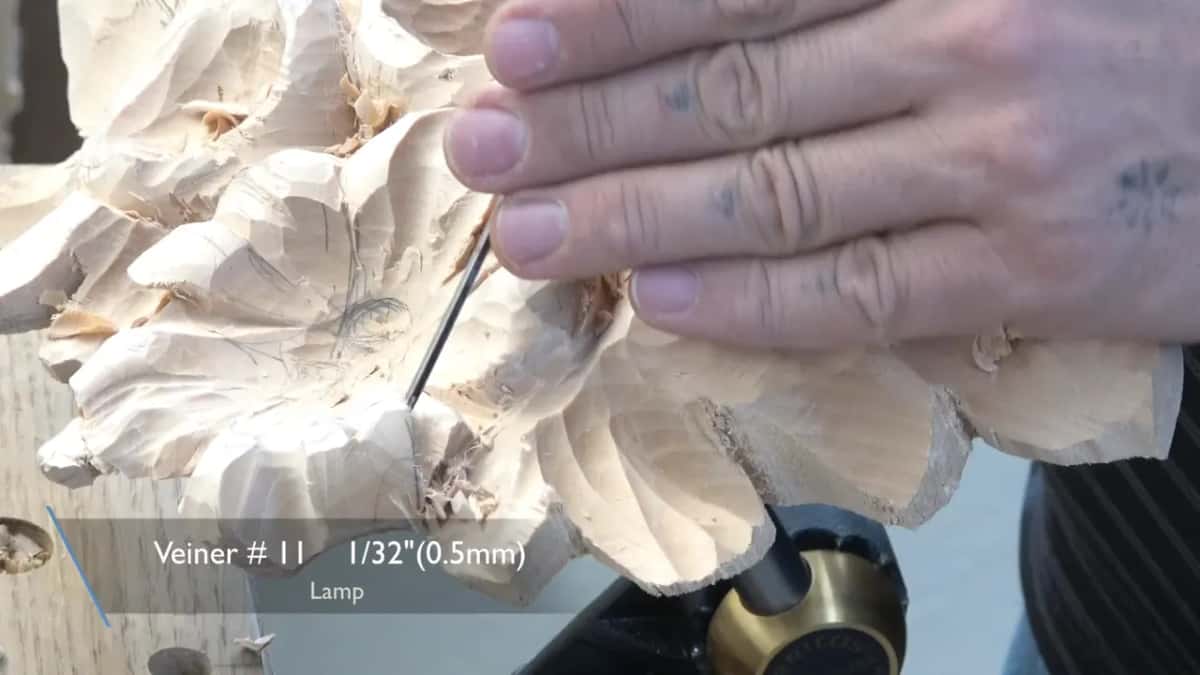
You can get by with the main tools, I said in lesson 49, but it's a good idea still to have multiple tools, like micro tools, mini tools and mini knives to clean everything. A small knife there was really handy to clean an edge that looked a little rough.
With the flower carving I'm going to use small tools a lot of times, I told you in lesson 45, and detail tools or micro tools are excellent tools just to work around in areas like that.
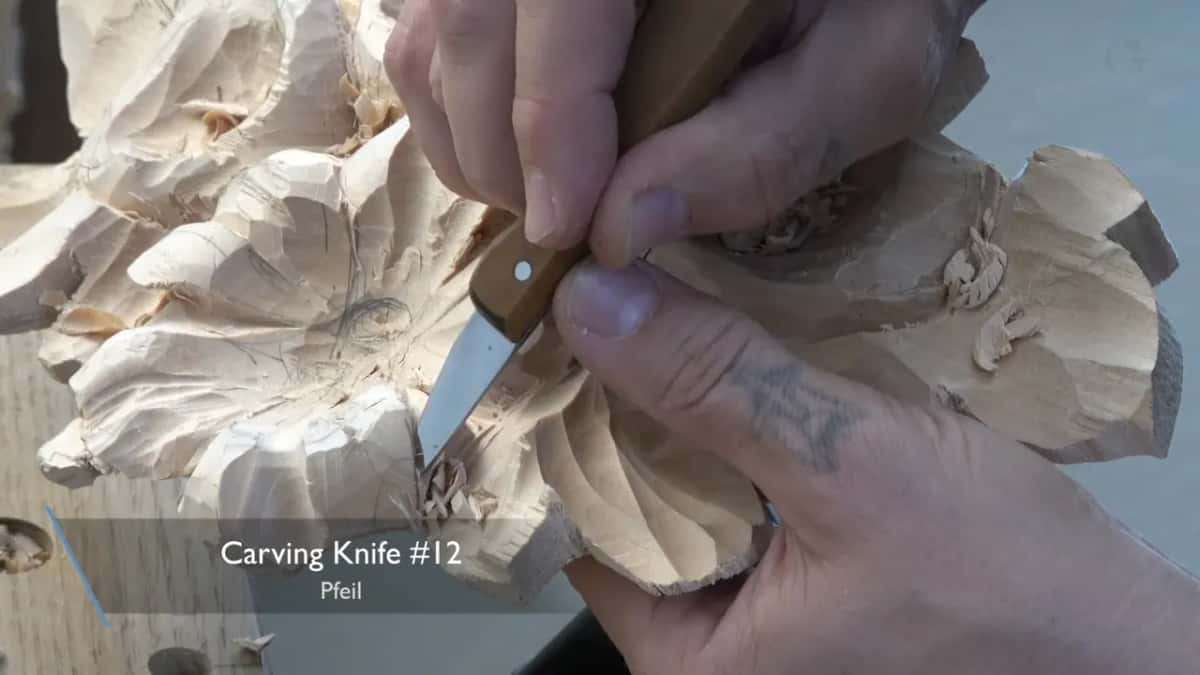
The knife came up in every part. To get inside I'll use a knife, I said in part one, because this is a really excellent tool for really, really, really deep excavations. On lesson 24 I called the knife an excellent tool for any type of carving, and said the work goes quicker with it. And in lesson 7, this small knife helps me actually a lot right now, I said. I can have much more control.
How deep should you go under a petal?
Up to you. When you're working with those flowers, I said in part three, it's all about your creativity and how deep you want to go. And how much you want to remove and undercut. How deep you can go underneath this petal, how much light and shadow you're able to create. So that's up to you. Well, in this case, it's up to me.
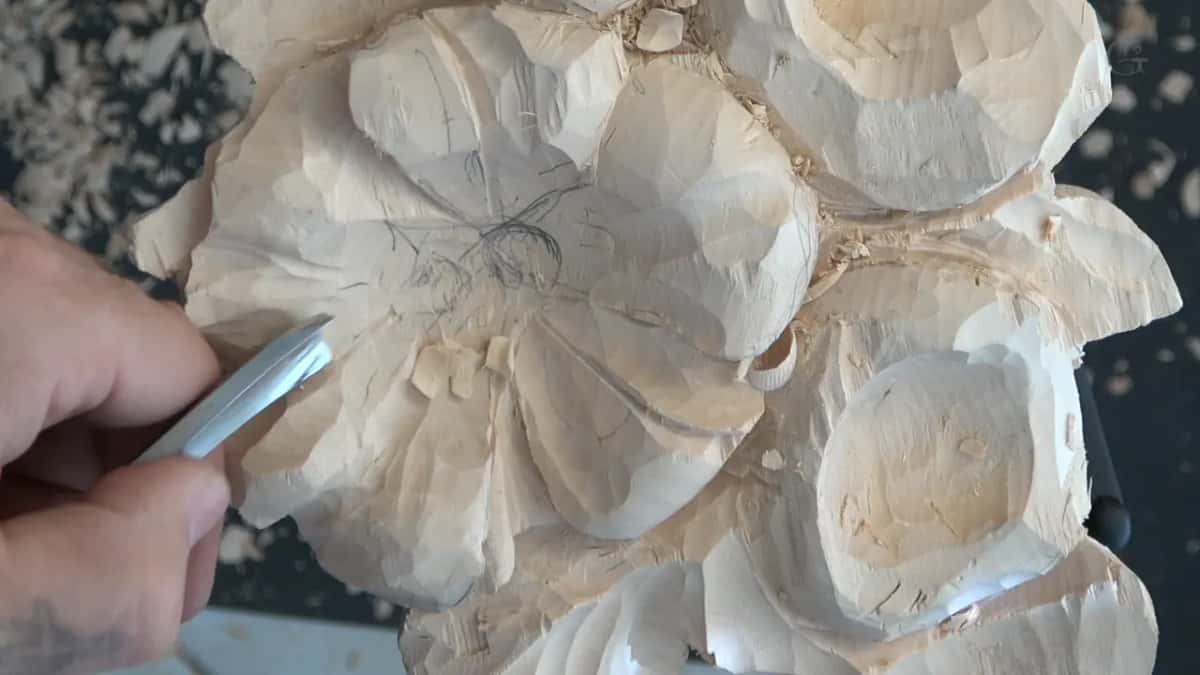
Right after that I said I went quite bad on the inside. I hit that edge, made it a little nicer, and said maybe a knife could clean it a little.
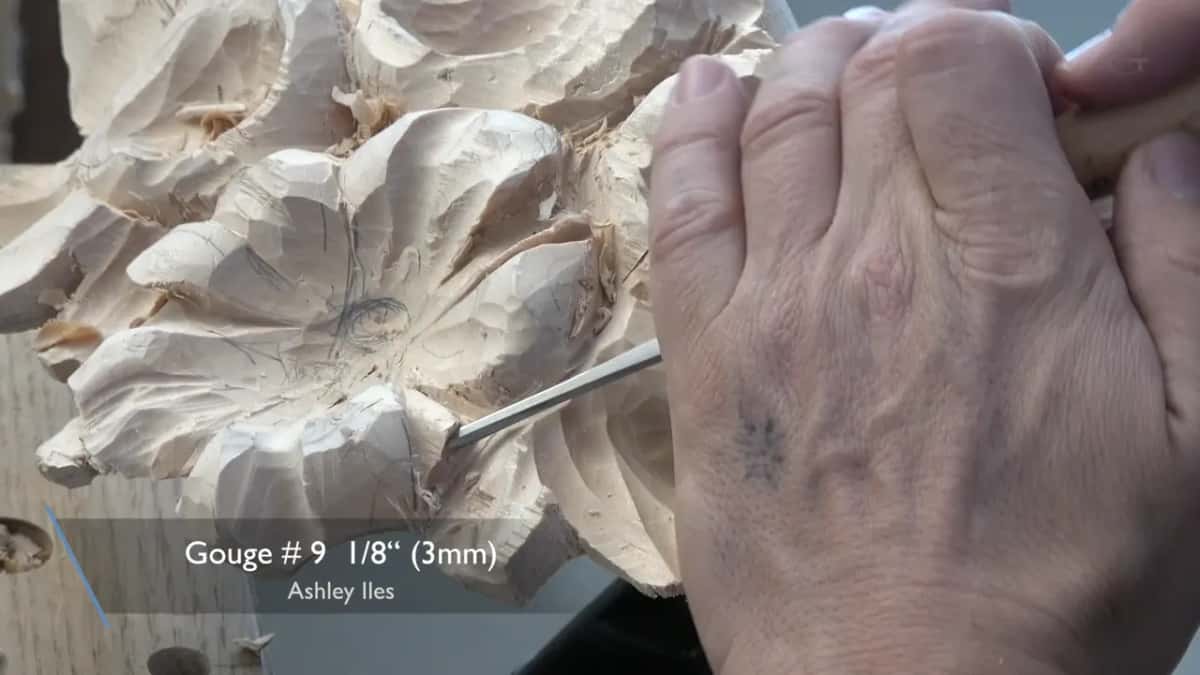
Soon my pencil didn't look too good. Next I asked whether I can create a cut right there. I can't go too deep, but I still have to remove some of the material, I said, and an eighth of an inch number nine did it. That's enough of a cut, I said, because I don't want to go too deep.
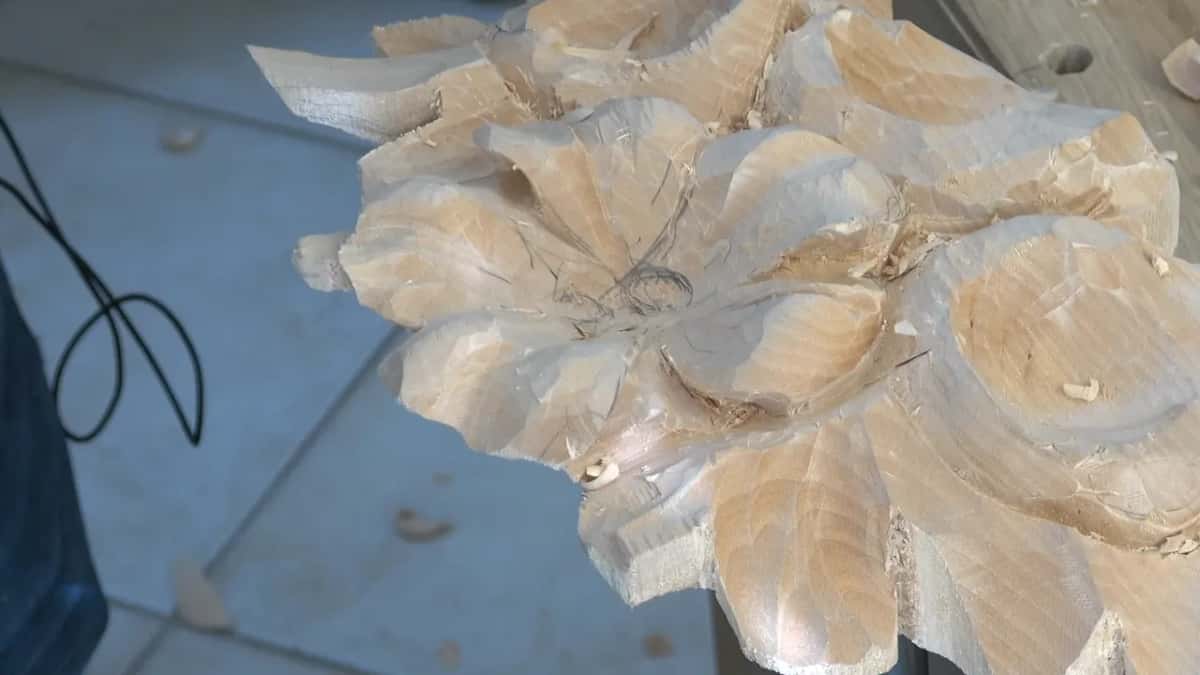
Part two ends with an ask. Please, be creative with that, okay, and make it as many movements as you wish.
Why change a design while the shape is still rough?
Changes cost less time that way. Some people are saying you really have to concentrate on the detail you're working on and take it to the finished look, I said on the floral and molding panel. Others say you'll have a chance to clean that later. I probably belong to the second group, because I make a lot of changes on design later on. It gives me flexibility. And a lot less frustration, because I didn't spend as much time.

At my Grinling Gibbons class in Maine I gave the same reason from the other end. If you clean one area up completely and then want to change the design, you wasted so much time, and it will be really frustrating. So I create the main form first and then work the details. If I need to alter something, I did not waste too much time. That talk is in Maine class 4.
Does the kind of wood matter to the design?
Yes, absolutely. A viewer asked me that on the April 2020 livestream, and I said I have to understand the property of the wood I'm carving. It's not the same when you're working with lime wood, with basswood, or with harder woods like oak, walnut and mahogany, even birch. Birch is not that hard, but still it's a little different. With basswood I can pretty much design anything.
Part three of this lesson opens on this line. Like I said, every facet, every tool mark will make this flower more beautiful. Well, at least I hope so.
Before this one comes lesson 30, and after it lesson 32. The whole Hashemi panel, all 49 lessons on this limewood piece, is inside tuition at the school.
How it's done
- Think how it will look. First I asked myself out loud what would work best, and how the petal would look once it went under its neighbour.
- Make a blending cut. A number nine makes a little concave cut where the section has to reach underneath.
- Undercut with the V tool. Straight after the blending cut, the V tool goes in under it.
- Preliminary cuts with a knife. Knife work gave the preliminary cuts and the undercut.
- Remove the waste. Waste came out with the number five.
- Shape the tiny piece. On the tiny piece still sticking up, a knife shaped the leaf, one side first, then the other, and then the edge.
Frequently asked questions
Is it okay to alter a carving design partway through?
On a single panel, yes, as I said on the furniture panel. With a pair that has to be symmetrical, I'd keep changes small, since anything done to one panel must be done to its twin. A one-off piece gives you far more room.
What tool undercuts a small carved leaf?
For the leaf I shaped in lesson 36, I named two choices. A V tool, like I always do, or a small number nine of about four millimeters. The tiny piece in lesson 31 got only a knife, on one side and then the other.
What is a blending cut in wood carving?
A small concave cut made before an undercut. My number nine made one in lesson 31, and I said you could call it a blending cut before the V tool went under. I wanted a small section to reach further underneath the next one.
What to carve next