
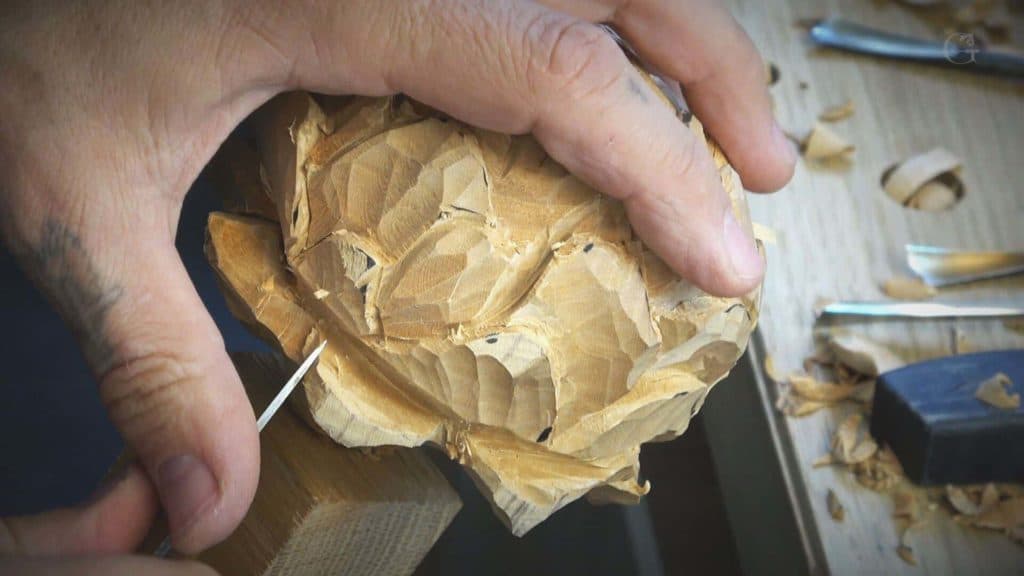
Alexander Grabovetskiy, woodcarver, School of Woodcarving · Published 2019
Can you break a wood carving tool?
Quick answer: Breaking a carving tool is possible, and I said so in lesson 44 of my Hashemi flowers course, holding a half millimeter number 11 veiner. Try to feel how deep you can go, I said, and take several passes. In one tiny spot under a curl, I said, a tool can easily break.
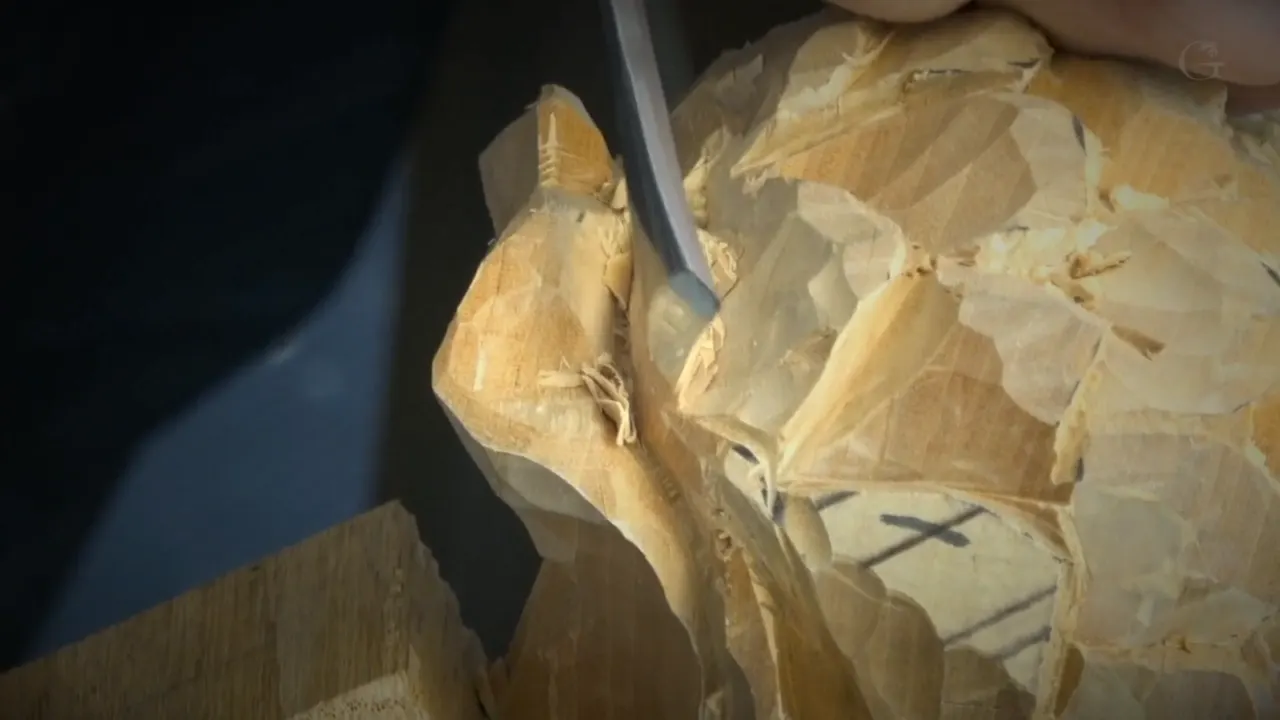
Breaking a wood carving tool is possible, and I said so on camera in lesson 44 of my Hashemi flowers course. I had the smallest veiner of the lesson in my hand, a number 11 of half a millimeter (about 0.02 in), and I told you to take it really deep. Please don't break your tool, I said. It's possible.
Do you keep a small veiner in your roll, or plan to get one? Would you like it to stay in one piece? Then read what I said in the seven parts of this lesson, carving one limewood flower.
After that I bring in what I said about broken tools on other carvings, and I name the course each line comes from. Some of those tools were mine.
What lesson 44 says about breaking tools
I gave the warning at the half mil number 11, with a method beside it.
Feel the depth, and take several passes.
Part six had a tricky area, a hollow I tried to connect under one curl.
End grain doesn't really help, I said.
A broken tool of mine came back for small cleaning work.
The carving can break too, so I have to control myself.

Will a small veiner really break?
It can, and the warning came at the smallest tool in the lesson. Part four had me curling one petal inside, then cleaning it with the number 11 and following with an even smaller one. Then I fixed something I had said earlier, when I had called a micro veiner one 30 seconds of an inch (about 0.8 mm). This one is not 1/32nd, I said, I apologize, it's actually half a mil.
And go really deep, I said, and please don't break your tool. It's possible. Try to feel it, how deep you can go. It's better to make multiple passes. A knife gave it a semi-final shape after that, and part four was done.
Why make multiple passes with a small veiner?
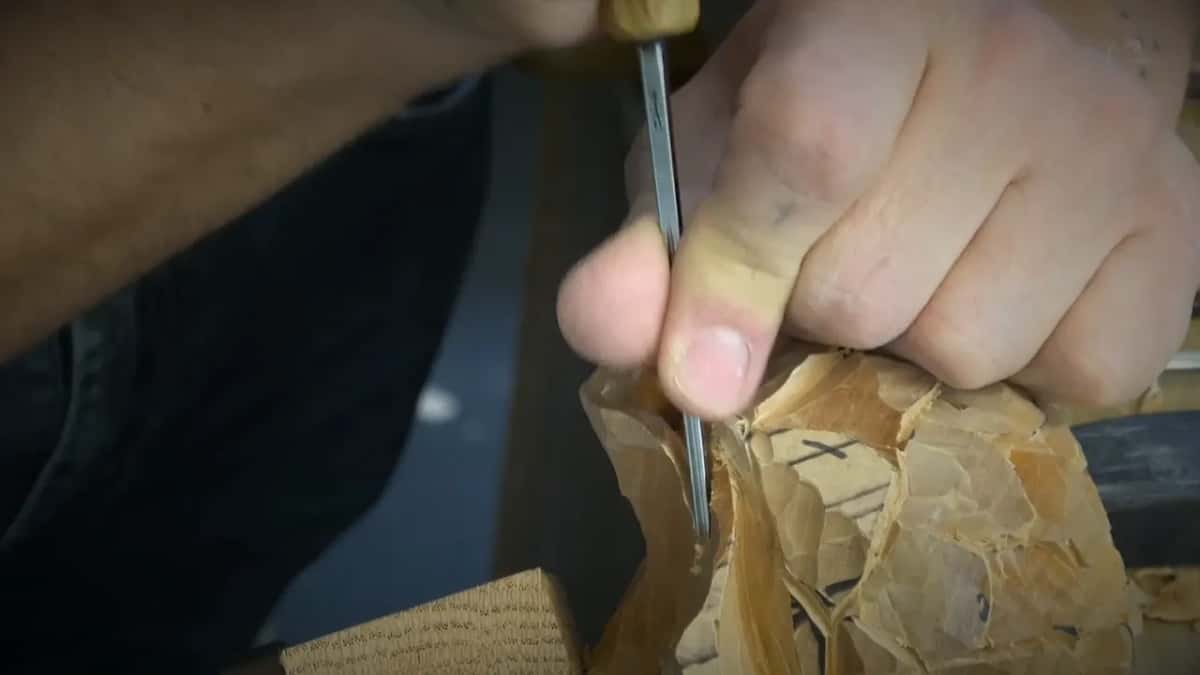
The half mil had a small job in this lesson, and I said what it was. During part five I took the number 11 at one millimeter (about 3/64 in) and then the half millimeter one, just to clean that old junk from inside. It's already cut, I said. Just small chips collecting in there.
Later in that part the same pair went into a petal that goes downhill. The bigger one went in first, and I came at it from the far side as well. Only then did the half mil follow. It cleaned all that chunk out and went even deeper, until it's impossible to see where it ends.
On my furniture panel bouquet I said much the same, when I started undercutting. Be careful, I said, because the tool can break, and you don't want that. Take it little by little.
On Furniture Panel 23 I got kind of deep inside with one tool, and I said I don't want to break my tool. Then I said I should use a mallet, since it gives a lot more control.
Where on a carved flower do tools break?
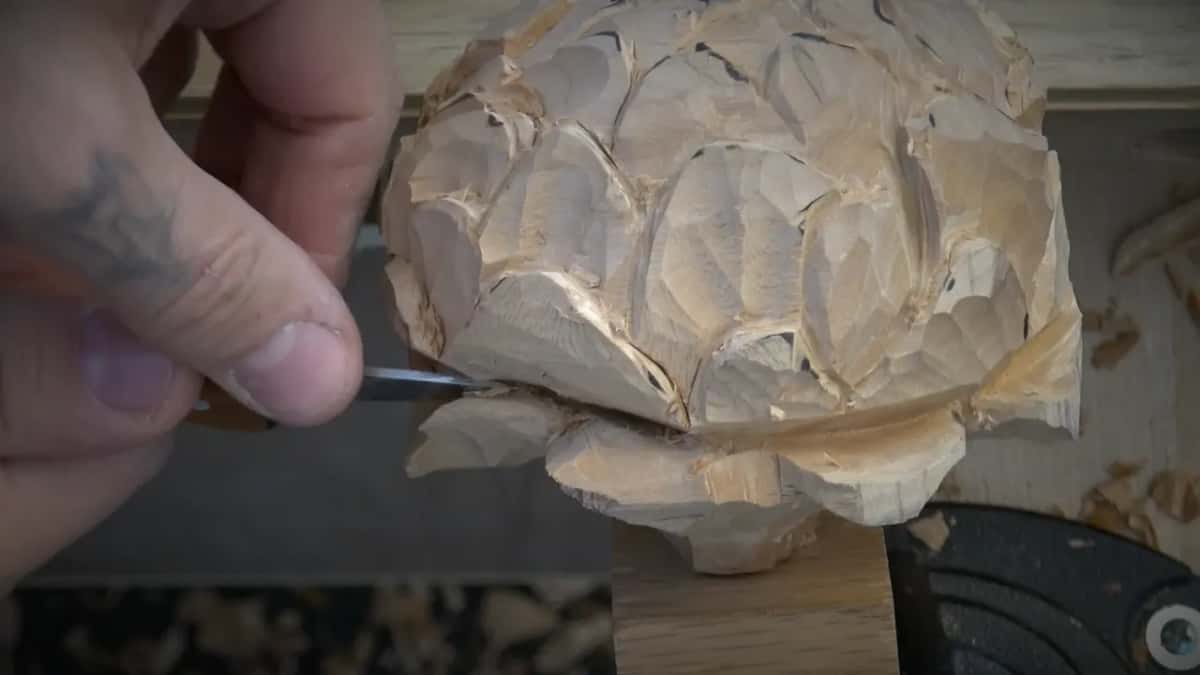
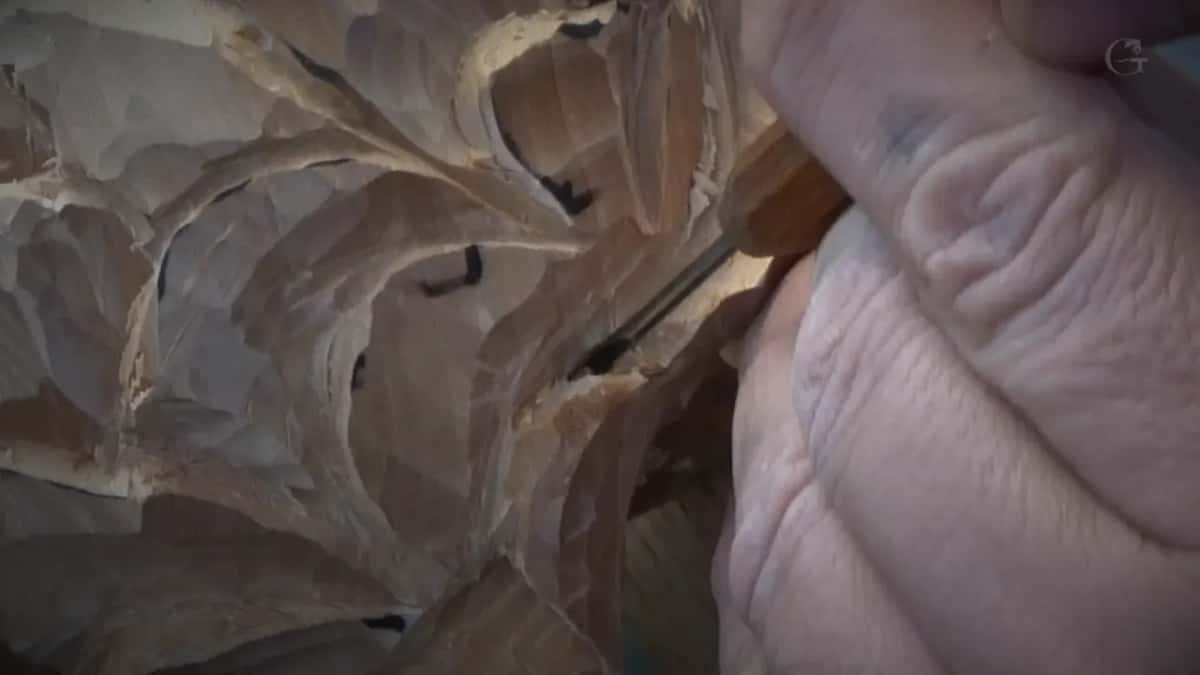
Here the place was under a curl, a tiny spot, as I called it. In part six one petal could stay a small separate piece, or I could excavate there and carve on the inside for a curly effect, which I kind of like. I went for the curl, with a gouge of one-eighth of an inch (about 3 mm), then a smaller one of about a sixteenth (about 1.6 mm).
Next I tried to connect that hollow from the other side. Not always possible, I said, and I doubted it, because it's a tiny spot. Connecting it isn't a must, I said, because it will be invisible. But if it did connect, the light would travel in and make a beautiful light and shadow effect.
Right there came the warning. Be careful with the tools, I said, because this area is a tricky area, and you can easily break your tools, and I don't want to break it.
The Tray of Blessing has the same kind of place. Once you go underneath, I said there, try not to push it too hard, and take small bites, because that is the spot where you break your tools, especially right underneath. If it fights, attack from another side, and you'll find it's much easier.
On a Roman acanthus leaf it was a V tool used for undercutting. It's more dangerous than you think, I said. You can actually damage your tool easily, or break it, I should say.
Is end grain harder on a small tool?
Part four found me hollowing beneath a curl at the end grain, with a small gouge of 3/16 of an inch (about 5 mm) and then the number 11 again. Just be careful if you decide to do that, I said, because right now I am at the end grain, and it doesn't really help. But that doesn't mean it's impossible.
A part earlier, a petal that goes downhill met end grain too. It's going to be a little challenging to do the concaves there, I said, and I don't have to do the same concaves on every one of them.
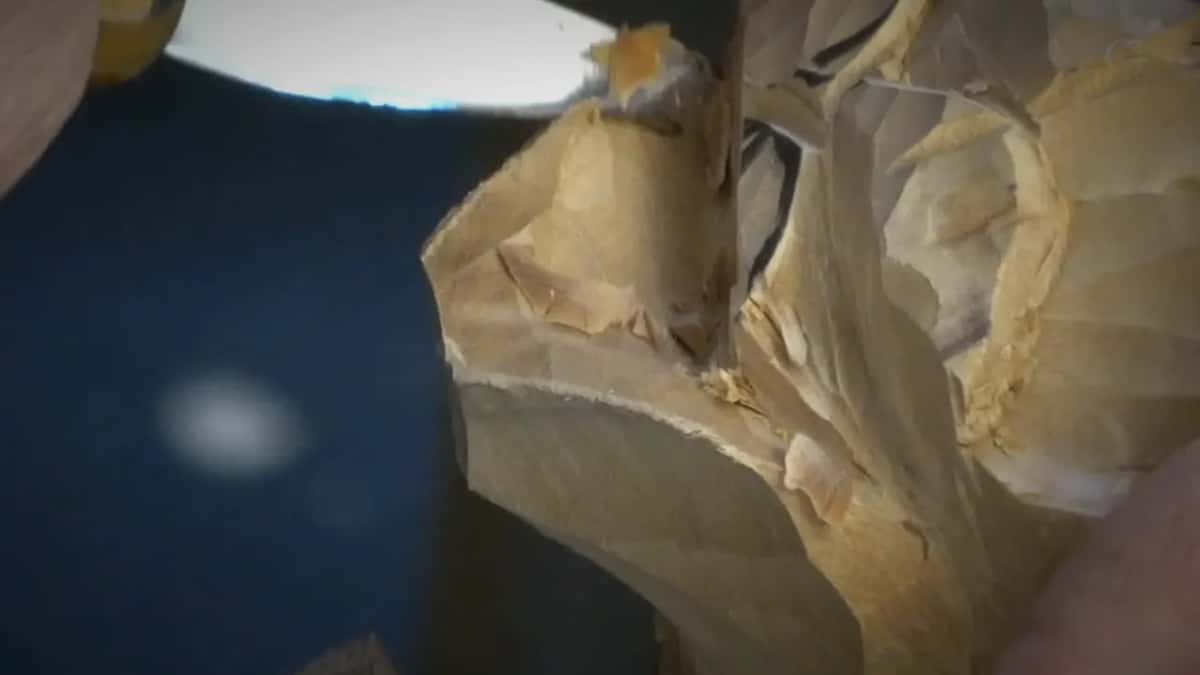
I liked one thing about that end grain. Beautiful color, I said, I really like this piece of wood, and just because it's end grain, it creates that dark, richer color. Lesson 23 of this course has a whole page on carving detail in end grain.
Is carving against the grain a risk to the tool?
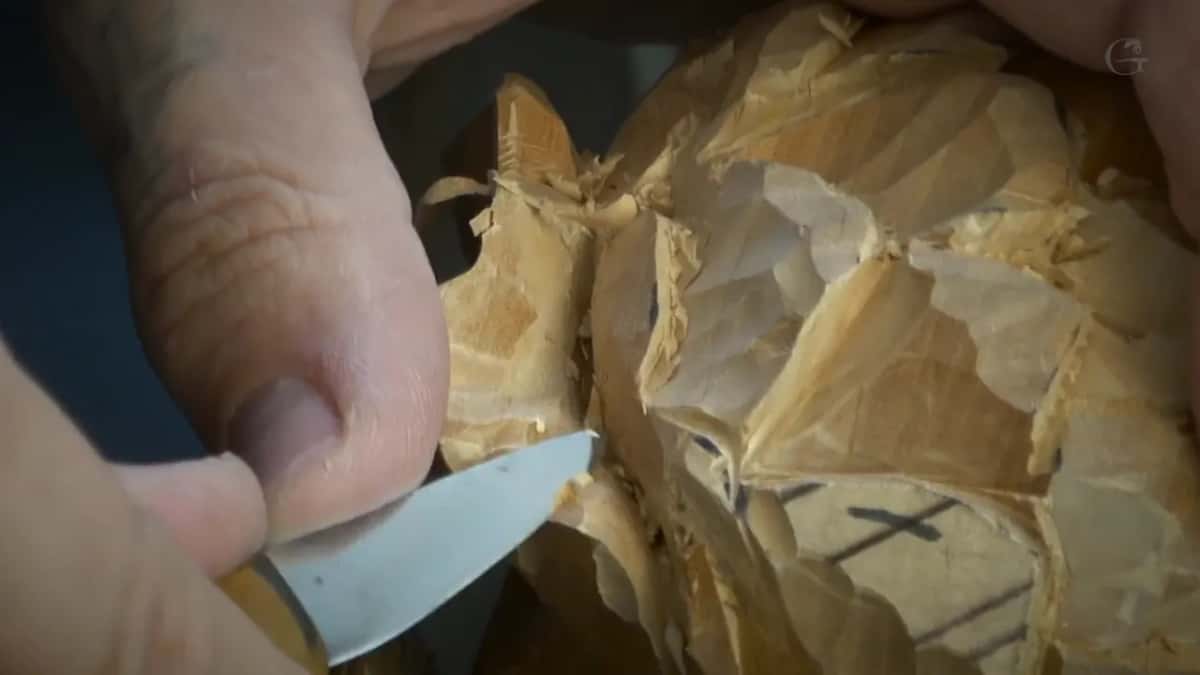
This lesson had me working the wrong way of the grain more than once. Looks like I am against the grain, which is okay, I said in part one.
Part two let you hear it. By the sound of it you should hear it, I said, and still my pass was really clean. I could attack from the other side and it would be cleaner, and in that case I was able to. Not always, though.
Venice Room 54 had a sound I asked you about. It was my tool struggling, because it had a really low bevel and it was not the best tool for that job. I said I can break my tool, so I need to change either position or the tool, and I changed the position.
On the floral and molding panel I heard a sound I did not like. I said sometimes that sound tells you the tool broke, but no, I did not break the tool. It was just the wood itself. I went to get a smaller tool, because it's always a good idea to have smaller ones, and took a number nine of six millimeters, one quarter of an inch.
What about hooking a chip out?
I did it in part five. With the one millimeter still in hand I said crank this out, or hook this out, crank it or hook it, whatever is the best word, or hoik it, if you wish. That's still the same result, just cleaning out.
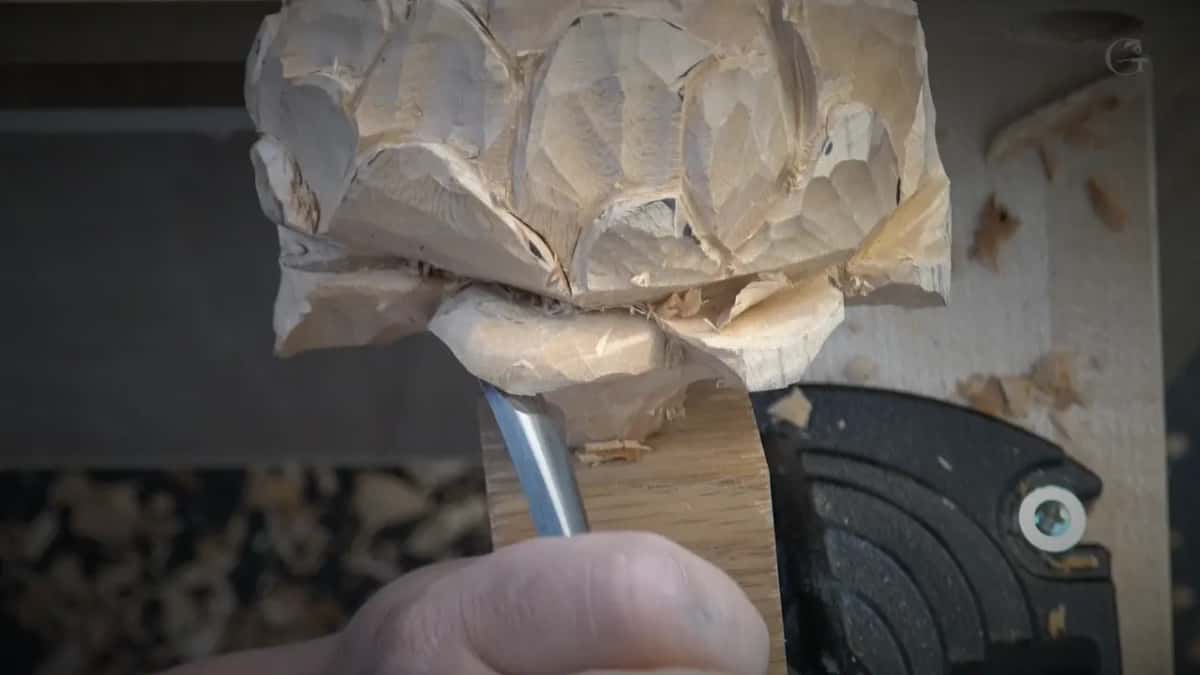
Prying is another thing. In lesson 10 I told you don't pry your tool, and I've done it also, and probably other carvers did it also. If you pry, I said, the tool can break. Better to remove less each time and take your time than to break a really expensive tool.
Lesson 13 shows how I keep my leverage off the wood. I pinch my fingers and create a space between them, with one finger underneath, so I'm not prying against the wood. I'm actually prying against my finger, and I'm not touching the wood with the metal.
Have I broken carving tools myself?
Yes, and I told you about them on camera. In Venice Room 38 I was using a spoon gouge with a mallet, and I warned you that it jumps like a spring. Hit that too hard and you can break the tool. Ask me how I know, I said. Of course, I broke one.
Not multiple, but it was one too many, and that gave me a really good lesson.
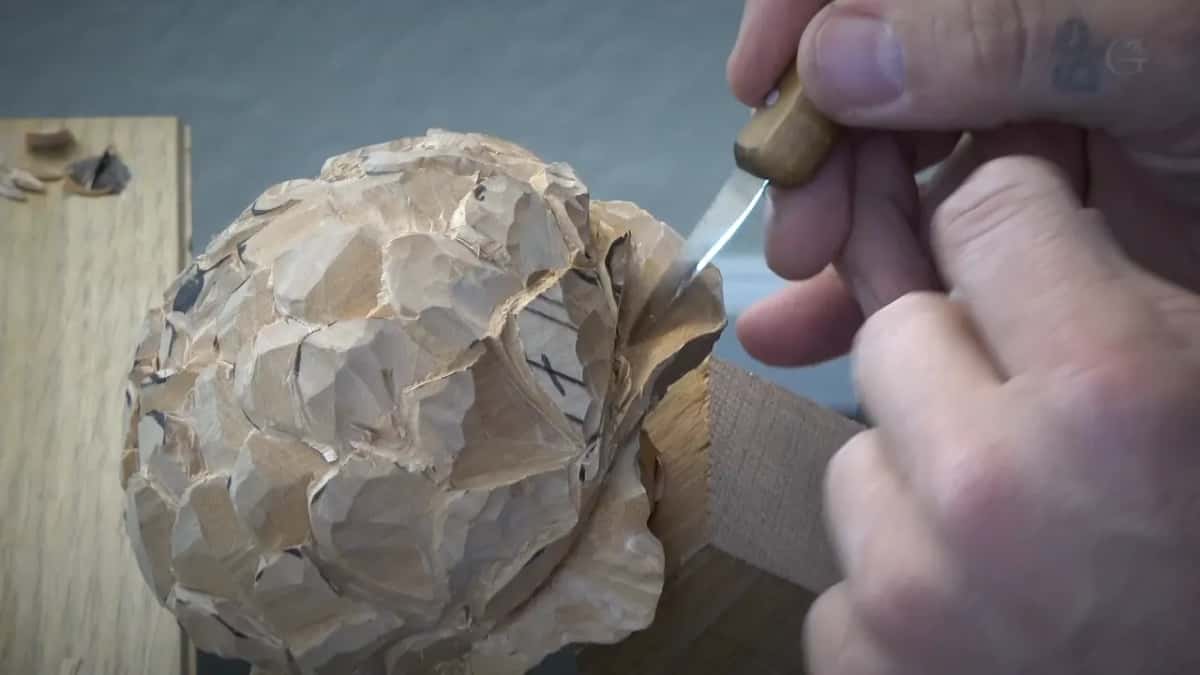
Much later, in Venice Room 83, I wanted a big gouge, maybe a number seven, to clean a curve, and it did not fit the profile. I broke the big one, number seven, I said, because I abused it on one pass, and it needs reshaping. So I did that spot by hand with the small number seven.
And on this same Hashemi panel, in lesson 26, I picked up my #12 knife and told you it was broken before. I broke my tip and I had to resharpen it, and I actually like how it works, the shorter version.
What do you do with a broken carving tool?
One of mine became a new tool. In Furniture Panel 38 I came to a pretty scary area with a half mil number 11 ready, and first I used a really small, tiny gouge. Just a broken tool, I said. Much bigger once, I reground it and used it as a clean up tool in areas like that. That is good, I said after it, actually very good.
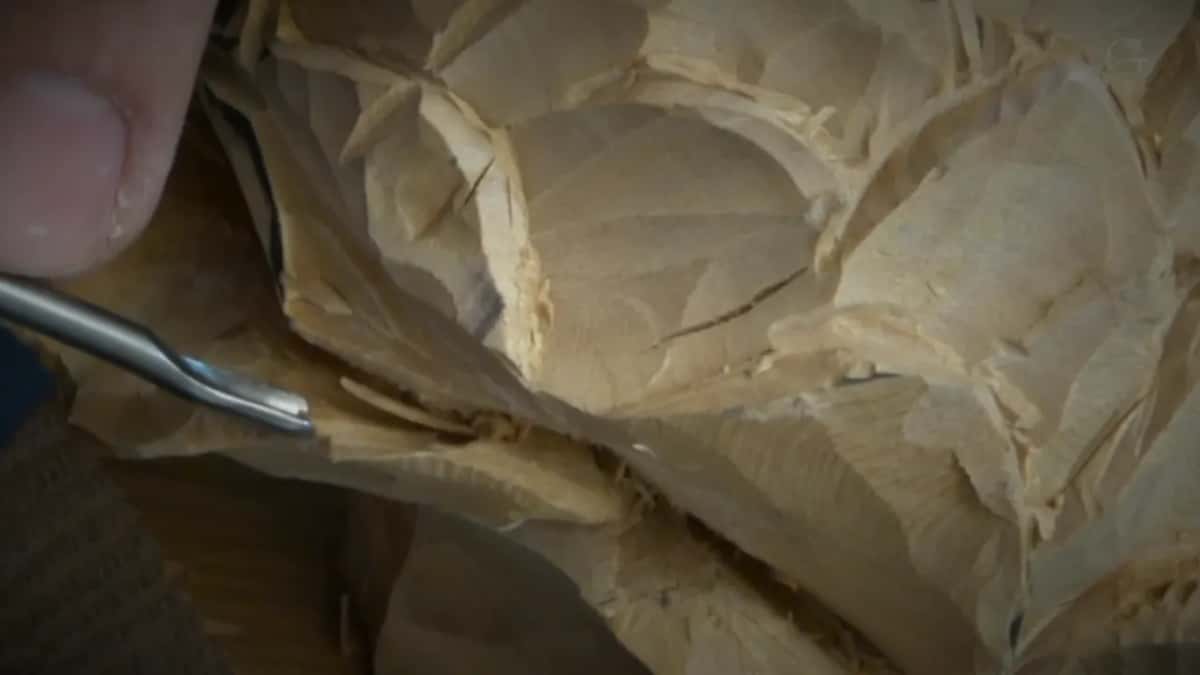
Can sharpening make a tool easier to break?
It can, and I explained it in my How to Sharpen micro tools lesson. A grinder wheel leaves a curve behind a long bevel, up to 25 millimeters, about one inch, and that part becomes really, really weak. You can break it really easily.
So I really love the idea of using just a stone, a normal stone, by hand. A sharpening stone gives me an absolutely flat bevel, and that point is not as weak. The only problem, whatever stones you use, water, oil or diamond, is that it takes so long to make a long bevel. Later in that lesson I said I found a solution for a really, really flat bevel.

What about breaking the carving itself?
That can happen too, and this flower had fragile places. Part five had me going in as much as I could beside one curl, and I said just be careful not to break that curl, because it is fragile. Every curl like that creates a beautiful movement, I said.
In part three, going deeper from the back of one petal, curling it downward inside, I said that's good, not going to risk it, and took it to the edge.
Late in part seven I was super happy with one petal, maybe not with the edge. I do have to control myself not to overdo it, I said, because if I overdo it, I can break it. That's it, and leave it like that.

Why carve so deep between the petals at all?
For the look of the flower. My main goal in part one was to go as deep as possible, until I can't even see the end of it myself, and make it look like it's not a solid piece but glued together.
Part two gave the reason, with the one millimeter in my hand, going even deeper, but carefully. I could use a 2 millimeter tool (about 5/64 in), but my goal was to take that groove all the way down until it disappears. You would have a feel like every petal is glued together, but it's not. Look at the grain and you will see this piece is solid. And the outer ring goes all the way in and disappears too, so the two blend together better.
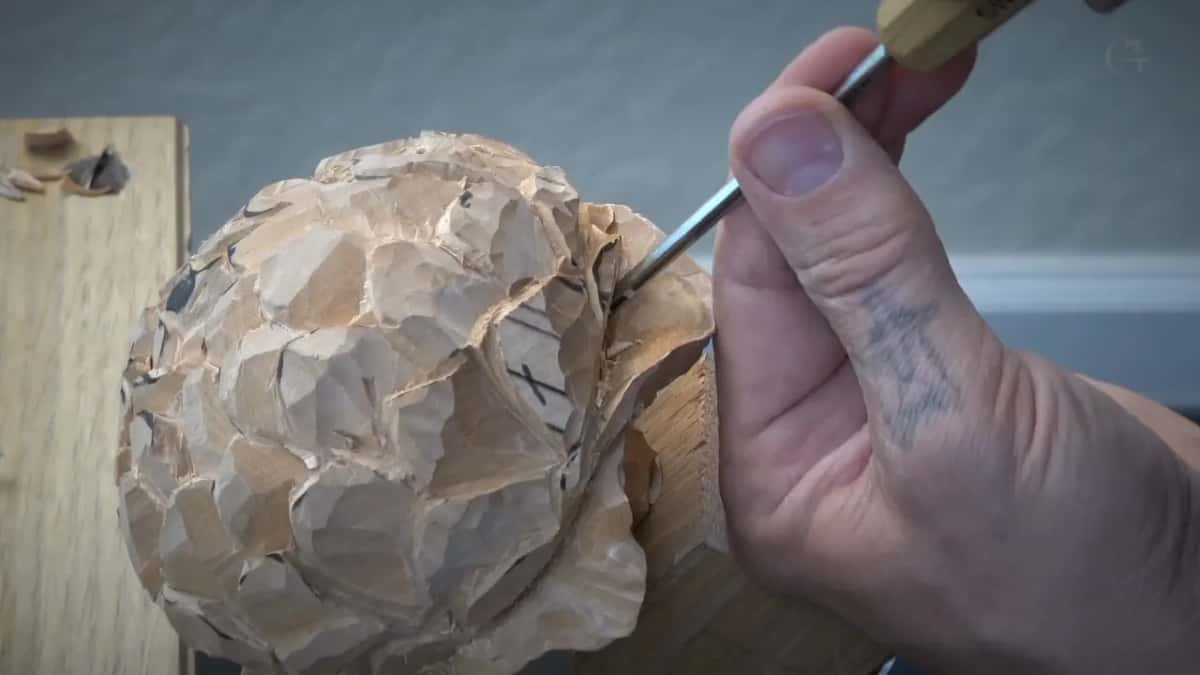
Underneath is the same idea. Ask me why I excavate underneath when it won't be visible, as I put it in part six, and I'd say you're right, you won't catch it by eye. But light will travel inside and create the shadows, and the deeper you excavate underneath, the better it looks. You don't have to, because nobody will see it.
And some of it is only for me. I know it will be almost invisible, but I'll know about it, and it makes me really happy to do the details like this, as part four has it.
Which tools did lesson 44 use, and for what?
| Tool | What it did on this flower | Part |
|---|---|---|
| The V tool | Went in until it no longer fit | 44.2 |
| #11 veiner, 1 mm (3/64 in) | Went even deeper | 44.2 |
| Half mil #11 | Cleaned out the small chips after the one millimeter veiner | 44.5 |
| Gouge of 3/16 in (5 mm) | Hollowed beneath a curl at end grain | 44.4 |
| Gouges of one-eighth and one-sixteenth inch, 3 and 1.6 mm | Dug the tiny spot | 44.6 |
| The knife | Preliminary shape, cleaning passes and blending all through the lesson | 44.1-44.7 |
| Bigger #7, about half an inch (13 mm) | Curled one petal downward | 44.5 |
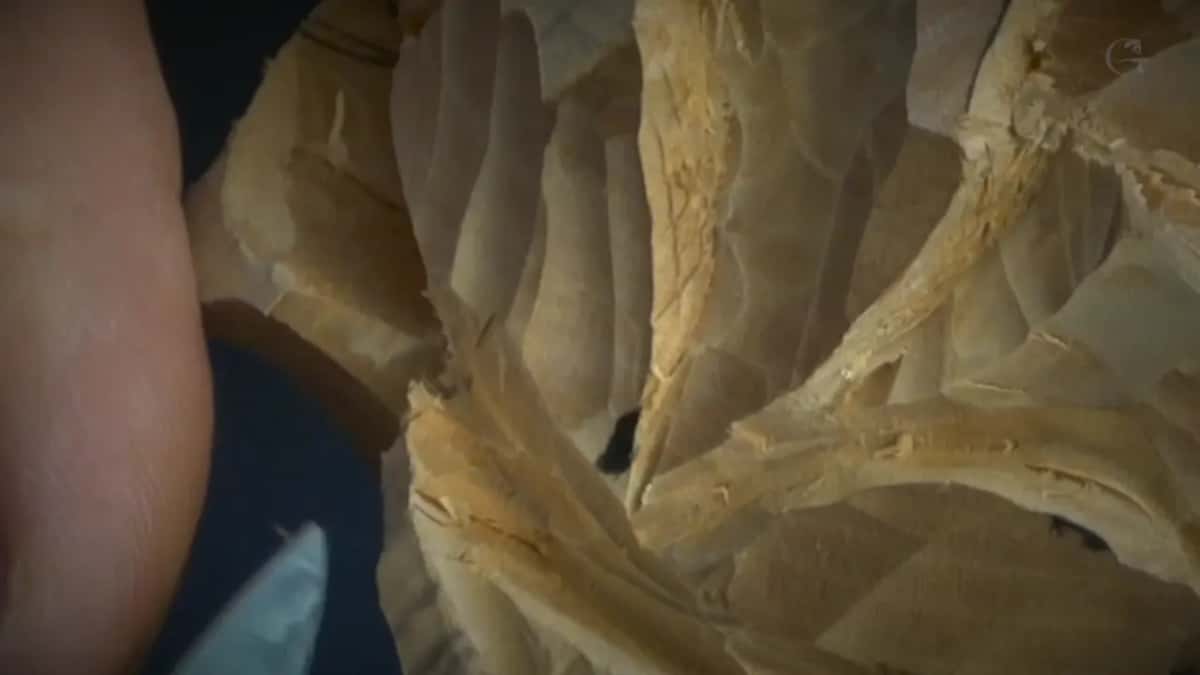
Would you like to watch the half mil go in, and hear where I stop? The videos of all 49 lessons are part of tuition at the school, with lesson 43 before this one and lesson 45 after it.
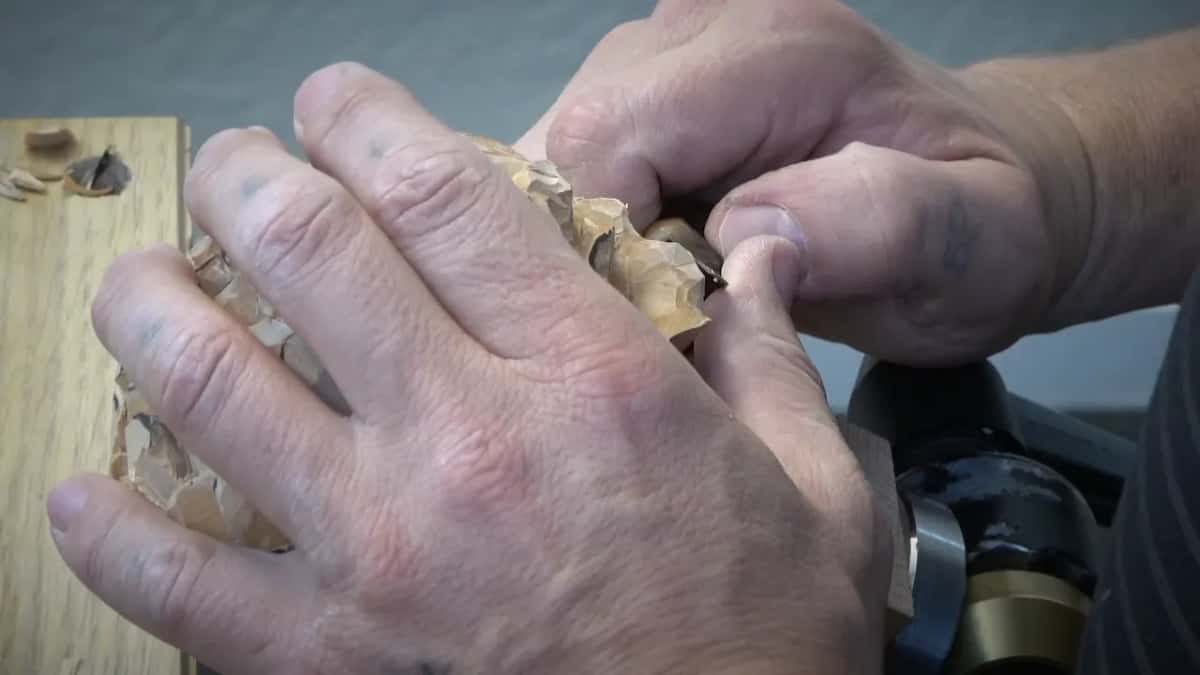

How it's done
- Take the V tool in first. Take it as far as it fits, the way I did in part two.
- Change to the one millimeter #11. That one goes even deeper, but carefully, and a 2 millimeter tool could do the job as well.
- Attack from the far side. The groove in part five needed it, so I worked it from both sides before the smallest tool went in.
- Clean out with the half mil. Its job is the junk already cut loose, small chips collecting inside, and then more depth, until nobody can see where the groove ends.
- Feel the depth. Go in more than once. That was my advice right after the warning.
- Know when to leave it. At the back of one petal in part three I said that's good, I won't risk it, and took it to the edge.
Frequently asked questions
What size veiner did the warning in lesson 44 come with?
The number 11 at half a mil, about 0.02 inch, the smallest tool I named in that lesson. Earlier I had called a micro veiner one 30 seconds of an inch, about 0.8 mm, and in part four I apologized and gave the right size.
Does end grain make a small veiner snap?
Lesson 44 does not say so. At end grain, making a curl, I said be careful if you decide to do that, because end grain does not help much, though it is still possible. I made the curl there anyway, with a 3/16 inch gouge and a number 11.
What do you pry against, if not the wood?
Your own finger. In lesson 13 I pinch my fingers, make a space between them with one finger underneath, and lever against the finger instead, with no metal touching the carving. Prying on the carving can break a tool, and lesson 10 warns about it.
What to carve next