
Alexander Grabovetskiy, woodcarver, School of Woodcarving · Published 2022
What is a slicing cut in wood carving?
Quick answer: A slicing cut is a pass where the gouge rotates as it goes, so the edge enters the wood at one corner and leaves at the other. Even a short pass begins somewhere along the edge. Pushing works with a sharp tool, but with more resistance, a poorer finish and quicker fatigue.
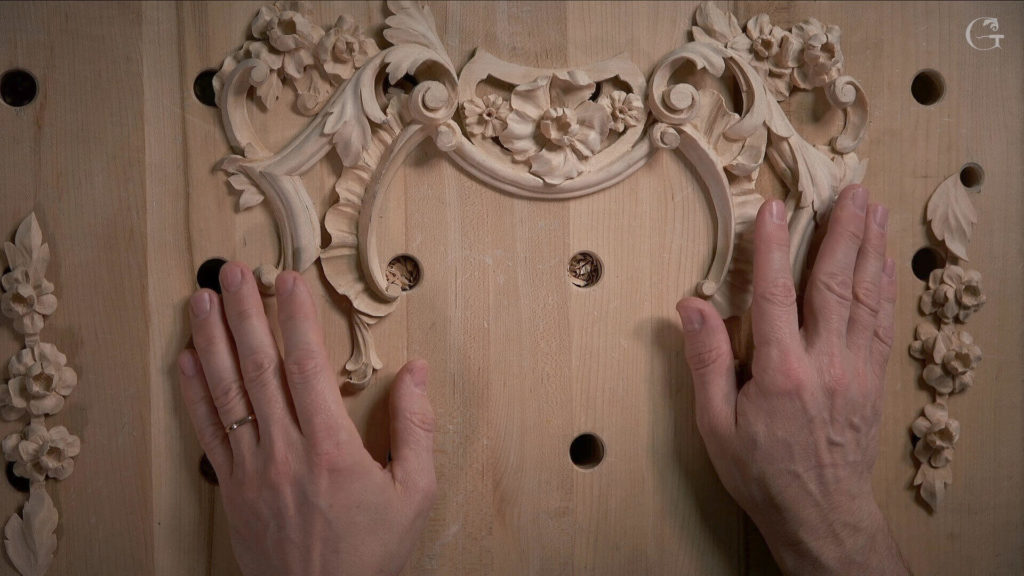
A slicing cut in wood carving is a pass where the gouge rotates while it moves, so the pass starts on one corner of the edge and ends on the other. That's how I carve this floral panel. Every slice, every cut, has to have some type of rotation, I said in the second video of this course, and I come back to it again and again in lesson 1.
Would you like a carved face that comes out shiny, with no trail behind the edge? Do you want your arm to last longer at the bench? Then turn the tool a little on every pass, short or long, the way I do here.
Below is what that turn looks like on my gouges, the one spot in this lesson where I could hardly slice, and the rest of the first lesson, with the band saw and the first walls in it.
The slice in lesson 1, in a few lines
- A long slicing cut begins at one side of the gouge and finishes at the other.
- A short one, about 10 mm (3/8 in) at once, still begins somewhere along the edge and still slices.
- Left corner first or right, either is fine.
- Pushing a sharp tool works too, but it fights you, and you tire sooner.
- When the tool is really sharp, the surface is shiny, there's no trail, and you can see the grain.
- My straight number two, set on the line, left almost no room to slice, so it went straight down.
What does a slicing cut look like on a real gouge?
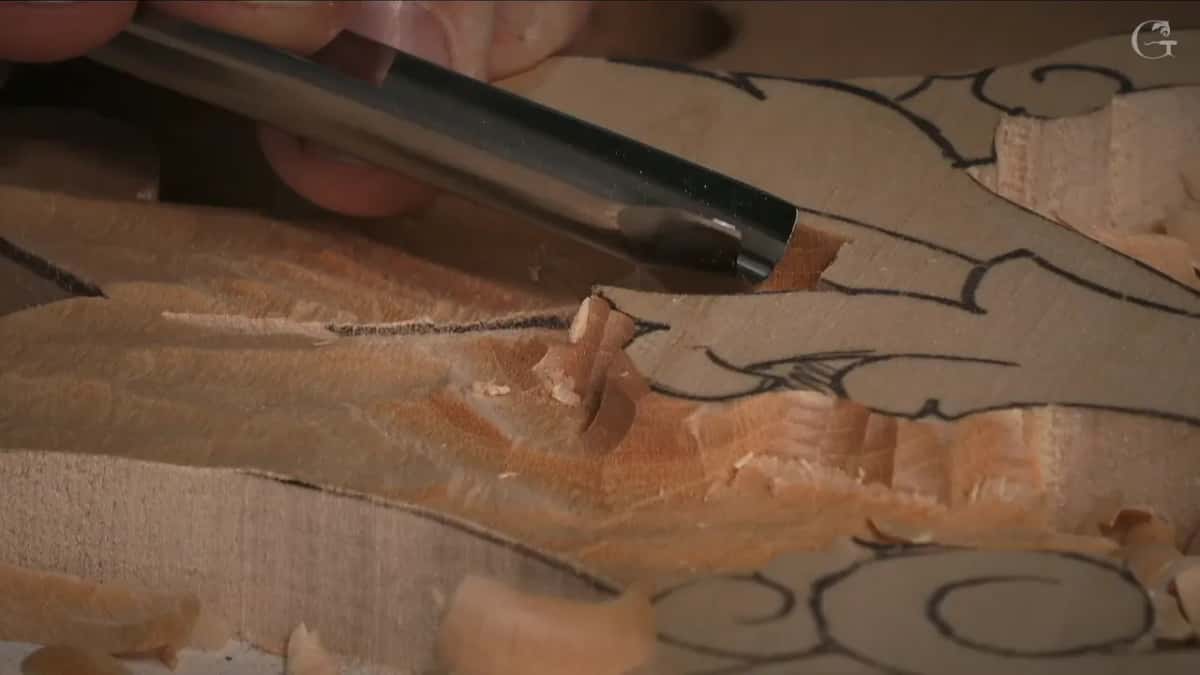
Watch where the edge goes in first. In the third video of lesson 1 I stopped to explain a short versus long cut, and the long cut is just like it sounds. You start on one corner of the tool, and by the end you're on another end of it.
I started this one on the left-hand side of the tool and ended on the right-hand side. That is a long cut, and it's still a slicing cut. You can start on the left-hand side, or you can start on the right; it doesn't really matter, as long as every pass is a slice.
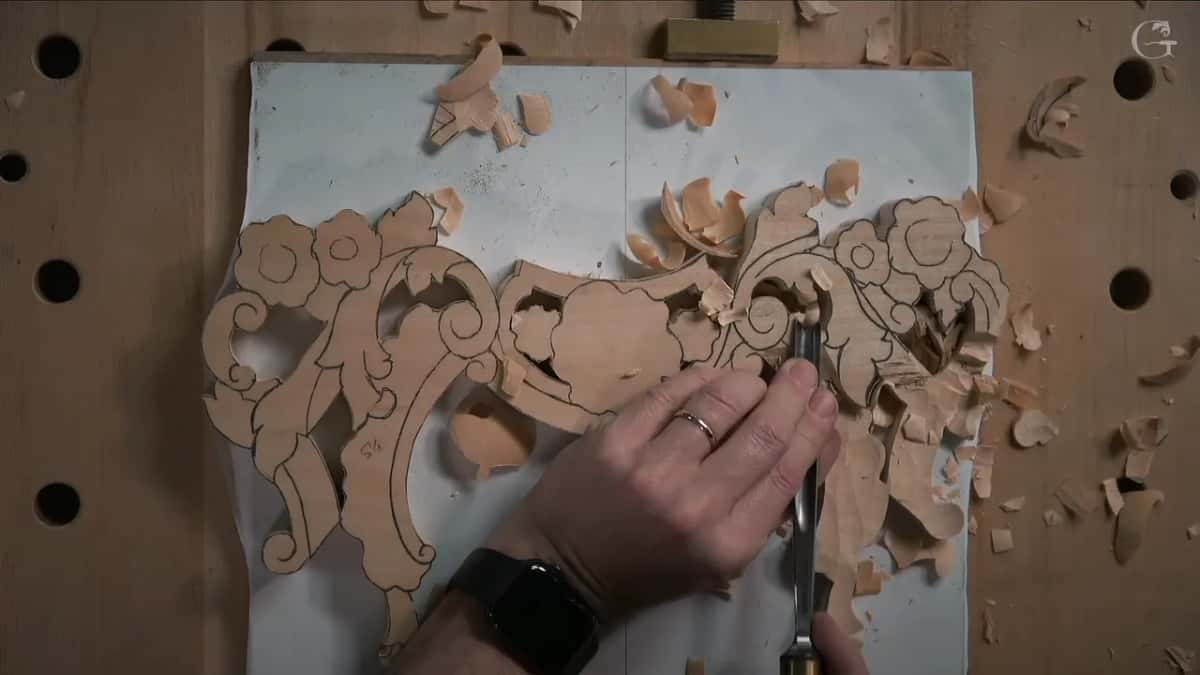
A short cut is one where you don't take the tool all the way to that other point. Even if a pass is only about 10 millimeters at once, you still start on some part of the tool and still slice. You don't push it.
The turn can begin in the middle of the edge, too. In one spot, with my 10 mm number nine, I started right from the middle of my tool and rotated it counterclockwise, and by the time I ended that pass the edge was almost escaping completely.
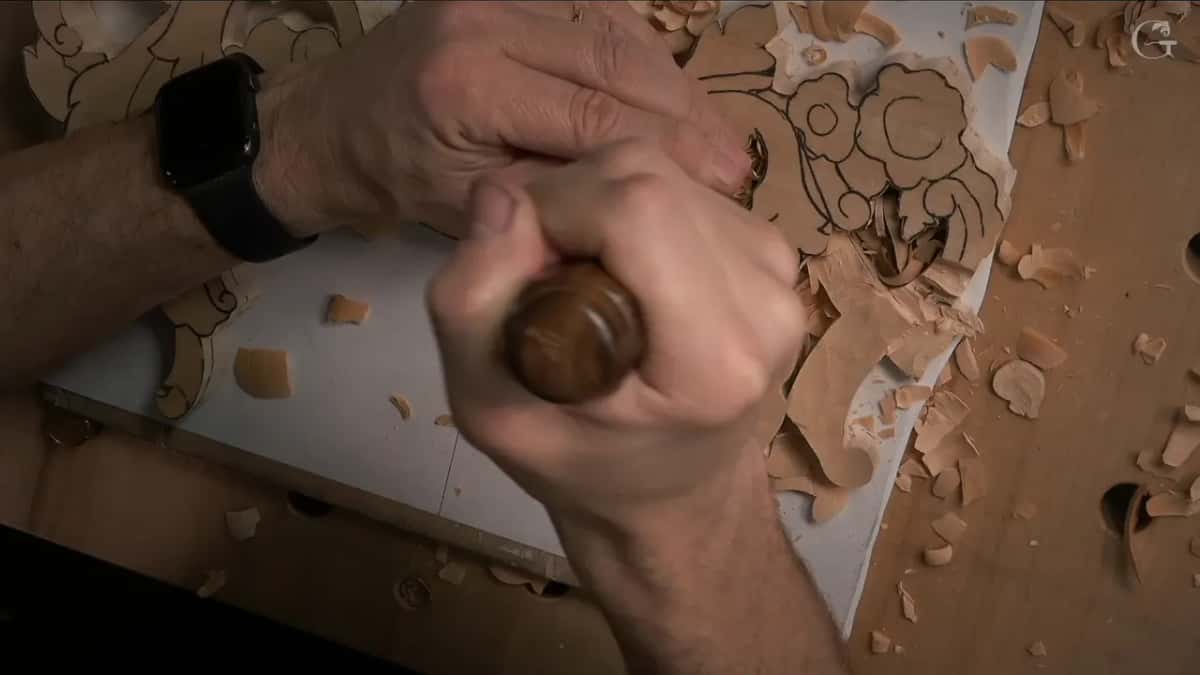
There's a short slicing cut lesson in my techniques library, and lesson 2 picks up the same panel. In its first half minute a number seven makes a straight-down cut, and I'm still going to slice it, I said, not push it.
Why slice when you could push?
When I'm teaching in person, I see the biggest mistake lots of people make. They just push, like that, and that's no good.
It's possible to do it if the tool is sharp. But there's lots of resistance, your finish won't look as nice, and you'll get tired a lot quicker. So slice it. Always better.
I said the same thing a few minutes later with the gouge in a tight spot, in four words. Don't push it. Slice it. Even if it's a short cut, you still make a slicing, and the opposite direction gets the same idea.
Does a straight-down cut get a slice too?
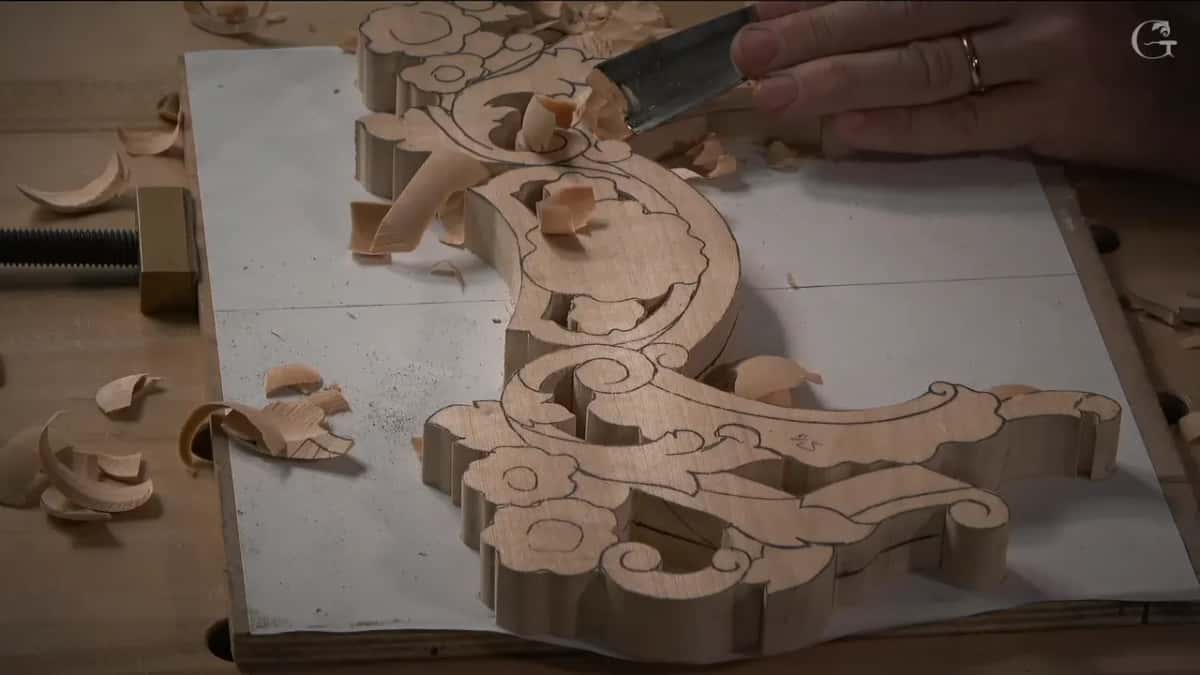
On this panel it did. Near the lines, where a part would lie on top of the previous layer, I made straight-down cuts with a number nine, starting at a triangle area. I wasn't pushing it, and I wasn't pressing on my tool. I still created a rotation movement, so the tool rotated, and that means a lot less resistance.
An earlier wall went in the same way. The number seven went right straight down, like 90 degrees, and even there I am pretty much slicing it.
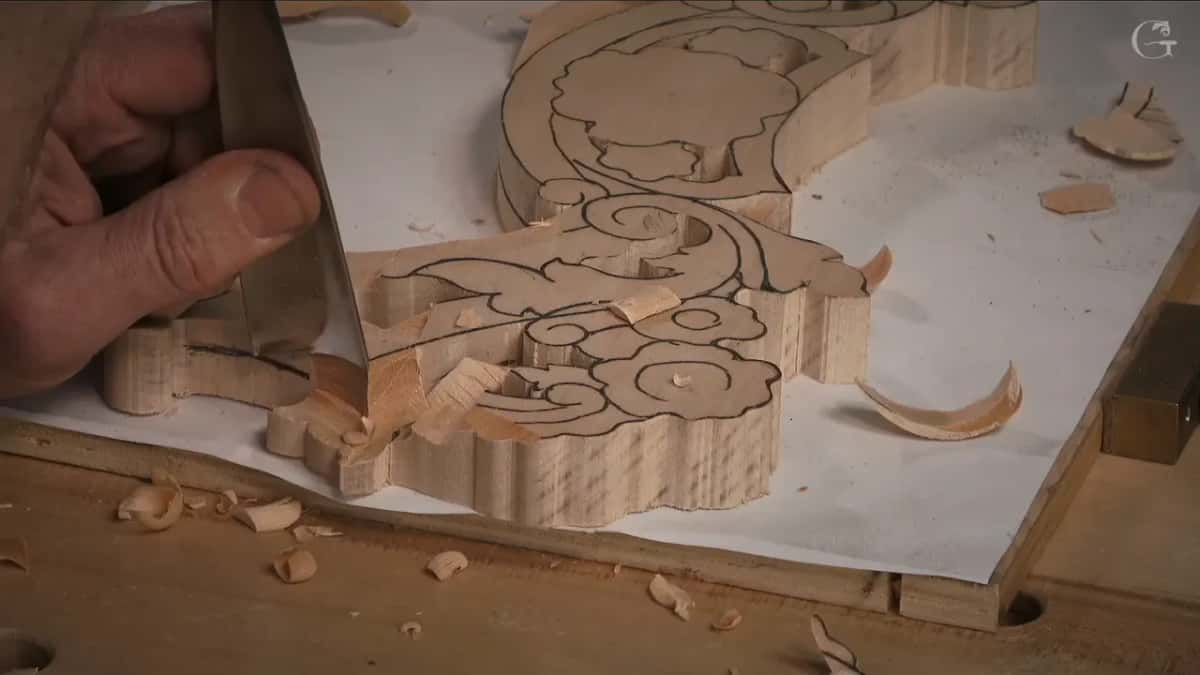
There was one place where the slice had little room. Any skew will work to refine the outline, I said, and so will any straight tool, like a number three. I grabbed a number two and placed it right on the line, and in that case there was not much I could do as far as the slicing, so I just took it straight down.
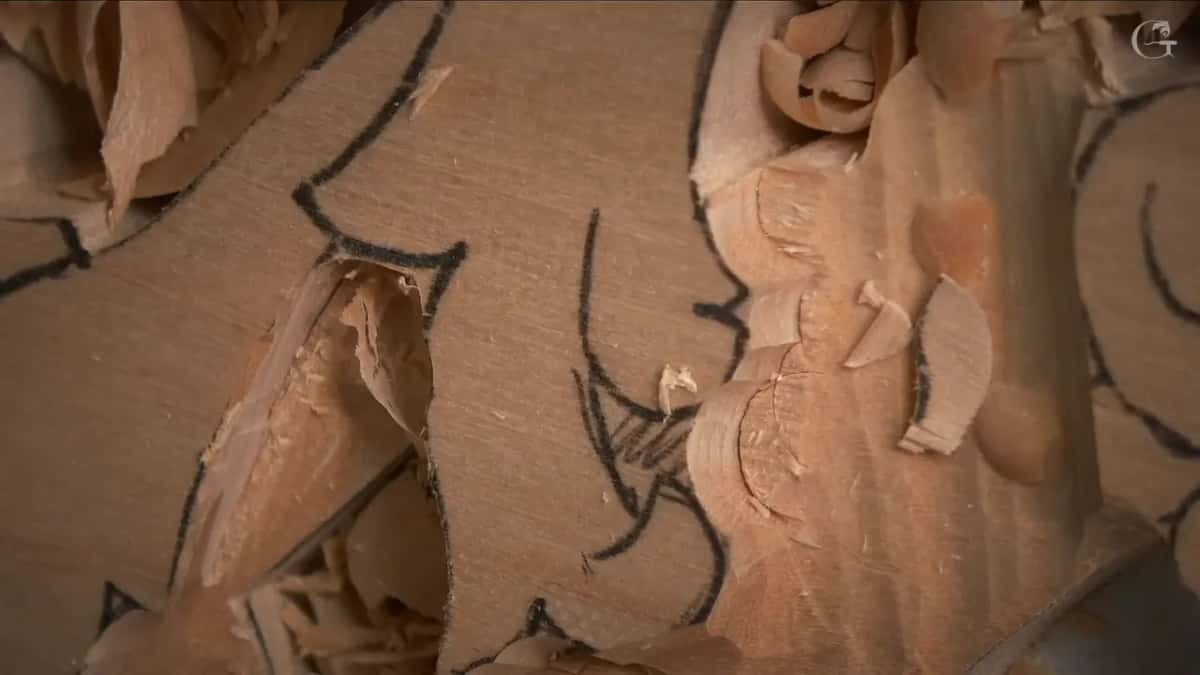
A moment later came a sound I don't like. Sometimes that sound tells you the tool broke. It didn't. It was just the wood itself.
Which way should a slice go to the grain?
Across it. The grain of the wood on this board runs one direction, I showed on camera, and it is always, always better to go across the grain.
One section of the panel sits at the same height as the surface beside it, and the grain made an attack from the side not too convenient. Straight-down cuts from above would also be doable. I took a side cut first and then cleaned straight down, with the same 10 mm number nine.
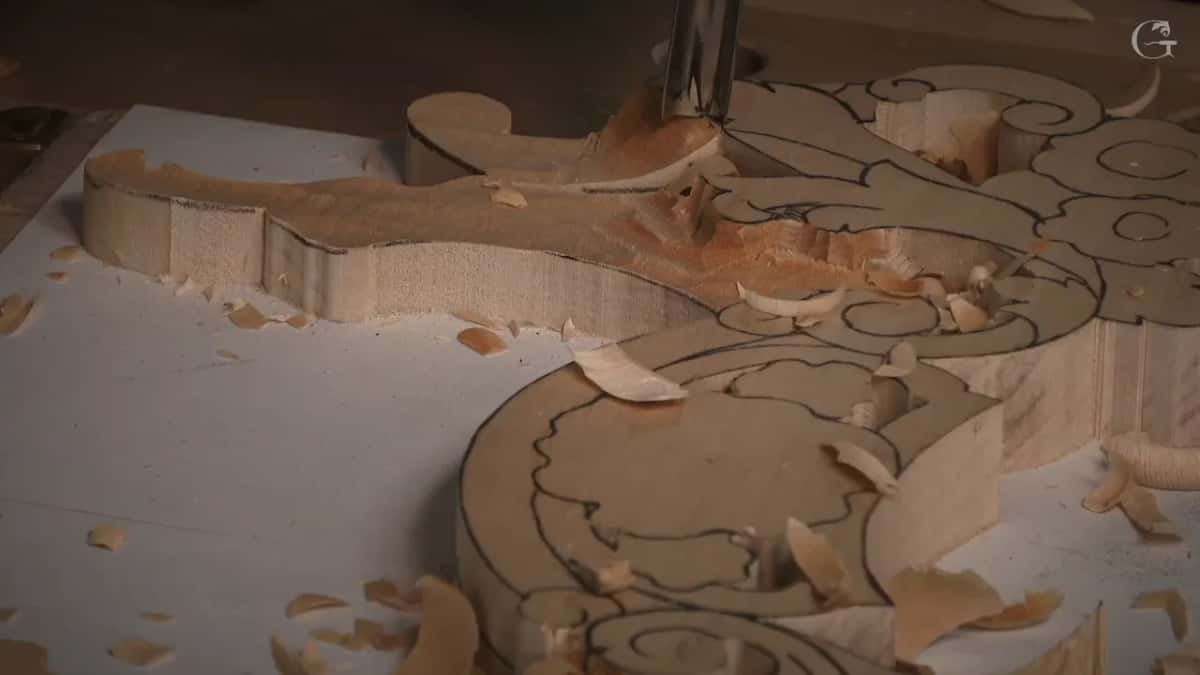
Even in that area I still made a slicing cut. And I almost made a mistake there. I was trying hard not to create an undercut, and I got pretty close, and you could see it by the shadow the wall was already casting.
How can you tell your gouge is sharp enough?
Look at the surface. Can you see how shiny that cut is, I asked on camera, and said that means the tool is really sharp, if there's no trail and you can see a grain. Early in the third video I asked something else. Can you hear how sharp that tool is?
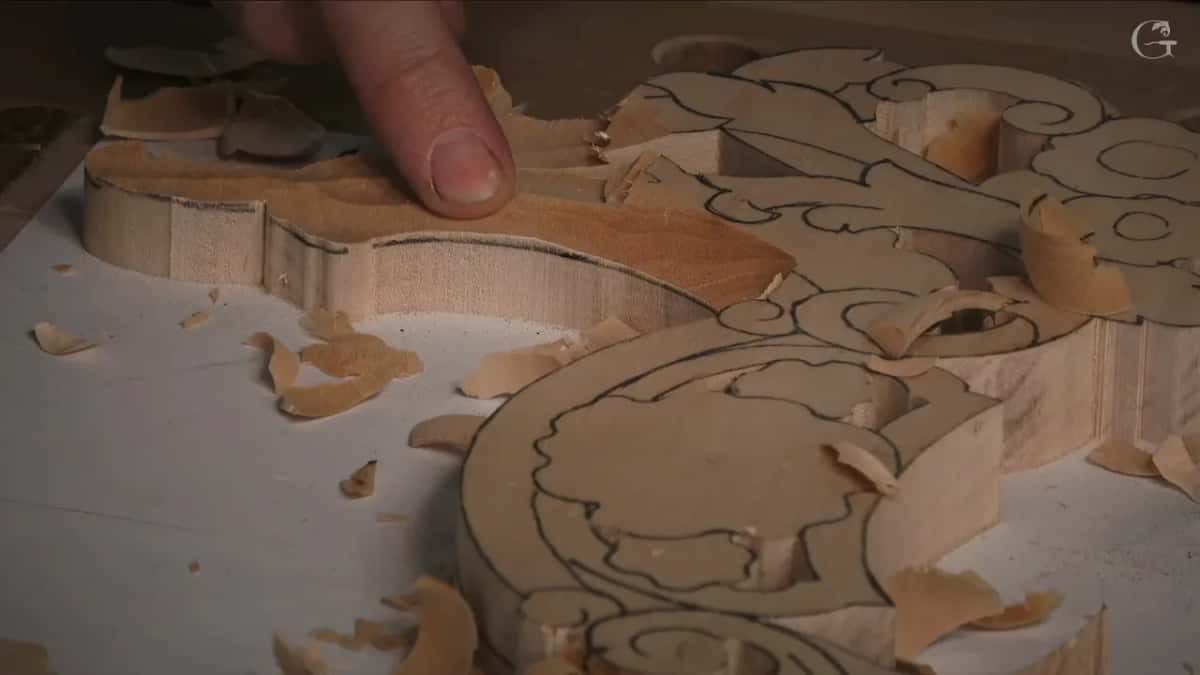
I can't say sharpness is 90% of success, but a lot of success, I would say, depends on sharpness of your tools. It also takes away the frustration. When your tool is grabbing material and leaves a really smooth surface, it brings you joy, and when it's just rubbing, leaving a lot of marks with a lot of resistance, it's no good.
So spend a few minutes more and just sharpen it. Sharpen, sharpen, and sharpen it, and you're going to be happy. My carving tool sharpening course has the rest.
Where do my first passes go on this panel?
My first tool is the number seven, about one inch and one-eighth, which in metric I think is about 28 and a half millimeters. Any bigger tool will work, and the bigger tool is always much better, so take 30 mm or 50 mm (about 1 3/16 or 2 in) if you have a number seven, or use a number eight or a number nine.
| Tool | What it did in lesson 1 | Size |
|---|---|---|
| My number seven | the first boasting passes, and later the walls, straight down at about 90 degrees | 1 1/8 in, about 28.5 mm |
| A number 11 | an outline where one part sits lower | about 18 mm (3/4 in), then a smaller one, about 15 mm (a little under 5/8 in) |
| Number nine, the 10 mm one | outlining slightly off the line, then a side cut cleaned straight down | 3/8 in |
| Smaller number nine | got inside, closer to the triangle to come | 6 mm (1/4 in) |
| Straight number two | held on the line, then straight down, with little room for slicing | no size given |
| Any skew | cleaned the ground into a fresh canvas for the pencil | not named |
This is stage number one in carving, the boasting, where we just establish the heights and lows, and it's not really critical what tool you use. The sawing came before it. Lesson 10 goes further into boasting.
I stayed away from the volutes, because I don't want to damage them, and from the sections that will lie right on top of the shell. But the majority of the material I could take out. In lesson 3 a volute gets its turn, and I said that one has a really interesting twist.
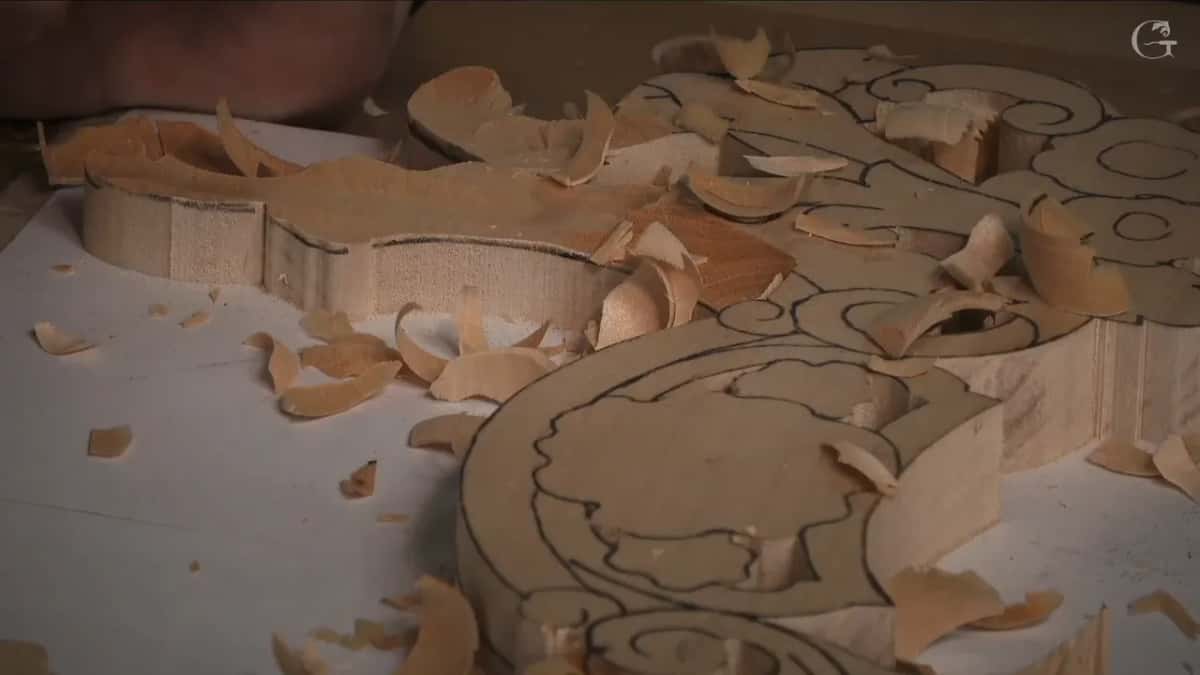
One part would sit much lower, so I took a number 11 of about 18 mm (3/4 in) for an outline cut, and that tool needed sharpening, I said. I got a smaller one of about 15 mm, a little less than five-eighths of an inch, chopped some off on that side, and kept it slightly below the line.
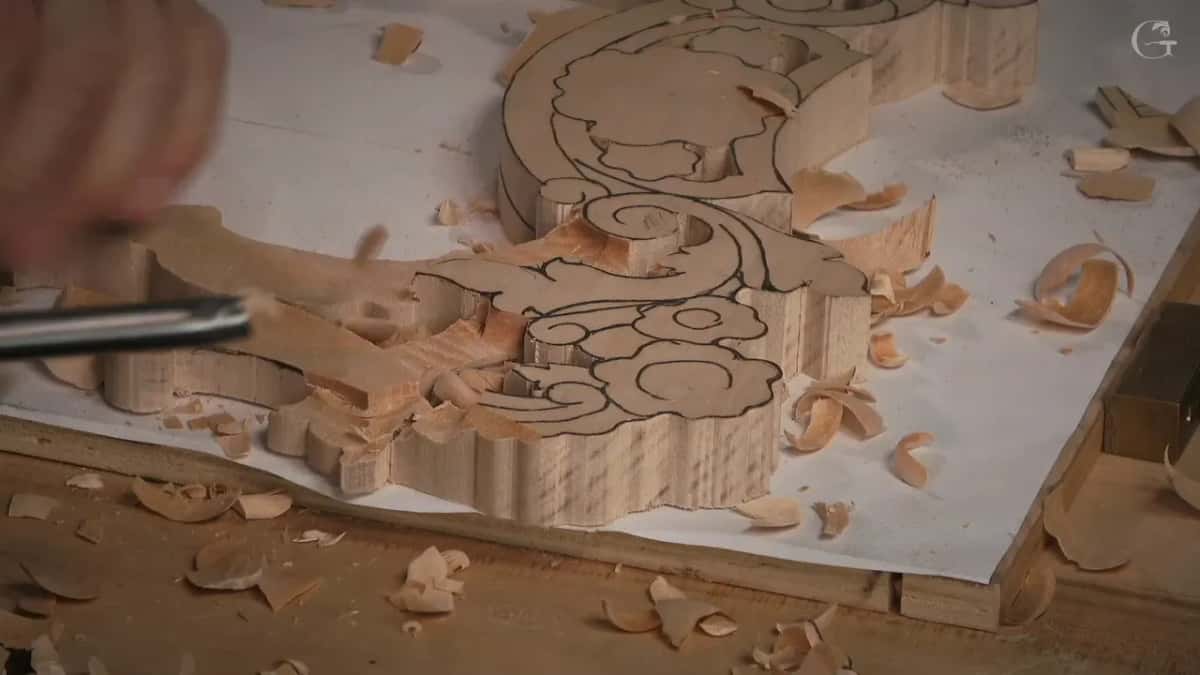
Then the walls. With the number seven again I made a couple of passes straight down to establish the wall, and I gave a warning while I did it. Make sure you're not placing your tool inward, because that would be a big mistake, an undercut.
Why outline beside the line first?
Early in the third video I made a straight-down cut myself, and I said so. That's okay to do sometimes, but generally it is not the safest way. It is always, always better to outline first, with maybe a number 11 or a number nine.
I took the number nine to prove the point that the number 11 is not the one tool that works here, and multiple tools will. Mine was 10 mm, about three-eighths of an inch. I stay away slightly from my line, because I don't want to make a mistake, and if I'm staying away, there's always a chance to clean it right to the line.
On the other side I said number 11, then corrected myself and picked up the number nine again. I guess I've used the number 11s too much.
Smaller tools help in the tight spots. I know some people say you don't really have to have too many tools, but I found personally, the more tools I have, the more I'm able to do. Near the end of the lesson I grabbed a smaller number nine, only 6 mm, one quarter of an inch, and got inside, closer to my future triangle.
What happens in the tight triangles?
You relieve them first. If you have a triangle area inside a division of the movement, you really have to relieve it first, and that's how I call it, a relieving cut. It's a straight-down cut in the triangle, and then you clean it.
Another area needed less. A movement there has to rise up to the point where I placed my mark, so I removed some material with a straight-down cut, but not beyond that point. I know exactly how deep it's going to be, because it's going to rise up like that.
How is the blank sawn and held down?
I still use the same basswood, limewood, linden wood, which is exactly the same thing as lipa, and this piece is carved from a single piece of it. The thickness I'd say is about 19 or 20 mm, about three-quarters of an inch, maybe slightly thicker at 20 to 22 mm. It doesn't really matter.
Even thicker works if you wish to pop those flowers a little higher. I planned on three-quarters, and when I measured later, my board was a little more than that, kind of almost an inch.
My Pegas scroll saw does the scrolling. I really like it because its blade is so tiny, only one millimeter (0.04 in). On a scroll saw you can do loop cuts, like water drop cuts, and get all those cavities and niches in one pass. A band saw does the outside perimeter.
With a wider blade, an eighth or three-sixteenths of an inch (3 to 5 mm), go all around as close as possible to the line, then attack each triangle with a couple of cuts so it pops out. Start where the design comes closest to the edge, only about a quarter inch (6 mm) on mine, or you make a lot of waste.
No scroll saw? On three-quarter-inch material it's not a big problem. Place your number nine, make a rotation cut, remove that plug, and repeat until you hit all the way through, or drill multiple holes with a hand drill, or even a screw gun with a drill bit.
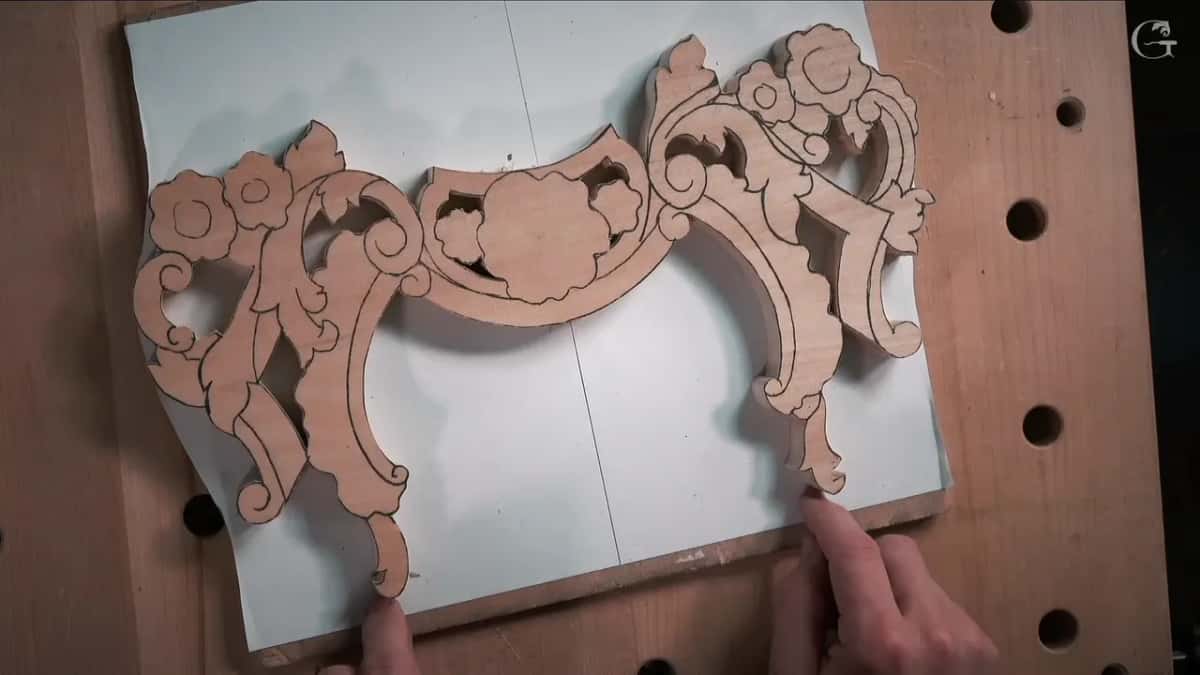
The backboard is a piece of plywood I had in my garage, about half an inch (13 mm). Two pieces of printer's paper and spray glue hold the blank to it, and the glue I used is a spray adhesive by Loctite. It's not as strong, but it has a high initial tack, and I can peel it easily.
On my workbench the board is held by solid brass pegs by Veritas, a company from Canada, with leather glued on, because solid brass would mar a piece pressed against it directly. My bench has 19 mm holes, three quarters of an inch to be exact.
Why measure before the first slice?
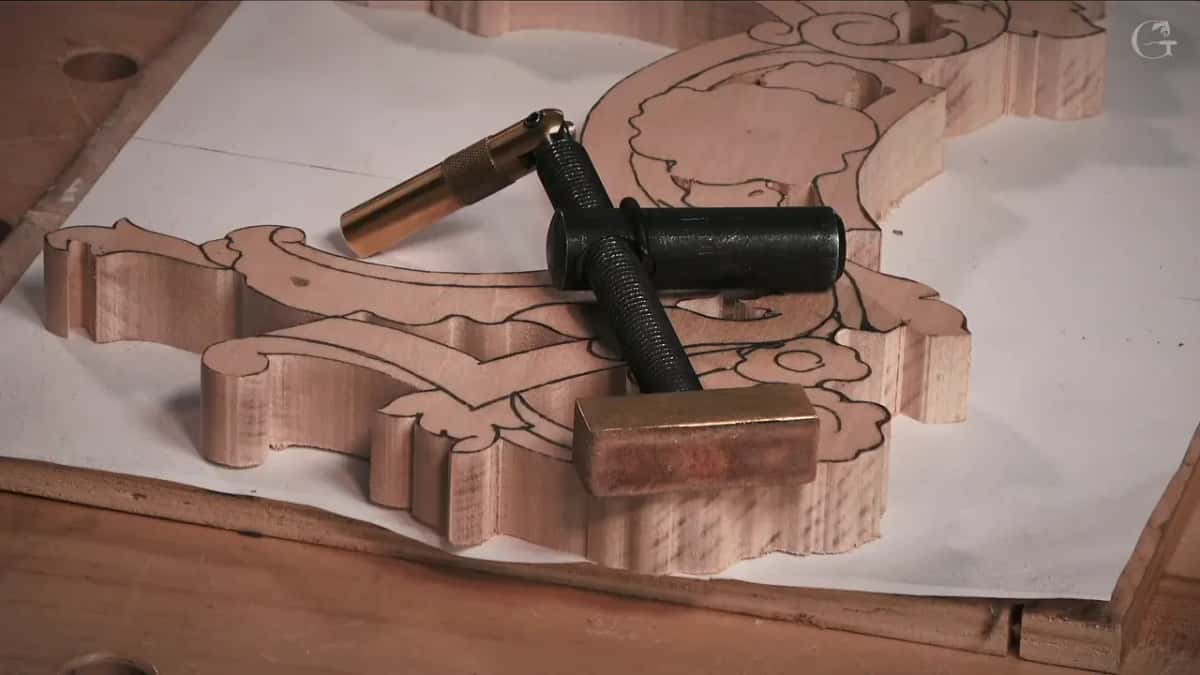
Step one for me is to get some reference points. I'm carving the same detail I've done before, only flipped the other way, so I don't have as much freedom about how deep I can go, and the high spot stays the same. My pointing machine does the transfer, and my pointing machine page has what I say about that tool.
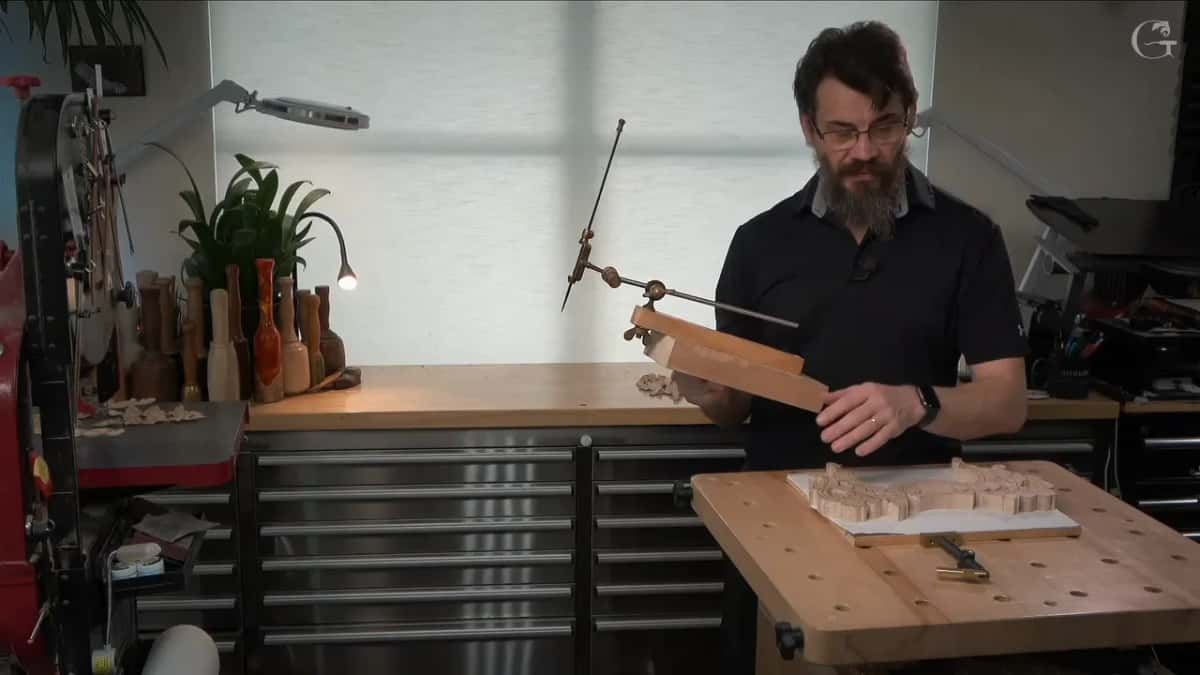
I measured the height of the moldings on the first piece, and as I remember, the volutes are at about the same height. I could not reference from the bench on the new blank. The reference had to come from the plywood, because both pieces were sawn from the same board and the thickness is exactly the same.
My first mark came out at about half an inch (13 mm), maybe 1/32 of an inch less, which was close enough. The next was about 10 mm, three-eighths of an inch. I marked three spots, the middle, the right side and the left side, and used my finger as a guide for the line.
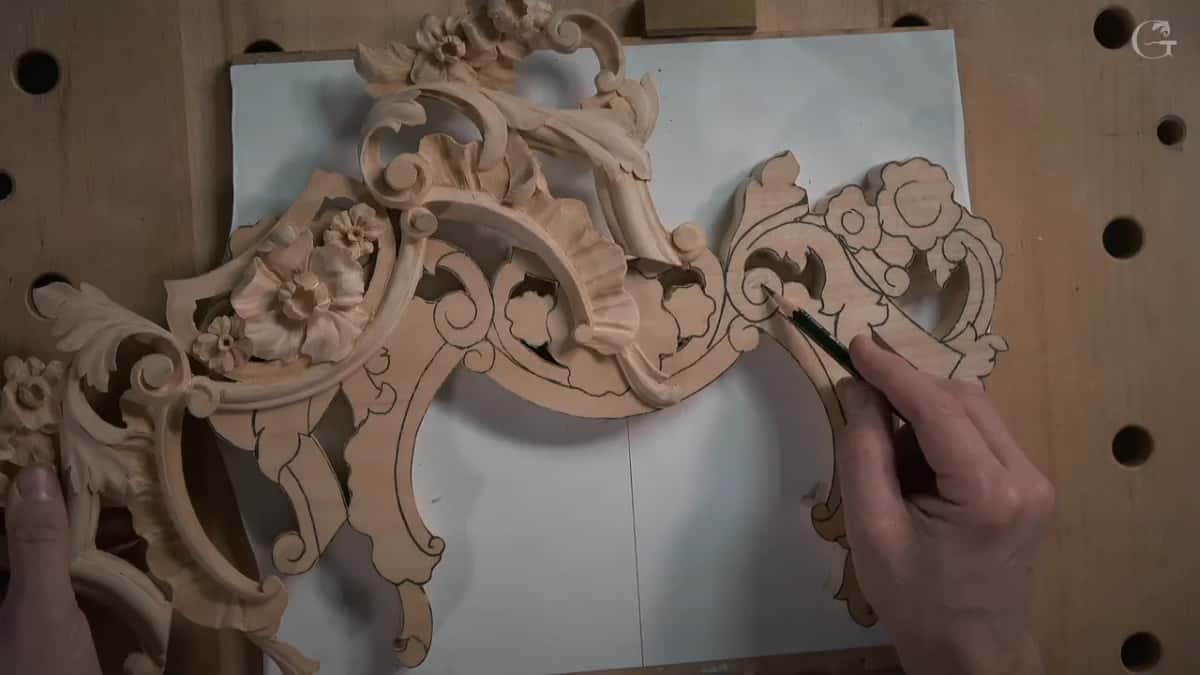
Those first steps are really important, people. The more you measure before your first pass, the fewer mistakes you'll make.
What is this floral piece for?
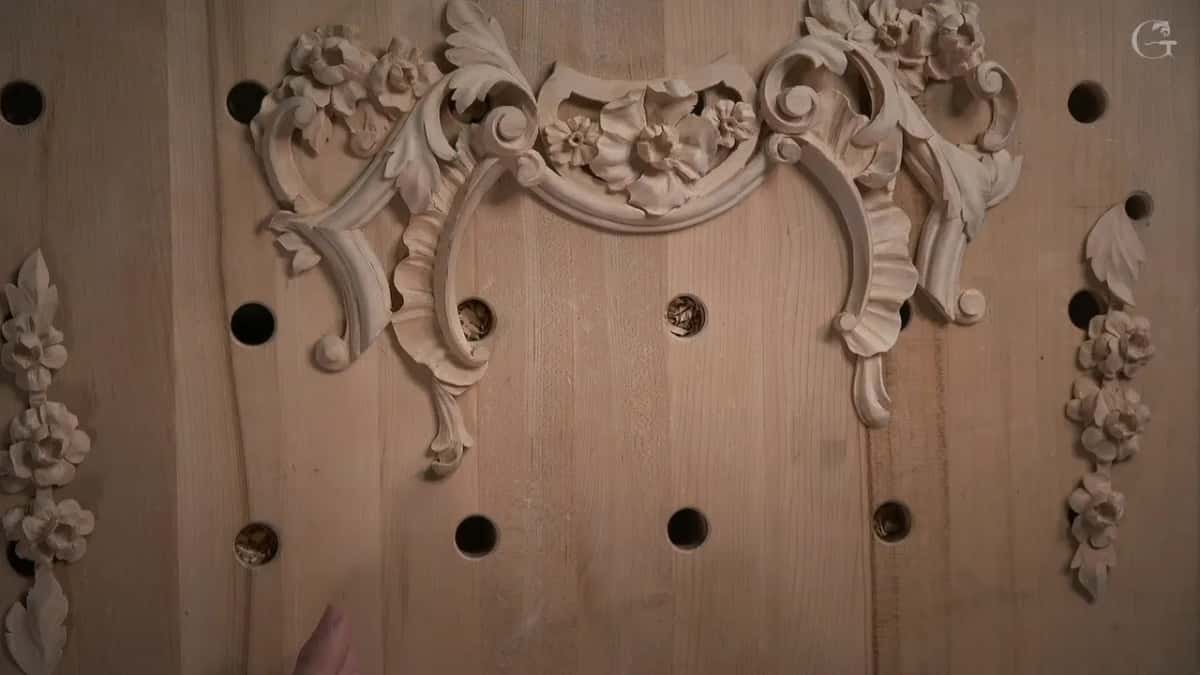
It goes into the same Venetian-style room I've been working on, with lots of different small details going in. The upper part was already carved, with the small rosette and the big rosette, and this piece goes right above the previous rosette.
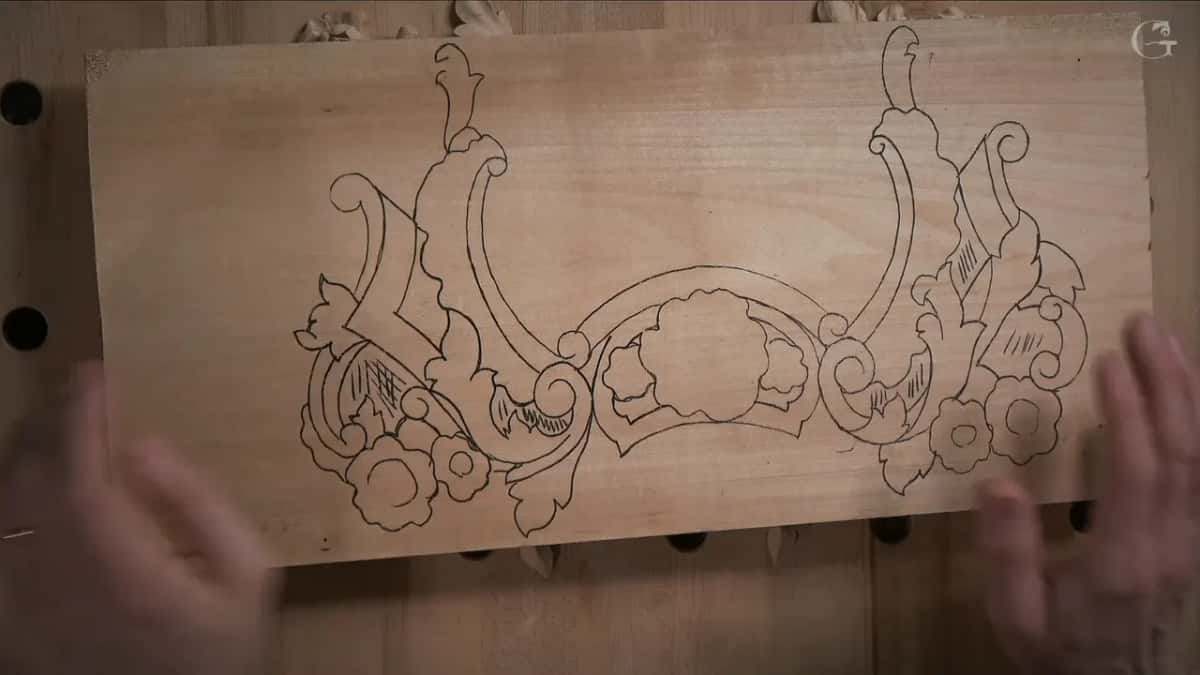
As a separate piece it's not as attractive, but I kind of like it anyway, because there will be a molding, then a miter, and a molding going down. You can do a mirror or a picture frame with this type of carving. If you're a furniture maker, small details like this can go on a door, raised panel or not, in different configurations, and there's a new composition every time.
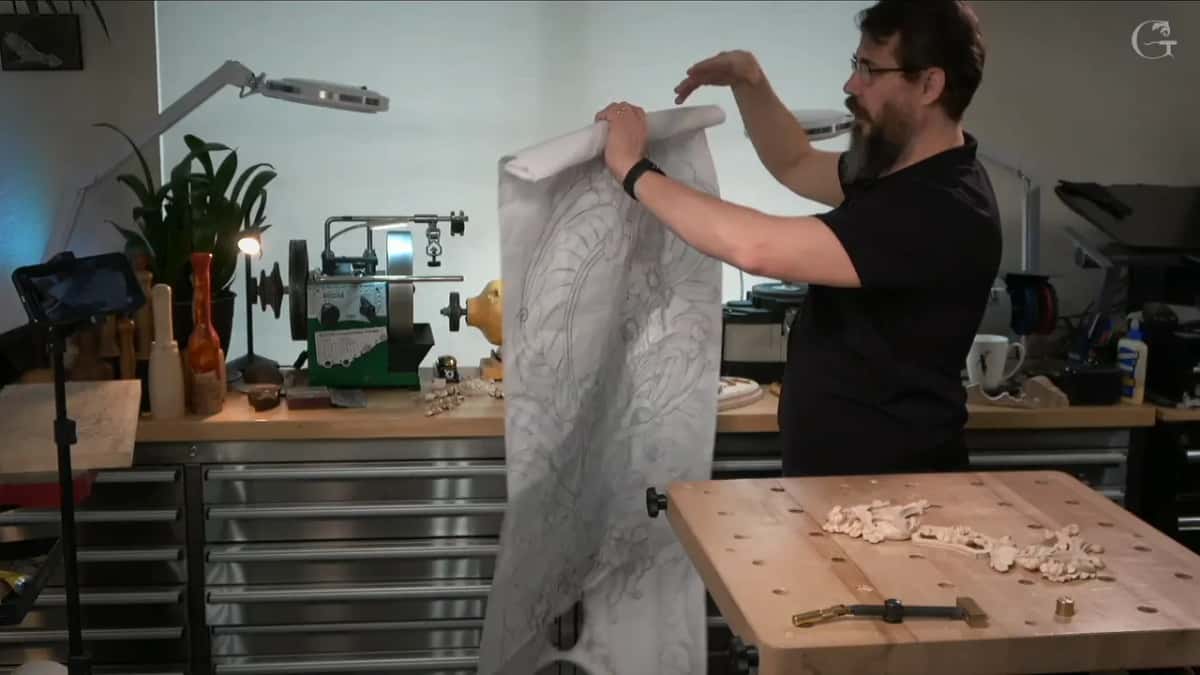
The second one is a mirror of the first, and although it looks symmetrical, it is not, even the direction of some of the movements, and I like that. At the end of lesson 14 I said I separated this as a course of its own, but the detail is just a part of a bigger Venetian, or Venice room, project, a real-life project.
Have you got a gouge and a board? Would you like to see every turn of the edge on this panel up close? Then come and carve it with me.
Every lesson of the floral and molding course is open with tuition, and if a gouge is new in your hand, the First Cuts for Beginners course is there too.
How it's done
- Saw close to the line. Band saw or scroll saw, right on the line, starting at the spot nearest the edge.
- Glue the blank down. Two sheets of printer's paper and spray glue onto plywood about 13 mm (1/2 in) thick, then brass pegs into the bench holes.
- Take reference marks. Measure the first piece, transfer its heights, and read them off the plywood, not the bench.
- Rough out with a big gouge. Take the number seven across the grain, rotating on each pass, clear of the volutes and anything lying on top.
- Outline beside the line. Use a number nine or 11, slightly off the pencil line, then clean to it.
- Relieve each triangle. A straight-down relieving cut, still turning the tool as it goes in.
Frequently asked questions
Will a sharp gouge work if you push it?
Possible, yes, and I said so in lesson 1, if the tool is sharp. But the gouge fights you, the surface comes out less nice, and your arm gives up sooner. I keep slicing instead, even on a short pass of about ten millimeters.
Does it matter where on the edge the slice starts?
Either corner is fine. On this floral panel I began on the left and finished on the right, and once I started from the middle of a number nine and turned it counterclockwise. Every pass being a slice is the part that counts.
What if your only small gouge is 10 mm wide?
The waste still comes out. Put the tool on its side, go in from one side, then from the other, straight down, and you should be okay. A smaller one is better, and before the lesson was over I picked up a 6 mm gouge, a number nine.
What to carve next