

Alexander Grabovetskiy, woodcarver, School of Woodcarving · Published 2022
How do you carve a clover molding by hand?
Quick answer: A clover molding is three rounded faces lying side by side. You measure its width with calipers, mark the centre line, read how much lower the sides sit, then shape each face with a gouge turned upside down and a back bent for the hollows between them.
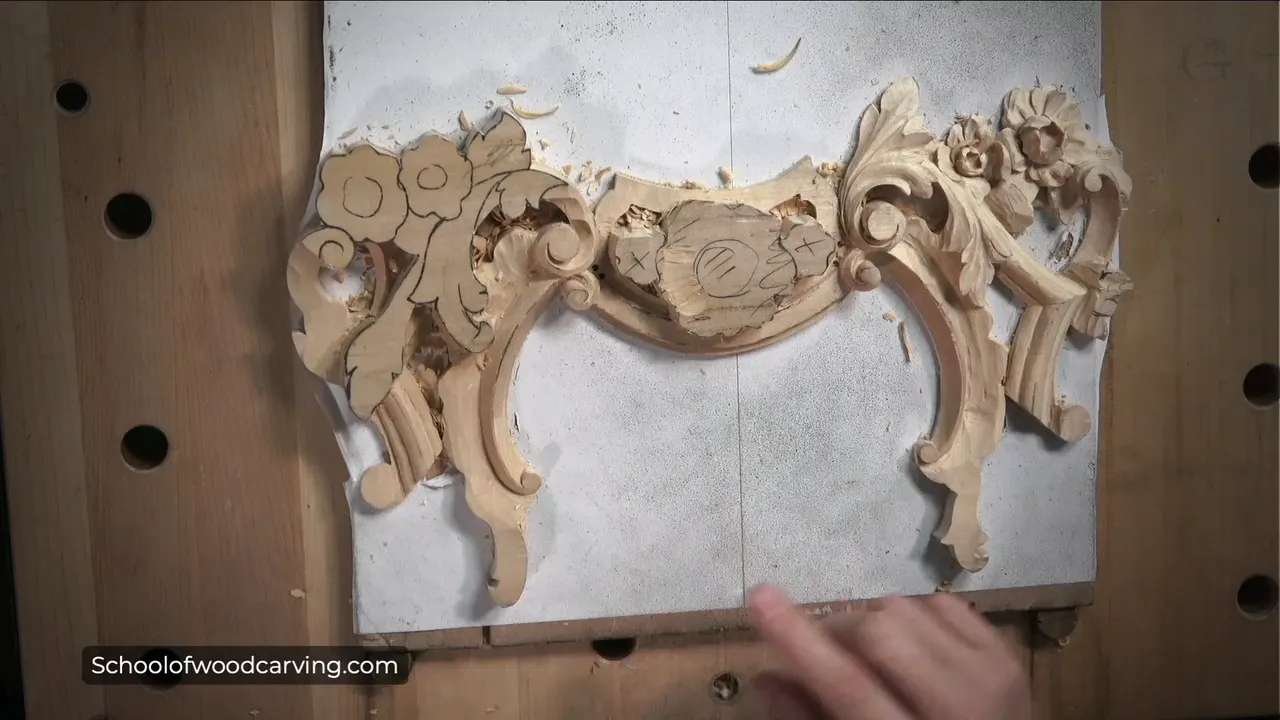
Three convex faces lying side by side, and nothing more complicated than that. Measuring comes first and shaping second. Calipers give the width, the arm gives how far the sides drop, and only then does a gouge touch the wood, turned upside down so its curve matches what you are making.
The molding on this panel is the kind carvers call a clover. Look along the end of the finished piece and you see one rounded face, then another, then a third, which is where the name comes from, being roughly a trefoil squashed flat.
Before any of it, the second flower had to be finished. That took a movement I want to describe properly, because it is invisible from directly above and obvious the moment you crouch.
Key takeaways
- Measure first with calipers. This one came out at 19 mm on the nose.
- Leave the edge slightly fat, because a miter has to close against it later and no one has ever added wood back.
- The sides sit roughly five millimetres under the centre.
- Turn the gouge upside down to make a convex.
- Cut the outside edge first, then work in toward the centre line, and the roundness looks after itself.
- A back bent makes the hollows easy, and straight tools will get there too, with a good deal more swearing.
What does the curl on the petal actually do?
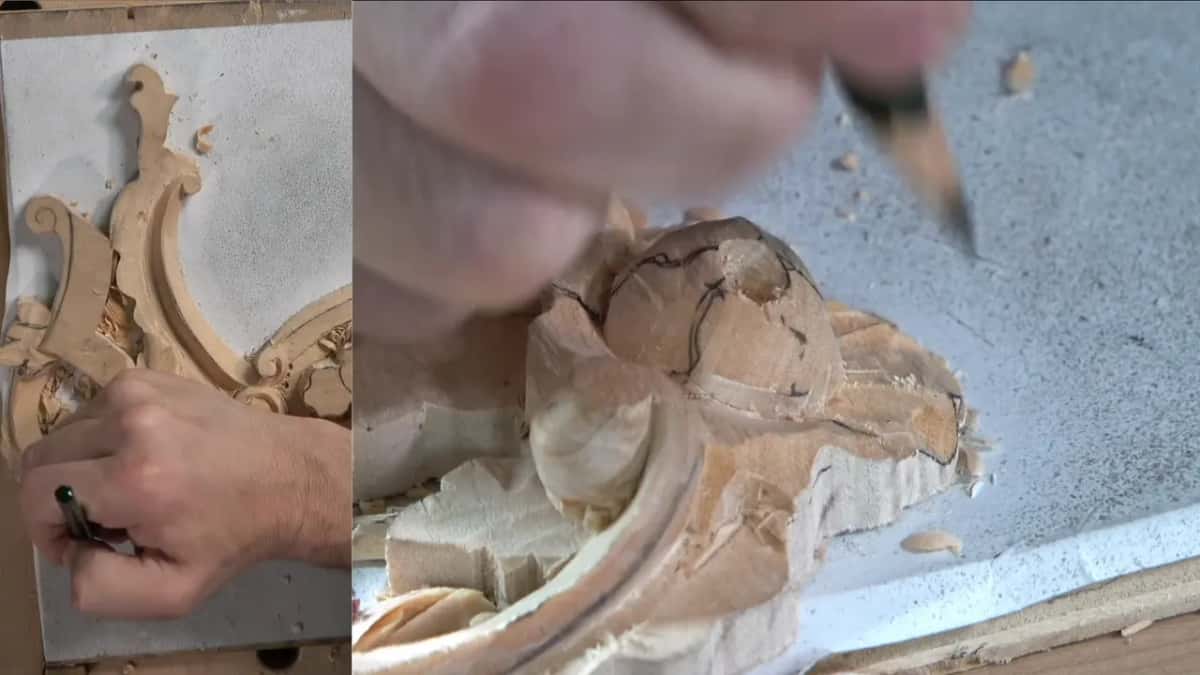
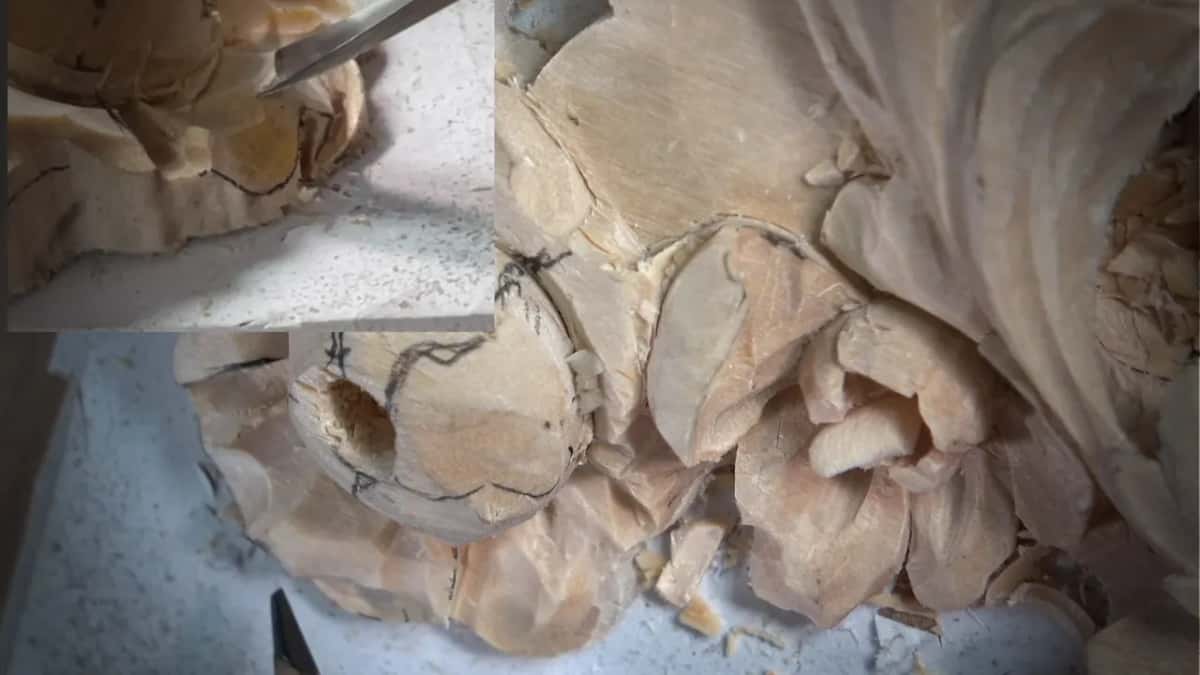
It rises, goes back on itself, then rises again. Drawn in pencil across the petal it looks like nothing much, and from directly overhead you genuinely cannot see it, which is why I connected my phone and showed the panel from the side instead.
The ridge between those movements sits raised. Excavating underneath it with a two millimetre number eight, then going deeper again with a millimetre, throws a shadow you can read from the far side of the workshop.
That shadow is the whole payment for the work. Nothing about the outline changed; only the light did.
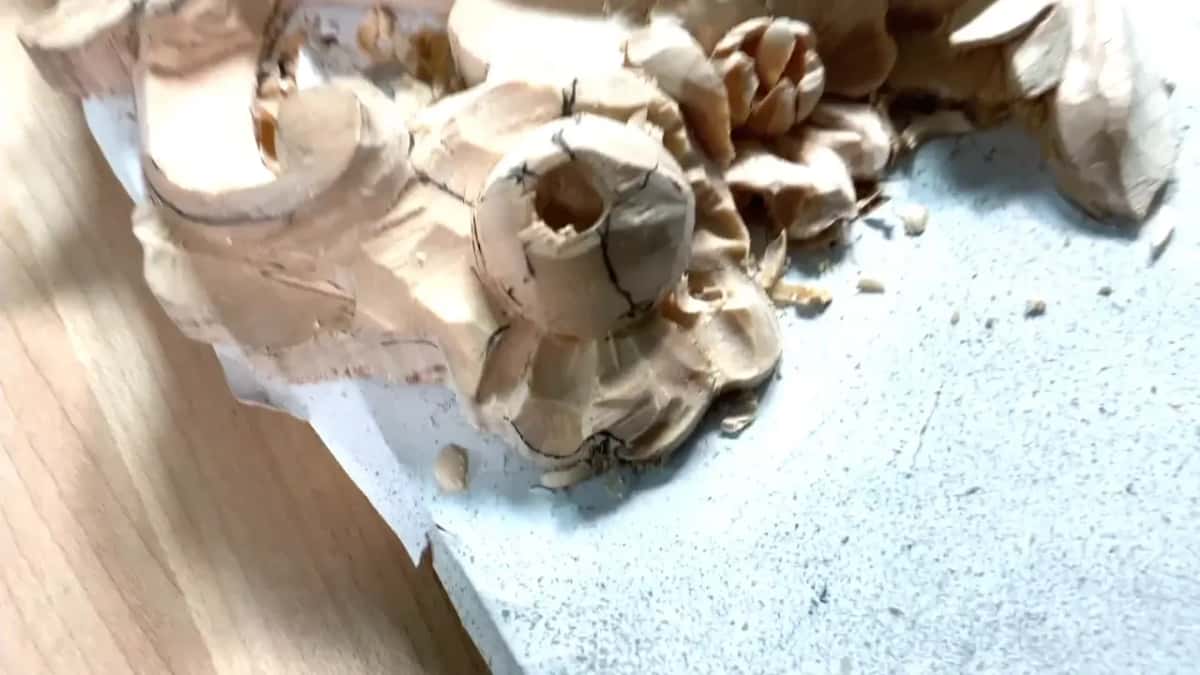

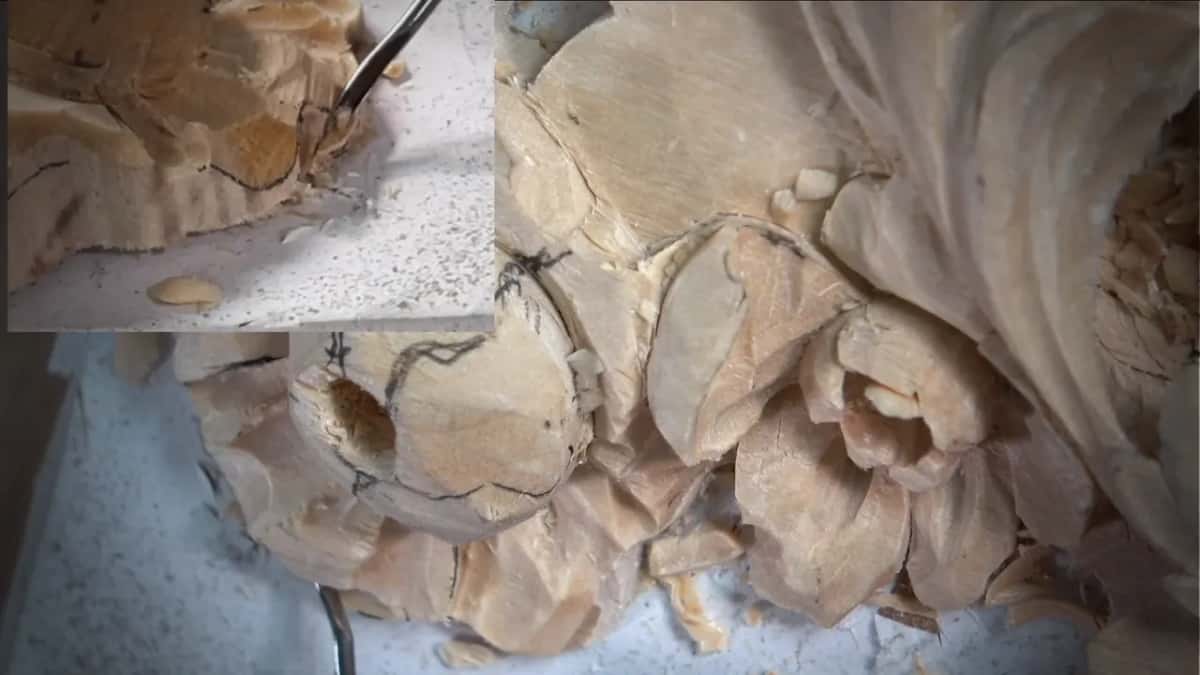
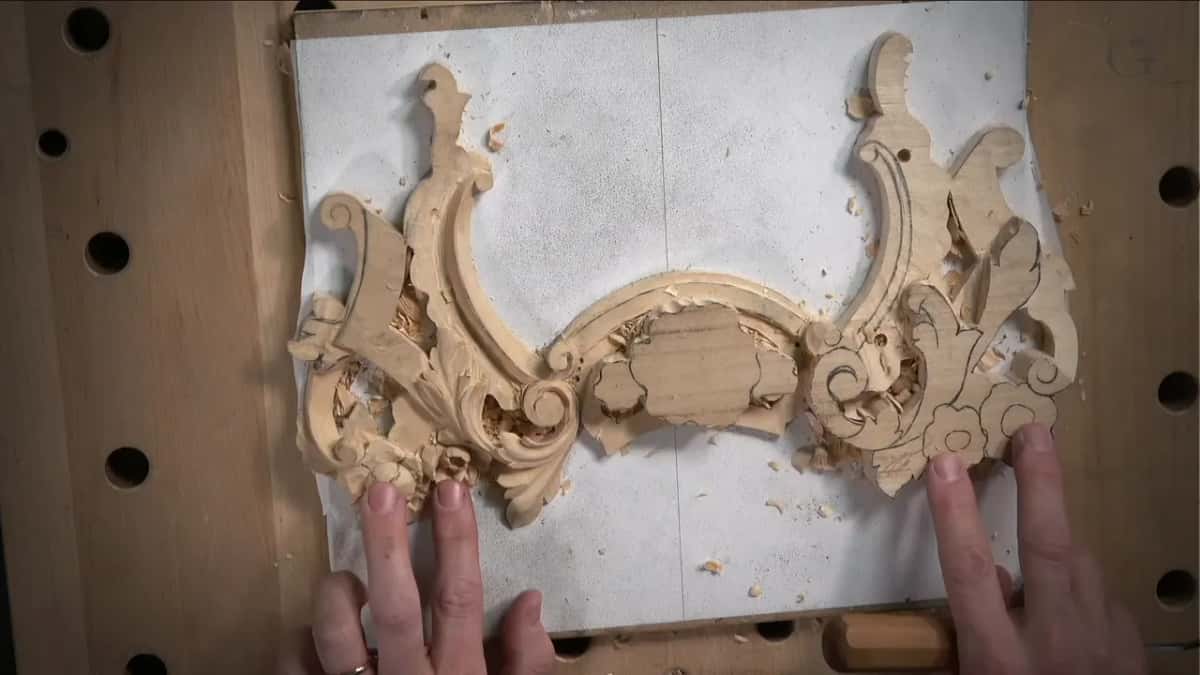
A number five blends what is left, and a back bent turns one ridge into a convex rather than removing it. Of the seven flowers on this panel, five repeat this arrangement exactly and two are deliberately different, which keeps the group from reading as wallpaper. Repetition with two exceptions is an old trick in sculpture.
Why measure a molding before touching it?
Every later decision hangs off the width. Calipers are always the best tool for this, and mine reported nineteen millimetres on the nose, a clean three quarter inch, which was a pleasant surprise since I expected something awkward.
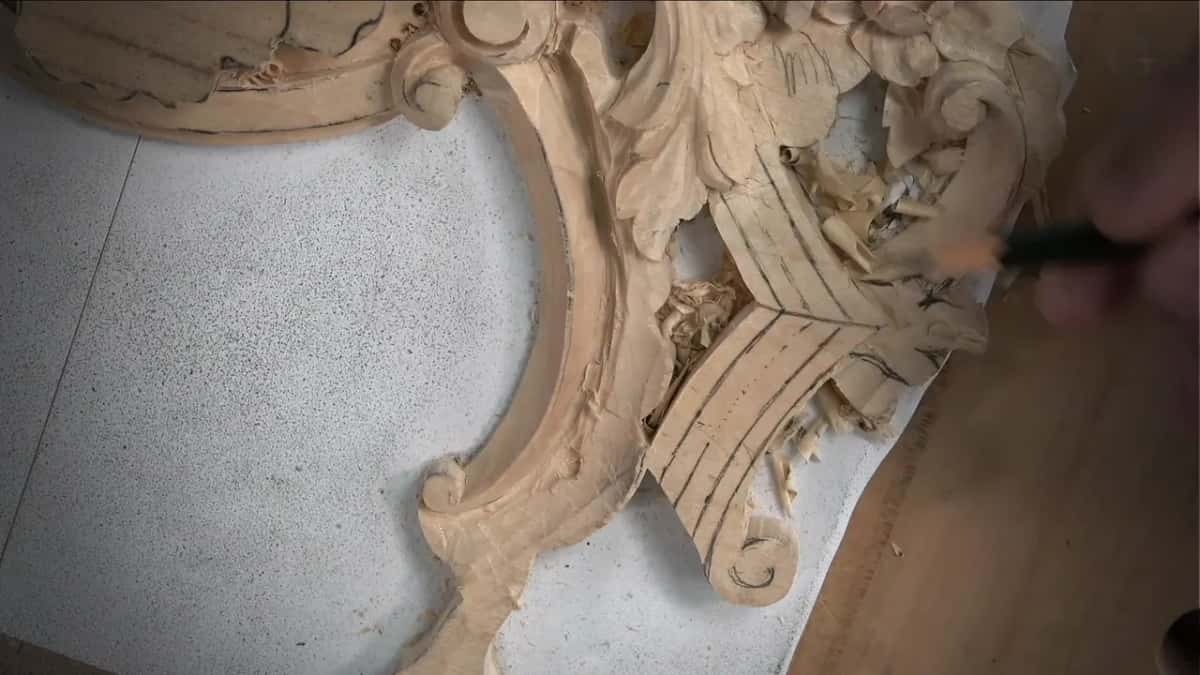
Both ends of the panel got checked, not one. Then the middle got measured as well, because the molding starts wider and narrows as it approaches the acanthus, so a single centre mark would have lied about most of its length.

A few marks along the middle make the drawing far easier afterwards. From there the centre line gets eyeballed between them, which is accurate enough for a line nobody will ever see.
How much spare wood does a miter need?
Roughly a millimetre all round, left there deliberately. More moldings have to be carved and brought up against this one, and where two of them meet there will be a miter running off at an angle.
Wood can be removed at that stage. Nothing can be put back. So the edge of this molding is slightly fat on purpose, and both drawn lines have to converge on the exact point where the miter will fall.
How far below the middle do the sides sit?
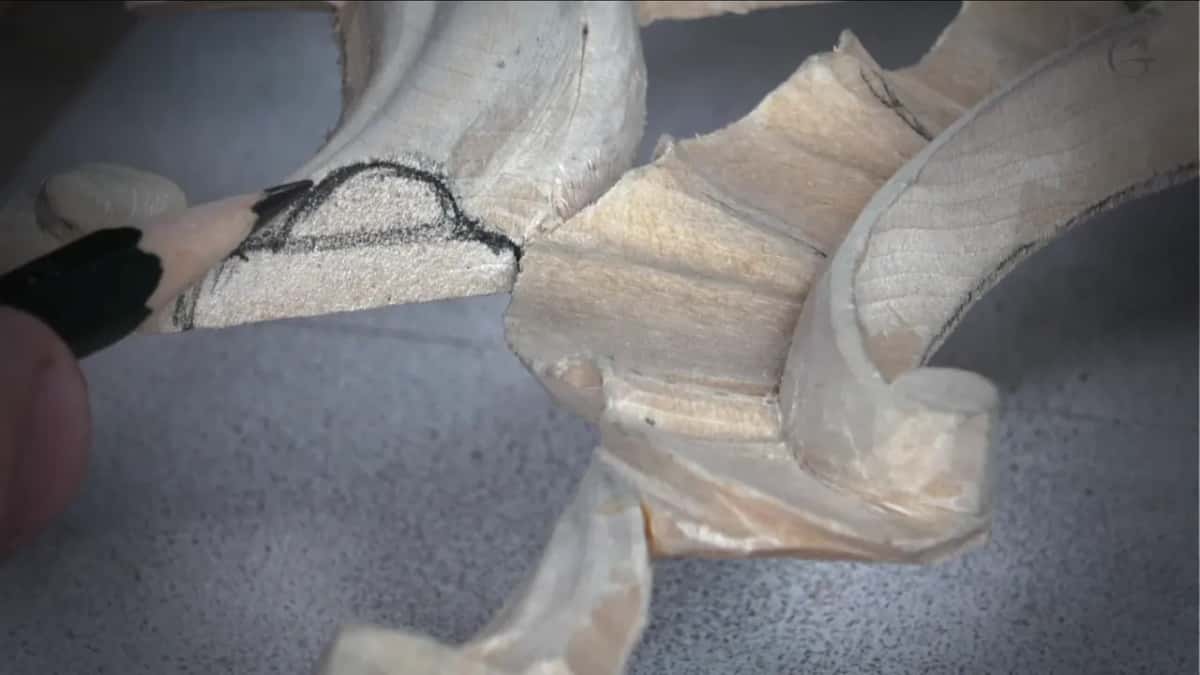
Around five millimetres, or perhaps four and a half. The measuring arm came out again for that reading, taken on the sides rather than the centre, and both edges got marked before the clamp went back on.
Precision there is not worth chasing. Somewhere between four and five is what the shape wants, and the exact figure changes nothing that anybody will notice from the far side of a room.

Which gouges take the waste away?
Big ones, then progressively less big. A seven at fourteen does the bulk between the two lines, a nine at ten follows it, and an eleven at a quarter inch drops the section where the small volute has to sit lower still.
One habit matters more than the tool list. Around the volute only the flank of the gouge touches wood, sliding along without the corner ever digging in, because that curl is fragile and a dug corner means a repair.

| Stage of the molding | What the figure turned out to be here | The instrument |
|---|---|---|
| Its width | Nineteen millimetres on the nose, checked at both ends rather than one | The calipers |
| Surplus left at the edge | A millimetre or so | Left on purpose so a miter can close onto it later |
| Drop from middle to sides | Four and a half, maybe five | The arm again |
| Clearing the waste between two drawn lines | Down to the mark | A wide gouge first, and a smaller nine behind it |
| Raising each rounded face | Shavings you could read through | That same seven, flipped over to match the shape |
| The hollows between the faces | As deep as the profile wants | An antique back bent with a very short hook |
What is a macaroni tool?
Three chisels welded into one. It has two upright sides and a flat bottom, so a single pass cuts both walls of a channel and its floor together, which no combination of ordinary woodworking gouges manages in one movement.
The one on my bench is six millimetres, sold as a number 23, and Swiss made. Four millimetres also lives on the bench and gets used when six turns out too wide, which happened once here and then did not.
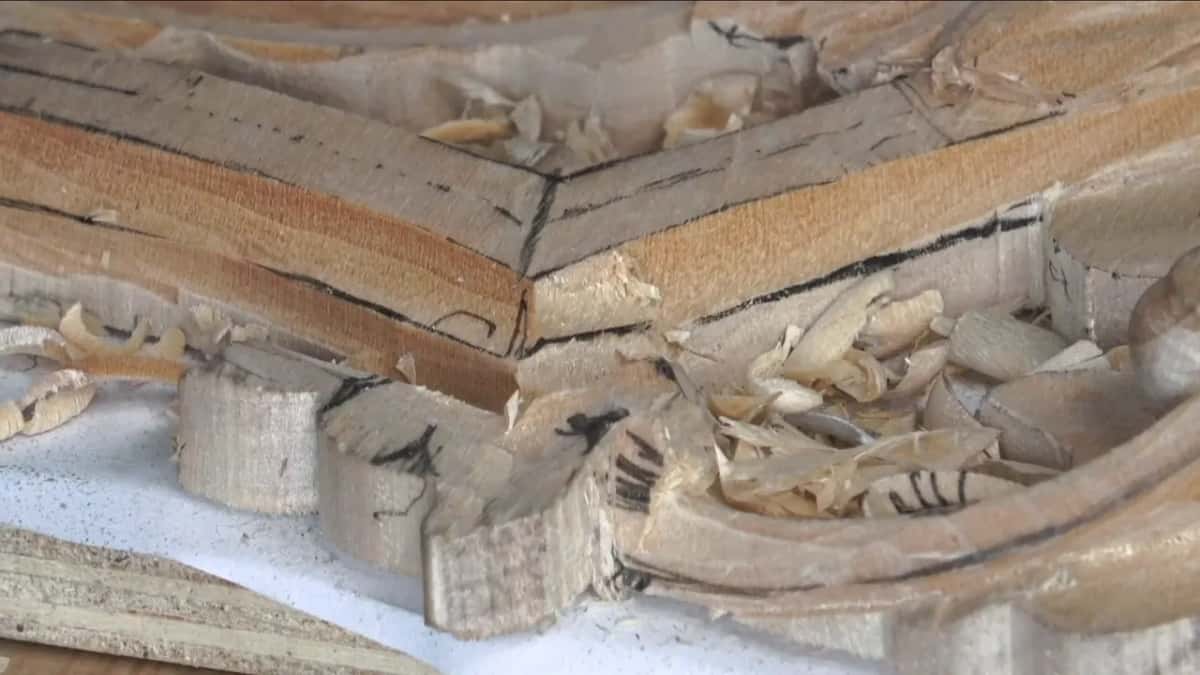
There is a small historical argument about using it at all. Italian furniture makers made this tool, so I am comfortable with it on a piece in this style, though I doubt they had one when the original ornament was carved. No V tool appears anywhere in this project for the same reason, since they did not have those either.
What do you do about an accidental undercut?
Admit it and fix it. Cutting one of the sides I let the blade wander slightly under the line, which is not what anybody wants, and I said so on camera at the time.
It is not a big deal. The wall gets recut and the line comes back, and the only real cost is the reminder that I should have been more careful in a place I had already decided was easy.

Why turn a gouge upside down?
To make a convex with a tool ground for hollows. Flipped over, the curve of a number seven sits against the shape you are raising rather than opposing it, and the cut runs sweetly from edge toward centre.
Order matters here. Attack the outside edge first, take a second pass a little nearer the middle line, and by the third or fourth the convex has arrived without anyone deciding where exactly it should start.
No pressure, either. I am shaving, and the shavings coming off are barely thicker than paper, since removing more than needed is how a rounded face turns into a flat one.

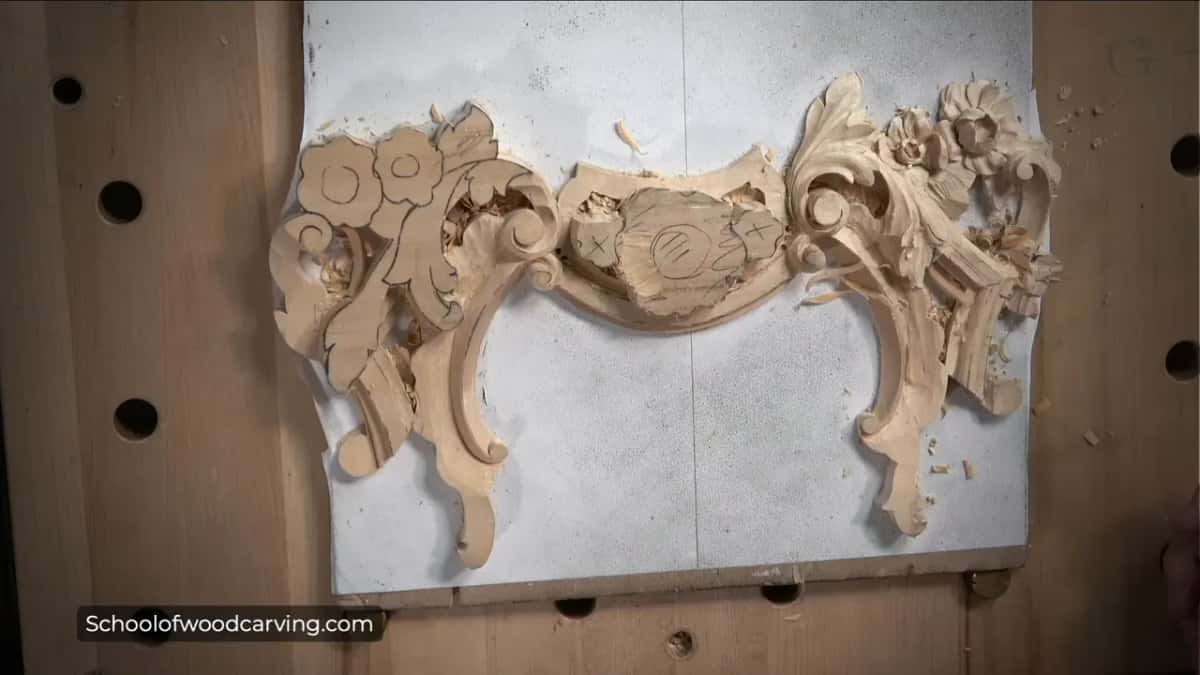
Halfway along one face the grain turned against me and the cut had to come from the opposite end. That is normal, and the only alternative is tearing a face you have just spent ten minutes rounding.
How do you avoid taking off more than you meant to?
Keep the pressure low and let the edge do the work. On a convex face the entire risk is one enthusiastic pass that turns a rounded surface flat, and nothing you do afterwards brings the roundness back.
So the passes stay light and there are a lot of them. A sharp tool at low pressure lifts a shaving and stops. A dull one needs shoving, and shoving is what removes three millimetres on an afternoon when you wanted half of one.
That same thinking produced the relief cuts around the volute. Set a boundary first with a cut nowhere near full depth, and every stroke afterwards has a wall to stop against rather than running on into something you still needed.
Proper undercutting waits until the end. Once this panel leaves its board I can reach the back of every shape, and anything done now is only there so I can judge whether a movement works.
Does the molding narrow as it runs?
It does, and by enough to matter. Where the molding begins it sits at its widest, and by the time it arrives at the acanthus it has narrowed noticeably, which is exactly why one width reading would have been useless.
Several marks along the middle solve that. Between them the centre line gets drawn by eye, and the drawing then follows the taper instead of fighting it.
A molding of constant width looks applied. Tapered, it belongs to the movement it sits inside, and nobody looking at the finished panel will ever work out why it feels right.
When does a back bent earn its place?
On the hollows between the faces. For this job it is an antique Henry Taylor with an unusually short hook, short enough for the tightest part of the profile, where a longer sweep would foul the wood beside it.
Any back bent will do the work. Straight gouges will also do it, and so will a small spoon at number two or three, with more fuss and a worse view of what you are cutting.
It simply makes life easier. That is a good enough reason to own one.
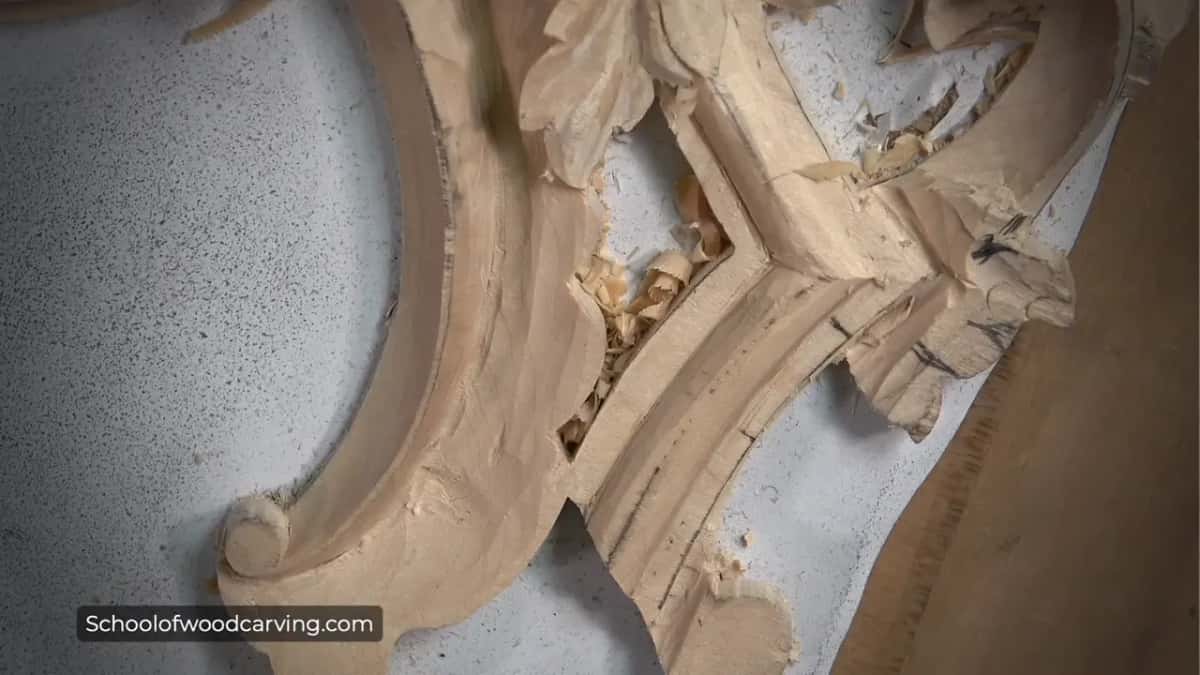

One neighbour needed adjusting before the profile could finish. A shell sitting alongside ran below the molding line, so a little of it came off with the Sekira, otherwise the miter would never have closed properly.

What comes after the profile?
Leaves, and they are the easiest thing on the panel. One sits below the flowers and rolls backward, so a number nine excavates first to expose material, leaving only a couple of millimetres at the side.
Then a seven at fourteen rolls the shape. A three millimetre veiner goes underneath, and after that a very small spoon gouge, new to my bench and unpacked on a livestream a few days earlier, reaches where nothing straight can go.
These leaves carry no rules. Unlike the acanthus they answer to nobody in the carving tradition, which after a morning of measuring a relief molding is a genuine relief of a different kind.


Both sides of the molding got the same treatment, one of them off camera, since watching the identical operation twice teaches nobody anything. My second granddaughter was visiting while some of this was recorded, so there is a certain amount of noise in the shop, and I make no apology for that at all.

What is left on this panel after the molding?
Plenty, and saying it out loud makes the scale of the job clear. A small volute runs along each side of this molding, and a leaf sits beneath the flowers on both halves of the panel.
Beyond those, the other side carries a shell, then leaves, then a second shell, and after all of that another small acanthus movement. Every one of them has to land at a height the finished first panel already decided.
None of it is as demanding as the flowers were. What it wants is patience and the same discipline about measuring, because the moment one element sits at the wrong height the whole group stops agreeing with itself.
Eighth of fourteen. Workshop seven carves the flowers this molding now runs beside, and workshop nine takes on the leaves and the small volutes. Workshop six shapes the acanthus leaf. Crossings belong to workshop five, and every depth on the panel gets set in workshop four. Right at the beginning, workshop one outlines the design, workshop two grounds the background and workshop three builds the volute. The course runs all fourteen. Depth transfer gets a workshop of its own, gouges are chosen there, and a molding cut with a dull edge tears, so sharpening comes before any of it. Moldings and leaves together fill acanthus over moldings, there is more foliage in modern acanthus, this panel belongs to the Venice Room, and the reasoning behind every movement sits in the design course.
You have three rounded faces to raise and a miter to leave room for. Access to the school puts the rest of the panel in front of you.
How it's done
- Take the width off the calipers. Read it at both ends of the panel, never at one. This profile came back at 19 mm, which is rarer than it sounds.
- Leave the edge slightly fat. A miter will close onto this later, and nobody has ever put wood back. Both drawn lines then have to converge on the single point where that joint falls.
- Read the drop off the arm. The sides want to sit about 4.5 to 5 mm under the centre. Mark both edges before the clamp goes back on, or you will be measuring all of it twice.
- Clear waste with wide gouges. One wide gouge between the drawn lines, then a nine at ten behind it. Near a fragile volute let only the flank touch wood, and never the corner.
- Raise each face with the gouge inverted. Outer edge to begin with, then a pass nearer the centre line, then one more. Nothing thicker than a sheet of paper comes off, because one heavy stroke flattens a curve nobody can rebuild.
- Sink the hollows with a back bent. A short hooked one reaches where a long sweep fouls the wood beside it. Straight tools and small spoons get there too, with more fuss and a worse view.
Frequently asked questions
What makes a molding a clover?
Three soft faces in a row, seen end on. Nothing hollow and nothing square, so it reads gently from any angle, which is what suits foliage sitting above it. Simple to describe and unforgiving to cut, since each face has to agree with its neighbours.
Do you need a macaroni tool?
What you need is the thing it does, both walls and the floor of a channel in one stroke. Three separate gouges arrive at the same place with a lot more fussing. Six millimetres serves most of this panel, with a four millimetre version for tighter work.
Why leave extra wood at the end of a molding?
A miter has to close against it, and closing means taking material away. Leave a millimetre of surplus there, and the two pieces will come together cleanly when the time arrives. Cut to the finished line today, and that joint will show a gap forever after.