

Alexander Grabovetskiy, woodcarver, School of Woodcarving · Published 2022
How does rotating a gouge change the cut?
Quick answer: Rotating a gouge changes which part of its edge meets the wood. With the flute at twelve a veiner sinks a symmetrical hollow. Rolled toward ten it bites on one side only, and turned the other way the same tool blends instead of digging.
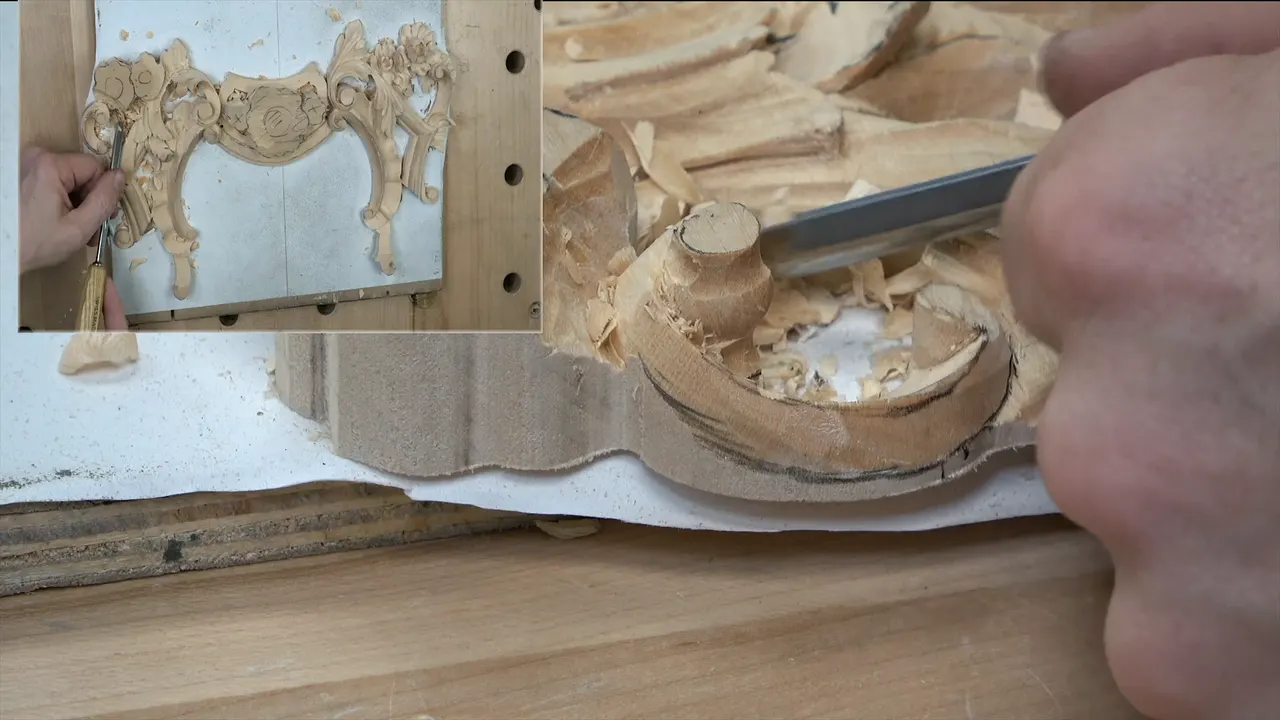
One veiner does three different jobs depending on how you hold it. Flute straight up and it sinks a symmetrical hollow. Rolled a little to the left it cuts on one flank of the edge alone, and rolled the other way it stops digging and starts blending.
I describe those positions as clock faces because nothing else is as quick to say out loud. Twelve, ten, one, nine. My hand knows the difference without thinking, and saying it that way is the only method I have found for passing the knowledge on.
The rest of this workshop is another acanthus, a small volute and the final shaping of the molding on this side. The anatomy repeats, which by now should feel less like a rule and more like a habit.

Key takeaways
- Flute up cuts evenly, flute rolled cuts on one side, flute rolled the other way blends.
- The middle line goes at 62 and 38, never down the centre.
- Relieve every triangle before shaping anything near it.
- Undercut for shadow, and stop when the grain says so rather than when you run out of enthusiasm.
- A handful of spoon gouges will get you out of more trouble than any number of straight ones.
- What fills your screen here is five millimetres wide. Keep that in mind before deciding a cut looks crude.
What does the flute position actually change?
It decides which part of the edge does the work. At twelve the whole sweep engages and you get a clean symmetrical channel, which is what you want when a hollow has to look deliberate.
Roll it round toward ten and only one side bites. That lets me get close to an edge that is meant to stay raised, cutting up against it without the far corner of the tool touching anything.
Roll it the other way to about one and the same veiner blends instead of digging. No tool change, no walking to a drawer, and three different results out of a single handle.

Where does the middle line go?
Off centre, and the split is 62 to 38. I have used that division so long it looks correct to me and a centred one looks like a mistake, and that is the golden ratio doing quietly what it does.
From that line a concave falls away on each side. Between them stands the convex, which is the whole anatomy of this style of leaf and the reason every one of them reads the same way from across a room.
Depth is limited here by the molding underneath. The hollow cannot run down to it, and one flank has to finish slightly raised, so the shape gets cut inside a budget rather than to its natural size.


How many divisions does one leaf get?
Three main ones here, and then each of those is split again. I marked a further subdivision, looked at it, and decided that was enough before cutting any of them.
Drawing first is the point. Divisions cut as they occur to you end up evenly spaced, and evenly spaced is exactly what an acanthus must never be.

An S curve goes into one division afterwards. It travels down the length of the edge instead of sitting still, and a small number one with a double bevel puts it there.

Why relieve before shaping, every single time?
A triangle splits if you push into it. Every one of them gets a straight down chop first with a three millimetre eleven, and the split then has nowhere to travel.
Four went in on this leaf. Two at the main divisions, two more at the border, and none of them took longer than a breath.
What is the barrel of a volute?
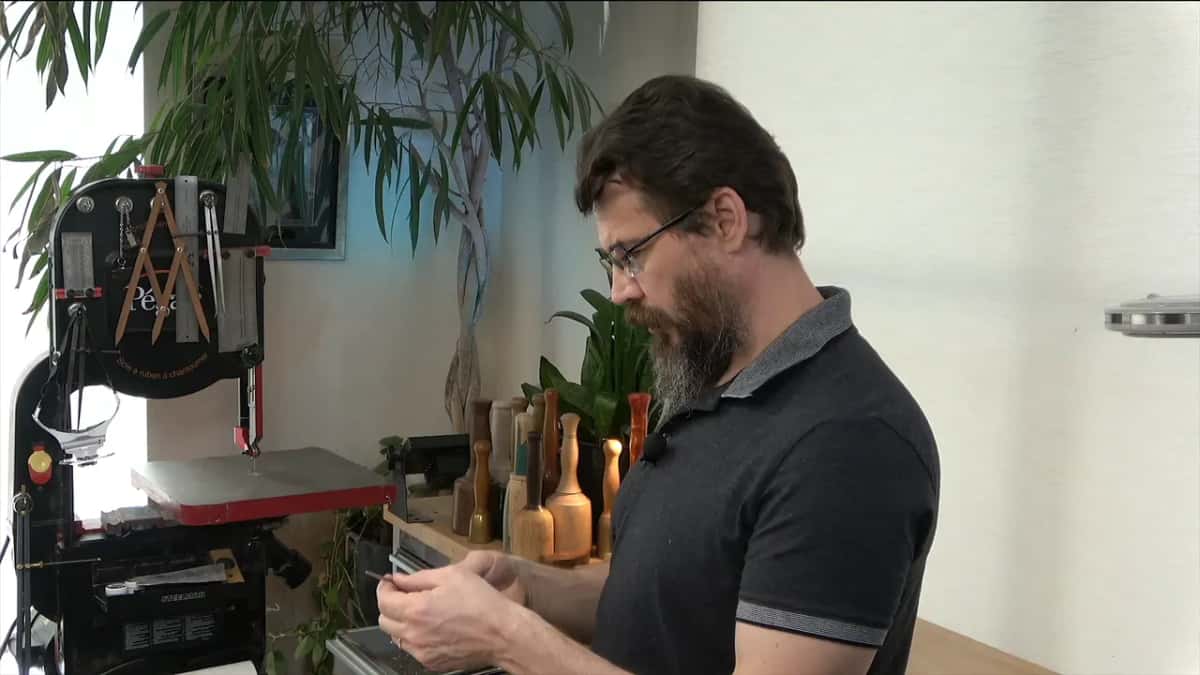
The rounded body of the scroll, the part the spiral wraps around. I call it the barrel for want of a better word, and it gets exactly the treatment everything else on this panel gets.
A convex down its length, with hollows falling away either side. Carried round the curve so the eye travels with it, which is what keeps a volute from looking like a plain cylinder somebody drew a line on.
Small bites do it, especially at the end grain. A tiny number nine spoon gouge goes in from one direction, then from the opposite one, and neither pass takes more than the wood offers.
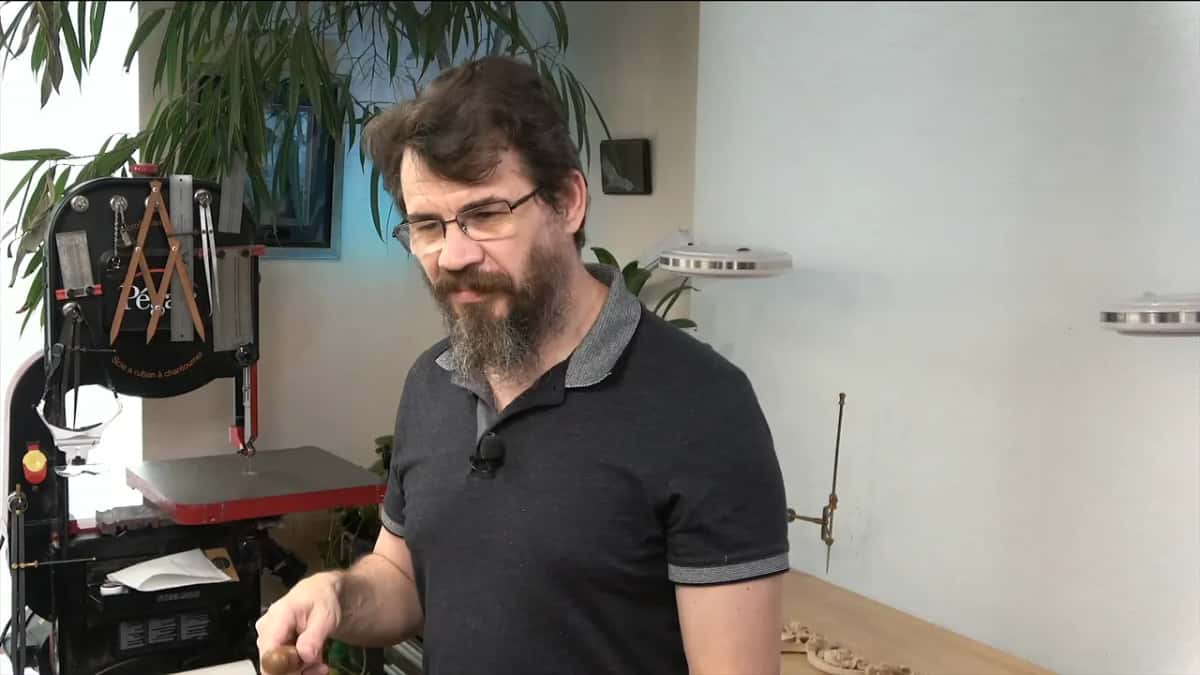
| Flute position | What that does to the cut | Where it gets used on this leaf |
|---|---|---|
| Straight up, twelve | The whole sweep engaged, cutting a channel with both walls even | Sinking a hollow evenly |
| Toward ten | Only one side of the edge is biting | Working right up against an edge that has to finish raised, without the far corner touching it |
| Rolled back to one | The edge lies over and stops digging | For blending |
| Nine, the mirror | Mirror of ten, so the bite lands on the far corner instead | That far flank of it |
| Ten again, later on in the very same workshop | Used at the edge | Undercutting, and here that meant travelling backwards along the fibres |
How deep can the undercut go?
As far as the grain allows and no further. Along this molding the fibres run the wrong way for a deep cut, so it starts with a millimetre eleven and finishes with something under half of one.
The reward is worth the care. That little cut throws a beautiful shadow, and a shadow is the only thing that tells somebody standing in a doorway that one shape passes beneath another.
Damage is the risk. Push too hard against a molding that took an afternoon to shape and you are repairing rather than carving.


Can a zipper cut go too far?
Easily. A zipper run down beside a ridge lifts it beautifully, and run too deep it leaves the wood there weak enough to break at the next careless moment.
So I stopped early on this one. Less than I wanted, more than nothing, and the piece survives to be finished.

How do you cut a fillet on a molding?
With a spoon so shallow it is nearly flat. Mine is a number three at an eighth of an inch, and it rides along the very rim of the profile to leave a line sharp enough that nothing wanders.
Both sides get the same fillet. One was done on camera and the other off it, since watching an identical operation twice teaches nobody anything new.
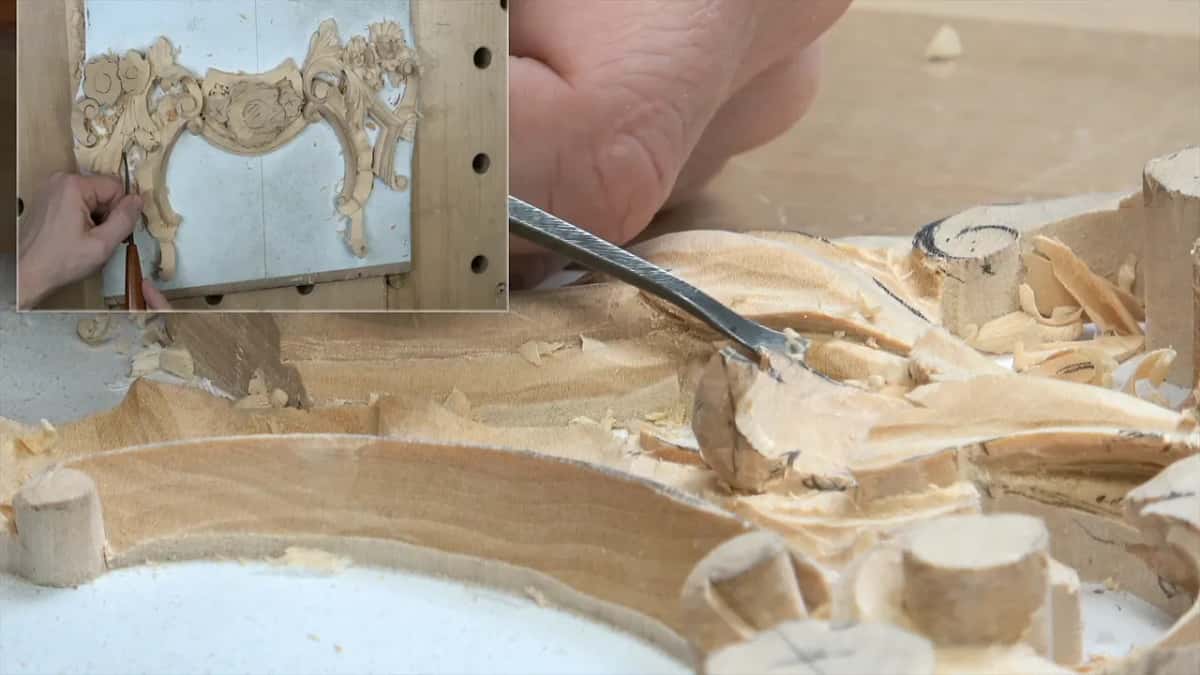

The acanthus above it grows from somewhere underneath and wraps the profile. A back bent at sweep three establishes that form, then a small undercut at its point finishes the illusion.

Do you need a lot of tools or a few good ones?
Fewer than you would think, provided the few are the right shapes. Most of this molding was worked with a single small spoon, which surprised me while it was happening.
Spoon gouges are the ones I would not give up. They reach into places a straight tool physically cannot enter, and on a day when nothing else will fit they are what saves the afternoon.
Straight tools do have a limit. There comes a point where the shape rises in front of the blade and the edge simply stops arriving at the line, and no amount of leaning fixes it.
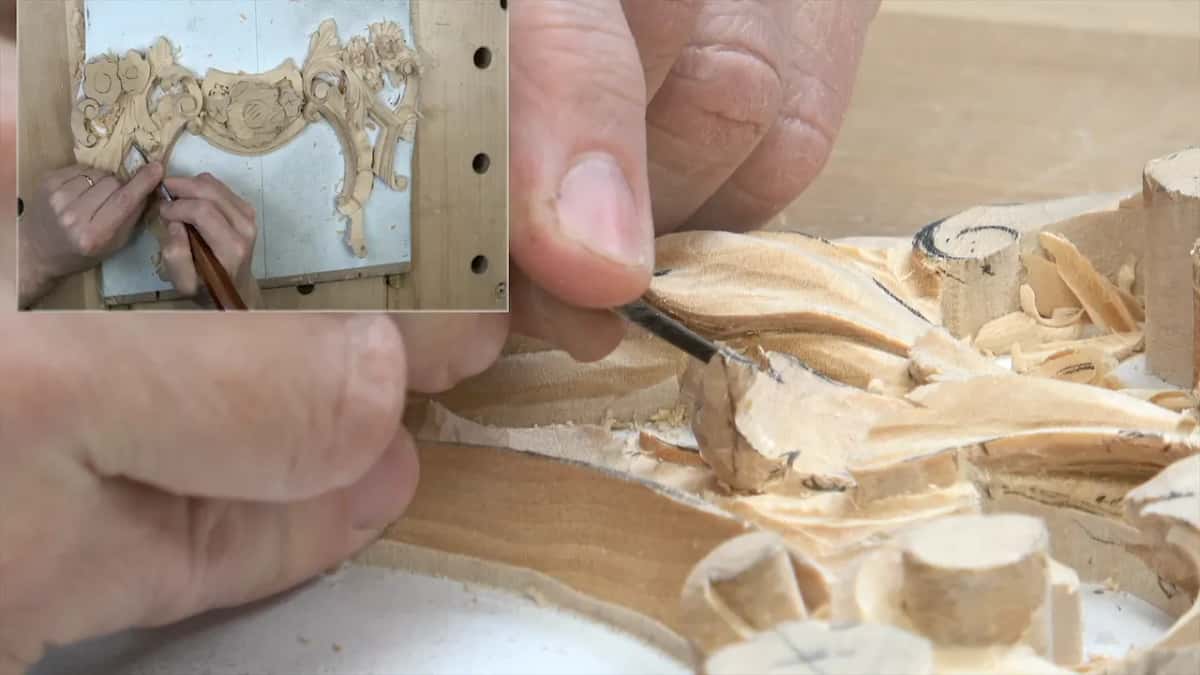

At that point a four millimetre spoon at sweep nine goes in. It gets close to one line and then close to the opposite line, and the concave between them finally arrives.
How does the flower sit against the volute?
The centre of a flower matches the height of the volute, and the petals drop below that. Get the relationship wrong and a flower looks like it landed on the panel instead of belonging to it.
A seven millimetre eleven goes around the drawn line to begin with. Then a fourteen millimetre seven takes the outer material away with a straight down cut, and my Sekira tidies whatever is left, mostly because I enjoy using it.
Held against the finished panel afterwards, that petal runs nearly to the ground before it rises again. Two millimetres of material is all that stays beneath it, and from the side the shape reads as lying flat and then curling upward.
The section beyond measures five or six millimetres. It narrows as it approaches the scroll and widens away from it, which is the taper almost every element on this panel turns out to want.
Why leave a wall you mean to remove?
It holds the shape steady while everything near it is still moving. A couple of millimetres of wall stay standing at the edge of that petal, and yes, they come off eventually.
Undercutting that wall is what makes the shadow. Do it too early and you spend every remaining cut protecting a fragile edge, which is a poor trade for darkness nobody can see yet.
The inside of the volute waits for the same reason. Nothing is gained by attacking it now when a later pass cleans the whole area anyway, and sculpture at this depth repays patience far better than speed.
What happens to the markings on an old tool?
They wear off, and nobody restamps them. One gouge came out of the drawer during this workshop with its stamp nearly gone, and I had to squint at the blade to decide whether it was a five or a seven.
A five, as it turned out, though it took a second look. Whatever the maker put on that steel has been rubbed away by decades of hands, which tells you something about the tool that a legible number never would.
Recording all day does the same to a person. By the afternoon I am calling three o'clock nine o'clock and apologising to a camera, and old tools and tired carvers have that much in common.
What happens when you slip?
You say so and fix it. I chipped an edge during this session and announced it on camera in the words that came to mind, which were not English.
The damage was not serious. A number one came back out, the shape got re-established, and nothing about the finished leaf will ever show where it happened.
Hiding mistakes teaches nobody. Showing one, and showing the repair, is worth more than a clean take where the problem was edited out between cuts.
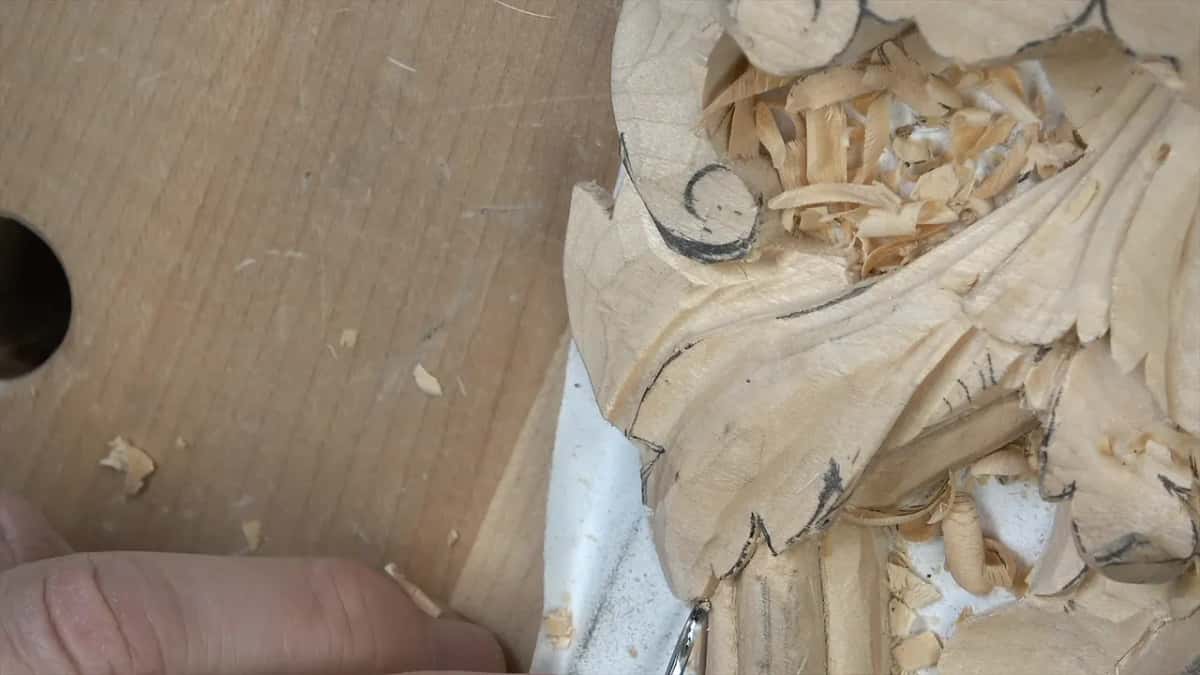
Backwards along the grain I worked again here, knowing it, and got away with it because the gouge was sharp enough to slice rather than tear. That is a rule you may break exactly as often as your sharpening allows.
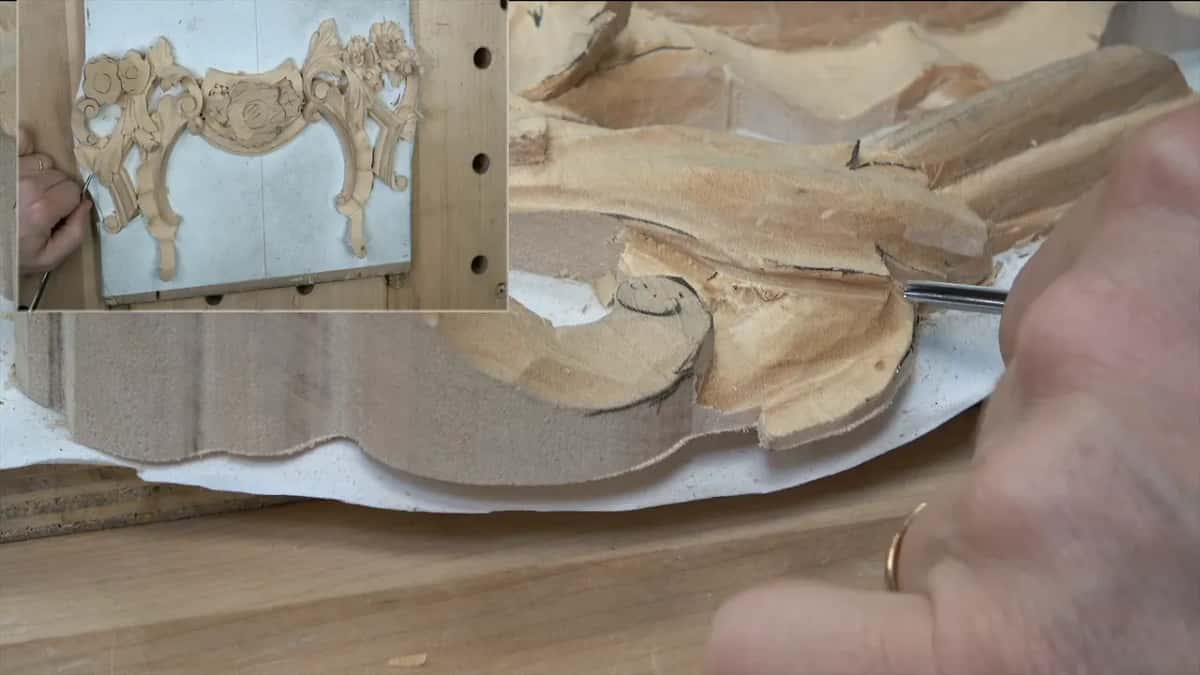
How big is any of this, really?
Much smaller than it appears. The veiner filling your screen through most of this workshop is five millimetres across, and what looks like a crude gash on a monitor is a line I can barely see without leaning in.
That difference matters when you judge the work. You are seeing it many times larger than I am, which makes every cut look rougher and every mistake look worse than it is.
Later I get a magnifier out and go over every bit of it again, so what you are watching here is a stage and not a finish.

Heights came off the first panel before any of this, as always. The volute needed about a millimetre taking down, and one small detail runs almost to the ground, three thirty seconds of an inch from it.


A back bent blended the last of it, and the relief on this side now carries the same ornament as the other, differently arranged. Three flowers remain, a leaf, and a great deal of cleaning.
Twelfth of fourteen. Workshop eleven cuts the eye and raises the pipe, and workshop thirteen carries on toward the end. Workshop ten roughs this whole side out first. On the other half, nine raises a micro pipe, eight carves the clover molding and seven builds the flowers. Behind those, six shapes the acanthus, five handles the crossings, four sets depth, and the opening trio take a bare board to an opened ground: one, two, three. The course covers every one. Depth transfer has a workshop of its own, gouges are chosen there, and rolling a flute against the grain only works on an edge sharpening has earned. More foliage fills acanthus over moldings and modern acanthus, the room is the Venice Room, and why any of it moves belongs to the design course.
You have one tool and four clock positions to learn. Access to the school puts the rest of the panel in front of you.
How it's done
- Learn the clock before anything else. Flute up, flute rolled left, flute rolled right. Three results out of one handle, and no walk to a drawer between them.
- Draw the middle line off centre. 62 one way and 38 the other. A centred ridge looks machined, and the difference shows from across a room even to somebody who never heard of the proportion.
- Sink a hollow either side of it. Seven millimetre veiner. Neither one runs down to the molding underneath, and one flank finishes slightly raised, so the shape gets built inside a budget.
- Chop every triangle before shaping near it. Three millimetres, straight down. Four went in on this leaf and none took longer than a breath, which is cheap insurance against a split.
- Undercut only as far as the fibres allow. A millimetre veiner first, then under half of one. Push harder and you are repairing a molding that took an afternoon to shape.
- Stop the zipper short. Run beside a ridge it lifts the shape beautifully. Run too deep and the wood left there breaks at the next careless moment.
Frequently asked questions
What is the flute of a gouge?
The hollow running down the middle of the blade. How you turn it decides what part of the edge does the cutting, and that turns one tool into three without leaving your seat.
Why is the middle line not in the middle?
Habit, and the golden ratio underneath the habit. That split looks grown while dead centre looks manufactured, and nobody measures either one. They simply notice.
What does a carver mean by the barrel of a volute?
The rounded body the spiral wraps around. It gets the same treatment as everything else on a panel like this: a convex down its length and hollows falling away either side, carried round the curve so the eye travels with it.