

Alexander Grabovetskiy, woodcarver, School of Woodcarving · Published 2022
How do you shape an acanthus leaf in relief carving?
Quick answer: This style of acanthus leaf is shaped as three surfaces. A concave falls away on each side and a convex ridge runs between them, which carvers call the pipe. The middle line sits at roughly sixty two to thirty eight rather than dead centre.
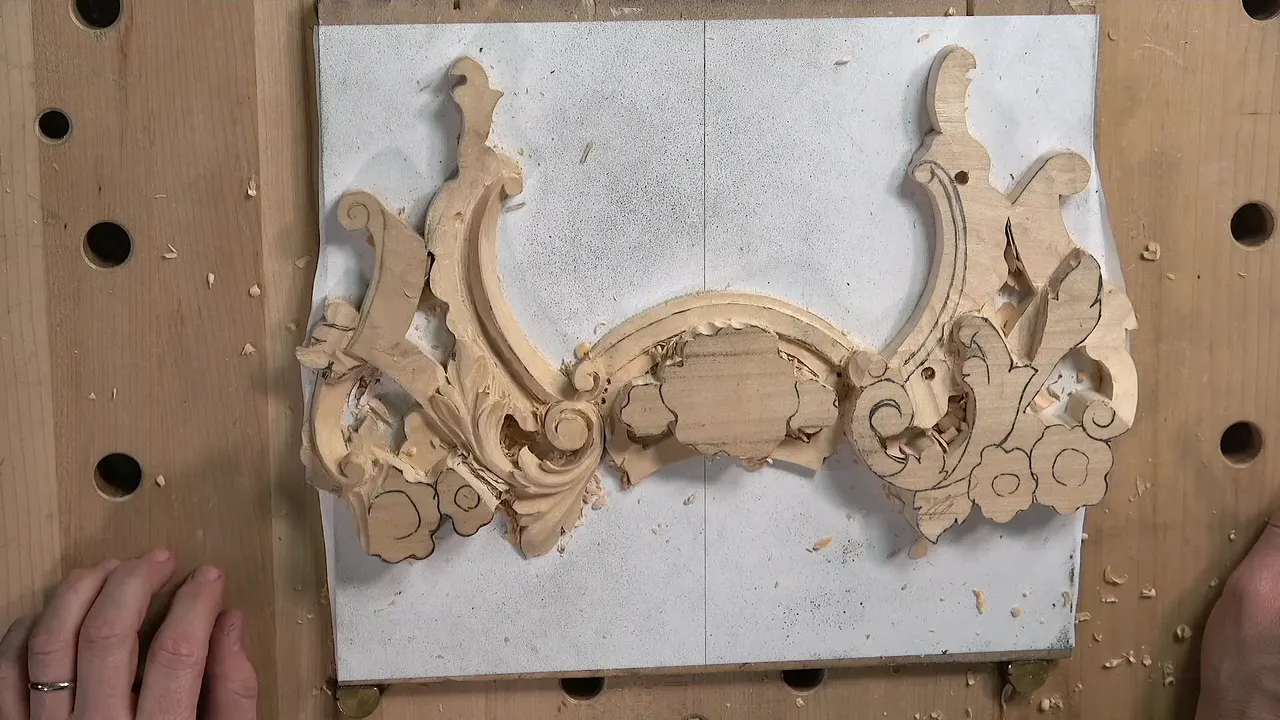
Three surfaces make the leaf. A dish falls away down one side, a second dish falls away down the other, and what survives between them is a raised ridge running the length of the shape. Carvers call that ridge the pipe, and it is the only reason the leaf looks alive.
Every acanthus leaf on this panel belongs to the Venetian style, which is what the whole Venice Room is carved in. That room is nearly finished now. I am a little tired of it, if I am honest with you.
The project itself is worth saying out loud. You are not practising cuts for their own sake here; the same arrangement goes onto furniture, around a mirror, or onto a picture frame, because what it really is, is acanthus movement sitting on top of a molding. All of it lives in shallow relief, five millimetres or so, which is why every decision here gets measured in single millimetres.
Key takeaways
- Concave one side, concave the other, convex between them.
- Put the middle line at 62 and 38.
- Roll an edge too far and it stops being a curve. Seen from the front it turns into a straight line, which is the one thing I never want.
- Cut lower than a leaf actually needs wherever it must look as though it grew below its neighbour.
- Keep facets. Soften them.
- Leave the real undercut until the panel comes off the board, because from the back you can reach what is impossible now.
What shape is an acanthus leaf in section?
Cut it through the middle and you get a small hill with a valley on either side. The valleys are concave cuts, the hill between them is convex, and the eye follows that hill along the whole length of the leaf without being told to.
I raise the ridge by lowering what sits beside it. Number nine at six millimetres takes the first valley out with short cuts, then runs the full length, and the ridge is suddenly higher than it was without a tool having touched it.
The second valley is shallower than the first. Not by any rule, only because the light in this arrangement comes from one side and the two halves of a leaf are rarely doing the same job.
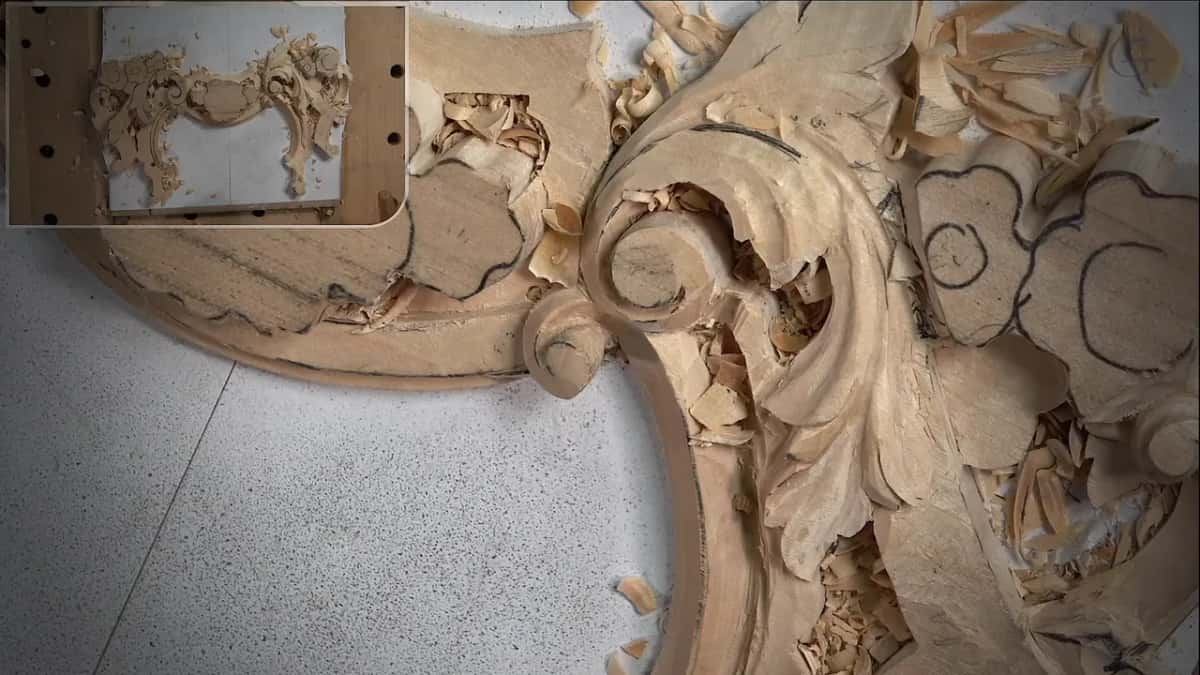
The convex in the middle is softer than beginners expect. Flat is the wrong word for it, though not by much. A three at a quarter inch rounds it over just enough to catch light along its length.
Where does the middle line go?
Off centre, deliberately. I put it at sixty two on one side and thirty eight on the other, which is the golden ratio, and I have been placing lines that way for so long that dead centre now looks wrong to me.
Nobody will ever measure it. The line itself barely shows in the finished leaf, buried under the convex it defines, and still the difference between a centred ridge and an offset one is visible across a room.
Draw it first and check that it flows. A middle line with a kink in it produces two valleys that argue, and you will feel the argument long before you can point at its cause.

One concave then runs to its point and the other heads for the opposite one, so the raised centre is left standing between them. A five millimetre number eleven does the first pass. Mine happens to be a Hugo Poffenhof, a German tool I like for no better reason than the way it feels.

Why does rolling an edge too far ruin it?
Look straight down at an over-rolled edge and the curve has gone. What you get instead is a straight line, and I dislike straight lines inside ornament more than almost any other fault.
So the edge comes down a little and then stops. Lower it a touch, look at it from the front, stop before the curve flattens. Less dramatic than you pictured, and correct.

How do you make a leaf look as if it grew underneath?
Cut deeper than the shape actually needs. An eleven at 3 mm goes in beneath the edge and excavates a channel roughly five millimetres down to the bottom of its groove, which is more than the leaf requires as a shape.
The extra depth is the whole point. Air behind an edge reads as space, space reads as one thing sitting over another, and a shallow groove there would leave both shapes lying in the same plane.
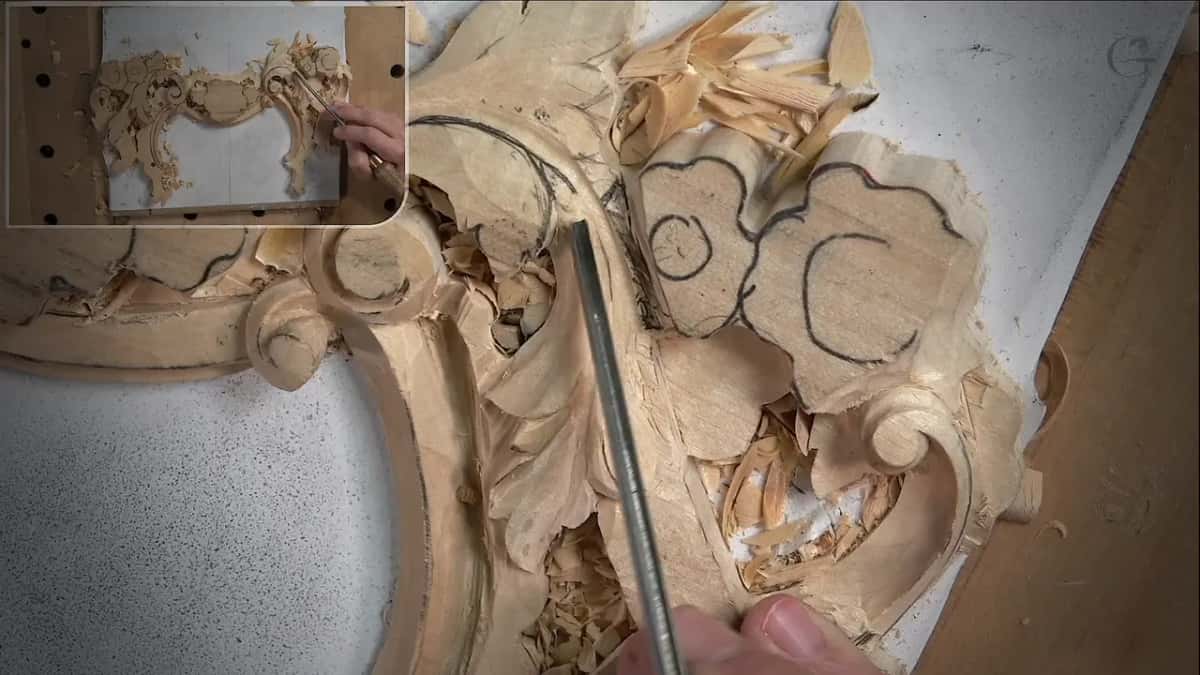
Where the movement wants to feel grown rather than drawn, I reach for a number seven and accept a deeper cut than planned. Organic beats tidy. I would rather the leaf seem to have decided its own route than like something transferred off paper.
How are the divisions put in?
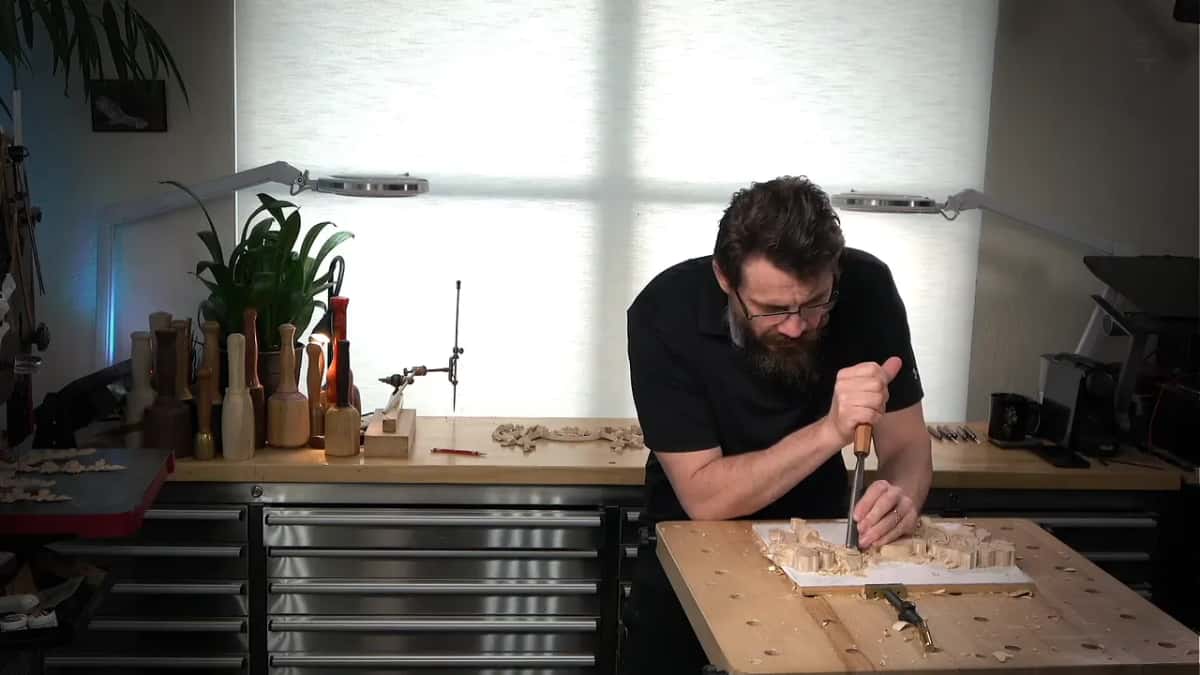
Drawn first, always, and then relieved. Two or three divisions cross this leaf, one of them running off at an angle, and each leaves a triangle of waste that has to come out before anything can be shaped.
Three millimetres of number eleven takes those triangles. A small knife tidies what the veiner cannot reach, a quarter inch one in my case, though a skew does the same work if you own one.


Partway through I looked at the finished panel again and changed the design. The roll on that one runs differently, so I started the movement further back, which gave me more wood for the flower that comes later. Copying my own work does not stop me arguing with it.

Should facets be blended away?
Softened, not removed. I like facets and I want to see them, and a leaf polished into a smooth blob has lost the evidence that a hand made it.
What I watch is how sharp the ridges between them are. A hard ridge is destructive, in the sense that it fights the movement instead of carrying it, so the blending is about taking the edge off rather than taking the facet away.

This panel will be painted, which changes the calculation. Paint hides a great deal. If yours will be left bare, or if you build furniture and are used to finishing to a higher standard, then sandpaper and small rasps are perfectly reasonable tools and I have no argument with anybody who uses them.
Do you finish each detail as you go?
Two honest schools exist here. One says take every detail to its finished state before moving on. The other says rough everything out and clean the whole panel at the end.
I belong to the second group. My reason is not patience but arithmetic: I change designs late, quite often, and a detail carved to perfection before the change is a detail thrown away along with the hours in it.
Rough work also stays honest. You can see what is still wrong when nothing is polished, and polish has a way of hiding a shape that was never right.
| Part of the leaf | What sort of cut it is, and how far down it goes | The tool that did it here |
|---|---|---|
| Beside the ridge | Concave, the first side deeper than the second one | The nine again, six millimetres, and it does most of the shaping here |
| The ridge that runs down the middle | Soft convex | Number three, barely rounding it over and nothing more than that |
| The line between two leaves | Half a millimetre at first, then a full millimetre where it wanted opening up | The small veiner |
| The eye at the turn of the leaf | One small concave cut | A knife first, then a bent gouge to follow the curve away |
| Under it | Roughly 5 mm, more depth than this leaf itself needs | A 3 mm eleven, no bigger |
What is the eye, and how is it raised?
The eye is the little hollow where two parts of a leaf turn past each other. Seen from above mine was going straight down, which looked dull, so I cut a small concave at that point to lift it.
Exaggerate that cut and you see what it does. The point rises, light gets underneath it, and the leaf reads as three dimensional in a way that a flat eye never manages.
It is a small thing. Small things are most of what separates a carved leaf from a stamped one.

Raising the eye costs you something, mind. As that point comes up the convex beside it starts to disappear, so a deeper concave has to go in alongside to keep the pipe standing.
What does the zipper cut do?
It exaggerates the pipe. Three millimetres of veiner runs down both sides of the ridge and takes a narrow trench out of each, and the convex between them suddenly stands proud in a way a gouge alone will not achieve.
I had plenty of wood left, so I went further than strictly necessary. Then a knife blends the trenches back into the surface, because a zipper left raw looks like machinery.
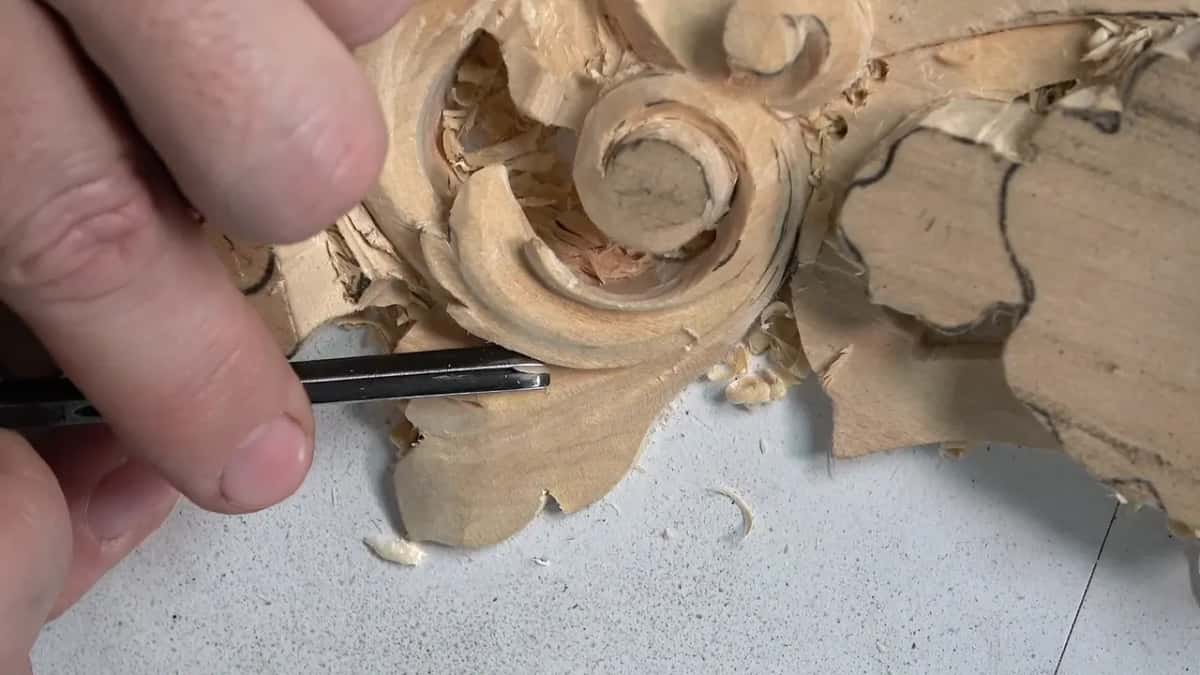
The back bent shape gets into a convex where nothing straight will follow the curve. Mine is around a number three. Plenty of carvers never buy one and manage, though when a shape rolls away from you it is the only tool that keeps cutting.
One line near the edge came out too straight for my taste, so a small number five put some curvature back into it, and a number one with a double bevel at around five millimetres shaped what was left. Where a division wanted opening up I put a mallet behind the gouge instead of leaning on it, which is quicker and, oddly enough, easier to control.
What undercutting can be done before the panel comes off?
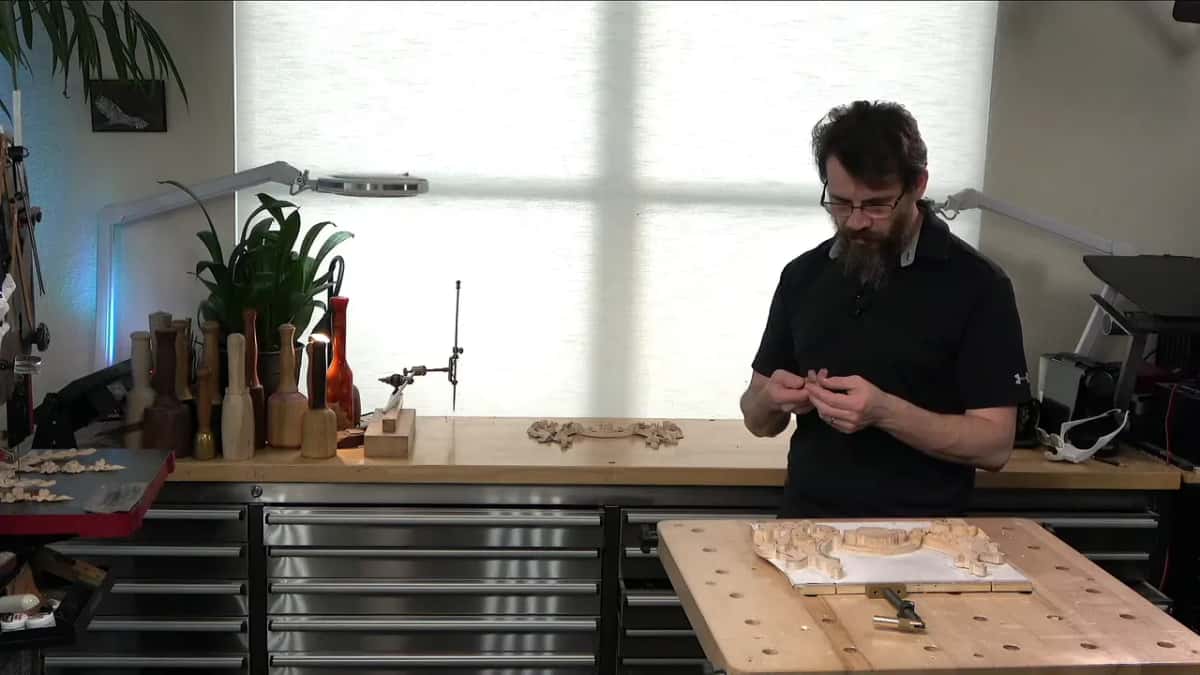
Lightly, and only as much as you must. Quarter inch number five, held upside down and drawn in a slicing motion, starts the undercut beneath the leaf while the panel is still screwed down.
Smaller tools work better for this than large ones, purely because there is less resistance. You are not removing volume here, only opening a shadow.
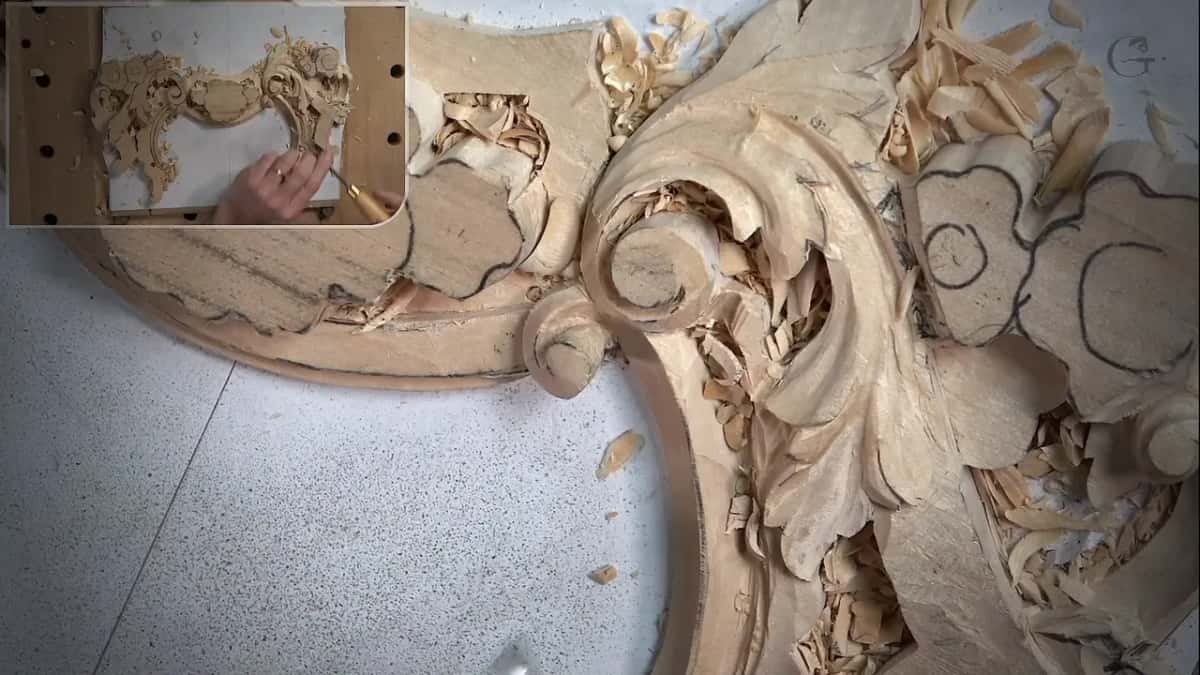
The real undercutting waits. Once the piece leaves the board I can reach the whole back of it and do the job properly, and what happens now is just enough to let me see whether the movement is working.

Why use a hair dryer on a carving?
To blow the chips out. When I say I am going to blow this piece, nobody should picture an explosion; it is a hair dryer, and it is one of the better ideas I have had at this bench.
Chips fill a hollow and then you cannot see your own work. Clear them and the shape you have been cutting blind for ten minutes finally becomes visible, usually along with one thing you would rather not have seen.

How high is the wall beside the molding?
Ten millimetres at its tallest, and that is the maximum. From the point where the molding meets the acanthus it runs smoothly downhill, ending somewhere near a millimetre and a half, perhaps two, which is about a sixteenth of an inch.
The opposite side does the same thing in mirror. Four millimetres at the low end, five at most, connecting round to match, with the high spot sitting between them rather than at either edge.
That fall is what gives the whole arrangement its movement. A wall of constant height would sit there like a kerb.

One more surface gets attention before the workshop closes: a section that bulges slightly, then falls, then rises again. A five handles it, since no deep gouge is needed for something that gentle, and the bulge then has to be blended until it stops announcing itself.
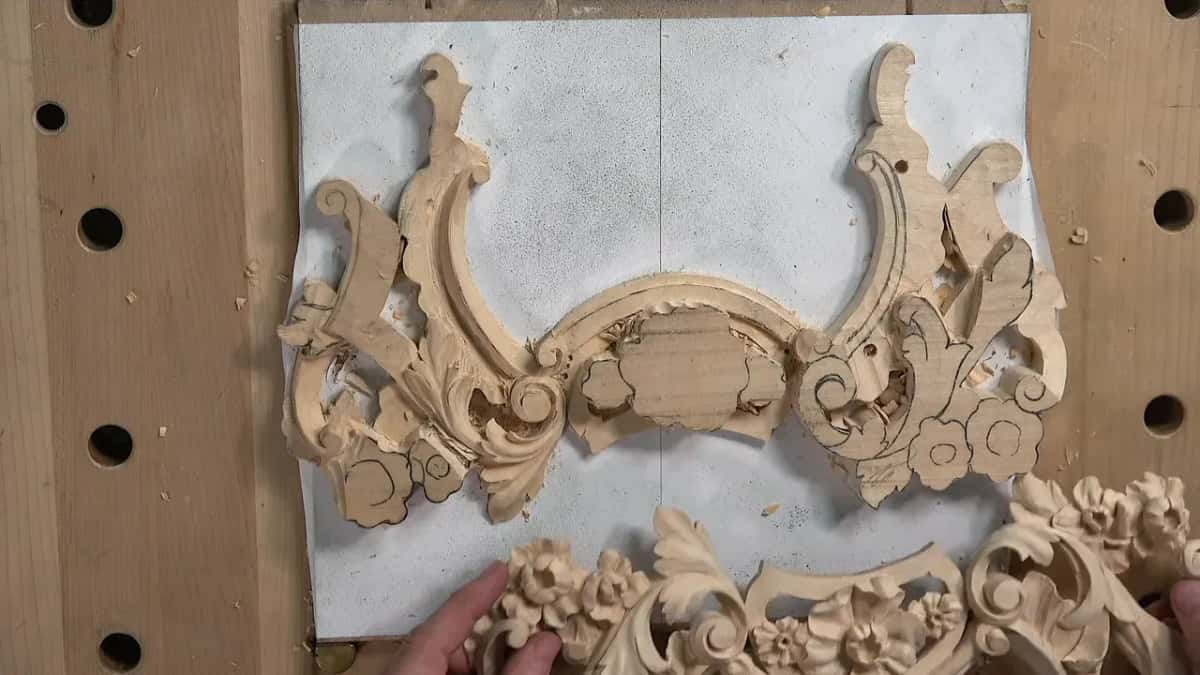
By the close of the session the leaf has two valleys, a pipe, its divisions and an eye that lifts. The measuring arm comes back out at the very end to set the height of the flower, which turns out to sit about a quarter inch below the high spots around it. That is the next workshop.
This is the sixth of fourteen. Workshop five handles the crossings that let one shape run under another, and workshop four sets every depth with a drill. Workshop seven carries on into the flower. Right at the start, workshop one outlines the design and workshop two takes the ground down, with workshop three building the volute. The course holds all of it together. Depth transfer gets its own workshop in the tools course, gouges are chosen there, and none of this happens on a dull edge, so sharpening comes first. Leaves like these fill acanthus over moldings and modern acanthus, the room itself is the Venice Room, and why a shape moves at all belongs to the design course.
You have a leaf with a ridge down its middle waiting to be found. Access to the school puts the rest of the panel in front of you.
How it's done
- Put the middle line on before anything else. Sixty two one way and thirty eight the other. Check it flows without a kink, since two valleys built off a crooked line will argue with each other forever.
- Sink the first valley. Short cuts to begin, then the full length, using a nine, six millimetres wide. Lowering this side is what raises the ridge beside it.
- Sink the second, shallower. Light arrives from one direction, so the two halves rarely match. Judge it against the panel already finished rather than against the first valley.
- Round the pipe gently. A three at 6 mm, and no more than that. Barely rounded is what you want here. Overdo the curve and the ridge loses the long band of light that makes anybody follow it.
- Go deeper than needed under the edge. Roughly 5 mm with a 3 mm eleven. That surplus depth is what puts air behind the edge and makes one shape sit above another.
- Zip both sides, then blend. A narrow trench each side of the ridge lifts it further than a gouge can. Follow with a knife. A raw trench looks like machinery.
Frequently asked questions
Which part of the leaf is the pipe?
The raised ridge running down the centre, left standing when you dish out the surfaces on either side of it. Carvers use the word because it looks like half a pipe lying on the wood. It is the feature the eye follows, so it gets more attention than anything else on the leaf.
Why 62 and 38 instead of the centre?
Habit and the golden ratio, in that order. A centred ridge reads as mechanical even to somebody who has never heard of the proportion, while an offset one looks like it grew. Nobody measures it and everybody notices it.
Do I have to sand a carving like this?
Where it ends up decides that. Mine gets painted, so paint covers what sandpaper would have. Furniture makers usually sand, and small rasps have their place too. A carving left bare wants more care at this stage than one destined for colour.