

Alexander Grabovetskiy, woodcarver, School of Woodcarving · Published 2022
How do you carve to an exact depth in relief carving?
Quick answer: Carving to a measured depth works in two moves. A pointing machine first reads a high spot off the finished piece beside you. A drill then sinks a hole to exactly that figure, and wood comes away until the hole vanishes. That hole is the floor, so no part of it is judged by eye.
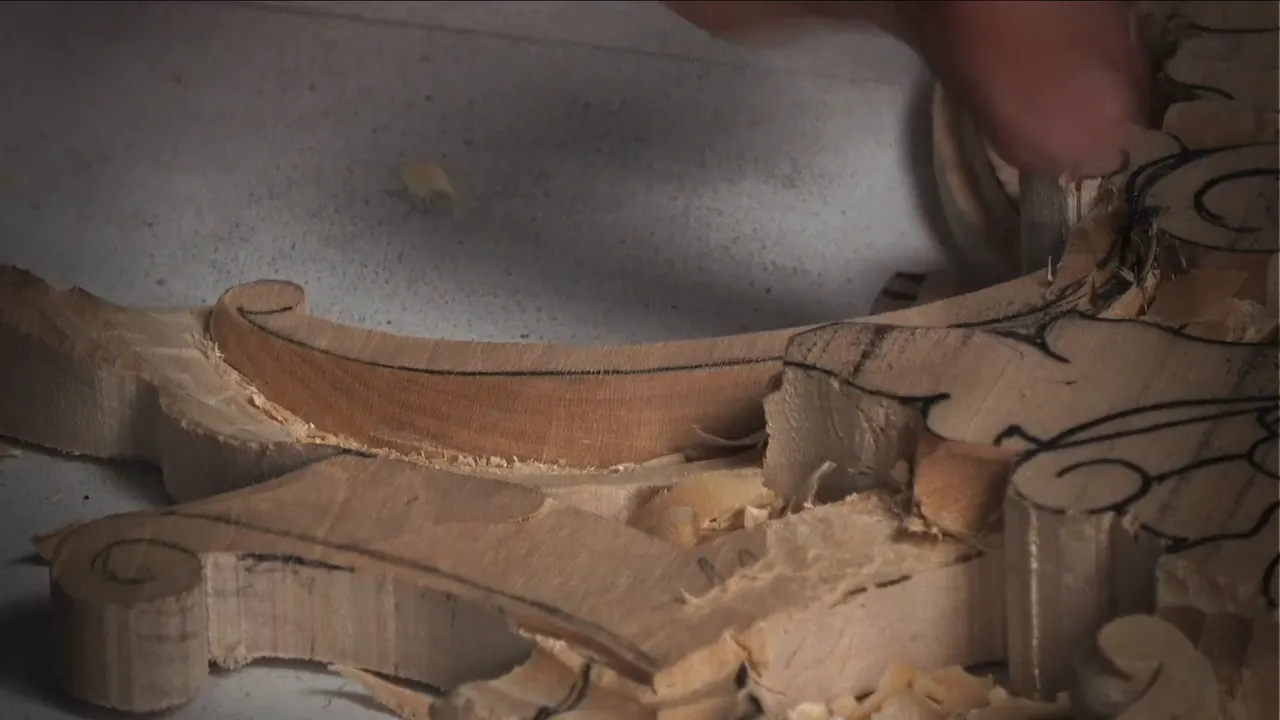
Drill first, carve second. Take the height you need off your first finished panel, using the measuring arm, sink a hole to that exact figure, and then cut back until the hole itself disappears. The moment its last trace is gone, the floor sits where it belongs.
This workshop is where the panel stops being a drawing and gets a floor. Two details go in. A small volute with a shell movement running beneath it, and the ground for the molding that will sit beside it.
Neither one can be cut by feel. Both have to match a panel I already finished, and the whole relief is about five millimetres deep, so being two millimetres out is not a small error. It is forty percent of everything I have.
The method is older than me by a few centuries and it arrived in carving from sculpture. I am not sure if Michelangelo used it. Other Italian sculptors did.

Key takeaways
- Measure against the piece you already carved, never against your memory of it.
- Bore to the figure you read.
- Your bit has to be fatter than that point, since the arm never comes down perfectly straight and a tight hole robs you of the last millimetre.
- Match a 6 mm bit to a 6 mm drop.
- Lock the collar before trusting any reading at all, because I forgot once and it cost me the next four numbers.
- Big tools give smooth runs and small tools give corners.
Why is it called a pointing machine?
You drill to the point, and the name is a description of that. Drop the point to the height the master piece reports, lock it there, and every hole drilled underneath afterwards lands at one known depth. Once somebody explains that, the name stops sounding mysterious.
I like the machine for a reason that has nothing to do with romance. It removes an argument I would otherwise have with myself twenty times an afternoon about whether I have gone far enough.
A hand drill does the same job. You do not need the arm at all if you are willing to measure some other way, and there are several other ways. This one suits me.

How do you find the depth before you cut?
Look for the high spots of the convexes on the finished panel. Those are the surfaces that survived, so their height is the height that matters. Put the needle on one, let it rest without pressure, and read what the arm tells you.
On this shell the reading came back at roughly a quarter inch to go. Six millimetres. Further along, near the volute, the same measurement gave ten millimetres.
Different spots, different numbers. Nothing unusual in that, and it is exactly why a single reading will never cover a shape that moves.
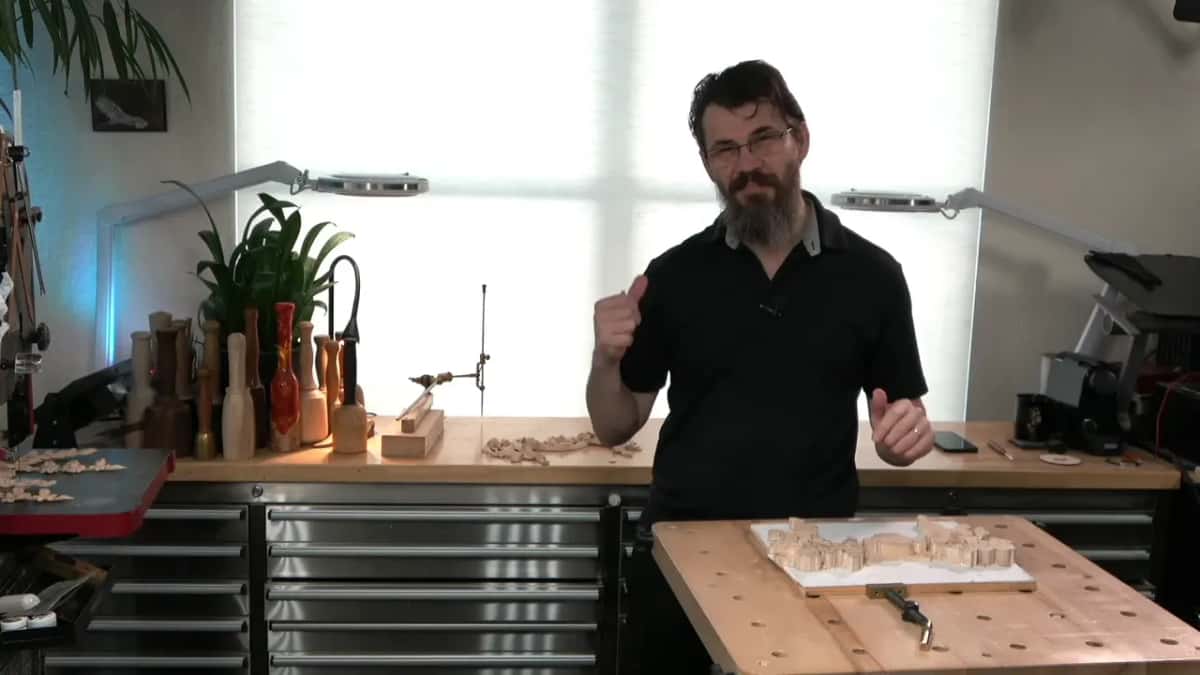
Width comes off calipers rather than the arm. About a half inch at the widest, seven millimetres or so in the middle, six for the volute itself. I mark both sides of the panel the moment I have a figure, because a number I carry in my head for ten minutes is a number I will get wrong.

Where does the middle ridge go?
Down the centre of the shell, and it is not flat. Seen from the end, one side of that ridge slopes away as a convex while the other falls as a concave, so a single pencil line is doing two different jobs depending on which way you come at it.
I place this one by eye on both halves of the panel. Being perfect here buys nothing, because the ridge guides the shaping that comes afterwards rather than finishing anything, and I already know roughly how it wants to run.
Refine one side, then go and repeat it opposite. Skip that and the two halves start arguing with each other, which shows up from across a room long before anyone can name what is wrong.

What do I mean when I say no straight lines?
Exactly what it sounds like. Having drawn a movement I go back over it hunting for any stretch that has gone rigid, and a rigid stretch gets redrawn, because a straight run inside an ornament reads as wrong even to somebody who could never tell you why.
A flowing line keeps working from every angle. A straight one collapses into a hard edge the moment light crosses it from the wrong side of the room, and in sculpture that is the difference between a shape and a diagram.
So the pencil goes back on the wood. Draw, look, draw again.
Once the line satisfies me the outline goes in with a number nine at ten millimetres, one side of the panel at a time. My blank had already stopped sticking to its board by then. I decided against re-gluing it and simply worked more carefully, which is a trade every carver makes several times a week.
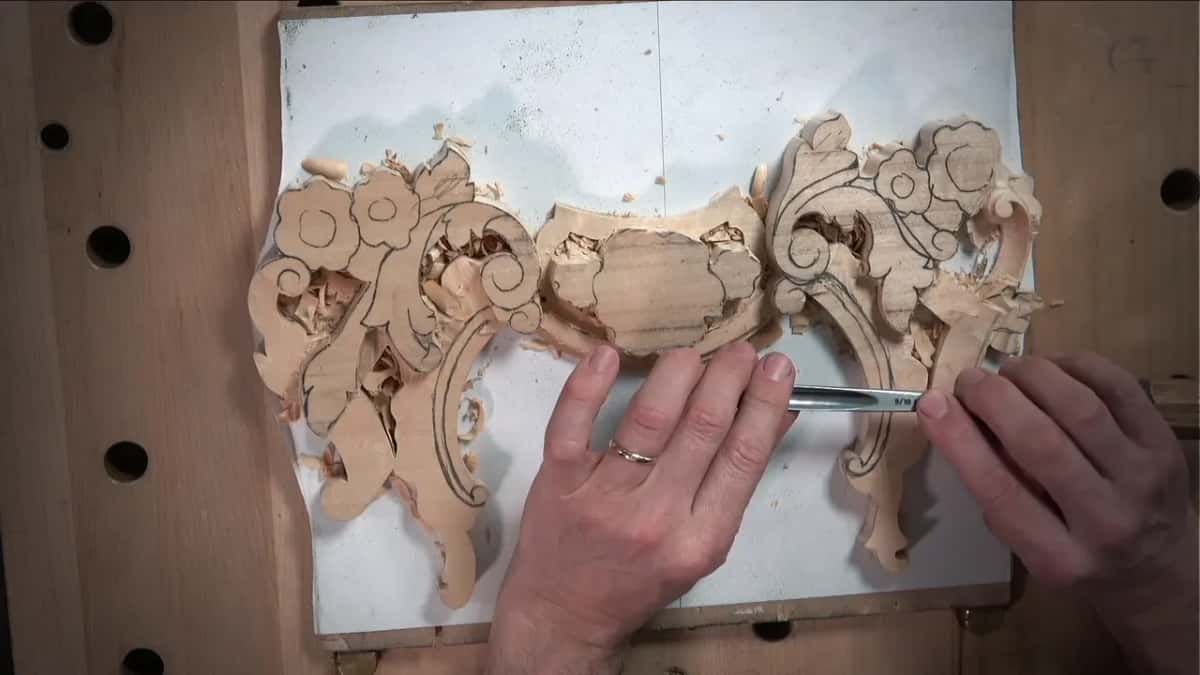
Why drill a hole instead of carving down and checking?
You could take the gouge and start digging. People do. The trouble is that every check costs you a pause, a measurement and a decision, and by the fifth one you are tired of checking and you start trusting your eye.
A drilled hole does not get tired. It sits there as a fixed floor, and your only job becomes removing wood until you cannot see it any more.
Two or three holes across a shape give you a whole surface to aim at. The midpoint, the high spot, one near the final volute. Between them the surface very nearly draws itself for you.
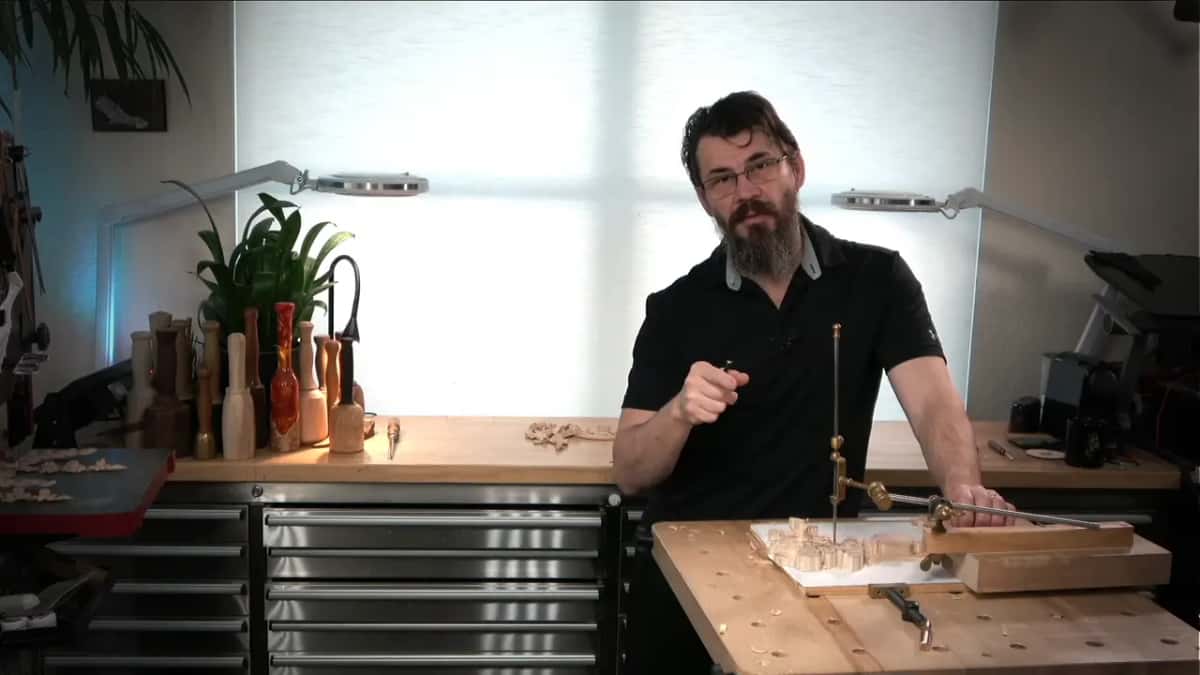
What size bit belongs with the needle?
Wider than the needle, always. The needle does not come down at a perfect ninety degrees, so a hole cut to its exact diameter will not let it sit properly, and your reading ends up short by however much the lean costs you.
Mine is usually 6 mm. Three sixteenths works too, five millimetres, and on this panel either bit would have done the job.
| What was measured | The number that came back on this panel | Instrument used |
|---|---|---|
| High spot of the shell | Quarter inch | Measuring arm, needle resting on the surface without pressure |
| Volute end | Ten millimetres, near enough to three eighths of an inch | Same arm, moved over |
| Widest part of the movement across the panel | Half an inch | Calipers, borrowed from the finished first piece |
| Volute width | Six millimetres across, a shade under a quarter inch | The calipers again |
| What still had to come off | Almost nothing | One slip of paper slid into the gap, and it fitted |

What does the gap at the limiter tell you?
Watch the collar, not the needle. Let the point sink into the drilled hole until it grounds out. What tells you how close you are is the gap left at the limiter, the little stop deciding how far the arm can travel.
On this shell the gap came out at half a millimetre or less. I fetched a sheet of paper and slid it in, and paper was about right.
Close enough. I still have shaving to do on that surface, so chasing the final half millimetre with a drill would be work thrown away.

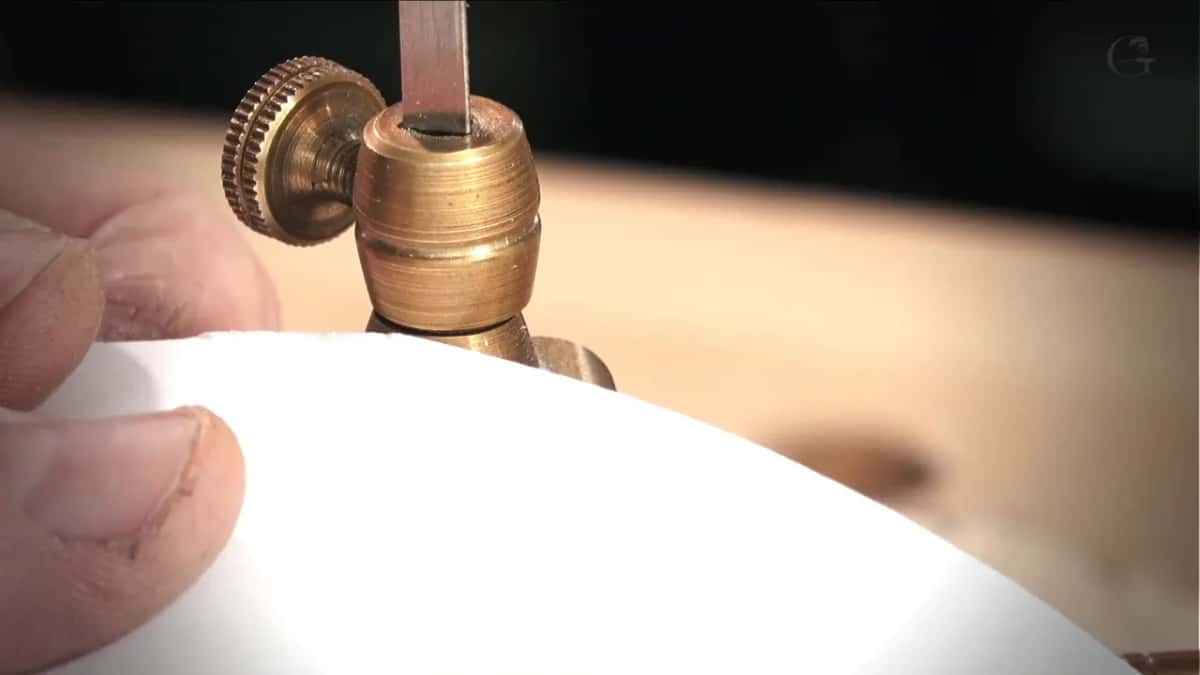
What does forgetting the limiter cost you?
Every reading after it. I lowered the needle to a new height in the middle of this workshop and never tightened the stop behind it, which meant the arm was free to slide and the number it gave me meant nothing at all.
I caught it on camera and left it in. A mistake made in front of you is worth more than a clean take where the mistake was edited out, since you will make this one yourself and now you know its shape.
The cure takes two seconds. Lock the collar, then read.

Which gouges come out once the holes are in?
A deep one to start, then progressively smaller ones as the space closes in. Number eleven at five millimetres opened the shell, because the surface climbs uphill and a deep sweep gets down without bruising the sides.
Then it stopped fitting. Three millimetres next, then two, then one, each swap forced by geometry rather than by taste.
Between those, a seven at 14 mm came out, purely to clear waste so the smaller tools had somewhere to work. Wide gouge for volume, narrow gouge for the line. By the end there was so little material left under that cut that going a millimetre deeper would have been a bad afternoon.
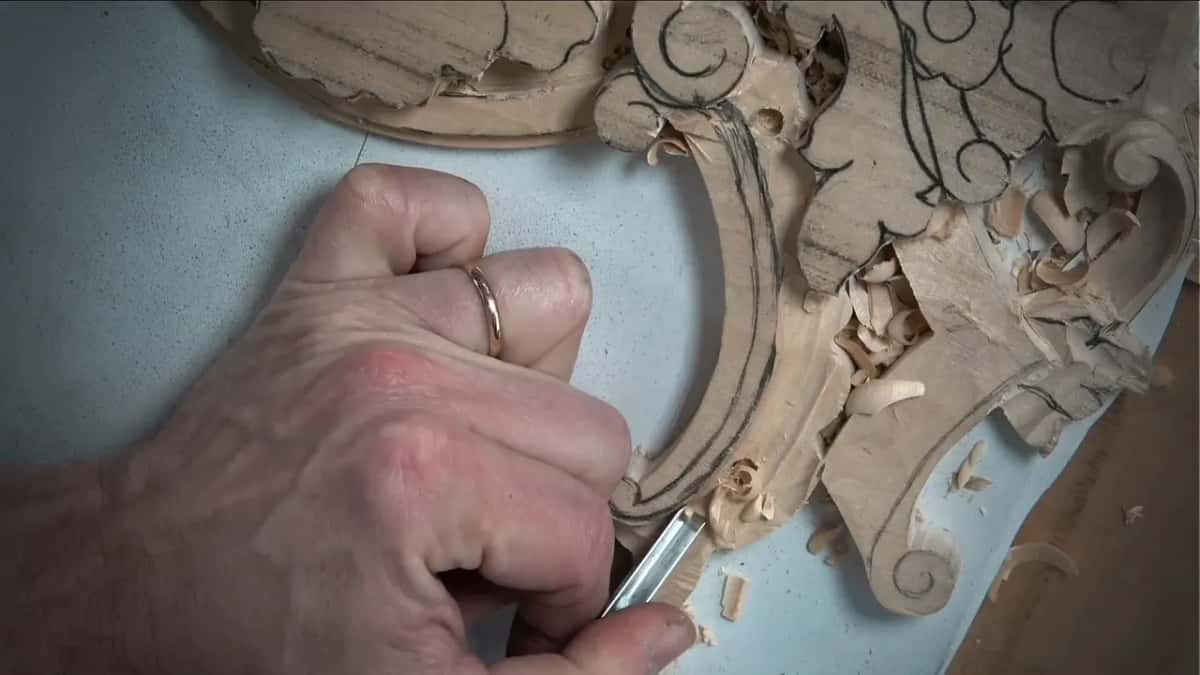
One of them is an antique, a Herring Brothers about 3 mm wide. I reached for it because it fits a corner nothing newer on my bench can reach, and if it were the wrong shape its age would not save it.
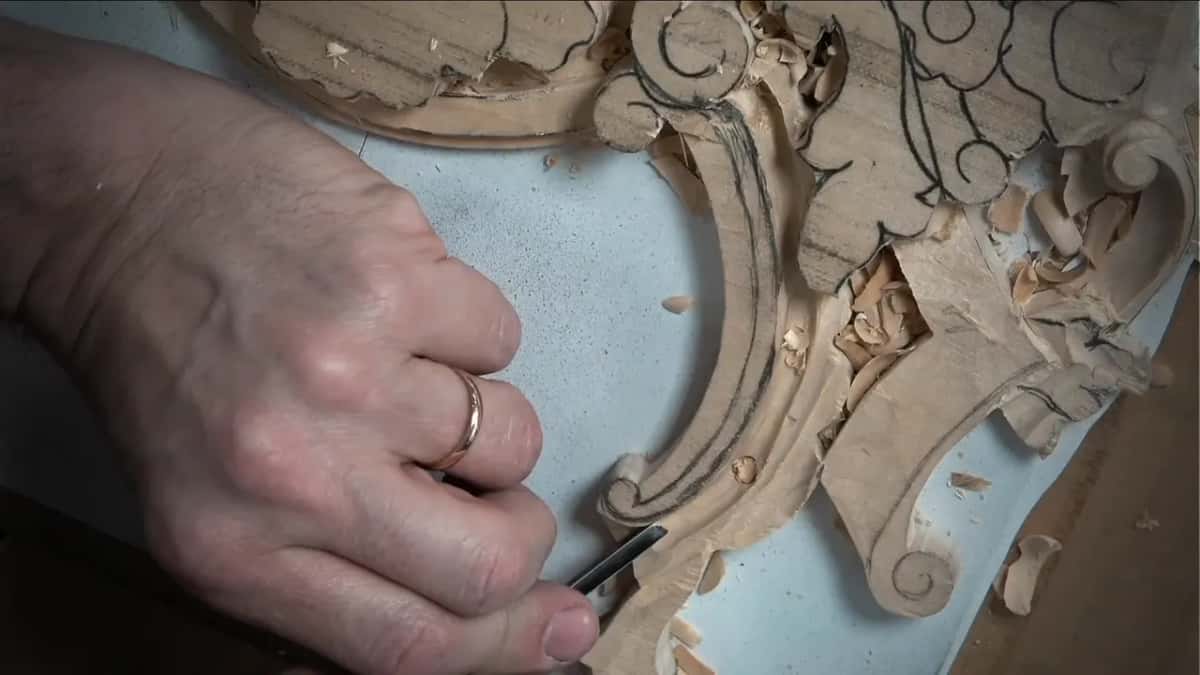
The wall gets a different treatment. That cut goes straight down at ninety degrees, taken with a flat tool or a knife-shaped one. Upright with a mallet behind it, a two or a three does the same work. The danger either way is leaning. Lean the blade even slightly and you have undercut a wall you wanted vertical, which shows up later as a line that has gone soft.
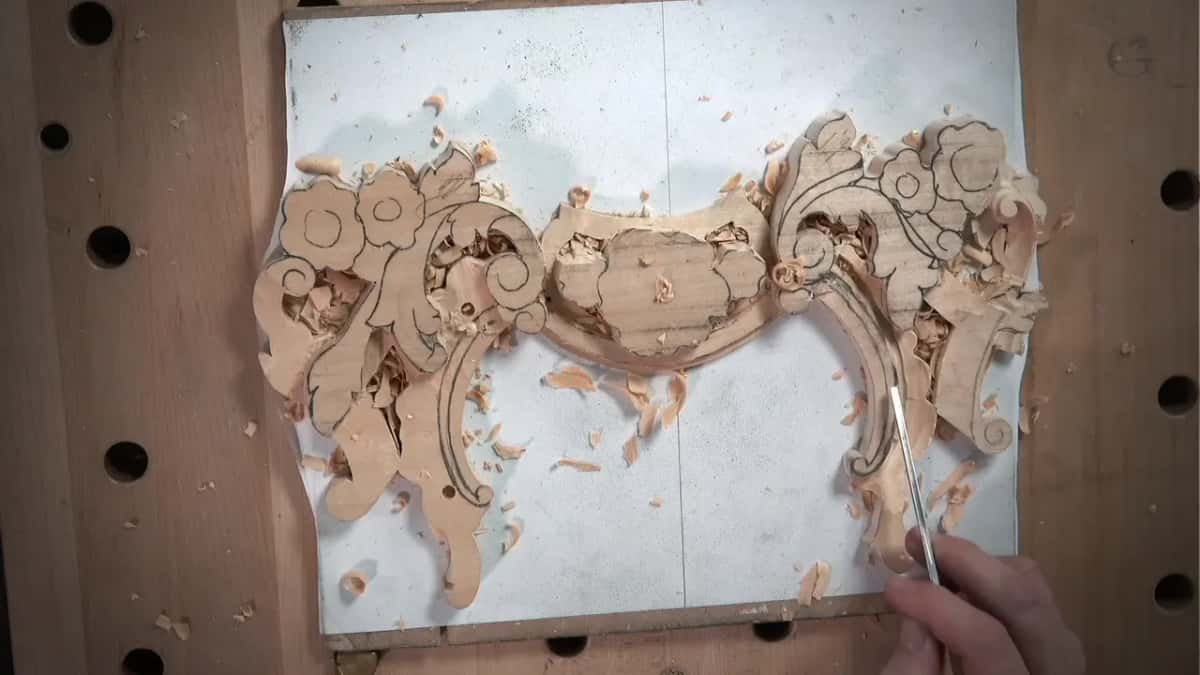
Does a bigger tool really give a smoother transition?
Every time. A thirty millimetre two, walked right round the shape, keeps the lower line honest, and its fifty millimetre brother behaves almost like a file over a long uphill run.
Small tools follow every wobble in your hand. Wide ones bridge across the wobbles and leave one surface instead of nine.
Yes, I lose pencil marks doing this. I can draw them again. A transition that reads as one movement is worth more than a set of guidelines that survived.


What keeps a long cut under control?
Push with your body. My hands barely move relative to my chest during a long cut, and the travel comes from leaning forward through the whole frame, which is the same motion a hand plane asks for.
It looks a little like dancing on camera. Somebody said so once and I did not argue with them.
Arms tire, wander and jerk. A body moving as one piece delivers a steady push for the full length of the stroke, and the surface it leaves needs almost nothing afterwards.
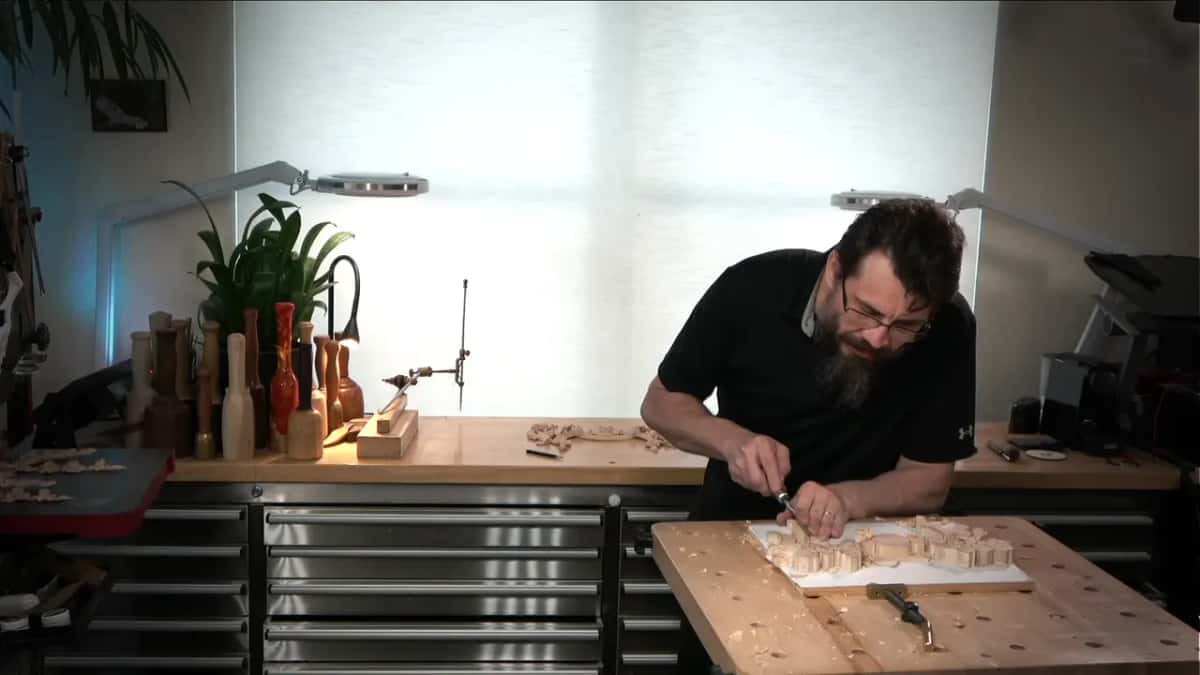
My left hand never floats. It stays planted on the block, on the background or right on the design, and that contact is what turns a shove into a controlled movement of a fraction of a millimetre.
Why strop in the middle of a workshop?
A gouge goes dull long before it feels dull to your hand. Halfway through this panel I stopped, took out leather and Mirror Paste, and gave the number nine a few passes, which cost maybe forty seconds.
You can hear the difference on the recording. The tool grabs instead of skating, and the surface behind it comes up smooth without a second pass.
Waiting until the bench is tidy and the light is off puts the sharpening too late. Everything cut after the edge died is already cut that way.
Why undercut a volute that sits on a flat panel?
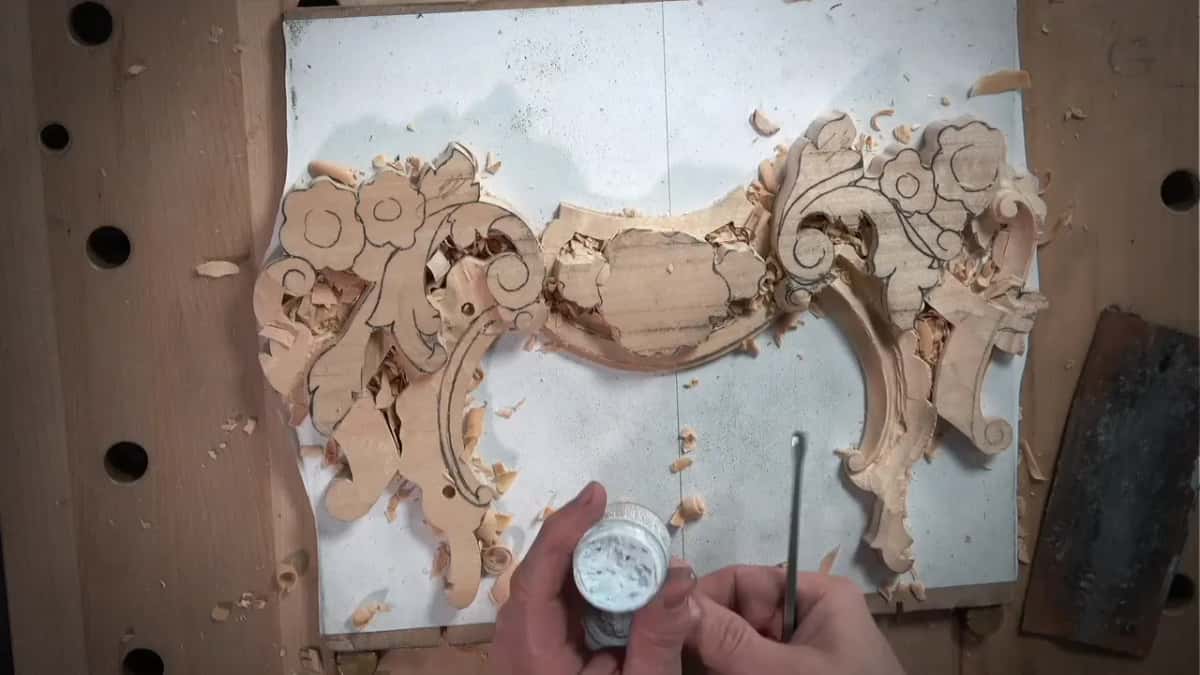
For the shadow. I leave room for an undercut on volutes and on panels, always, because a shape with air behind its edge throws a dark line and a shape sitting flat on the ground does not.
Two and a half to three millimetres was what I left here. It goes in later, from underneath, once the piece comes off the board.
Grain has opinions here. Where the fibres run against you, the cut comes from the other direction or it tears.
By the end of the afternoon both details sit at the depths the first panel reported, the drilled holes are gone, and nothing on that surface was decided by squinting at it. That is the entire argument for measuring.
This is the fourth workshop of the course. The first slices and outlines the design, the second grounds the background, and the third builds the volute out of three curves. Next come the intersections, where one shape has to pass under another, and the course runs fourteen workshops in all. The measuring arm gets a workshop of its own in the tools course, and which gouge to buy first is covered there as well. None of it works on a dull edge, so sharpening comes before any of it. For more leaves and scrolls there is acanthus over moldings, modern acanthus, and the Venice Room this panel belongs to. Why a shape moves at all is the design course.
You have a depth to hit and a hole that will tell you when you get there. Access to the school puts the rest of the panel in front of you.
How it's done
- Take the height from your finished piece. Rest the point on a convex that survived, press nothing, and tighten the collar before believing any figure. This shell gave 6 mm.
- Choose a bit fatter than the point. 6 mm suits a 6 mm drop, and 5 mm also works. The arm leans a little, so a hole matching the point exactly will stop it short and rob you of depth.
- Bore to that figure and no further. Two or three bores across one shape do it. Put one at the middle, one on the crown, one beside the scroll. What sits between them nearly draws itself.
- Watch the collar, not the point. Once the tip grounds out, the daylight left at the stop is your answer. Under half a millimetre means you have arrived, and a sheet of paper is a fine enough gauge for the rest of it.
- Cut back until the bores vanish. Start with a 5 mm eleven while the shell still has room, then drop to 3, 2 and 1 as it tightens. No bore showing means no depth left to find.
- Finish with the broadest tool that will sit on it. A 30 mm two round the shape, a 50 mm two along the climb. Your pencil lines will go with it. Redraw them afterwards, which costs about a minute.
Frequently asked questions
Can you do this without a pointing machine?
A hand drill gets you the same holes, so yes. What the arm adds is a locked height you can repeat at four different spots without re-measuring, which is where the time goes. Plenty of carvers use a depth gauge, a drill stop or a pencil mark on the bit and reach the same panel.
How deep is the relief on this panel?
Roughly five millimetres of working depth, which is less than the thickness of a little finger. That is why two millimetres of error matters so much here. On a deep panel you can fudge a surface and nobody notices.
Why leave material for an undercut on flat work?
Shadow. An edge with air behind it throws a dark line and an edge sitting on the ground does not, and that dark line is most of what makes a relief look carved rather than pressed. I left between two and a half and three millimetres on this one.