

Alexander Grabovetskiy, woodcarver, School of Woodcarving · Published 2022
How do you make a carved leaf catch the light?
Quick answer: A carved leaf catches light through a raised ridge running along it, which carvers call a micro pipe. Sink a shallow hollow down each side and the strip left standing between them comes up proud. That ridge settles which way your eye travels.
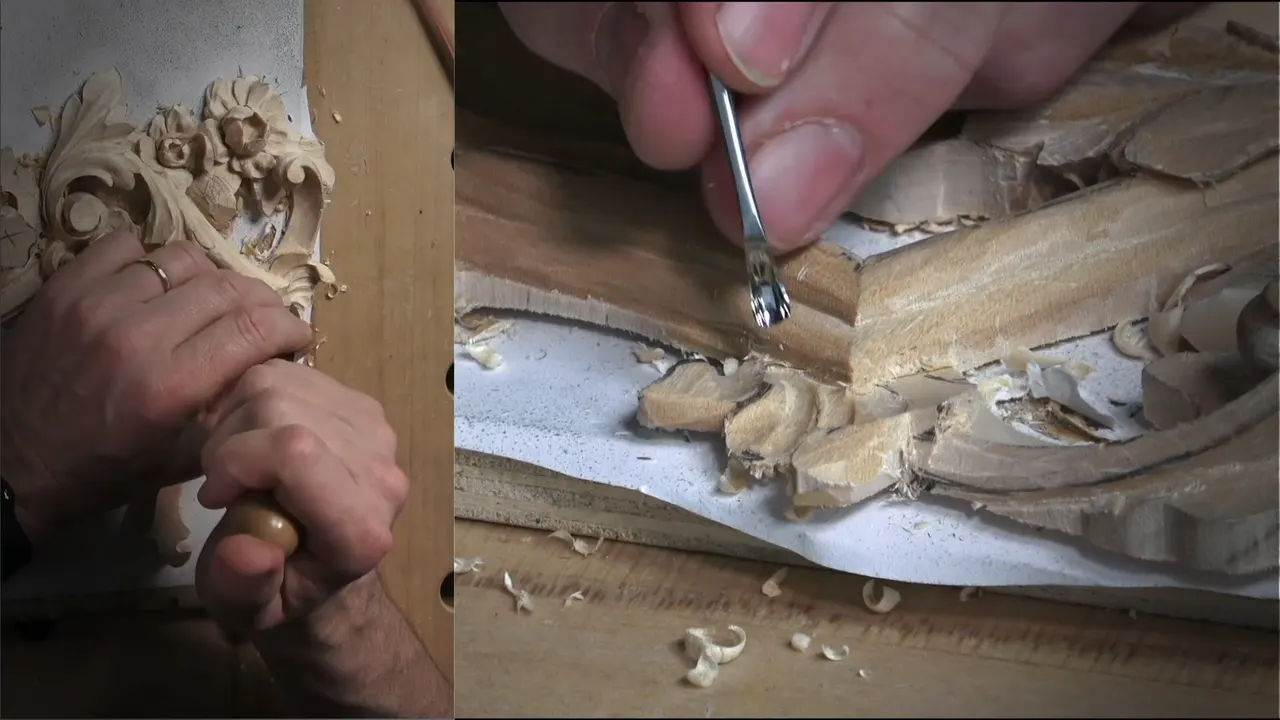
Sink a shallow hollow down one side of a leaf, sink another down the other, and what survives between them is a narrow raised strip. I call that a micro pipe. It is barely a millimetre of relief, and it decides which way your eye travels across the whole shape.
This workshop finishes the leaves and the two small volutes that run along the molding. None of it is difficult after the flowers. All of it has to land at heights the finished first panel already settled.
The leaves also come with a freedom the acanthus never allows. An acanthus answers to rules going back centuries. A leaf answers to whether it looks right, and that makes it the freest thing in carving this style.
Key takeaways
- Two shallow hollows leave a ridge between them. The ridge is the point.
- Clear the hump before shaping. Extra wood standing in the way makes every cut a guess about what lies underneath.
- Wiggle a small gouge like a drill instead of shoving it.
- Depth came back as three millimetres at every place I checked along this run.
- An undercut is not always what a surface wants, and one wall here deliberately slopes outward instead of tucking away.
- Leave the facets that cast a shadow worth having.
What exactly is a micro pipe?
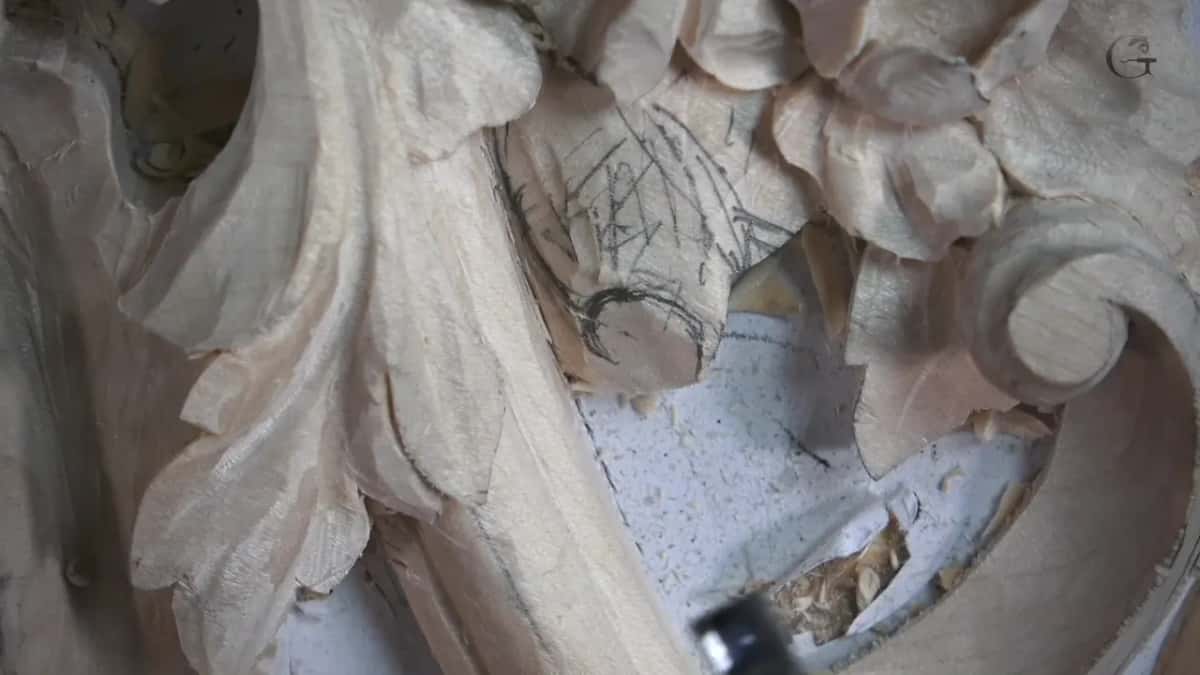
A ridge too small to call a pipe, which is why the name has micro in front of it. On this leaf it runs the length of the movement, and I raise it the same way I raise any ridge, by hollowing what sits either side rather than by building it up.
Two concave cuts do the whole job. One down each flank, taken carefully and never forced, and the narrow strip surviving between them comes up proud without a tool ever touching it.
The effect is out of proportion to the effort. Light catches along that strip, shadow gathers in the hollows beside it, and your eye follows the leaf in the direction it was always meant to travel.

I already felt the movement going the right way before those cuts went in. Cutting them anyway was the right call, because feeling something and seeing it across a room are different achievements.
Why clear the hump first?
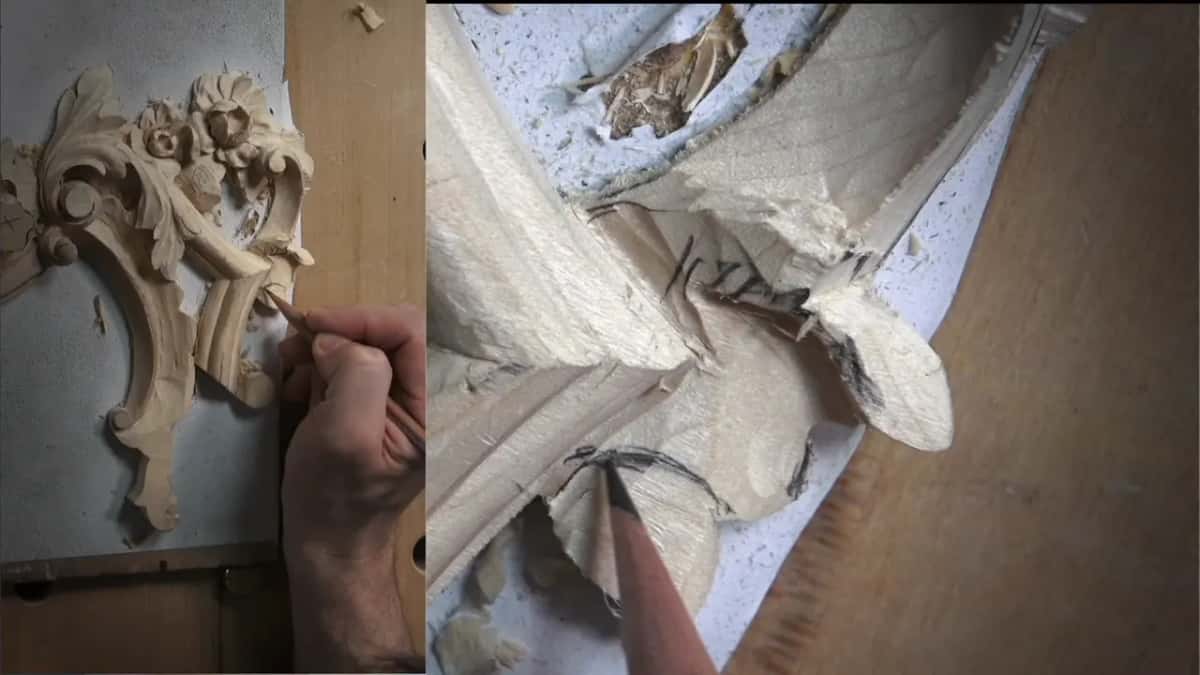
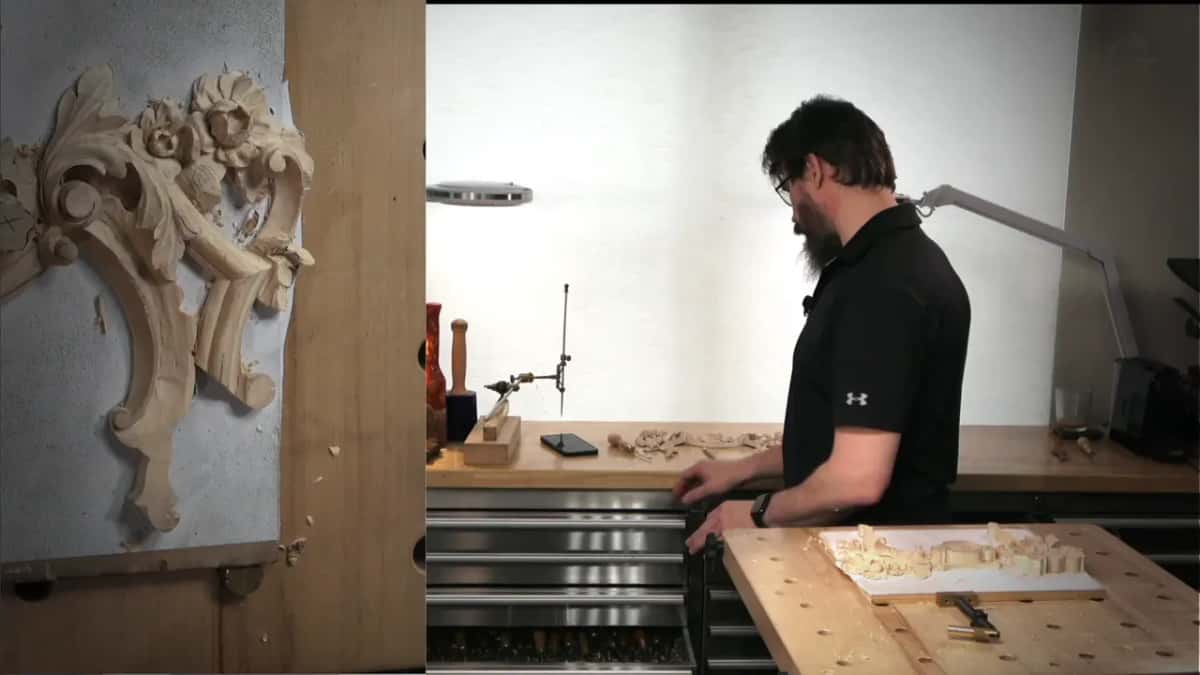
A lump of surplus wood hides whatever shape lies underneath it. A section of this leaf stood far too high, and until the Sekira took that surplus away every judgement about the movement was a guess dressed up as a decision.
After it went, the plan arrived quickly. A gentle S runs through that point, one part drops, another rises, and the whole leaf then feels like it grew in that direction rather than being placed there.
Small bites get the triangles out. A veiner at three, never taking more than it can manage, stopping the moment enough has gone.
How do you carve a curl without forcing the tool?
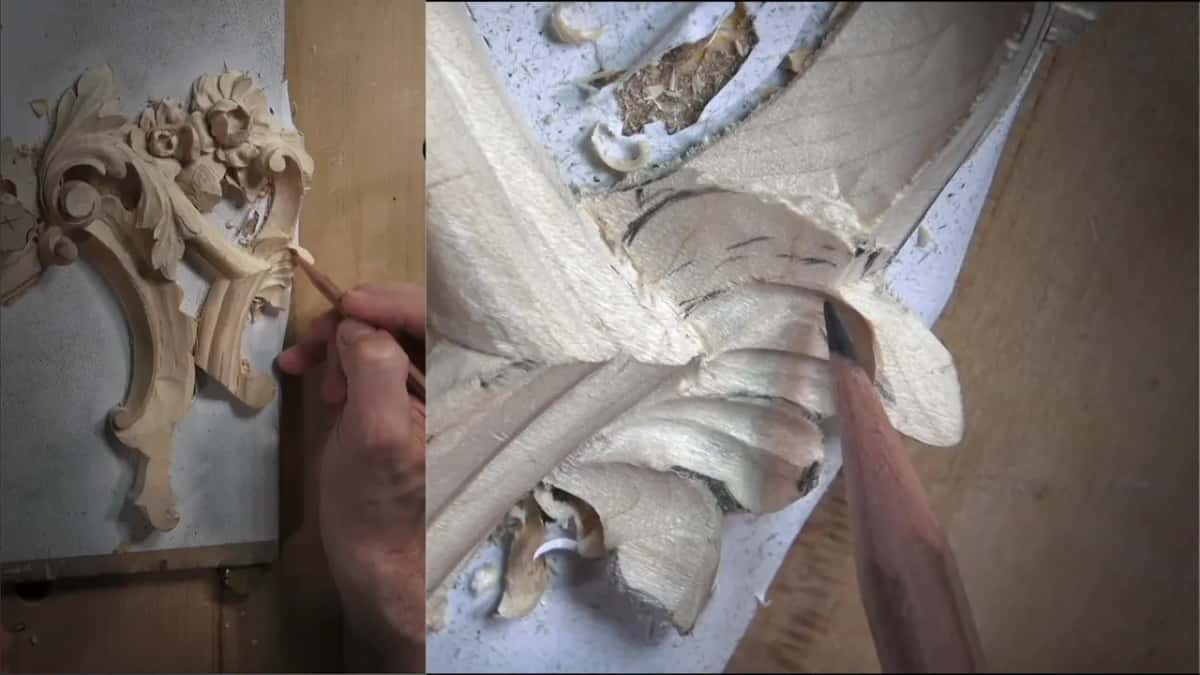
Wiggle it. A small number eight, three across, goes in almost the way a drill does, rotating slightly instead of being pushed, and the hollow opens underneath the curl without any pressure at all.
That motion produced the best curl of the afternoon. I liked it enough to fetch the phone and film the thing from the side, because the fixed camera cannot show a shape that curls away from it.


An old spoon gouge cleans up afterwards, stamped with a prize medal, which tells you somebody once thought well enough of it to enter a competition. Then a one millimetre veiner goes deeper still where the leaf has to look as though it rose out from underneath.


How small is the small volute?
Six millimetres wide, which is a quarter inch. A second one sits further along at about seven, and on a screen both of them look enormous while in the workshop they are the size of a shirt button.
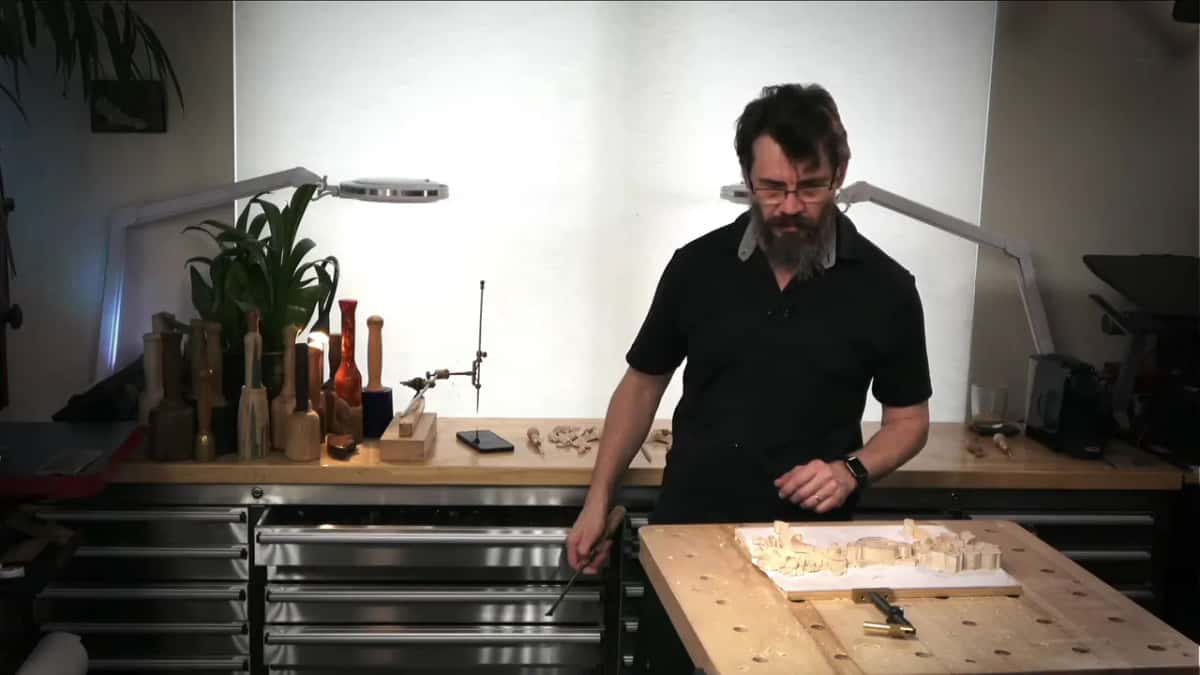
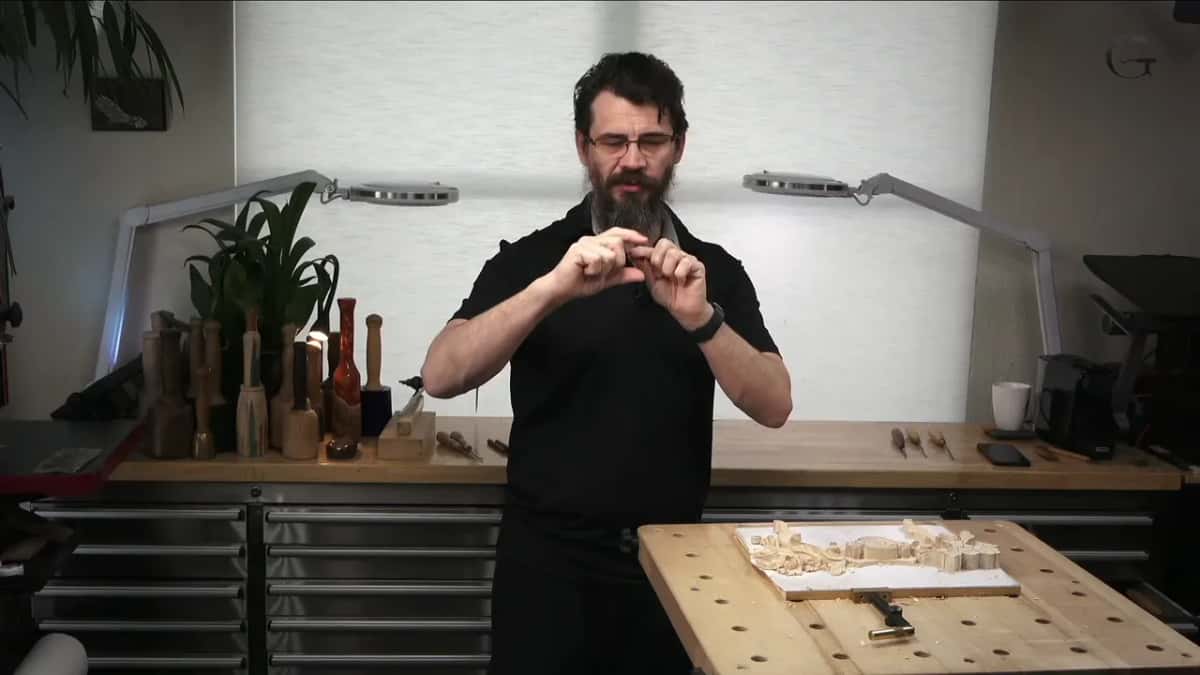
Scale is the thing video cannot convey. When you watch me work one of these it fills the frame, and the honest comparison is your own thumbnail, so take every tool size in this workshop with that in mind.
Personally I love this detail. A tiny scroll running along a molding does more for a panel than its size has any right to, and sculptors have always known it.

Why cut a relief line before shaping?
To give every later stroke a wall to stop against. On something this small a gouge that runs on where you did not want it destroys the shape entirely, and there is no rescuing six millimetres of scroll.
So the outline goes in first, all the way round, with a six millimetre number ten. Not an eleven, which people assume. Tens have a shallower U, closer to a proper round than a veiner, and that suits an outline following a curve.
A smart move, and I said so at the time. Working around a small volute the normal way would have been asking for trouble.
| Detail on this half | What the figure turned out to be here | The tool |
|---|---|---|
| The ridge | A shallow hollow either side of it, and neither of them deep | Small gouges |
| The curl under the leaf | Opened by rotation alone | An eight at three, wiggled in like a drill bit |
| The first of the volutes | Six millimetres, about a quarter inch | Ten and five |
| The second one further along the molding | Seven millimetres or thereabouts | Exactly the same pair of tools as on the first one |
| The lowest spot overall | Three millimetres, everywhere checked | Measuring arm, read at three separate places along the run |
| The wall beside the volute | Straight down, then sloped outward deliberately | A seven at fourteen to start, then a number two |
When do you deliberately not undercut?
When you want a surface leaning out toward the viewer rather than tucking away from one. Most of this panel is built on things passing beneath other things, so it surprises people that one wall on this panel gets cut dead upright and leaned the other way.
The reason is what sits beside it. Miters have to close against that point, and an undercut edge gives a joint nothing to meet, so the wall stays proud and leans out instead.
A number seven takes it down to the line, a number two puts the slope on, and a small number one at an eighth of an inch cleans the corner where nothing bigger fits.

What makes two leaves overlap?
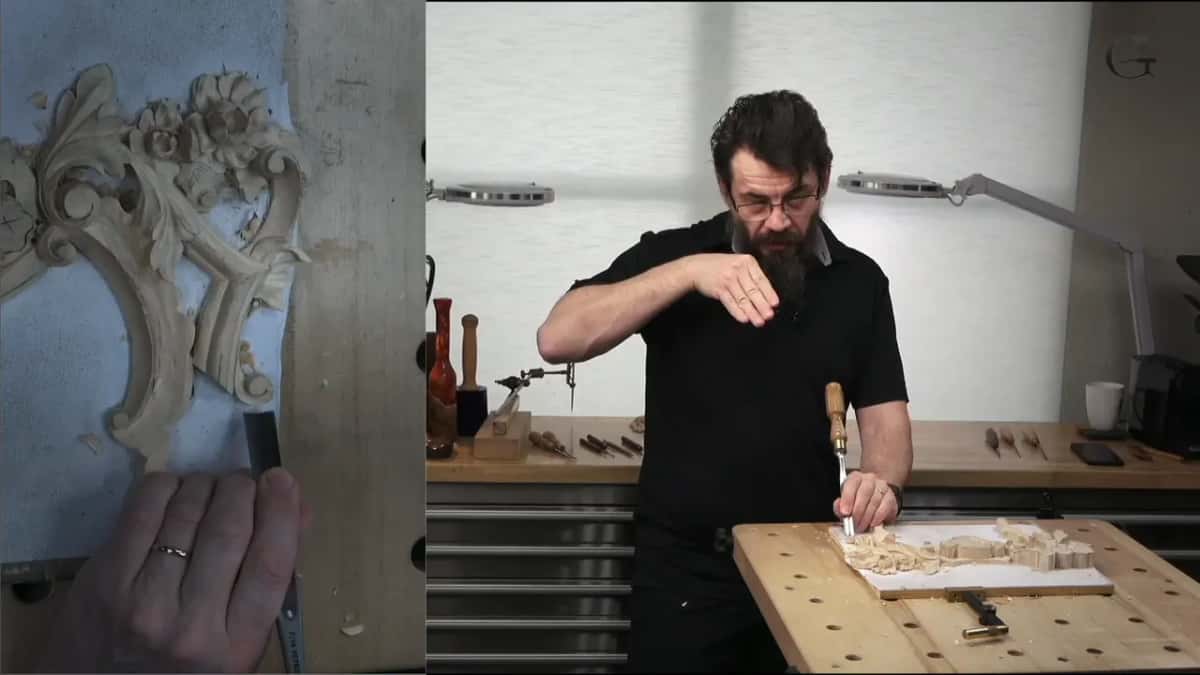
One goes below and the other rides over it, with a separation cut between them. A two and a half millimetre veiner makes the relief cut, chopped straight down, and a smaller one at a millimetre then goes underneath to deepen the shadow.
Depth there is a judgement rather than a measurement. Not as far as the shape could take, since paint hides a certain amount of what you cut, though far enough that the corner turns visibly darker.
Waste triangles come out the same way. Tool upright, straight down, lift the piece clear.
One corner needed a number one at 3 mm, held with a finger against the blade, because a handle gives you no control whatsoever at that size.
How much detail is too much on a small element?
More than the element can carry. No reason exists to overcomplicate a volute six millimetres across, and I said as much out loud while working on one, since the instinct to keep going is strong and usually wrong.
What these want from me is the overall shape. Blending, a clean line, a movement that agrees with its neighbours, and then my hands come off them.
The leaves get the same treatment. A couple of hollows in the middle plus some blending is the whole job, and time saved there goes into parts of the relief that will actually reward it.
Knowing when to stop is a skill nobody teaches. It also separates a panel that reads clearly from one that reads as busy.
What do the red and blue lines mean?
Red is convex and blue is concave, and I drew them on the panel in colour because describing three of each in a row out loud defeats me. Think of red as sunshine sitting on top of a shape and blue as the ocean lying in a hollow.
Along this run there are three convex movements with a concave between them. Spacing matters more than the exact size of any one, so two of them got shifted before a tool went anywhere near the wood.
Anybody can use this. Draw your panel in two colours before carving it and the places you were vague about become obvious immediately.
How deep do the leaves actually go?
Three millimetres down at the lowest point, or an eighth of an inch. The arm gave that reading, then repeated it where I checked second, and repeated it once more after that.
All round, in other words. Identical figures across a whole run are rarer than you would expect, and finding them made the rest of the morning simple.
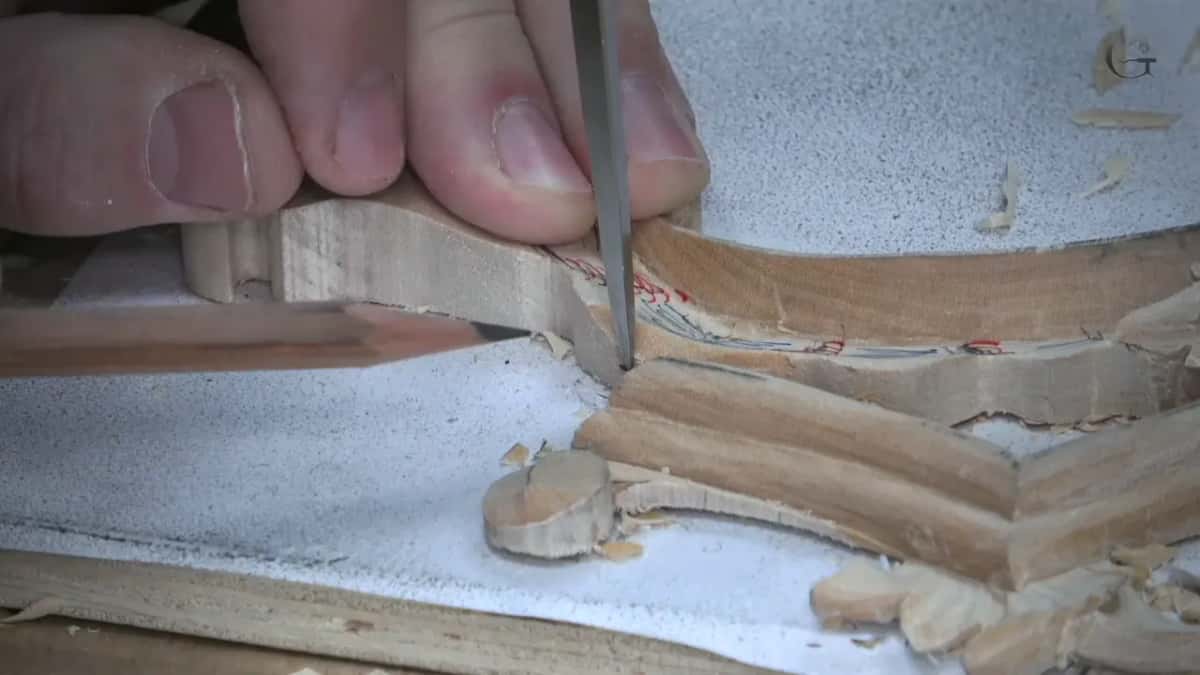
Depth below that goes into the excavations under the leaves. A two and a half millimetre veiner starts them, a one millimetre one finishes, and the corner afterwards is visibly darker than it was, which is the entire reason for going down further.

Do you clean every facet off?
Not here. On the acanthus I take most of them out, and on these leaves the facets earn their place by breaking up the light and casting shadows I want.
There is a practical reason underneath the aesthetic one. This panel is paint grade, every surface of it will be covered, and I have already started painting parts of the job. A little sad, that, though it is what the client asked for and the client is right to ask.
So cleaning gets done, and it gets done lightly. A flat spoon, roughly a number one, almost a knife, and enough passes to take the harshness off without erasing the record of how it was made.

What happens when the blank comes loose?
You carry on more carefully. Partway through the volute the piece began lifting away from its board, since the glue holding it was never very strong, and this is the second workshop where that has happened.
It bothers me not at all. Being careful costs nothing, and re-gluing in the middle of a delicate cut costs an afternoon.
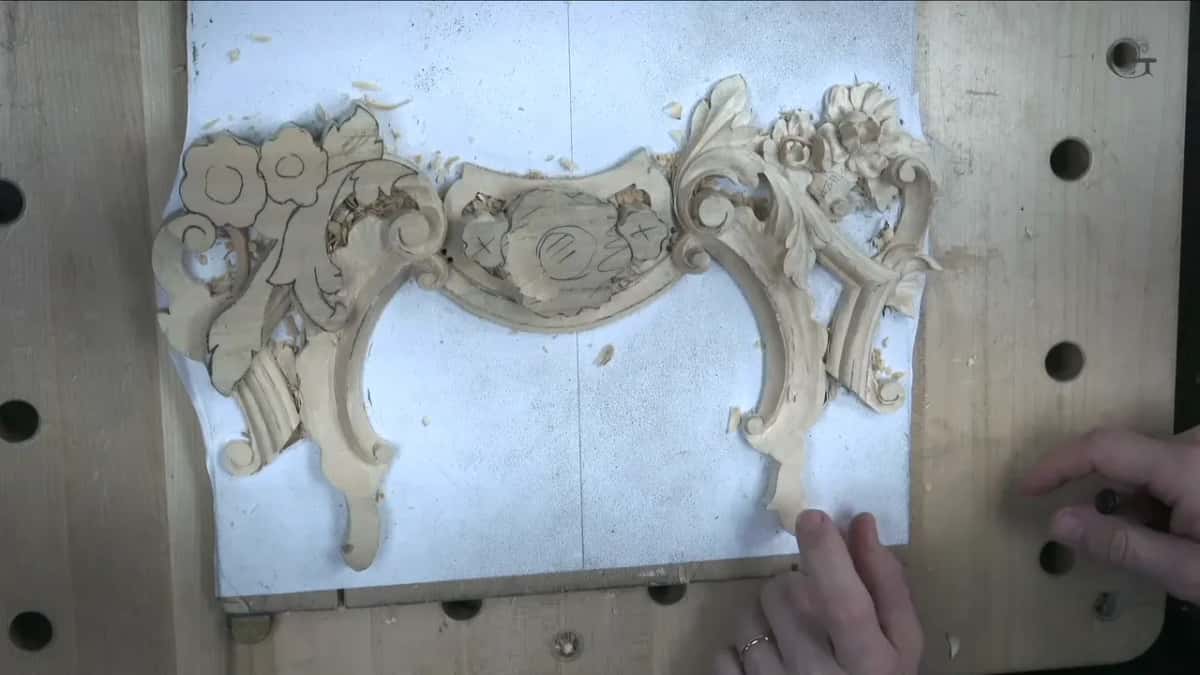
Two other interruptions belong to this recording as well. Some footage went missing again, five minutes of it, and there were landscapers cutting grass outside for much of the afternoon. Neither one was worth stopping the recording for.
Which tools did this workshop really need?
Rather fewer than the list you are about to read might suggest. Two veiners, three millimetres and one. A number eight at three, a nine at ten, a seven at fourteen. Then a five at a quarter inch and a number one with a double bevel, plus a back bent to blend the rounded faces from both sides.
Two of them are new to my bench, and I used them partly for the pleasure of it. A four millimetre spoon gouge and a Peter Benson detailing tool from Ashley Isles, both of which earned their place honestly.
My pencil sharpener gets a mention too, since somebody always asks. Battery operated, an Office Goods V7, a couple of years old, inexpensive and entirely reliable.
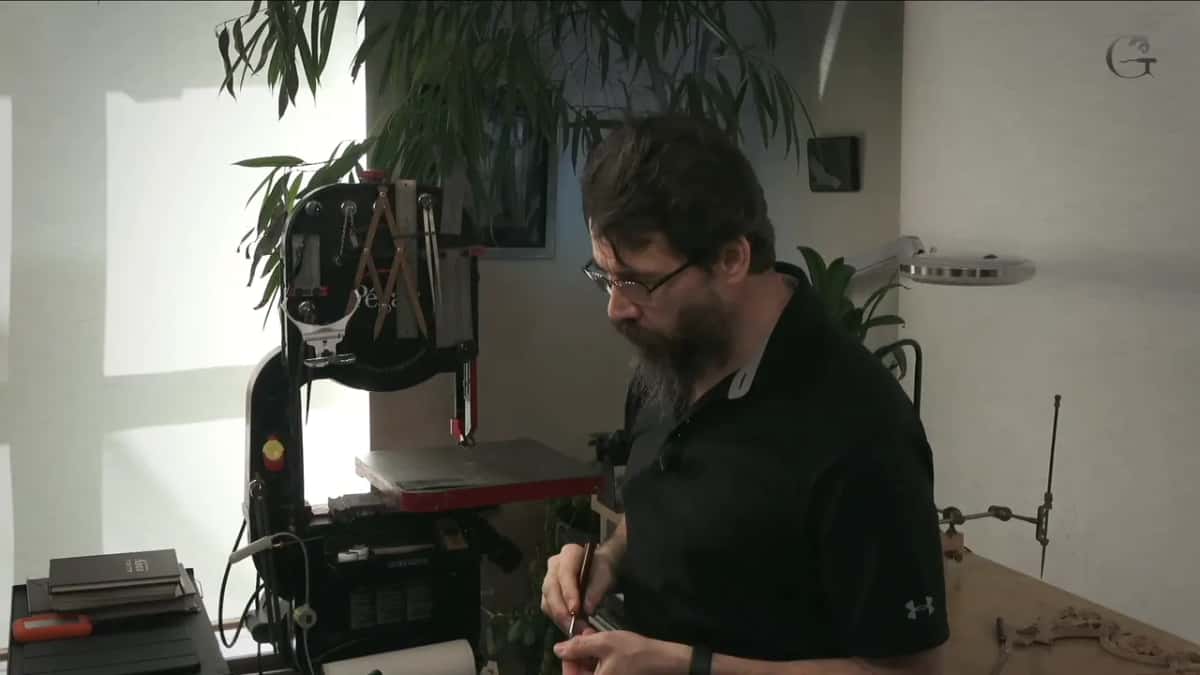

Carving along the grain on the last of the leaves needed care, since a cut running with the fibres wants to dive. By the close of the session the leaves have their ridges, both volutes are shaped, and the panel is ready for whatever ornament comes next.
Ninth of fourteen. Workshop eight carves the clover molding these volutes run along, and workshop seven builds the flowers above them. Next comes workshop ten. The acanthus leaf itself is shaped in workshop six, crossings in workshop five and depth in workshop four. At the start, workshop one outlines the design while workshop two grounds the background and workshop three builds the first volute. The course covers every one of them. The measuring arm has its own workshop, gouges are chosen there, and a dull edge dives when you cut along the fibres, so sharpening comes first. More foliage lives in acanthus over moldings and modern acanthus, this panel belongs to the Venice Room, and the thinking behind the movement sits in the design course.
You have a ridge to raise and two hollows to put beside it. Access to the school puts the rest of the panel in front of you.
How it's done
- Shave the surplus off before judging anything. A lump standing proud hides whatever lies beneath it, so every decision made around it is a guess. Take it back with a knife-shaped tool and the plan appears within a minute.
- Hollow one flank, then the other. Follow the movement of the shape rather than its drawn outline. The narrow strip left standing between the two hollows is the whole object of the exercise.
- Rotate a small gouge into the curl. An eight at 3 mm, turned slightly as it goes in rather than shoved. Pressure snaps a curl clean off. Rotation opens the hollow beneath and leaves the edge whole.
- Ring a tiny volute before shaping it. Take a ten at 6 mm right around the outline. Tens run shallower than elevens, and a curve wants that. Every stroke afterwards then has a wall to stop against, and that is the entire point of doing it first.
- Check the depth in three places. Here the arm reported 3 mm down, then repeated itself twice. Identical figures across one run are rarer than you would expect, and they make the rest of a morning simple.
- Stop before the detail gets busy. Blend, clean the lines, and take your hands off it. On an element the size of a shirt button, extra detail reads as noise rather than as skill.
Frequently asked questions
What is a micro pipe in wood carving?
A ridge so slight it barely deserves the name pipe, raised by hollowing the wood on both sides of it rather than by building anything up. Light runs along the top and shadow gathers beside it, and that pull is what leads an eye along the shape.
Why rotate a gouge instead of pushing it?
Pressure is what snaps a delicate curl off. Turning the tool slightly as it enters lets the edge cut its own way into the hollow, and the wood comes out in small pieces instead of one lever action that takes the curl with it.
What is the difference between a number ten and a number eleven?
Depth of sweep. Elevens sit close to a true U and cut a narrow channel, while tens run shallower, and that makes them better for ringing an outline that curves. On a scroll the width of a shirt button, the difference decides whether your line follows the shape at all.