
Alexander Grabovetskiy, woodcarver, School of Woodcarving · Published 2022
What is the boasting stage in wood carving?
Quick answer: Boasting is the stage where every movement on a panel gets shaped in three dimensions and no detail is cut at all. Curves, slopes and the overall flow go in first with wide flat tools. Details come afterwards, once the form underneath them is settled.
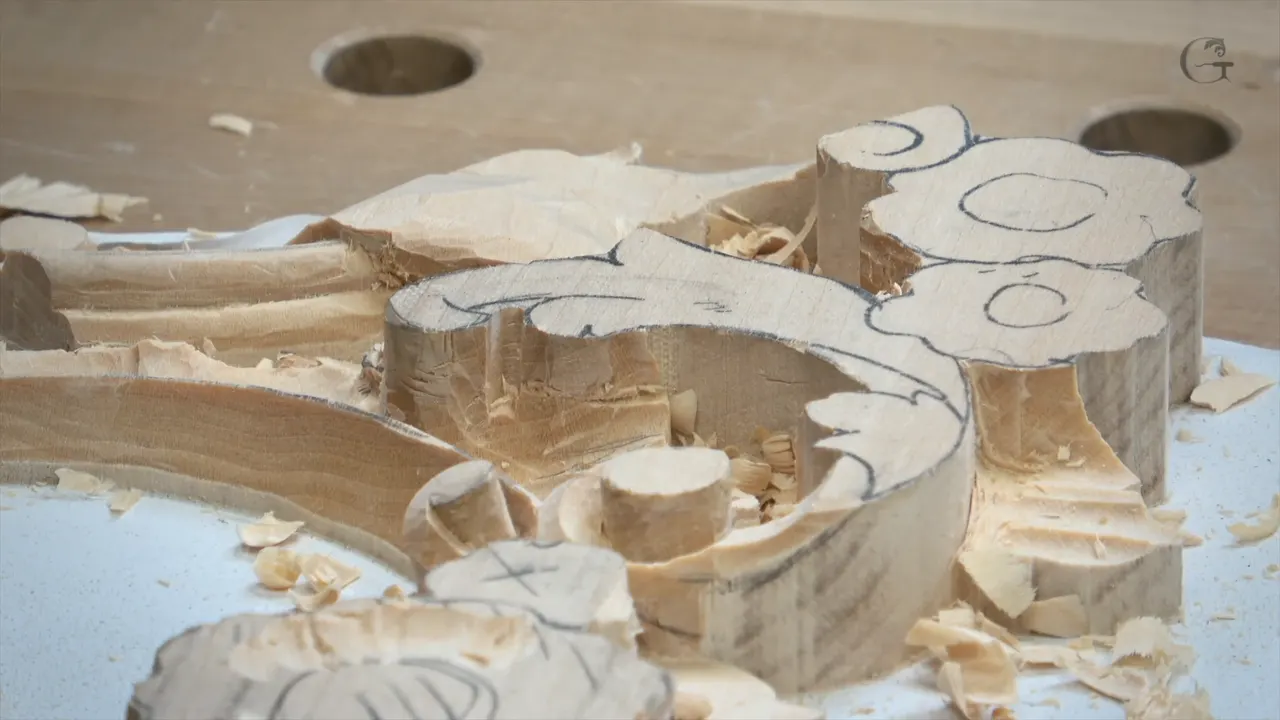
Shape everything first and cut nothing. Every curve, every slope, every place where one leaf dives under another gets roughed into three dimensions before a single detail appears. Carvers have a word for that stage, and the word is boasting.
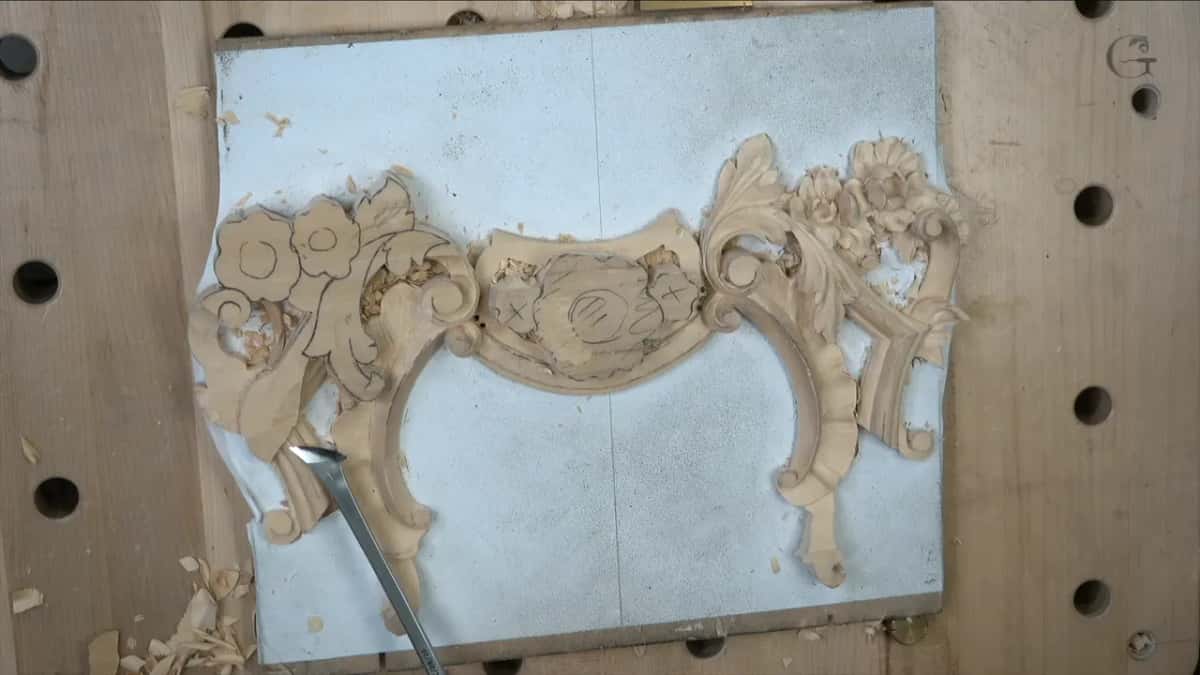
This workshop turns to the left half of the panel and starts it over from nothing. The right half could absorb another day of my time, and it will get one, though there comes a point where cleaning a finished area is a way of avoiding an unfinished one.
So the whole left side goes through the same sequence. Form first. Flowers afterwards.
What makes the stage worth naming is what it refuses to do. No ornament gets finished here, no edge gets cleaned, and nothing is decided that a later change would waste.

Key takeaways
- Shape the whole side in three dimensions before cutting one detail into it.
- Almost any flat tool serves for this. A skew, a chisel, a seven, whatever sits nearest your hand.
- Leave roughly 2 mm between the leaf and the molding it wraps.
- Cut inward toward your drawn line, never outward away from it, because working outward catches the grain and breaks a piece off at the worst possible moment.
- Relieve every triangle before anything pushes into it.
- Deliberate differences between two matching panels are what tell a viewer a person made them.
Which tool does the roughing out?
Whichever one you like. Skews work, Gonzalez tools work, my Sekira works, an ordinary woodworking chisel works, and so does a seven or a five or a three.
Nothing here is delicate enough to care. You are moving volume and establishing flow, not placing anything a viewer will inspect, so the only question is which handle feels comfortable for an hour.
I use the Sekira because I have grown fond of it. Six months ago it would have been something else, and in six months it will probably be something else again, since carving every day makes a person tired of their own habits.

How close does the leaf come to the molding?
Two millimetres, near enough. The acanthus wraps the clover molding and falls away below it, following the profile rather than rising over it, and the gap left between the two lands at a shade under 3 mm.
Three thirty seconds, if you prefer that fraction. I checked the first panel before committing, because the leaf there lies on top and wraps almost underneath without ever climbing high.
Wrapping it the whole way round was an option I considered and then rejected, since the extra hours buy nothing anybody could see from a chair.

Further along, the same leaf is allowed to drop much lower. Three millimetres of material at that end is all I keep, and everything above it goes, down toward the small volute waiting at that end.
Why should a matched pair differ at all?
Identical is what a machine produces. On the first panel a certain leaf passes underneath its neighbour, and on this one I drew it passing over, which changes nothing about the arrangement and everything about how the pair reads.
I learned that trick on lion corbels. Carving a pair of heads, I let one tongue sit above the lower teeth and the other run beneath them, and from three steps back the two look the same while anybody who studies them knows a hand was involved.
Nobody is fooled by symmetry that perfect. They may not name what bothers them, though something always does.
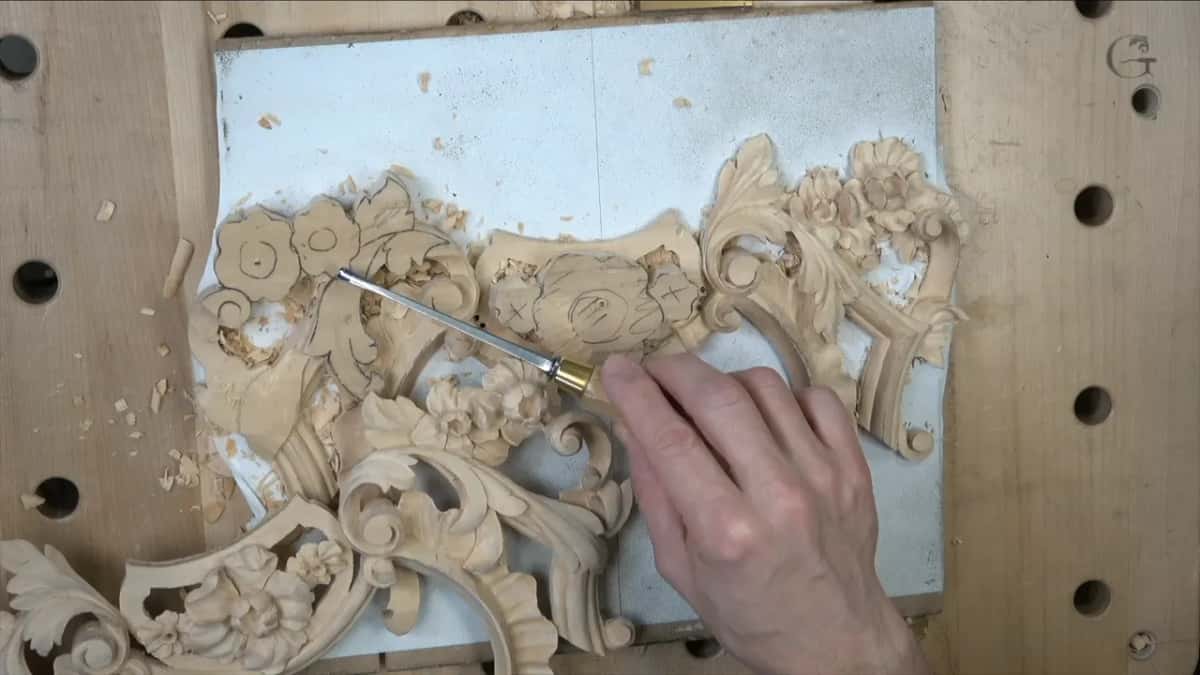
Which direction should the cut travel?
Inward, toward the line you drew. Start outside the shape and work in, and if the grain grabs you it grabs into waste; start at the line and work out, and it grabs into the thing you were trying to keep.
I broke that rule myself during this session and admitted it on camera. My edge was sharp enough to survive the mistake, which is not the same as the mistake being a good idea.
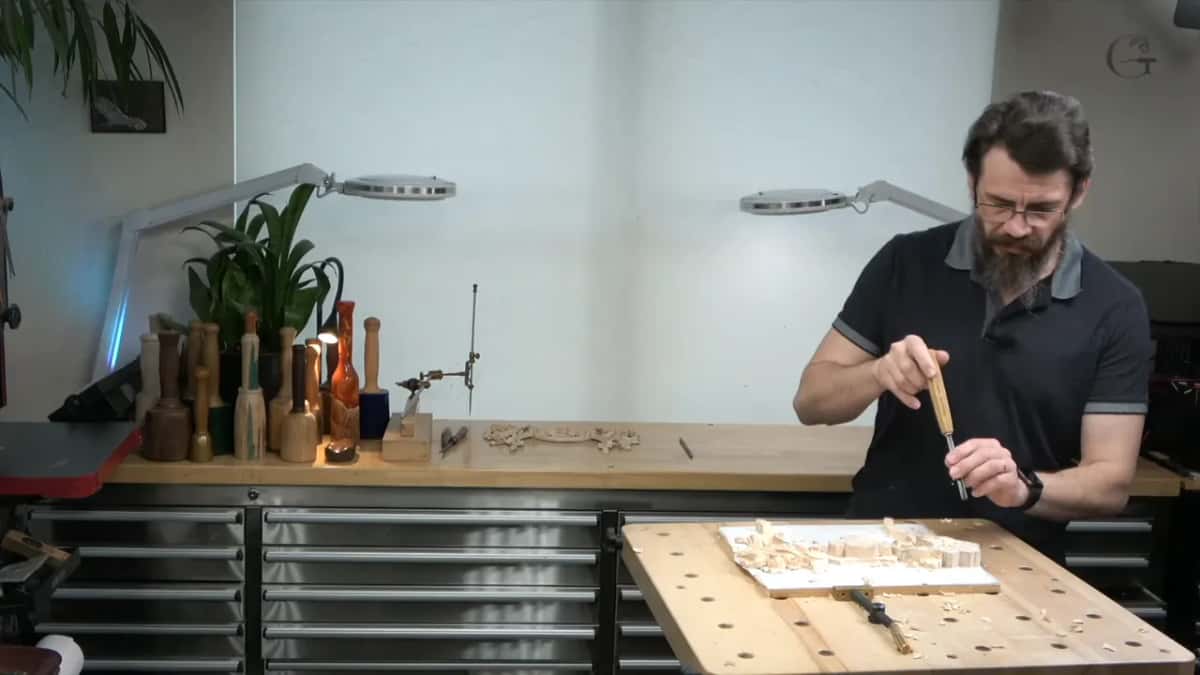
Rotating the bench is the proper fix. In my case rotating means re-aiming three cameras, so I walk round to the other side instead and cut from there, which achieves the identical thing with less cabling.

Some material stays behind on purpose. About five millimetres between the end of a cut and the drawn line, kept there so the final pare can be one clean vertical chop instead of a nervous approach.

That last pare needs the blade at ninety degrees to the surface and nothing else. Lean it by a few degrees and the wall you just made is undercut, which you will not notice until light hits it from the wrong side in somebody's dining room.
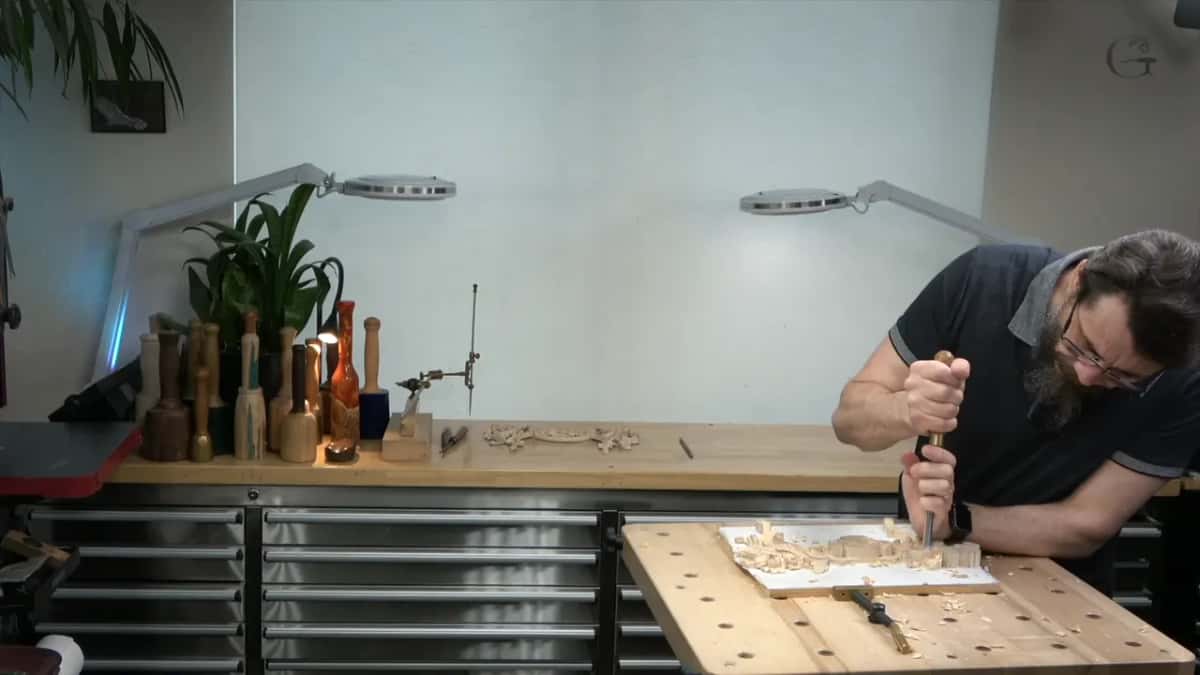
Why relieve a triangle before touching it?
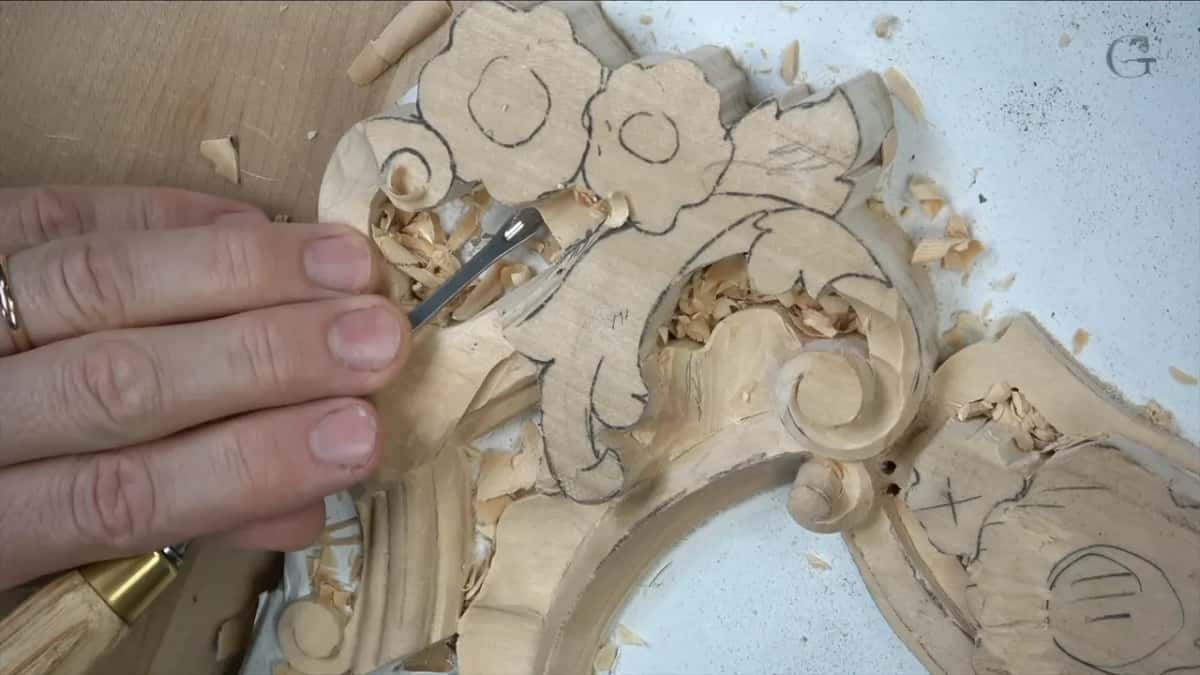
Push a tool into a narrow corner and the wood splits ahead of the edge. A triangle is exactly that corner, so a relief cut goes in first and gives the split nowhere to travel.
I say this more often than anybody needs to hear it. That is on purpose, since somebody watching for the first time has not heard it at all.

An eleven does the job, and it is what I reach for throughout this project. A V tool would serve perfectly well, and I own one, and I show it once in this workshop for the sake of showing it.
Then it goes away again. The carvers who made the originals had no V tool, and although nobody alive could tell from the finished relief which I used, I would know.
| What gets established | The figure on this panel, measured rather than guessed | How each of those figures was actually established here |
|---|---|---|
| Gap beside the molding | Two millimetres, or three thirty seconds | A flat bladed tool, working the leaf down toward the profile |
| The far end | Three left | Cleared from three directions and never from beneath the shape |
| Waste kept short of the line | Five millimetres, near enough | Left standing there on purpose, so the last pare is one clean chop |
| Height against the first panel | Within half of one millimetre, which is close enough to walk away from | Measuring arm |
| The drop across one shell | Six | That same flat tool again, working as fast as it safely could |
| Undercut cut purely for shadow | As deep as the shape allows | A spoon veiner at two millimetres, then something smaller again |
What takes a chunk out without levering?
Wiggle the tool and let the chip break free. Moving a gouge up and down inside a cut turns it into a lever, and the part it levers against is usually the thin fragile thing you have spent an hour creating.
Control matters more than speed at this point. Slow cuts, small chunks, and no rushing, because a piece that has been thinned to a few millimetres will not survive enthusiasm.
The cut itself begins on one corner of the edge and rolls. Left corner in, full rotation through the stroke, and the hollow comes out even instead of stepped.


How do you avoid ruining what is already there?
Look at the first panel before every serious cut. Twice in this session I stopped, picked up the finished piece and studied how a shape behaves on it, and twice that saved me from going somewhere I could not return from.
Undercutting too early is the real danger. Dig beneath a leaf before its form is settled and you have taken material a later stage needed, a mistake with no repair, so every cut arrives from three directions and none from below.
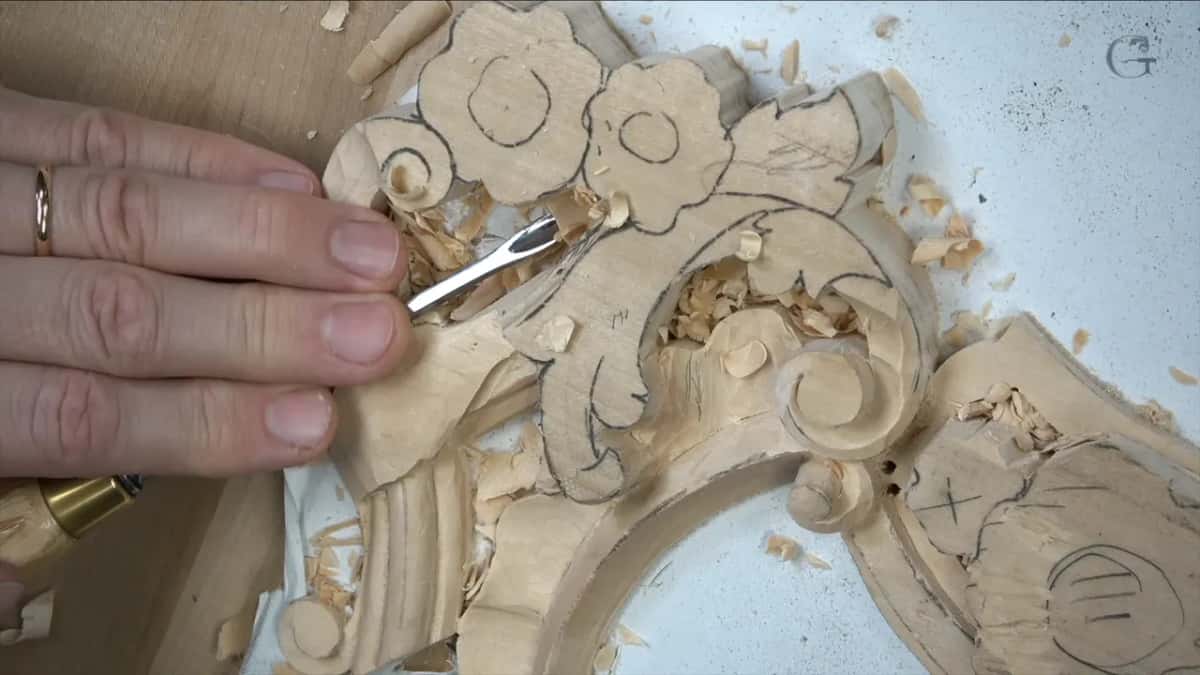
Certain walls stay standing on purpose. Beside a shape still being settled I leave a wall of surplus, because a wall comes off easily and nothing puts one back.
There is also a floor you cannot pass. Behind one of these shapes the opposite side is already hollowed, so a stopping point exists in the wood itself, and going further means breaking through into a hollow that sculpture in this depth cannot survive.
When does a bigger tool save time?
Whenever what comes off is pure waste. One seven wider than an inch cleared a whole section here in a handful of strokes, and nothing smaller would have been quicker or tidier about it.
Knowing where to stop is the whole skill. Wide tools move volume, and the instant a shape begins to matter they go back in the rack and something that fits it comes out.
Time saved now is time available later. Later is where it gets spent on the things anybody will actually look at.
What is a plug cut?
A gouge driven straight in like a drill bit, opening a hole rather than a channel. Here a three millimetre number nine goes almost the whole way through the panel, since that spot will eventually be open air with a leaf appearing to grow out of it.
Six millimetres in and the tool has done its part. From there the cuts travel toward it from other directions and meet, and the ridge above must survive every one of them, which is the same rule every carver meets on their first undercut.
Keep that ridge and the shape reads as growing from underneath. Damage it and no amount of later carving repairs the illusion.

Why blow the chips with a hair dryer?
Blowing them by mouth sounds appalling on a recording. My solution came out of the bathroom and not a tool catalogue: my wife's old hair blower, which I now describe with a straight face as professional equipment.
Three seconds and a hollow is readable again. A compressor would do the same, louder, and I keep this studio deliberately free of machinery beyond a band saw, a scroll saw and my sharpening setup.

How much of this stage is really about shadow?
Nearly all of it. Carving is light and shadow before it is anything else, and every undercut I take during boasting exists to make a dark line that will survive being seen from a distance.
One movement here was entirely optional. A second hollow inside the first, cut for no reason except that it throws extra shadow where two layers cross, and you would not miss it if I skipped it.
I like that sort of thing. Why not.
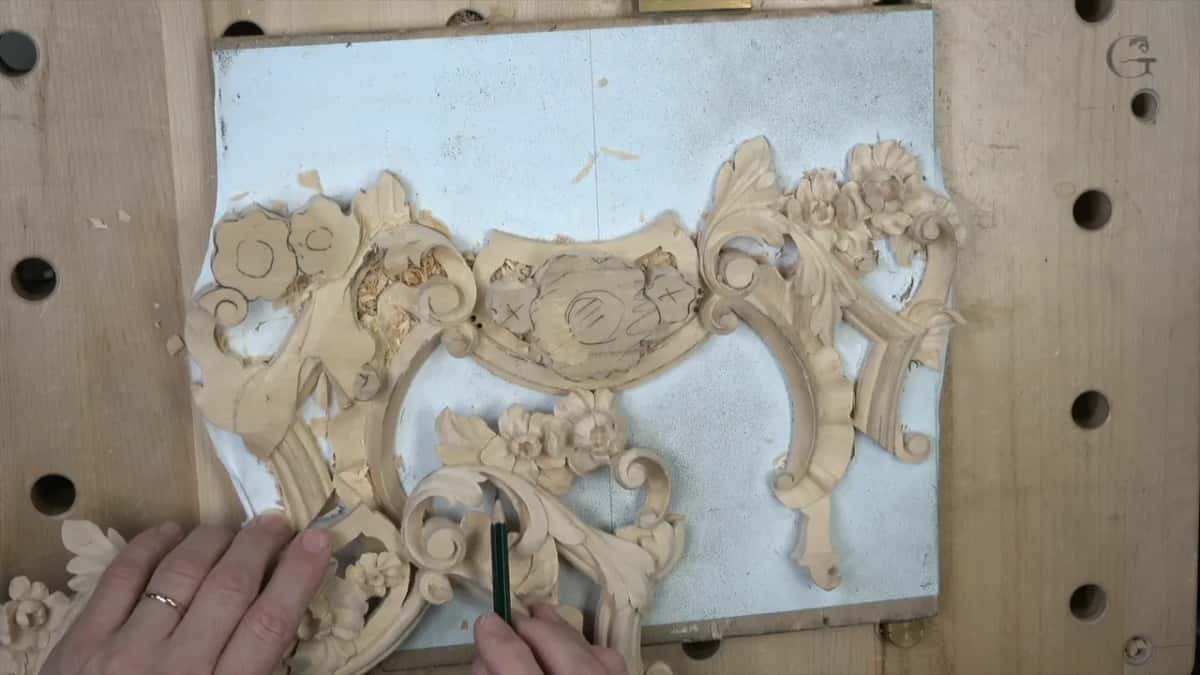
A two millimetre spoon veiner does that work, then one smaller again. Spoons need care at this stage: crank one in a weak area with the grain running the wrong way and the whole part snaps off.

What light will this panel actually live in?
Far less than my workshop gives it. Under these lamps the carving is lit from every direction at once, which flatters everything and tells me almost nothing about how it will look installed.
In the room it is going to, two sources matter. At night the light comes from above, and during the day it arrives straight from the front with a weaker second source off to the right.
Deeper shadows are the answer. Cut for the light a piece will really get and it reads as three dimensional, instead of looking like a photograph of a carving.
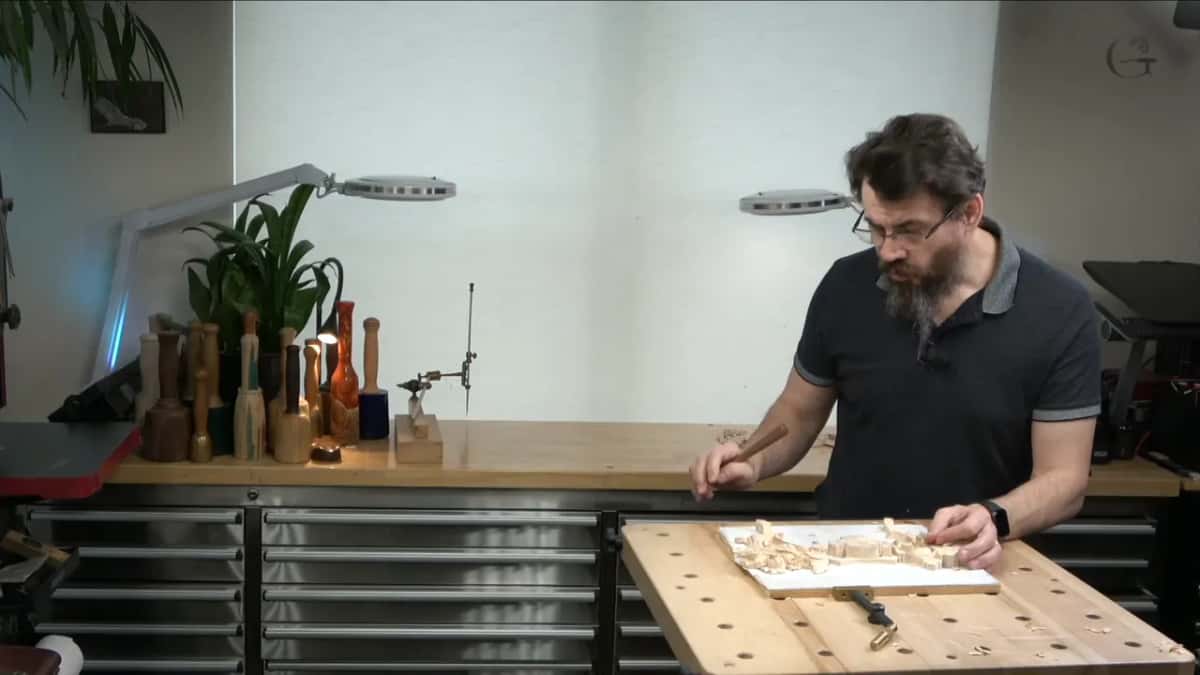
One slope on this side deserves its own sentence. It does not run flat like a road; it rises and falls along its length the way a racing track banks, and that movement is what stops a long surface looking dead.
Backwards along the grain I worked more than once, hearing the edge catch, and carried on because the gouge was sharp enough to slice rather than tear. A sharp tool lets you break a rule. A dull one does not.

Checked against the first panel with the measuring arm at the end, the two sit about half a millimetre apart. Near enough to leave alone, and I was glad not to have gone deeper, since the fix would have meant cutting the finished piece to match the new one.

Tenth of fourteen, this one. Workshop nine finishes the leaves and volutes on the other half, and workshop eleven takes the eye and the pipe. Behind them, workshop eight carves the clover molding this leaf wraps and workshop seven builds the flowers. Earlier still, workshop six shapes the acanthus, workshop five handles crossings, workshop four sets depth, and the first three carry the panel out of a drawing and into an opened ground: one, two and three. The course holds the lot. Depth transfer gets a workshop of its own, gouges are chosen there, and boasting against the grain only works on an edge that sharpening has earned. There is more foliage in acanthus over moldings and modern acanthus, the room is the Venice Room, and why any of it moves belongs to the design course.
You have a whole side to shape and nothing to finish yet. Access to the school puts the rest of the panel in front of you.
How it's done
- Rough the whole side in three dimensions. Curves, slopes, every place one shape dives under another. Nothing gets finished and nothing gets cleaned, because a detail carved now is a detail wasted if the form changes.
- Pick whatever flat tool suits your hand. Skew, chisel, seven, five. None of this is delicate enough to care which one, and comfort over a whole hour beats any theory about sweeps.
- Hold the leaf 2 mm off the molding. Follow the profile instead of climbing over it, and look at the finished panel before committing to any of that.
- Always cut toward your drawn line. Begin outside the shape and travel inward. Grain that grabs will then grab into waste, and grain that grabs on the way out takes the piece you wanted.
- Open every triangle with a relief cut. Wood splits ahead of an edge pushed into a corner. An eleven going in first leaves that split nowhere to travel, and it costs four seconds.
- Make the pair differ somewhere. One leaf over on this panel where its twin passed under on the other. Perfect symmetry is what a machine delivers, and people sense it even when they cannot name it.
Frequently asked questions
What does boasting mean in carving?
Roughing out the full three dimensional form before any detail exists. Every curve and slope goes in, nothing is refined, and the point is that changing your mind later costs almost nothing. Details carved into a form you then alter are hours thrown away.
Which gouge is best for roughing out?
Almost any flat one. Skew, chisel, seven, three. Nothing in the roughing out is delicate enough for the sweep to matter, so pick whatever your hand is happy holding for an hour and get on with it.
Why cut toward the line instead of away from it?
Direction decides where a tear ends up. Working inward, the grain can only catch into material you were removing anyway. Working outward, it catches into the shape you were protecting, and a piece breaks off at the worst possible moment.