

Alexander Grabovetskiy, woodcarver, School of Woodcarving · Published 2022
How do you carve a volute in wood?
Quick answer: A volute is carved as three curves one after another rather than one spiral. Seen edge on it drops about three millimetres as a concave, swells roughly six as a convex, then dips into a final concave that carries the shape into the roll. Roundness is tidied afterwards.
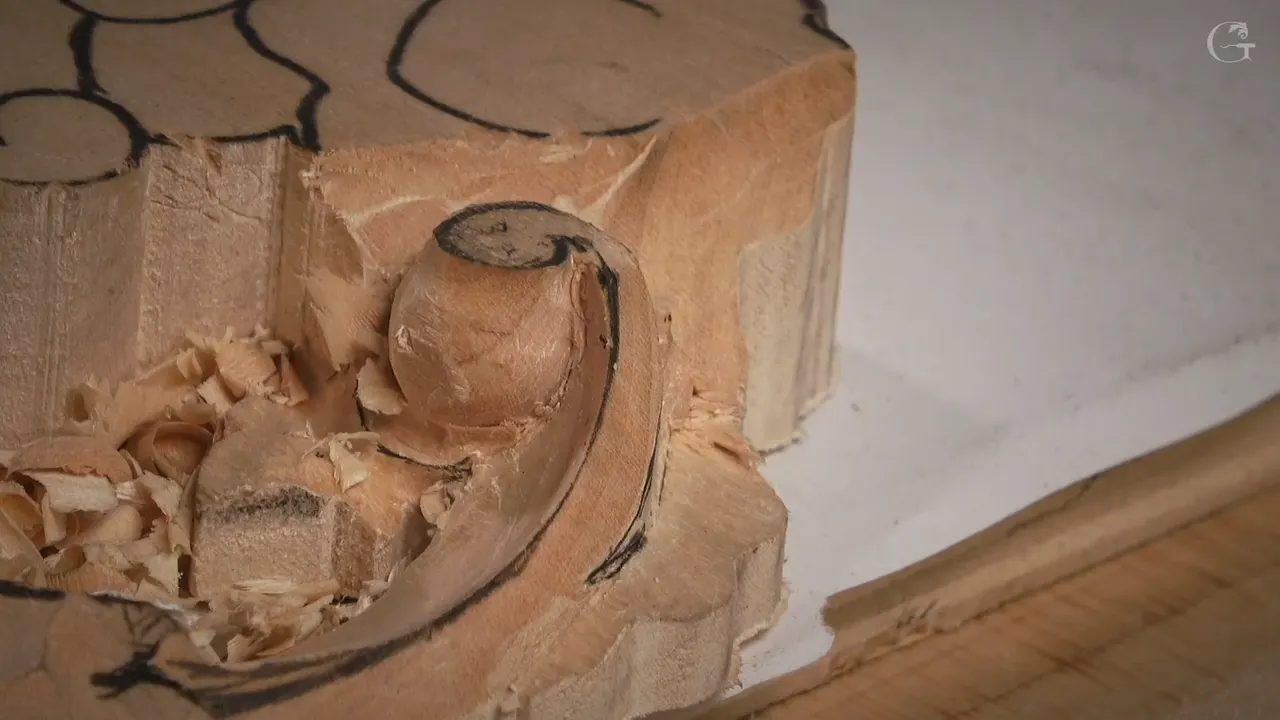
Nobody carves a volute as one spiral drawn once and then dug out. Look along the edge of a good one and the surface keeps changing its mind: it dips, swells, and dips again before the scroll rolls over. Three curves, one after another, read as a single flowing turn.
This workshop carves the first serious volute on the panel, the one with a twist in it. Before that the molding channel gets finished, and afterwards a small acanthus has to be separated from underneath it.
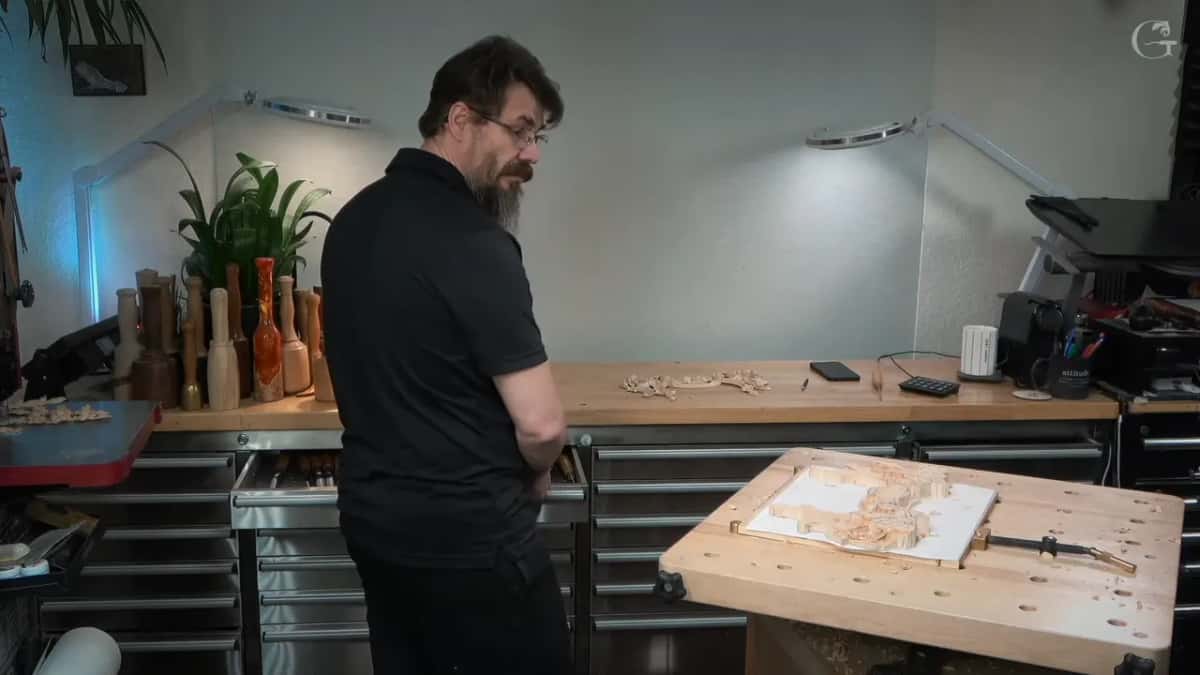
There is also a confession about a phone in here, which I am not embarrassed by. They did not have these things when this ornament was invented. Electric light over the bench is every bit as modern, and I use that without apologising for it.

Before the volute takes shape
- Concave, convex, concave. Every good volute has that shape in section.
- Down three millimetres or so, out about six, then down once more.
- Roundness comes last. Mine is nowhere near round yet, and it does not need to be.
- No straight lines at all, not even when you crouch and look along the profile from the side.
- Grain decides which way you come at it.
- The two halves differ on purpose.
What is a volute, and why does this one twist?
A volute is the rolled scroll finishing an ornament arm, the shape a fiddlehead makes before it opens. On a flat drawing it looks simple. In wood it is a spiral that also travels in depth, which is a different animal, and that depth is the part nobody draws.
Everything here lives in relief that runs about five millimetres deep, so the whole spiral has to turn inside less wood than the thickness of your little finger. That constraint is what makes the three curves matter. With room to spare you could fudge the shape. Here you cannot.
This one is more interesting than most. It goes almost flat, then rotates, then runs off in another direction, and on the finished first panel you can watch that twist happen. Sitting on a bare block, it honestly does not look like much yet.
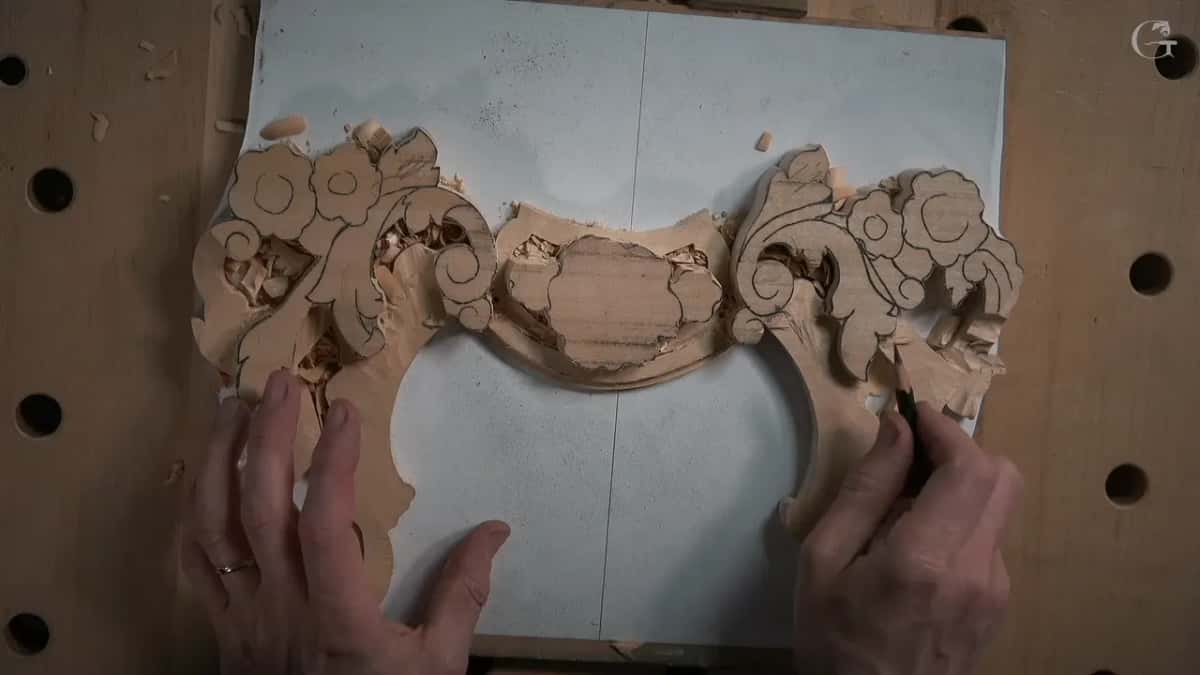
Mirrored onto this second panel, the whole movement runs the opposite way, which changes nothing about the anatomy and everything about how you approach it with a tool.
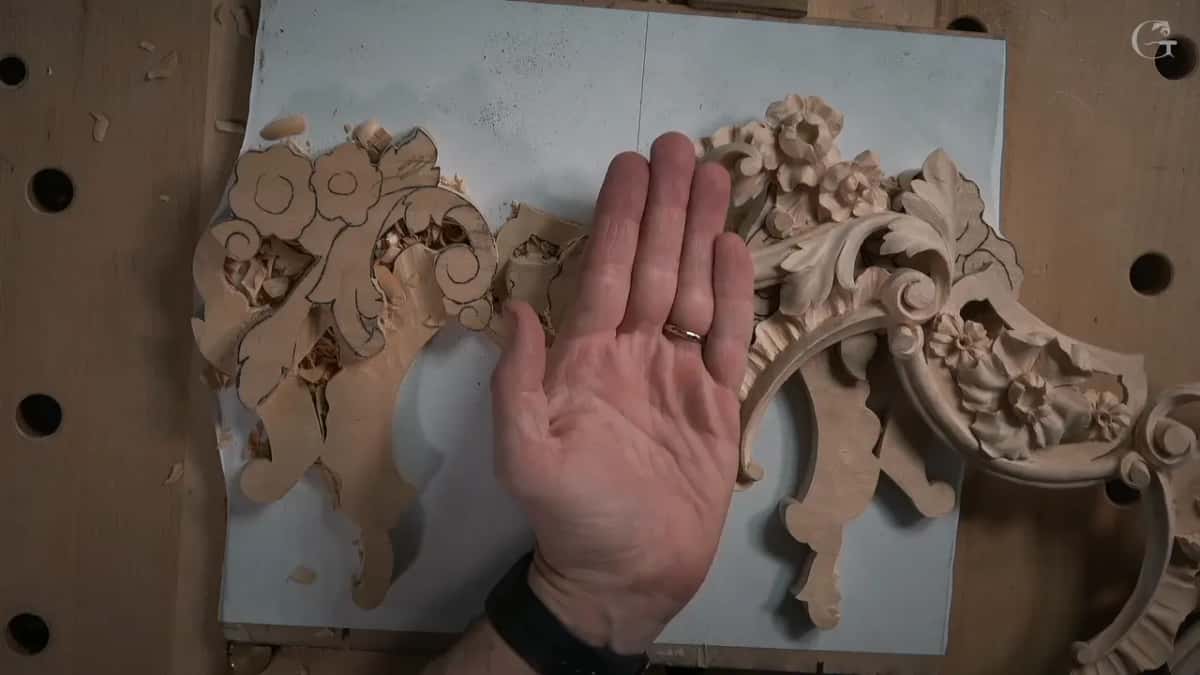
How do you build the curve of a volute?
In three moves, and I say them out loud while carving because that is how they stay in order. Concave, convex, concave.
Seen edge on, the first concave drops three millimetres or thereabouts, measured against the finished panel rather than guessed. Then the convex swells out, six millimetres or so, a quarter of an inch. A second concave carries the shape away into the roll. The small rolled part at the end measures only about six millimetres across, so everything happening here is happening inside a very small space.

Tools follow the size. A quarter inch number nine, six millimetres, starts the outer concave. Worth knowing that the 10 millimetre version is the true half circle, three eighths of an inch, which is why that one sweep turns up in so much of this panel. The convex gets shaped with a number five, or a back bent if you own one, working what I call a fillet round its edge. An eighth of an inch version opens the lower one, and that dip needs no depth at all. Establish the idea and stop, because a deep one here would fight the convex above it.

Then comes the part beginners hate. The volute does not look round. Mine did not look round either, and that is absolutely fine, because roundness is a cleaning-up job that happens after the three curves exist, not before.
Bites stay tiny throughout. I am not forcing anything here and there is no reason to force it, because the shape is still being found rather than finished. Push hard on a six-millimetre curl and the six millimetres leave the panel with the shaving.

Should the two sides of a panel match exactly?
They should not, and this is a design decision rather than an accident of handwork.
Look at the two halves of this ornament from above and the movements repeat and point the same way. Even when it looks symmetrical, it is absolutely not. The movement on this side differs from the movement on the other, and that difference is what creates the beauty in a design like this.
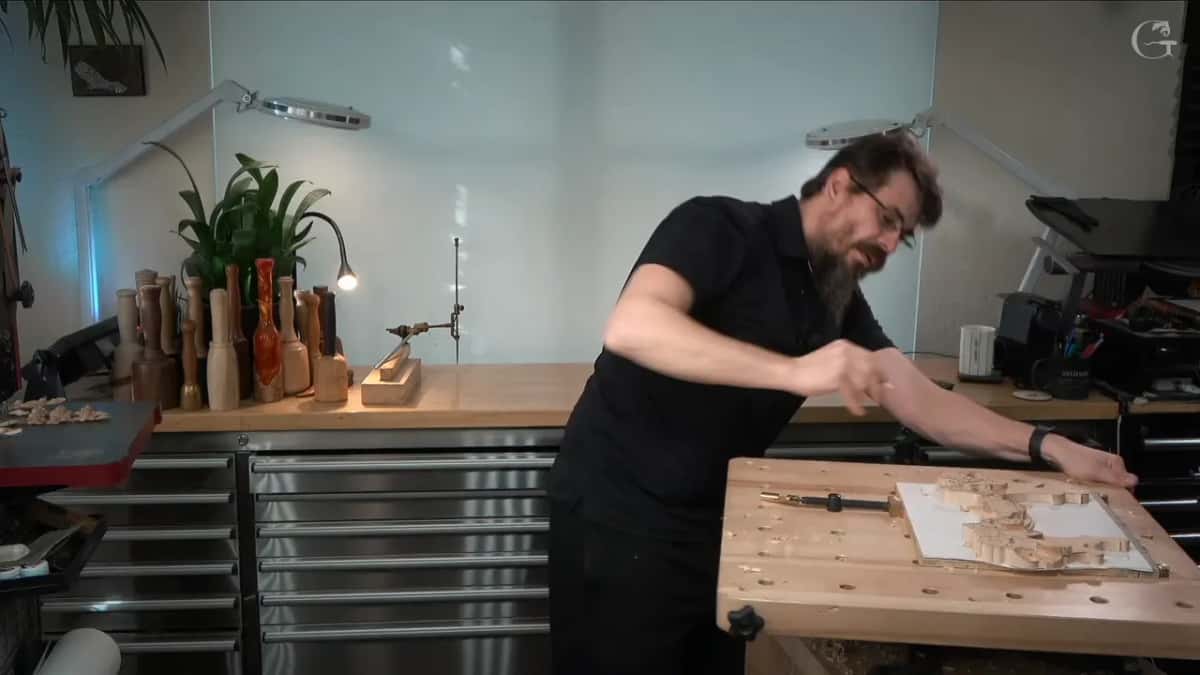
I could carve both directions identically. Most people would never notice, and the client would probably never notice. The work would just stop being interesting, and I want to make sure I am having fun when I am carving something. Forty years in, that is not a small consideration.
| The part | How it reads in section | Depth or size on this panel |
|---|---|---|
| The first dip | A concave | Three millimetres below the surface |
| The swell | A convex | Six millimetres, a quarter inch |
| Where it runs off into the turn | Concave once more | Shallow, just an idea of it |
| The rolled end | The whole spiral again, in miniature | Six across |

Can a phone help you carve a mirror image?
Mine does. Photograph the piece you already finished. Open the picture on an iPhone, hit edit, and flip it. Now the design on your screen faces whichever way the second panel needs, and you can copy the movement straight off it.
That sounds trivial until you try to draw a mirrored acanthus freehand. The eye is poor at reversing a curve it knows well, and it will quietly straighten the reversal. A flipped photograph has no opinion about what the curve should look like.

They did not have these things back then. We do have them, and I see no problem using one. It is also fast, which matters when a room full of ornament is waiting.

The phone earns its place a second time on this panel. Some of what happens inside a volute is impossible to show a camera mounted overhead, so I hold the phone down into the recess and film what my eye is looking at. The same applies to your own work: photograph the awkward corner and study it flat, rather than craning your neck over the bench for an hour.
Why does the grain decide your direction?
A pass that runs the wrong way does not carve at all, it levers. There was a spot on this volute where continuing the same direction would have been a real mistake, and you could see the edge catching the grain. Carry on and the whole small shape breaks off.

So turn around and come at it from the opposite side, which is the habit and not a rescue. And size matters here too. At one point the big number seven, 28 and a half millimetres of it, was grabbing plenty of material and about to zig off in a direction I did not choose, so it went back in the drawer. A 14 millimetre number seven does the same work without the argument.
Where a shape meets another and leaves a narrow wedge, that triangle gets relieved first with a straight-down pass, the same as everywhere else on this panel. And when a flat tool goes on a line, it stands at 90 degrees. Make sure you do not present the tool at some other angle, as close to upright as you can manage.
Worth naming the movement itself while we are here, because I keep correcting the word as well as the action. What the tool does is a rotation, and slicing is the proper name for it. Every pass on this volute rotates through the wood, including the short ones that last half a second.
Must every shape be measured off the first panel?
The important ones, yes, and the measuring arm does it in seconds. Before touching the shell I go to the finished piece, find its highest point, and carry that number across. One small warning from doing it on camera: the old panel sat with a gap under it, so the first reading came out low and I had to press the piece down and take it again.
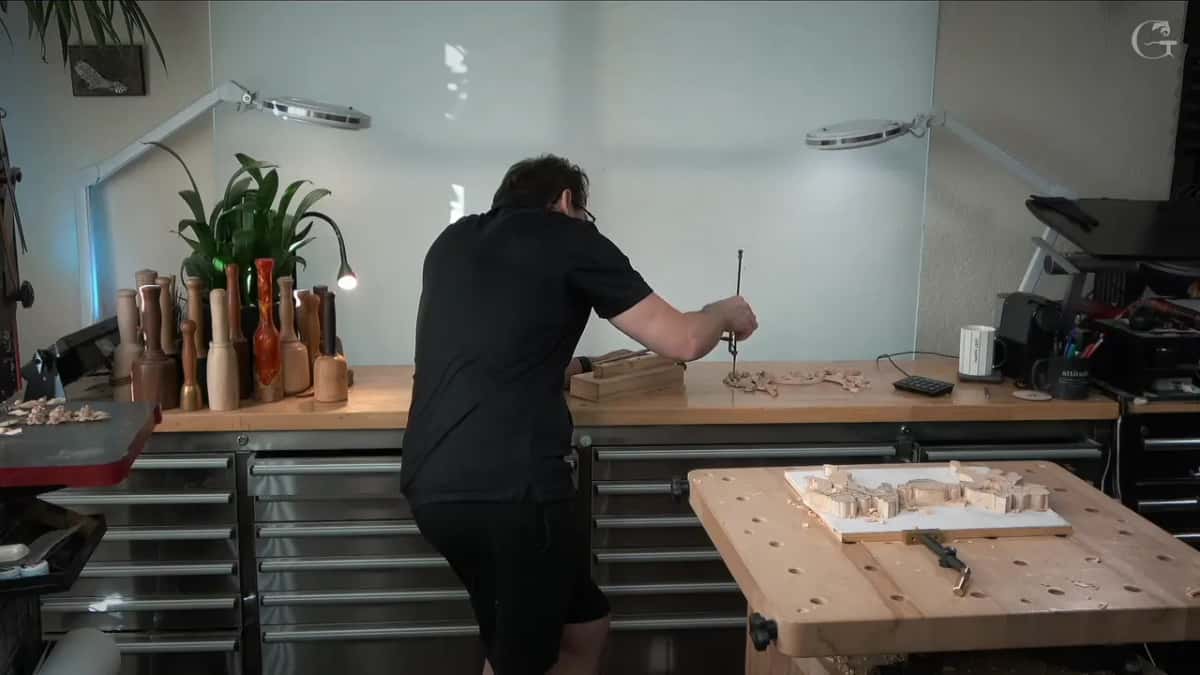
Depths matter even more than heights. Between the leaf and the lowest ground below it there is a specific number, and I read it off the first panel rather than guessing. That reading is what stopped me going too far: I was almost there, really dangerous, almost messed up. I did not mess up. It was close.
Between readings the drawing goes on with a line I place using my finger against the edge as a guide, the same fence I use everywhere. It costs nothing and it keeps a line parallel to something real.
Which tool carves a molding channel in one pass?
A macaroni tool, which most carvers have never held. It has two sides, two cheeks, and a bottom, so it reaches down the walls and along the floor of a channel at the same time. Nothing else in the carving drawer does all three jobs in one movement, so a channel that would otherwise take a morning of careful fitting between three separate tools comes out clean in a few passes.
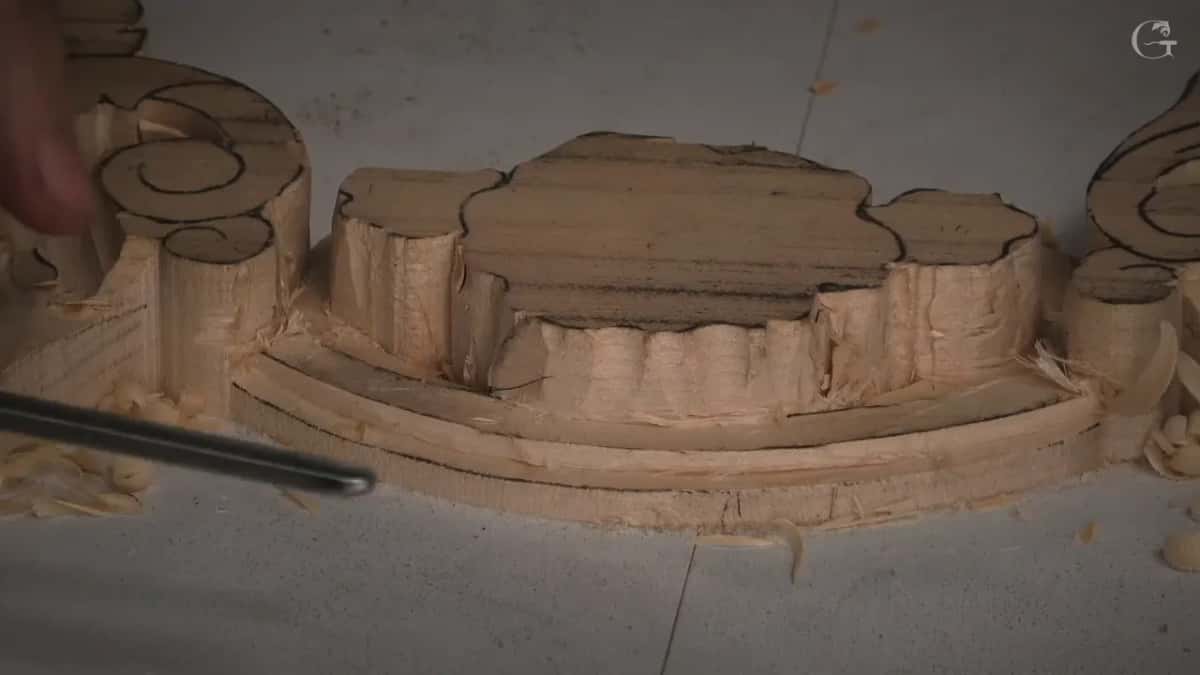
By origin this is a furniture maker's tool, and if you build furniture it is the one to invest in. It really does the job: it attacks the sides and cleans the upper surface as well, in a single movement that would otherwise take three tools and a lot of fussing.
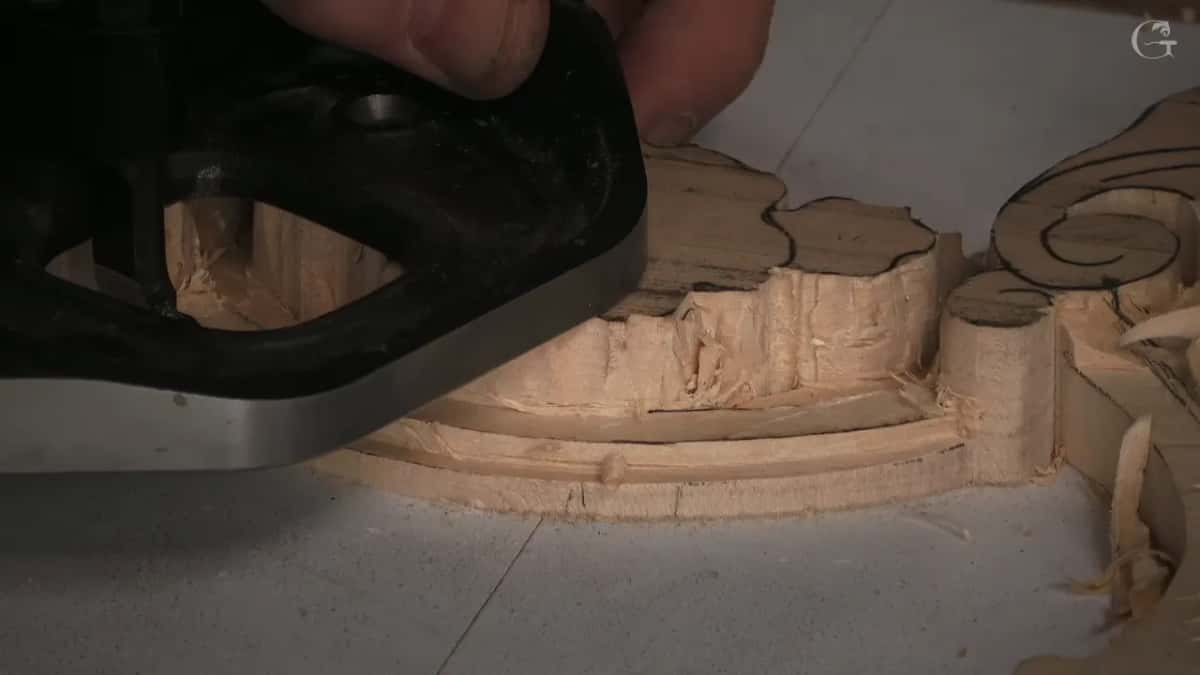
After that the router plane comes back for the final word, taken from both directions, so the height of that molding is the same the whole way along. Then the blade comes out and goes back to its own storage, away from the body of the plane.
Is a straight line ever right in a flowing ornament?
Almost never, and this is the correction I make most often. When a surface climbs from a low spot up to a leaf, the climb has to be smooth and curved instead of a ramp. What matters is that the transition goes uphill smoothly, not like just a straight line.
I do not like straight lines, even looking from the side, and the side view is exactly where people forget to check. Carve the profile, then crouch and look along it. A ruler-straight run tells you the eye was working in plan view only.

The same applies to the ridge on top of the volute. I draw it before carving, because I need to see it: roughly three millimetres wide in one place, narrowing to about two and a half millimetres where it approaches the turn. A ridge of even width reads as machined.
Does the finished shape have to be perfect here?
Not yet. That is the honest answer, and setting things in is all this workshop does. The shell gets lowered, not carved as a shell at all, while the acanthus below the volute is simply divided from it. As for the flower, it drops to a safe depth and is left alone.

Refining comes later, when the whole ornament is roughed and nothing can be knocked off by accident, with smaller tools, a sharp pencil to reestablish lines, a tiny knife to take facets out, and sometimes a magnifier. Small knives really do the trick in places where nothing else fits. And yes, that knife wanted buffing, which I said on camera rather than editing out.
One more tool earns its keep when a stage like this closes. A skew, run over the surface to clean everything off, because a messy surface hides what still needs fixing. Once the shavings and torn fibres are gone you can finally see the roundness, or the lack of it, and decide what the next hour is for.
Stand back when the workshop ends, with the shavings brushed off and the light coming across the panel, and you can see it: the volute rolls one way, then goes off the other. I am really happy about that detail, and there is still cleaning to do.
Inside the school this workshop sits third. The first covers slicing and outlining, the second grounds the background flat, and the course runs fourteen of them. Depth transfer is explained on its own in the measuring workshop. For more scrolls and leaves there is acanthus over moldings, modern acanthus, and the Venice Room this panel belongs to. Tool choices live in the tools course, and none of it works on a dull edge, so sharpening comes first.
You have a scroll to turn and three curves to put inside it. Access to the school puts the rest in front of you.
How it's done
- Finish the channel with a macaroni tool. Two cheeks and a bottom mean it reaches both walls and the floor in one movement. The router plane then takes the final depth from both directions so the molding height matches end to end.
- Read the shell height off the finished panel. Take the highest point of the shell from the first piece with the measuring arm, and press the old panel flat first, because a gap underneath it gives a reading that is too low.
- Flip a photograph to get the mirrored movement. Photograph the finished panel, open the picture, hit edit and flip it. The design now faces whichever way the second piece needs, and the acanthus movement can be drawn straight from the screen.
- Draw the ridge before carving it. The ridge on top of the volute runs three millimetres wide or so, narrowing to roughly two and a half near the turn. A ridge of even width reads as machined, so the line goes on the wood first.
- Sink the three curves in their order. Outer concave three millimetres down, convex swelling about six, lower concave shallow. Small bites throughout, with the tool coming from whichever side the grain allows.
- Separate the acanthus, then clean up. Drop the leaf under the volute just enough to divide the two shapes, then run a skew over everything. A clean surface is what lets you judge the roundness you still have to fix.
Frequently asked questions
Do you need a macaroni tool to carve a molding?
Other tools reach the same result, so no, but it takes three of them and more fussing. The macaroni does the walls and the floor of a channel in one movement, which is why furniture makers keep one. If you build furniture as well as carve, it is the one worth investing in.
Would a volute look wrong without the convex in the middle?
It would look flat, and flat is the giveaway. A scroll cut as one even dish reads as a groove rather than a rolled shape. The swell between the two dips is what catches light along its length and makes the eye follow the curve around the turn.
Are the two halves of a symmetrical panel carved identically?
Not on my bench. Looked at from above, the movements repeat and point the same way, but they are absolutely not the same, and that difference is where the beauty sits. Nobody would notice if I made them identical, and I would be bored senseless carving the second one.