
Alexander Grabovetskiy, woodcarver, School of Woodcarving · Published 2022
How do you get the background of a relief carving flat?
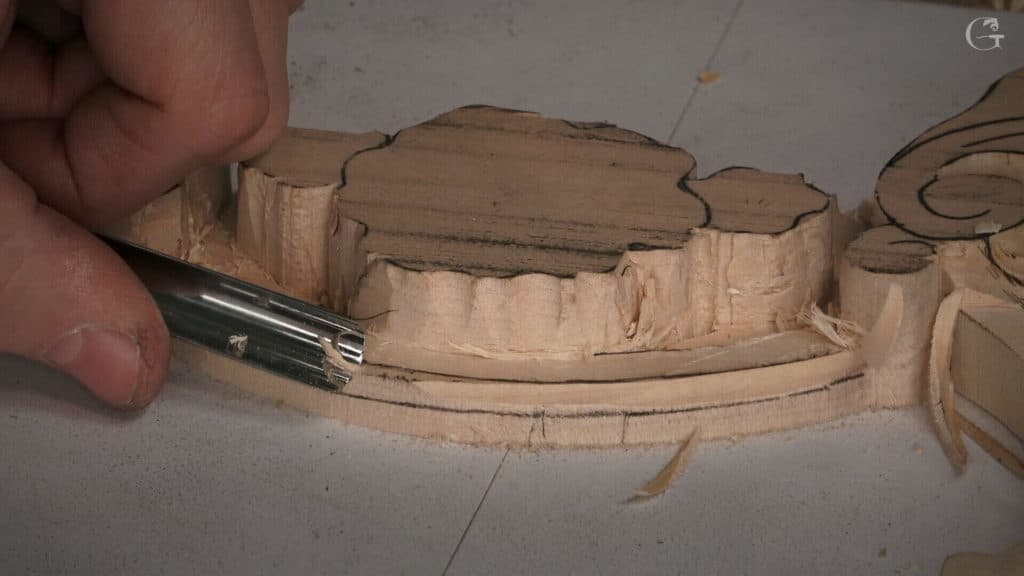
Quick answer: A flat background in relief carving is ground lowered to a single height all around the design. On this panel I took the waste out using a number nine crosswise, in bites from about 3 mm down to 1.5 mm, then leveled it with a router plane that references the uncarved surface.
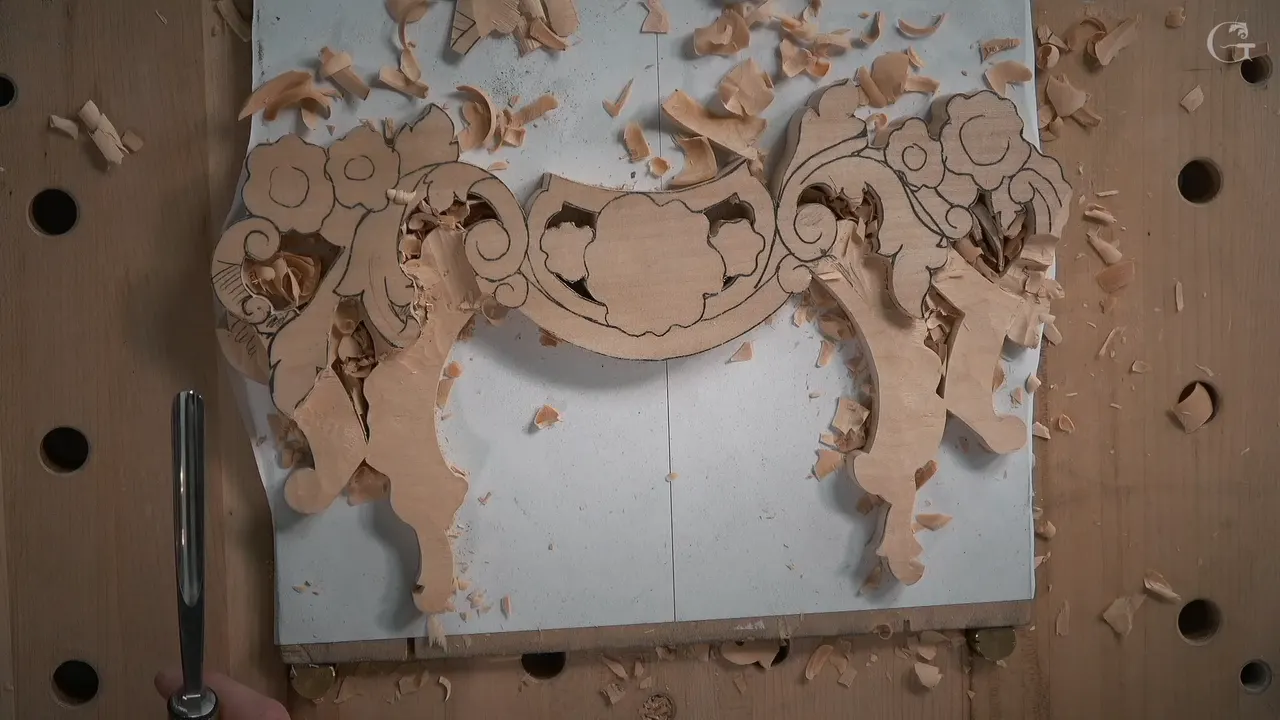
A flat background in relief carving is the ground around the design brought down to one height, the same on every side of it. On this floral and molding panel I took the waste out with a number nine, across the grain and bite by bite, and then a router plane settled the height from flat wood I had not carved yet.
You can get close by eye. Near the double volute I said I could measure the first piece, but I could probably just eyeball it, and it looked no more than a quarter of an inch low. Later in the same part I took my pointing machine to the molding anyway. At least for me, I have to double-check, because I made some mistakes before and I don't want to do it again.
Do you have a ground to bring down around a carved design? And should it sit at one height on both sides of the panel? Then mind the grain first, and keep a router plane close if you do have one. By the end you will know which tool went where on this panel, and how I knew the ground came out the same height front and back.
This relief panel is the second one for the Venice room project, a mirror of the first, which I kept measuring from. The whole section around the drawn flowers has to come down without touching them. They will be exactly the same flowers you see on the first piece.
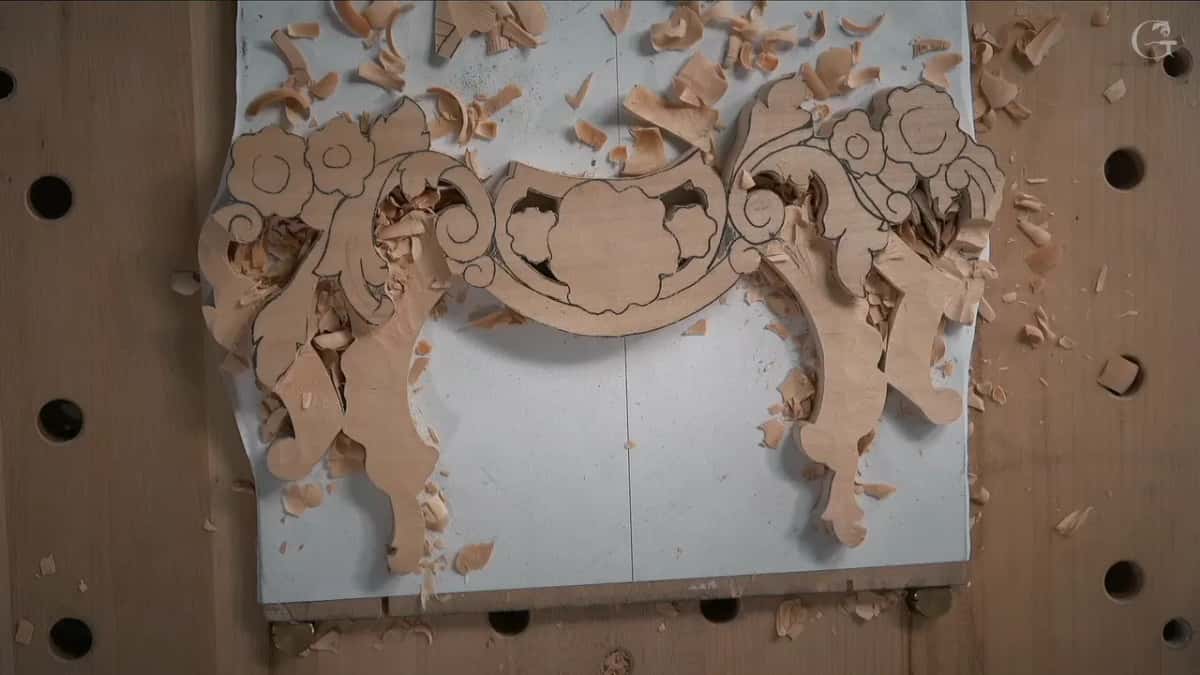
The flat background on this panel at a glance
- A 10 mm number nine (3/8 in) cleared the waste crosswise, the safer way in my opinion.
- Each pass rode the ridge of the last.
- The bite shrank from about 3 mm (1/8 in) in the open to about 1.5 mm (1/16 in) as the pencil line got close.
- Deep spots got a second approach from the far side.
- The router plane came out twice while there was still flat wood to reference from, and again in the last part to check.
- Front and back ended at exactly one height, and I knew it for sure.
Why carve cross-grain on a relief background?
Across the grain is always better, and always safer. Yes, that is my opinion, and you can probably even see it on the camera, the grain running one way and my number nine going the other. And I was slicing on every pass, not pushing, even over a really short distance. The slicing cut has a page of its own in lesson 1 of this course.
I went from outside in, toward the flower. I always find that much safer.
Late in the lesson I went the other way. On the waste line by the molding I had to keep an eye on what the grain does, and for me it was really important not to cross my two pencil lines there. So I came at it from the opposite direction and carried the pass with the grain. See what happens with the grain there, I said, and be wise about it.
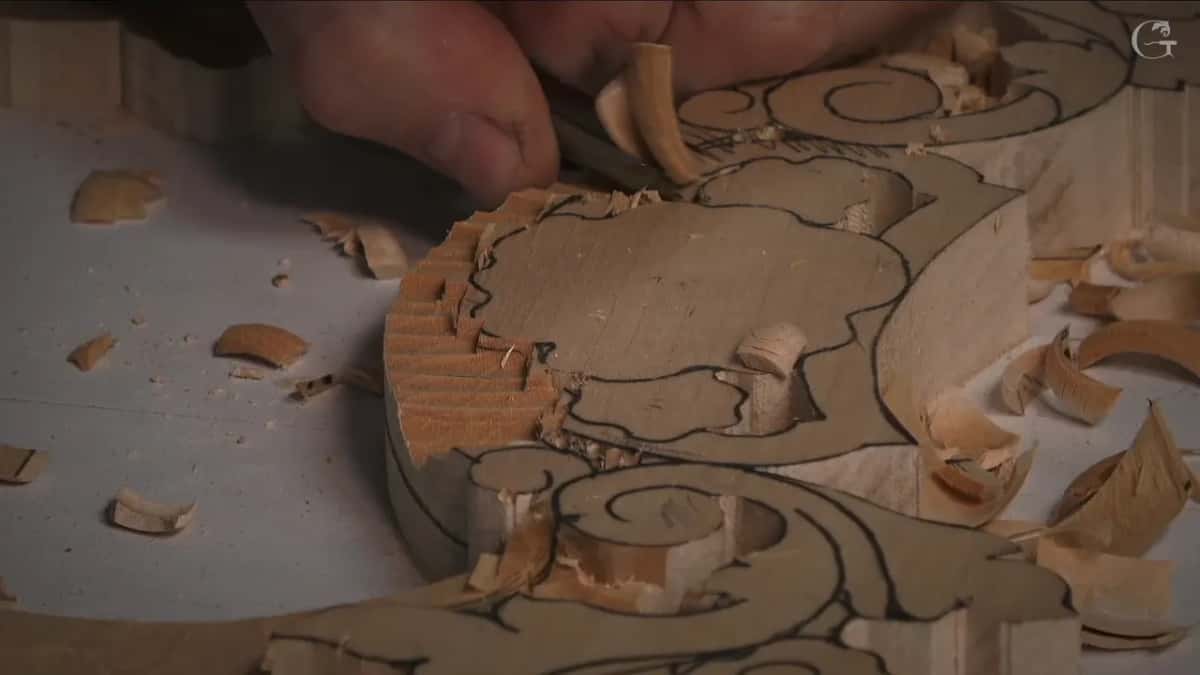
What does the ridge from the last pass do?
My next pass goes on the ridge. After the first pass with the number nine, the ridge it left sits approximately in the middle of the tool for the second one. That way it's a lot less effort. No need for a lot of force either, and little by little I am just chopping away.
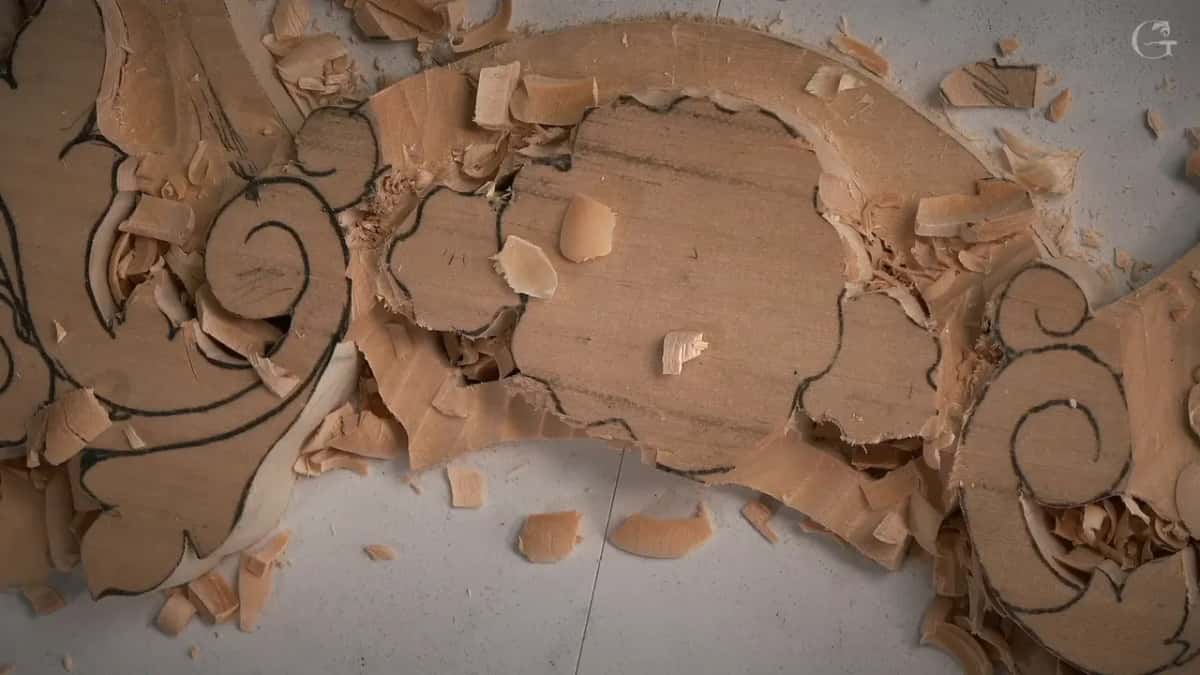
Pay attention to my left hand while I do it. The tool lies on my finger with my thumb on top, and the whole hand sits solidly on the wood, not in the air, not floating around. That way I have great control of the tool.
None of it has to be super clean at the beginning, because a lot of that material is going to be gone.
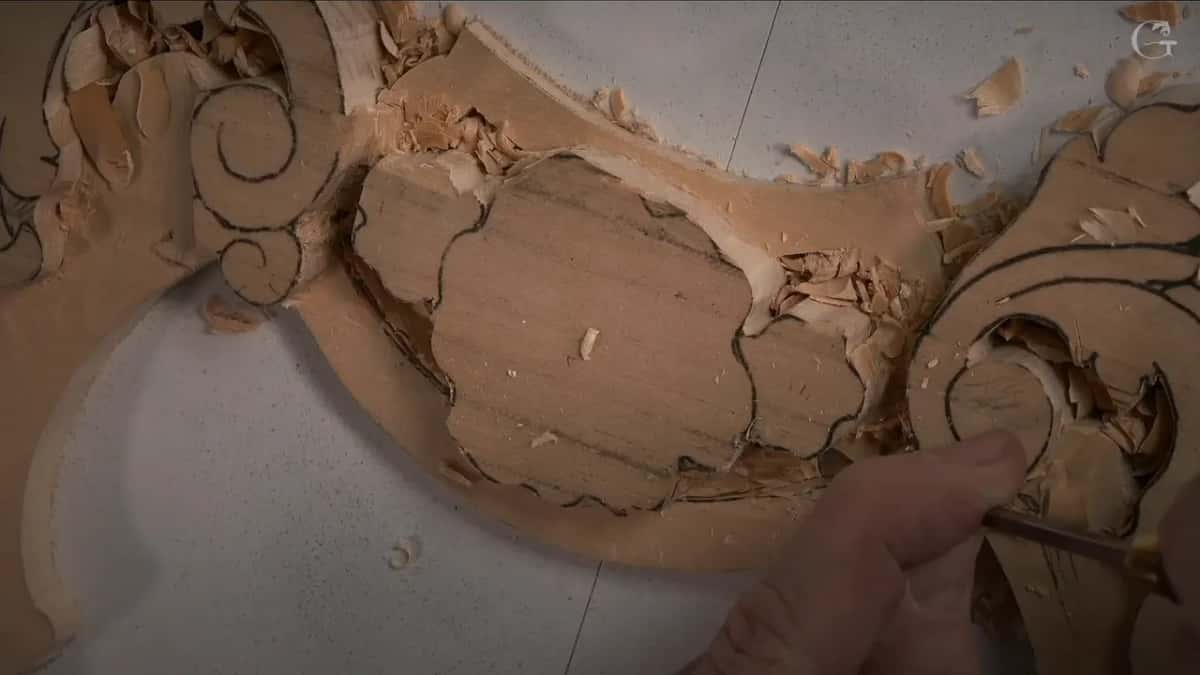
How deep should each bite be near the line?
About one-eighth of an inch, like three millimeters, is what I feel safe grabbing, and I don't need to grab a lot. The closer to the line I get, the less material I take, maybe about a 16th, one and a half millimeters or so. My pass was no more than 3/32 of an inch in some spots. Bite by bite.
Near the flower I worked to a line about six millimeters from the surface, even less, maybe about five (3/16 to 1/4 in), counted from the highest spot of that detail.
Earlier, in the first part, I checked. My pointing machine went on that molding again, and yes, I was right there, so no mistakes. Yes, I do make some mistakes sometimes. I don't want to make them, but whatever. What I say about the pointing machine itself is on its page in the tools course, so I won't repeat it here.
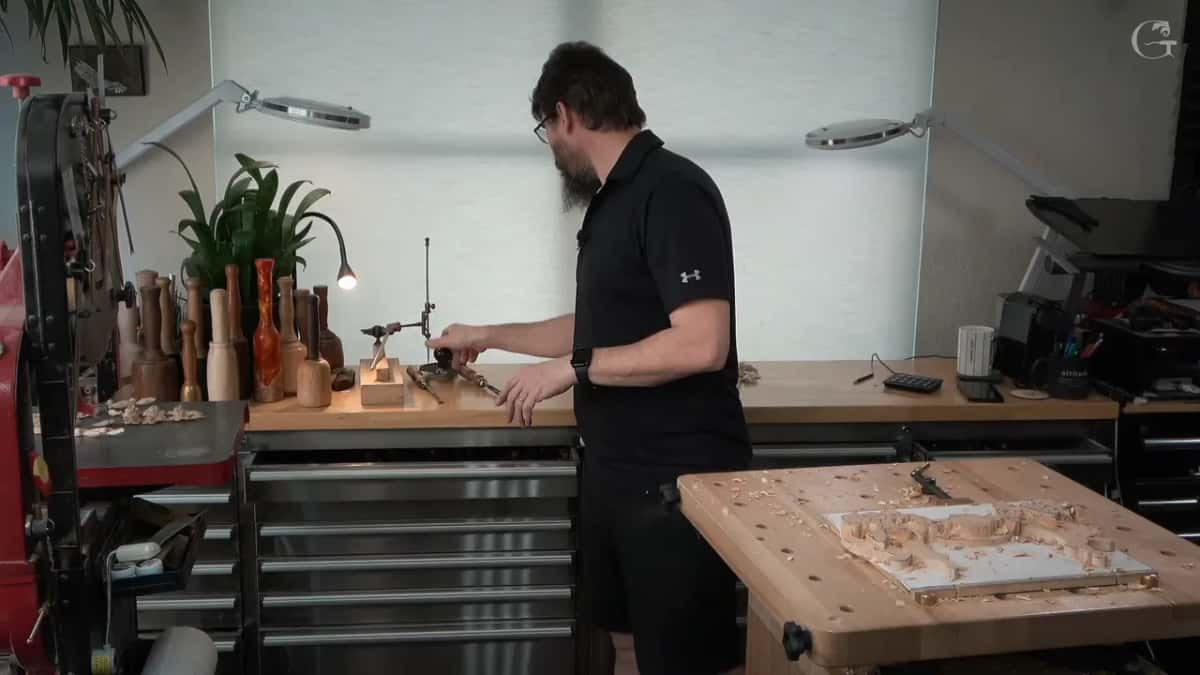
Must you reach final depth from one side?
I didn't, and there was no need. From the opposite side I could see exactly how deep the pass had to go inside those shapes, so the first side only got what you could call an initial pass. So I rotated the piece. It was much easier for me from there, with the same number nine, and the first passes again went crosswise.
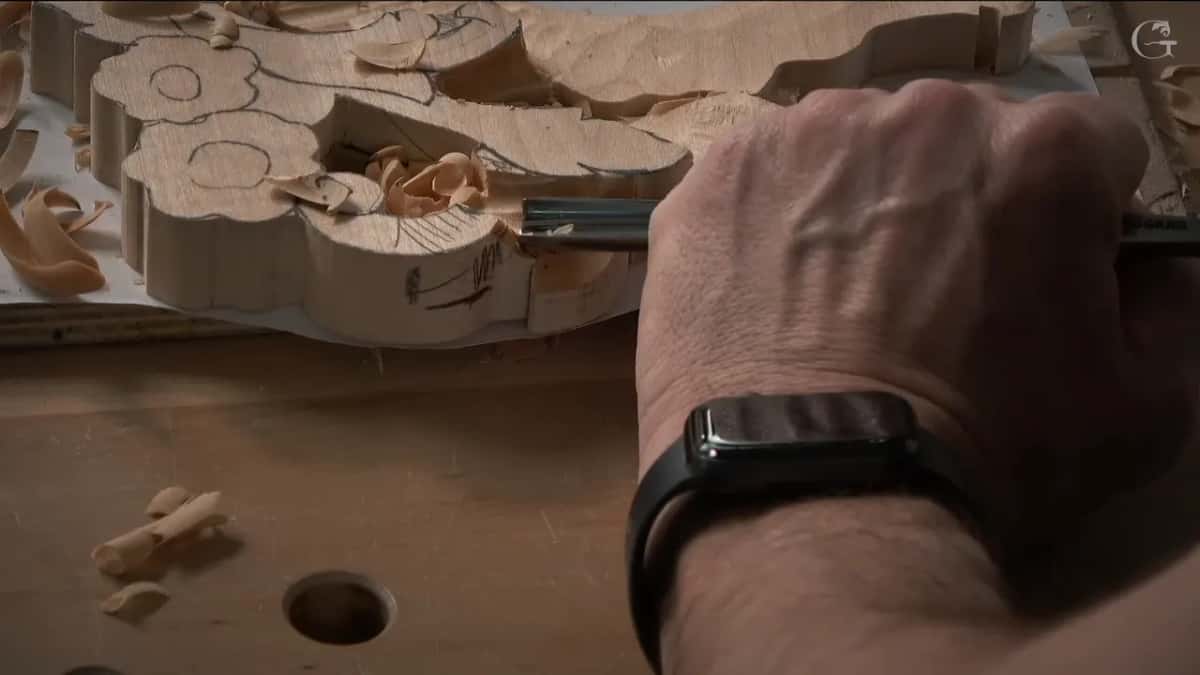
When should the router plane come out?
While there is still a flat surface to reference from. The first time I reached for mine I said you don't really have to, but I think it's a good idea, especially if you are planning to do something for furniture. It's such a beautiful tool. Right then it was not too late yet, because I had a reference to work from, and all of those surfaces were going to be absolutely dead flat.
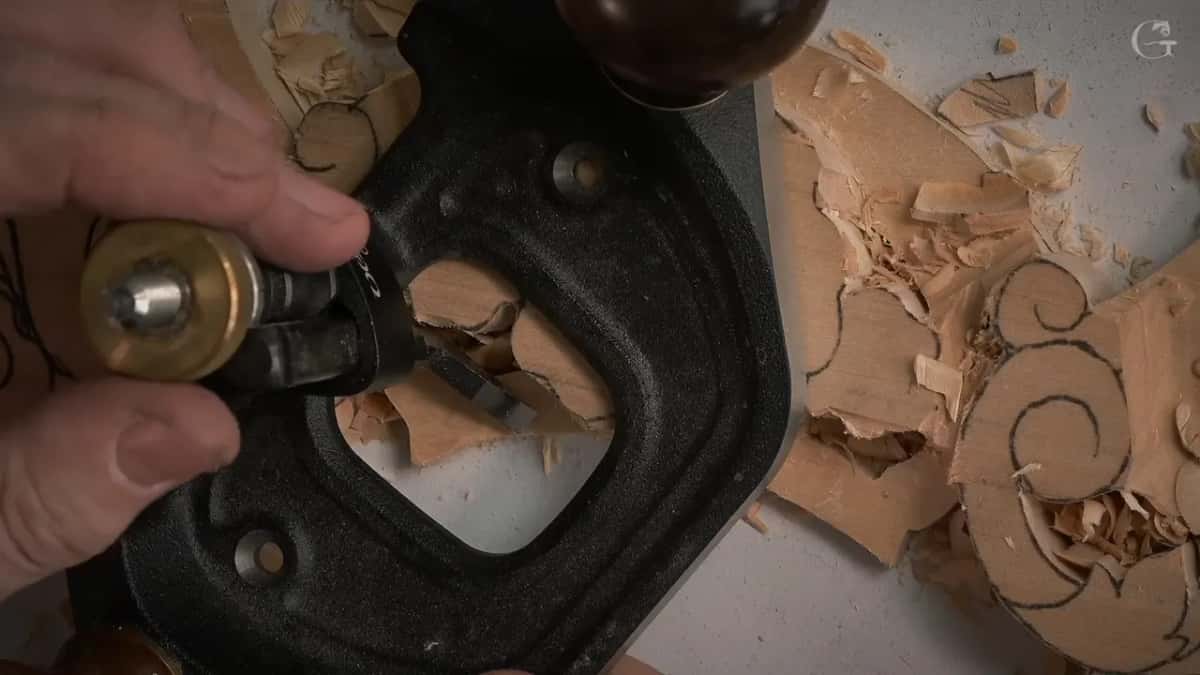
I set the height, then went slowly, not forcing it, referencing just one side of the tool and trying to dig in slightly, without taking too much material at once. No reason to. After that pass I knew for a fact the surface was absolutely the same height.
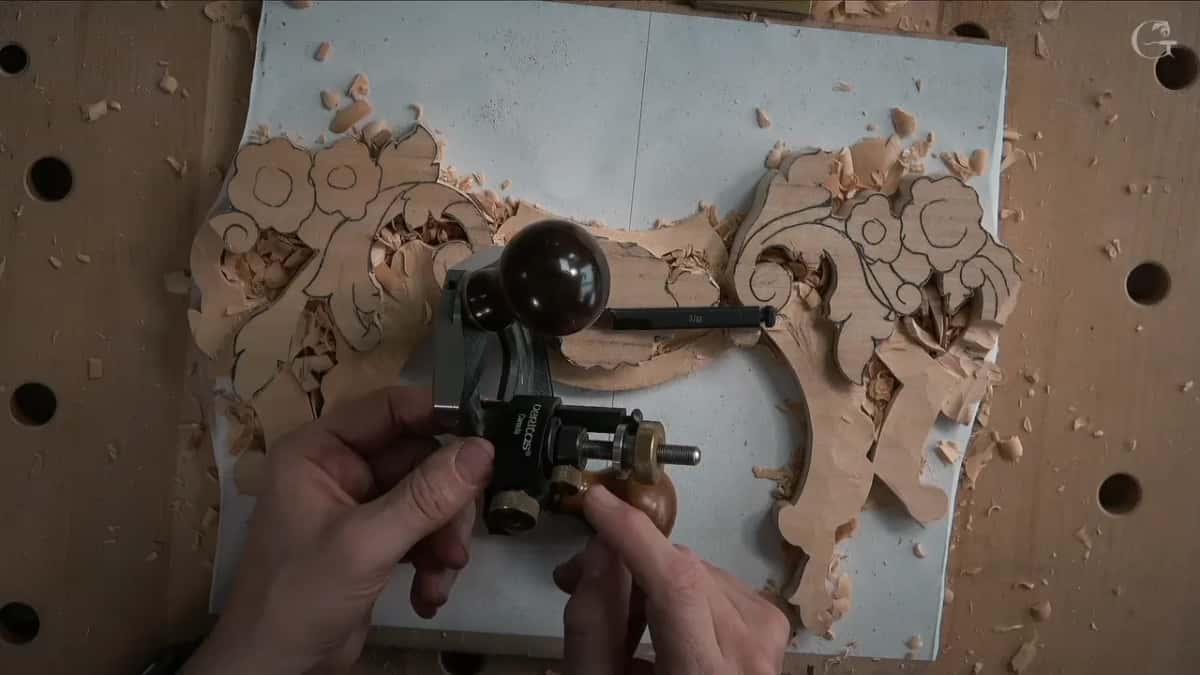
The second part brought it back while I still had flat surface, which made it easy. I lowered the blade until it grabbed the material, but not too low, and I was on the line. With this spot and that spot to reference from, I knew I could make it almost perfect.
Little by little, with no force, because the blade must not get underneath my future detail and do that damage. One side, then the other. I went slightly deeper, just a little bit, maybe a little too deep, and the number two and the mallet went back on the line because I had not set it deep enough. Now I'm happy. I know for sure the height of that detail is exactly the same on the back side and on the front side.
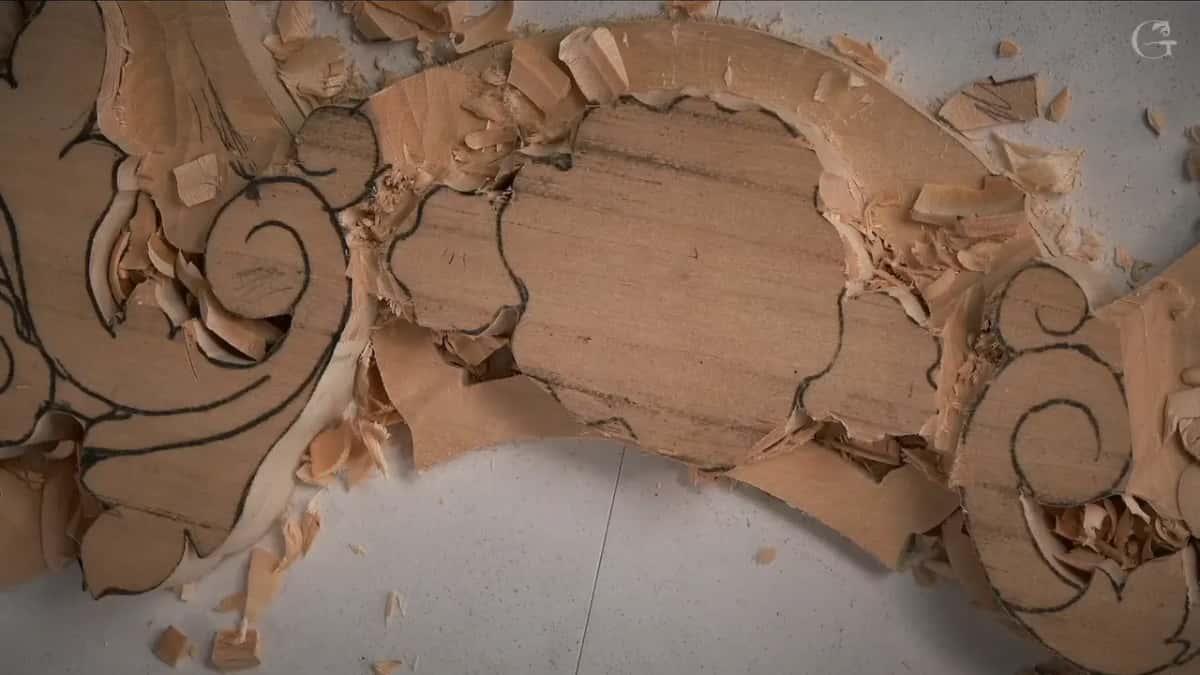
Should a wood carver own a router plane?
If you are a wood carver, it's a good tool to have, and not just for the furniture makers or the custom woodworkers. Even doing just wood carving, it's a really good tool. That surface came out beautiful and clean, and I know that is what I want.
The Greek acanthus leaf course takes its background down with grounding tools by Ashley Iles, a 1/8 in one in lesson 5 and more of those background tools in lesson 15. A page on the grounding tool sits in the flower rosette course, and one on what a router plane is used for sits in the furniture panel course.
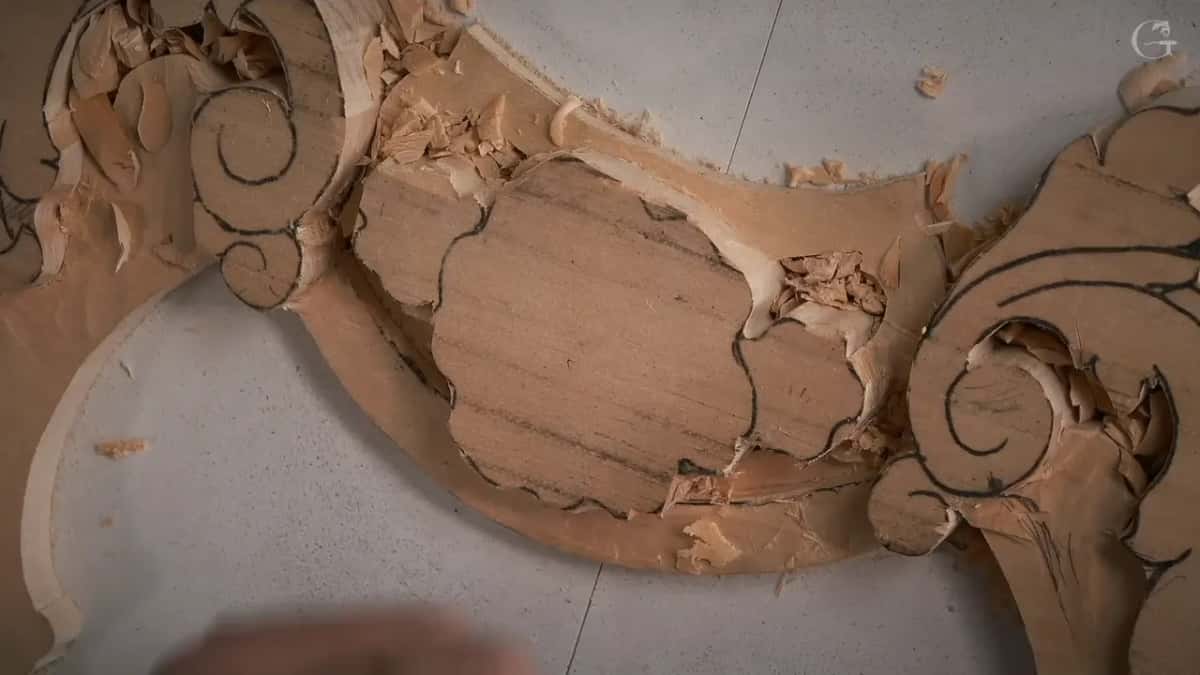
Which blade goes in the router plane?
A smaller one for the small spots, if your plane has different blade options. Not all router planes have that option. Mine had a blade of only five millimeters (about 3/16 in) by the second part, and I could go much lower with it. For the third part I went smaller again, maybe about a 16th of an inch, a millimeter and a half, or even 3/32, probably just a couple of millimeters.
Mine is a Veritas. I like Veritas and I like Lie-Nielsen. The Veritas blades are changeable and really easy to change really quickly, pretty much a couple of seconds, and every time I change one it's the same depth. That is what I like about it.
When the plane was done the blade came out, because I'd rather not keep it in the plane. Those blades have a special storage of their own, and the body of the plane stays separate.
Which tools reach where the plane can't?
Small gouges and spoons, mostly. A number 11 at 3 mm went into the cavities, and it was still too big in places, so a 1 mm number 11 got even more waste out. Elsewhere 3 mm worked.
Then the spoon, a number 11 at two millimeters, which I had not used before in this lesson. With the spoon I can get into a lot more tight spaces, where a straight tool sometimes can't reach because some stuff is in the way.
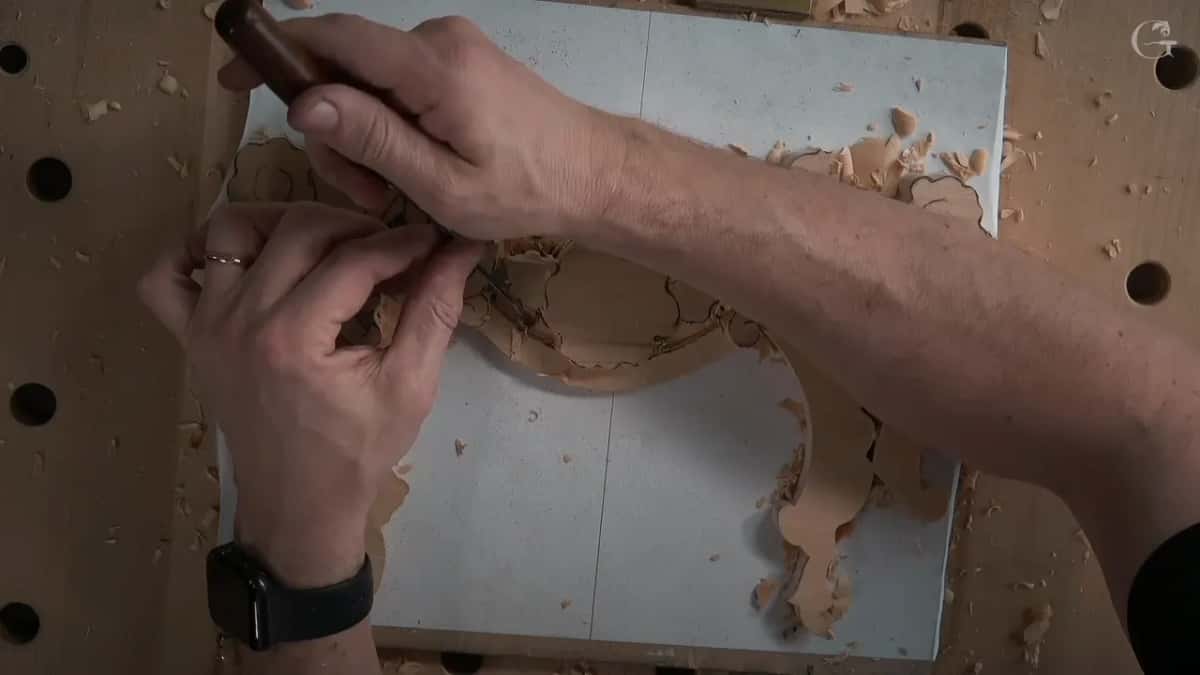
At the start I said pretty much any flat tool will work for the cleanup, a number two or a number three, and you can even use a mallet to help yourself. Just don't get too excited, or you can make a mistake.
| Tool | Where | Words |
|---|---|---|
| Number nine, 10 mm (3/8 in) | Open ground, crosswise, first from one side and then from the other | Ridge in the middle |
| Quarter-inch number nine, about 6 mm | Closer to the molding below, after a straight-down pass on the outline | Not too close |
| Spoon number 11, 2 mm (5/64 in) | Tight spaces where a straight tool sometimes can't get in | Stuff in the way |
| Tiny number 11, 1 mm (about 1/32 in) | Cavities where the 3 mm one was still too big | Even more waste out |
| Number two and a mallet | Straight down on the line, with very little wood under it | Little, little force |
| Antique dovetail number one by Marples and Sons | A flatter spoon to take some material out right there | Still a spoon |
The number two with a mallet sets the line, straight down. Make sure you are not using too much force. You can easily, easily just go through, because there were only five millimeters there, so don't bang with that mallet. Just a little, little force. At the very end a number two was not good there, so I used my skew, the multi-angle one, for a lot better result, though a bigger number two would work too.
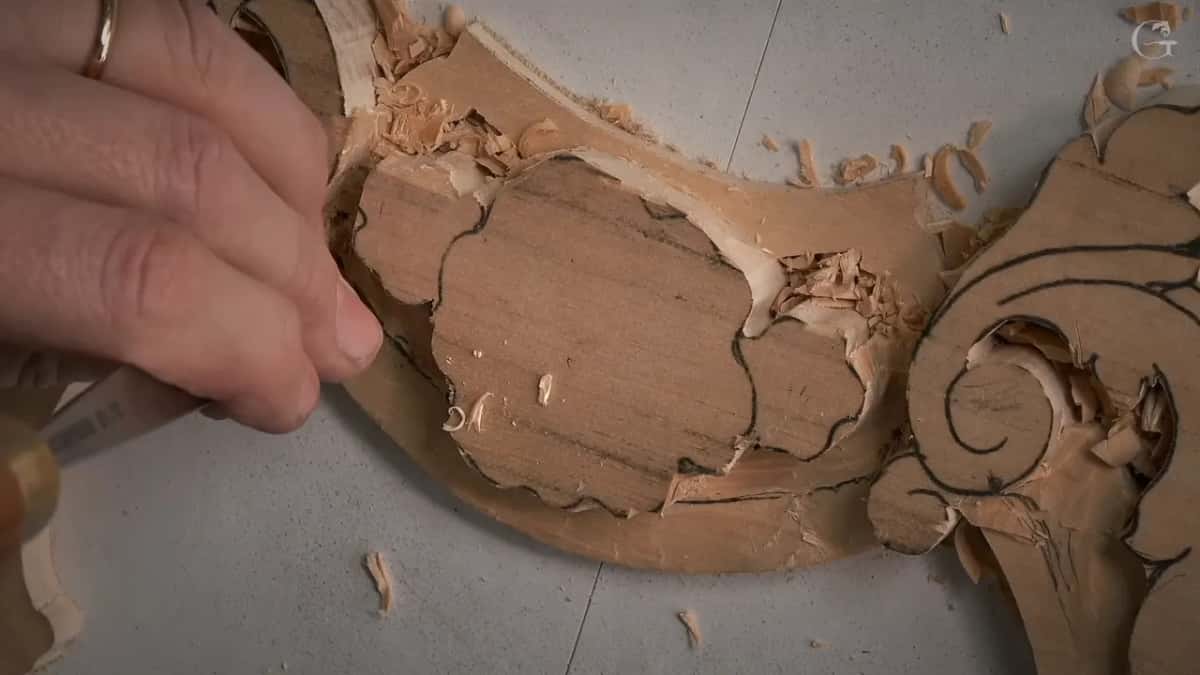
Is a number one spoon a chisel or a gouge?
A chisel. I'm going to use a number one, I said, a small tiny one. It's an antique tool, a dovetail, still a spoon, made by Marples and Sons. The old Marples, back when they used to be really good.
Because it's a number one, it's a spoon chisel. As you know, a chisel is always flat, the absence of radius, the absence of sweep. If it's flat, it's a chisel, and if it has a sweep, then it's a gouge.
What if you forgot to pierce a window?
I did, on camera. About to attack a small part, I saw I forgot to scroll a couple of sections, and two spots had to be pierced all the way through. A mistake, but not a big mistake.
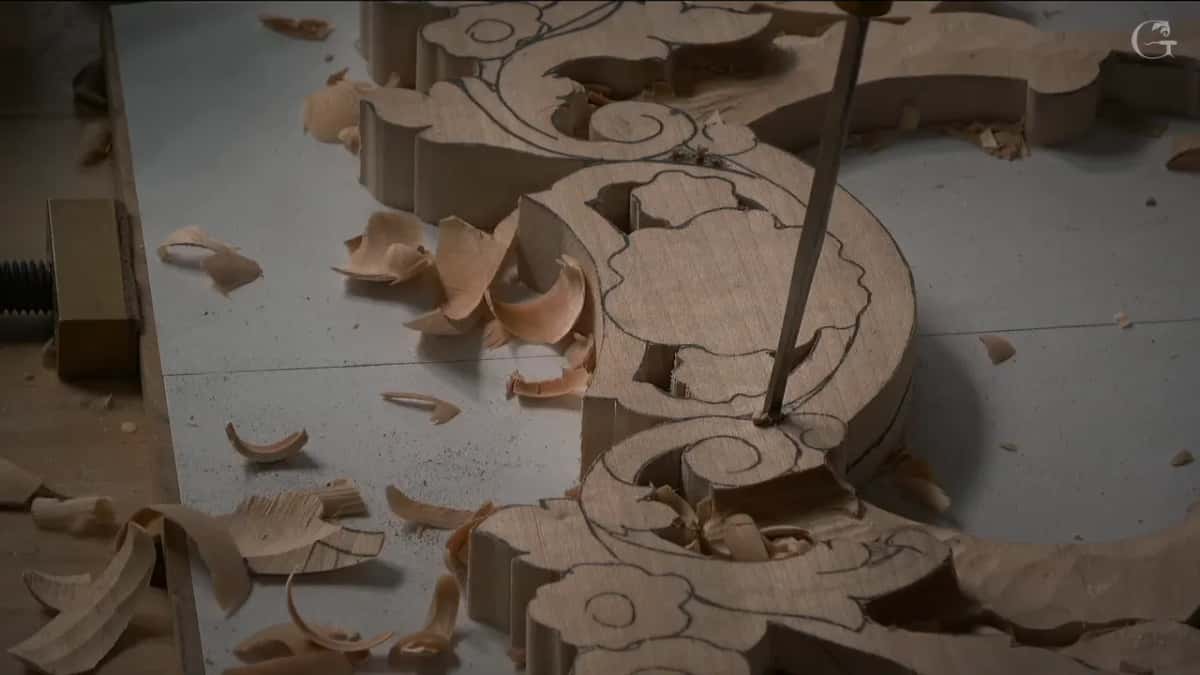
I could just take a drill and drill it through, which I probably should. Why not? One, two, three holes, and that's enough. With a smaller tool, like a number nine about one-eighth of an inch, you can do the same operation with a plug cut instead of the drill. It's just going to take a little longer. I saved time and used the drill, though, and with the holes in I know their position approximately and can reestablish the lines later. The scroll saw and the other ways around it are in lesson 1.
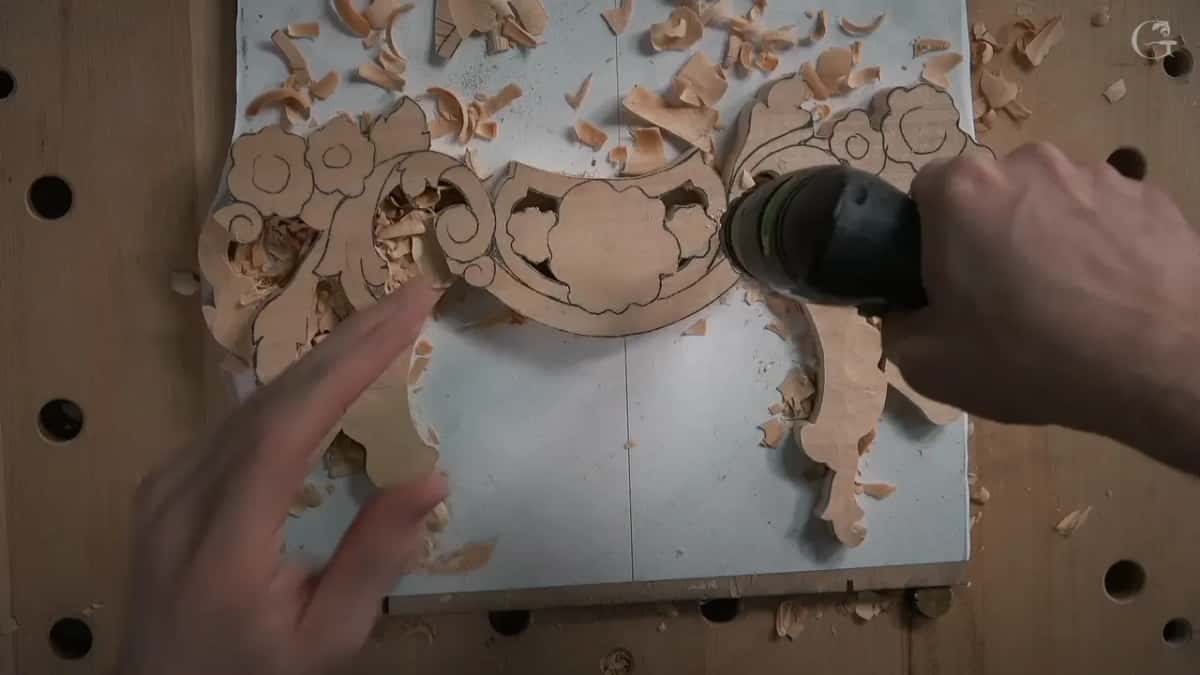
How much of the drawing goes on the wood?
Only an idea of where the flower will be. Following all of those curves on this flower is not really important for me, because I'm still going to change it. So no details go inside when I draw it on the wood. I do an original drawing, but for the transfer to the wood I don't need to spend more time than I need to.
Two moments in this lesson treat a lost line differently. Close to the double volute I went all the way to the line and said I'm not afraid of losing it, I can reestablish it. But at the outline in part three I said this line is really important for me not to lose, and I set it with the number two straight down. The volute itself is carved in lesson 3.
How do you lay out the molding line from the first panel?
With calipers first, for the width. There are different ways, but calipers are probably one of my favorite measuring tools, probably the most accurate, I'd say. I measured the old piece line to line and moved it to the new piece in a couple of spots.
Then my finger, butted against the edge, is the guide while I approximately draw my future molding. I can make mistakes. I did, so I want to make sure I'm not making any, and this part has to be as low as the opposite side.
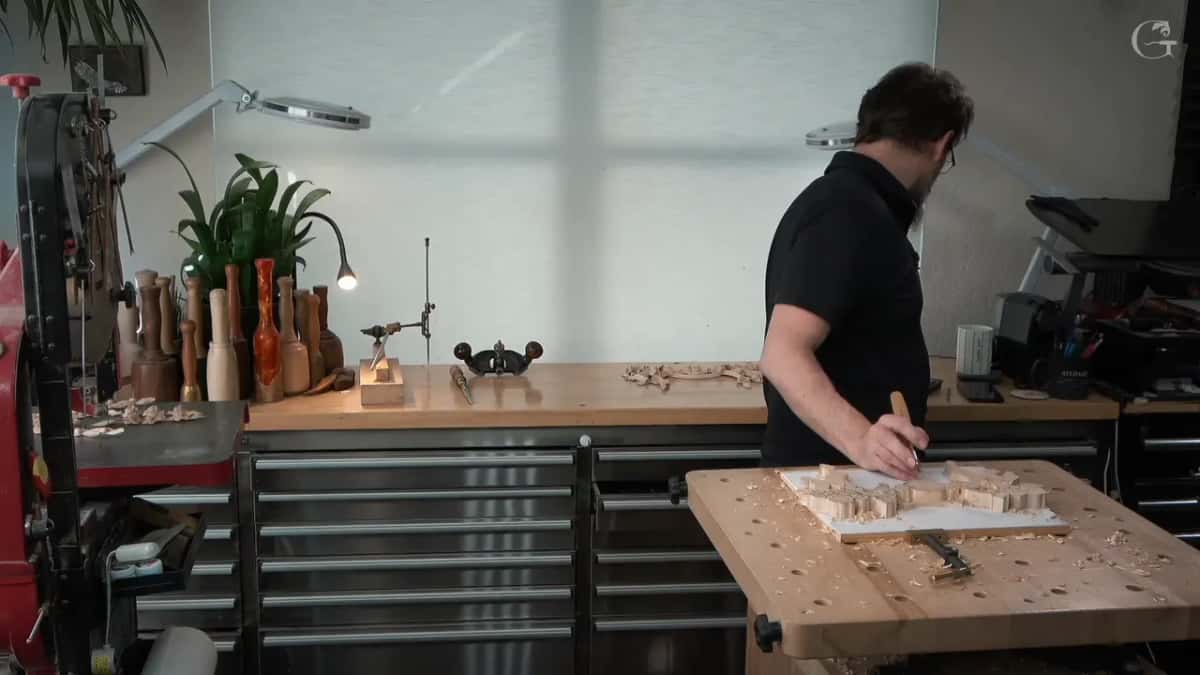
The molding has a bullnose at the top, with fillets around it, and it goes downhill. For the depth I used the same pointing machine on my previous piece and stayed approximately half a millimeter (0.02 in) above. I placed it on a flat surface, made sure my pencil was really sharp, and drew the line at close to five millimeters.
This project is excellent for those of you who like furniture. Sometimes it's impossible to do moldings with a molding plane, so you do it by hand, and a piece like this is good practice.
Why not hurry a relief background?
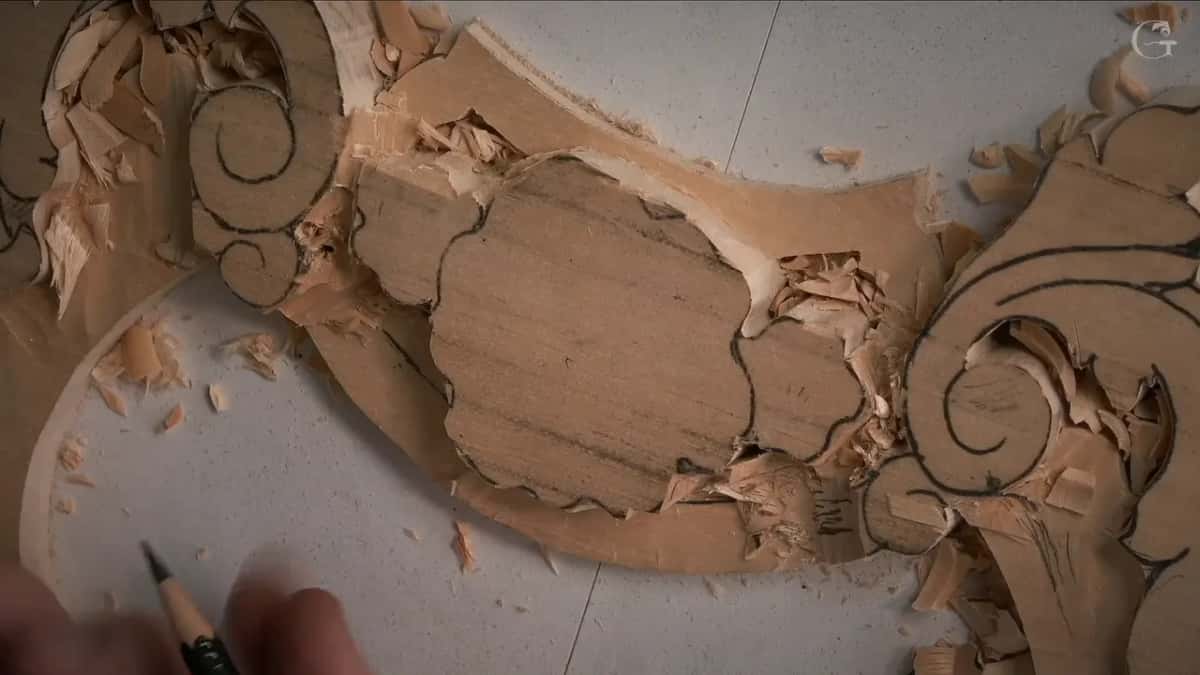
Once you take too much, you can't put it back. There is no reason to rush it, and even if there is a deadline, rushing is not really a good thing. As I said in the second part, "woodcarving is an art of deduction, art of subtraction."
At one point I had lots and lots of mess on the side, but that was my stopping point, and I shouldn't push it too hard. Yeah, you see that mess, but it's just wood chips, so don't pay attention.
This is lesson 2 of the Carving floral and molding for the panel course, and the work goes on in lesson 3 and lesson 4. The furniture panel course has a background lesson of its own, and the tools selection lesson covers choosing tools.
Want to watch every pass of this ground? All three parts are in the school with Access.
How it's done
- Rough the ground cross-grain. Work a 10 mm number nine crosswise, from the outside in toward the flower, and stay slightly away from it.
- Ride the last ridge. Set the ridge from the previous pass about in the middle of the gouge, so each pass needs far less effort.
- Take smaller bites near the line. Grab around 3 mm in the open. Close to the pencil, drop to a millimeter and a half, and in some spots stay at 3/32 in or less.
- Turn the panel around. Stop short of final depth and come in from the far side, where the right depth is easier to see.
- Set the line with a number two. Go straight down with the mallet, gently. Where little wood is left under the tool, a hard blow can go right through.
- Level it with the router plane. While a flat reference remains, lower the blade until it grabs, not too low, and take light passes from both sides.
Frequently asked questions
Do you need a router plane for a flat relief background?
Not always. On camera I said you don't really have to use one, though I think a plane is a good idea, and for plain wood carving it's a really good tool to have. One spot on this panel never got it, because that surface would not end up flat.
When is it too late to bring out a router plane?
Once there is no flat surface left to reference from. Twice in this lesson I said it was not too late yet, and both times that surface was still there beside the ground. With a reference in two spots I could get the ground almost perfect, maybe even too perfect.
What size blade goes in a router plane for small spots?
A smaller one, if your plane takes different blades, and not every router plane does. Mine went down to five millimeters in the second part, and in the third I mentioned a 16th of an inch or 3/32. On my Veritas a blade swap takes a couple of seconds and keeps the same depth.
What to carve next