

Alexander Grabovetskiy, woodcarver, School of Woodcarving · Published 2022
What is the eye in acanthus carving?
Quick answer: The eye is a small water drop shape cut at a leaf crossing. Beside it runs the pipe, a ridge rounded into a real convex rather than left flat. That line at the junction must finish higher than its neighbours. Let it dip and the crossing stops working.
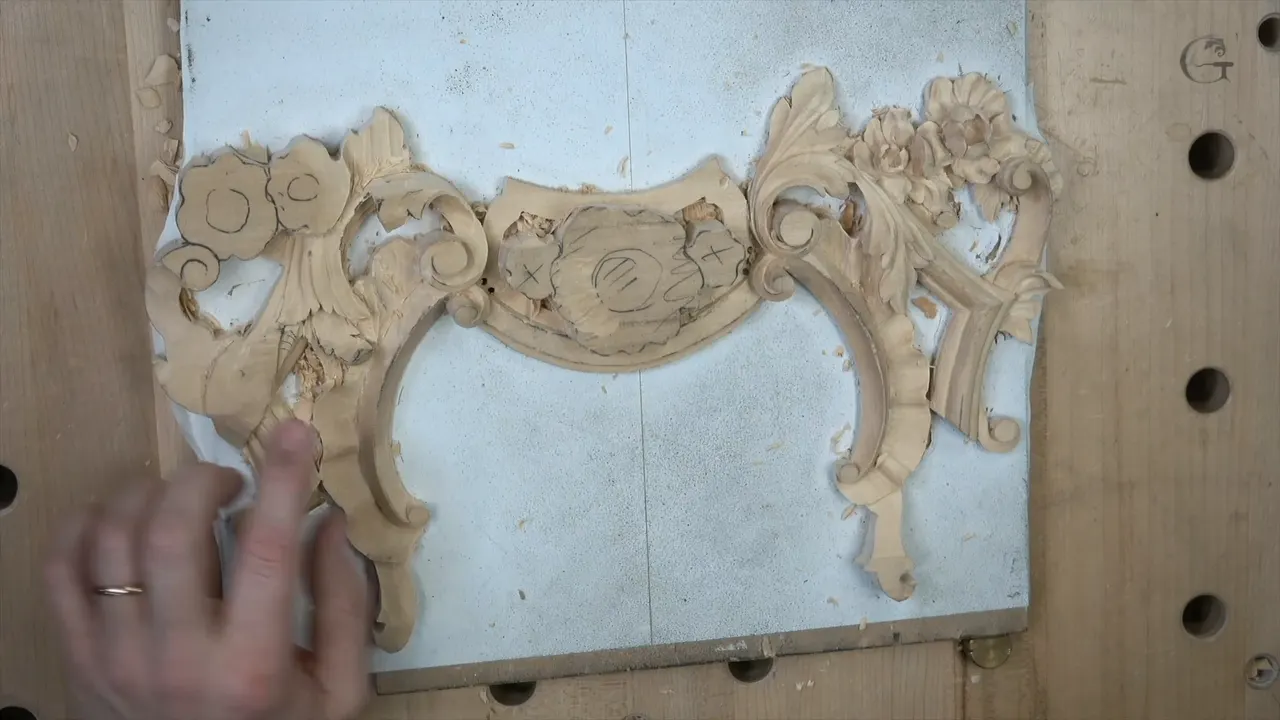
Wherever two leaves pass each other, cut a shape like a falling drop of water. Carvers call it the eye. Beside it the ridge has to be rounded into a genuine convex, because a flat one reads dull from every angle a person might look at it from.
That ridge has a name too, and the name is the pipe. Such a ridge carries light along its length the way nothing flat can, so the two of them together are what make an acanthus junction look grown rather than drawn. Every carver working in this style learns both early.
This workshop is mostly about those two features. A curl gets shaped on the way, some undercutting happens, and almost nothing gets cleaned, which is deliberate.
Key takeaways
- An eye is that falling drop shape at a crossing.
- The pipe beside it wants a real convex, exaggerated if anything, because a ridge left flat kills the whole junction and no later polish rescues it.
- Whatever line marks the crossing has to finish highest.
- Never undercut a pipe.
- A half millimetre undercut alongside, even in end grain, buys the shadow.
- Leave the cleaning until the form is settled, or you will throw away hours the next change makes pointless.
Why must the pipe be a real convex?
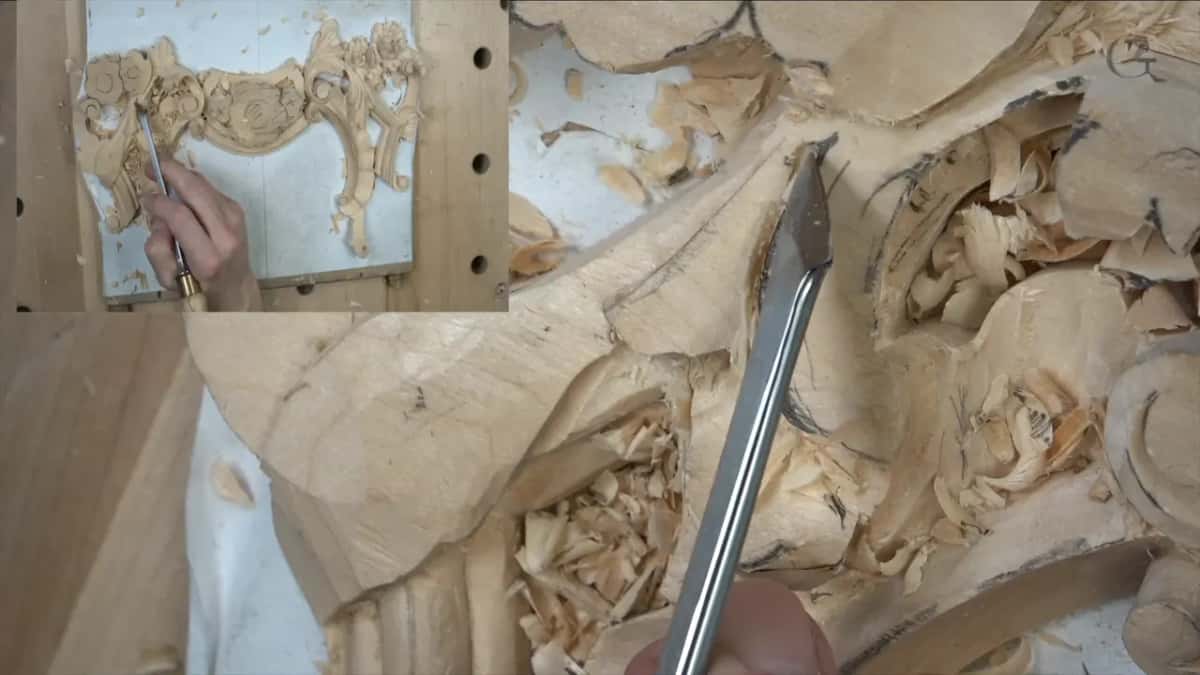
Flat looks dull, and dull looks like a print of a carving. The ridge running away from that eye has to bulge, and on this leaf I lowered the surface on either side further than strictly necessary just to make room for the bulge.
Exaggerate it, honestly. I wanted that pipe pronounced enough to be unmistakable, and having plenty of material there meant nothing stopped me.
The line beside it goes the other way. Where one rises, its neighbour sinks, and that difference is what makes the shape read as three dimensional instead of as pattern.


How do you shape a pipe?
With chamfer cuts, taken small. A knife will do the entire job: work down both sides a little at a time, knocking the corner off, then knocking off what the last cut left, until the flat top has become a curve.
My Sekira does it, a flat gouge does it, and none of that is the hard part. The hard part is stopping before you cut into the ridge you were trying to raise.

Two hollows go in before the chamfering starts. A five millimetre eleven sinks one down each flank of the pipe, one deeper than the other, which by now will be a familiar shape to anybody who has watched a Venetian leaf being carved.

When does a back bent become the only sensible tool?
When the shape you are cutting sits below something raised. A straight gouge has to come in over that raised part, and its handle fouls before the edge reaches anything, so the cut never happens.
A back bent solves that with its goose neck. The handle lifts clear, the edge drops into the hollow, and suddenly a cut that was impossible becomes easy.
Mine for this is a number three. Going deeper with it gave me the exaggerated pipe I wanted, and no straight tool on the bench would have got near it.

Which line has to be the highest?
The one where two shapes meet. An intersection that dips below its surroundings looks wrong immediately, even to somebody who could not explain what they are seeing, so that line stays proud of everything beside it.
Keeping it proud takes work afterwards. Undercutting alongside pulls the surface down a fraction, which means blending it back up again, and the blending is what nobody films because it is dull.
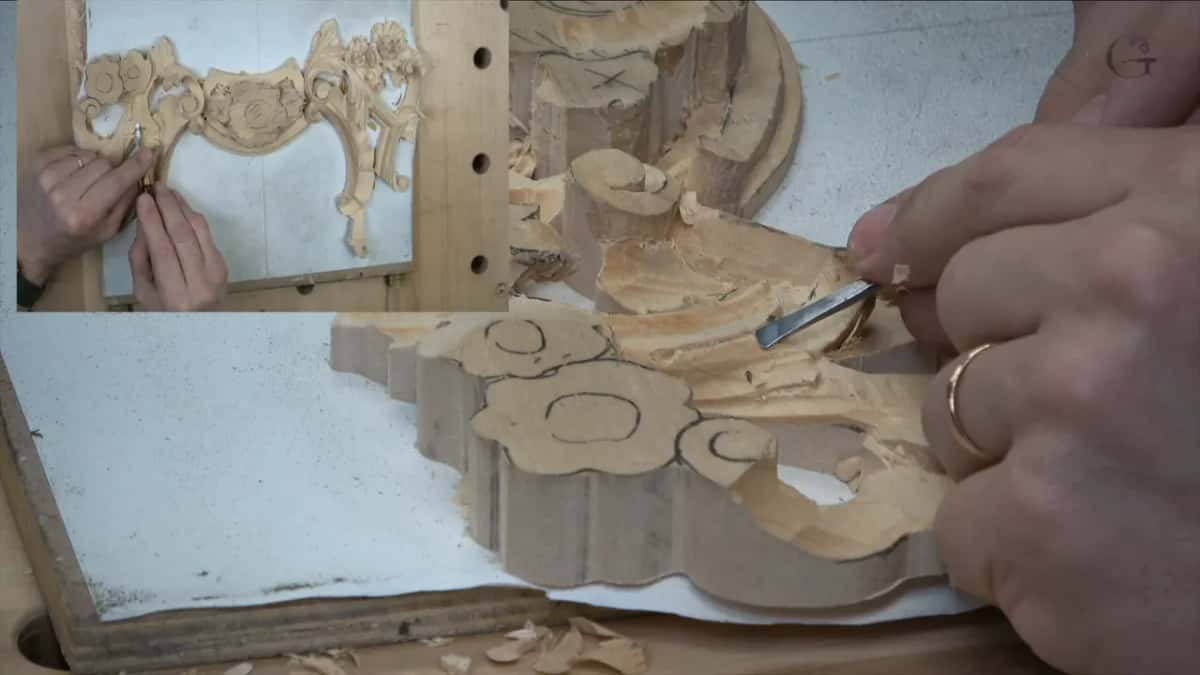
The smallest veiner I own does that undercut. It goes into end grain, which is never comfortable, and the reward is a shadow line sharper than anything a wider tool leaves.

Should a pipe ever be undercut?
No, and this is one of the few places I say that without qualification. Cut underneath a pipe and it stops reading as a shape grown out of the leaf. It begins to look like a separate object glued on.
Clean around it instead. A five millimetre eleven tidies the mess, a small number one with a double bevel blends the edges, and the pipe itself keeps its footing in the surface it rose from.
Blending follows, and then more blending. I worked that junction, looked at it, worked it again and kept going until I was happy, which is less a technique than a refusal to settle for the first acceptable version.

| The feature | What it asks for, and what happens when it does not get it | Tool used |
|---|---|---|
| The eye | A water drop at the junction itself | Cleaned afterwards with a millimetre veiner held upside down |
| That pipe beside it | A pronounced convex, exaggerated if anything, since a flat one looks dead | Chamfers |
| Hollows either side of that pipe | One deeper | Number eleven at five millimetres, and never forced |
| The crossing line | Above its neighbours, always, and there are no exceptions at all | A small one |
| Undercut beside it | A half millimetre, worked straight into end grain | The smallest veiner on my bench, which nobody makes any more |
| That curl | Growing from beneath and then rolling back on itself | The nine again, ten millimetres wide |
How does the curl get its shape?
By attacking its side and then smoothing the whole run. A nine at ten millimetres opens the side of the curl, which has to lift and roll backward, and the awkward part is that I cannot reach it from a comfortable position.
Seen from the side afterwards it read as too straight. That is a fault I notice constantly and dislike every time, so out came a number seven better than an inch across to put a long flowing transition where a rigid line had been.
Big tools make smooth runs. Then a smaller seven at fourteen millimetres refines it, because the roll backward needs a tool that fits the roll.


Why leave the cleaning until later?
Designs change, and mine change more than most. Spending an hour perfecting a surface and then deciding the movement was wrong means the hour is gone along with the surface.
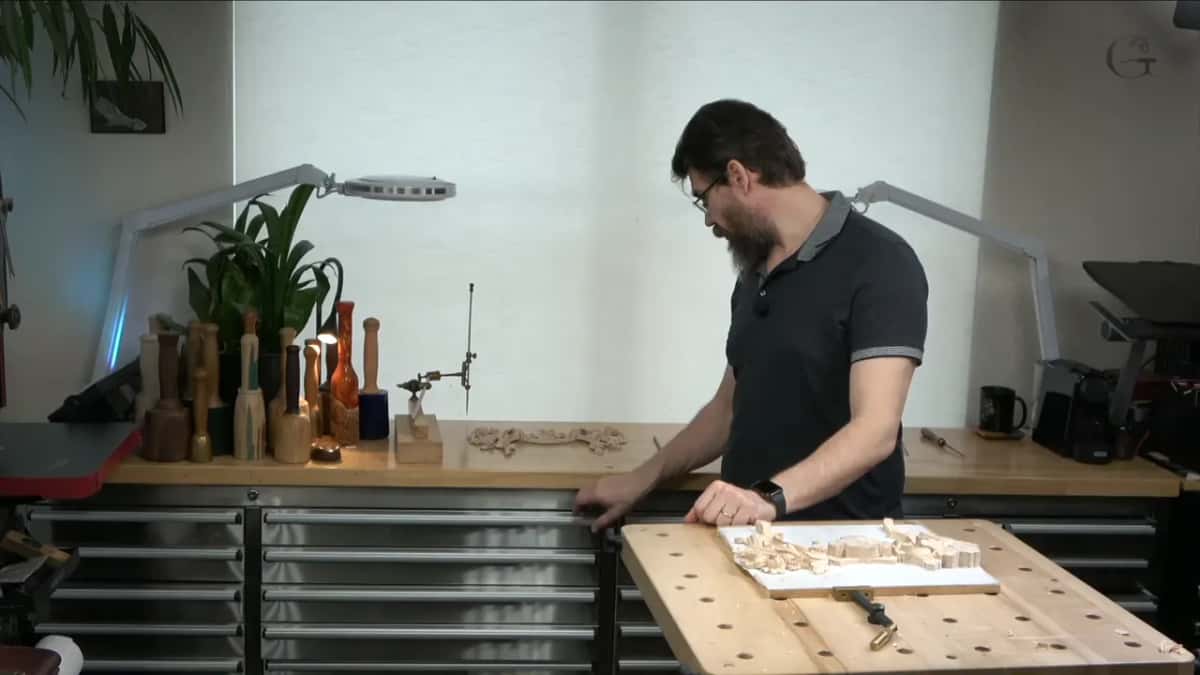
So the order is form first, refinement afterwards. Once the whole side is settled I come back, get my face down close to the work, and clean everything properly in one pass.
Other carvers work the opposite way and finish as they go. Their method is perfectly sound. Mine suits somebody who argues with his own drawings.
What happens to a tool nobody makes any more?
You look after it. One veiner here is barely a millimetre wide, it is among my favourite tools on the bench, and nothing like it is currently in production anywhere.
I had meant to change that. Producing my own line of tools was a genuine plan, and what stopped it was the war between Russia and Ukraine, which ended the arrangement before it started.
Perhaps that will change. Meanwhile the ones I have get treated as irreplaceable, because at the moment they are.
A German veiner at two and a half millimetres does similar work near the molding. Hugo Poffenhof made it, a brand you can hardly find, and it takes the small bites that a finished molding beside your cut demands.

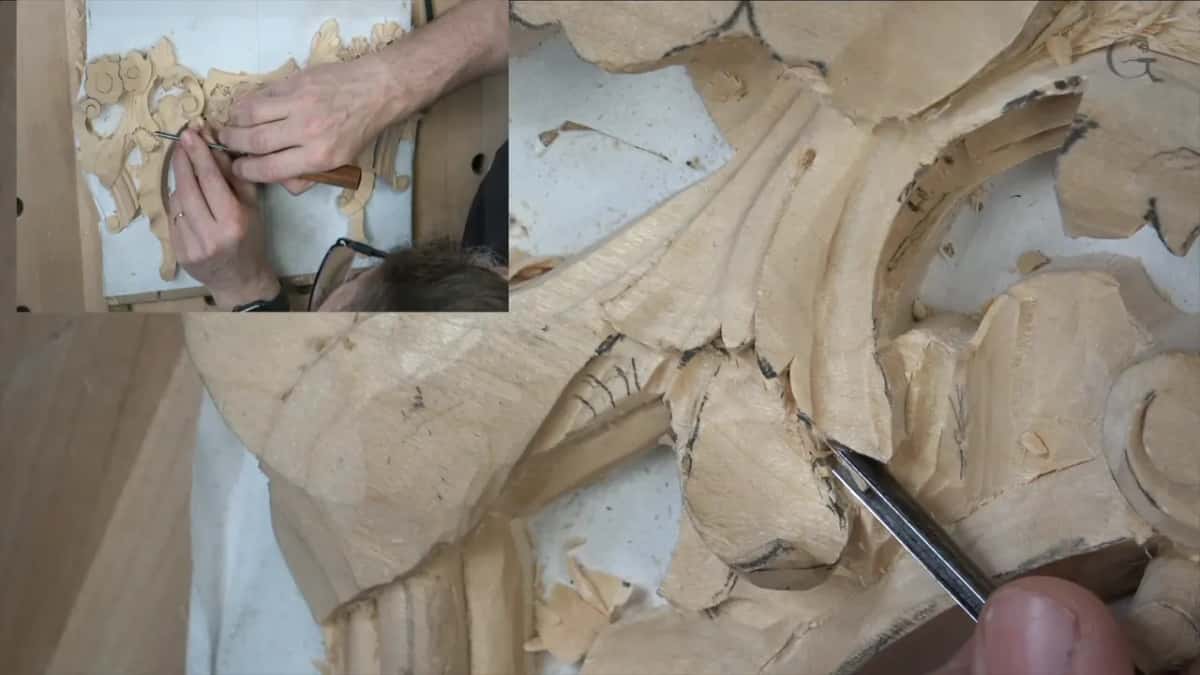
How do you know which tool to reach for next?
You stop pushing. The moment a cut needs force, the tool in your hand is the wrong one, and somewhere in those drawers sits a shape that will take the same material out without any effort at all.
On this leaf that meant three swaps in a row. A number five spoon at four millimetres went in first, then a wider number three at about ten, then back to a small number one for the edges.
Not one of them was forced. That is the point, and it is the difference between woodworking that leaves clean surfaces and woodworking that leaves bruises.
A shell sits right beside all this and must survive untouched. Careless work there would mean recarving something already finished, which is the most expensive mistake available on a panel at this stage.
What goes on top of what here?
A leaf grows out from underneath and then rides over the acanthus. Getting that to read means cutting beneath its leading edge, deep enough that shadow gathers there, and then leaving the top surface alone.
The molding underneath limits how far down any of it can go. That part of the profile is rounded, and cutting into it would mean repairing a surface that took an afternoon to get right.
So the cut stays preliminary. Enough to establish which shape sits above which, and no more than that, since the shell going in later will settle the rest.
How far down does the last slope go?
Almost to the ground. One movement on this side drops away and keeps dropping, wrapping over the ornament beneath it until only a couple of millimetres of material are left standing at the edge.
Those two millimetres come off later. There is undercutting still owed along that whole run, and none of it is worth doing before the shapes above have stopped moving.
A small number five put the slope in. Nothing clever about it, and the result is a surface that travels all the way down instead of stopping halfway and looking apologetic.
Why is there no compressor in the studio?
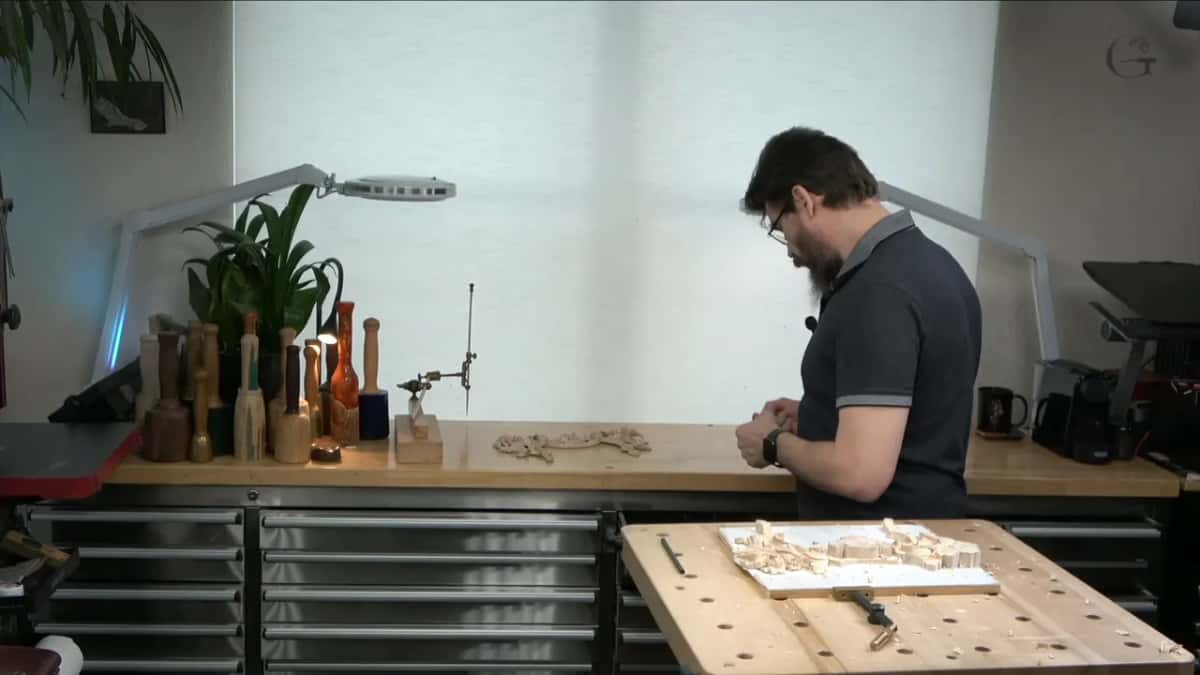
Two reasons, and neither is money. A compressor is loud, and this room stays as free of machines as I can keep it, with only a band saw, a scroll saw and my sharpening setup allowed in.
My compressor lives in the garage with the rest of the machinery. Chips here get blown clear by other means, and the studio stays quiet enough to think in.

A truck was going round the subdivision while some of this got recorded, and I apologise for the noise without stopping for it. Waiting for silence and getting work done are not compatible activities.
Where do the tools go between cuts?
Straight back into their drawers. Once more than a couple are lying on the bench I start hunting for the one I want, and hunting is how an afternoon disappears.
Every drawer has its contents in a known place. That sounds fussy written down, and in practice it means my hand reaches the right tool without my eyes leaving the carving.
A quarter inch detailing five handles the separations along the way, of which two got drawn and cut on this leaf. Both are shallow, both are wavy, and neither one is straight.
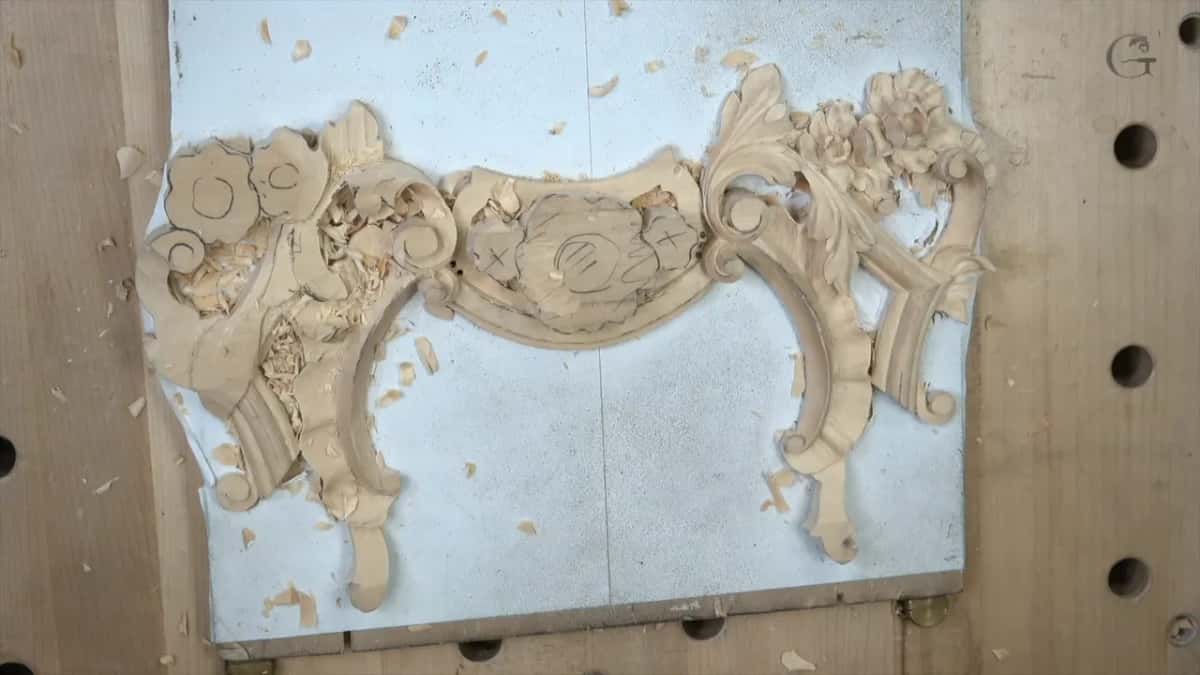
Does a sharp undercut throw a better shadow?
A smoother one does, which surprises people. Given the choice between a hard point underneath an edge and a rounded transition, I take the rounded transition every time.
Either an eleven or a nine makes that shape. Both leave a curve beneath the edge instead of a corner, and light falling into a curve grades away rather than stopping dead, which is a lesson sculpture teaches at any scale.
Hard undercuts look cut. Rounded ones look grown, and the whole business of relief carving is persuading somebody that wood grew into a shape it never grew into.

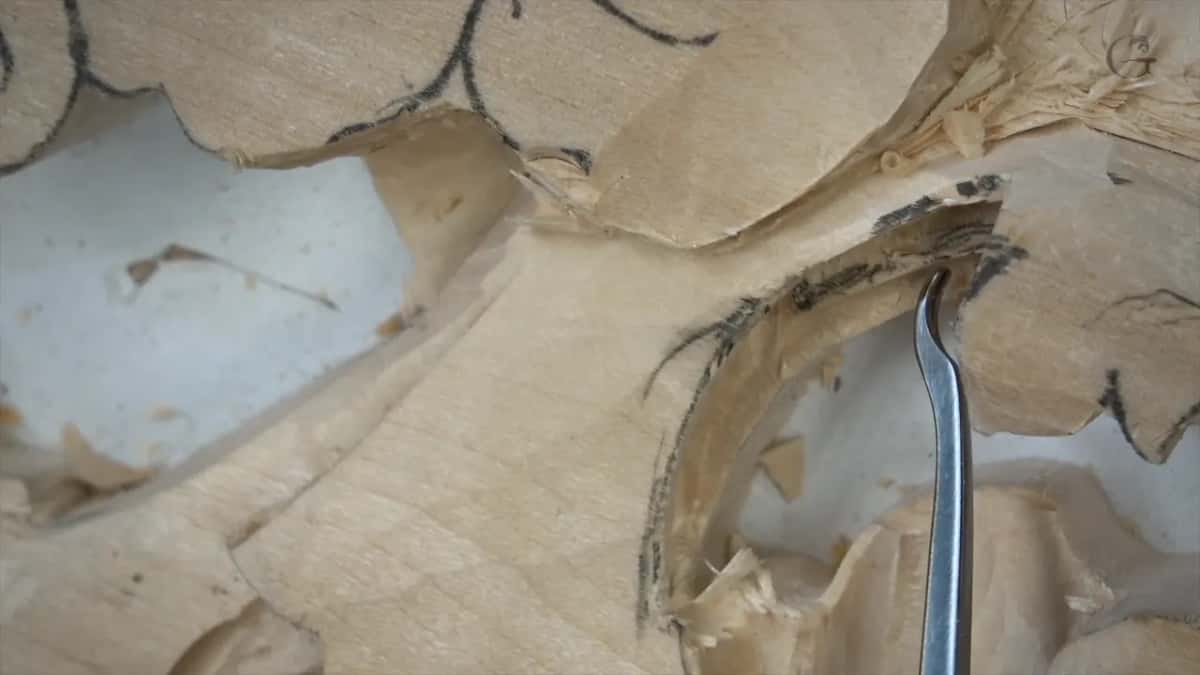
By the close of the session one line runs through the eye and carries on out the far side. It stands proud beside that line. A curl rolls back the way a scroll should, and a leaf near the molding now looks as though it grew from underneath. There is about two millimetres still to come off one edge and a great deal of gouge work waiting on the shell. Even so, I am happy with it.
Eleventh of fourteen. Workshop ten roughs this whole side into three dimensions first, and workshop twelve carries on into the next leaf and its volute. Before them, workshop nine raises the micro pipe on the other half, workshop eight carves the clover molding and workshop seven builds the flowers. Further back, six shapes the acanthus, five handles crossings, four sets depth and the opening three carry the panel out of a bare board and into an opened ground: one, two, three. The course runs the whole panel. Depth transfer gets its own workshop, gouges are chosen there, and cutting end grain with a half millimetre veiner needs an edge only sharpening can give it. More leaves live in acanthus over moldings and modern acanthus, this panel belongs to the Venice Room, and the reasoning behind every movement sits in the design course.
You have an eye to cut and a pipe to raise beside it. Access to the school puts the rest of the panel in front of you.
How it's done
- Cut the falling drop at the crossing. That shape is the eye. Everything else at this junction is arranged around it, so it goes in before the surfaces beside it are settled.
- Sink a hollow down each flank of the ridge. Take an eleven at 5 mm and make one side deeper than the other. Matching hollows hand you a symmetrical shape nobody believes.
- Chamfer the ridge into a convex. Small cuts down both flanks, knocking off each corner the previous one left. A knife does it. Exaggerate the bulge rather than underplay it.
- Reach the awkward part with a back bent. Where a raised shape blocks a straight handle, a goose neck lifts it clear and drops the edge into the hollow. Here a number three did the job.
- Keep the crossing line proud. Nothing beside that line may finish higher than it does. Undercutting alongside will pull that line down a fraction, so blend it back up afterwards.
- Undercut with the smallest veiner, and round it. End grain included. A rounded transition beneath the edge grades its shadow away, where a sharp corner stops it dead and reads as machinery.
Frequently asked questions
What does a carver mean by an eye?
The water drop shaped hollow at a point where one leaf runs past another. Small as it is, the whole junction organises itself around that shape, which is why it goes in before the surfaces beside it are finished.
What is a pipe on a carved leaf?
The raised ridge running along it, worked into a convex instead of left flat. Light runs the length of a convex and dies on a flat one, so a pipe left flat drains the life from a junction that was otherwise fine.
Should you ever cut underneath a pipe?
No. Undercutting one stops it reading as a shape that rose out of the leaf, and makes it look applied instead. Clean around it, blend its edges, and let it keep its footing in the surface it came from.