
Alexander Grabovetskiy, woodcarver, School of Woodcarving · Published 2022
How do you carve one shape passing under another?
Quick answer: A line that passes under another is a carved line that slips beneath its neighbor and carries on past it. On my panel for a Venetian-style room the top wall went straight down with no lean, and the wood beside it went roughly 3 mm (1/8 in) deeper to make a shadow line.
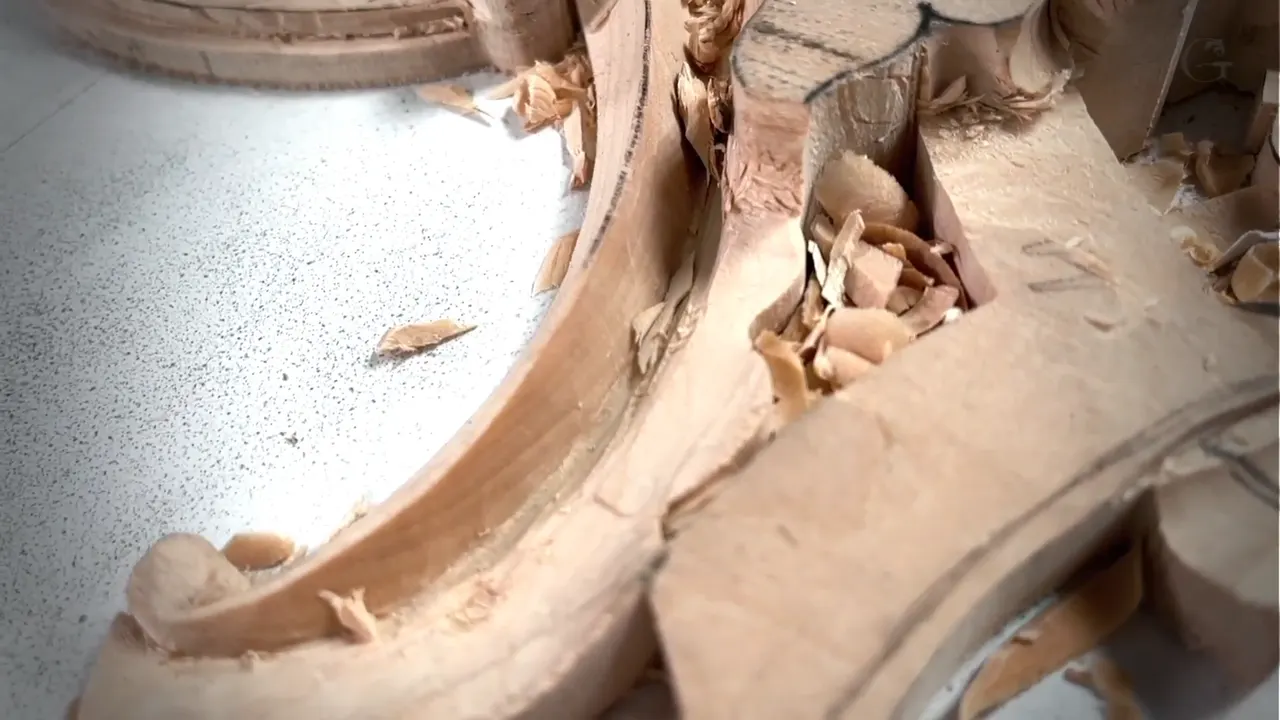
A shape passing under another is a line carved so it slips right underneath its neighbor and comes out on the other side. On my floral and molding relief panel I did it in two moves. The top wall went straight down. Then I worked around it and made a deeper pass, about one-eighth of an inch, about 3 mm, I would say, just to create a shadow line.
I love that type of stuff, like intersections. I say so more than once in lesson 5 of my Carving Floral and Molding for the Panel course, and by the end of this page you will know how I get one line under another. Even the tools I put back.
Want a line to slip under its neighbor? Want it to come out clean on the far side and finish up as a high spot? Then start with a tool that fits.
What lesson 5 comes down to
- A gouge that is okay on one side but will not work on the inside goes back, and my number six, maybe 12 mm (about 1/2 in), fit really nicely.
- Straight down, no leaning.
- Beside the wall, going an eighth deeper gives the shadow line.
- Check the first piece for slopes before you copy it.
- Tools piling up on my bench tell me I am tired, and that is my sign to rest.
Why did the first gouge go back?
The tool was a little too big. On one side it was okay, and if I only had to work that side, it would not be a problem, but on the inside it just did not work. I got something different. Number six, and in this case about 12 millimeters, I would say. I checked, and it fit really, really nicely.
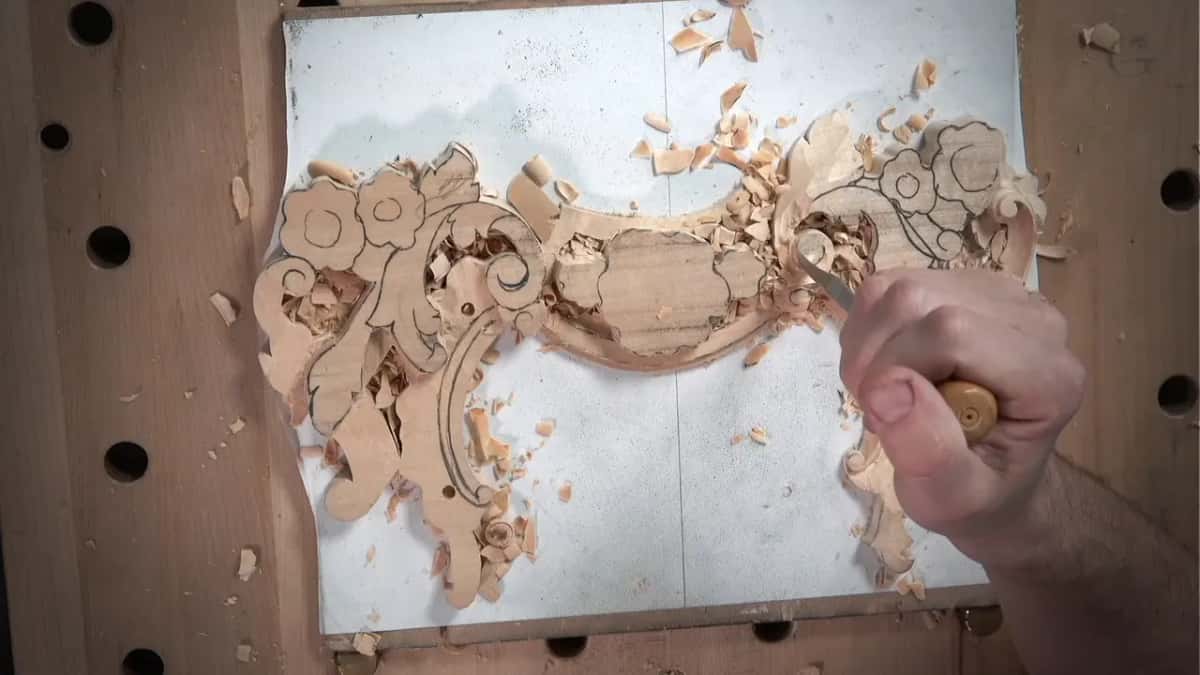
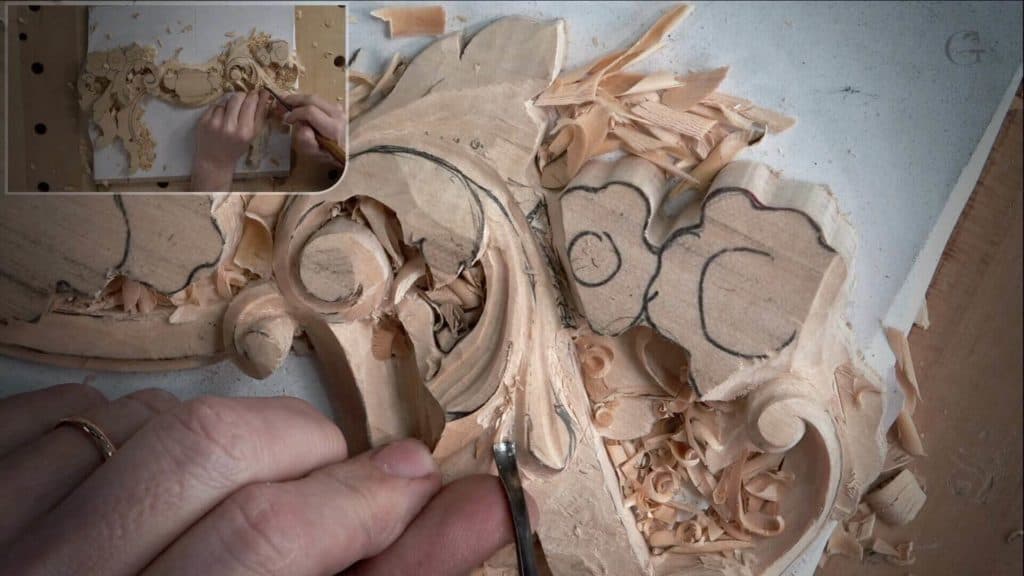
Then straight down. I repeated that operation, going right down, and came at it from the opposite side as well. It gave me a really clean canvas. And I kind of like how the two parts intersect each other.
Do you check the first piece before you copy it?
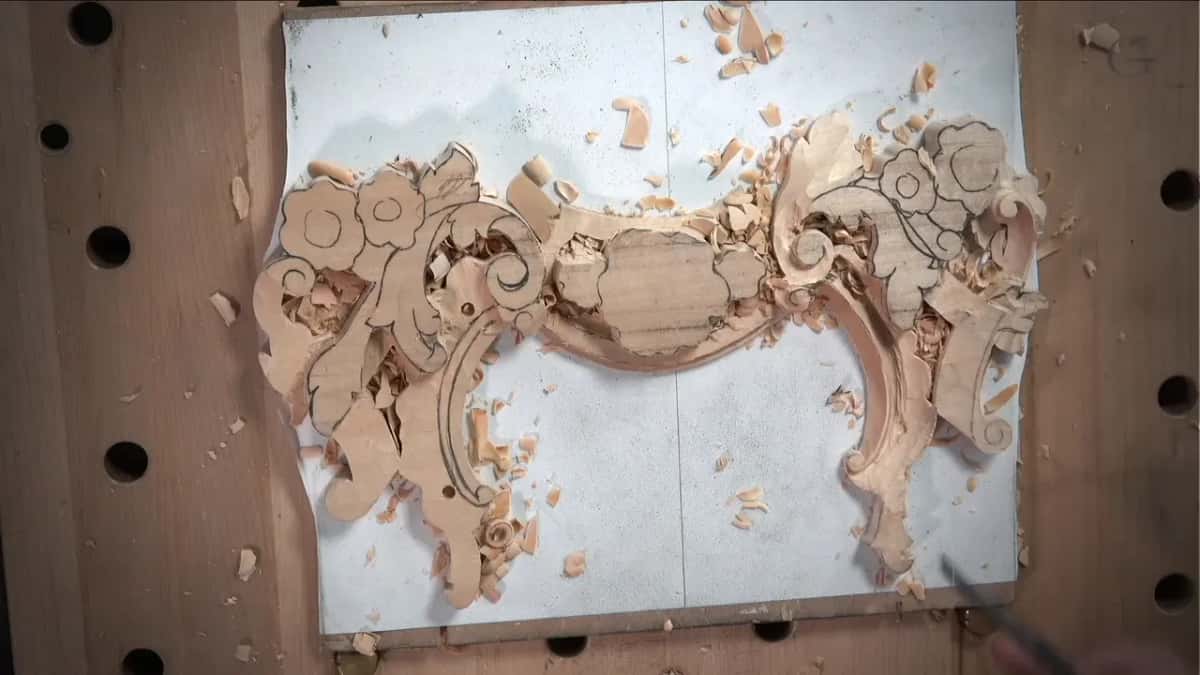
Right after the number six went in. I looked at the original piece for any sloping, and there was none, which is a good thing, because slopes sometimes create a problem. Don't get me wrong. I love slopes. But sometimes they just create some kind of confusion.
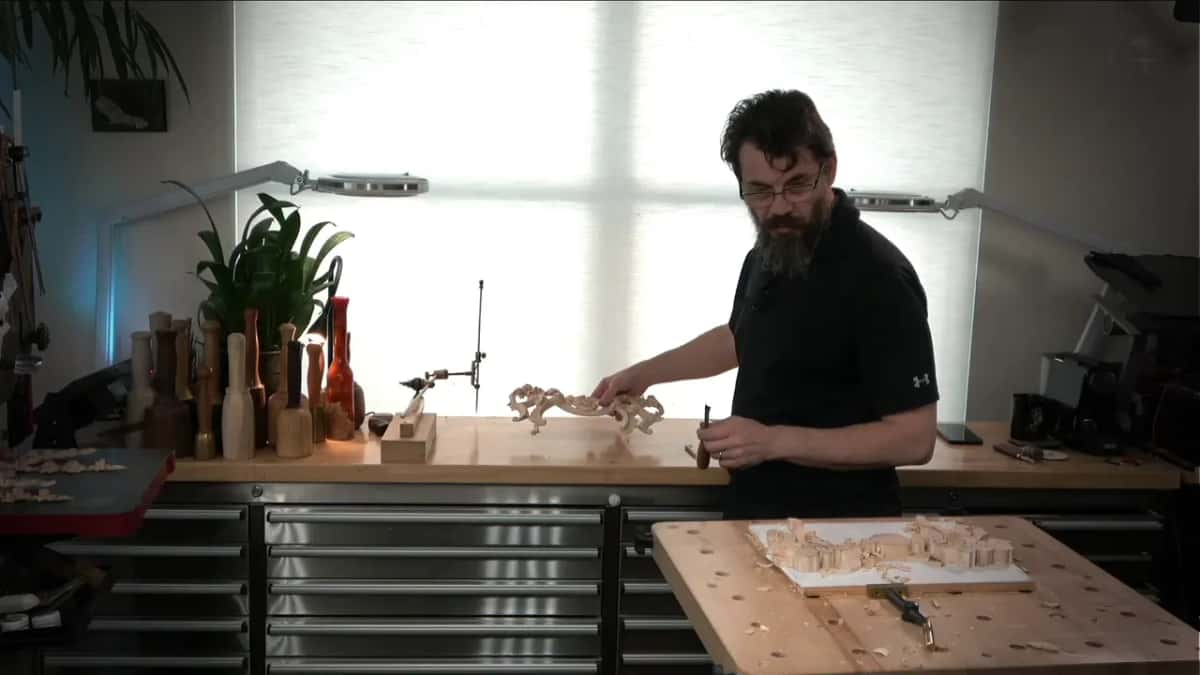
All through the lesson I keep going back to that first piece. I reference it before the shadow line and look again before sloping, and later a small volute that must sit really low sends me back to measure it once more.
This panel is for the same Venetian-style room I talk about in lesson 1, and this second piece mirrors the first. In that lesson I said it looks symmetrical, but it is not.
How deep does the shadow line go?
One-eighth of an inch, about 3 millimeters, I would say, and it goes all the way along. That deeper pass is there just to create a shadow line. The wood beside it is not simply gone. It goes inward first, and then down to the floor. A really interesting movement.
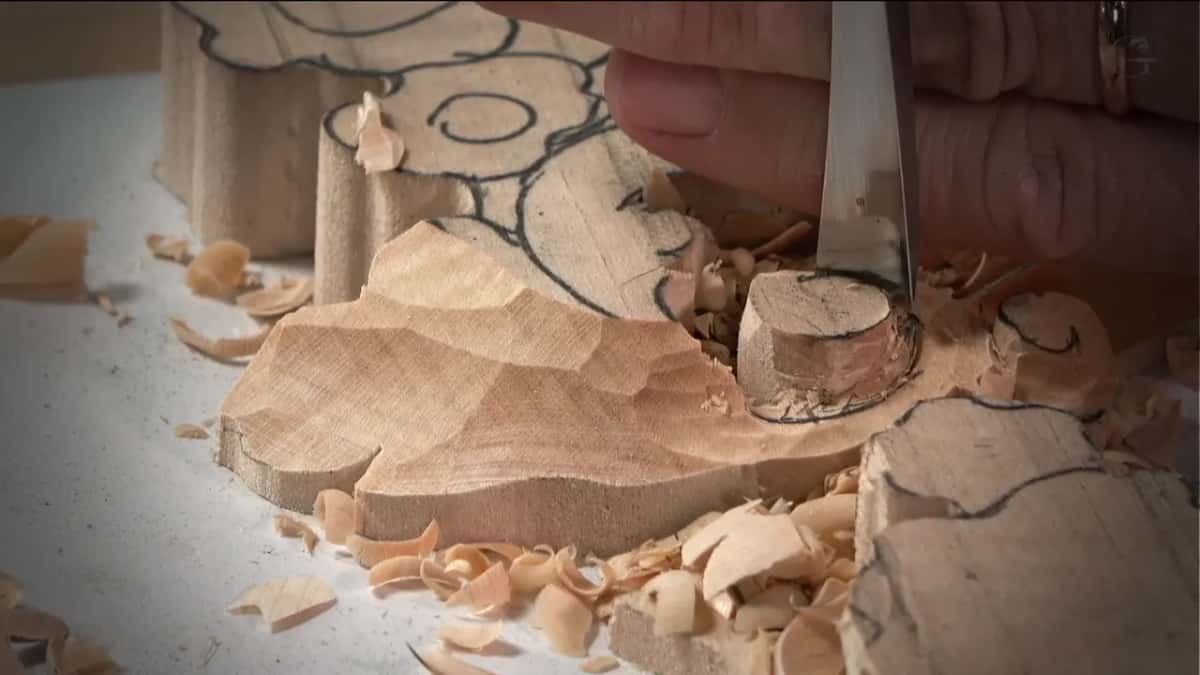
I used the same number six for it, little by little, without forcing, walking around the shape, then starting again straight down and slicing it all around. Later, at another spot in part 1, the line slips under with only about 1/8 inch and then rises up.
Why does the tool have to stay straight down?
Leaning it would undercut the wall, and on this wall that would be a big mistake. When I say without undercutting, I mean the tool has to be straight down, and it cannot lean that way or that way. Just straight down. Do that and it looks really, really good.
Then I went back over my earlier pass to make it nicer and cleaner, and if my hands covered it from the camera, my apologies. You should understand why I do it.
My Greek acanthus leaf has the same kind of wall, and there I called it my 90-degree wall. On that leaf I took a marker so you could see better where one piece overlaps another, then lowered the piece underneath with a number 7, 14 mm, kind of slightly with the grain.
What keeps the ridge from getting damaged?
Watching how deep each pass goes right beside it. First, though, one part had to slope the opposite direction, and I could use a knife, I said, or a small number one, and then I picked a smaller version of my skew tool. I started the slope carefully.
I looked at my previous piece again, and it goes pretty much to that part. A two or a three would also work, but I chose a number five. I did not want to damage this line, that ridge. So that pass cannot go too deep, and you have to be kind of mindful about it.
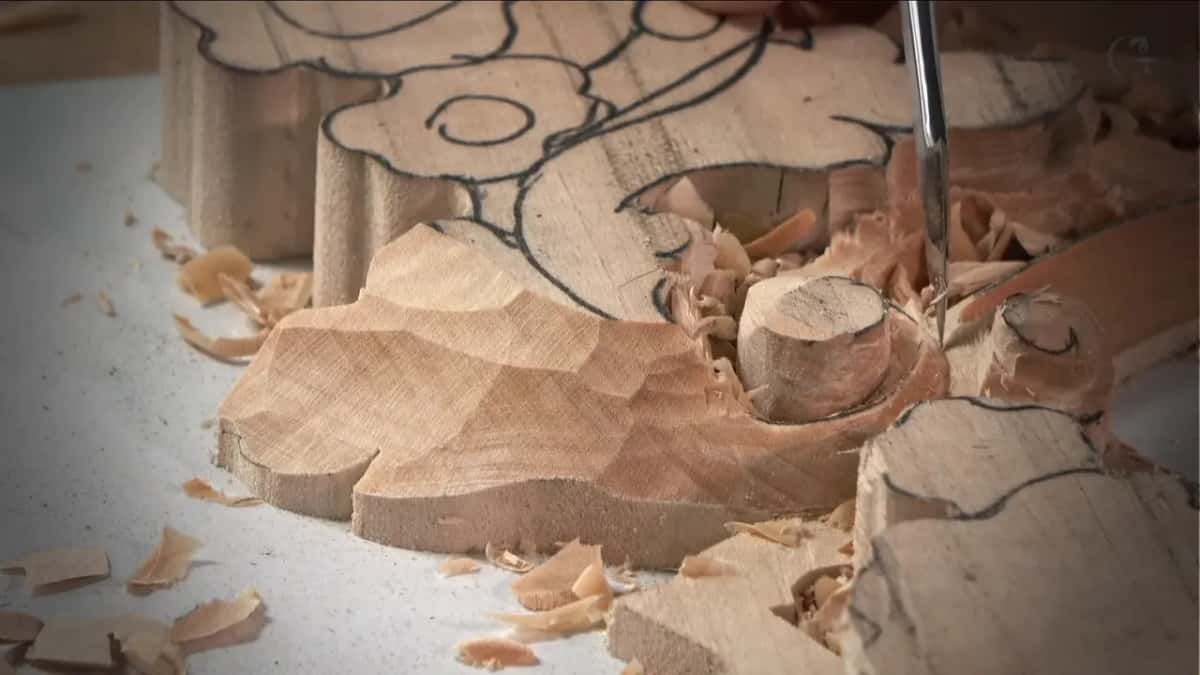
When I had gone as far as I could from one side, I came in from the other and worked the line from both. It looked really good, actually. I went no deeper than I needed to and did not damage anything, and that is what I am after.
How does the second line get under the first?
With the small skew tool again, working my way in. I needed this one to intersect really nicely too and go underneath that line. That is the nice thing about this tool. I can use just the heel, just that part, when I need it.
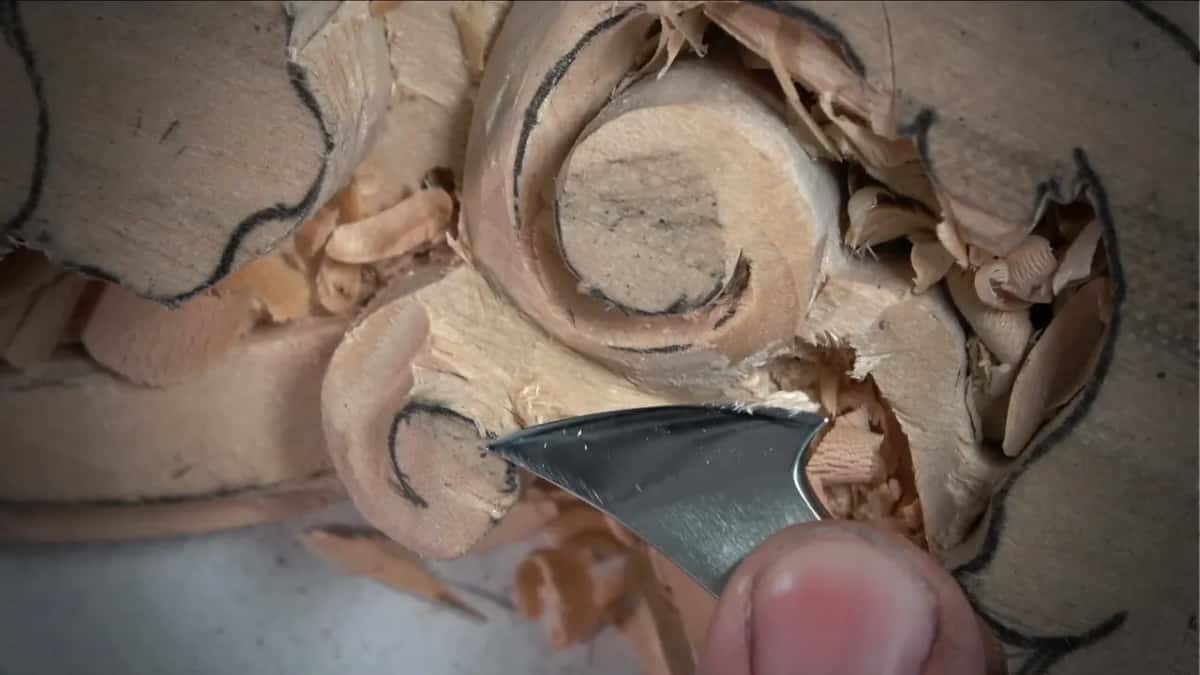
Why fly a phone around the carving?
You see it much better that way than the camera shows it. I asked you before if it helps to fly around, and I got an answer. My apologies for that shaky camera. I have to hold the phone at the right position so it keeps the focus. Just that detail, people, those two intersecting parts, is worth learning.
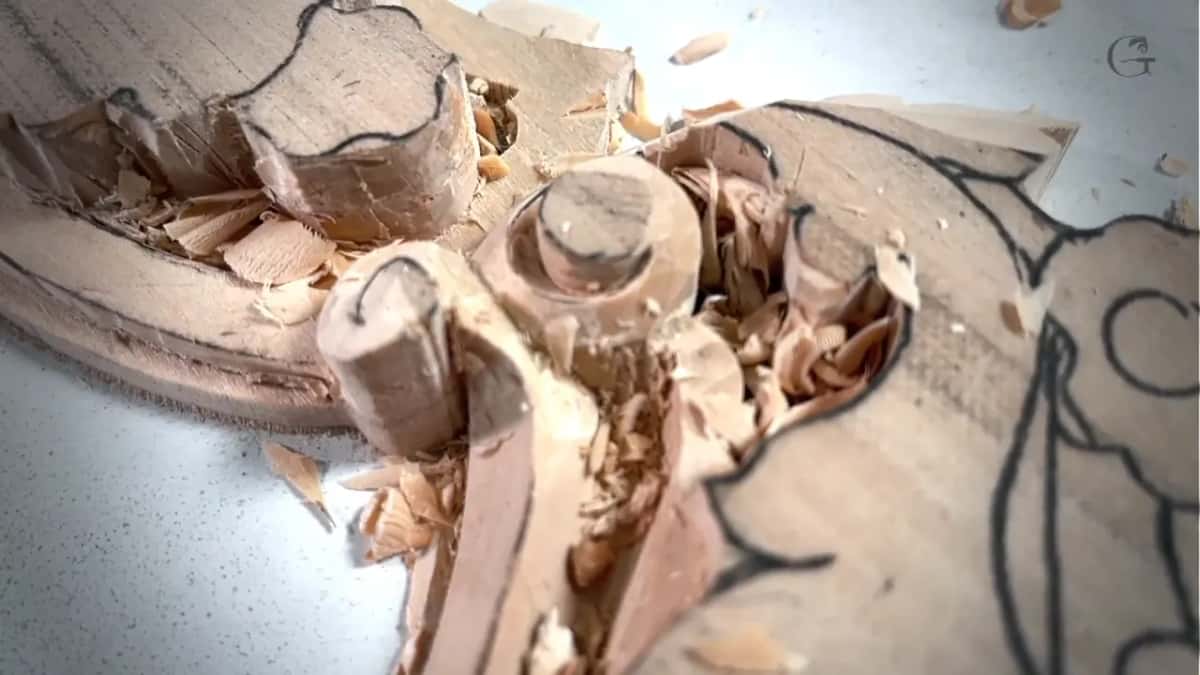
Part 2 had me asking one more time, if it helps let me know, and if it just distracts, also let me know.
Where does the line go once it is under?
Right underneath that detail, not at this side, and then around it. To get there I took a number one with a double bevel, a bevel on both sides, pretty much, and then a small detailing gouge, a number five, a quarter inch, six millimeters. I was not rushing anything. That would be a big mistake. Even then I needed something smaller, so I picked up a number five at 1/8 in and kept working my detail.
Part 2 opened with a spoon gouge from the opposite side, not too big of a sweep, so maybe a number three, about 4 mm. And that line goes right underneath. It is just a really beautiful intersection, and obviously that is just my opinion, but it flows nicely, goes underneath, then escapes and finishes up as a high spot.
| Tool | Its job | When |
|---|---|---|
| My number six, about 12 mm (1/2 in) | fit the inside curve and took the wall straight down | early in part 1 |
| Detailing gouge, number five, 6 mm (1/4 in) | carried the line right under the detail | end of part 1 |
| Spoon gouge, around 4 mm (5/32 in) | worked inside from both sides, hard to see on camera | start of part 2 |
| Number nine, 10 mm (3/8 in) | lowered one side to the mark left by the drill | middle of part 2 |
| Number 11, half a millimeter | a line by the overlap and the eye | in part 3 |
| Number seven, 14 mm (9/16 in) | sloped inward in part 2, then gave the leaf its overall movement | parts 2 and 3 |
What does the half millimeter tool do?
It places the line that goes right underneath. Near the end of part 1 I weighed one millimeter against half a millimeter and picked the half. I placed it carefully, went the opposite direction as well, and then a small number five, a quarter inch, got right under.
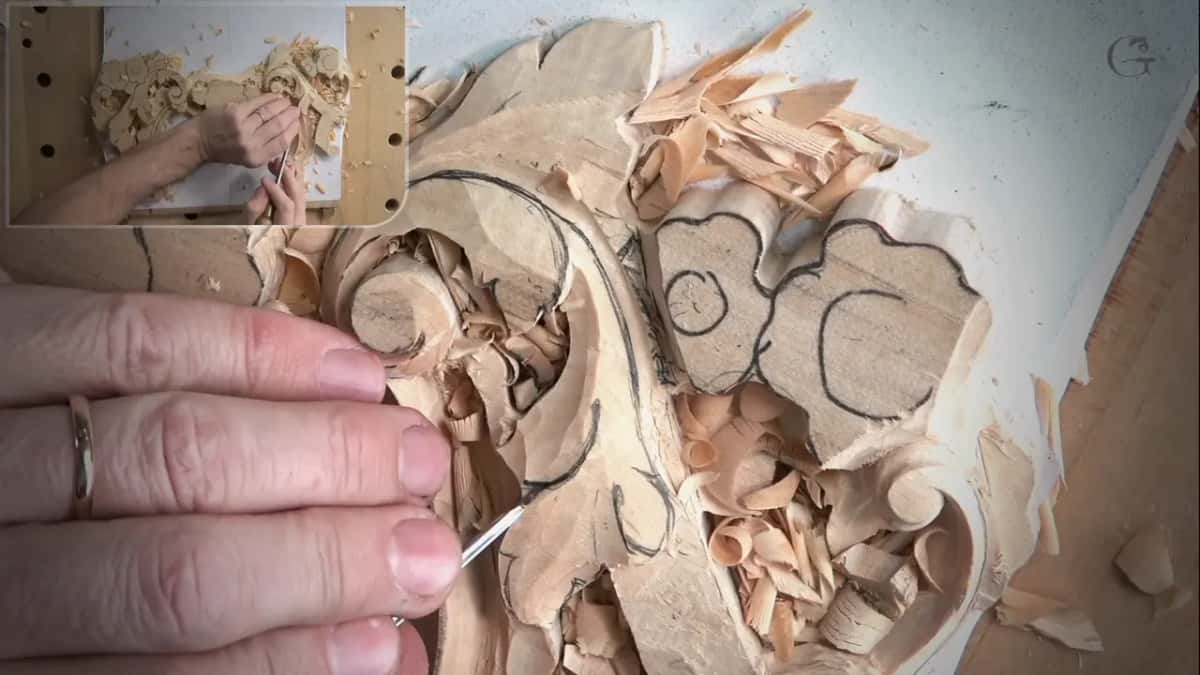
On the leaf in part 3 I took a half millimeter number 11. Not as deep, but still somewhat visible. I did not need a wide cut there. Then a really small, tiny tool brought that line in and blended it right underneath, so this one feels like it is really overlapping.
Why must one point match the concave?
That way the two feel like they roll to the same spot. My original piece showed the line going underneath and then rising up, a little bit above the molding, while the molding goes underneath. I drew a line and made a preliminary pass under it, then flew around with the phone again, since you do not see the molding from the camera.
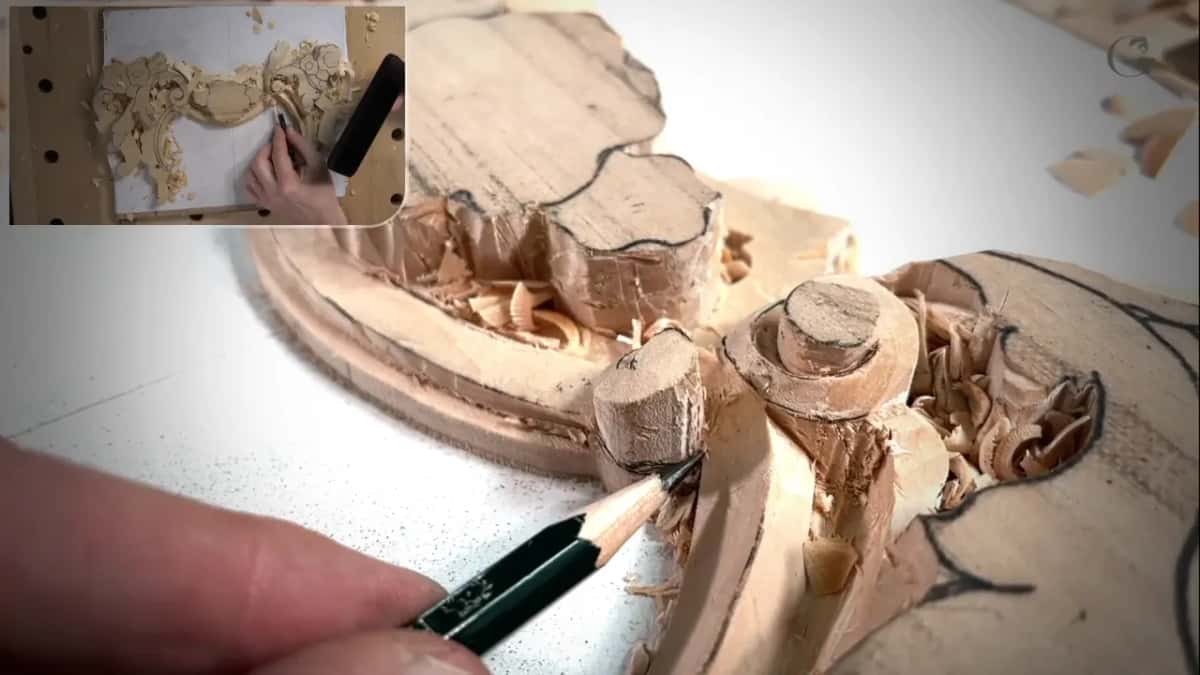
It goes all the way to the line. What I mean, this point right here has to be at the same height as my concave. That line continues on the other side. If you want more of this, I have a whole course on acanthus over moldings.
How much wood comes out for the future molding?
Just a little, because this is only preliminary. I thought a macaroni tool would be good for it, then said you don't have to, and I don't have to. A quarter-inch number nine went right underneath, and then a flatter tool, a chisel number one. I am going to have a chance a little later to clean everything.
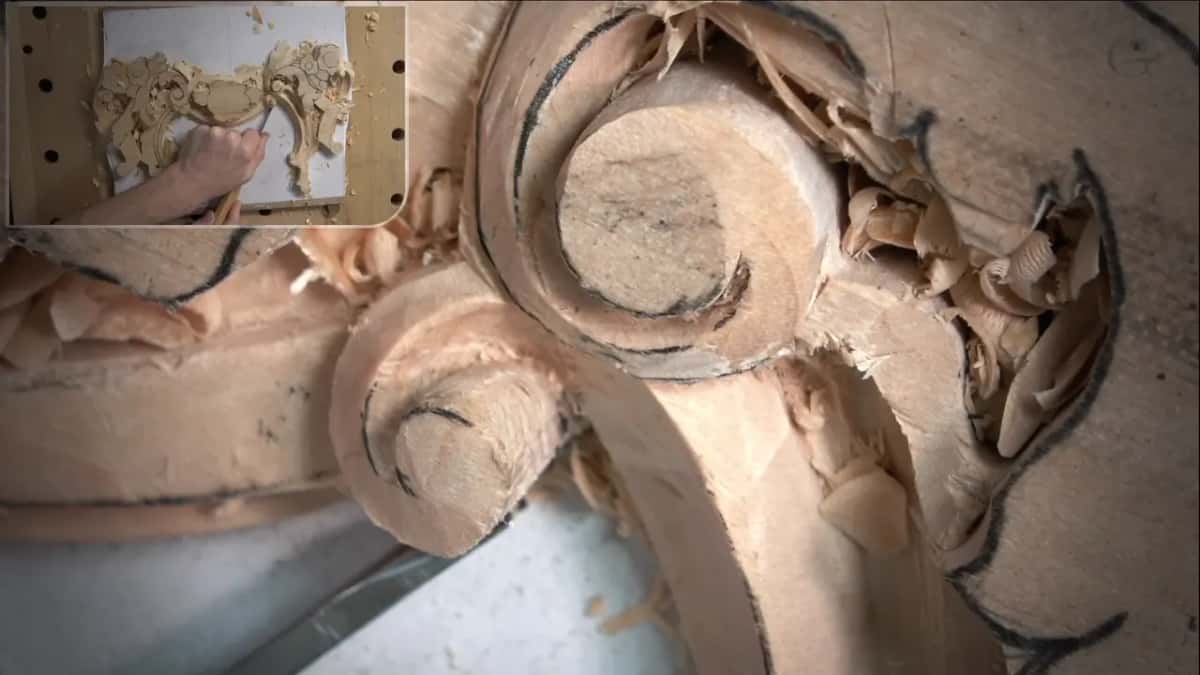
The part moves inward, and my number seven sloped it slightly that way, not much, but a little bit. A smaller number six followed, and on the phone you can see it slope inside and go to the same point, pretty much.
When do you reach for the drill?
Right after I measure the high spot. Here it was about six millimeters, I'd say, about a quarter inch, so I grabbed my drill and drilled it. Why not?
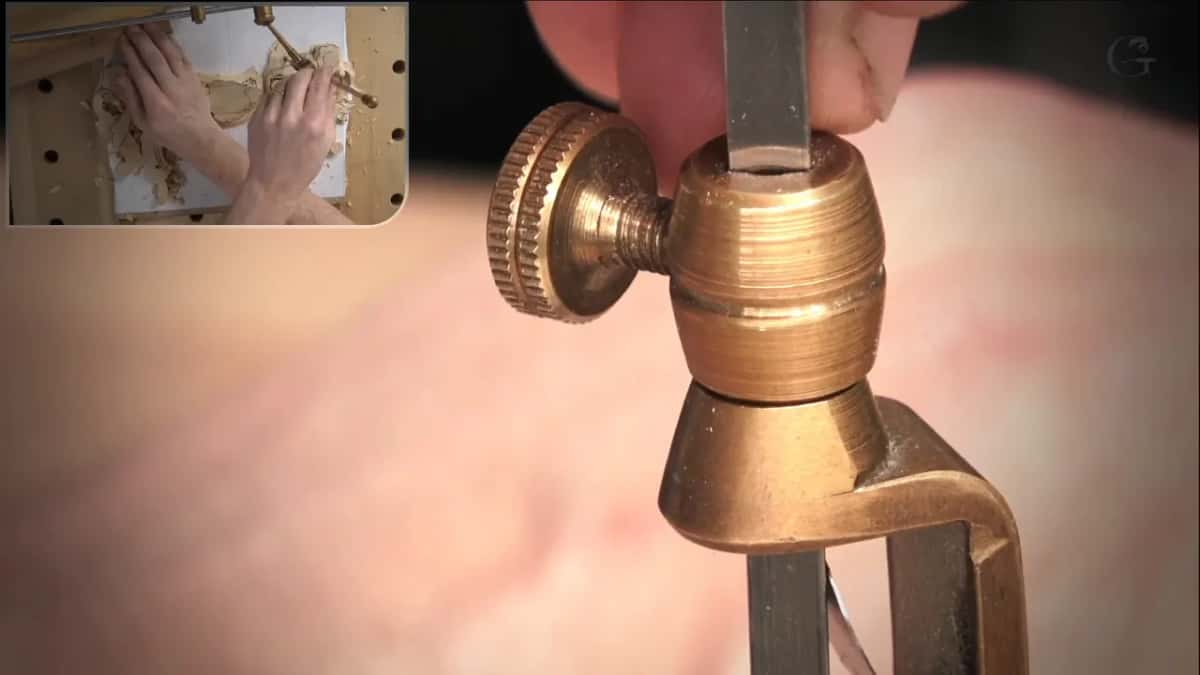
I checked whether I made a mistake, and I was right on the money, and it was already touching the bottom. No mistakes. The number nine took that side as far as the drill mark, which I could still see, and that was my height. Rotating the table crossed my mind, so I tried it and put it back.
A small volute had to sit really, really low, so I measured my original piece again. About 7 millimeters there, a little more than a quarter inch. All of that needs to be at the same level, so we can expose the flower. But one line I really, really wanted to keep, so I took that section out first, kept the line, and lowered the rest after. The pointing machine has a lesson of its own, and the lesson before this one is lesson 4.
Which way do you go when the grain is against you?
From the side where the grain will not catch. With a 10 mm number nine, three-eighths of an inch, my left side went across the grain, and I have to be really careful. But the tool should be sharp, and if the tool is sharp, you should be okay.
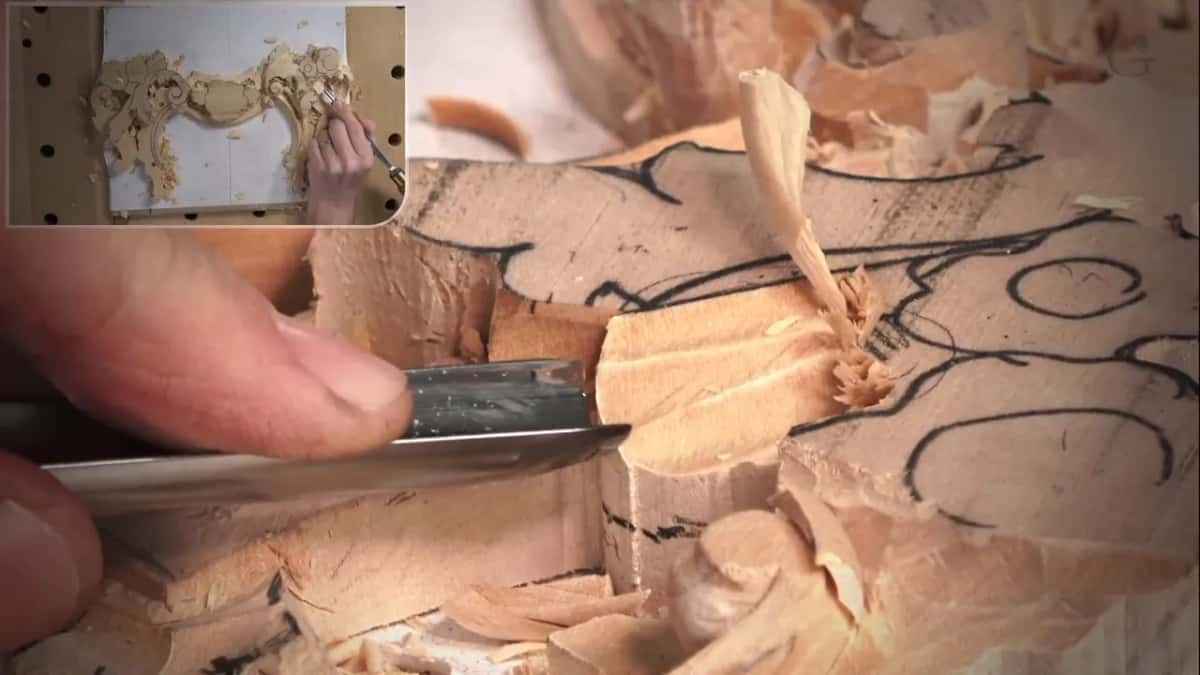
Then two triangles came out with the tool straight down, 90 degrees, and that wall had to be really straight and nice. A smaller number nine, a quarter inch, took another section out, again straight down.
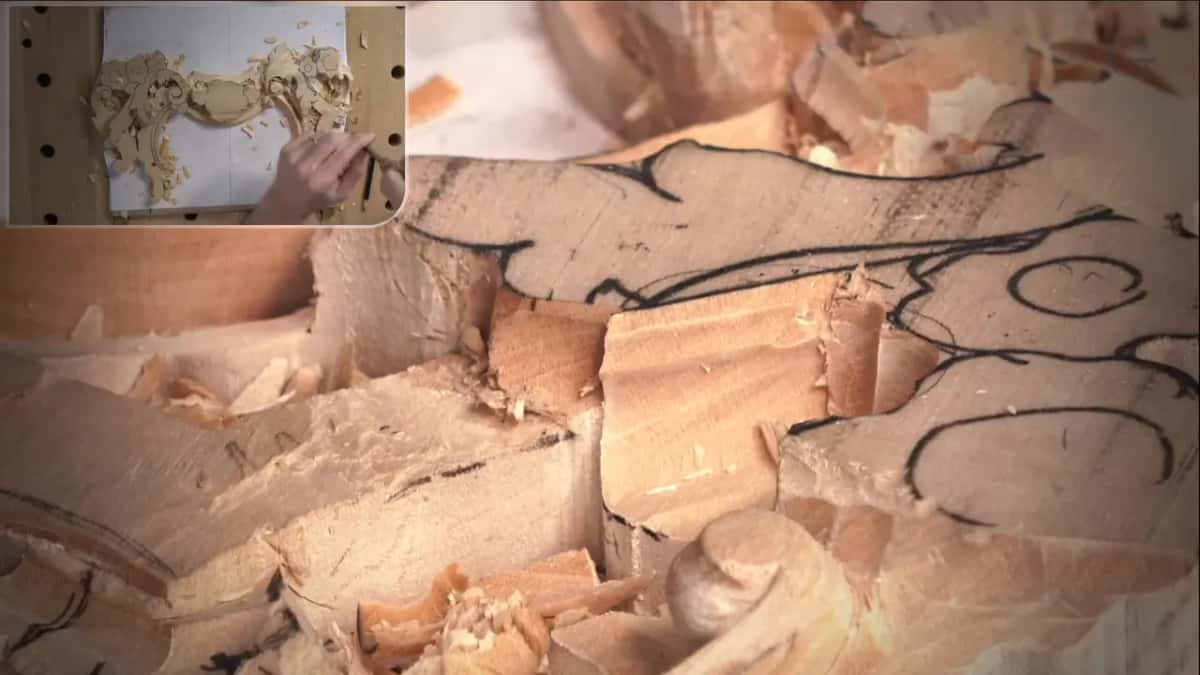
One part had to come down to the level beside it, so I sharpened my pencil and drew that line longer first. There are multiple ways to take that part out, but one way was impossible. The grain runs that direction, and if I attack that way, I am going to catch the grain and break it. So I placed the tool really straight and went downhill until I hit the line. Probably the best way anyway.
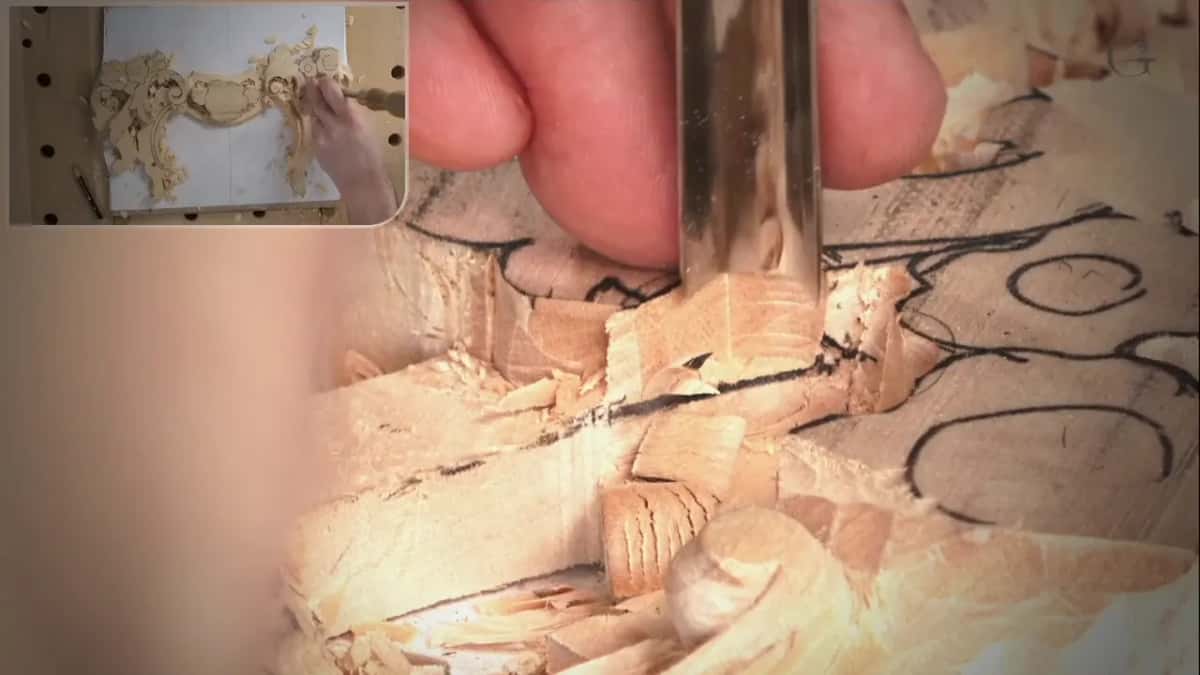
While blending in part 3, the grain was the problem again, or maybe not the grain, maybe my tool was not sharp enough, so I took a small knife. Sharpening is a course of its own.
Why flip a photo of the first piece?
To put the drawing right beside the work while I copy. In part 3 I took a picture on my phone again and flipped the image, so I could set the drawing back up from it and place it right beside the piece. For me it is just a matter of copying, and I did the same in lesson 3.
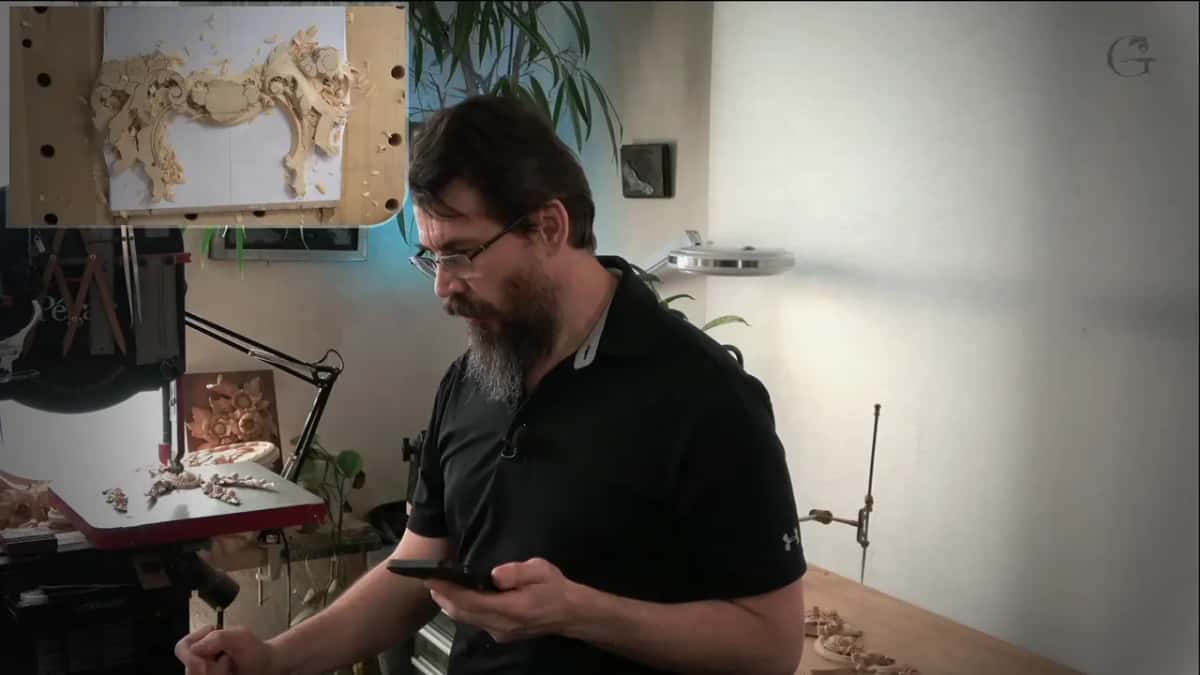
How I photograph a carving is in my Greek acanthus assessment lesson.
Which details does part 3 add to the leaf?
Divisions and an eye, and then a pipe between two hollows. The flower there goes much lower, so I left its middle alone and worked whatever the petals are, and one part of the acanthus slips right under. I drew the divisions and an eye after that. My number 11 at 3 millimeters outlined that part. Then a number seven for a part slightly lower, and my number seven, 14 millimeters, for the sloping motion, down to about a quarter inch in one spot.
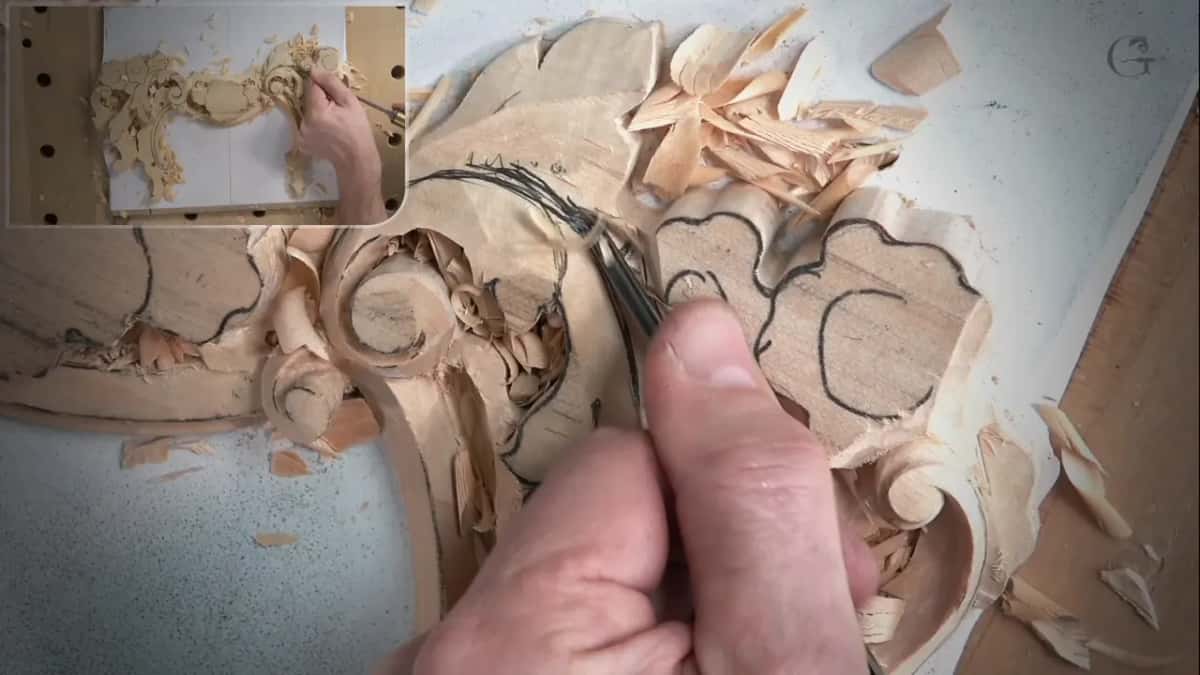
This part overlaps that part, and right there is going to be an eye. If you have a division of acanthus, you really have to have a pipe, which is a convex movement, and to make the pipe I carve concave hollows right on the side.
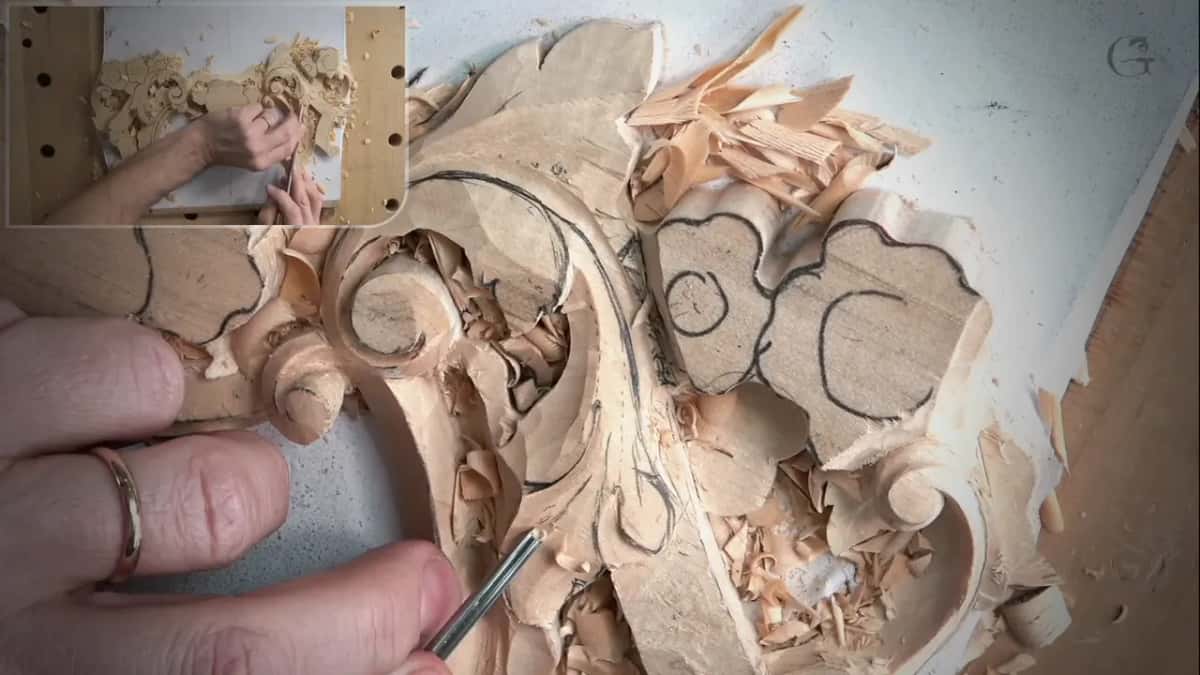
A 3 mm tool started those hollows and a number 11 at about 4 mm took them deeper. Every time you have a pipe, that intersection line must sit higher, much higher than the rest of the leaf. Convex. A triangle relieving cut came next, then the number seven set the overall movement, and a number five worked where a six might go.
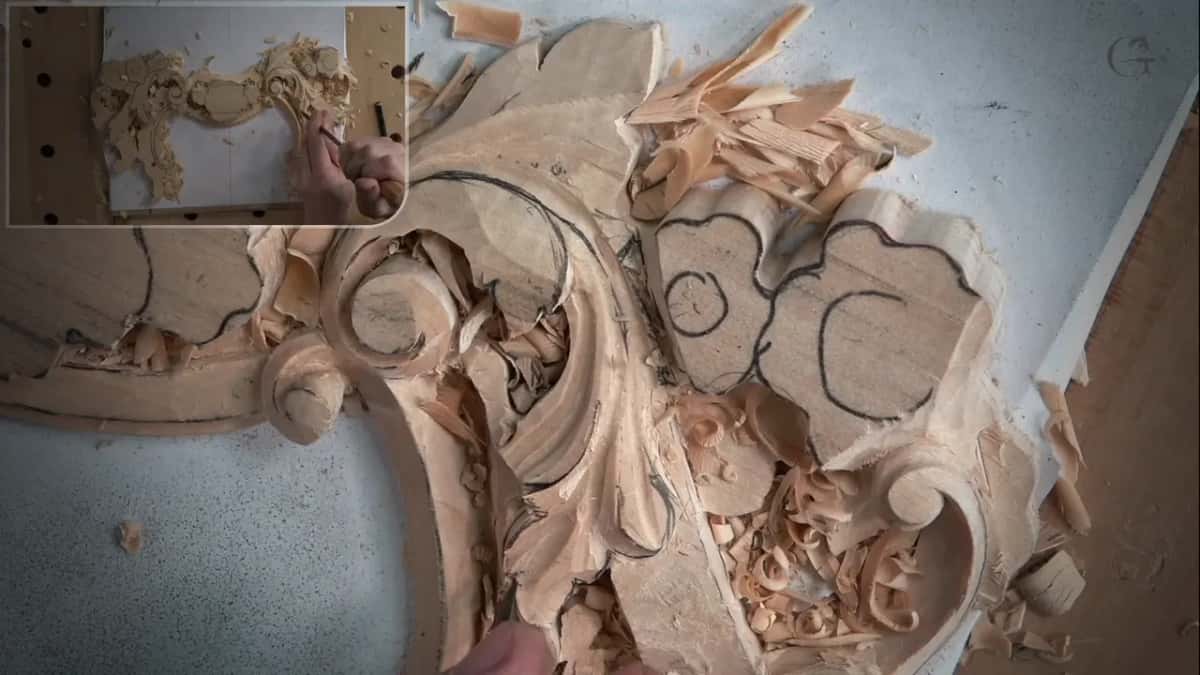
The rest is blending, blending, and blending, which I do not have to do on camera. From above, you can see it developing beautifully. The next lesson is lesson 6.
When is it time to stop for a while?
When the tools start piling up on my bench. Late in part 1 I heard a sound I did not like, and I did not want to break it. The sign that I am tired is my bench, and if there are more than two or three tools on it, I am tired.
Right then I was okay keeping those two guys out while I worked. But when I start accumulating tools, it is time to take a break, at least for me. Walk away for a few minutes, and you should be fine. A little later I said sorry for my mumbling, kind of tired that day.
Later, in part 2, I caught myself again. I don't need extra tools on my workbench, and it is not a good idea to accumulate them. Picking the right ones has its own lesson.
Got two lines on a panel of carved ornament that need to cross? Access to the school puts lesson 5 and the other thirteen lessons of this wood carving panel in front of you.
How it's done
- Trade a tool that will not seat. If a gouge is fine on one side but does not work inside the curve, swap it. Mine was a number six, about 12 millimeters.
- Look over the first piece. Check the original for slopes and reference it before going on.
- Wall the top shape. Keep the tool upright, leaning neither that way nor that way, and slice around the whole shape.
- Sink the shadow line beside it. Roughly 3 millimeters, inward first, then to the floor, without forcing.
- Spare the ridge. Watch each pass by the ridge so it does not go too deep.
- Set the fine line underneath. A half millimeter tool, placed carefully, then run the other way, so the line reads as going right under.
Frequently asked questions
What depth makes a shadow line on a relief panel?
On this panel I went deeper by roughly 3 millimeters, about 1/8 inch. The pass went inward first and then to the floor. The number six stayed upright the whole way round, and I walked around it, slicing as I went.
Why can't the gouge lean on that wall?
Leaning that way or that way is undercutting, and on that wall I called undercutting a big mistake. So I kept it straight down, without movement, walking around the shape and slicing all around it. Like that, it looks really, really good.
Which tool makes the line look like it goes underneath?
A very small one. I chose the half over a one millimeter tool in part 1, and in part 3 a number 11 of that size made a line by the overlap. Not as deep, but still somewhat visible, and a tiny tool blended it in.
What to carve next