
Alexander Grabovetskiy, woodcarver, School of Woodcarving · Published 2022
How much wood should stay under a carved detail before gluing?
Quick answer: Undercutting gets limited by the joint beneath it. Roughly a millimetre and a half has to survive along the base of a small detail. Cut in from both flanks until those hollows meet and no flat remains for glue to grip, which turns finished work into a loose ornament nobody can fix.
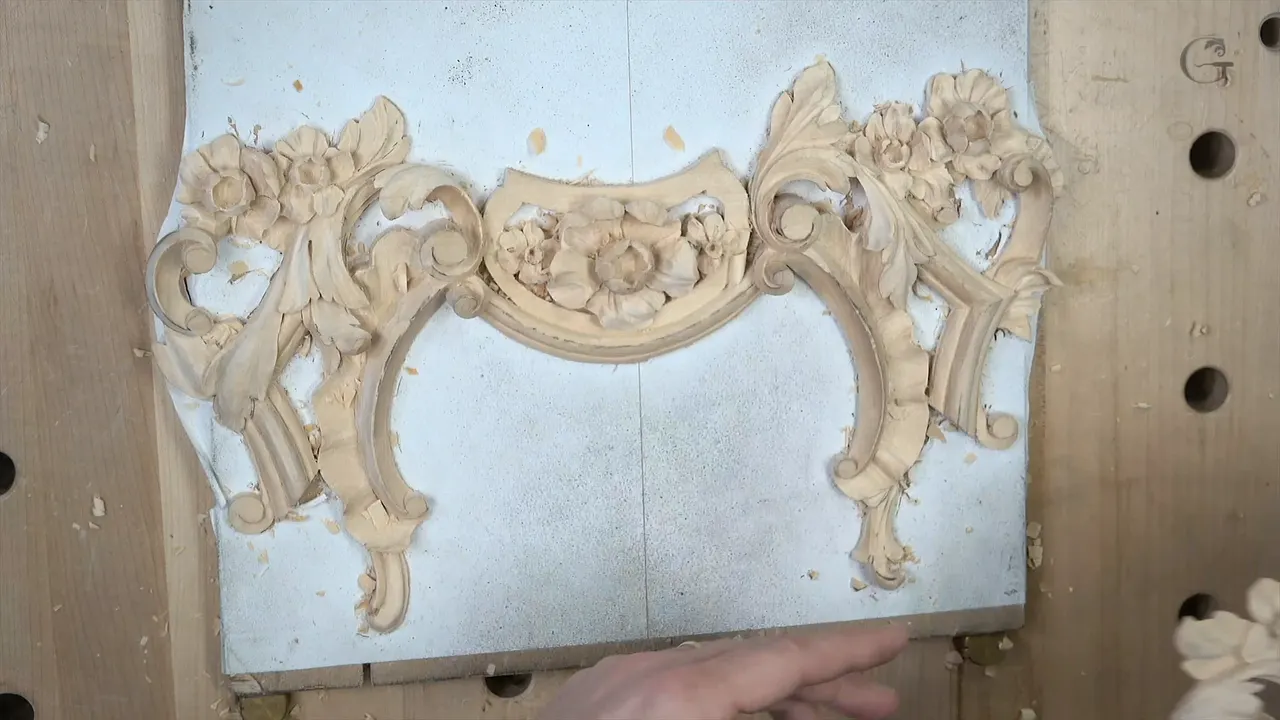
A sixteenth of an inch decides whether a carved detail ever reaches the panel it was made for. Undercut runs in from one side, then from the other, and those two cuts have to stop before they meet. What survives between them is the only surface glue will ever touch.
Two small pieces stood between me and the end of this course. Neither takes long. Both are mirrored from details already finished on the first panel, and I nearly skipped filming them.
Then I thought about the people who have never made one. Those carvers are the reason this workshop exists, and the shape turns out to carry more than it looks like carrying.
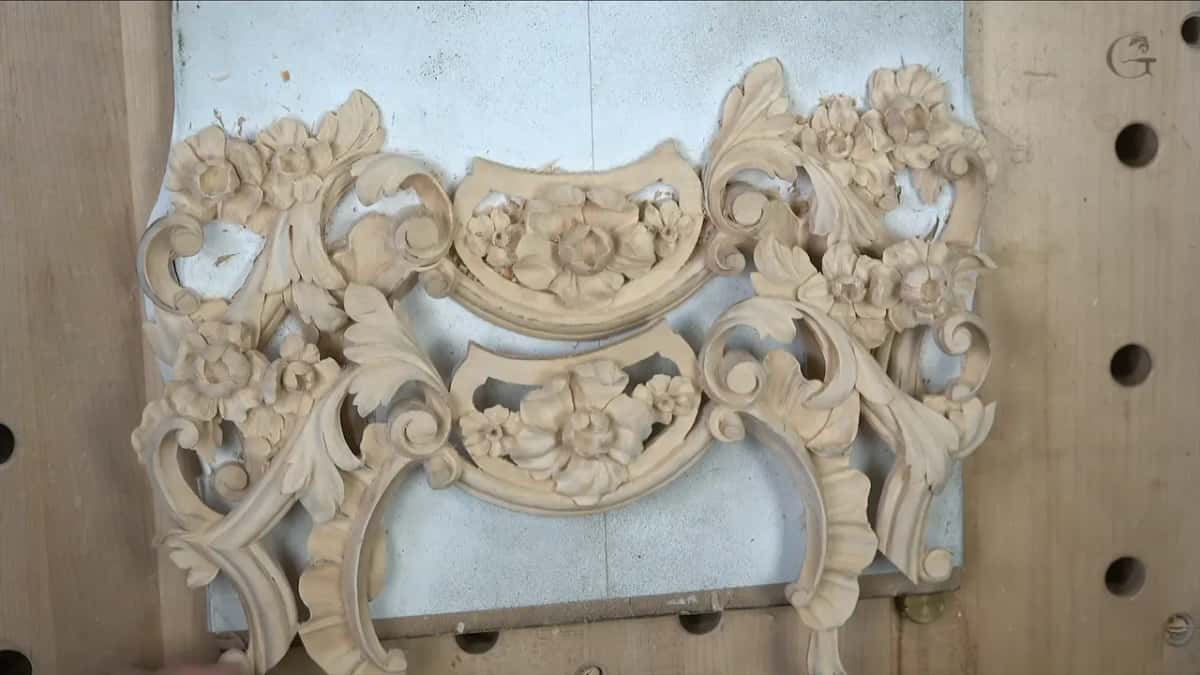
Flat, then a twist. Say those four words and you have the whole movement of the thing, a mercy after thirteen workshops of acanthus anatomy.

Key takeaways
- Leave a shallow flat along the base, always, for the glue.
- Small gouges are the safe ones on fragile work, because a narrow edge grabs less material and puts far less strain into something that is barely holding together.
- Slope both faces downhill.
- A separation between overlapping parts wants a shallow hollow, never a sharp vee.
- Corners dig, and digging chips.
- How far you take the finish depends entirely on whether paint is coming.
What is left at the end of a course like this?
Cleaning, mostly. Two details to carve, then cleaning and more cleaning, and paint after that.
Heights came off the finished panel long before today. My pointing machine already marked how tall this piece has to stand, so the pencil line is doing the deciding and my eye is not involved.
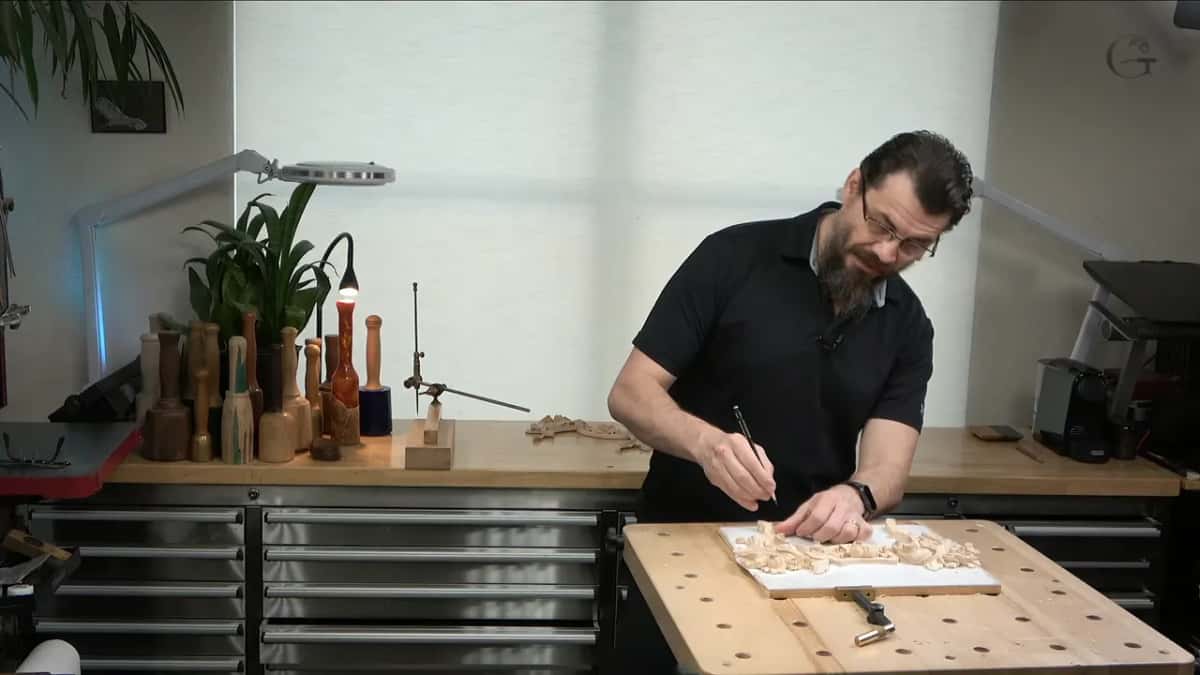
Roughly three millimetres has to come off the top. I said four out loud first, looked again, and corrected myself on camera, which happens more often than the edited videos of the world suggest.

Why is a small tool the safe one here?
Less material per bite. A narrow edge takes a smaller mouthful, and a smaller mouthful puts less stress through a piece that is already weak in the direction it matters.

Grain runs the length of this detail, which makes it strong along its axis and pathetic across it. Anything I do has to respect that or the piece snaps in my fingers, and there is no gluing a break like that back into shape.
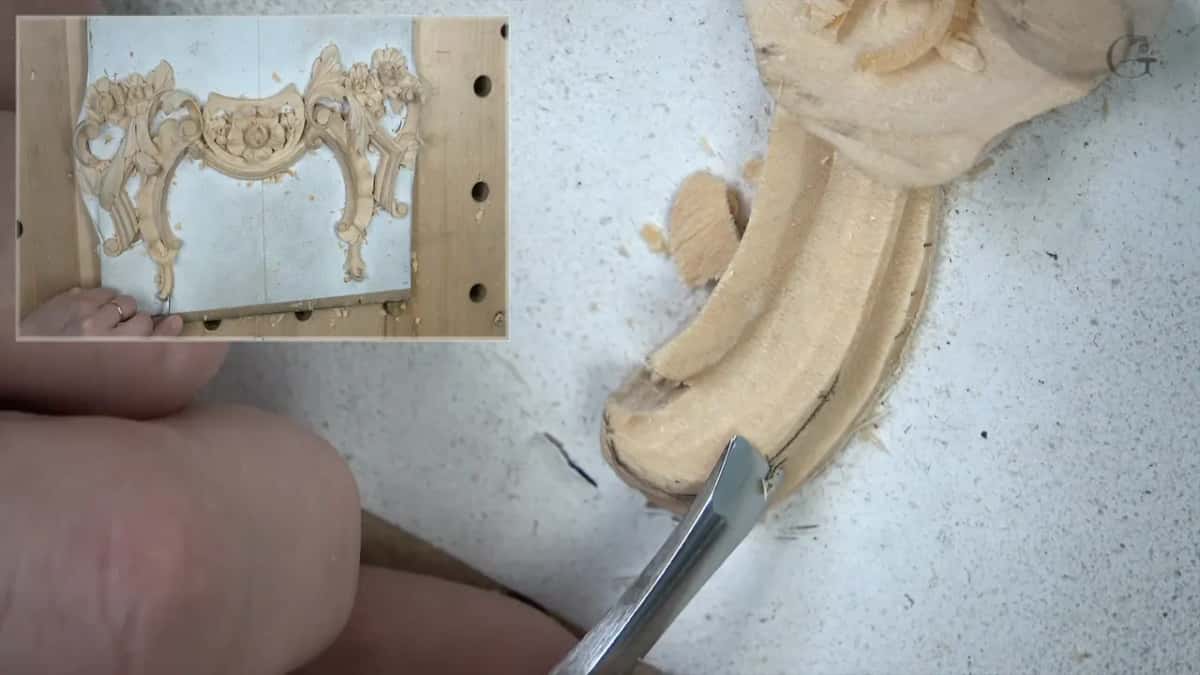
Nothing clamps it either. My fingers hold it while I cut, which sounds careless and is simply what a piece this size demands.

A drop of super glue would pin it down. I considered that, decided against re-gluing what I would only have to free again, and carried on holding it.
What is the right tool, though?
I asked that out loud in the middle of this workshop and then stood there for a second, because the honest answer changes with every cut.
Whatever I picked up first went back almost immediately. Its edge had gone, and a tool needing the strop is a tool that will tear fibres instead of severing them, which on a piece held in two fingers is how accidents start.
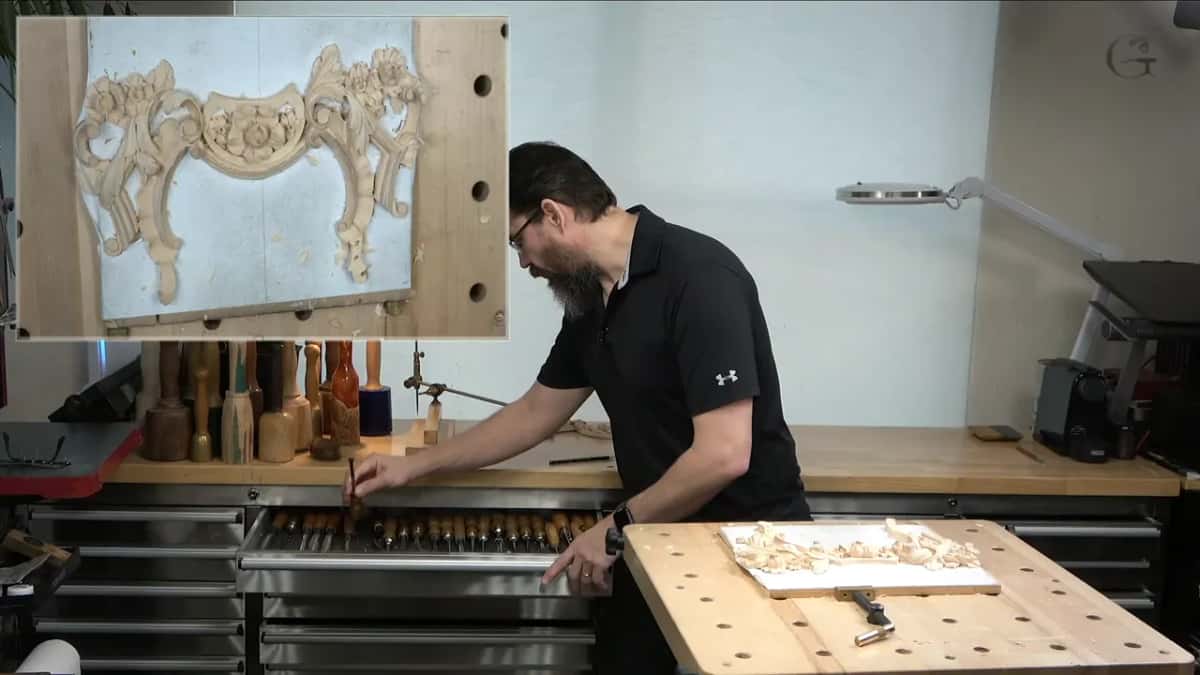
My quarter inch nine came next, working downhill from where it stands proudest. Never pushed. Sliced, a wholly different action and the one that leaves a surface worth keeping.

Then a number seven at fourteen millimetres for the long slope. Something narrower would have worked and taken three times as many passes, and on a piece this fragile every extra pass is another chance to be clumsy.

Does cutting the wrong way down the grain ever make sense?
Occasionally, and I did it here. The surface came out rough, I named it while the camera was running, and walking round to attack from the proper side would have been better in every way.
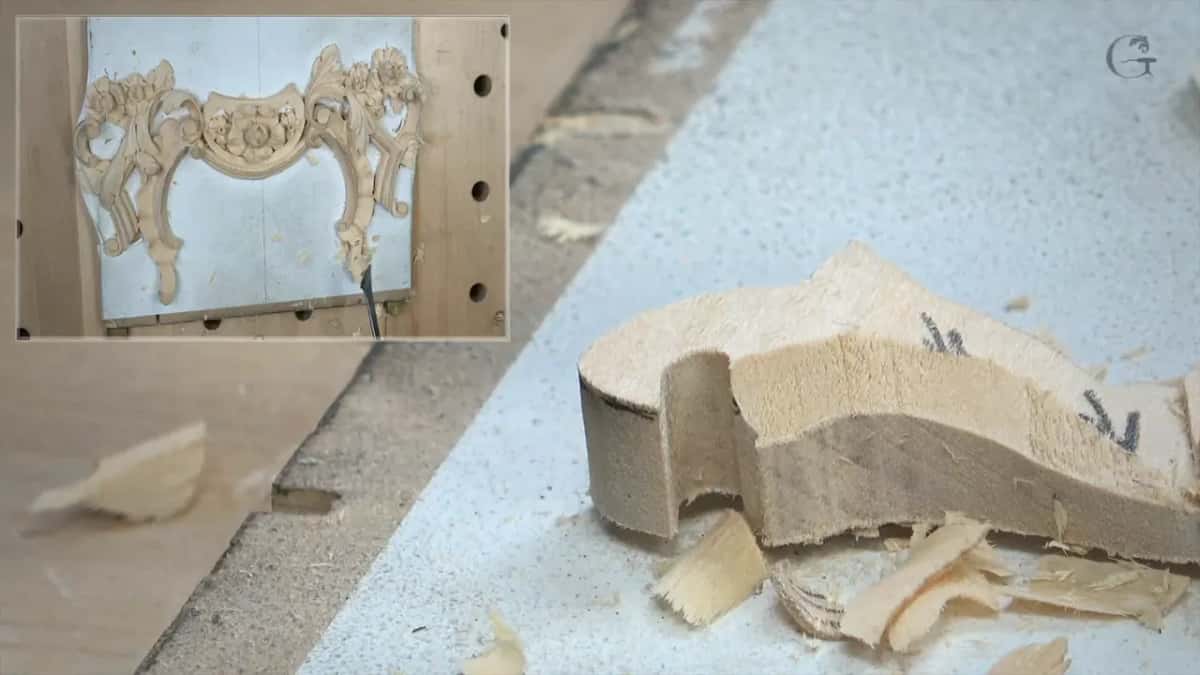
Sometimes the shape simply will not let you stand where you want to stand. Sharpness is what buys the exception, and a dull edge in that position tears a strip out of work you cannot repair.
Fixing it costs a pass or two later with something narrow, which is cheap, and very much cheaper than a break.
How much wood has to stay underneath?
About a millimetre and a half. One sixteenth in inches, and the number is a floor rather than a target.

Here is the problem it solves. Hollowing arrives from one side, then from the other, and should those two cuts run deep enough to meet, the detail becomes a free floating sculpture with no flat anywhere on it.
Glue needs a surface. Take the surface away and you have made something lovely that will never attach to the relief it was designed for, which I have watched happen to people who were doing everything else right.
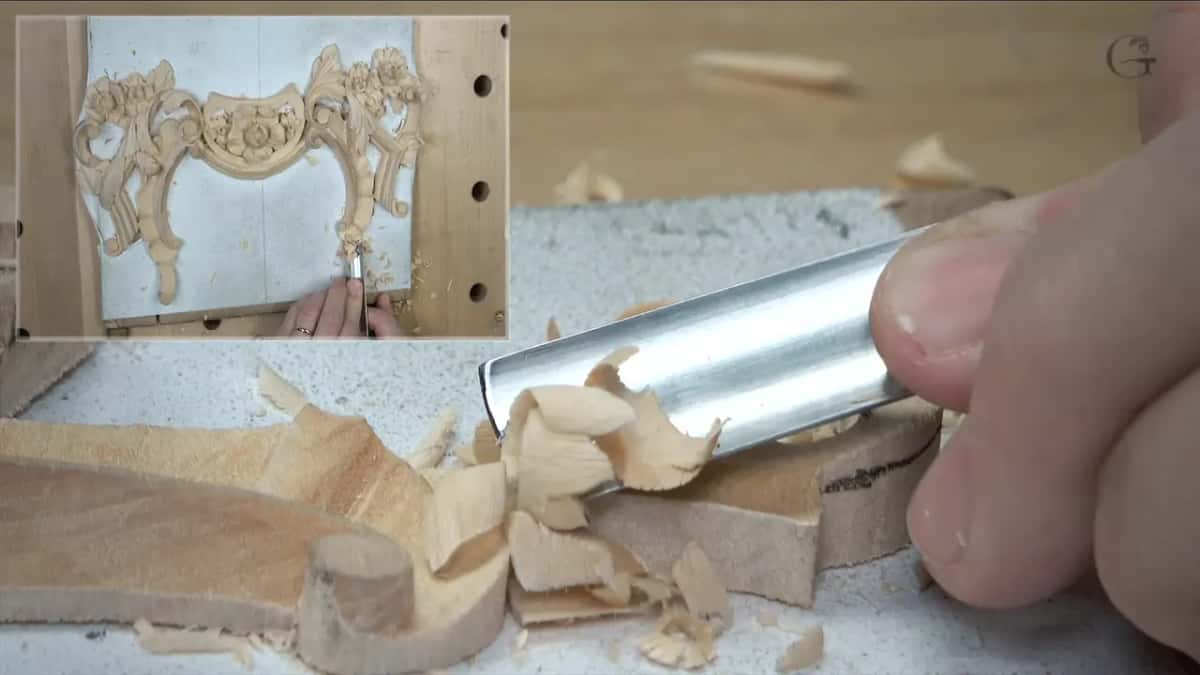
What do you do when the piece comes loose?
Slow down. Mine shifted halfway through, having been solid all morning, and I noticed because the feel under the gouge changed before my eyes caught up.
Carrying on regardless is how a morning of work goes into the bin. Mistakes at that point are not the wood being awkward. They are impatience wearing a costume.
Steadying it with a finger, taking smaller bites, checking the height against the twin panel again: none of that costs more than a couple of seconds, so there is no argument for skipping it.
Where does a detail like this break?
At the joint. Where this small acanthus meets the shell behind it, the material narrows, and a narrow joint under a long lever is exactly the arrangement that fails.

Meat is the word I use. Leave meat at that point, even when the eye says it could be finer, because nobody inspecting the finished panel will thank you for elegance that broke during installation.

What does a separation look like?
Shallow and rounded. Where one part passes behind another I cut a small hollow along the line instead of a sharp vee, which reads softer and catches light in a way a knife edge never will.
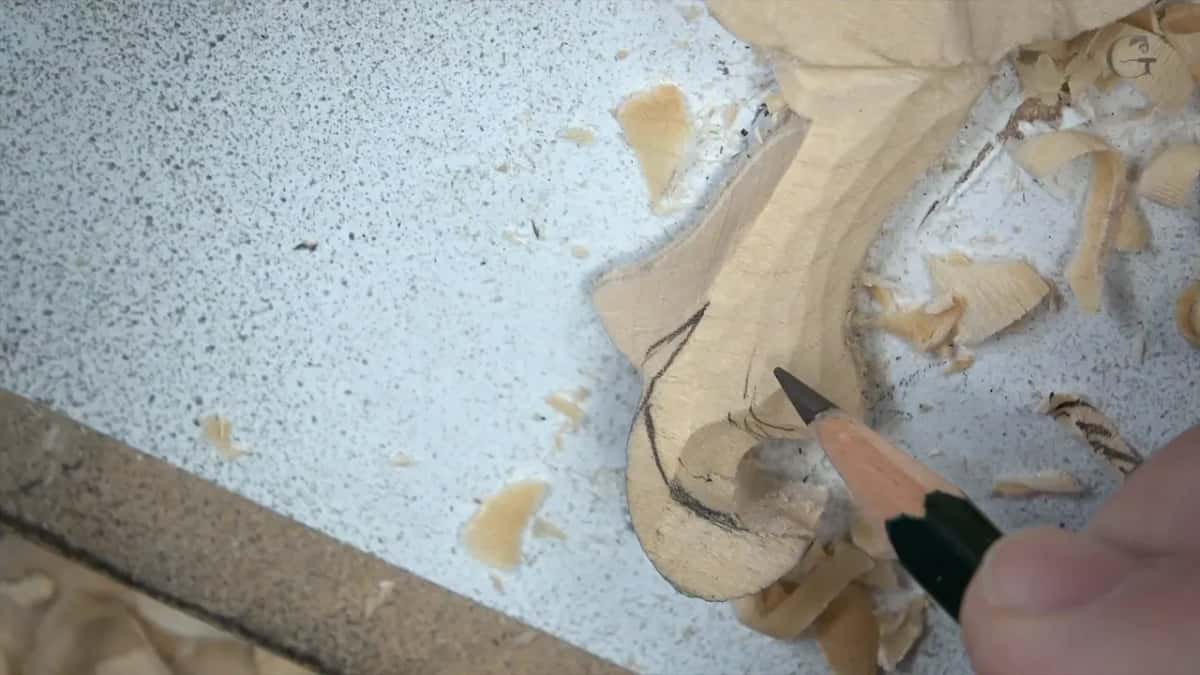
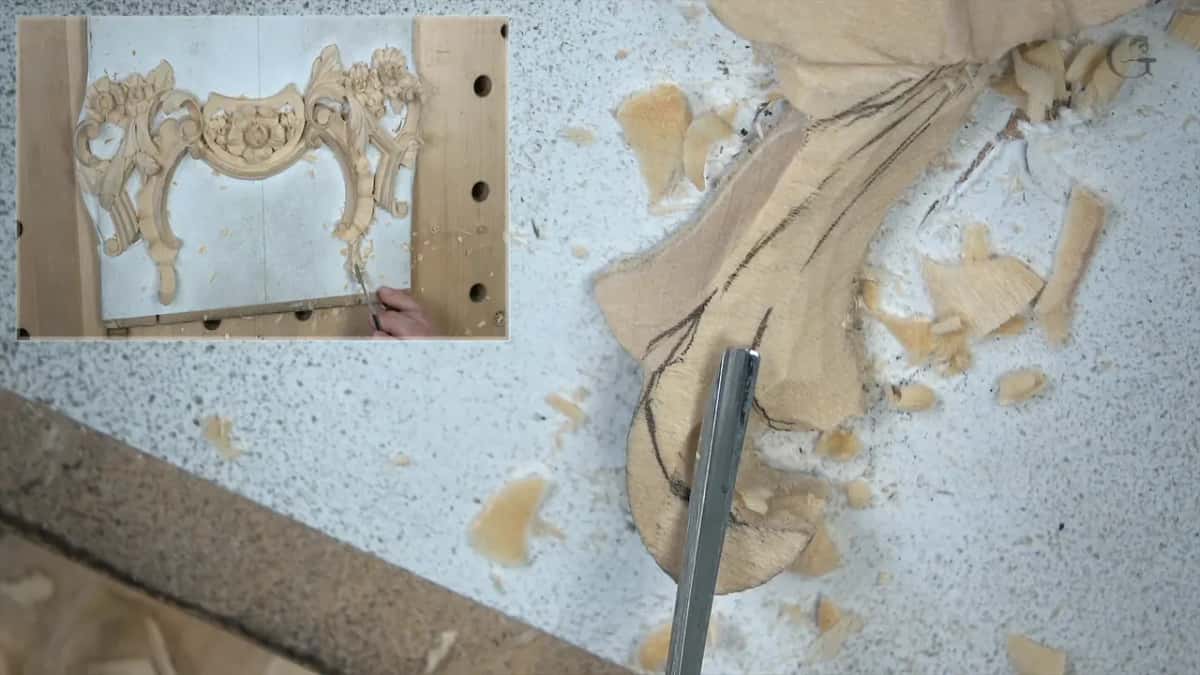
My quarter inch number five came out for that, and went straight back. Too wide. An eighth of an inch did the job instead, and picking up the wrong tool first is such a normal part of carving that I stopped editing it out years ago.
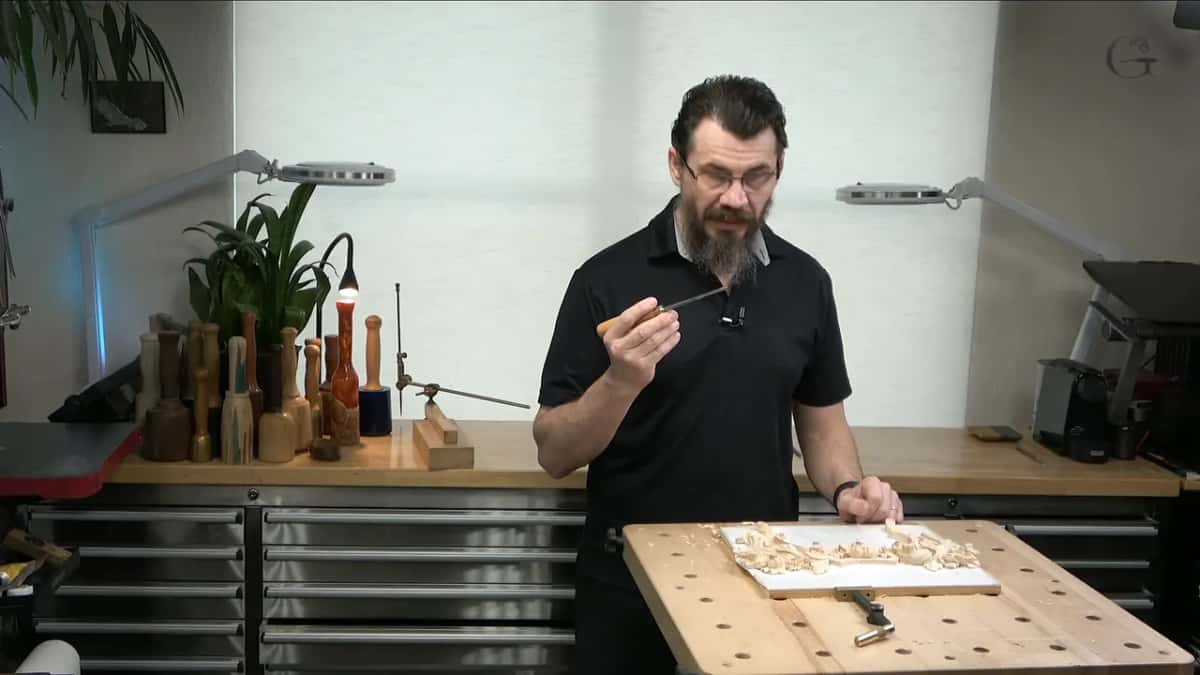
The end of the leaf curls over, and then I drop it lower than it needs to be. Lower means less undercutting afterwards, which on a fragile piece is time and risk both saved.
Why does everything slope downhill?
Worth doing on something this small, too. A detail the size of a thumbnail still carries the full anatomy, and skipping it there is how a panel ends up with one dead patch nobody can explain.
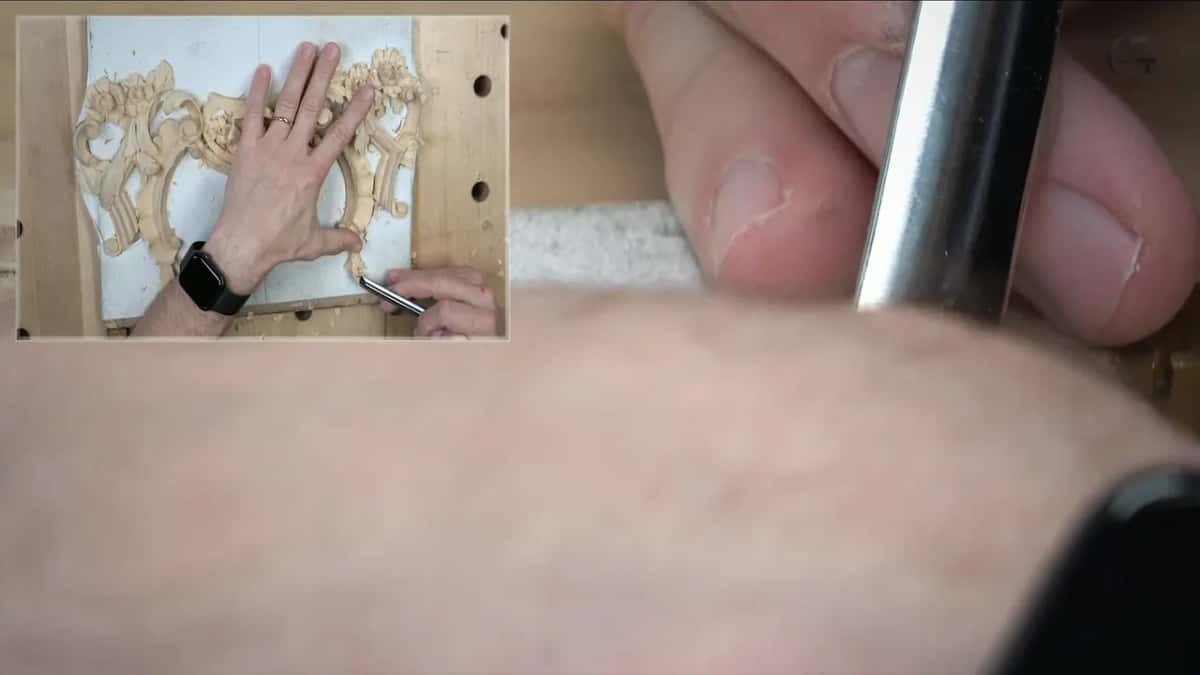
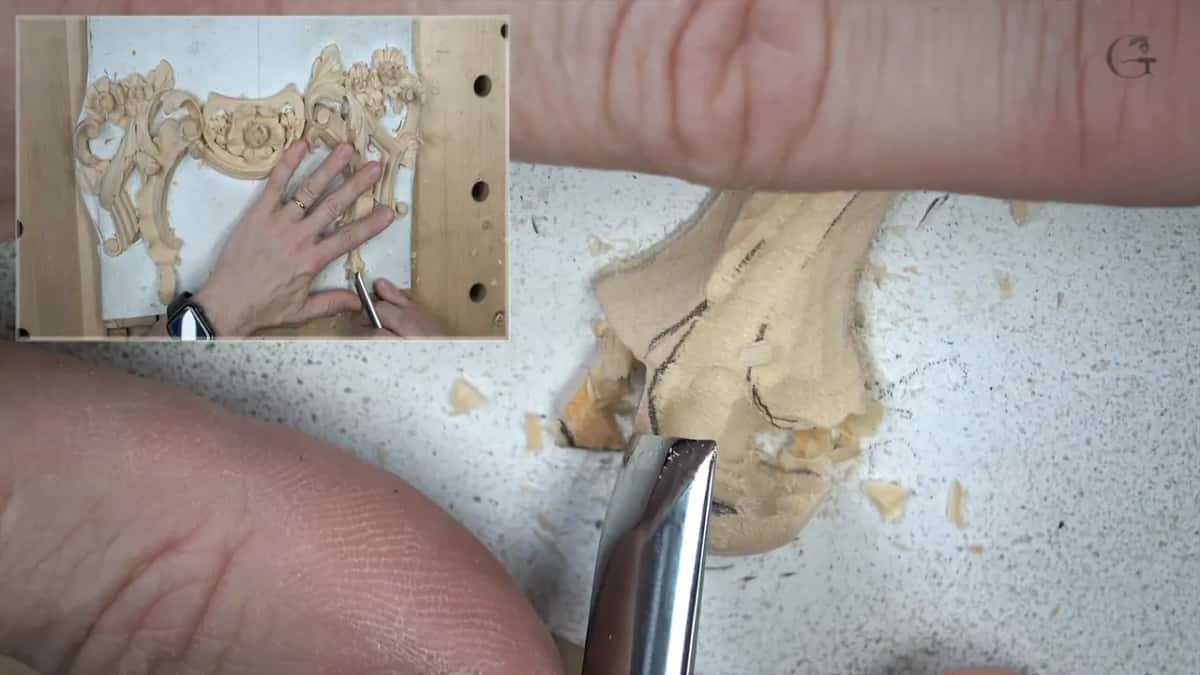
Look at it from straight above and the answer is visible. No flat survives anywhere on the top surface; each face drops steadily toward an edge instead.

Flat catches light evenly and dies. Sloped faces catch it at a hundred different angles as you walk past, and walking past is how ornament is actually seen by anybody.
Down the middle of the centre line runs a convex, with a hollow dropping away to left and right. Same anatomy as the big acanthus, at a fifth of the size.
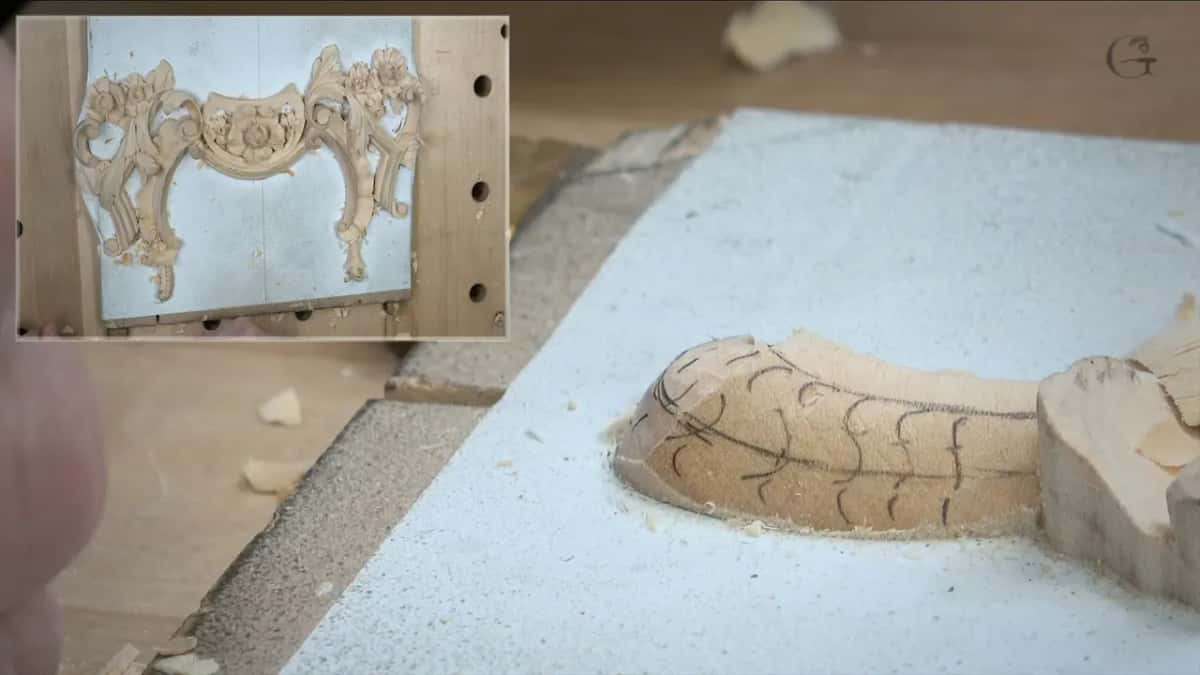
Flipping the gouge over gives me a fillet at the bottom of those hollows. Upside down, back of the blade doing the cutting, which is a move worth knowing long before you need it.

What do the clock positions mean?
Where the flute is pointing, said quickly. Around three is where mine sits for the first pass on this piece, and saying three beats measuring an angle nobody could reproduce anyway.

Rolling on toward four blends what the first pass left behind. One o clock does something different again, and none of it needs a protractor.

My number two, a quarter inch wide, slices the long slope afterwards. Sharp enough that the shaving comes away rather than tearing, which I checked out loud before trusting it.

What causes the chipping?
Corners. Dig into a hollow with the corner of a gouge and the whole cut loads a single spot, and wood answers that by breaking out instead of cutting cleanly.
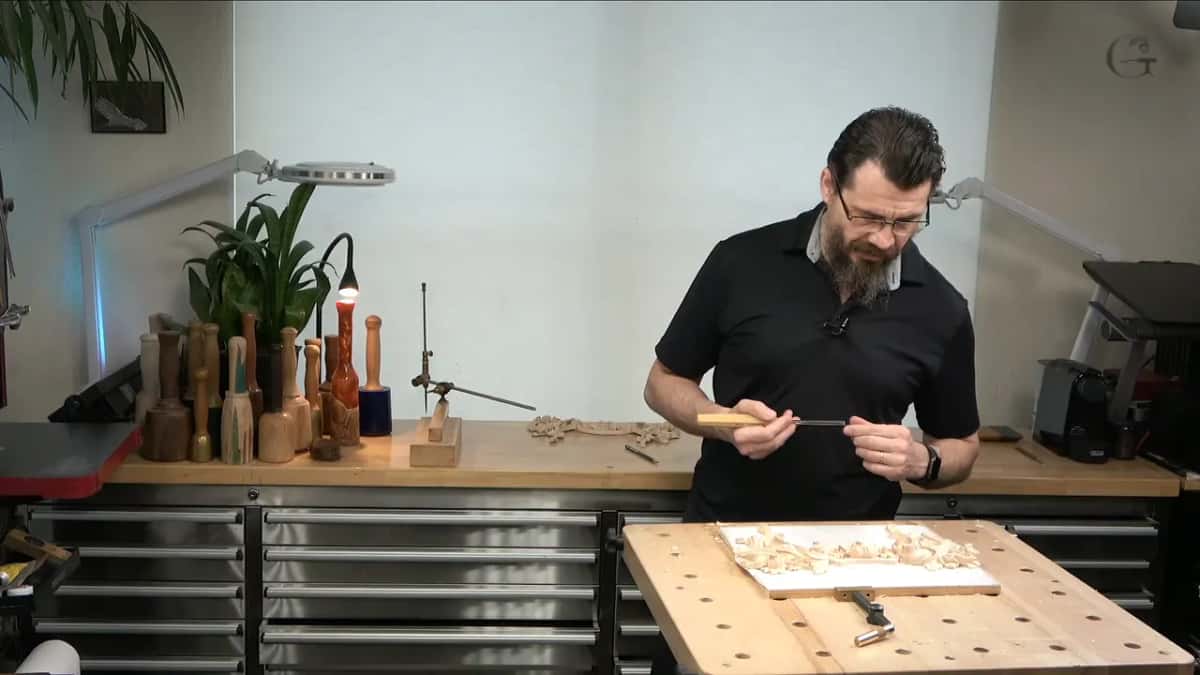
You can see it happen in this workshop. I left it in, named it while it was on screen, and the repair was two more passes with a narrower tool.
Five millimetres was my first choice for that hollow and four turned out better. Half the craft is putting a tool back in the rack after one pass.

| Decision | What I did on this piece | Why |
|---|---|---|
| Height | Three millimetres off the top, measured beforehand | Twin panel sets it |
| Holding | Fingers | Nothing else fits a piece this small, and glue would only need freeing again |
| Base thickness | A thin flat left along the bottom | Glue surface |
| Separations | Shallow hollow, three millimetre gouge | A vee cuts too hard and reads wrong beside everything else here |
| Hollows | Four millimetre eleven, not five | Five kept leaving corner marks in the hollow |
| Finish | Facets left standing | Chalk paint is coming, and thick primer fills every one of them anyway |
Measuring never really stops either. Even at this stage I set the gauge back on the finished panel and read the highest spot again, because a detail standing proud of its twin is the kind of error paint makes more obvious rather than less.
How smooth should a carving be?
Depends who it is for. Facets left by a gouge are what I like, and I say that knowing plenty of furniture makers want a surface with none of them showing.
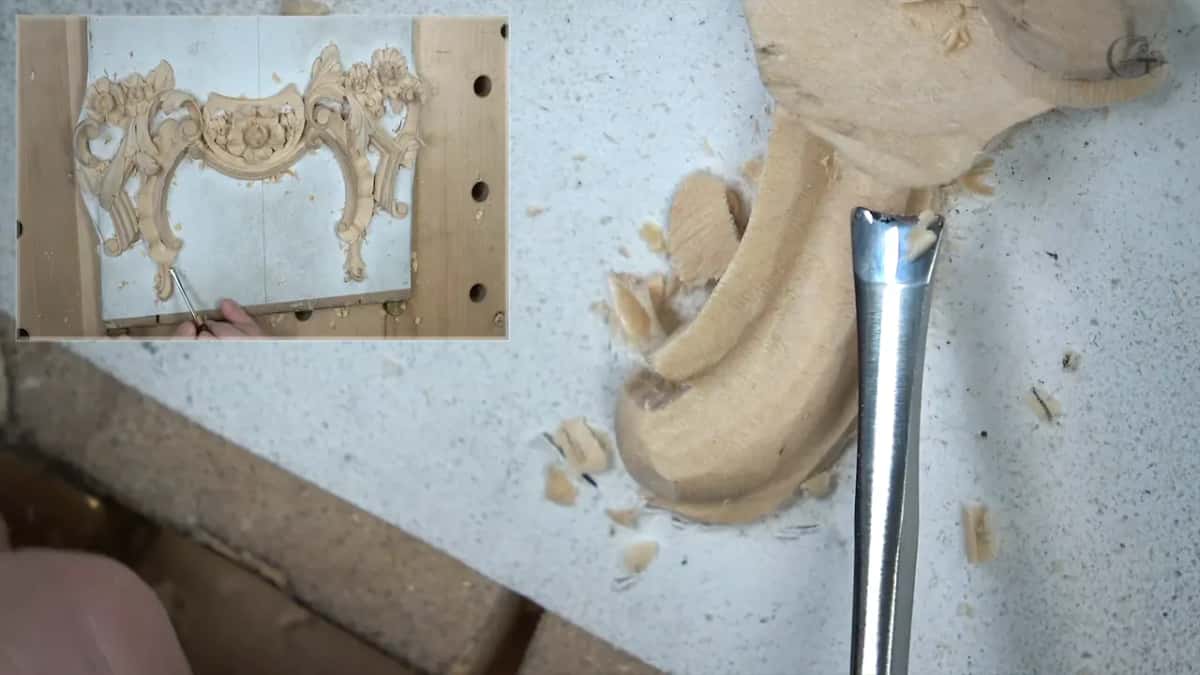
Neither camp is wrong. Paint grade work can stay rough because primer buries the evidence, while a piece going out in bare timber earns hours I would never spend here.
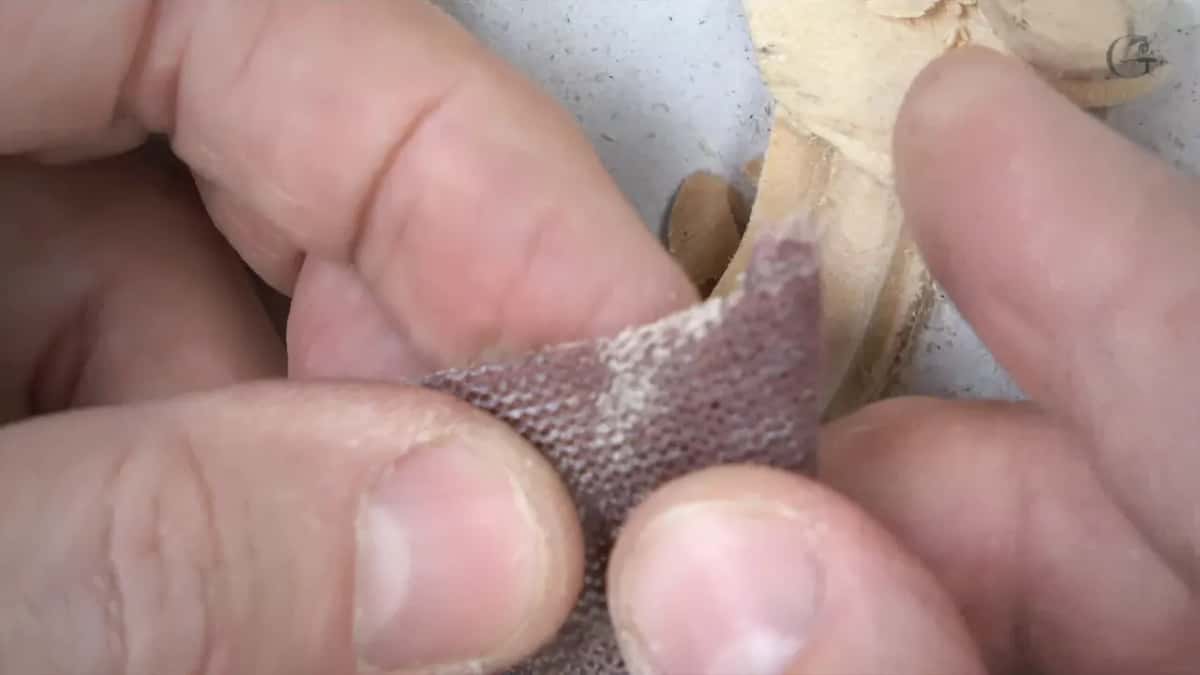
When I do abrade something, my choice is AbraNet by Mirka. Mesh rather than paper, open enough to see daylight through, and the dust ends up inside the holes instead of clogging the face of it.

Did the old carvers sand?
Grinling Gibbons did, and not with sandpaper, which did not exist for him. Reeds did the work for him, and reeds, and reed rush works out around four hundred grit.
Romantics will tell you the old masters left their tool marks from conviction. Mine is a plainer reading: they had no option, and handed a sheet of modern abrasive most of them would have reached straight for it.
Carve your own work the way you want it seen. That freedom is the part of this trade nobody can take off you, and it is worth more than any rule about facets.
Where does this piece end up?
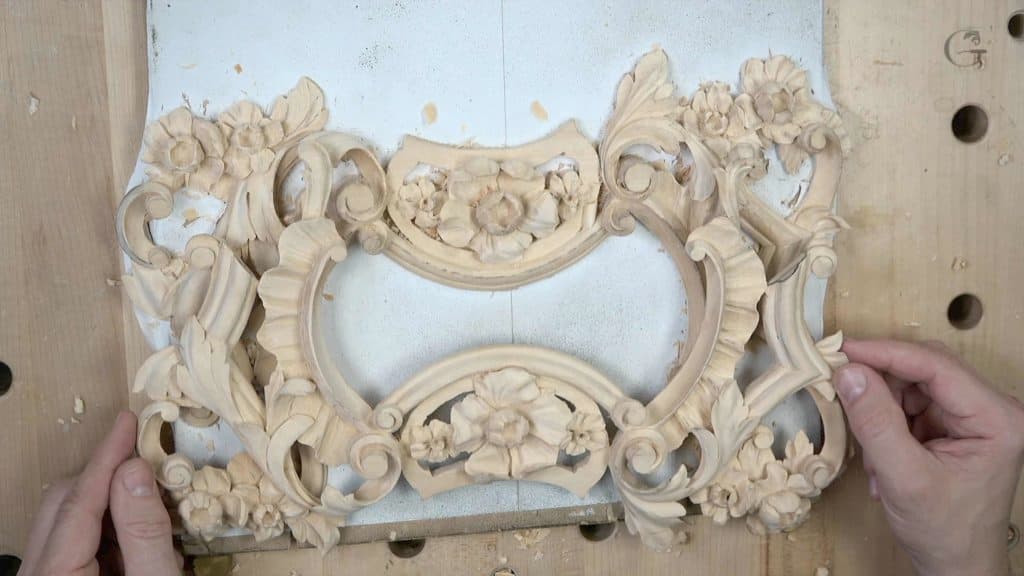
On a panel, which itself belongs to a larger Venetian room. Everything carved across these fourteen workshops is one component of a real commission, not an exercise made up for filming.
The molding still needs undercutting all the way round, the shell wants cleaning, and a chisel will lift both details off their backing boards before any glue goes near the panel.
Undercutting the whole shell comes next, all the way round, and none of that is filmed. Neither is the cleaning. Watching me clean would teach nobody anything a single still photograph could not.
Comment under the video if something here did not land. Ask me there rather than by email, because the answer then reaches everybody else stuck on the same cut, and some of you have been watching these segments since the first day. Anything I dislike gets deleted, and that is rare enough not to worry about.
Fourteenth of fourteen, and the course is finished. Workshop thirteen builds the last two flowers, twelve rolls a veiner through four clock positions and eleven cuts the eye. Further back, ten roughs out a whole side, nine raises a micro pipe, eight carves the clover molding and seven builds flowers. The acanthus takes shape in six, crossings resolve in five, depth gets set in four, and a bare board becomes an opened ground across one, two and three. Every one of them sits inside the course. Gouges get picked here, none of these cuts work without sharpening, more foliage waits in acanthus over moldings and modern acanthus, the room itself is the Venice Room, and the reasoning under all of it lives in the design course.
Fourteen workshops, one panel, and a thin strip of flat timber holding the whole thing on. Access to the school opens every course behind this one.
How it's done
- Read the height off the twin first. Mark it with a pointing machine before a gouge touches anything. Roughly three millimetres came off this one, and the pencil decided that, not my eye.
- Reach for the narrow gouge. A wide edge grabs more fibre and loads a weak piece harder. Narrow bites are the whole reason fragile work survives being carved at all.
- Keep a flat at the base. One and a half millimetres, and treat that as a floor. Two hollows meeting in the middle leave you holding a lovely thing with nowhere at all to put it.
- Hollow the separations, never vee them. An eighth of an inch of sweep laid down the line. A vee reads hard beside foliage and throws the wrong sort of shadow entirely.
- Slope every face off its peak. Flat surfaces catch light evenly and go dead. Angled ones shift as somebody walks past, which is the only way ornament ever gets looked at.
- Stop digging with the corner. Load one spot of an edge and timber gives up rather than slicing. Narrower tool, lighter pass, and the chipping stops.
Frequently asked questions
Why leave a flat under the carving?
Glue has to grip something. Hollowing arrives from both flanks of a detail, and should those cuts meet, nothing flat survives to bond against the panel. One and a half millimetres is my floor and I never go under it.
Are small gouges only for fine detail?
Not at all. Narrow edges lift less fibre per pass, meaning less force travels through work that is already weak. On anything delicate I choose small for safety long before choosing it for detail.
What makes a carving chip out?
Usually a corner. Load one spot of the blade, especially inside a hollow, and timber gives up instead of cutting. Swapping down a size and easing off will clear it.