
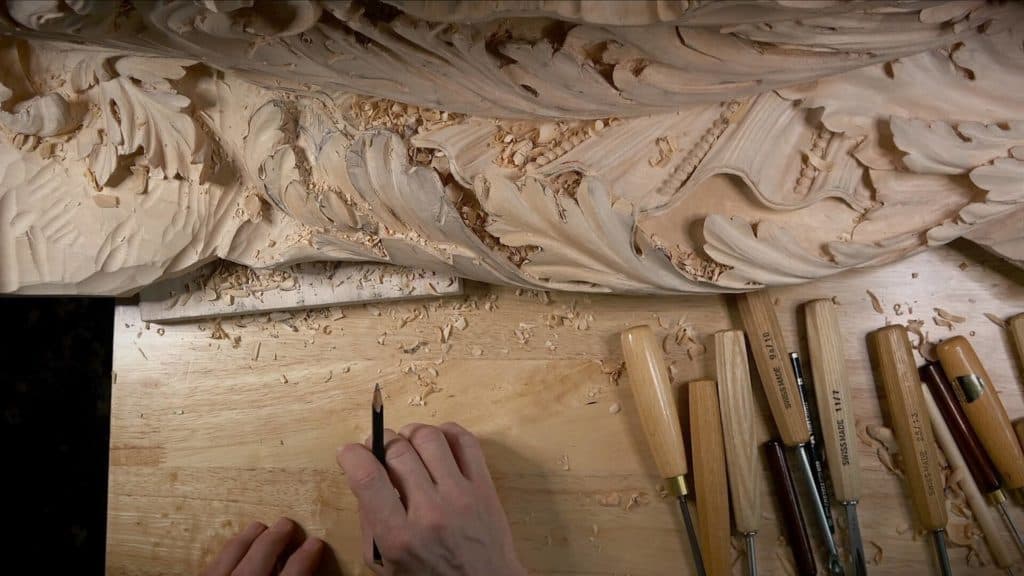
Alexander Grabovetskiy, woodcarver, School of Woodcarving · Published 2020
Does a carving that will be painted need a clean finish?
Quick answer: A paint grade carving is one that gets covered with paint, so little slips disappear under it. On my ceiling panel from the Venice Room I said honestly that it was a forgiving project, and I still cleaned the hollows with smaller and smaller gouges, because the marks underneath had to be a gouge's.
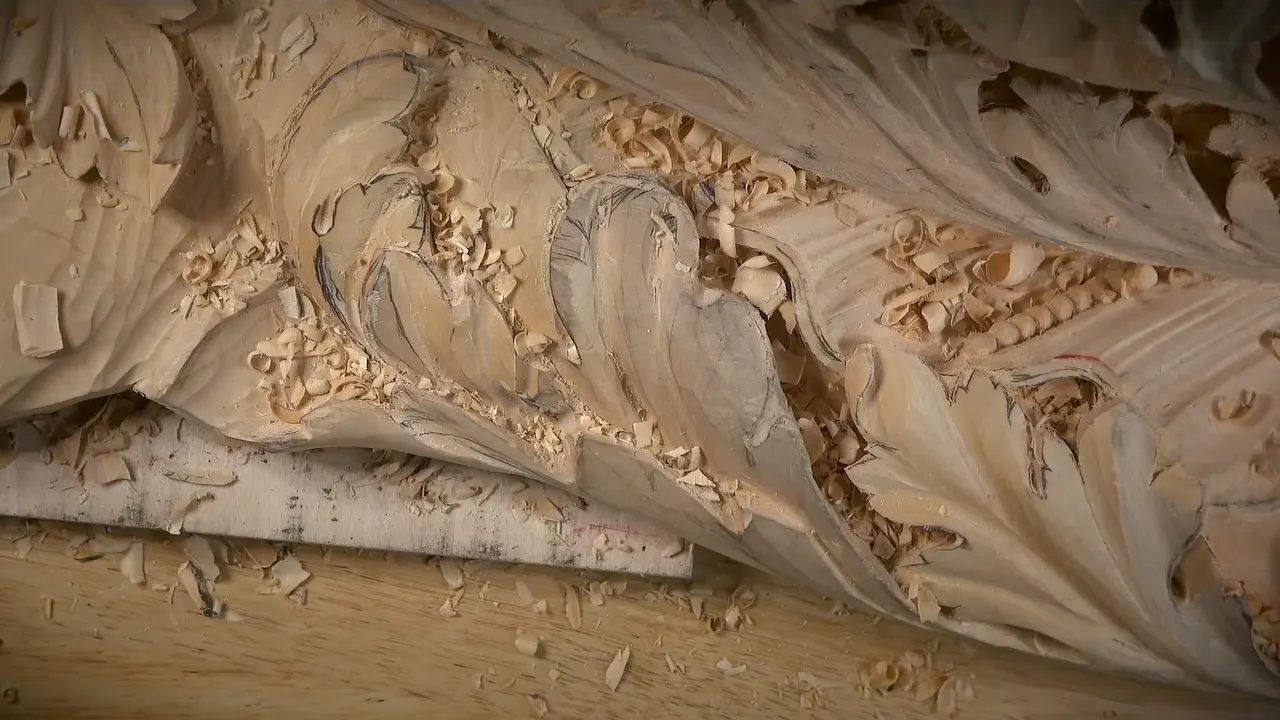
A carving headed for paint needs less cleaning than a bare one, because paint hides small slips and a few marks, but it still needs a clean, honest surface wherever the form and the gouge work show. I answered it that way for myself in wood carving on the Venetian ceiling in workshop 74. This panel is paint grade, and on camera I called it a forgiving project. Still, I went back into it with smaller and smaller tools.
Painting wood carvings was common in the European work I follow, so it is fair to ask whether the paint means you can quit early. A little early, yes. Not much.
Have you ever left a rough spot because you knew paint was coming? Did it bother you anyway when you looked at it the next morning? Then walk through workshop 74 with me, and watch where I let the paint forgive me and where I kept going.
What paint forgives on a carved panel, and what it leaves
Small slips on a paint grade piece get covered, and I said so out loud.
On a bare carving, one mark sunk too deep would count as a real mistake.
I still cleaned, and cleaning sometimes takes the longest of anything.
Someone who knows old carving can read the tool marks and tell how it was made.
Some spots stay rough on purpose while my design still moves.
Is a paint grade carving a forgiving project?
It is, and I told my students so in workshop 74 without dressing it up. I was working on a slope, right on a transition, with a number five back bend, and I stopped myself from pushing it deep. If I go too deep, I said, there is going to be a mark really deep inside that pass, and it is not going to look as nice.
Then I added the part a salesman would leave out. I know this is a paint grade piece, and pretty much everything will be hidden. On other jobs that same mark would count as a big mistake. This one is a somewhat forgiving project, so you can get some mistakes and the paint covers them. At least I'm telling you honestly.
So yes, paint is real help, and I won't pretend otherwise just to sound tough about craft.
But look at what I actually did in that same minute. I did not dig deeper to save time. I held the back bend shallow, because a deep mark would have been one more problem I did not want to deal with, paint or no paint, and I told you so on camera.
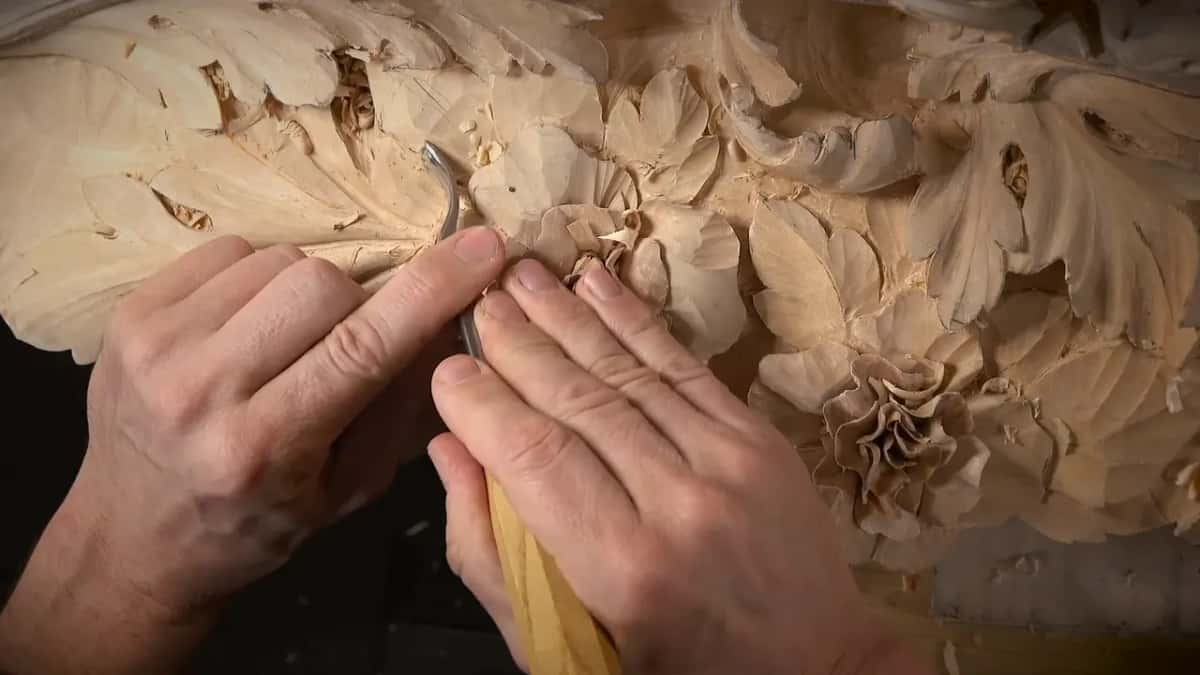
Carving for paint has its own rules about the bottom of a hollow, and workshop 8 of the same room covers those. This page is about how far the cleaning goes once you know paint is coming.
Why I still clean a carving that will be painted
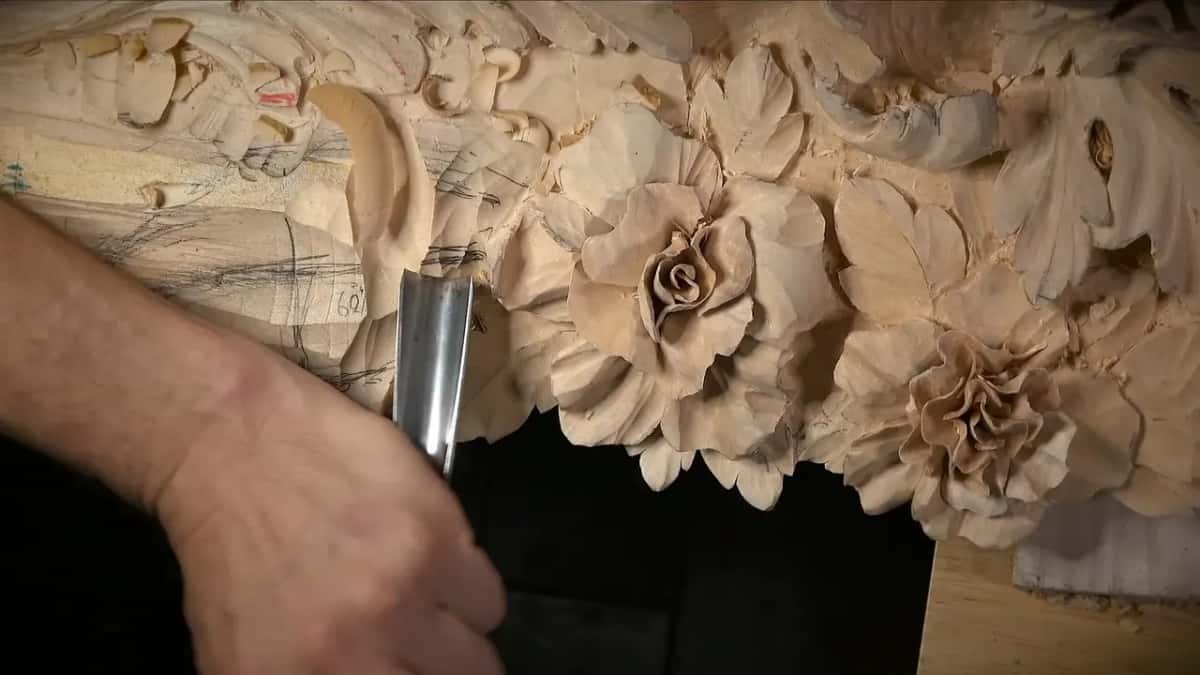
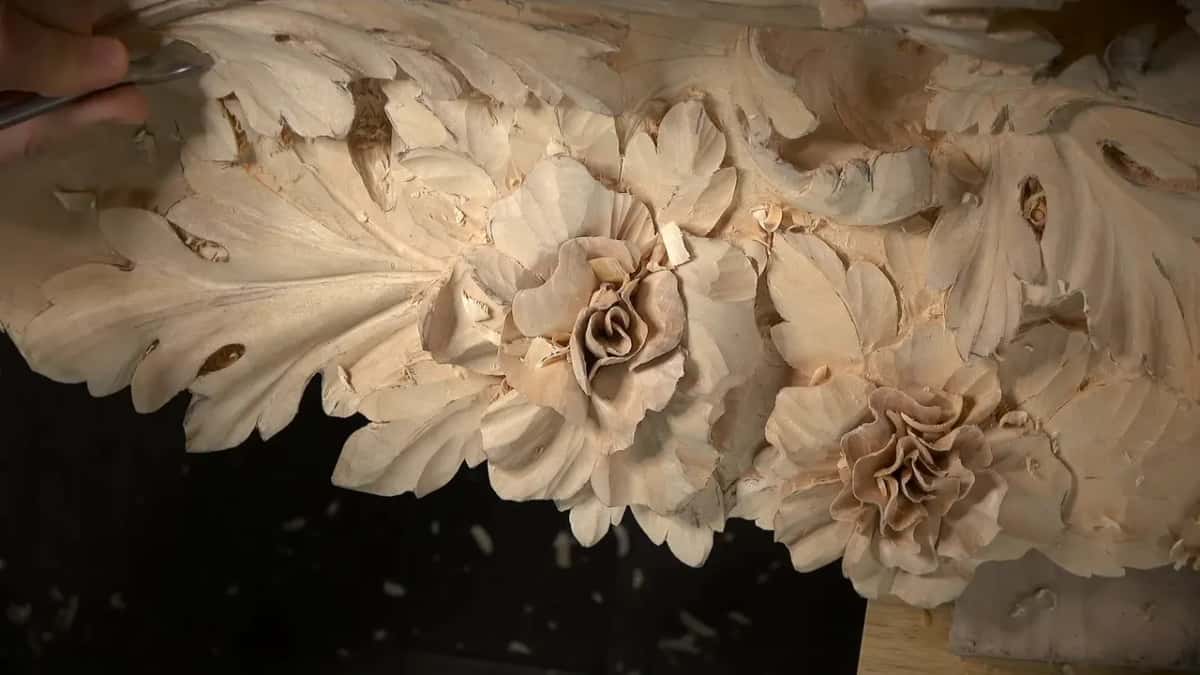
The job isn't finished just because the shape is there. Right after I finished the flowers on this panel I looked at the whole composition and said I did not want to do anything else to them except, probably, just the cleaning.
Soon after, looking at that part of the panel, I said a lot of cleaning still needed to be done, to make it more unique and beautiful.
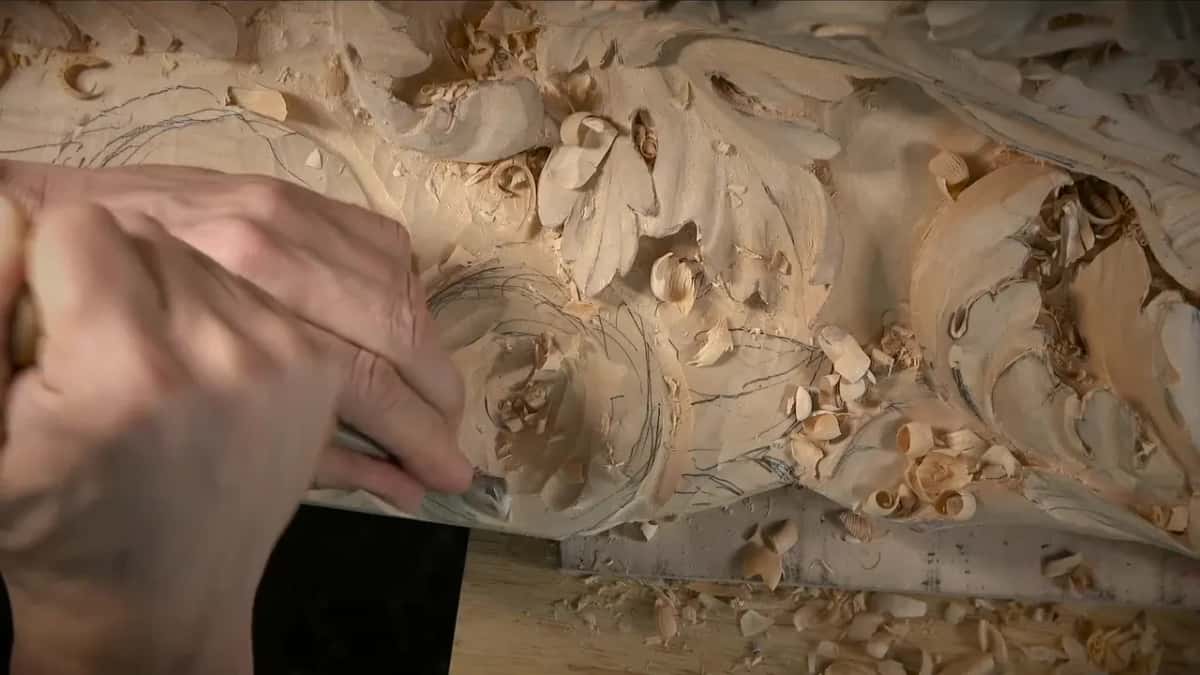
Near the end of the workshop I took a number 11 and then a smaller number 11 into one hollow to get rid of a mark, and I said it plainly on the recording. Clean, clean, clean, clean, and clean again. Sometimes cleaning actually takes longest.
My next step was a one and a half millimeter veiner, 1/16 in, to pull out what I called junk I didn't need. Then down again, to a 1 mm number 11, about 1/32 of an inch, because I needed a deep excavation in that spot. Nobody is going to see the bottom of it clearly under paint. I still wanted it there.
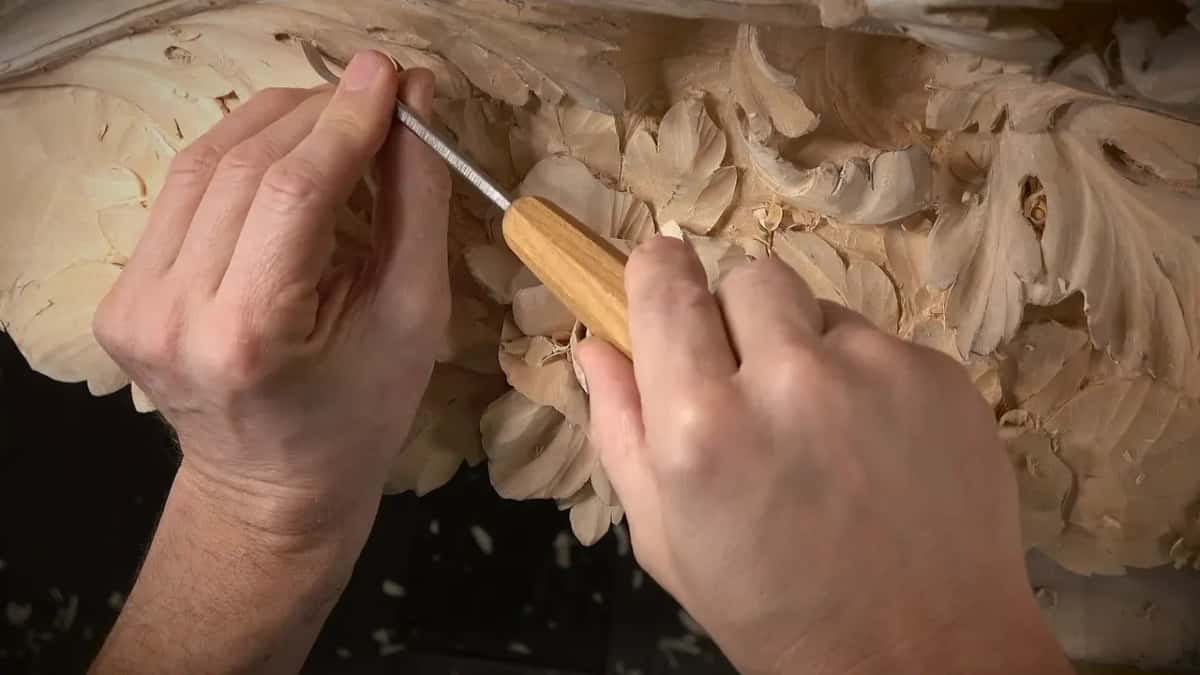
What can a specialist read in the tool marks under paint?
He reads which tools made them. It's the short version, and it's the reason a number 11 veiner, often the 15 mm (5/8 in), did most of the work on this project. I don't have to use it, by the way, and I admitted as much on camera.
Let me tell you a story I repeat a lot, because it explains the whole panel. I want the final result to look authentic to the Venetian period. When an expert comes and looks at it, he can just check those marks. People like him do know what the old carvers worked with, and mostly it was gouges and veiners.
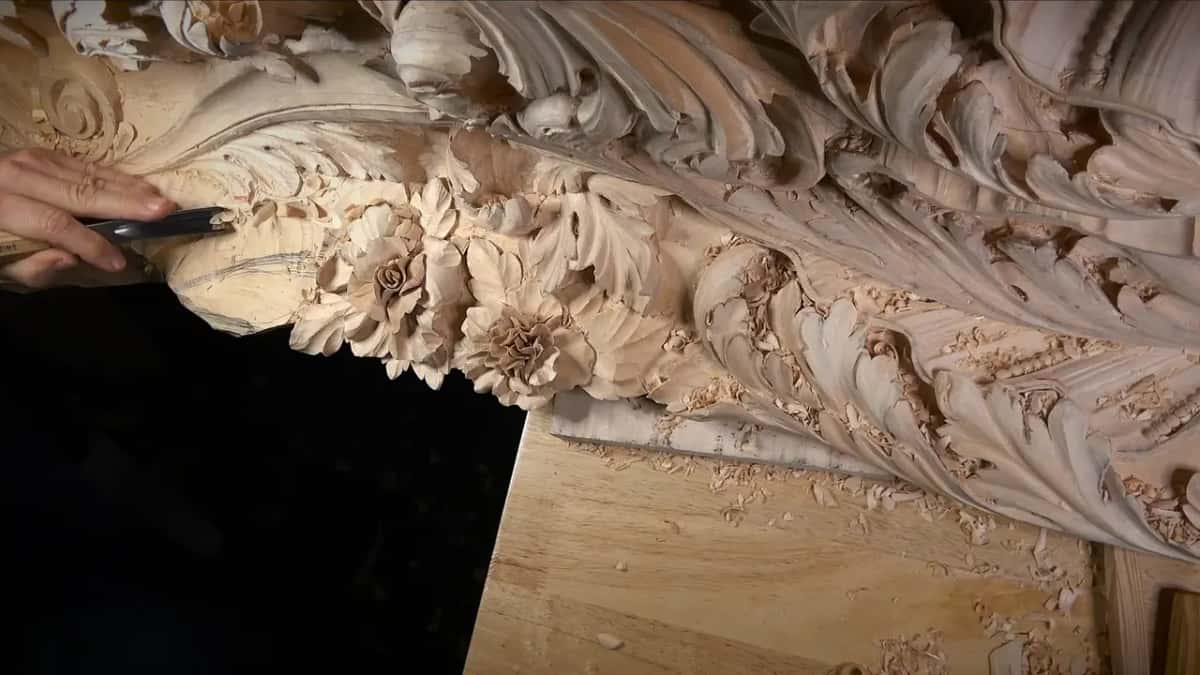
So he looks, and he says, oh yes, that piece is definitely done authentically. His one sentence is what I'm carving for, more than a smooth surface ever could be.
This is why paint doesn't give me permission to switch to some other tool and grind the leaf smooth. The marks under the paint still have to be the marks of a gouge. On the flowers I said every facet, every tool mark makes a big difference, even on the rough first layer.
Earlier rooms answer whether to paint a carving at all, and I won't argue that again here.
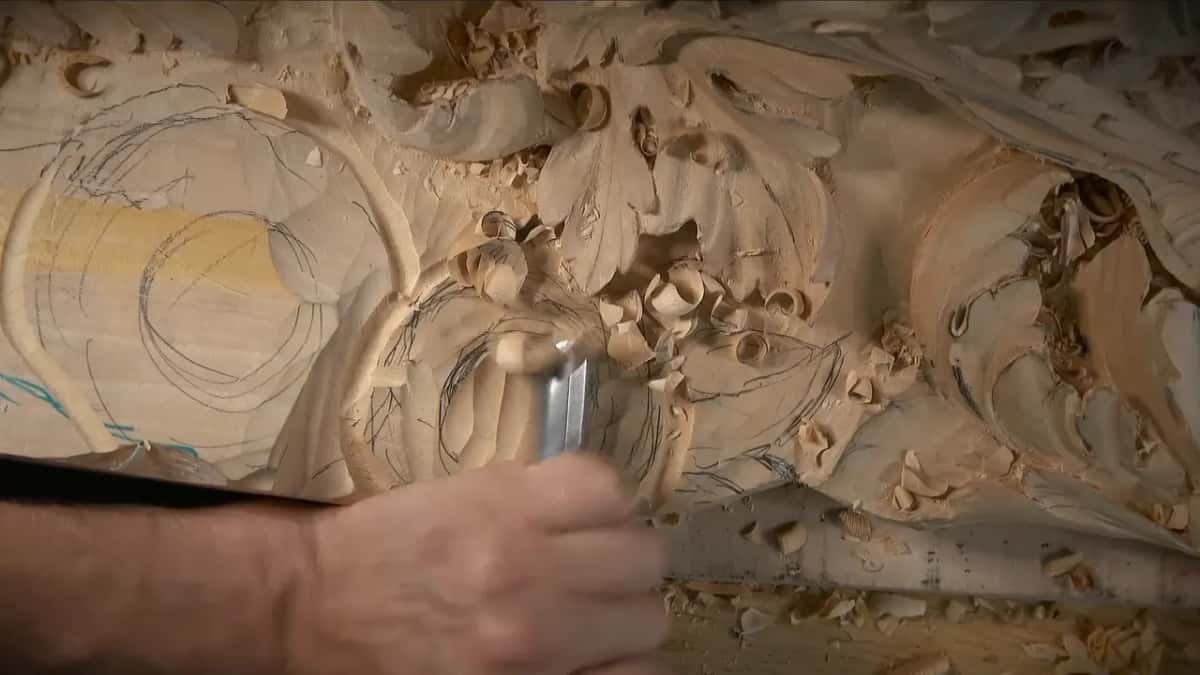
How clean is clean enough when painting wood carvings?
Clean enough comes at the point where more work would only be for you, not for the piece. I reached it with a large number 7, one of my favorite big tools. Given a better tool for cleaning, I told you, why not use it, and that big 7 was the better tool that day.
After it I stopped and asked the question out loud. I could take it to the extreme and clean it even better if I wanted to. The question is, do I need to or not? I don't think I need it.
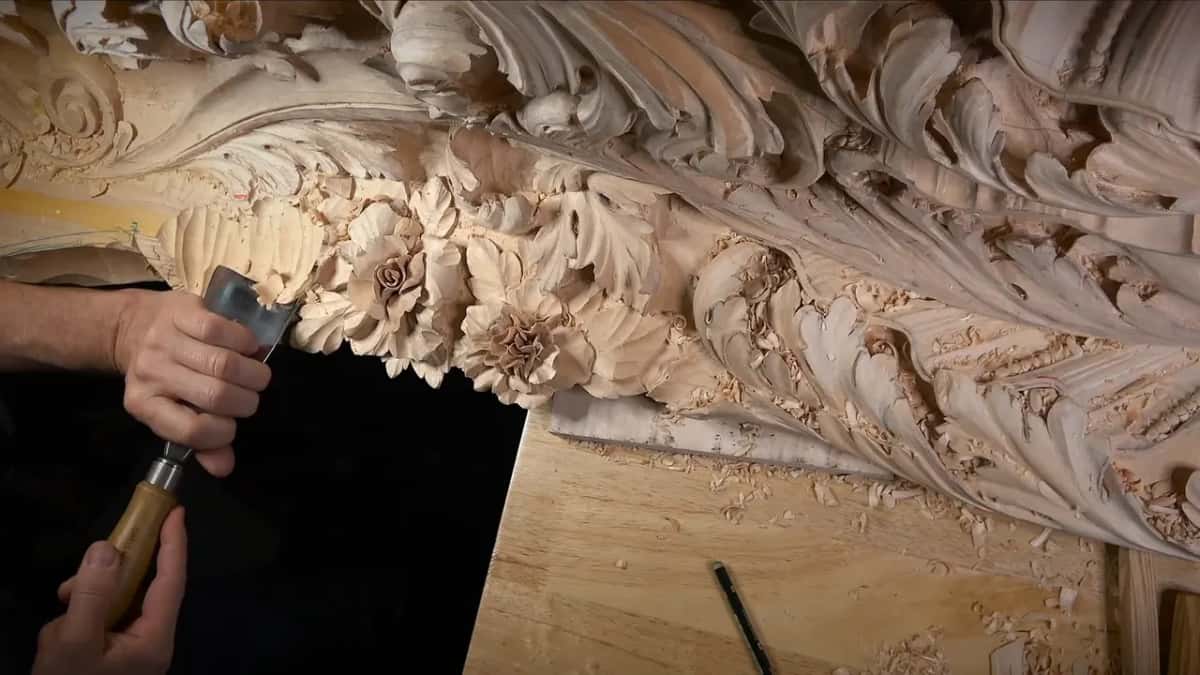
Then a somewhat flat tool, a number 2 at 50 mm (about 2 in), made in Switzerland by Pfeil. I called it more of a sculptor's tool than a carver's, and a really good tool to have. I used it again later for a little more cleanup on the same area.
Right after the flat tool I said, don't want to overdo it. Four words, and they carry the whole method for a paint grade surface, where good and honest is the target and perfect isn't.
Seconds later I chopped at one edge and caught myself. Oops, that is not bueno, I said. Keep going that way and I could break the part, and that would be a really bad idea. I stopped.
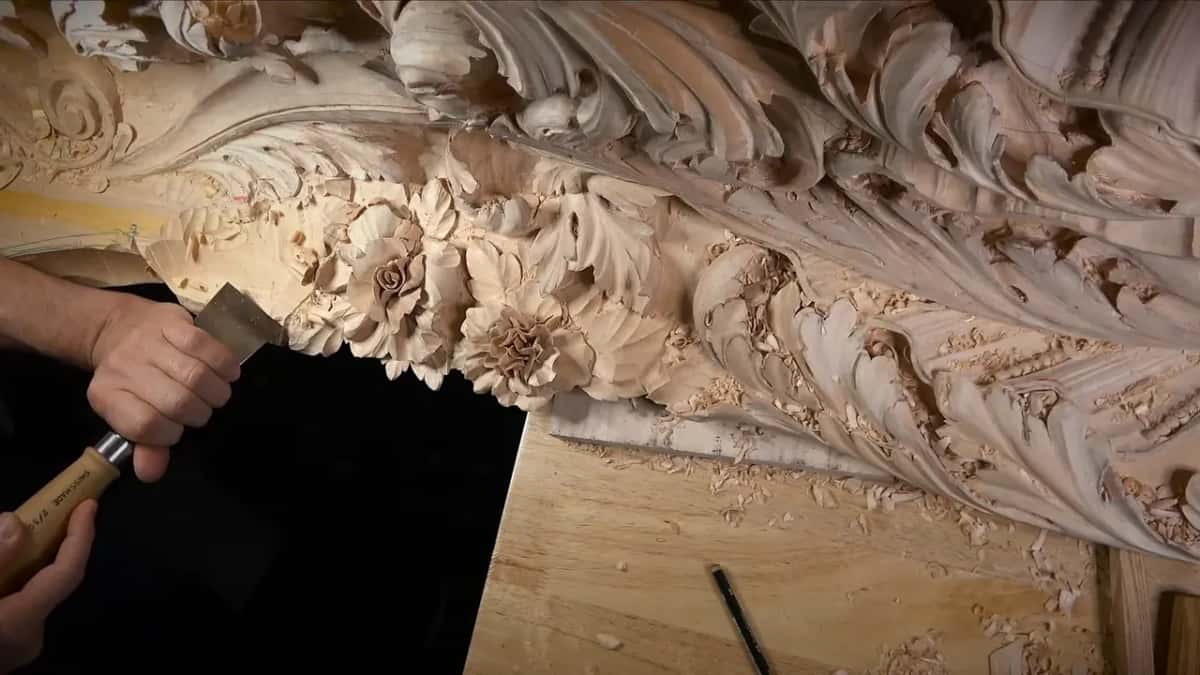
One convex came out gradual straight off the back bend, with few tool marks or facets. It needed nothing, I said, it was already really nice. A surface like that I leave alone, whether a brush is coming for it or not, and I move on to the next hollow.
What happens when a tool leaves a mark too deep?
On this panel, the smaller tool fixes it, as long as the wood is still there. Digging a little on the inside while I shaped a convex was fine, I said. I can always clean it.
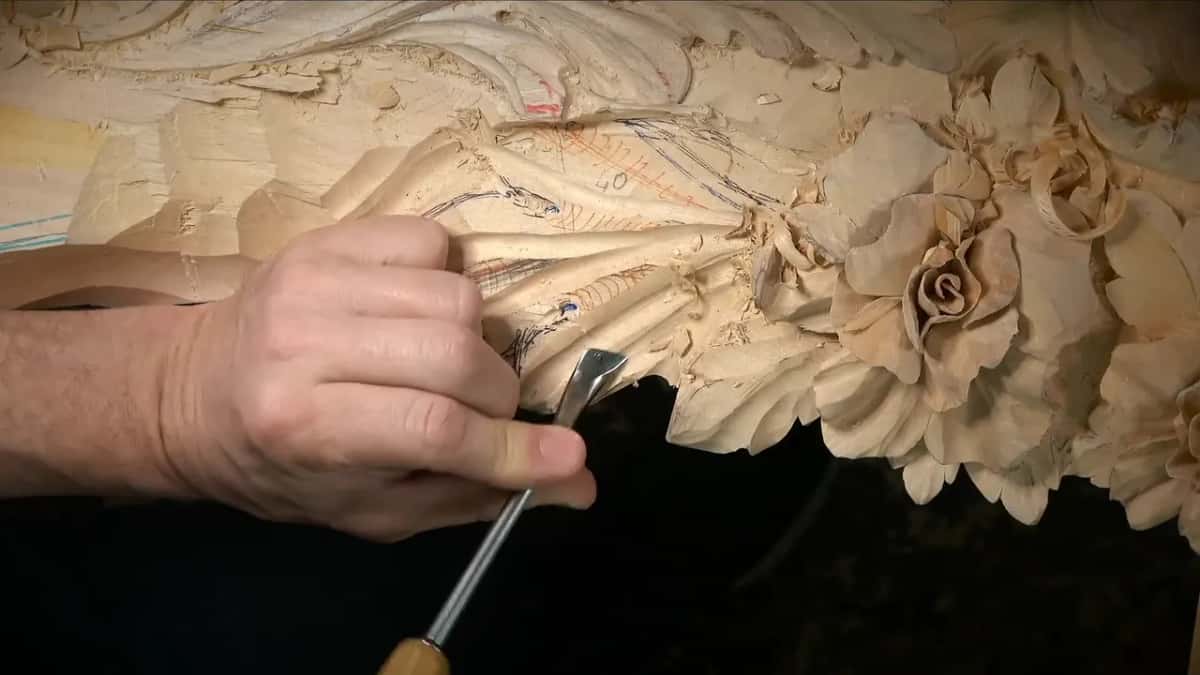
It happened a little later, when I saw the tool I had been using was a little too big for that hollow. I picked a smaller one and cleaned the digging mark out of the inside.
The mark that worries me is the one with no wood left behind it to clean. So I slowed right down in workshop 74 near the ceiling of the panel, the back of it, where I said I had to be even more careful. Not much material, I said. Don't have too much left.
In one spot I decided to leave a curve the way it was, because pushing it too far, I said, was going to turn into a mistake. Workshop 70 is where I talk more about depth in thin places.
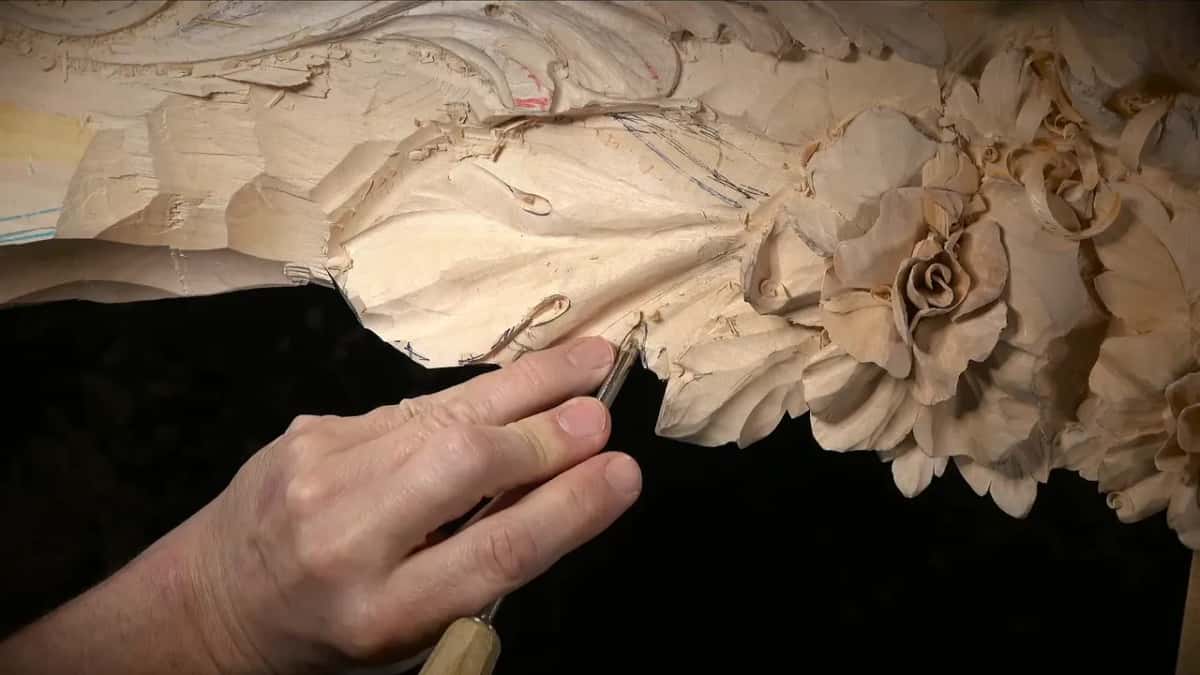
Can a painted carving get by with duller tools?
This panel needed sharp tools the whole way through. Early in the workshop I was working against the grain with a quarter inch number five back bend, about 6 mm, and I said the only solution was sharp tools. Just the sharp tools. Seconds later I said I had some kind of mess right there.
Paint is supposed to forgive exactly that kind of mess, and I still didn't want it. Really nice and smooth transitions were the goal, so it's not that harsh. One gouge I tried on that section didn't work. Then came a number six at a quarter inch, and that six was excellent, giving me a beautiful movement I was happy with.
At the very end, on a slope where the grain kept changing direction, I said it again. Sharp tools help a lot. They're a must, and I held to that on a piece that would be painted over.
Which tools did the cleaning in workshop 74?
Here they are in workshop order, starting at the socket of a flower and ending in the last hollow I dug out.
| Tool | What it cleaned on this panel | Where |
|---|---|---|
| Several back bends | Knocked down the ridge inside flower sockets | Third video |
| Large number 7 | Cleaned a long slope, kept the movement | Fifth video |
| Flat 50 mm | Went over the same area after it | Sixth video |
| Veiner, 15 mm | Cleaned acanthus divisions after the first digging | Seventh video |
| Spoon, 10 mm | Dug deeper for shadow, cleared a facet | Twelfth video |
| Smallest veiners, 1mm | Pulled the last junk from a hollow | Last video |
The spoon was a choice between two tools. A number 11 would work too, I said, but the number 9 was better there, and I went to 10 mm (3/8 in) instead of the 7 mm I first reached for.
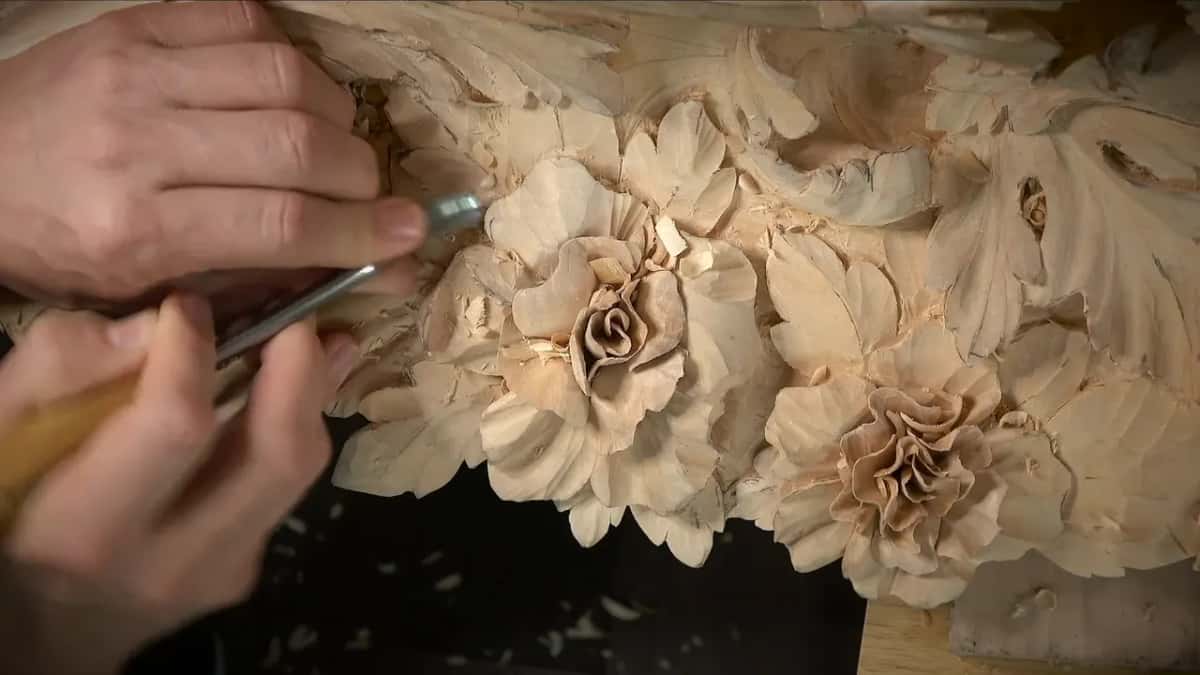
For anyone still collecting tools, the tools course is where I go through what to buy first. None of these cleaned well until they were sharp, and sharpening is a course of its own.
Why leave some spots rough until later?
My design moves under my hands. At the end of workshop 74 I said I would go around the whole project and into every eye of the acanthus I had left. I didn't dig those deep and clean right away, since I found out I change my plan once in a while, right on the fly.
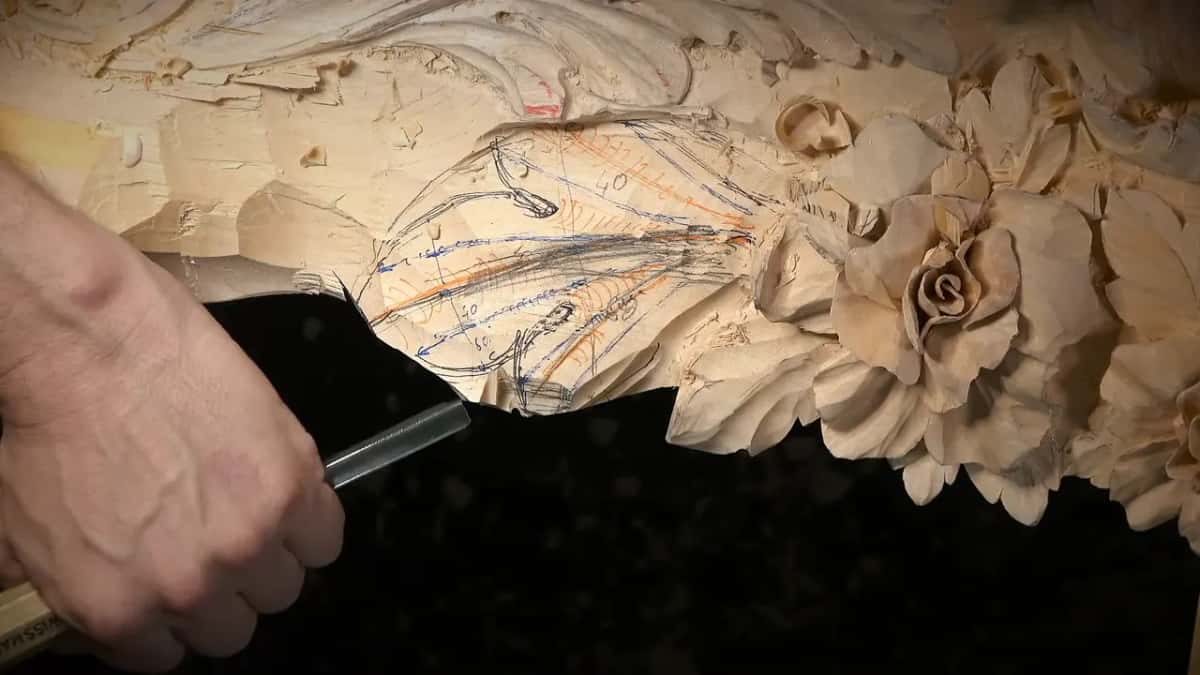
That happened in this very workshop. I had planned a long leaf beside one flower, and on the wood I got afraid it would be too busy in that area. I changed it to a simpler acanthus with three divisions, and near the end I called the result a change from the main design I drew before.
Sometimes it goes the other way. On one S curve I cleaned right away, so I would not have to come back to it. The timing of clean-up has its own page in another course.
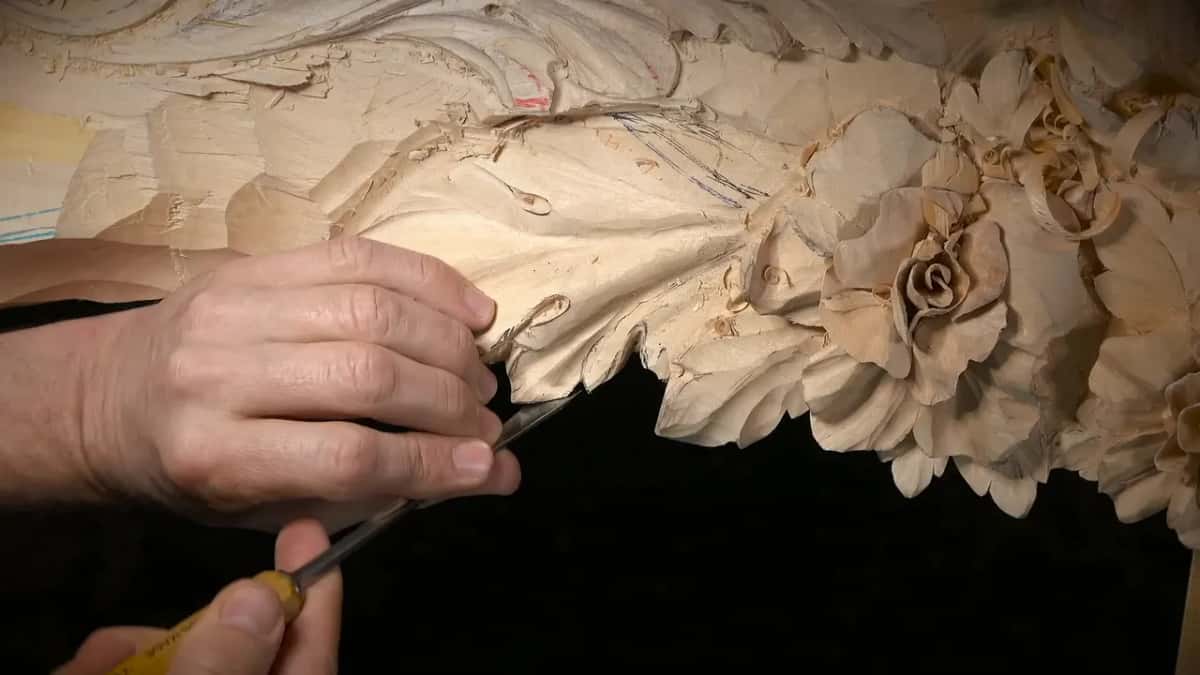
Small touches count too. On two leaves late in the workshop I carved a little notch in each, one and then the other. They are hard to see, I said, but they do make a difference. I kept them shallow, because the two leaves lie mostly on each other.
How does paint go on a Venetian carving like this?
Mine is going to be more like a chalk paint. That is also really true to European culture, as I put it, where they painted a lot with just a chalk paint, and that it will look really awesome once I apply it.
On camera I went that far and no further, so I'll stop there too, with no recipe from this workshop. For color instead of paint, workshop 65 is where people asked me how I stained a piece.
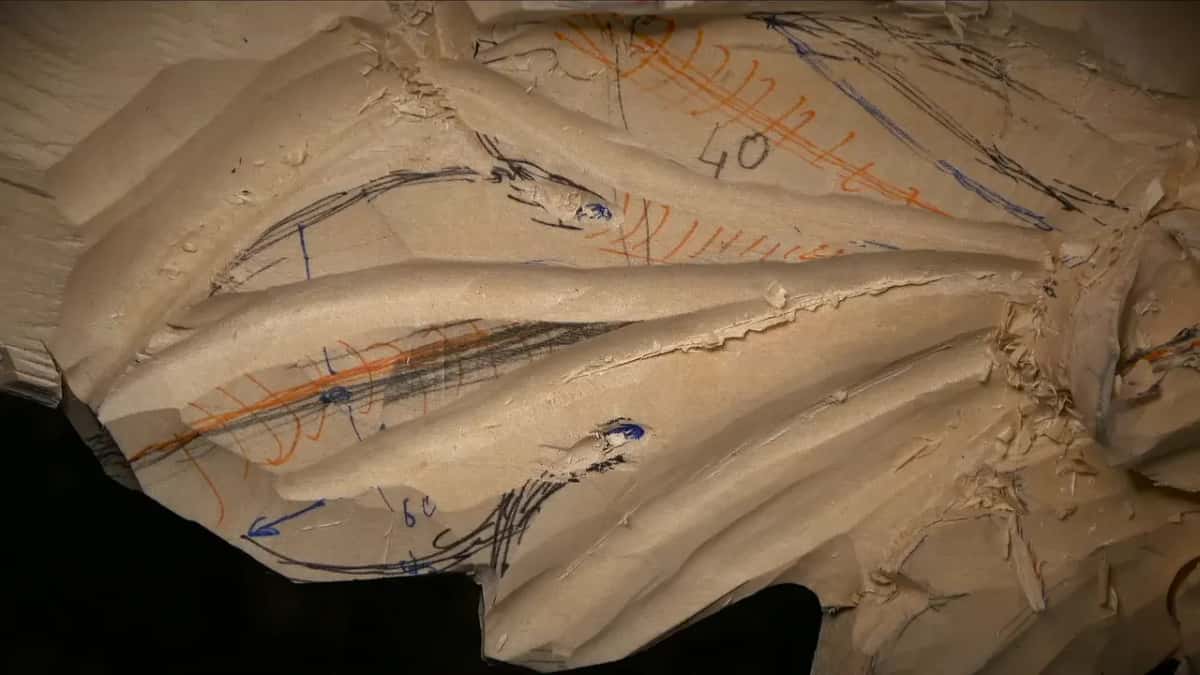
What I can tell you is that the relief under the paint was carved the same way I would carve it bare. Two flowers, one around four inches and one a little less than three, with a socket in each for an insert, done the way I showed in the Hashemi flowers course. Leaves split roughly 60 to 40. Hollows cleaned with gouges.
What comes after the panel in workshop 74?
The corbels. More than once in this workshop I said it, really soon I start on the corbels on both sides. The leaf at the end of this panel even waits for them, because I didn't want to develop the rest of it until I could see how it all fits together.
The corbel work itself fills the next stretch of this course, and workshop 75 is the next lesson. Anyone who came in late can find that the sixth part of the room ends with workshop 73.
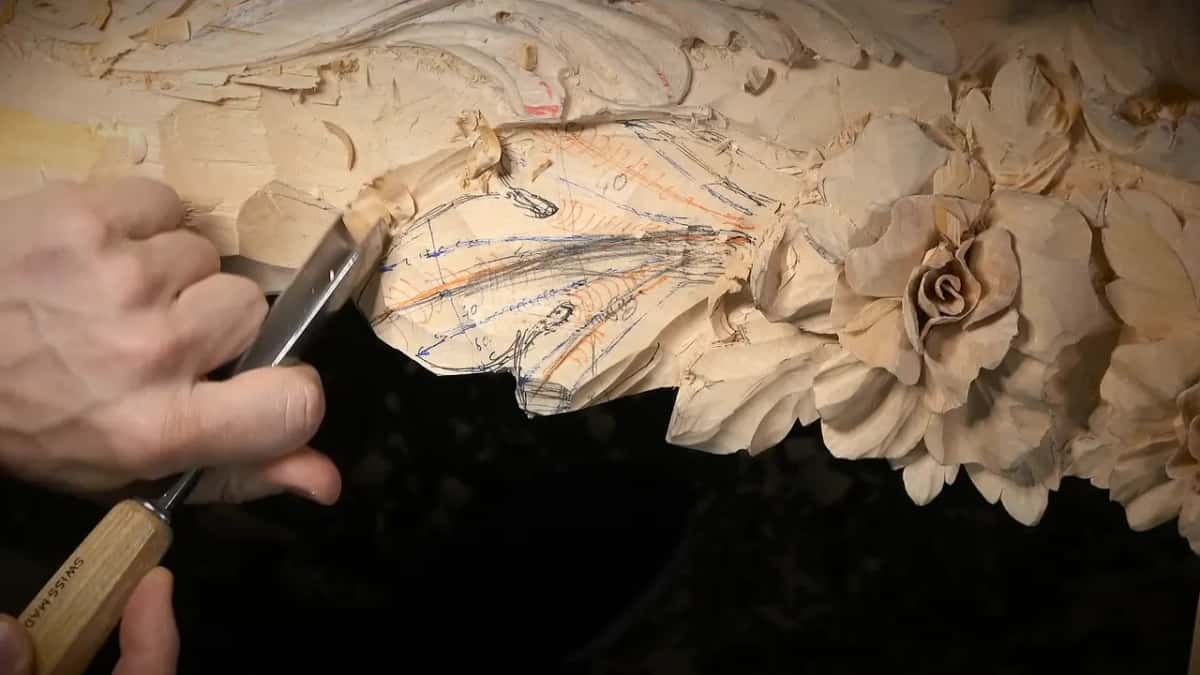
Do you like carving with gouges you can hear biting into the wood? Would you rather see a real mistake than a perfect clip? Then this room is for you, and it all sits behind one tuition plan, with the map of every lesson open to anybody first. If you have never held a gouge, start here.
How it's done
- Hold the tool shallow on a slope. On a transition, keep a back bend from sinking deep, so no mark ends up far inside the hollow.
- Pick the better cleaning tool. Where a large gouge fits the shape, as my big number 7 did, clean with it rather than the tool that roughed it.
- Ask whether more is needed. Stop after a pass and ask whether taking it further helps the piece. If not, move on and don't overdo it.
- Step down in size in deep hollows. Go from a number 11 to smaller veiners, down to the tiniest ones, until the junk comes out of the bottom.
- Leave settled forms alone. A convex that came out gradual with few facets needs nothing more. Keep your tools off it.
- Save the eyes for last. Leave every eye shallow while the design can still change, then go around the whole panel and clean each one.
Frequently asked questions
Can paint hide mistakes on a wood carving?
Paint does cover little slips, which is why I called my paint grade panel a somewhat forgiving project. A mark sunk too deep would still spoil bare work, and I held my back bend shallow on a slope rather than lean on the paint.
Should a carving meant for paint still be cleaned?
Mine was. I went back into one hollow with a number 11, then two tiny veiners, and said cleaning sometimes takes longest. Paint let me stop at good, and I asked on camera whether taking the surface to the extreme was needed. I decided it was not.
What can tool marks tell someone about an old carving?
How it was made. I told my students such a person can look at the marks, knows the old carvers mostly used gouges and veiners, and could call the piece authentic. Number 11 veiners did most of the work on my panel because of that.
What to carve next