
Alexander Grabovetskiy, woodcarver, School of Woodcarving · Published 2020
Why is my wood so hard to carve in one spot?
Quick answer: A hard spot inside one board is usually a denser patch, where the fibers are packed tighter than the wood beside them. On one big piece in workshop 81 I met two, laid the bigger #11 down for a smaller one, and could hear how the tool went through.
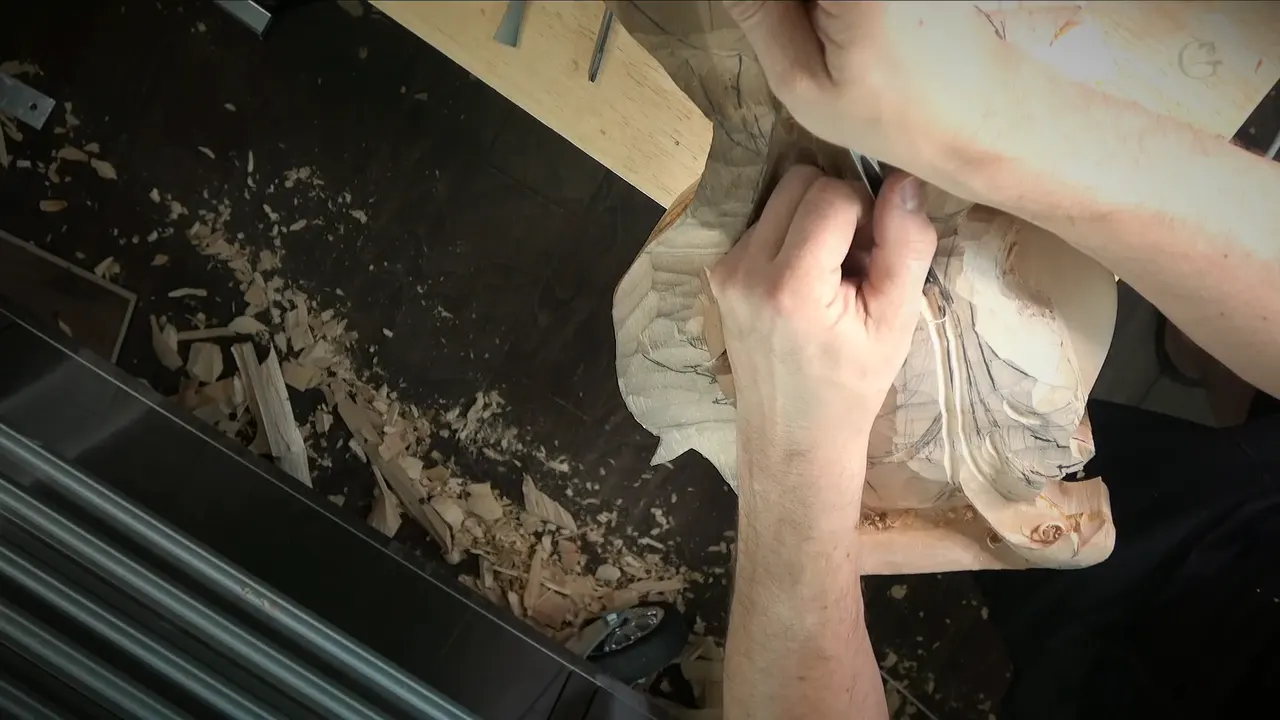
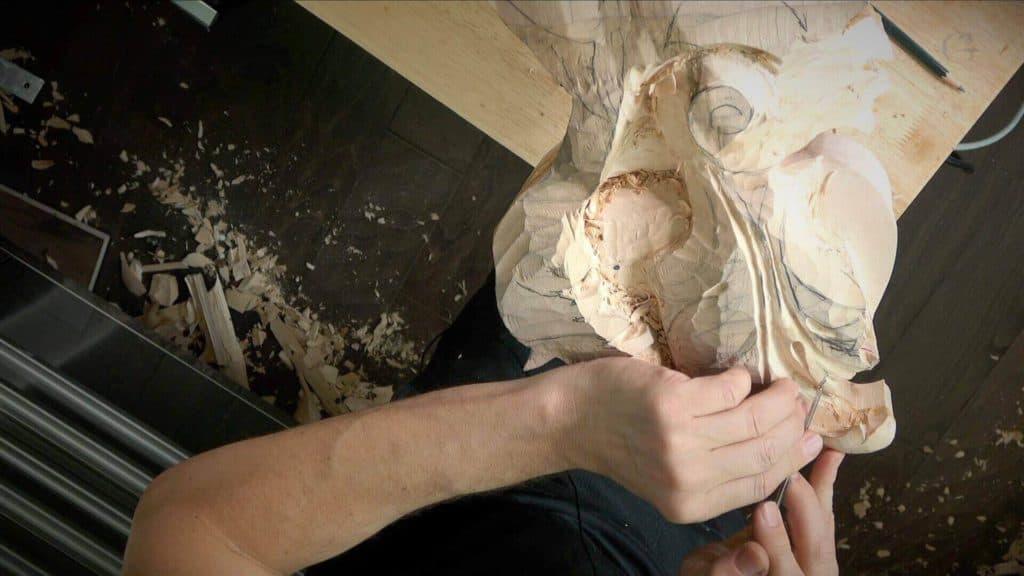
A hard spot in one board is most often a dense patch, a place where the fibers are packed tighter than in the wood around it. Twice in workshop 81 my gouge ran into one on the same big piece. The first time I changed tools, and the second time I kept going.
The edge glides along, then one area pushes back as if it came from another board. Below is what I did there, and what I said in other lessons when it happened again.
Why is my wood so hard to carve in one spot?
Even inside one board of one kind, the wood is not the same all the way through. A few workshops later I put it plainly to the camera. In this area, I said in workshop 83, the fibers are more dense than in other areas.
My part in workshop 81 runs only a few minutes, in two short moments. Two moments cannot fill a whole page. So the rest is built from my own words in other lessons, where the wood did the same thing, and every one of them is linked for you to watch.
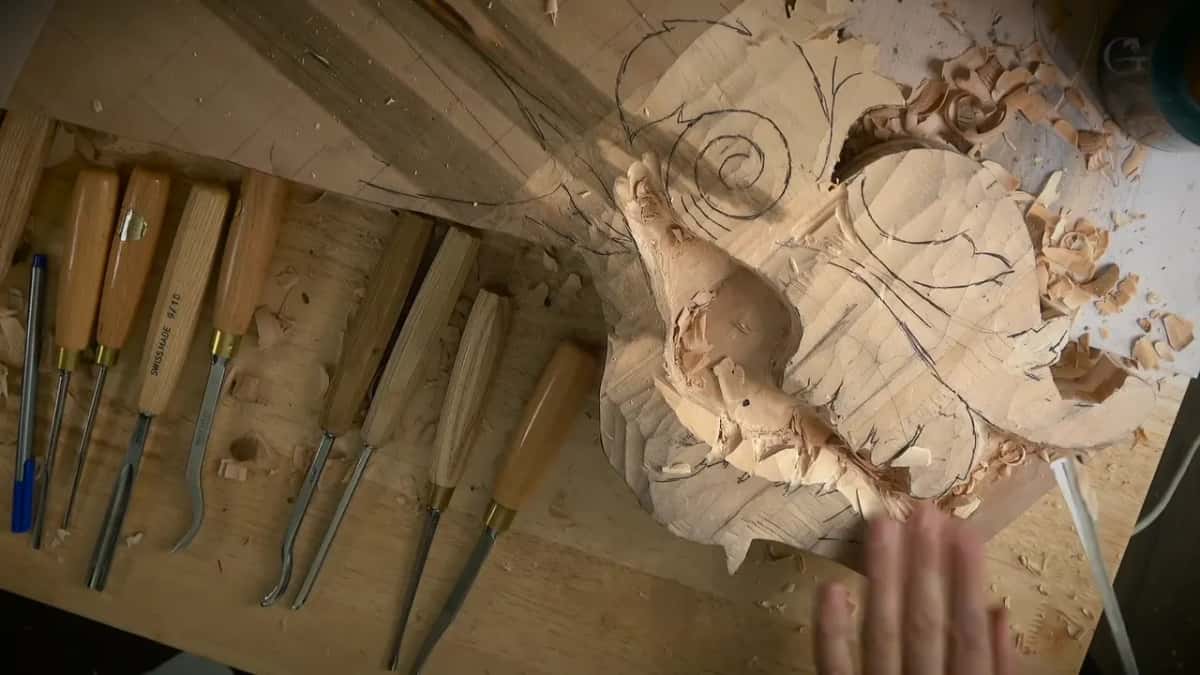
Two dense spots in workshop 81, and what other lessons add
In the ninth video I put a bigger #11 back and picked up a smaller one, because it gives more control.
The sound of the tool changed in that patch, and you could hear it.
I also went at it the opposite way.
A second dense area sat beside a pipe two videos later.
A few workshops on, I wondered if my tool was dull before blaming the wood.
Water matters too, since the same piece can carve normally one day and feel mushy on another.
What did the first dense spot feel like?
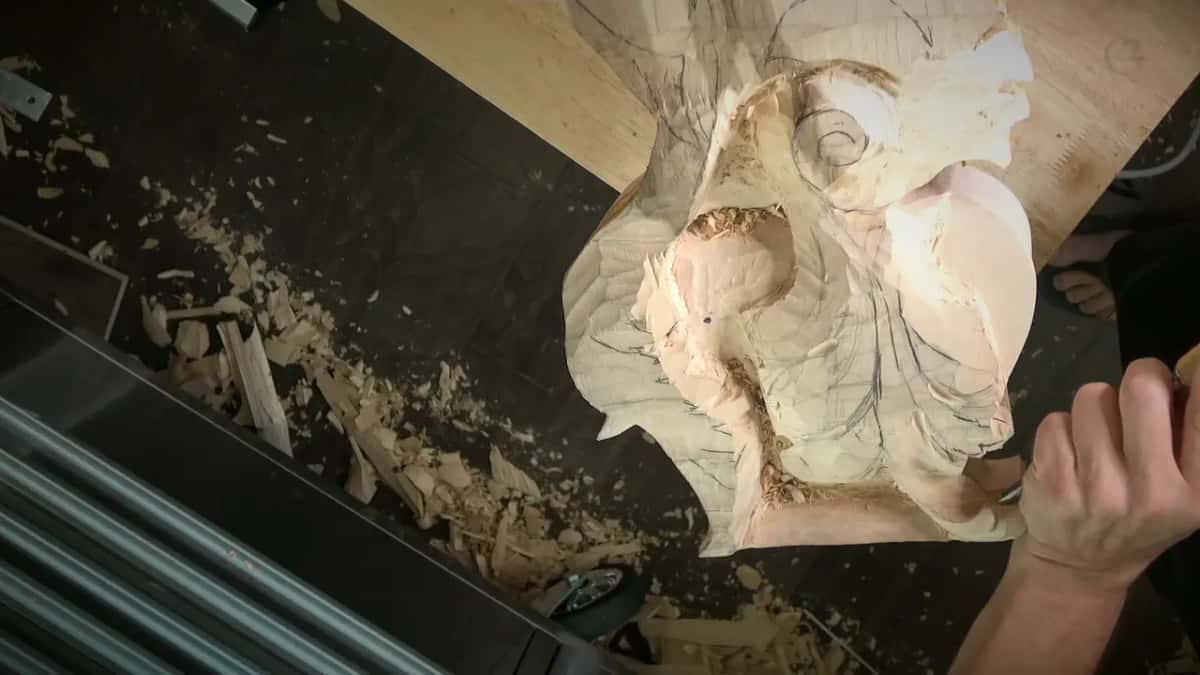
It showed up while I was refining a curve. I needed a #11 and reached for one, then changed my mind and went for a smaller one instead. For some reason, I told the camera, this area is kind of dense.
A smaller tool gives you a lot more control. That is the reason I gave for the change.
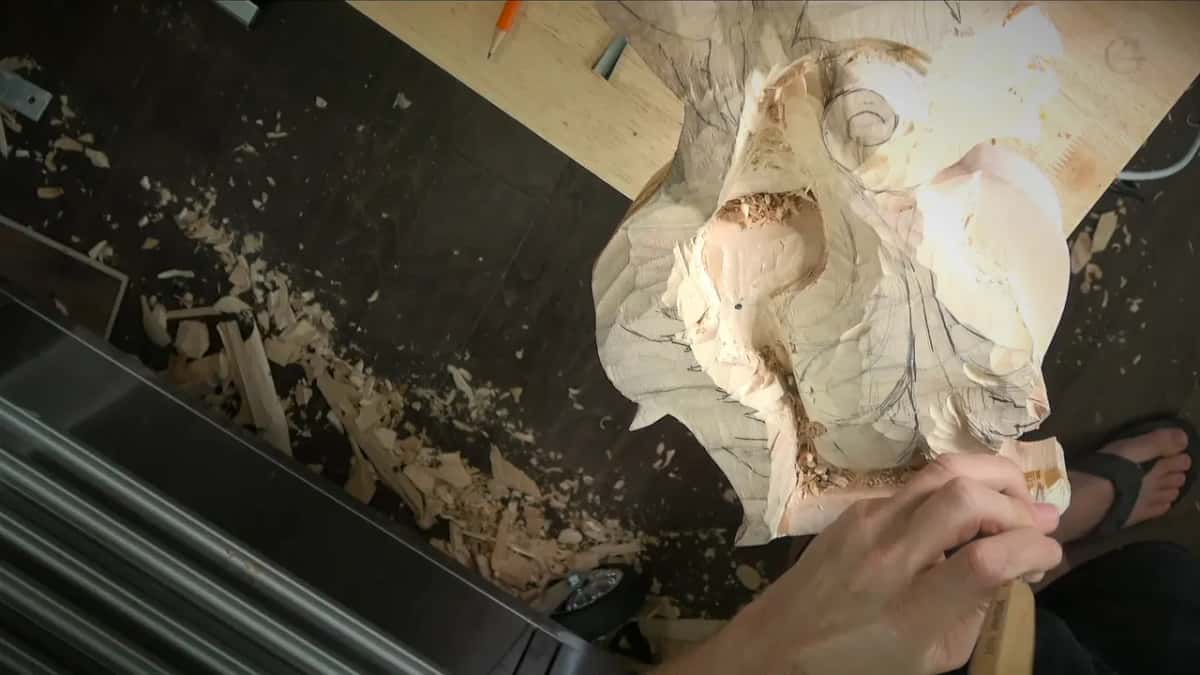
Then I asked you to listen. See? Even the way it carves, you can hear it. I said that with the smaller #11 already in the patch.
I could not go too deep in that spot, because I did not want to destroy the movement I had already set. So I attacked from the opposite side as well, and a minute later said it once more. It is dense. After that the job there was just cleaning.

This was a big, heavy piece, held in my Veritas carver's vice only by its thickest part, and it wobbled the whole time. I apologized for that on camera. The wobble never bothered me, only the fact that you had to watch it.
Later in the same video I switched to a #11 spoon of about seven millimeters, a bit over 1/4 in, and then to a #11 of five millimeters, about 3/16 in, to undercut beneath the part I was rolling.
Where did the second dense spot turn up?
Two videos later, beside a pipe on the acanthus. My first tool there was a plain #11, carried down along the line. Very interesting, I said, this area is dense too.
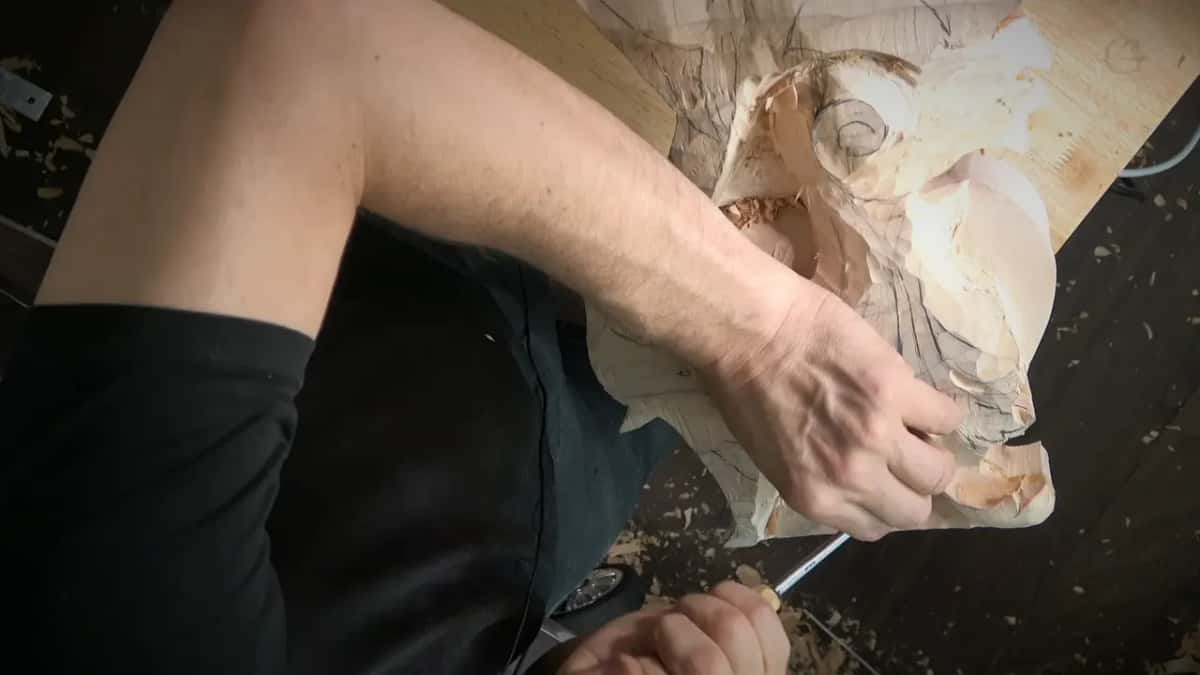
Even so, I found in that same section that I could go a little deeper. My hands were covering the work, so I thought about changing my position, and then I said I would get much deeper. The dense patch did not stop me there.
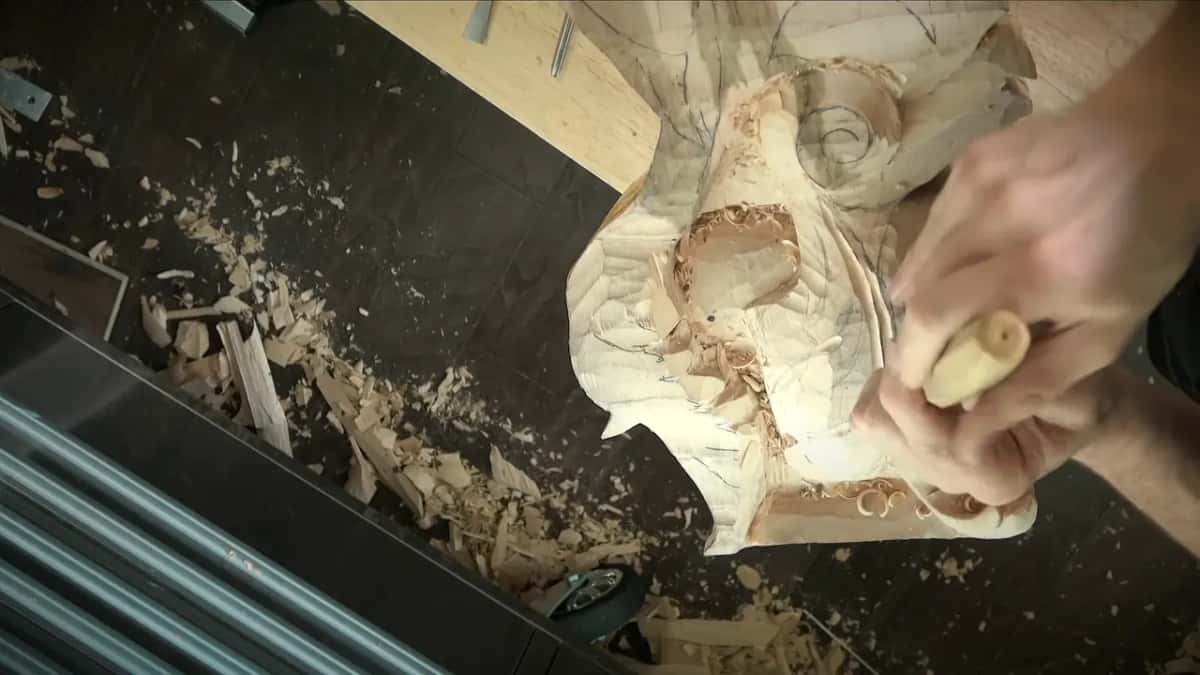
There was a limit in that second spot as well. I could not go past the depth of that section, and going past it, I said, would be a mistake. For a really beautiful pipe I needed a smaller #11 veiner, so I took one.
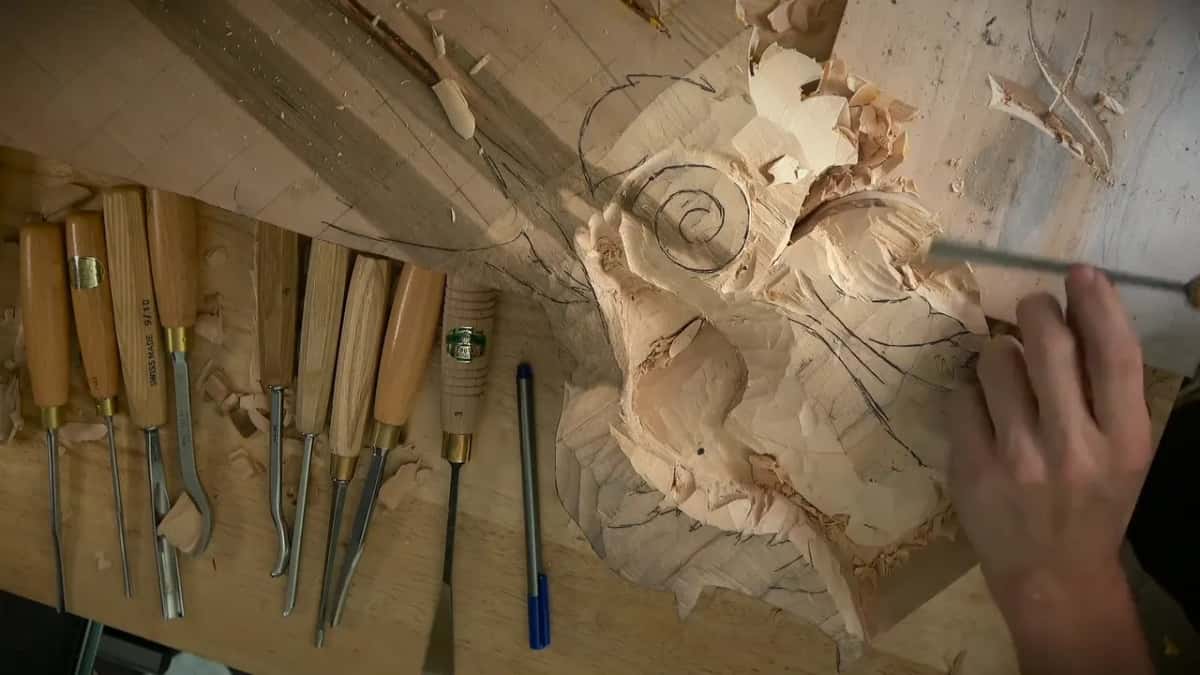
Between those two moments, in the tenth video, I worked in a spot I called really not convenient, with a three millimeter veiner, 1/8 in, and said I was almost scratching, not carving. That was an awkward place to reach, not a dense one. Earlier in that video I also went uphill against the grain, which is its own subject, and carving with the grain covers it.
Why would one part of a board be denser than the rest?
I have given more than one reason on camera, depending on the wood in front of me, and each one below is linked to its lesson.
Much denser, I called it in workshop 83, and I added that this is not really common for the basswood, but it's okay. Right after that I knocked a big hump down with a flatter tool, a #3, and made a good downhill pass.

Color can go with it. Back in workshop 63 I pointed at a lighter stretch and a darker one in the same lime wood, and the darker one was a little softer there. That page is about the opposite case, wood that goes fuzzy.
The lily box went the other way. Its wood was olive, and I said it is harder to carve on a darker wood and easier on a lighter wood, so the density is different. I called that the nature of olive wood, and lesson 4 of that box is where it happened.
Then there is water. On camera in workshop 16 of the Roman acanthus course, I said the same piece of wood can carve normally one day, go mushy the next, and on the third day feel like it is not even basswood anymore. Wood is alive. It takes water in, swells, then shrinks, and with more or less moisture in the fibers it gets more dense or softer.
And then the heart. Digging into the center of a flower on that same box, I called it not easy, because it is the heart of the wood. Any wood is carvable pretty much, I added. Even ebony is still possible to carve, but it is dense.
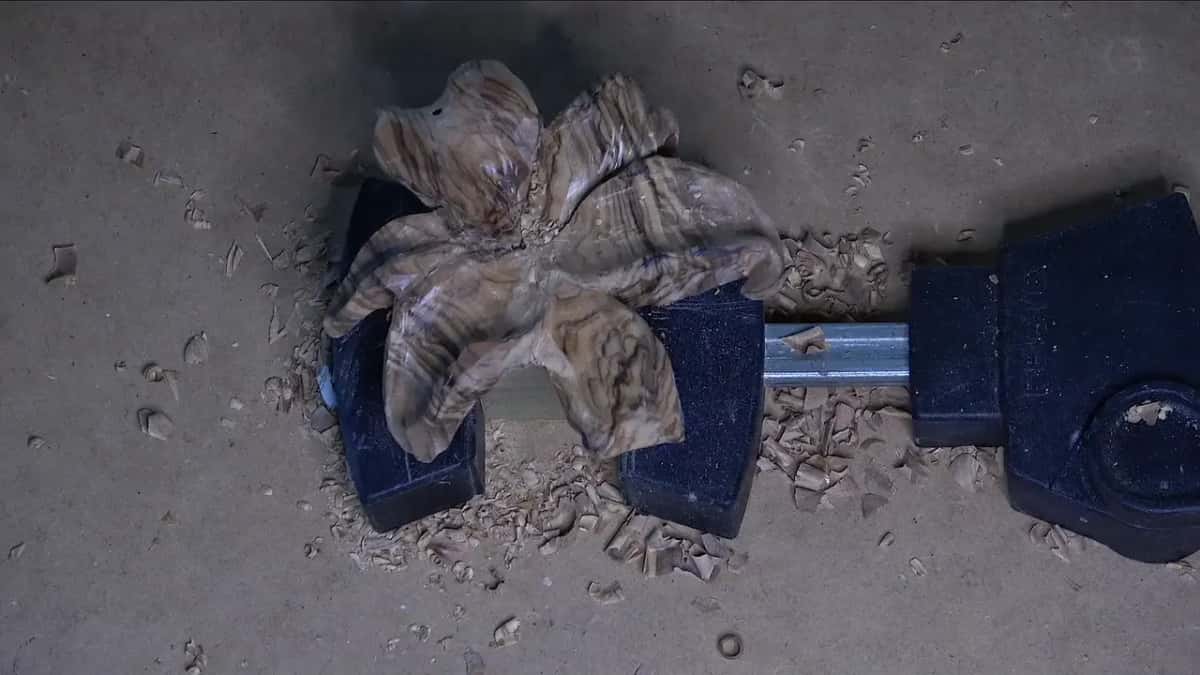
Is it the wood, or is your gouge dull?
Ask about the edge first. I did exactly that in the fourth video of workshop 83. Maybe it's dull, I said, that is what it is. Only then did I decide the area was denser, and a little harder to get through.
My teacher went further. There is no such thing as bad wood, he said, only knives and gouges that are not sharp, and I passed that on in the same Roman acanthus workshop. That story has a page of its own.
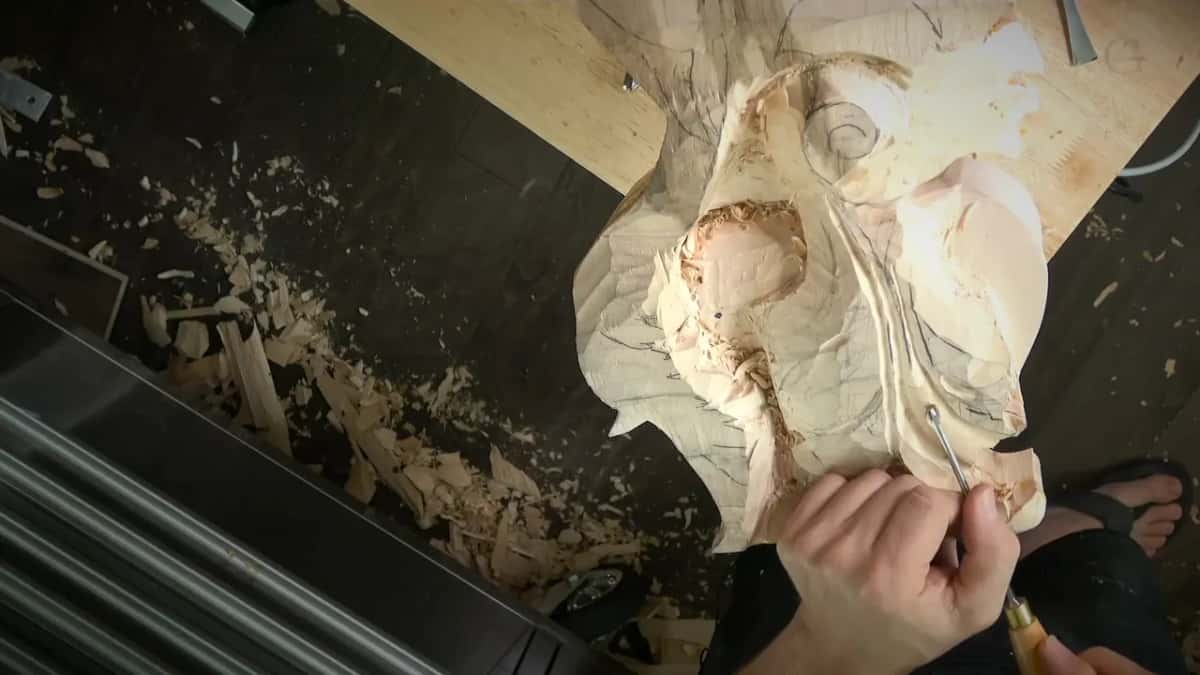
Let me tell you a story. A long time ago I posted a video of myself carving a really dense area, and a man on Instagram wrote underneath it. Have you ever tried sharpening your tools, he asked, it would make it a lot easier. Of course my tools are sharp, really sharp. In lesson 10 of the box, while I carved the lily flower, I said on camera that with dull tools you would not be able to remove any of the material from wood like that.
Your ears help here too. Back in workshop 77 I said the tools must be super sharp, and that you can hear how sharp mine are. Right after I stropped a tool with paste on the inside and the outside, in workshop 76, I tried it on the wood and could even hear the difference.
So check the edge before you blame the board. If it needs work, the sharpening course is where that work lives.
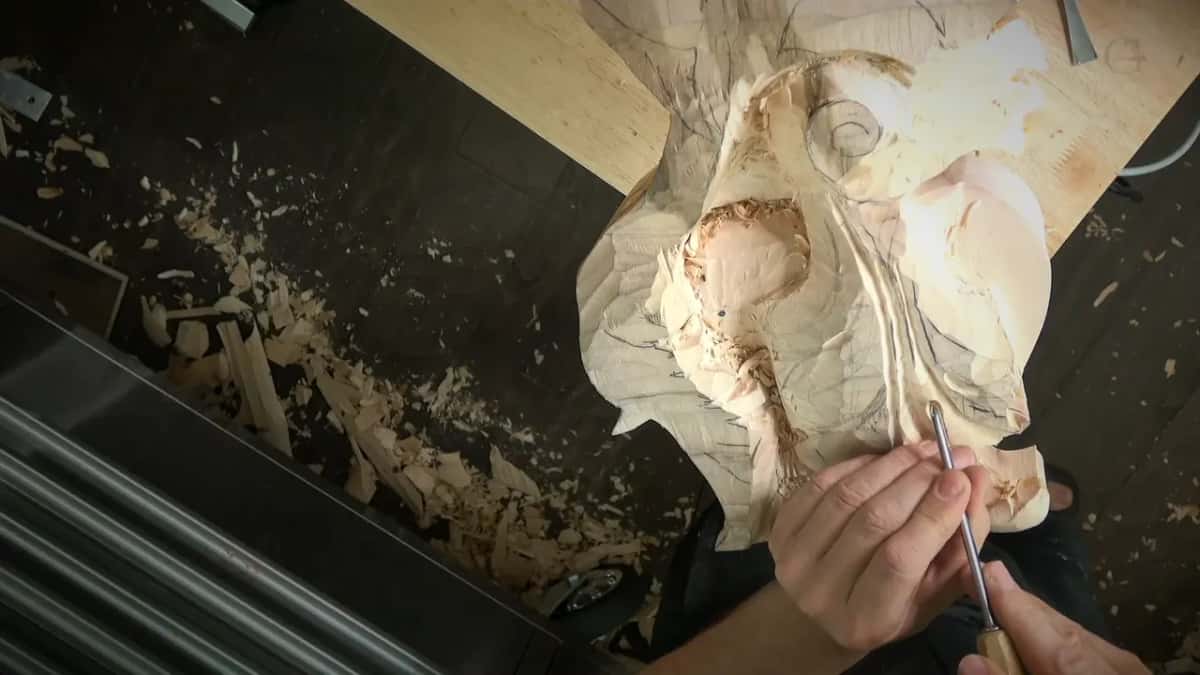
What do you do when the wood fights back in one spot?
Everything in this part comes from lessons where I hit a spot like this, and I did each of these things on camera.
On the olives of the lily box, in lesson 13, I kept away from a gouge on one thin spot. With a gouge you create a lot more pressure, I said, and you can break it. That spot was really, really dense. I barely removed any wood from the olive itself, while the white oak took a really deep pass with the same amount of pressure. That is why a little tool is always a good idea to use at the beginning, on details like that.
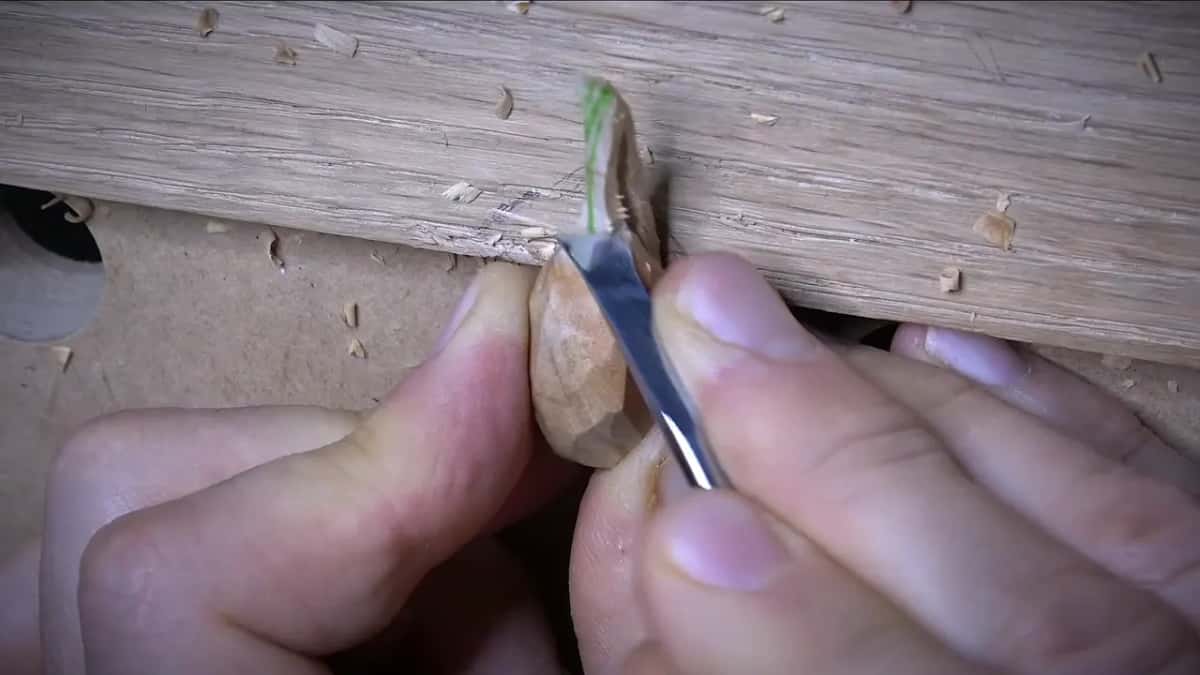
Earlier in the same lesson I hit a spot where the grain was more dense. I had little support there and could not push too hard against the board, because two of the pieces were fragile. There I could not even carve, I said. I had to shave little by little, almost taking out nothing. It's going to look beautiful, though, and the grain there is gorgeous.
One dense part of the lily flower felt almost like not even carving, I said, more like working with stone, and limestone would be much easier, because limestone does not have a grain you have to deal with. So I took a mallet and a #11 of one and a half millimeters, about 1/16 in, and excavated.
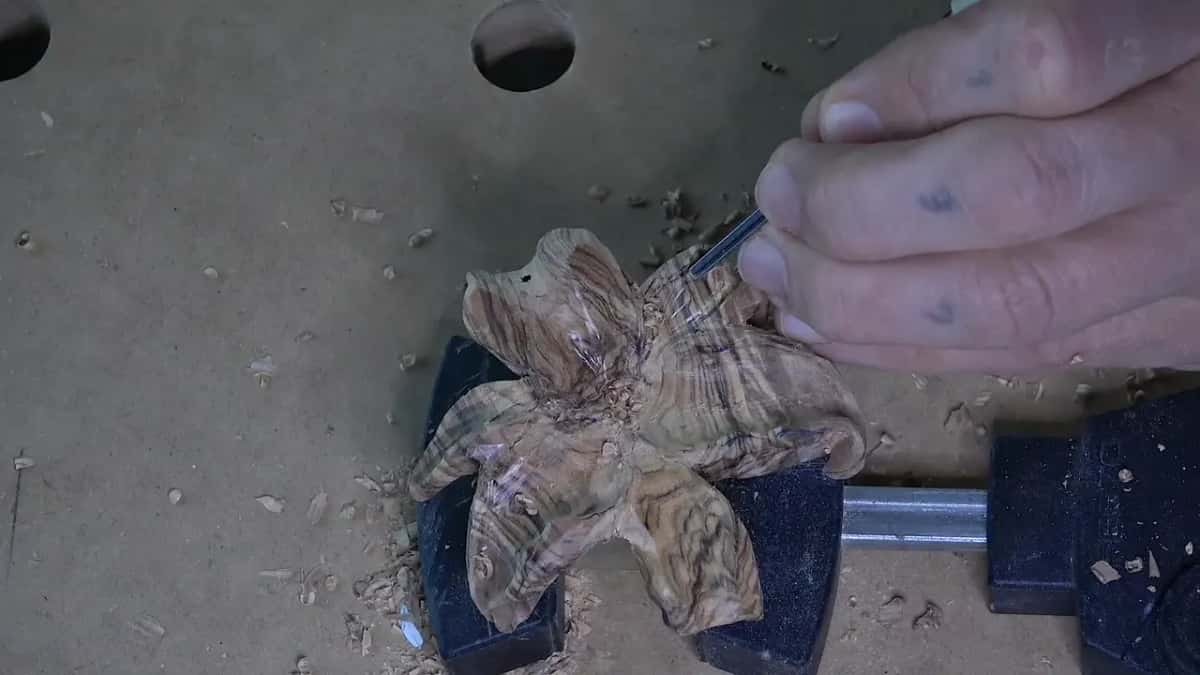
Protect the piece while you do it. During workshop 83 I placed my finger a little below the tool, so that if I made pressure, it would press against my fingers. Otherwise it could get damaged, I said. Near your fingers, I said on the olives, be really careful, and make sure you are slicing, not pushing.

Coming from the other side worked on the lily flower too. This part is a little more dense, I said in lesson 11 of the box, and I wanted to really attack that from the backside.
Undercutting with a one millimeter tool in lesson 10, about 1/32 in, I said this material is not easy. I was rocking the tool a little, which I do all the time. Still, I tried to control my tool as much as possible and not overdo anything, because I can always clean that later with no problem.
A knife was not the only choice on one olive in lesson 13. On a side that felt kind of dense, I could take a small gouge the normal way, digging valleys, give a rough shape at first, and then take care of the facets. That was probably the way to do this side, I said.
One more habit. With another olive I tried a little bit first, found that one side was not as dense, and there I could use a gouge right away without much pressure. A small test told me which side would give.
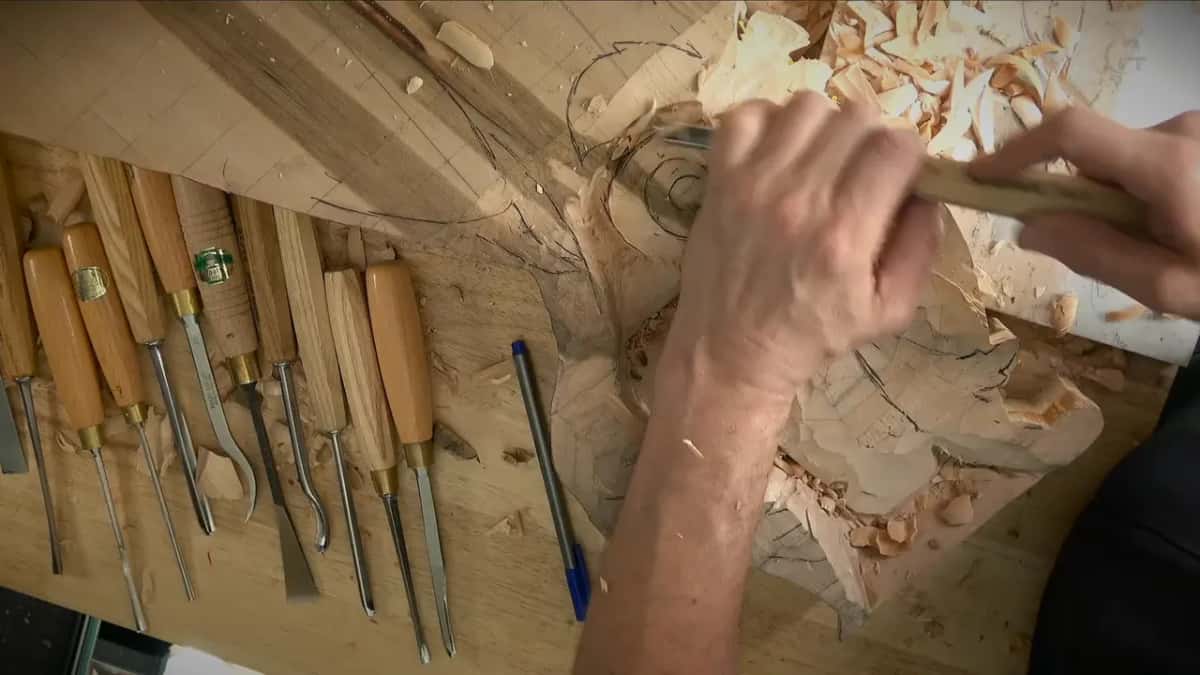
And sometimes you stop. Carving the lily flower, I said I was struggling with a decision, whether to leave a section or keep going. This is a really dense area, I said, really hard. Probably I should leave it like that for now, I decided, and I kept the connection. In another part of that flower, the most dense area, I was not ready to disconnect it completely yet either, because I might have to clamp it and needed some meat left.
Does the kind of wood decide how hard it carves?
Partly, but it is more about feel than a ranking. On the lily box I said olive wood is not the same as basswood, walnut, cherry or even oak. I was not saying it is harder or easier, I added. It is an absolutely different feel, especially on a curly grain. Lesson 7 is where that came up, and in it I thought a mallet might help me.
So the kind of wood sets the general feel. The spot that fights you within a single board comes from density, from the heart, or from water, and those moments are what this page is about.
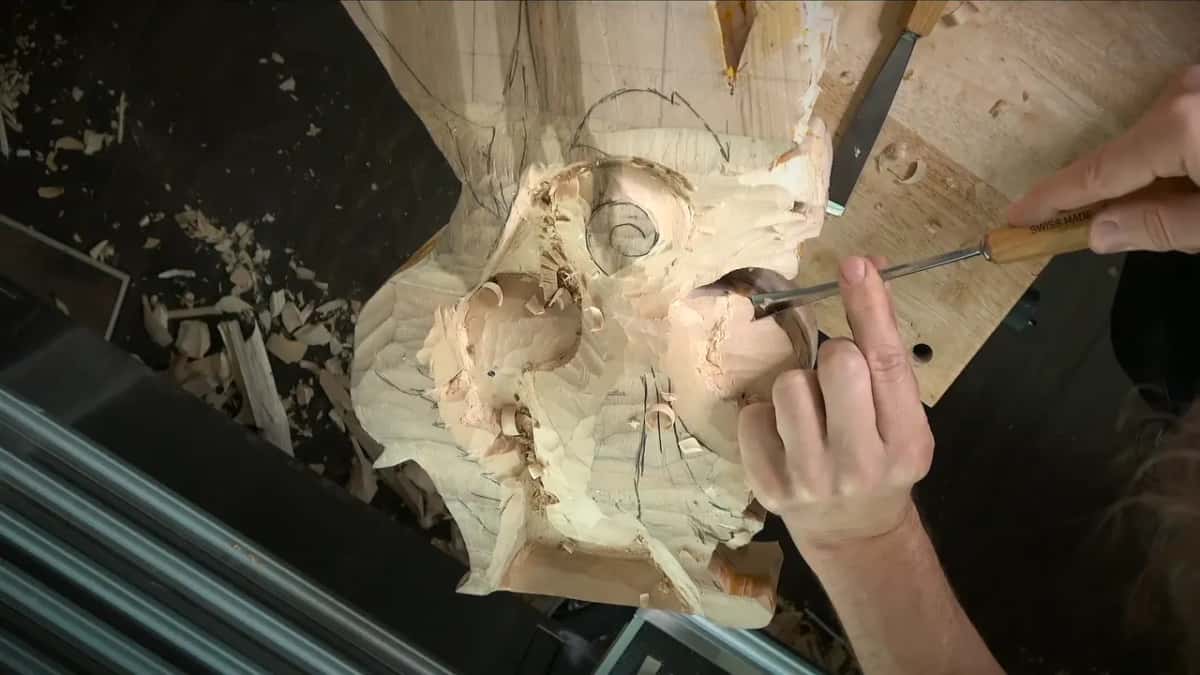
Six dense spots and what I did in each
| Where | Said | Did |
|---|---|---|
| Workshop 81, ninth video | A patch went dense while I refined a curve. | Dropped to a smaller #11. |
| Later in 81 | The area beside the pipe felt dense as well. | Went a little deeper anyway. |
| Workshop 83, third video | Fibers felt more dense here than elsewhere, which surprised me. | Knocked a hump down with a #3. |
| The next video | I suspected a dull edge first, then felt the density. | Kept a finger below the tool. |
| Olives, lesson 13 | The olive barely gave while the white oak went deep. | Started with a little tool. |
| Lily flower, lesson 10 | It felt like working with stone, and limestone would be easier. | Used a mallet and a 1.5 mm #11. |
Where does this sit in the Venice Room?
This workshop is one lesson of Part 7 of the Venice Room. Right before it comes workshop 80, and right after it workshop 82, where I said really dense once more beside a rolling part. Two more moments on this page come from workshop 83.
Would you like to watch a carver meet a patch that pushes back? Would it help to hear that change for yourself? Then these workshops are worth your time, because you see me find out on camera, and the whole room sits behind one tuition plan.
How it's done
- Set the big tool aside. When one area turns dense, pick up a smaller tool. I did that in workshop 81, because a smaller one gives a lot more control.
- Listen to the pass. Pay attention to the sound. You could hear the dense spot in the way my tool went through it.
- Come in from the other side. Attack the patch from the opposite direction as well, and keep the depth shallow near a movement you want to keep.
- Keep your fingers below the edge. Place a finger a little under the tool. Any pressure then goes against your fingers, not into the piece.
- Slice, never push. Near your fingers, slice. I told you that on the olives, because pushing there would cut a finger.
- Shave a little at a time. On a very dense spot take almost nothing per pass, the way I shaved the olives little by little.
Frequently asked questions
Can one board have hard and soft areas?
One board can surprise you. During workshop 83 the fibers in one area felt more dense than the rest, which I said is not really common for basswood, and in workshop 63 a darker stretch of lime wood carved softer than the lighter wood beside it.
Is a hard spot a sign of a dull gouge?
My first suspect is the edge. Before deciding an area was denser, I asked out loud in workshop 83 if my tool was dull. With dull tools, as I told you on the lily box, you would not get any material out of wood that dense.
What tool works best on a dense patch?
A smaller one, for control. In workshop 81 I set the bigger #11 back and switched to a smaller one. A #11 of one and a half millimeters, about 1/16 in, went into the lily flower with a mallet behind it, and on the olives a little tool came first.
What to carve next