
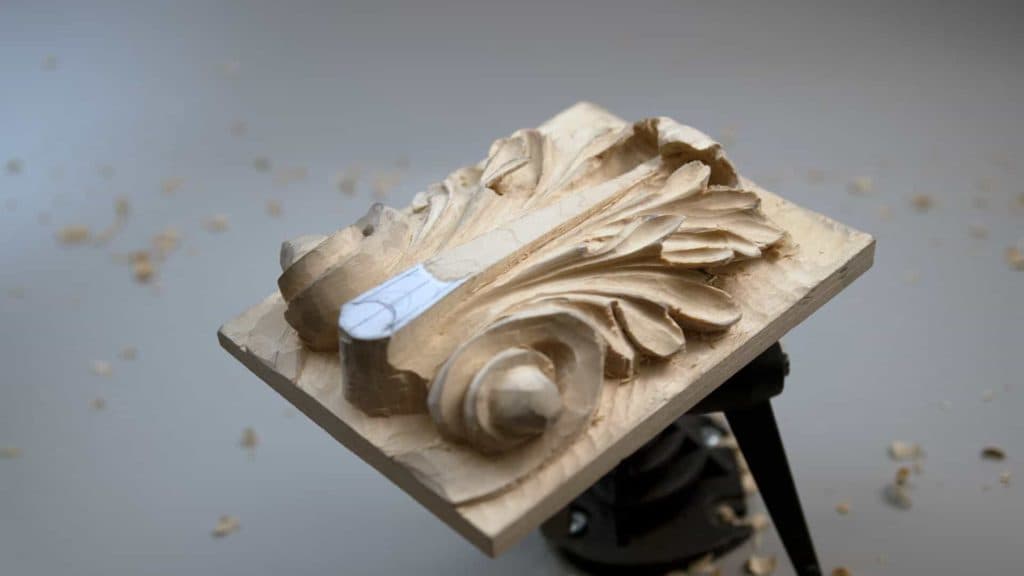
Alexander Grabovetskiy, woodcarver, School of Woodcarving · Published 2018
Is there such a thing as bad wood for carving?
Quick answer: Bad wood is something my teacher said does not exist. He told me the only problem is dull tools that are not sharp. A few species really are close to impossible to carve, but if walnut, cherry, basswood or lime wood fights you, the trouble is in the tool.
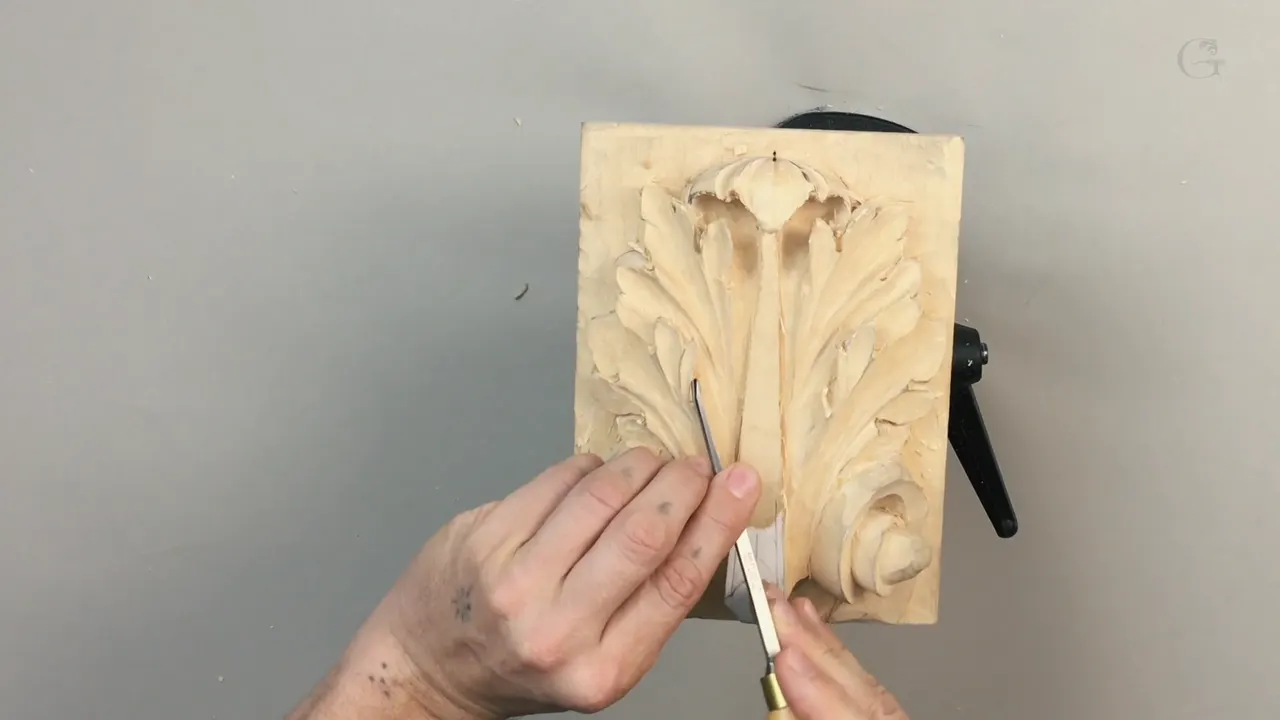
Bad wood is, my teacher told me, something that does not exist. I complained about a piece that did not carve nicely, and he said there is no such a thing as a bad wood. Only dull, not sharp tools. That was the only problem.
Of course, there are some species of wood that are almost impossible to carve. Yet if you're complaining about walnut, or cherry, or basswood, or lime wood, the problem is the tool.
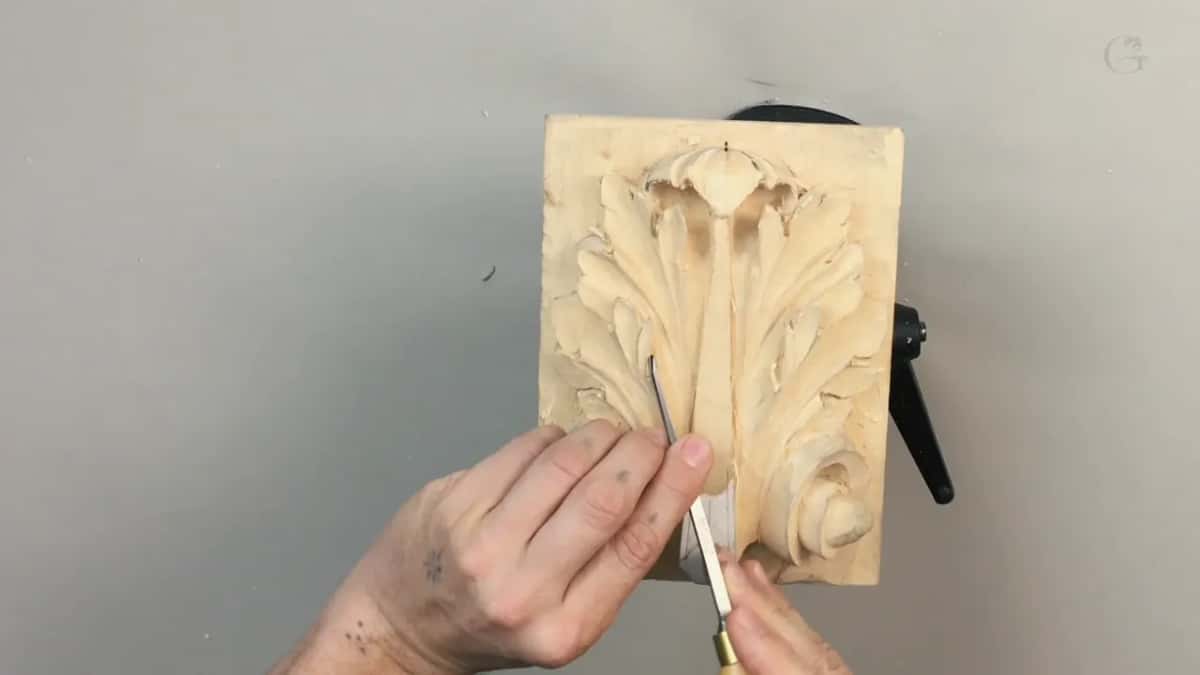
Have you ever tried to slice a ripe tomato with a dull kitchen knife? Did the skin squash flat before it opened? Sharp tools are an absolute must in carving, and lesson 10 of my Roman acanthus course shows why, because here I take the leaf deep underneath itself, sometimes where I can't even see.
In my Venice Room course I put it to my students plainly. Dull tools will give you a lot of frustration. You're going to blame the wood, blame the stock you buy, and email me. I get lots of emails like that. You're not alone. I did exactly the same thing.
What this lesson says about bad wood for carving
- My teacher blamed dull tools.
- Walnut, cherry, basswood and lime wood are carvable species, so a fight there points at the tool.
- Soft wood still dulls tools, sometimes fast.
- I check my edge for a wire multiple times a day, and strop, buff or resharpen when I find one.
- Undercutting goes upside down, slicing.
- Mixed with sawdust, hide glue can cover a mistake, though I don't use that on a carving.
What did my teacher mean by it?
Dull tools were the only trouble, in his words. I tell the whole story in the in-person sharpening class on the Maine coast. When I started to carve, I came to him one day and asked why he gave me that bad piece of wood. He said there's no bad wood, it's dull tools. Sharp tools can do beautiful stuff, even on the worst of the worst pieces of wood.
Back then he gave me only one knife. He said I had to master a knife before he would give me a gouge, and the gouge came later on. When he taught me to sharpen, it was all by hand on a stone, and he would teach me the right angle and the right movements, made with your body.
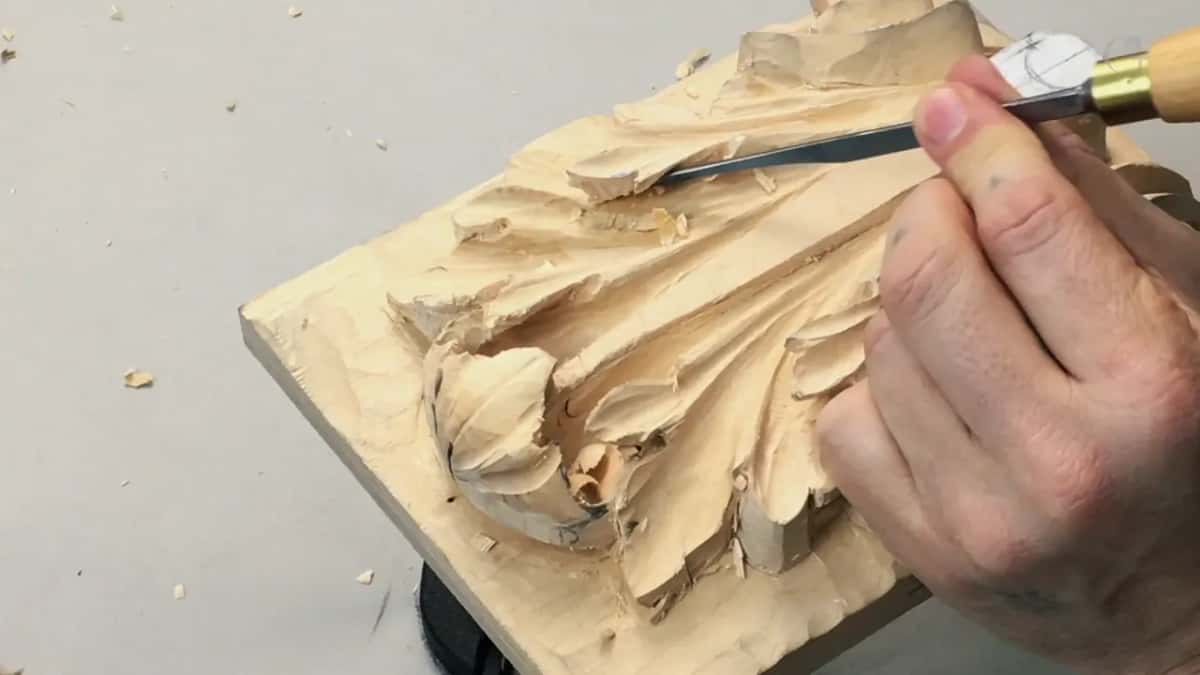
In the third video of this lesson I told it again, right in the middle of undercutting. We used different pieces, and I would complain that one wood was not good. It just didn't carve really nice.
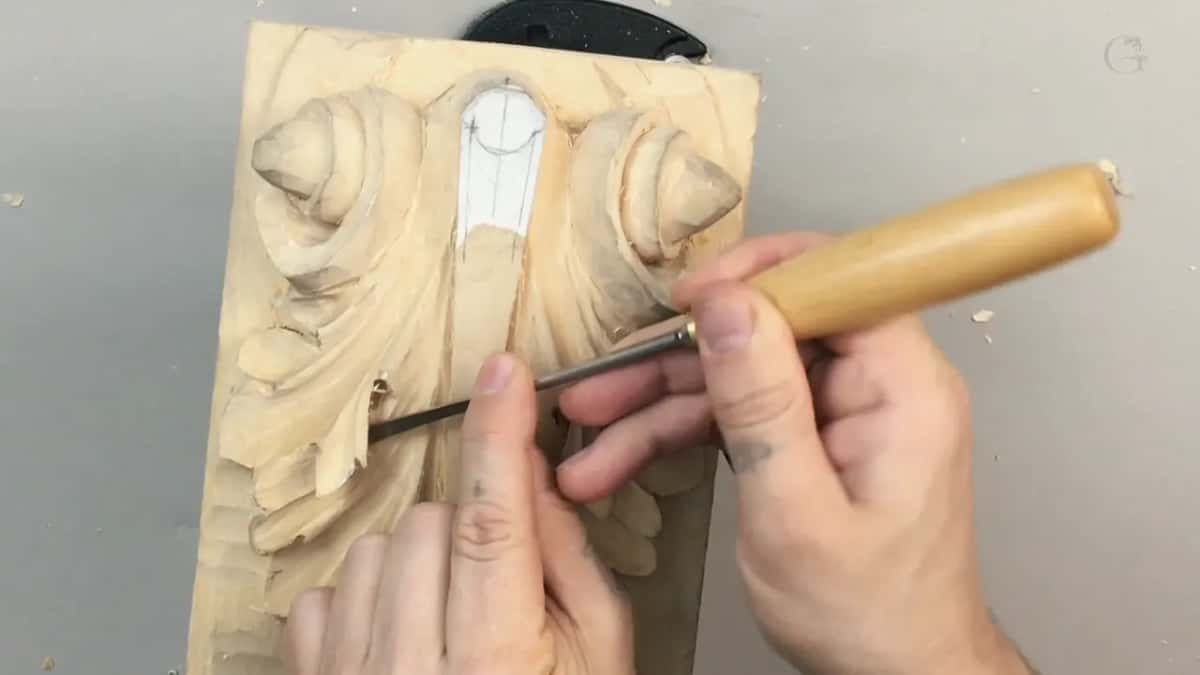
How can you tell the tool is to blame?
Roughness gives it away. On the Venice Room I explained it to my students. If you see some roughness in a cut, or the tool is catching, that doesn't necessarily mean the wood is bad. It means your tool is not sharp.
Your tool is supposed to be so sharp that you don't even have to press, and it's already going into the wood. So please learn how to sharpen your tools, and I know I say that sometimes too many times.
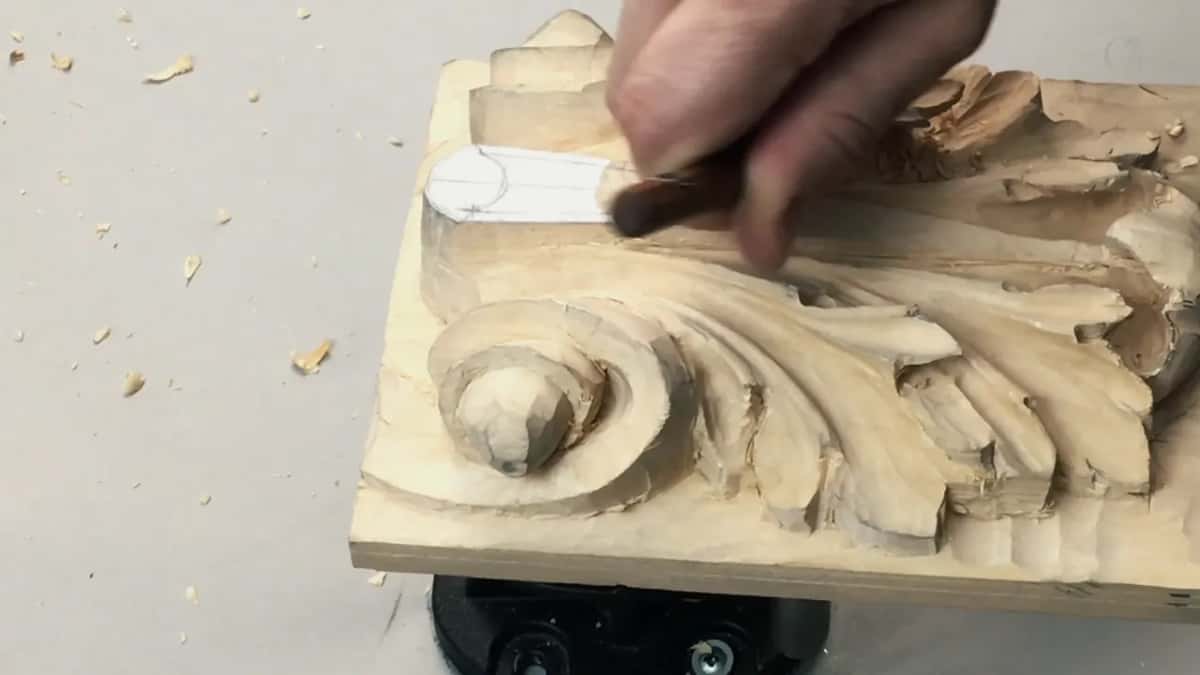
In this lesson I'm constantly checking my edge for a wire. If there is one, I re-strop it, rebuff it, or even resharpen it, multiple times a day.
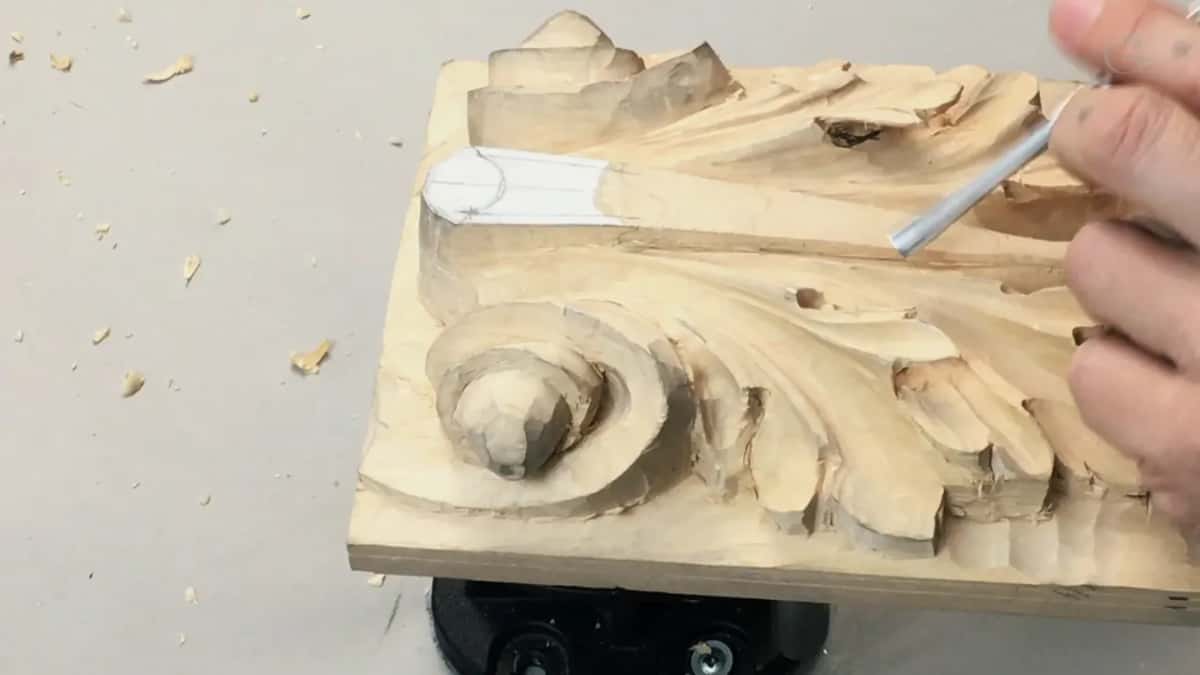
Does soft wood keep your tools sharp longer?
Your tools still get dull. Some people say the best wood is a soft wood, and your tools shouldn't get dull. That's not necessarily true. It is soft wood, but for some reason your tools still get dull, and really quickly sometimes.
About lime wood I said in my Greek acanthus course that they call it soft wood, but it's not really soft. You'd be surprised how nicely that wood keeps the detail, if people don't damage it.
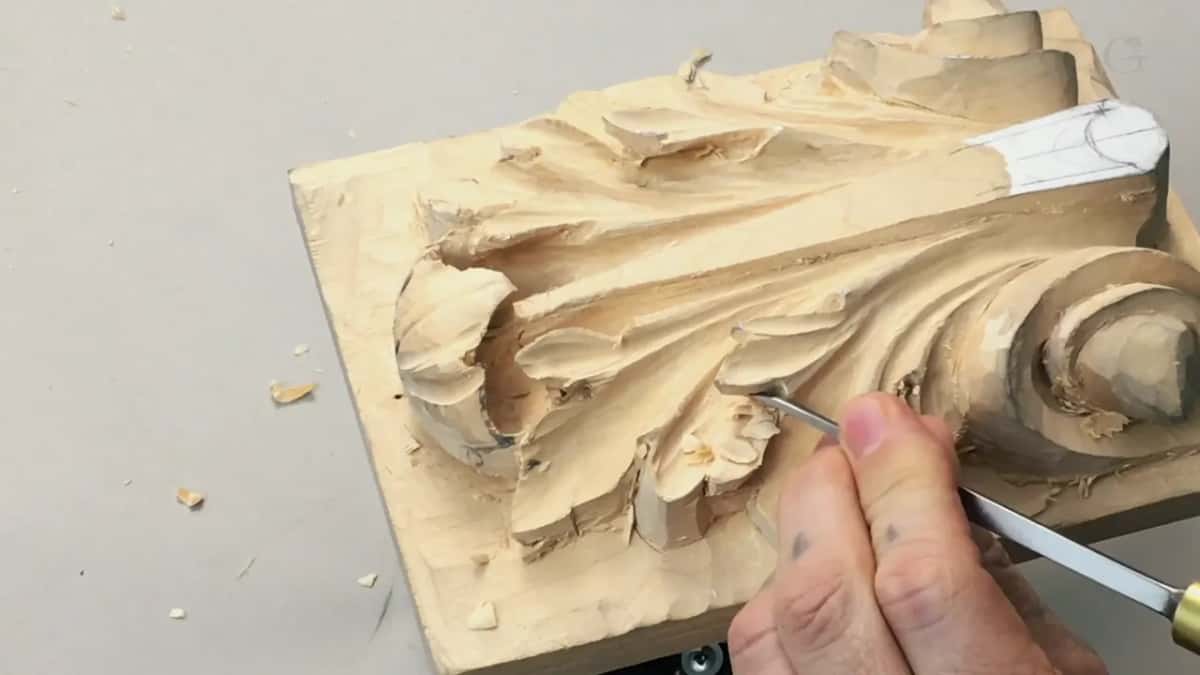
In my antique rosette course I went a step further. At least in old European culture, limewood or basswood wasn't considered a soft wood. It was considered a hardwood, and a soft wood would be like a pine.
Botany agrees, in part. Wikipedia defines hardwood as wood from flowering trees, and says some hardwoods, balsa for one, are softer than most softwoods.
And some wood really does dull a tool fast. On one section of my Venice Room carving, I made a couple of passes and the gouge went dull, a second after I had stropped it. It felt almost like there was some kind of sand inside the wood. Sometimes it happens with some of the woods, and I guessed I had to sharpen more often in that spot.
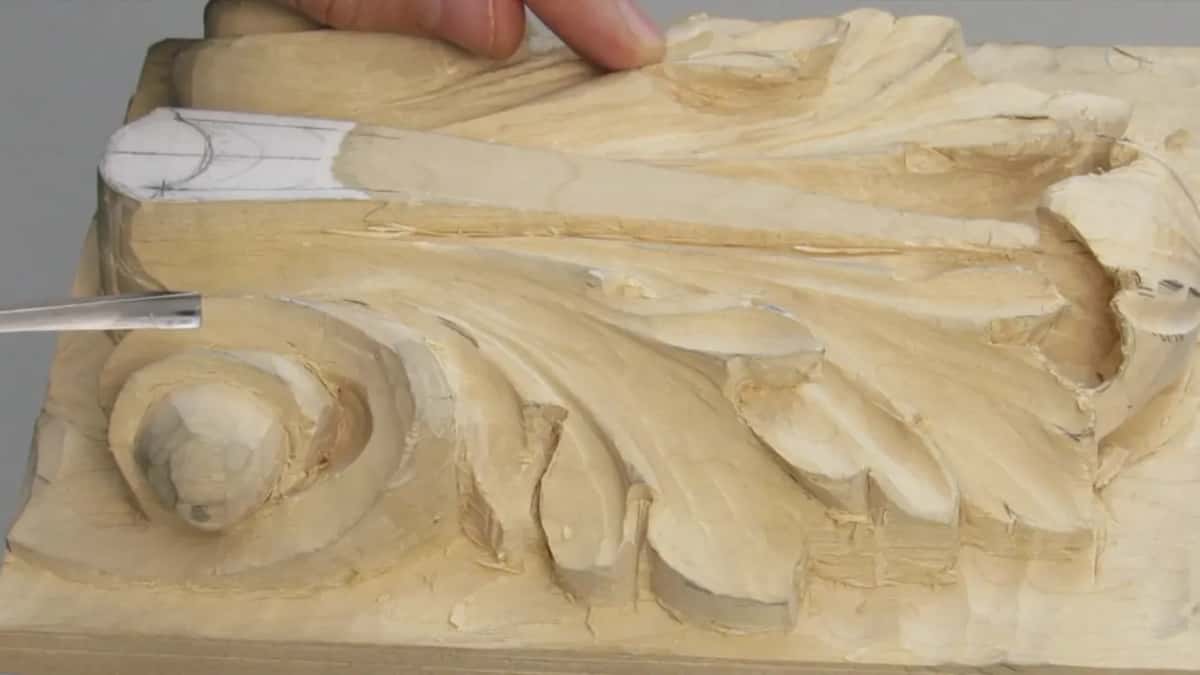
Why can the same board carve differently from day to day?
Wood is alive. It sucks the water in, and then it shrinks.
In lesson 16 of this course I talked about an email someone sent me, after buying basswood online. The piece he got was just not good. My teacher said there is no wood that is not good, only knives or gouges that are not sharp. I totally get what he means. But sometimes one board carves normally one day, and the second day it becomes mushy.
On the third day it could feel absolutely different, like it's not even basswood anymore. That doesn't mean the wood is bad. With more water inside the fibers, or less, it gets more dense, or softer and more mushy. A month later it could be absolutely different again.
Wood scientists have a name for where this settles. Equilibrium moisture content is the point where wood stops gaining or losing moisture, and it moves with the humidity and temperature of the air around it.
Why does undercutting need such a sharp edge?
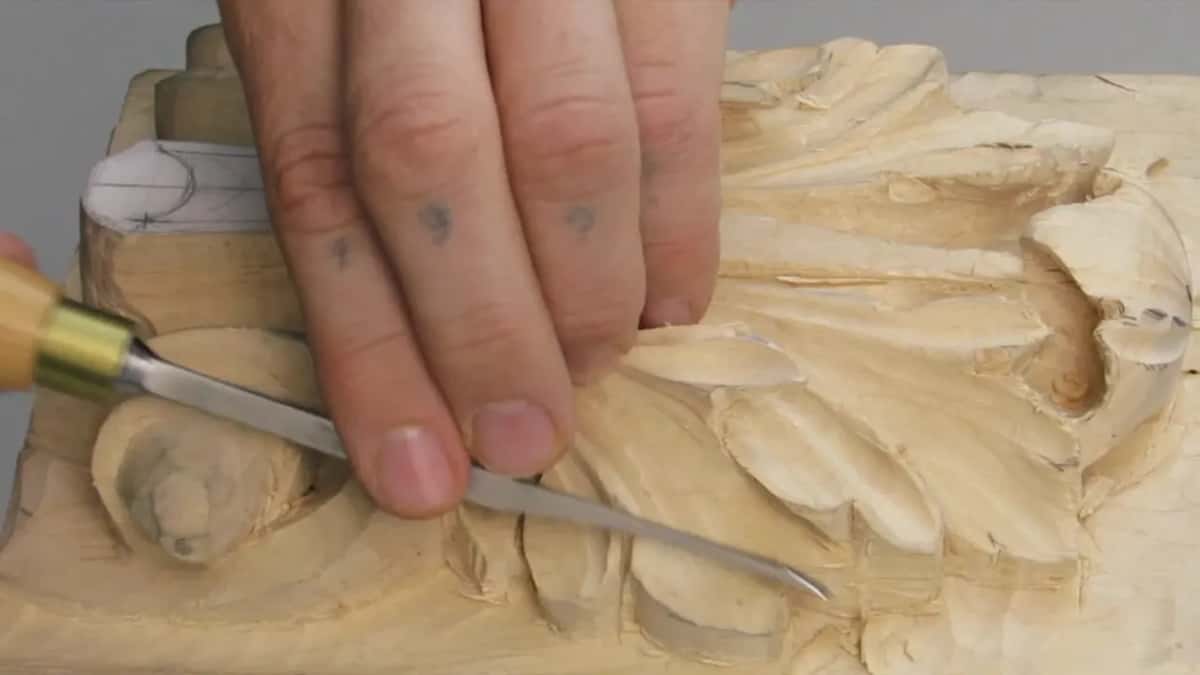
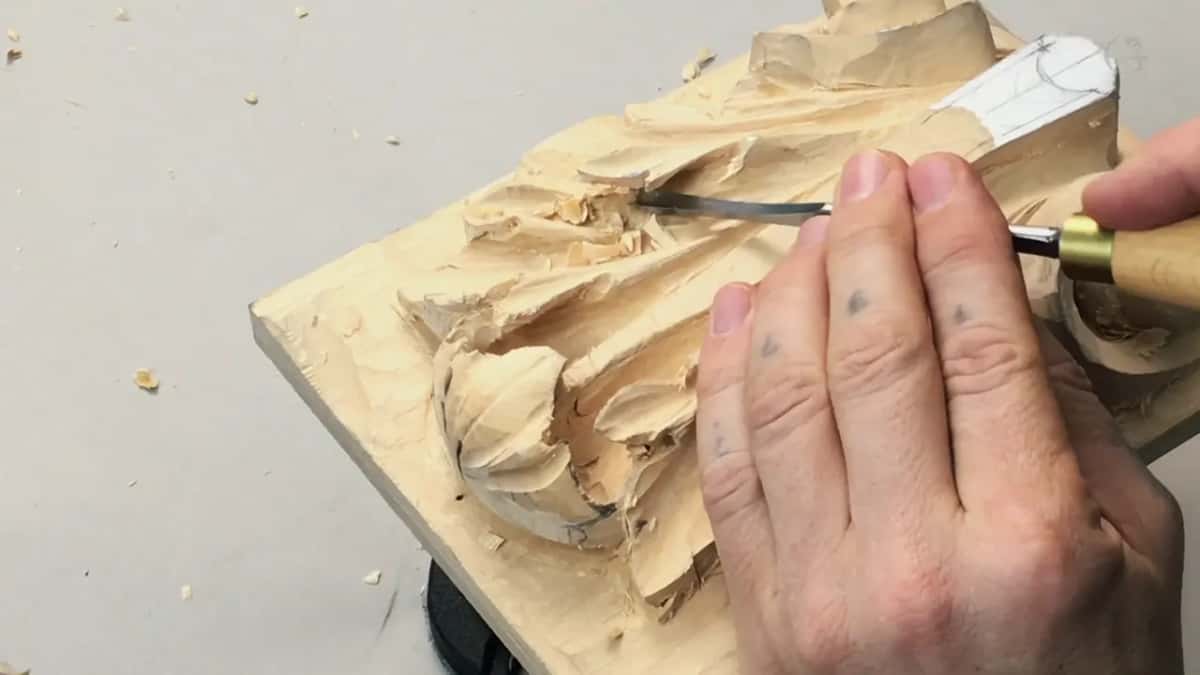
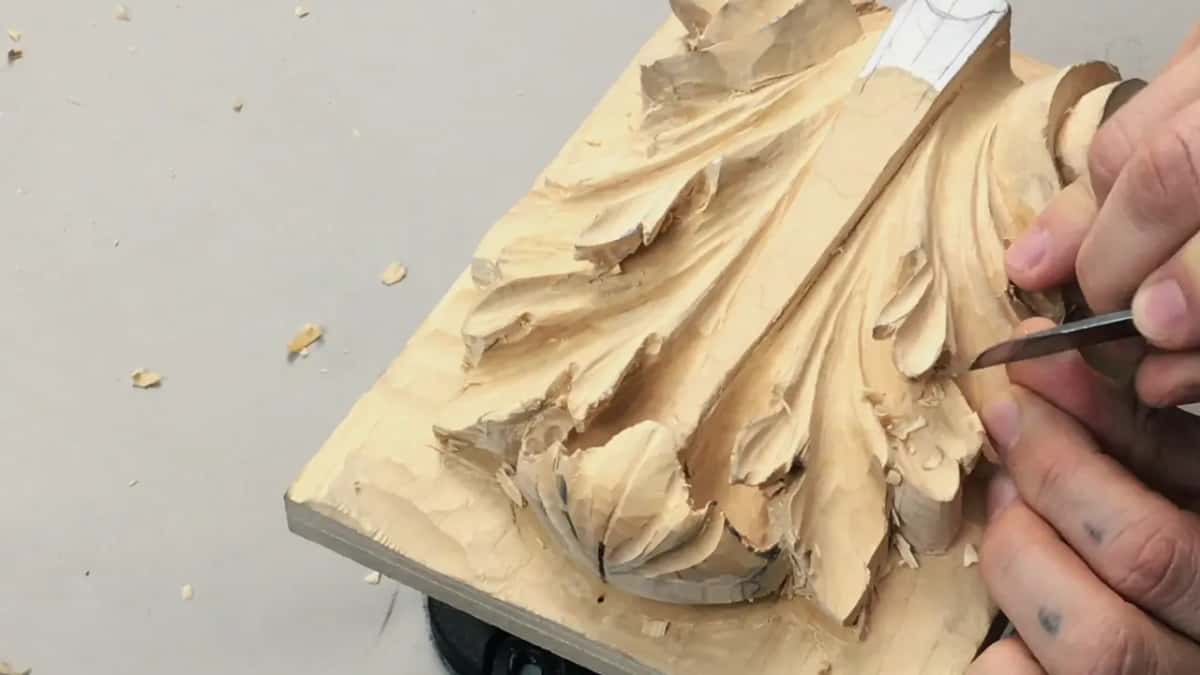
Here I carve where my eyes can't follow. I remove some extra material to do more undercutting, so I can make a real nice movement underneath the leaf. For that I take a number 5, a quarter inch (6 mm), the same one I used before, and I work upside down.
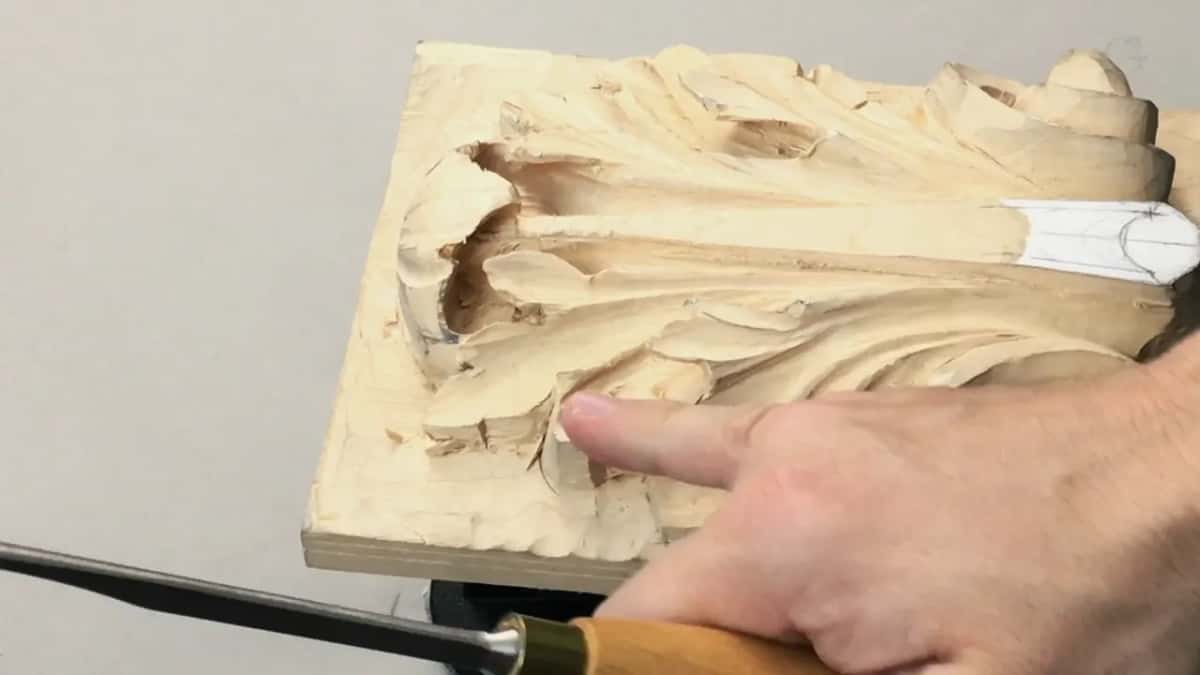
Your tools do have to be really sharp for that task. Please keep an eye on it. I'm doing a slicing movement, even on undercutting.
Sharp edges are actually the biggest secret of the really deep excavations. In some areas you really can't reach, and sometimes I make excavations I'm not even able to see with my eyes. I have to kind of guesstimate what is going on underneath.
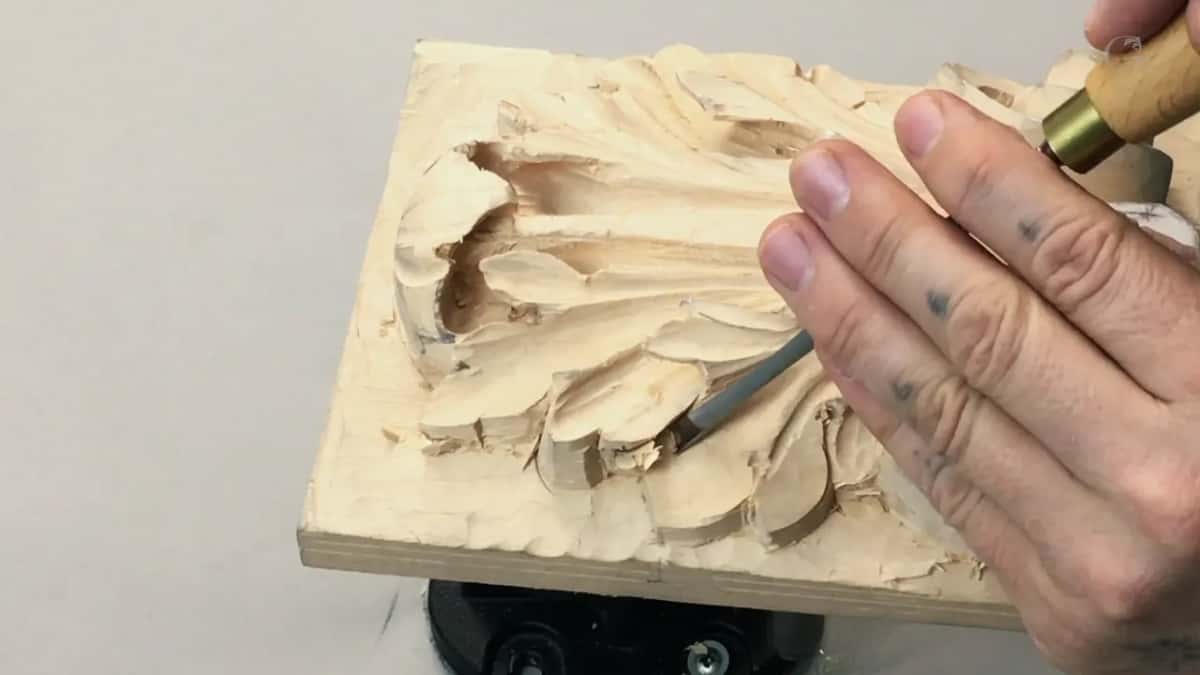
Then it looked like I was all the way through, which is a good thing. That was my goal, one continuous pass underneath, just like that.
You could use a number 6 instead. If it's not that big, it should not be any problem. Go little by little, without forcing. If I force it, it's not going to look as nice.
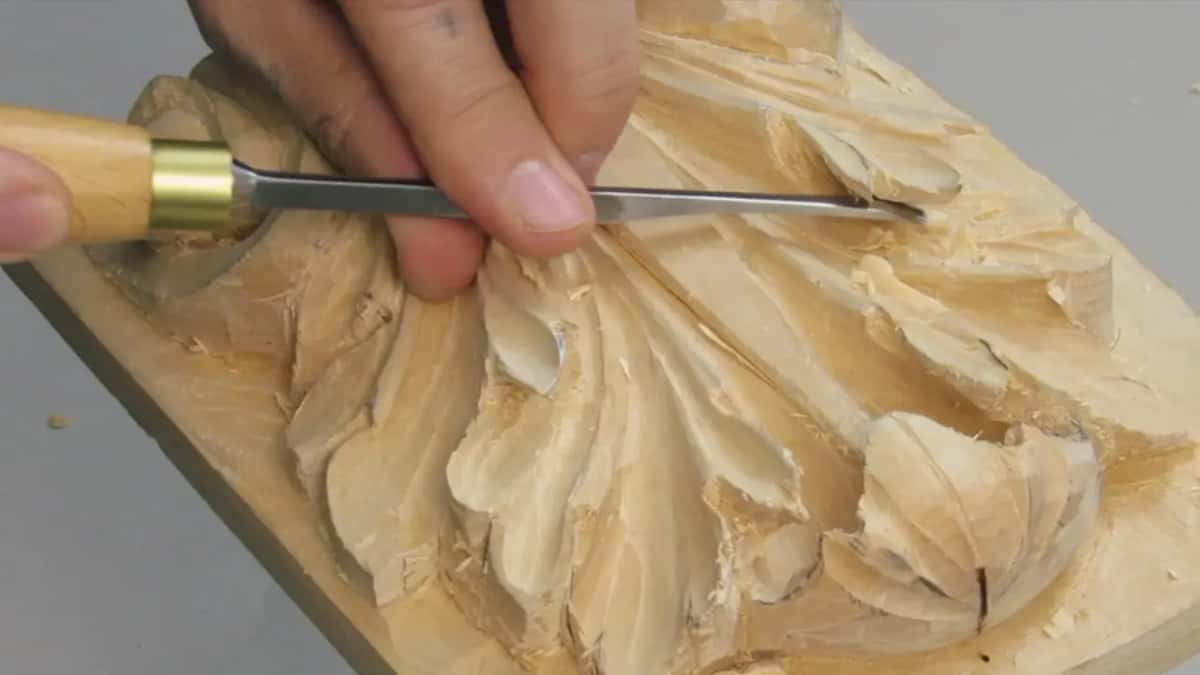
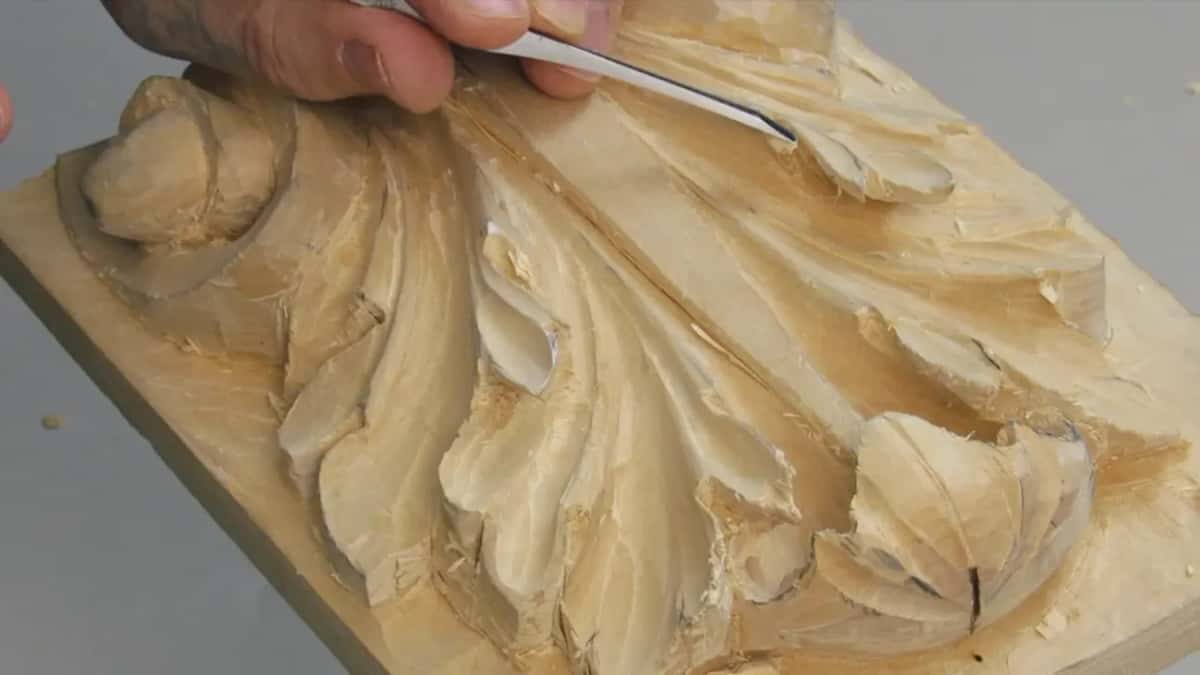
I know it's almost impossible to see on the camera, so I said I'd try to show it from the side later, once it's done. But you can already catch the shadow. This leaf goes underneath here, so it's casting some shadow, and the deeper I go, the more shadow it creates.
I kind of like that movement, because it interweaves. One section of the leaf goes underneath another and continues on the other side, and the one above it goes underneath a section too. The whole idea of acanthus is an interweaving. The lesson before this one is Carving Roman Acanthus 9.
How thin can the leaf go?
Almost paper-thin, on a piece like this one. I really like to go to the extreme, and that gives a really unique look. Someone once called it airy. Airy is light like air.
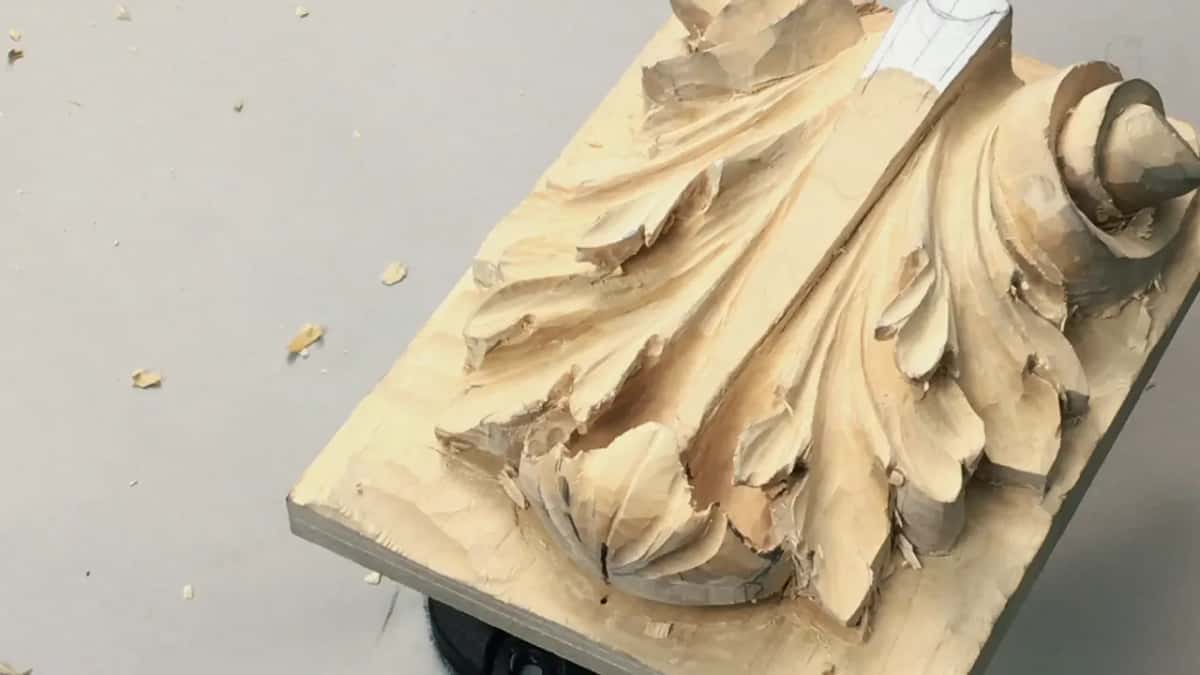
I still have to keep some meat, or I make it too fragile. Then again, I don't really worry about fragile here. This piece is architectural, yes, but more decorative, more ornamental. It has a background, so I can frame it and place it on the wall, and I can stain it with all the shades and make it look antique.
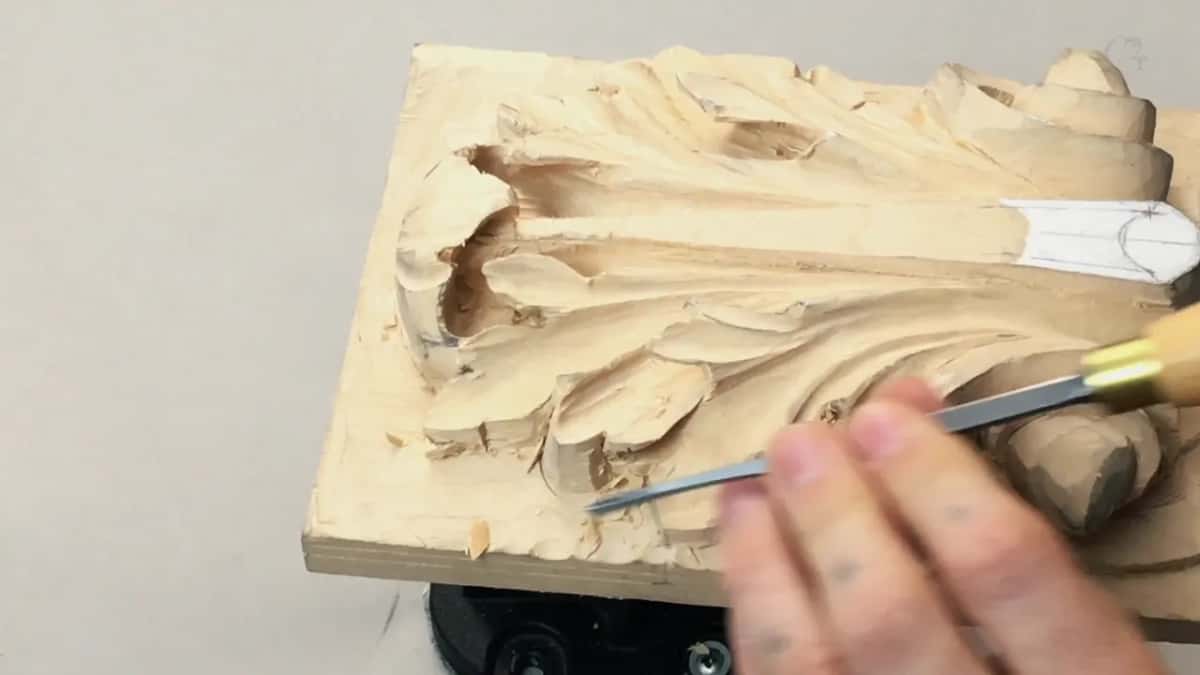
If a piece is more artistic and not practical, like furniture, I can go to the extreme.
But with extreme undercutting you really have to control your tools and feel what you do. The piece breaks much easier now. And when it becomes really fragile, most of the time you can't fix those mistakes. The idea is not to rush. When you rush it, you can make a big mistake, and I don't want to make a big mistake.
Can glue and sawdust hide a carving mistake?
Yes. The old masters did it. Some of you asked me if I ever mix glue with sawdust or wood dust and use it as a putty. Not on the carving. But yes, I know that technique was used.
In the old days, the masters would take a hide glue, not the yellow glue of today, because yellow glue doesn't take stains really well. The hide glue is absolutely fine. You're still able to stain it.
They mixed it with sawdust, and that way they could hide some cracks. Some mistakes could be covered. So it's possible. Wikipedia files hide glue under animal glue, made by long boiling of animal connective tissue.
Which small tools reach under the leaf and into the eye?
The 6 mm number 5 does most of it, but the eye wants smaller steel. I take some more material inside, because if I make the eye a little deeper, it's going to look more authentic, more organic.
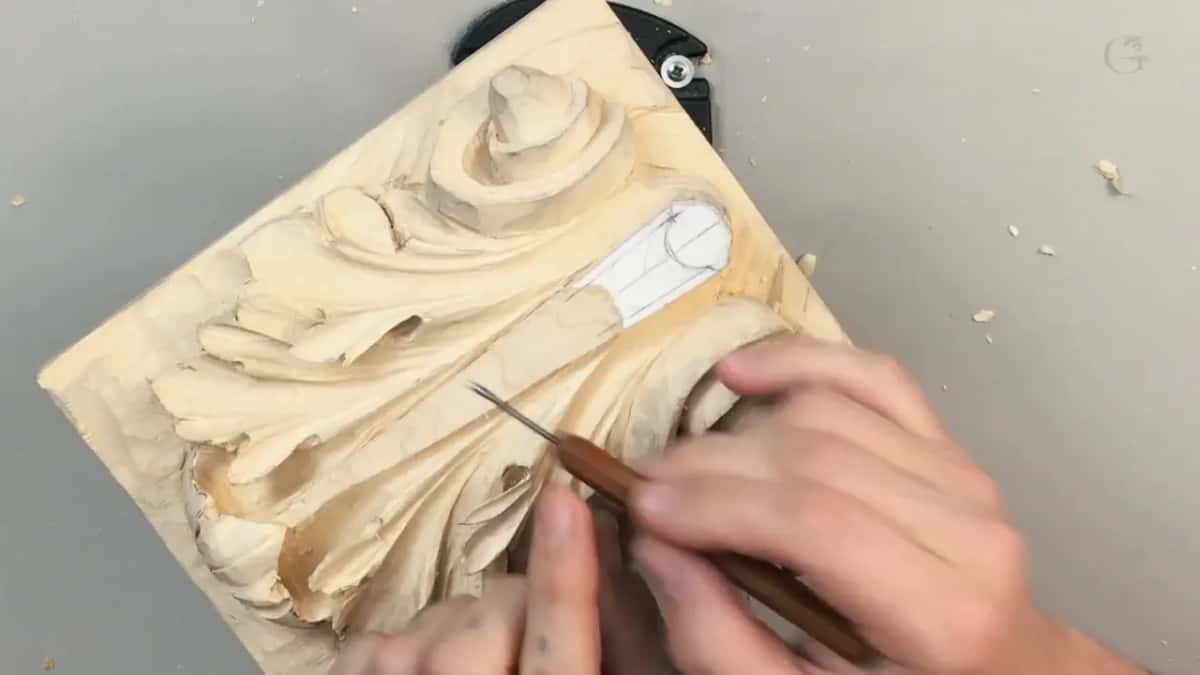
First comes a straight down cut, and be careful, don't press it too hard. Then a number 8 digs the eye out deeper. A small, tiny number 9 will work also, and I could even go smaller, 3/32 or even 1/16 of an inch (2.4 or 1.6 mm). Mine was 3/32.
One gouge in my hands is not marked as a number 8. For me it looks like an 8, but it could be a 9. If it's the true half round, then it's a number 9, and I don't see that this one is. Just a little less than half round.
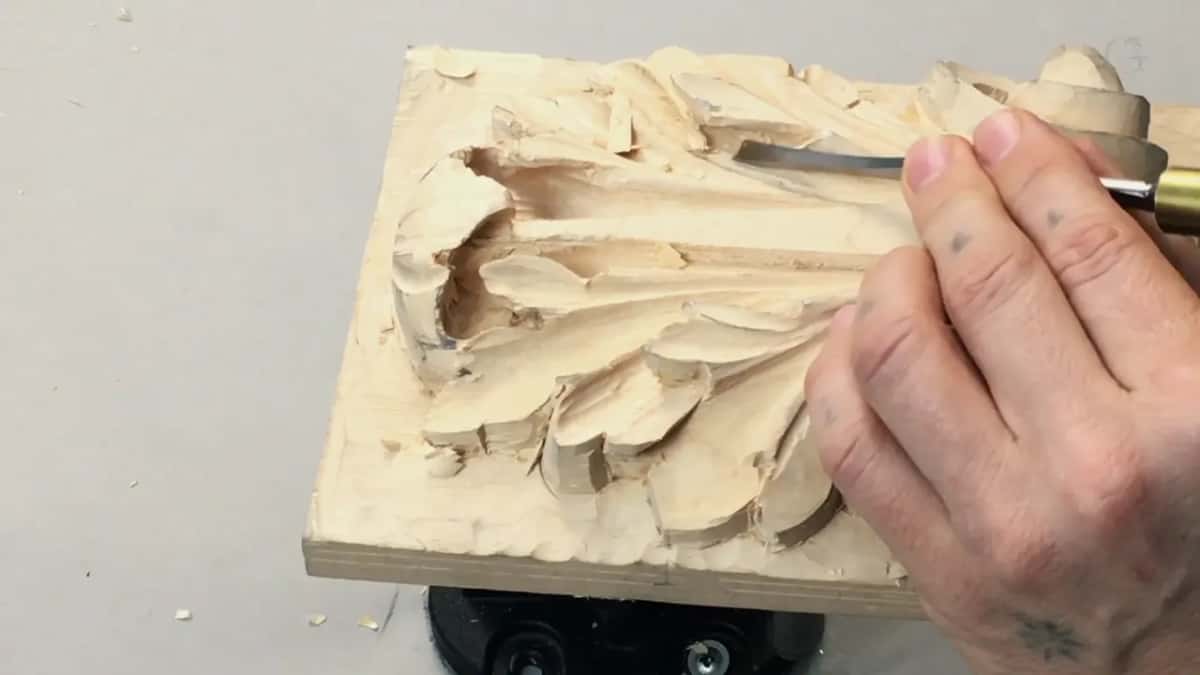
To get to the extreme in one area, probably the only tool I could use is the back bent. It's also a sweep number 5, only 3 mm, and it's marked 25/3, which means back bent, sweep number 5, 3 mm. It's an eighth of an inch. With the back bent, this part is not in my way. I can raise the tool and still undercut as deep as I wish.
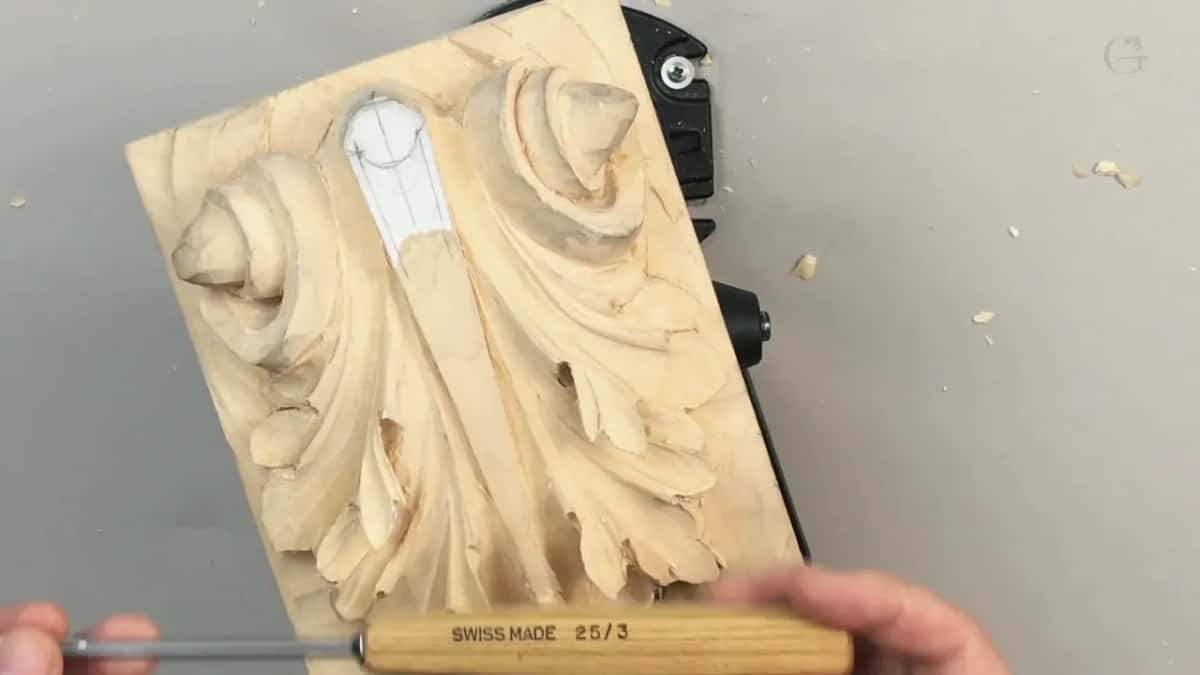
After it, a 3/32 inch small Dockyard gouge, number 8, digs out the waste I just produced. Be careful in a step like this, because you're always pressing with the backside of the gouge and kind of smashing that area. Here it's okay, since the pipes still get more movement later on. But try not to press too hard on the backside.
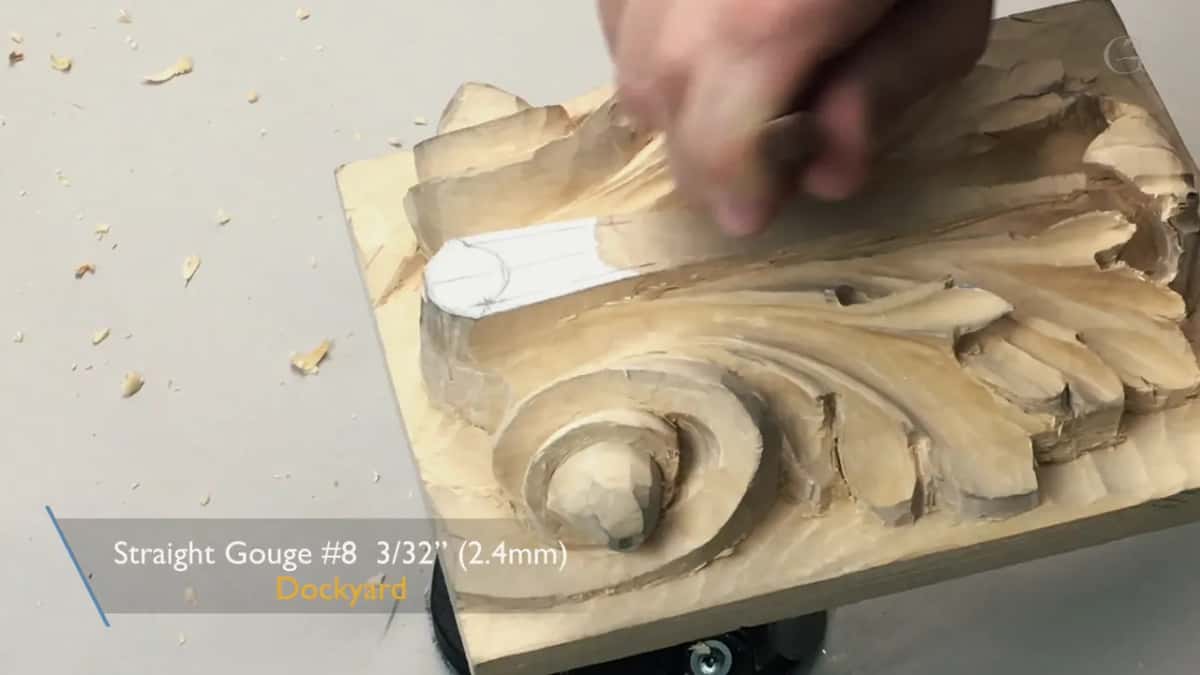
| Tool | Where | Note |
|---|---|---|
| Quarter inch number 5 (6 mm) | worked upside down to remove the excess under the leaf | a number 6 works too |
| Number 8, 3/32 in (2.4 mm) | digging out the eye a little deeper, for a more organic look | or a tiny number 9 |
| Back bent 25/3, 3 mm | reaching inside where nothing else gets to the extreme | raise it, still deep |
| Dockyard number 8, 3/32 in | clearing out the waste I had just produced there | careful with the backside of it |
| V tool, 45 degrees, 3 mm | getting really deep in areas like that, and really clean | mine is a number 15 |
| Eighth inch gouge (3 mm) | running each concave as long and continuous as it goes | one way first, then the other |
| Three-quarter inch number 6 | fitting the profile, then pushed down on the line | same tool on both sides |
| Double bevel number 1 | refining those forms, reaching where big tools are not convenient | the small one, for me |
To make it look nice from the side, any knife would still work. The knife I like to use is a number 12. This other one is not flexible, so you're really limited in what you can do with it. Flexible metal is what I really like.
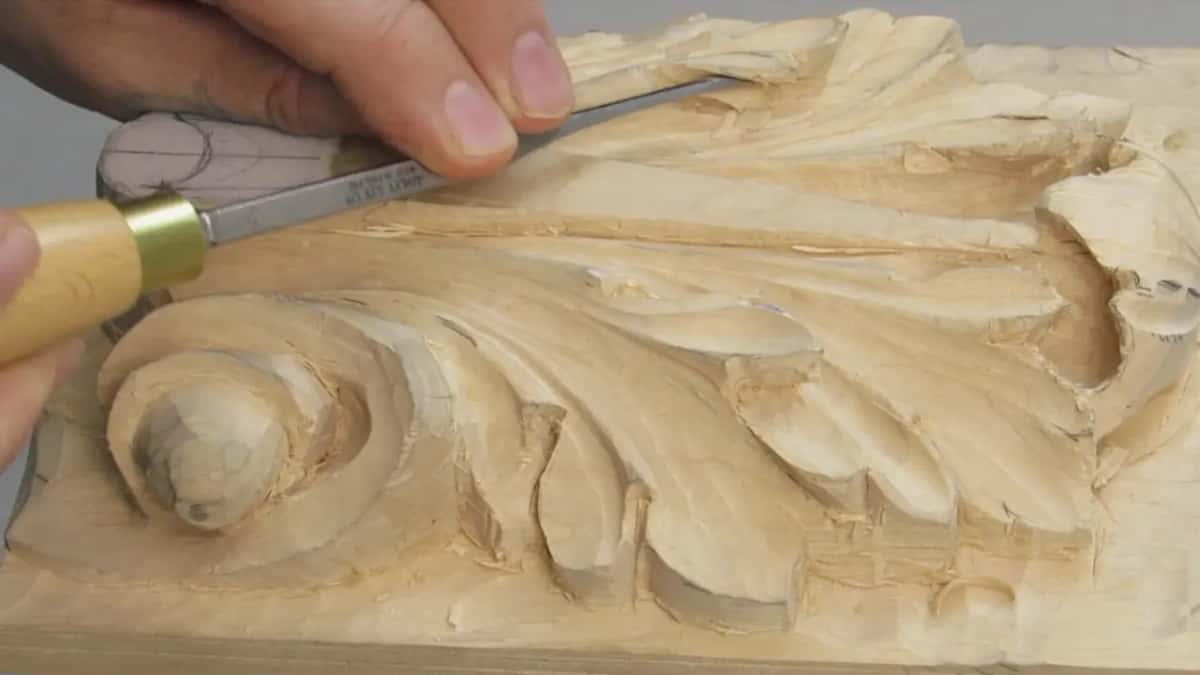
I also really like a 45 degree V tool. Mine is 3 mm, a number 15, and you can always use it to get really deep in areas like that.
Why mark with the tools and not a pencil?
Pencil makes the wood look dirty. Usually I don't have to draw with a pencil, and I suggest you don't. I use it here only to explain. With a lot of pencil marks, your wood becomes kind of dirty-looking.
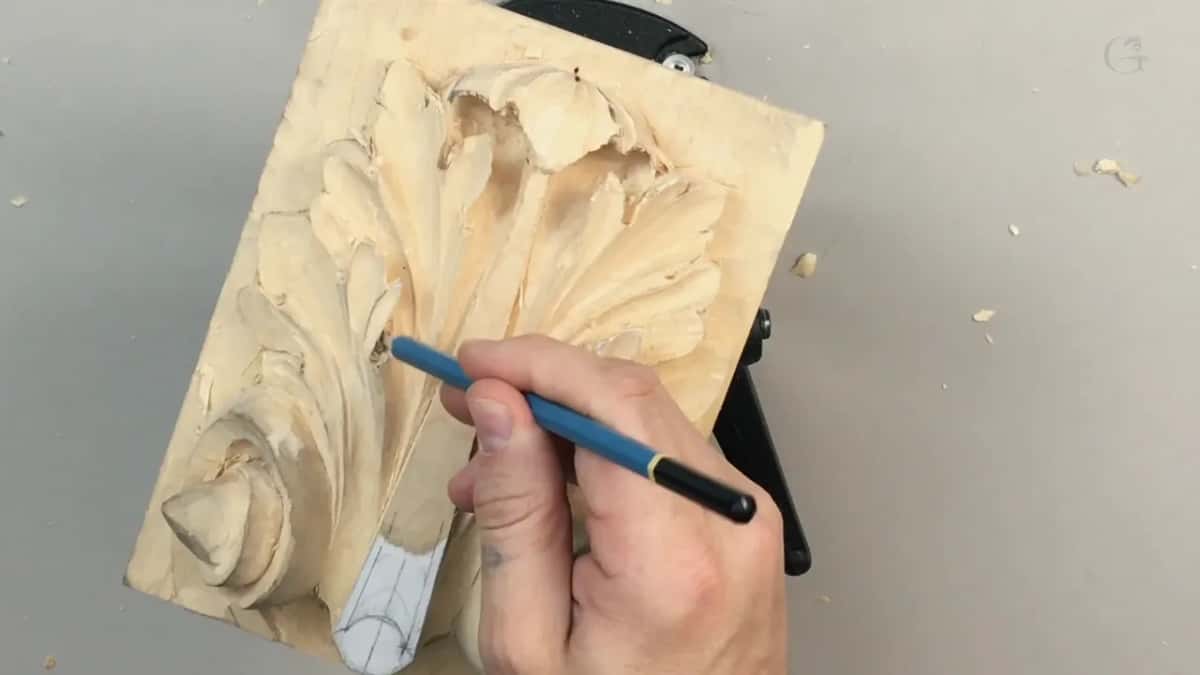
It's possible to clean it, and I'll be able to clean mine, so it's not a problem. But if you can, please don't use too much pencil. Just try to use the tools as your marking.
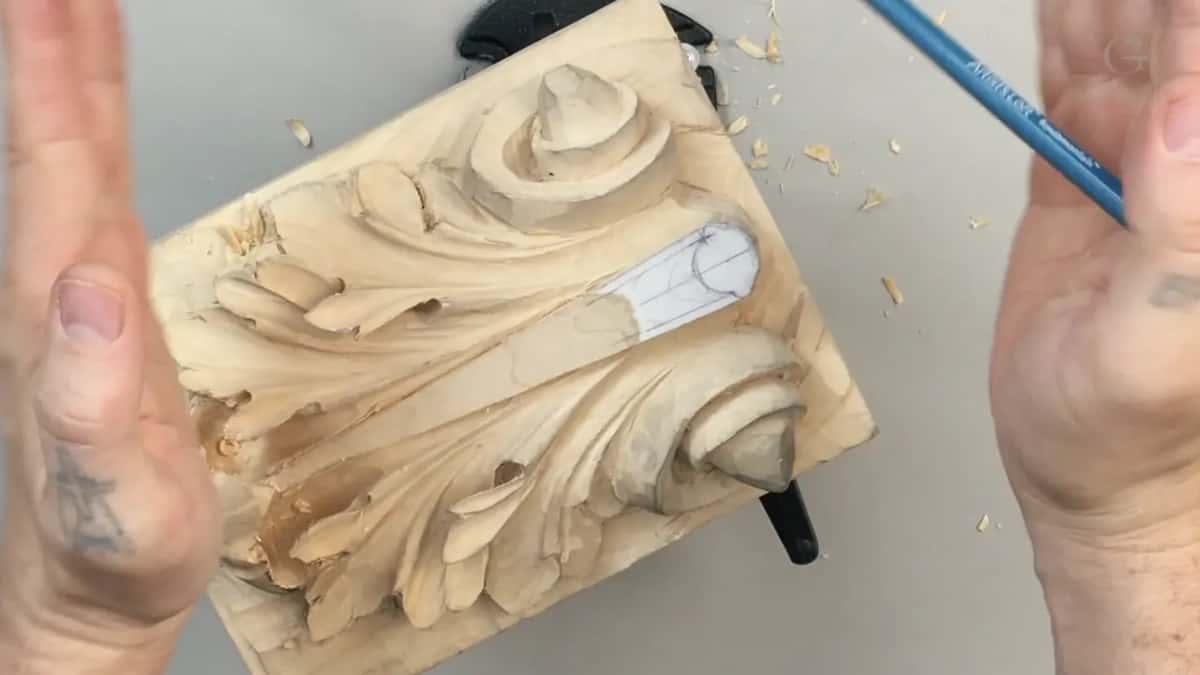
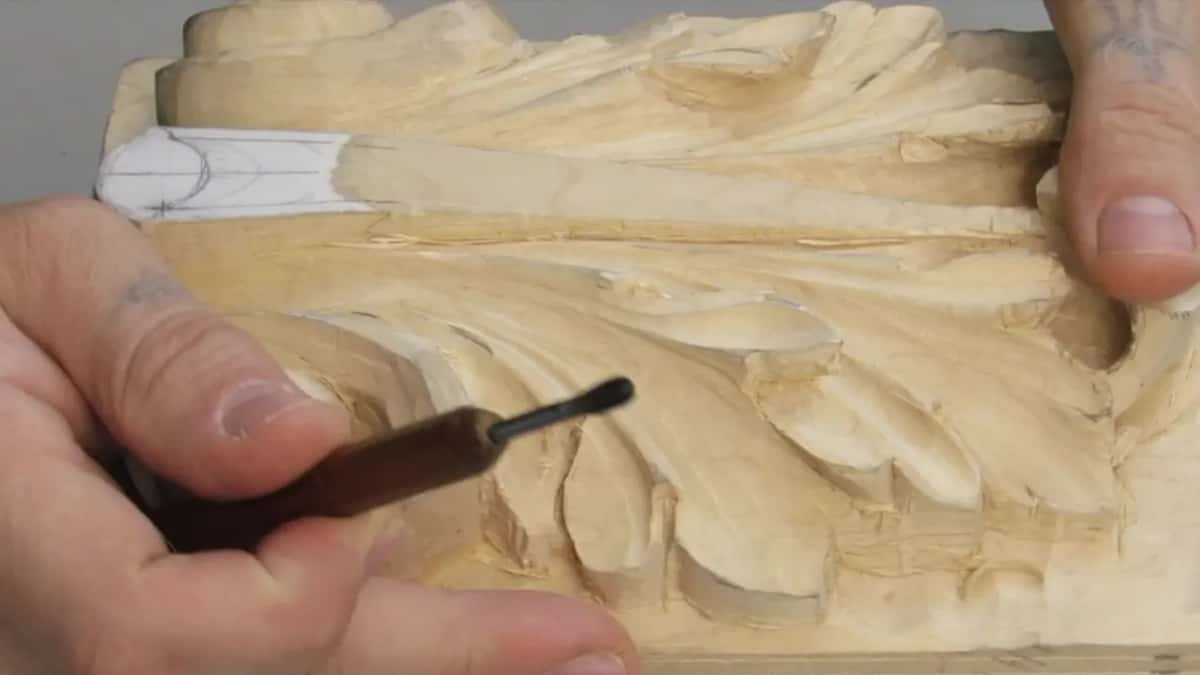
First of all, I don't want to go away from my boundary. For this part of the leaf, the boundary should look like the front of a boat, and on that boundary I can create the movement. Even if it's a little different from the original design, I'm okay with that.
For the edge, I took a number 3 and pushed it straight down. A mallet would be helpful in that area. Then the same 45 degree V tool made a preliminary division, and I removed the waste. Preliminary, because the undercutting is still to come, but now I'm able to see it.
How long should a concave cut run?
As long as possible, between two lines. I take just an eighth of an inch (3 mm) small gouge, work one way first, and then the same on the opposite side, all the way.
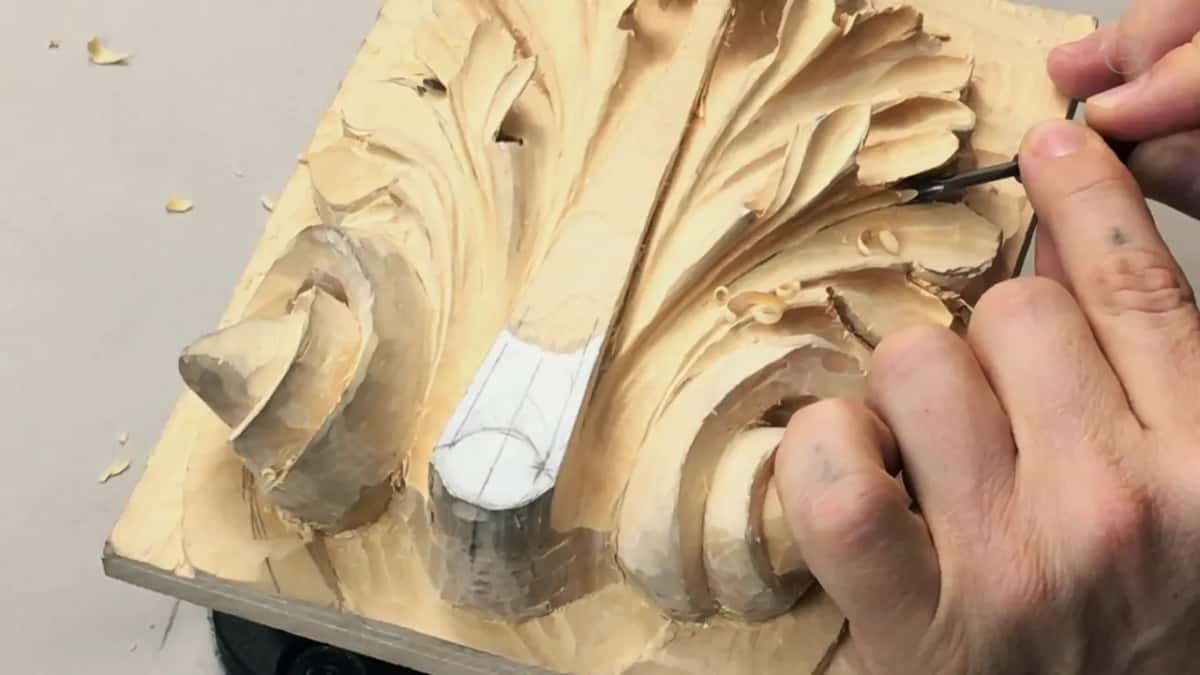
I don't worry about damaging this part, because I still have to make another concave and remove some material in the middle. The main idea is to get that concave as long and as continuous as I can.
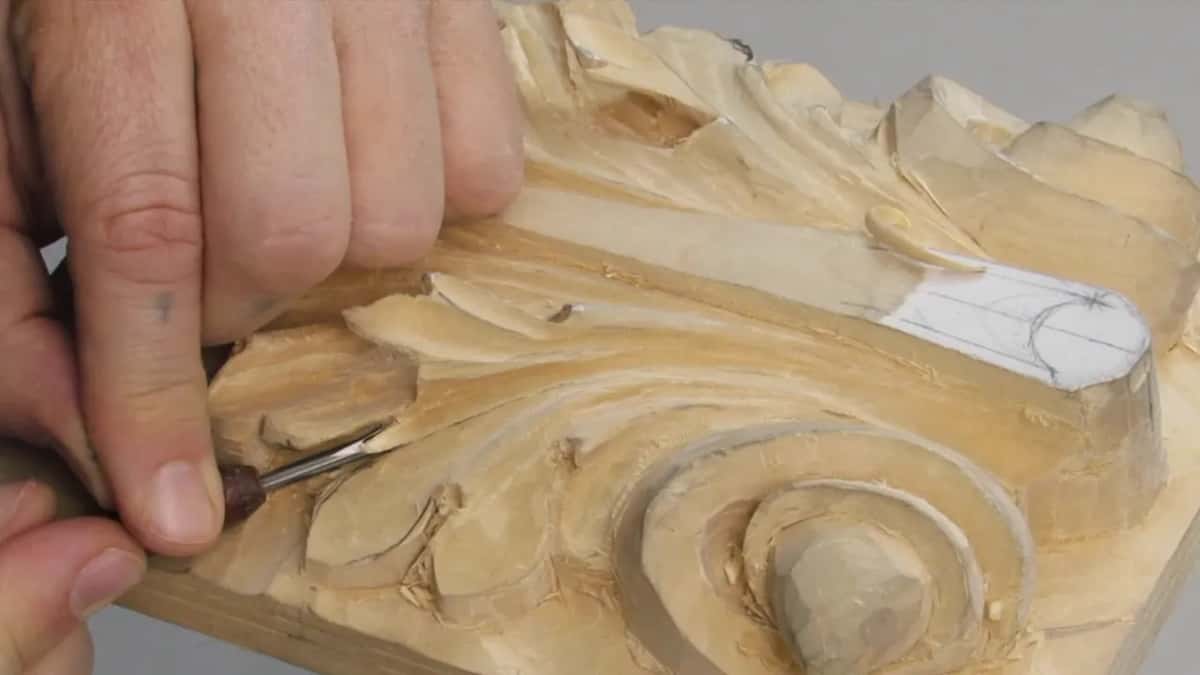
To refine the shape, I could use just a knife. But if you have a selection of gouges, find the one which fits the profile, and that's probably going to be the quickest. Place it on the line and push it down. I do both sides with the same tool, so both sides come out exactly the same.
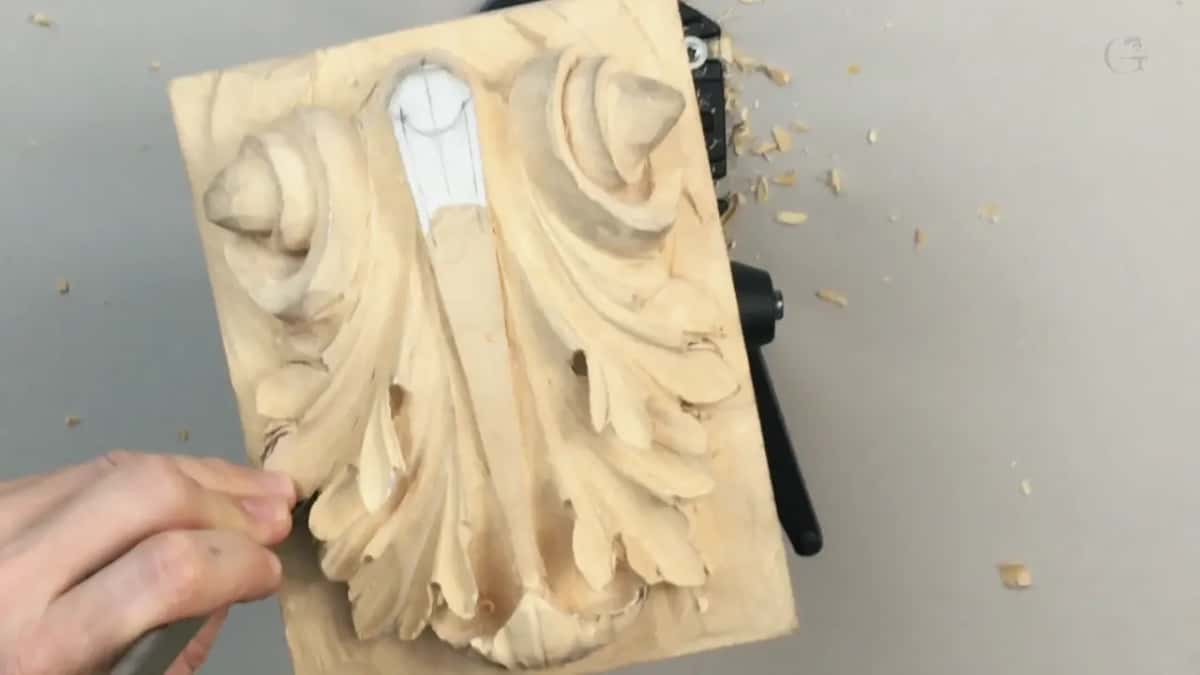
Mine was a number 6, three-quarter of an inch (19 mm). It doesn't have to be this one. Check your design, because it could be a little different from mine, which is absolutely fine.
Is the double bevel a lazy tool?
I don't completely agree with the people who call it a lazy hand carving tool, or a ladies' carving tool. Small tools are just handy. You can reach the areas where a big tool is not as convenient.
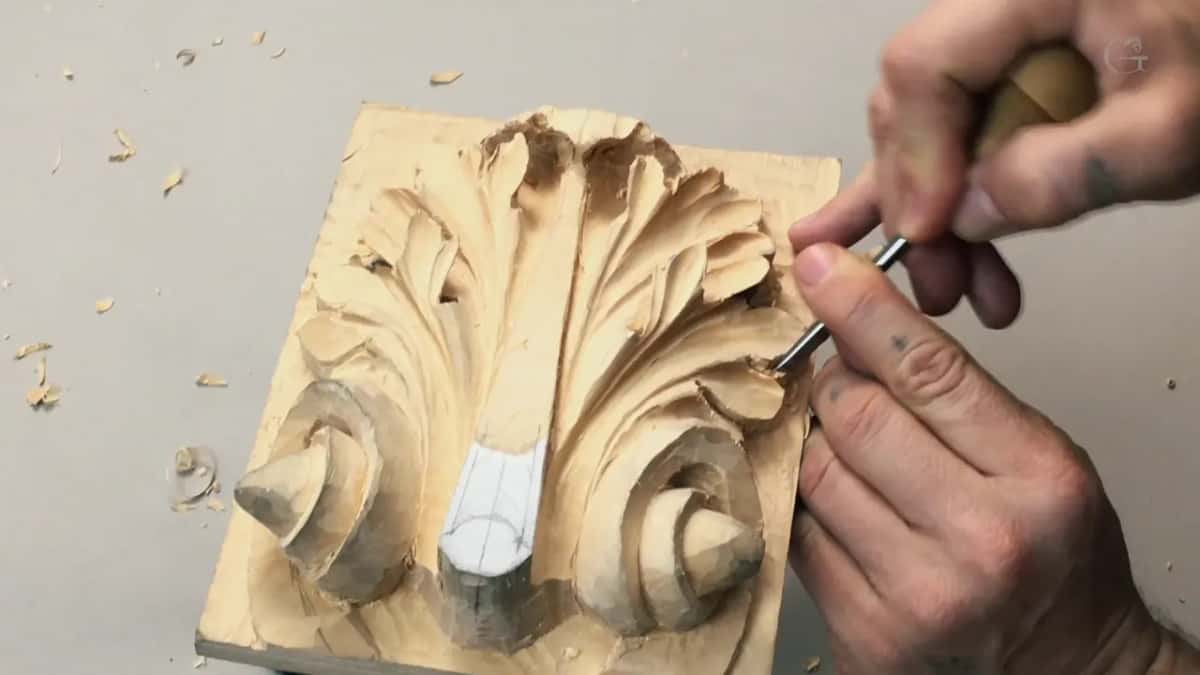
In some of my carvings I really love to use a double bevel number 1, and I can do a lot of stuff with it. It works just like a knife, but it's a chisel, and I'm using the small one.
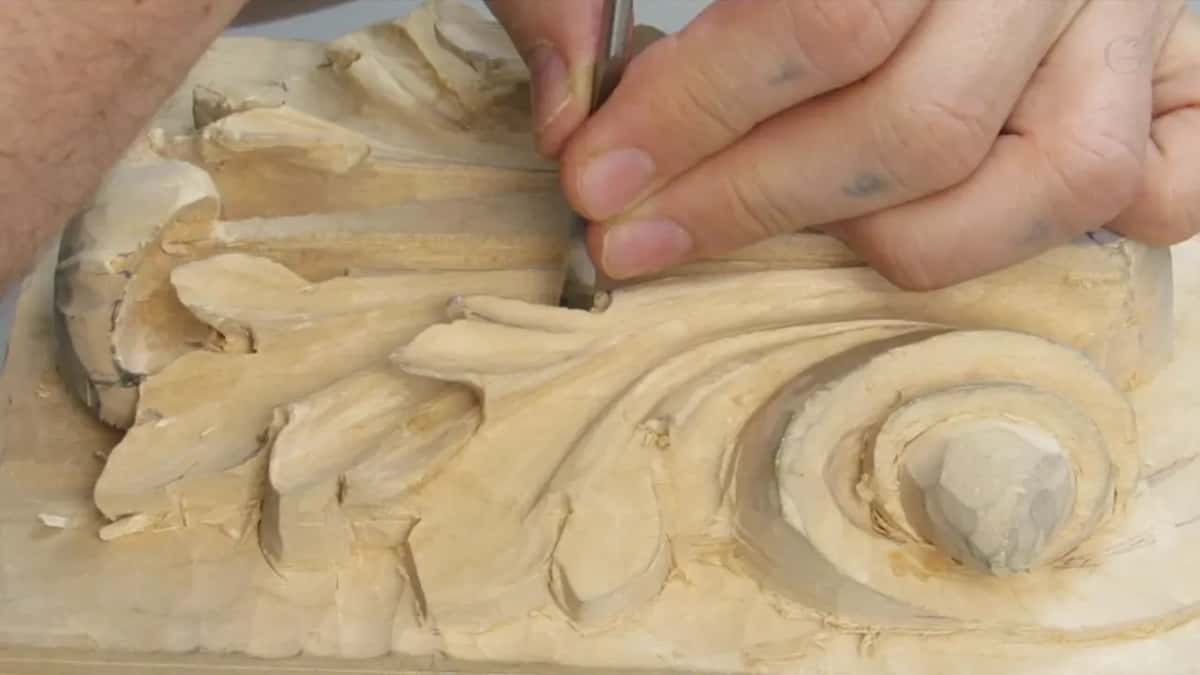
Want to watch the whole leaf get carved, every lesson, over my shoulder? Every lesson of this Roman acanthus course is open with tuition, and if you are new, you can start here. The leaf goes on in Carving Roman Acanthus 11.
How it's done
- Check the edge. Look for a wire on the edge as you work. If there is one, strop it, buff it, or sharpen it again.
- Undercut upside down. Turn the number 5 over and slice underneath, little by little, without forcing.
- Keep some meat. Leave some meat below the leaf so it doesn't turn too fragile.
- Deepen the eye. Set a straight down cut without pressing too hard, then dig the eye out with a tiny number 8.
- Reach in with the back bent. Where a handle gets in the way, the back bent 25/3 lets you raise it and still go deep underneath.
- Clean with a V tool. A 3 mm V tool at 45 degrees gets deep and leaves a clean line.
- Run the concaves long. Carve each concave between two lines, long and continuous, then fit a gouge to the profile and press it down on both sides.
Frequently asked questions
Why do carving tools go dull in soft wood?
People say soft wood should not dull a tool, and that's not necessarily true. Mine go dull in it too, really quickly sometimes. One spot in the Venice Room dulled my edge a couple of passes after I stropped it, and I said I'd have to sharpen more often there.
Why does one board carve differently on different days?
Wood is alive. Water goes into its fibers and back out, and with more water or less it turns denser, or softer and mushy. A board that carved normally one day can feel absolutely different a couple of days later, or a month later.
What can hide a crack or a mistake in a carving?
Hide glue mixed with sawdust and used as a putty is the old way. Yellow glue of today doesn't take stain really well, but hide glue does, so the patch can still be stained. I know the technique, but I don't use it on a carving.
What to carve next