
Alexander Grabovetskiy, woodcarver, School of Woodcarving · Published 2018
Why is undercutting done last in wood carving?
Quick answer: Undercutting is held back until late because a leaf that is not undercut can take a knock from the tool, and an extreme undercut cannot. In lesson 9 of my Roman acanthus I dig close to the points of the leaves, so every undercut there is small and preliminary, made for shade. The final one comes later.
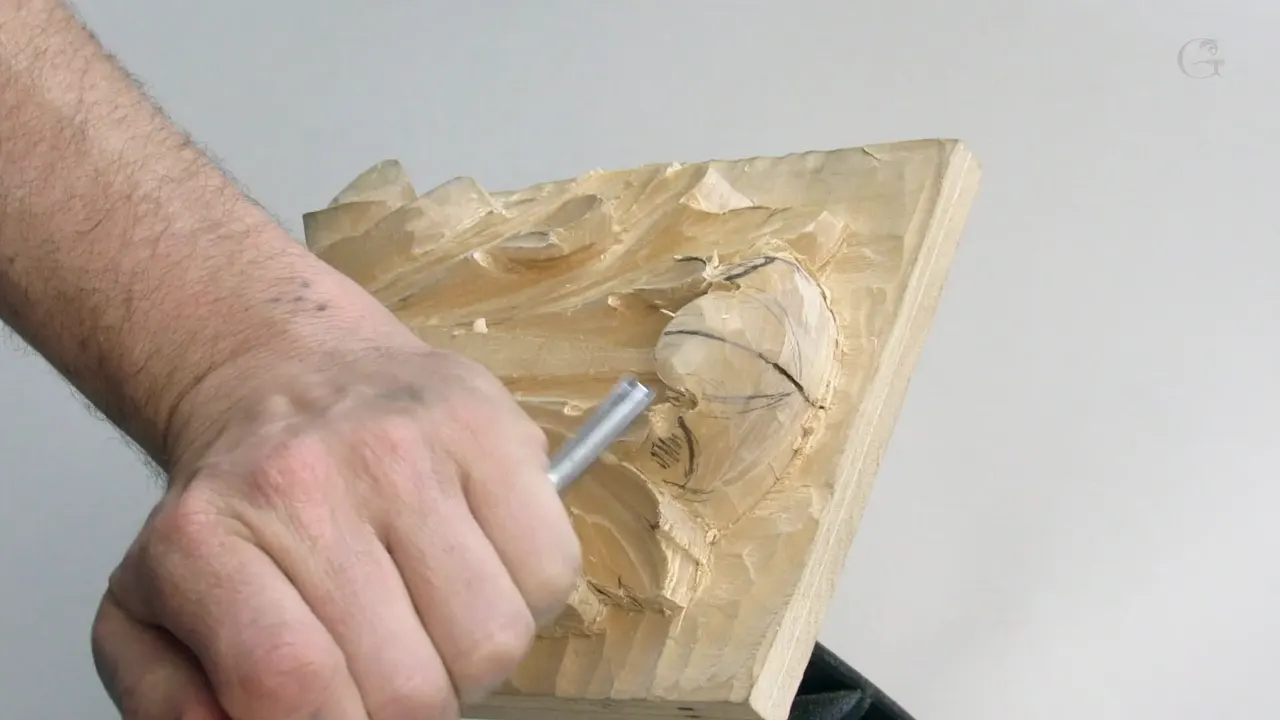
Undercutting is the step I hold back until late in a carving, and the reason is my own tool. When I dig this way on the Roman acanthus, I can always hit the points of my leaves. If they're not undercut, I'm not going to break them, but with an extreme undercut already there, I'll break them for sure. That's why undercutting is done later in the process.
Do you want deep shade under the leaves on your panel? And every point still standing when you finish? Then watch the order of the work in lesson 9 of this Roman acanthus course.
After lesson 8, I move to the upper part of the leaf, the part that's supposed to curl toward me, and I want that curl visible from both sides. Every undercut I make here is preliminary, and none of them is the final one.
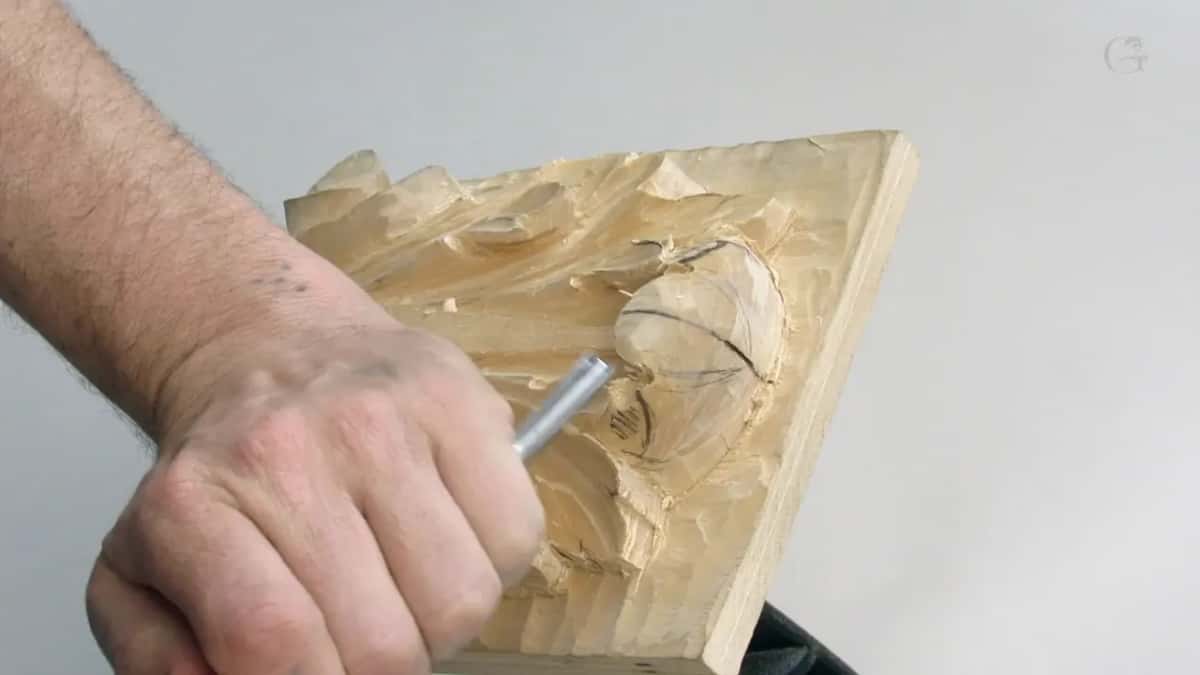
The order of work on the upper part
- Small gouges first in the narrow places, a quarter-inch number 9 (6 mm), then one near 1/8 in (3 mm).
- A number 5, also a quarter inch, straight down from both sides.
- That same tool turned upside down for the first undercuts, with a sweep and micro rotations.
- A V tool for a preliminary undercut.
- The deep hollow dug with a straight number 9 and no spoon gouge.
- The extreme undercut saved for later lessons.
Why is undercutting done last in wood carving?
Undercutting waits because a leaf point with an extreme undercut breaks when my tool hits it, and a point that isn't undercut won't. Near the end of this lesson, after the second hollow, I called it another reason why we don't undercut right away, all the way.
Right there, when I'm digging this way, I can always hit the points of my leaves. Well, again, that all depends on the area. It's not always a hard rule. Sometimes you do have to undercut anyway, and just work around it and be careful.
You will see small undercuts before this lesson too. In lesson 2 I ran a V tool around the sticking-out volute, the egg part, and called it some type of undercutting. Back in lesson 3 I said the rest comes later on, when we finalize it, undercut it, create the shades and measure everything. What waits is the extreme kind.
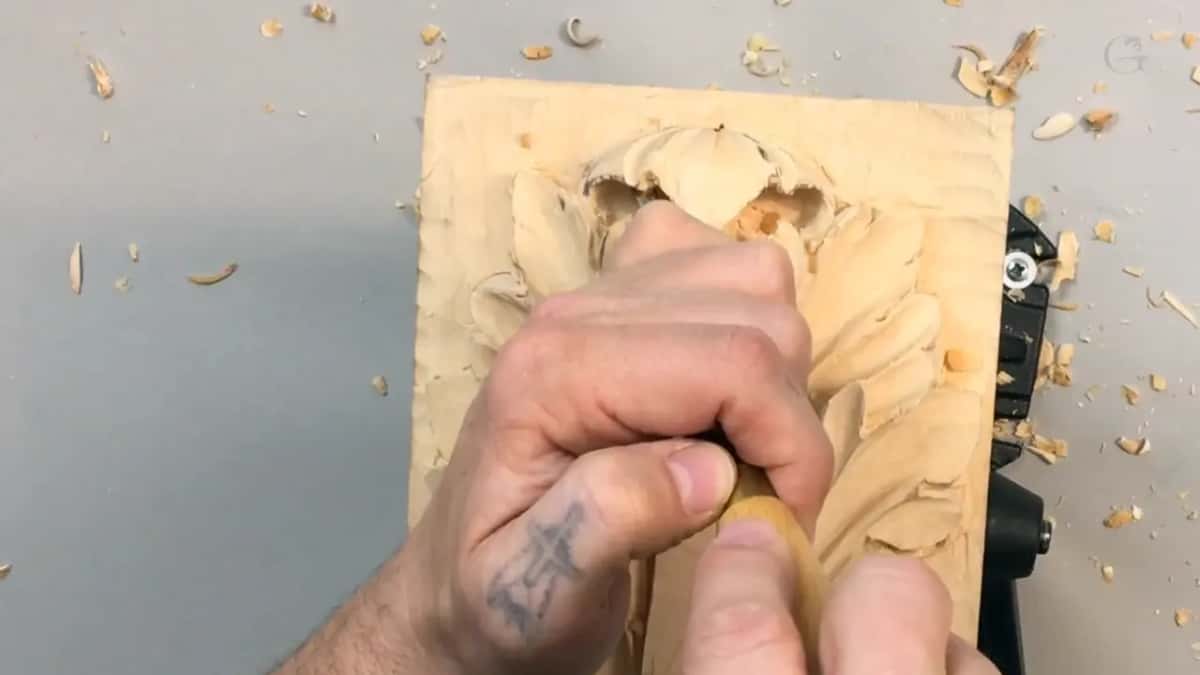
Why make a small undercut now and leave the final one?
A small undercut shows me shade, and the shade tells me the next step. Under the curl I said it plainly. It's not the final undercut. I just want to create a shadow, so I can see the next step.
That pass used the same number 5, and I had to watch out not to damage the straight line there. The very first undercut came earlier, in part one, under those parts of the leaf, so I could make my pass as long as possible.
There were two ways to do it. The easy way was the tool already in my hands, the number 5. The second way was a back bent, which I really like for undercutting, and later on for the major undercutting. Part two shows the number 5 again, just upside down for now.
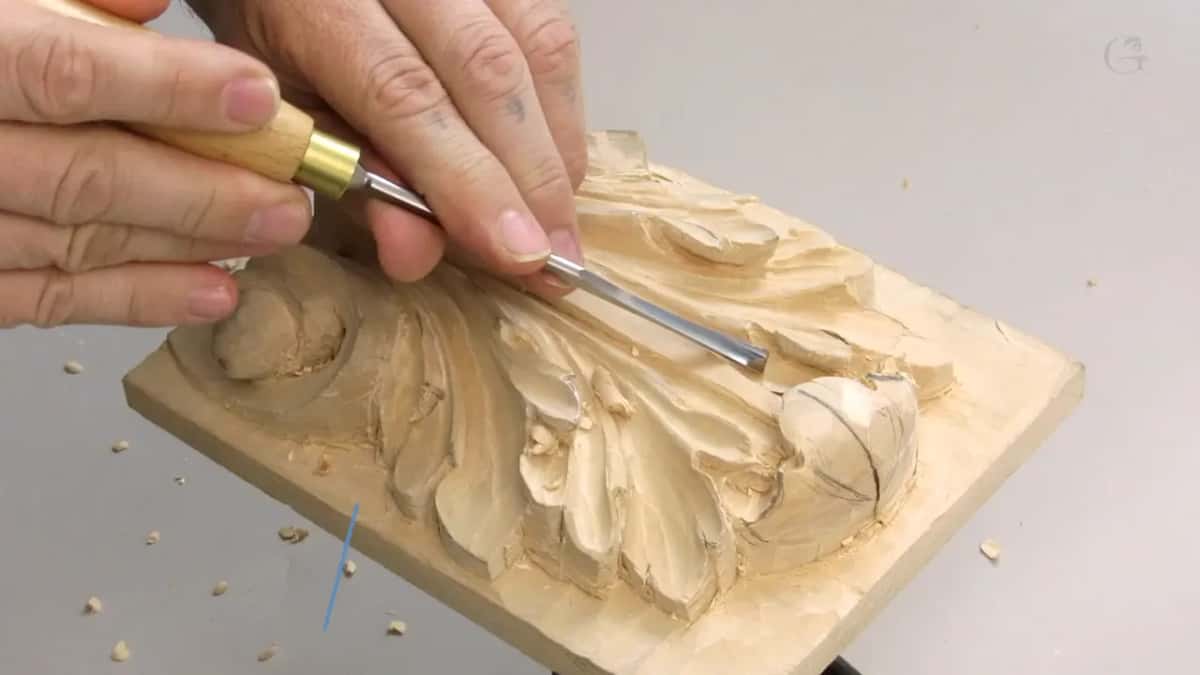
The V tool work in part three is preliminary too. Later on, when we get to the final line, the clean line, it will make a beautiful shadow line, because it will look like a deep excavation underneath.
You can watch the final undercut come closer in lesson 11. There I left some meat on the leaf, because I needed it for reference, to check that the height and the movements were the same before my final undercut. Even that work I called preliminary, and I said to try not to make too many mistakes, because it's still undercutting.
Which tools fit the narrow places at the top of the leaf?
Small ones. The bigger tools there are just going to create damage, and I would not use any big tools in areas like that.
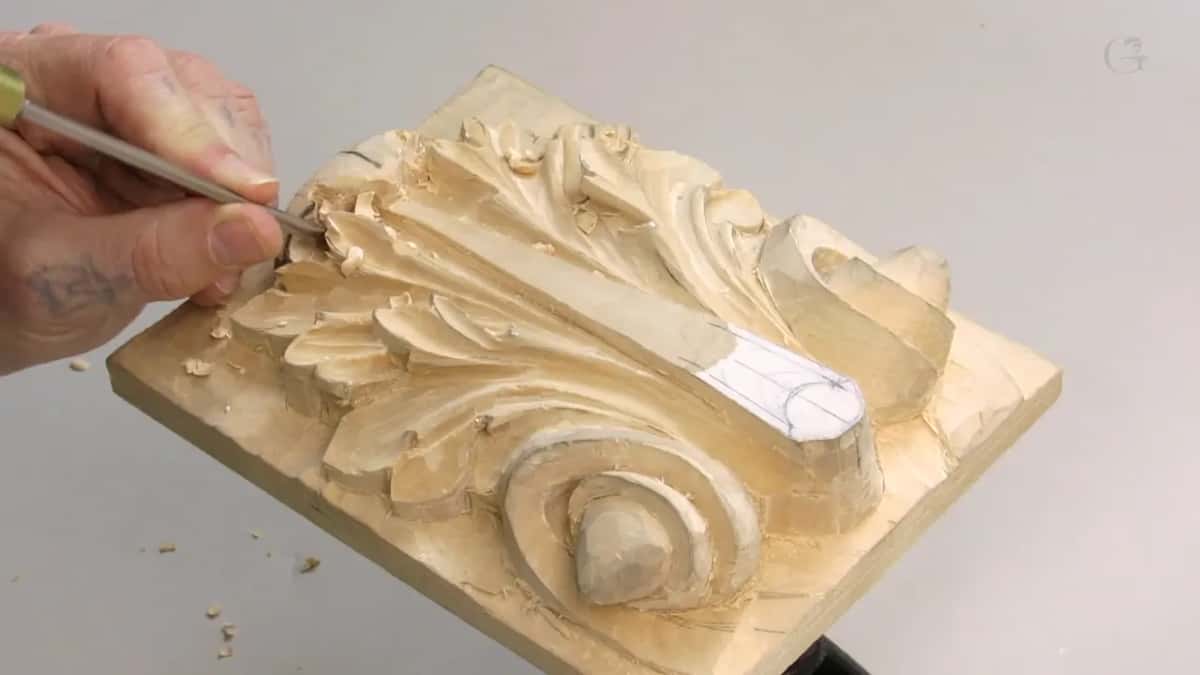
I started with a number 9 at a quarter inch (6 mm), a size you already met in lesson 6. It barely fit between this point and the inside. I ran it across the grain and still needed care, because it was probably a little too wide.
Then came a smaller number 9, about 1/8 of an inch (3 mm), and I worked my way in little by little. Damaging this part of the leaf is what I'm trying to avoid. It's better to take time and not rush anything.
Next, the number 5, a quarter inch too, the same tool I had on my workbench, went straight down, coming at it from either side. It didn't look clean yet, and I didn't worry about that. Any other tool will do, as long as it isn't that big.
| Tool | Where | Note |
|---|---|---|
| #9, 1/4 in (6 mm) | the narrow gap up top, worked right across the grain | barely fits there |
| #9, 1/8 in (3 mm) | the same gap, working my way in bit by bit | smaller, still careful |
| #5, 6 mm, quarter inch | straight down on each side, then upside down beneath leaves | on my workbench |
| V tool #16, 6 mm | the preliminary undercut, each pass starting at the leaf's middle | 45 degrees, optional |
| 90-degree V, about 6 mm | a V down the center of the section for movement | 60 degrees too |
| #3, 12 mm (1/2 in) | lowering the middle so those pipes appear a bit higher | only appear higher |
| #9 spoon gouge, 5 mm | the deep hollow, if you have one, which is wise | straight 9 instead |
What does a sweeping pass under the leaf look like?
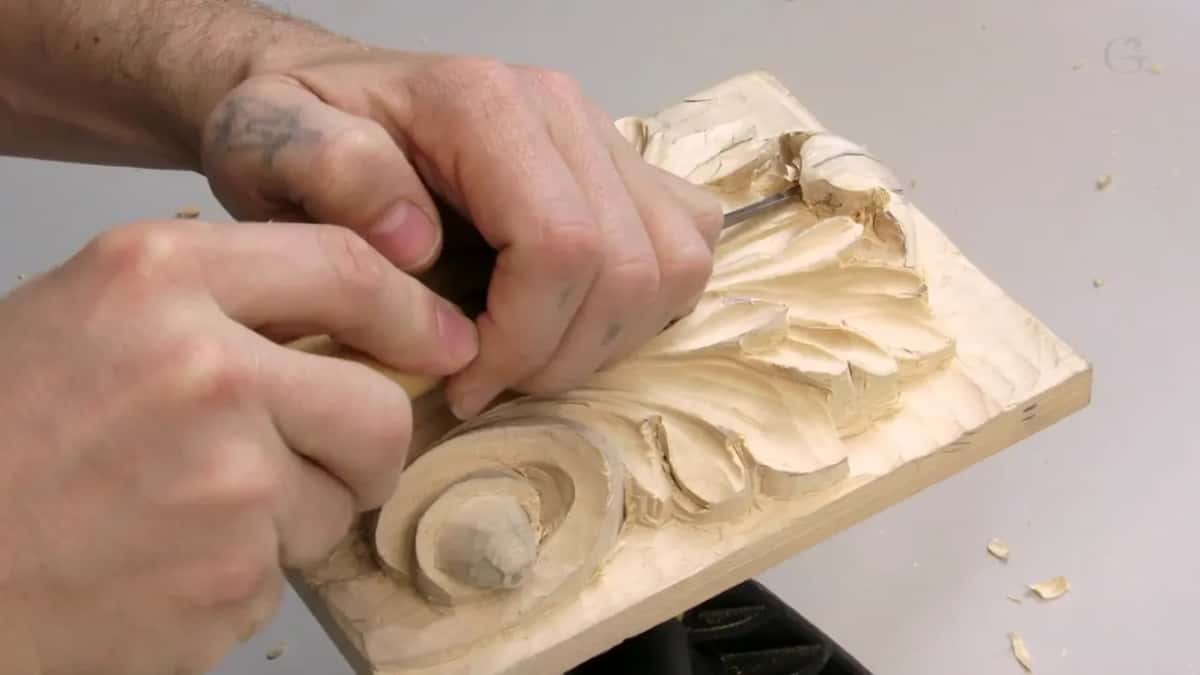
A sweep is the tool turning a little while it travels, micro rotation, little by little, and never a push. That's how the first undercut went with the number 5 upside down.
Don't push too hard, because right now the piece is becoming more fragile, and you can do more damage to it. I assume you don't want to do that.
My goal in part two was to blend the movement on this side all the way inside, and it has to look like an organic movement. You could already use a spoon gouge in an area like that, but I feel comfortable with just this tool.
On the opposite side, watch the direction. I start on the right and rotate to the left, counterclockwise in this case. Again, don't overdo it.
Can you break a V tool by undercutting with it?
You can break it, and it's more dangerous than you think. Be careful when you use a V tool for undercutting, because you can damage your tool easily.
For the preliminary undercut in part three I took a number 16 V tool, 6 millimeters (1/4 in), 45 degrees. It doesn't have to be 45 degrees or a number 16, and any V tool will work.
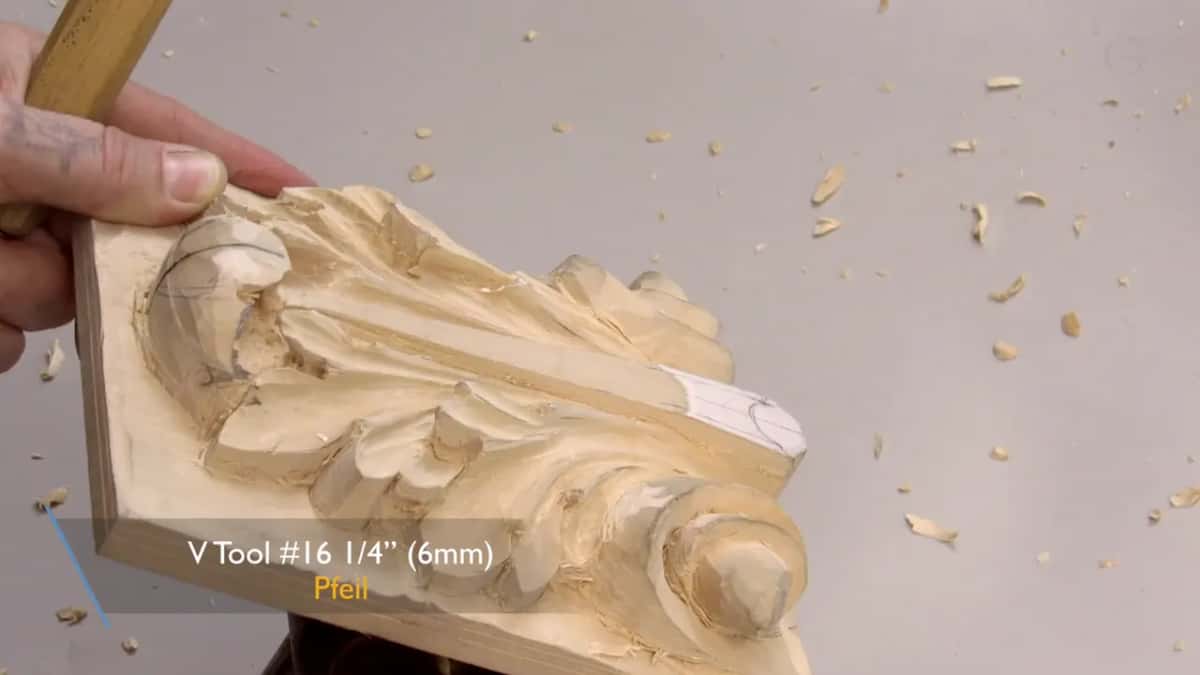
I picked up a mallet too, then said maybe I don't even need it. A little later, yeah, I don't need the mallet.
I start from the middle of my leaf and go one direction, then start at the middle again and go the other way, with one side of the V tool flat. That way I make the movement from the inside out.
For extreme undercutting in lesson 16, I said I could use a number 16 but took a number 17, which is like a V tool with a bigger gouge at the edge. Laid on one of its flat sides, it leaves no really sharp point, just a softer look. I use both, and the number 16 is actually also my favorite, but the 17 gives a really smooth finish on the inside.
How careful should you be before the final undercut?
Careful, yes, but not too careful yet.
That was part three, right where I had to be really careful. Still I'm not afraid, because I'm still able to fix some stuff later on, but don't get me wrong, I still have to be careful.
In part four it looked like I'd gone a little too deep in one spot, so I repeated exactly the same on this side. Don't worry about the edge, I said. The edge is still going to be fixed.
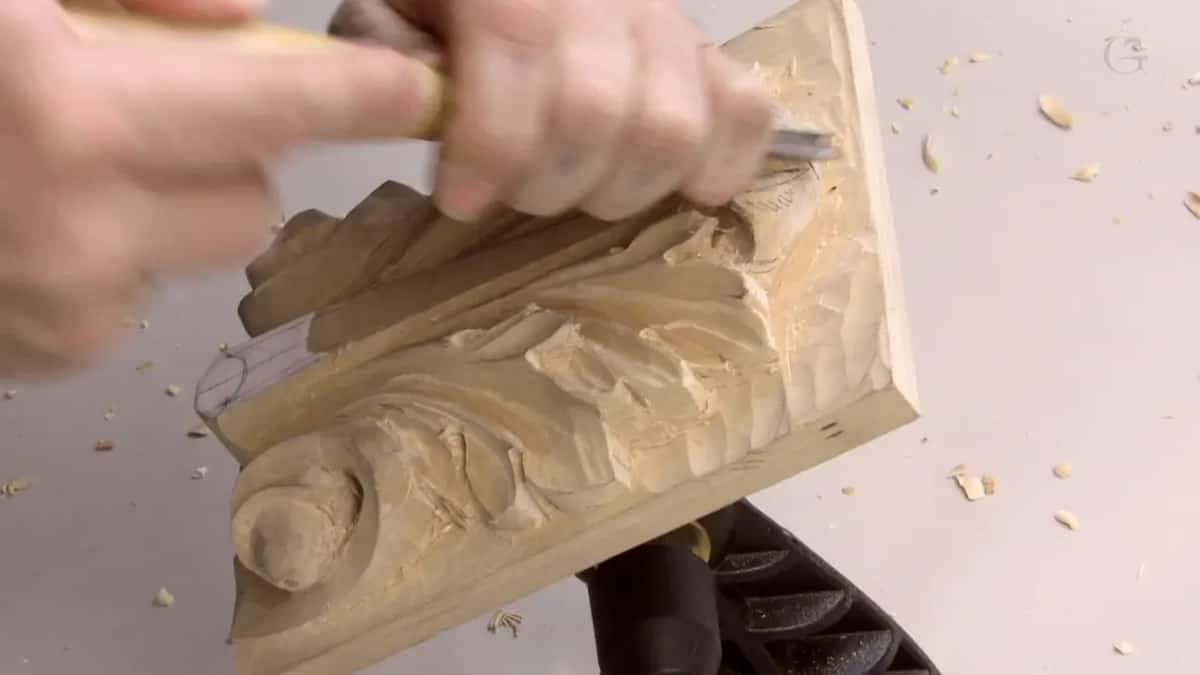
Compare that with lesson 10. There I said that when you do extreme undercutting, the way I do most of the time, you really have to control your tools and feel what you do. Once the piece becomes really fragile, most of those mistakes you can't fix.
Why lower the middle so the pipes seem higher?
Lowering the middle makes the pipes look higher, and to me that looks much better. Here I'm shaping one section of the upper part, with its own pipe, while the high spot of the whole leaf is a different matter, and in lesson 4 that was the center.
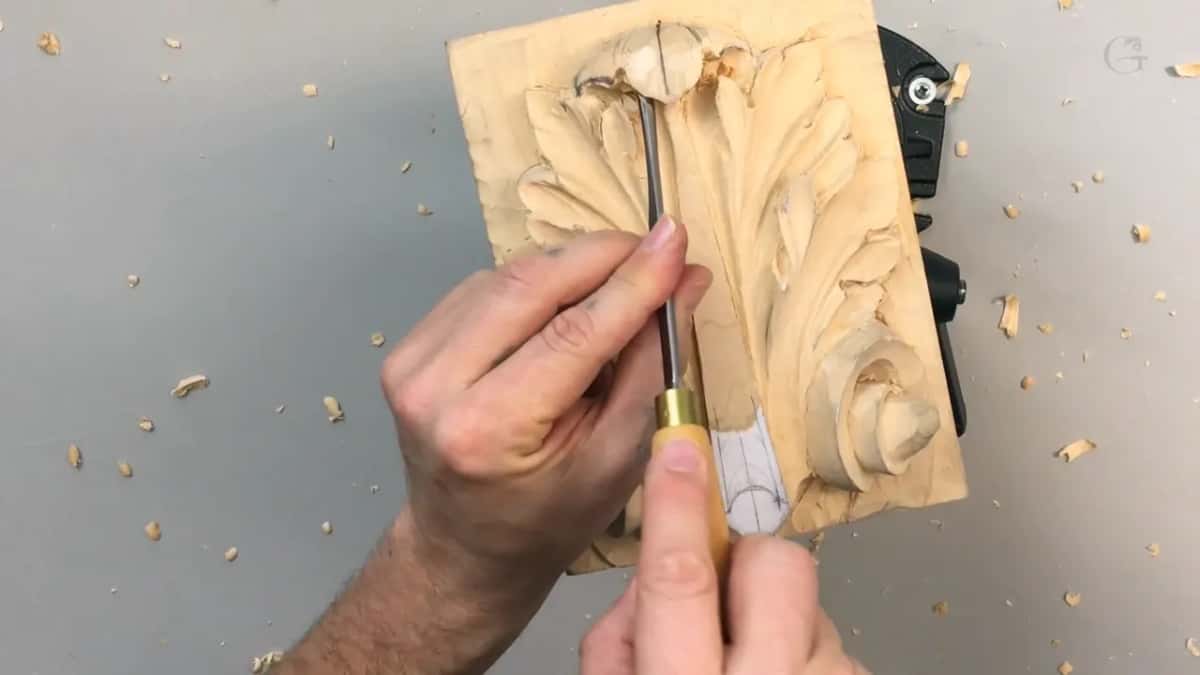
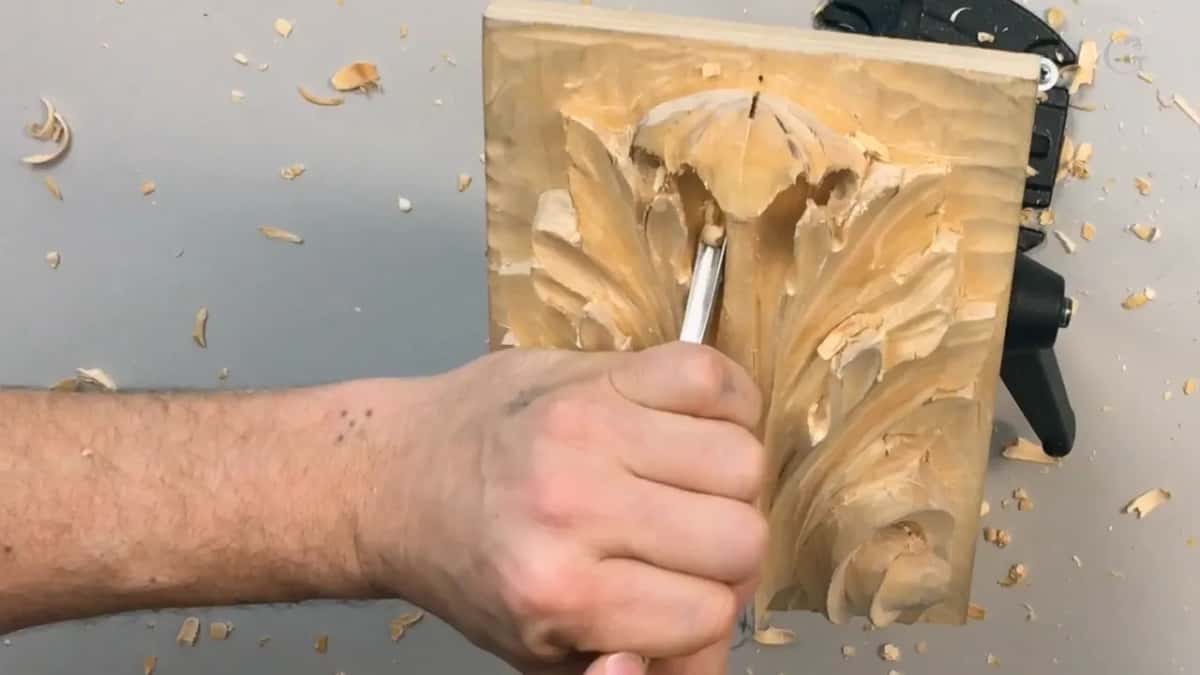
During part four I removed the middle of this section with a number 9, a quarter inch, and made a concave. I wanted it to look like an eye, and that is my pipe, so I took some material off both sides of that pipe.
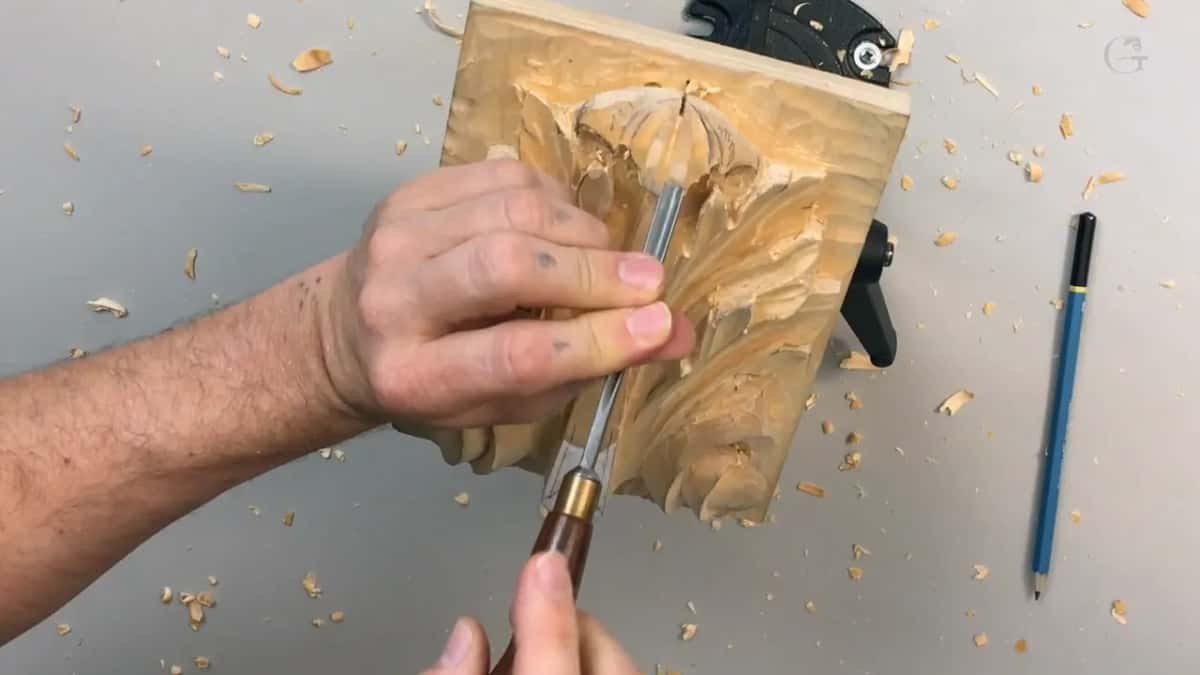
For a V in the middle I took a 90 degree V tool, about 6 millimeters or a quarter inch. I think 90 looks really nice, and a 60 degree one will look really nice too. A quarter-inch number 5 made it roundy and took out the ridges, and I softened the pipe a little.
At the start of part five I wasn't sure I liked what I saw. Maybe it looked a little too high, so a number 3, 12 millimeters or about half an inch, lowered it.
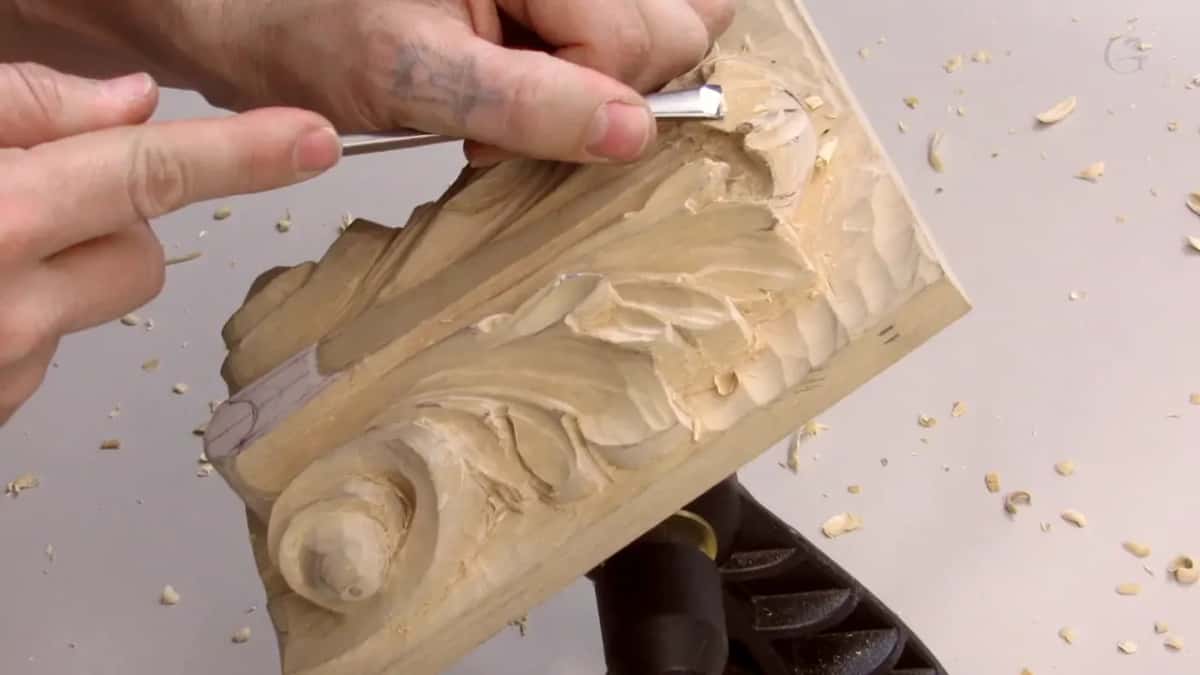
I think it's better when those pipes are a little higher than the middle part. They're not really higher. They only appear that way, also from the sides. Yep, definitely.
Is a spoon gouge needed for a deep hollow?
A spoon gouge is wise to use here if you have one, but you can dig without it. In part five, after the number 3, it was all about digging inside, and I said let me see if I'll be able to use my number 9 and carefully dig on the inside.
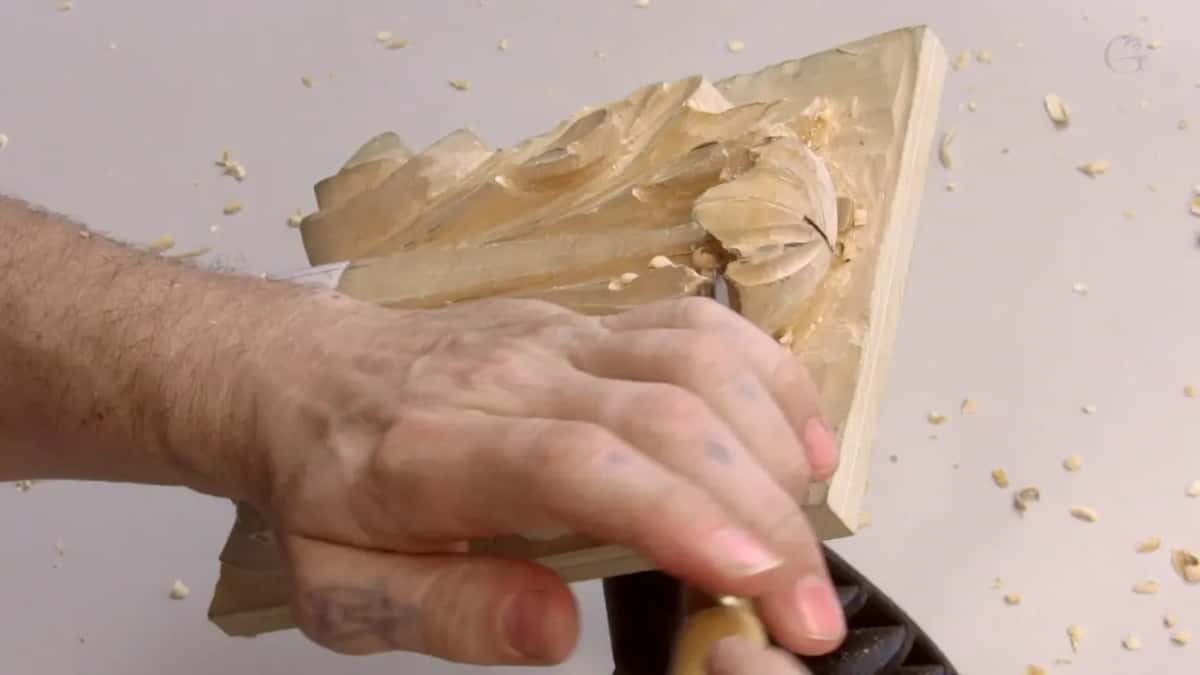
I know a lot of you have only a starter kit, just the basic tools. I just want to show you it's possible to dig a deep excavation like this without the spoon gouge. Just take time. Of course, there is going to be a limit.
This part is supposed to look like it curls out, and I want the full 3D look. The deeper you dig on the inside, the more this section blends in and the more shade those leaves get. When the light hits that deep area, it makes a beautiful effect.
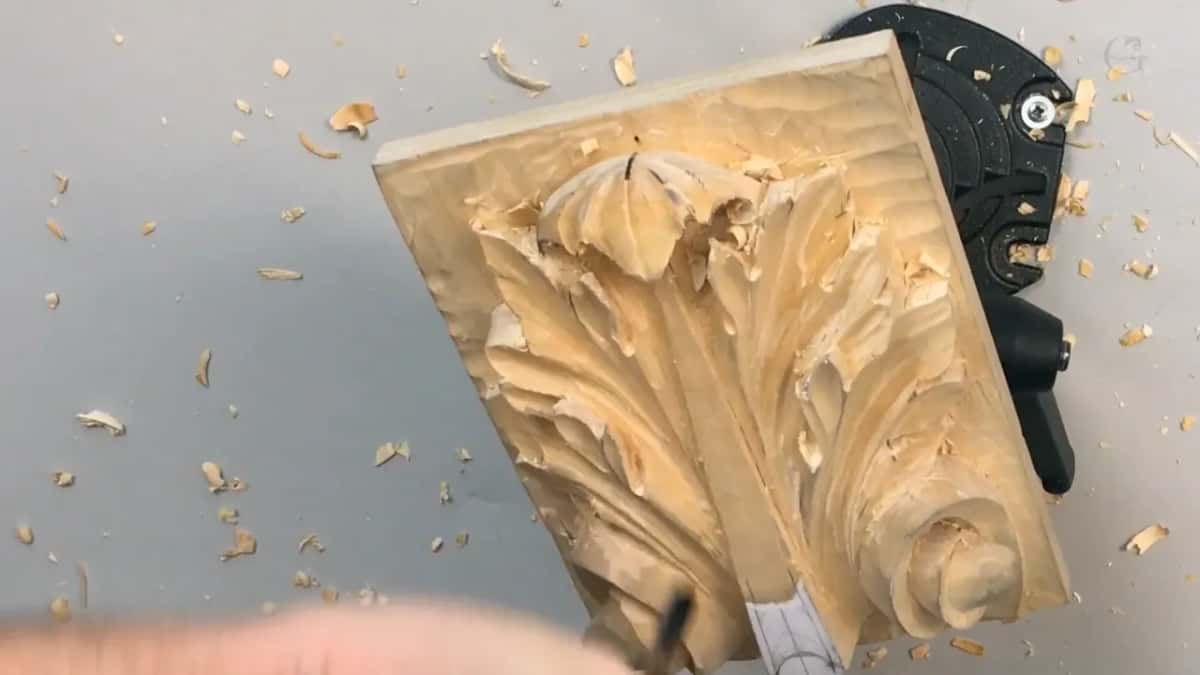
I went almost to the bottom of it. It's almost impossible to see on the camera, I know, but it is almost there. The same tool then made my downhill passes, with micro rotations, and I blended it.
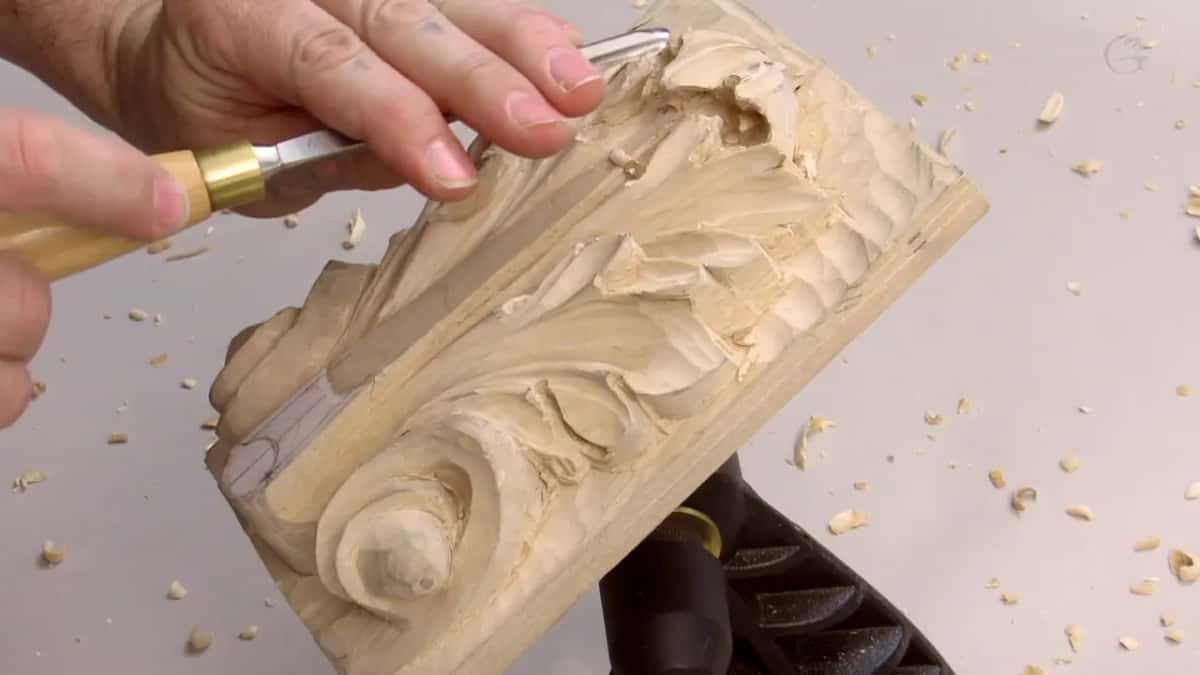
A straight tool asks for care. Everything is in your way, and you can always damage something if you're not controlling it.
With a spoon gouge, a number 9 spoon gouge, in my case five millimeters (about 3/16 in), those areas are always easier. But I proved to you it's possible to work without one. Some carvings you'll never be able to do without spoon gouges, and a carving like this one isn't among them.
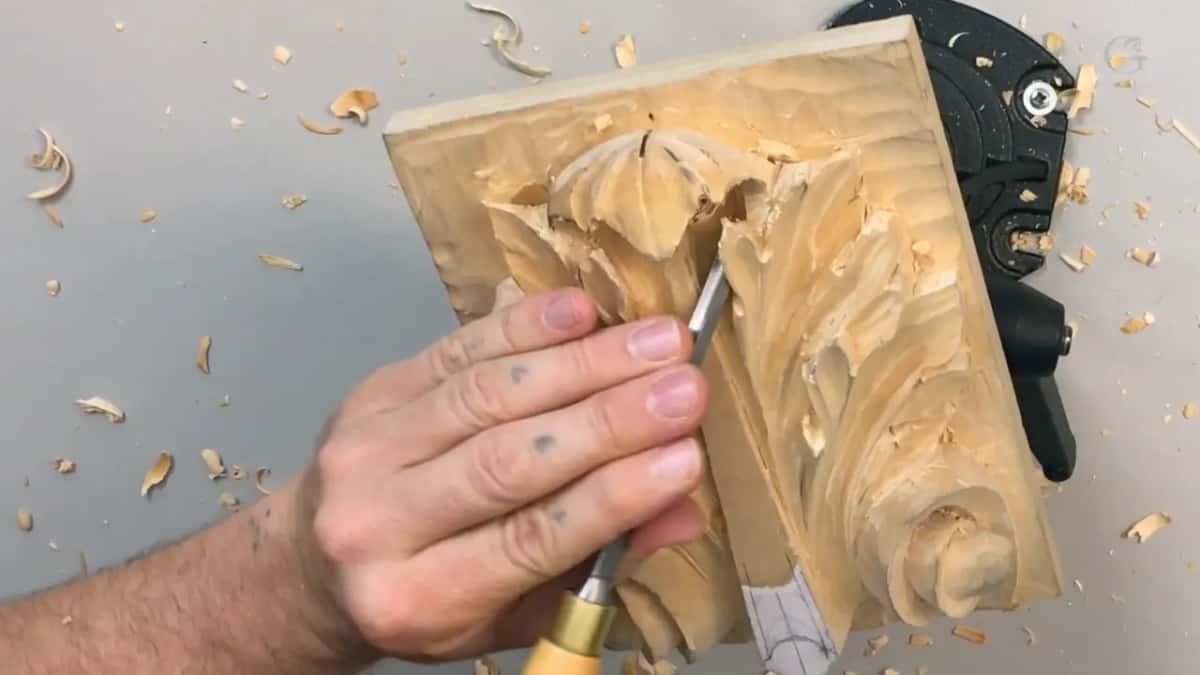
Before moving on I made sure my depth was the same on both sides and blended it in, and then my number 5 cleaned a little. And I'm happy with what I see.
How long does a carving like this take?
Longer than a couple of hours, and in my opinion it's better to take the time. I know some of you wish to carve like Speedy Gonzales, in a couple of hours. Forget it.
All the famous wood carving projects took time. Some of the work I've done took me a year to carve, and some of it more than a year. Those are beautiful pieces, they win prizes, and I have people calling me nonstop who want to buy them.
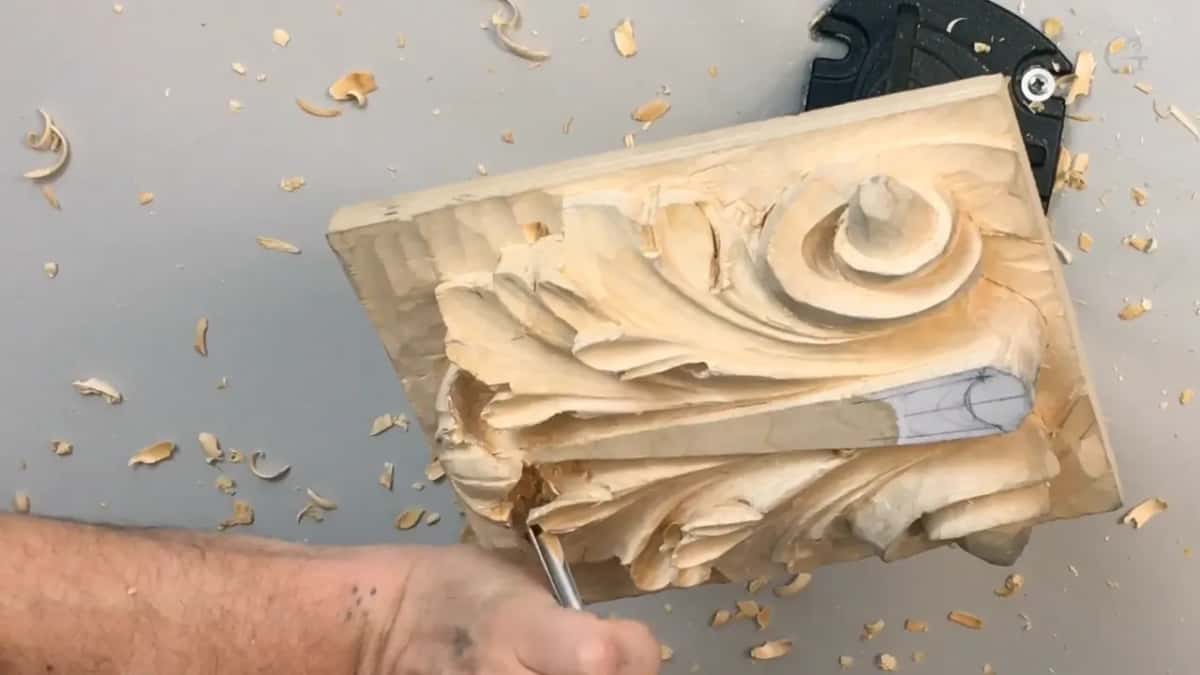
Production is a different speed. When I'm just doing production I go a lot quicker, because I don't have to explain anything, and on the second side of this hollow you can see how much material I took in just a few passes.
How do you price hand carved work?
I estimate about how long it's going to take, add about 10 or 15 percent of time for the cases you never know, and that's what I charge for my work.
Let me tell you a story. Not long before I filmed this lesson, a client wanted one of my carvings, custom done for him, with a really complicated design. I told him how much time it would take and about how much I charge per hour of my work.
He said, "Well, but I have budget only so much." I said, "Well, I can cut you a couple inches. That's no problem." He asked if I could still do it for this price, and I told him I have to pay my bills, and I don't want to do it just because I'm able to.
People call about my finished pieces too. When I tell them how long a piece took and what I want for that time, they say the budget is only that much, and I say, well, that's not how much it costs. It's hand done. I can't charge you less.
Every profession should be paid well, depending on the skill and how much time is involved.
Does this panel need a carver's vise?
A regular bench or even a dining table will do for this type of carving. A carver's vise lets you rotate the work and also move it toward yourself and away, so you can approach from different angles.
Mine is made by Veritas, and I just like how this one holds. Yours can be another make, since there are different brands.
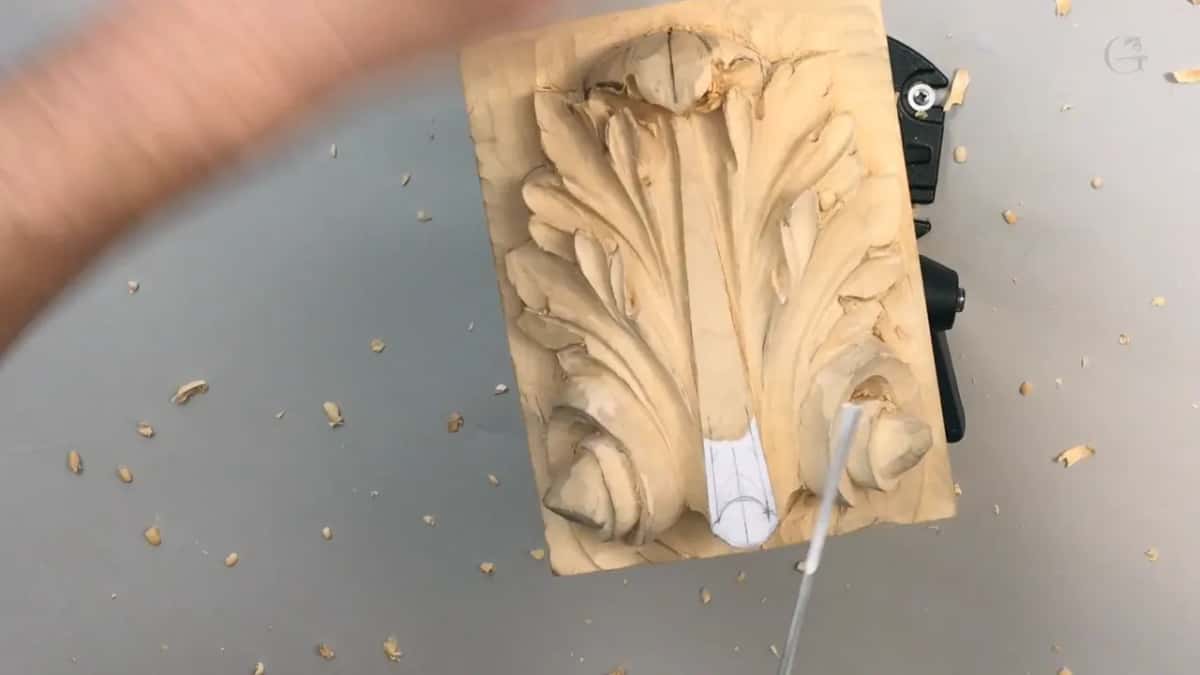
Clamping still creates some limitation. Yes, you can unclamp, rotate and clamp again, and on a small piece that's not a problem. On a big piece, after a while, it becomes big trouble, because you don't wish to do that all the time.
Would you like to carve this leaf with me, part by part? And be there when the final undercut comes? Every lesson of this Roman acanthus course is open with tuition, and if you are new, you can start here.
How it's done
- Open the tight spots small. Begin with a quarter-inch number 9, then change to an eighth-inch one where the first is too wide.
- Set the walls. Take a quarter-inch number 5 straight down, working from either side. Rough is fine for now.
- Turn the number 5 over. Sweep it under the leaf upside down with micro rotations, and keep the pressure light, since the piece gets more fragile here.
- Run the V tool from the middle. Keep one side flat and travel outward, first one way, then the other.
- Dig and blend the hollow. Work a number 9 in from each side by slicing, then finish with downhill passes.
- Match both depths. Compare the two sides and blend once they agree.
- Save the extreme undercut. Leave it for later in the process, so a knock while you dig cannot break a point.
Frequently asked questions
Is any undercut in lesson 9 the final one?
Every undercut in lesson 9 is preliminary. Where I undercut the curl I said it is not the final one, because I only wanted a shadow to see the next step. Even in lesson 11 I still left some meat on the leaf for reference before the final undercut.
Can you dig a deep hollow with only a starter kit?
My hollow on this leaf went almost to the bottom with a straight number 9. Take time, don't press too much, and don't take too much at once. Some carvings can't be done without spoon gouges. Not this kind.
Which V tool works for a preliminary undercut?
Mine was a 45 degree number 16, six millimeters or a quarter inch, and whatever V tool you have will do the job. Begin in the middle of the leaf with one side flat, and take care, because a V tool can break when you undercut with it.
What to carve next