
Alexander Grabovetskiy, woodcarver, School of Woodcarving · Published 2018
What do the numbers stamped on a Swiss carving gouge mean?
Quick answer: The number on a Swiss gouge is a shape code and a sweep code, and the millimetres come printed after them. A back bend reading 28 and 6 is shape 2, sweep 8, six millimetres across. Read 25 and 10 the very same way.
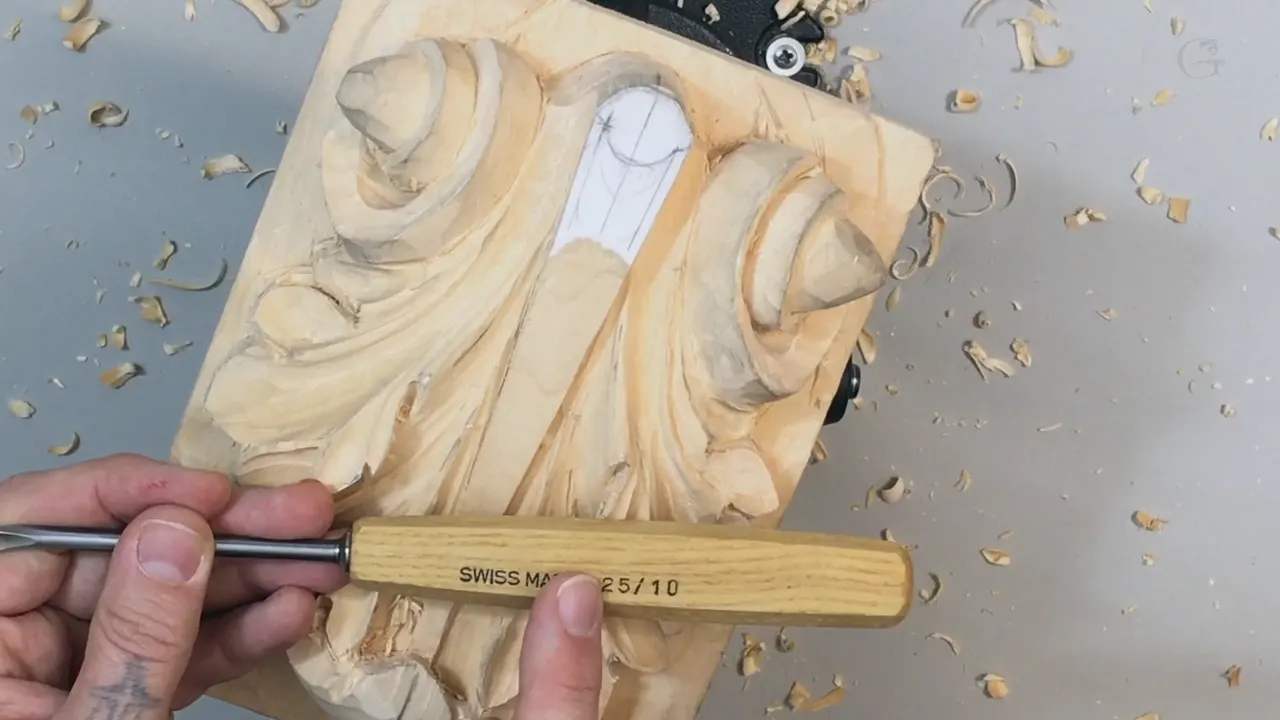
The number stamped on a Swiss carving gouge is two facts joined together, and the width follows behind them. A back bend marked 28 and 6 reads as shape 2, sweep 8, six millimetres across. Read 25 and 10 the same way. Sweep 5, back bent, 10 mm wide, which is 3/8 in.
Ever picked up a secondhand gouge and had no idea what the stamp on the shank was telling you? Bought a tool from a list of numbers and found something arriving that was nothing like the shape in your head? I pull three back bends out of the rack in this workshop and every one of them carries a code, so let me hand you the code, and then we will go carve some shadow with them.
What the stamp gets you before you ever touch the wood
- First digit is the shape family, where a 2 means back bent and a 1 is a plain chisel.
- Second digit carries the sweep, so a 25 curves like a straight number 5.
- After the slash comes the width, in millimetres, whatever country sold you the tool.
- Relieve tension first.
- Stand a wide number 1 vertical as a wall, and the centre of the leaf survives everything that happens around it.
- Your tool marks stay. Sandpaper takes the carving out of a carving.
What do the numbers on a Pfeil gouge mean?
Two digits and then a width, always in that order, and it never varies between makers. Take the one in my hand now. Stamped 28, six millimetres, which comes to about 1/4 in. Break it apart and the 2 says this is a bent tool rather than a straight one, the 8 says the edge carries a number 8 sweep, and the 6 is simply how wide the steel measures.
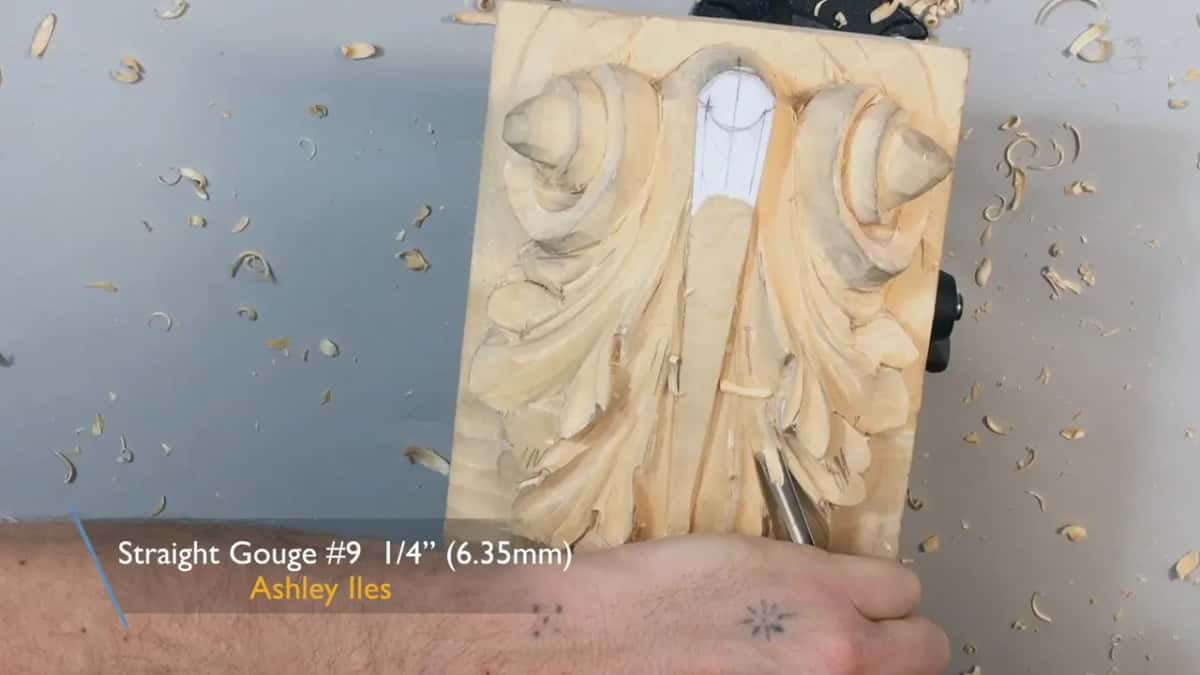
Later in the same workshop I reach for another, stamped 25 at 10 mm, which is 3/8 in. Shape 2 again, sweep 5 this time, ten millimetres wide. Once you have read three of them the system stops being a puzzle, and you can order a tool from a catalogue with real confidence about what will arrive.
| Stamp | What the digits are telling you | Width | Where that one goes on the leaf |
|---|---|---|---|
| 25 slash 3 | Shape 2 is back bent, sweep 5 | 3 mm | Flowing lines in the tight places |
| 28 slash 6 | Sweep 8, still bent | Six millimetres, a quarter of an inch | Rounding the crown of a pipe |
| 25 slash 10 | Sweep 5 again, wider steel | 10 mm | Long smoothing passes right across a lobe |
| 15 slash 3 | Shape 15 is the V tool, ground at 45 degrees | 3 mm | Relieving tension, and the last waste |
| 1 | Plain straight chisel, no sweep | Wide | A vertical wall the undercut must never cross |
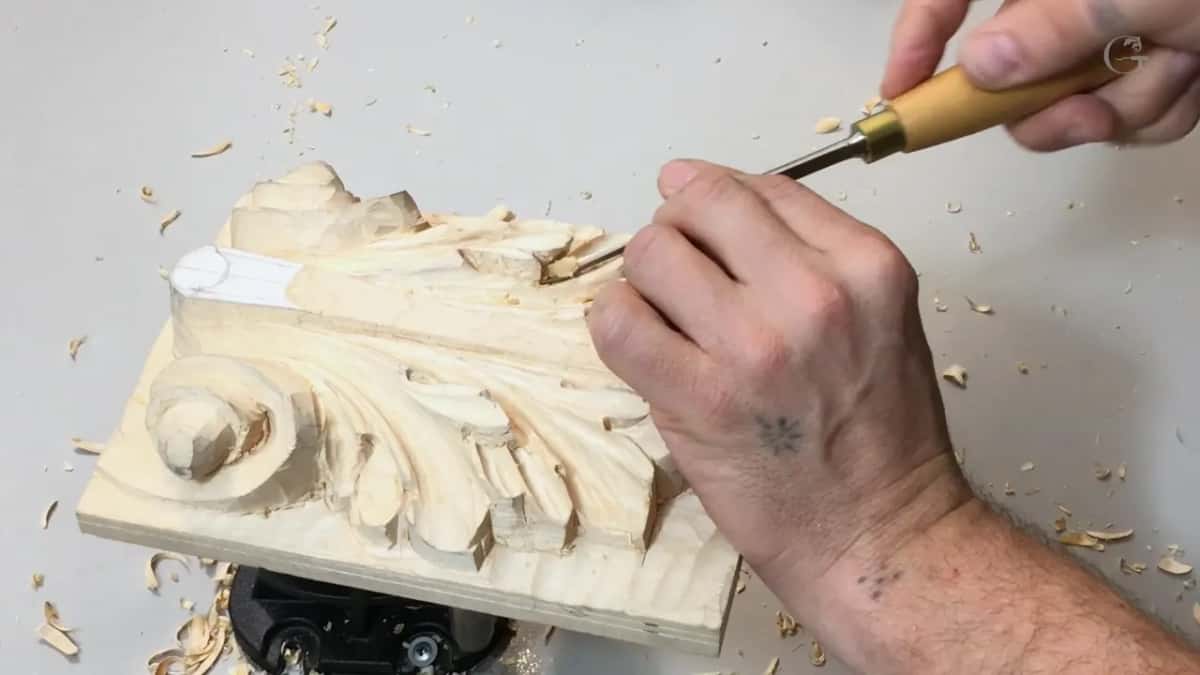
Now the millimetre half of it. I grew up in Russia, so I grew up metric, along with most of the world. Then I came to the United States, where the shop runs on imperial, and I have grown to love the imperial approach to measuring. I use both now. Mostly inches, if I am honest about it. The stamp on the tool stays metric no matter what I prefer, so learn to read it.
Why start with a V tool instead of a gouge?
To relieve the stress in the wood before it finds its own way out. A leaf at this stage has thin edges and standing pipes, and driving a wide gouge straight at that is asking the fibre to split ahead of the edge. One careful pass with a three millimetre V tool, number 15 in the Swiss list, and the tension has somewhere to go.
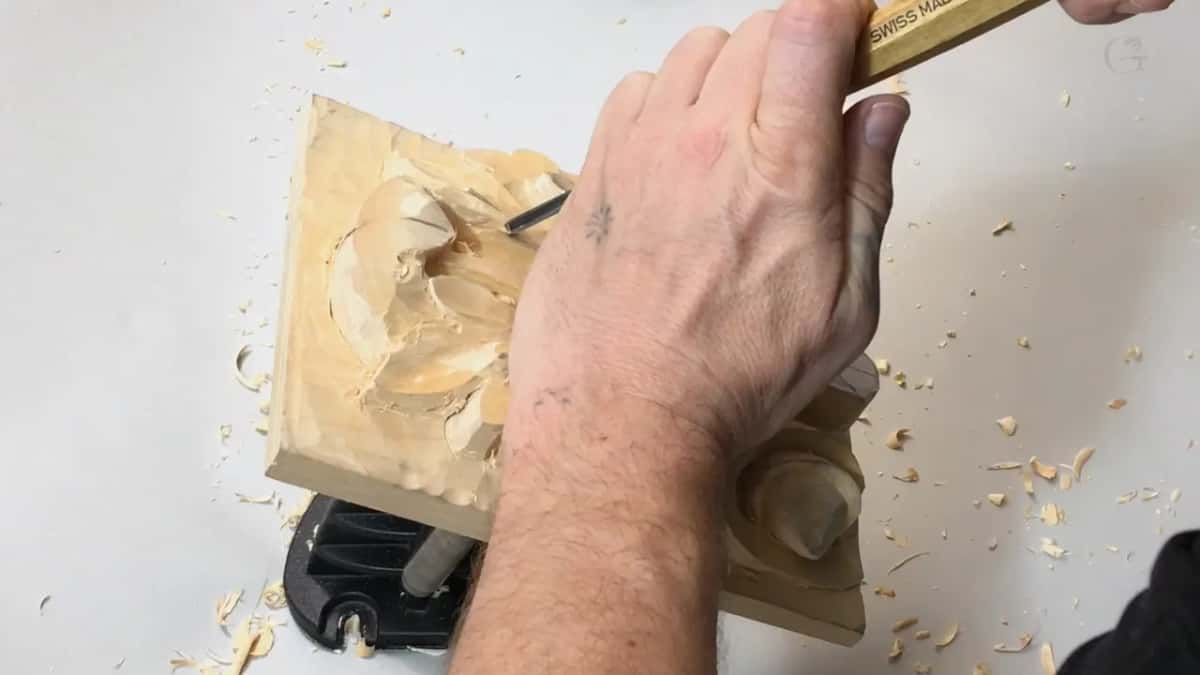
Mine is ground to 45 degrees, and yours need not be. Sixty works. Ninety works too, and any V tool at all will relieve tension in a panel, because the angle only changes how wide a groove you get for a given depth.

What stops an undercut from running into the middle of the leaf?
A wall you carve on purpose, with the widest flat chisel you own driven straight down. The centre of this leaf is not supposed to be undercut. Everything else will be, and heavily, but that middle section stays attached to the ground because the whole leaf hangs off it.
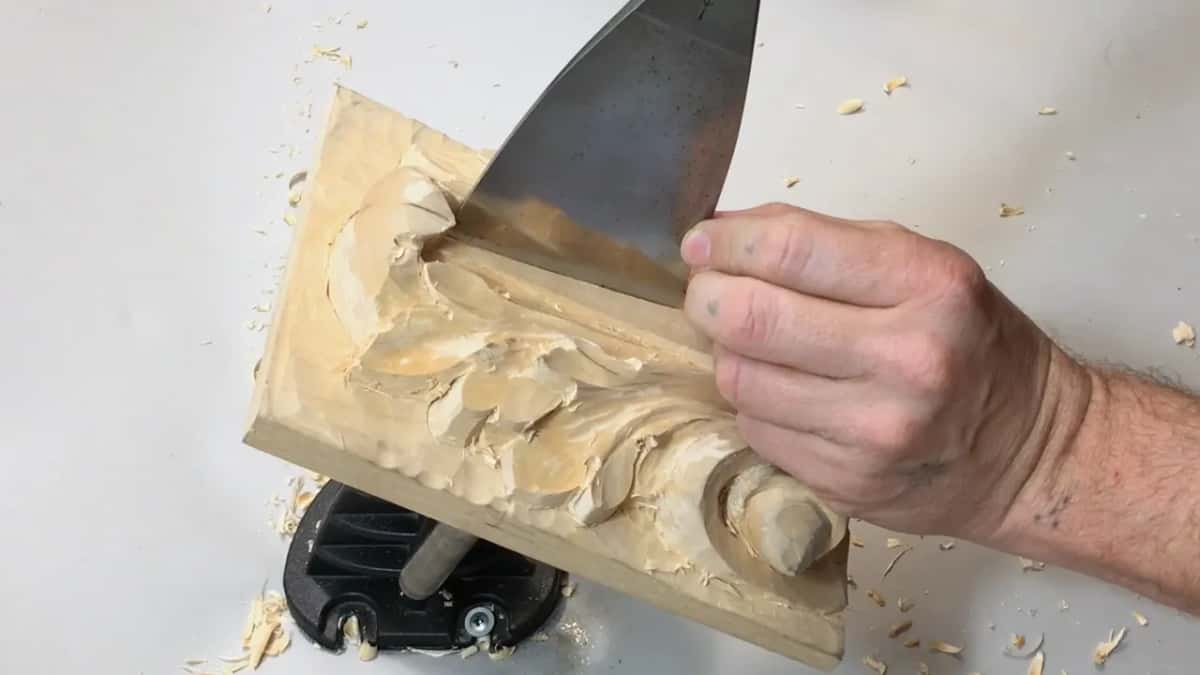
So I stand the big flat chisel vertical along that boundary and take two or three strokes. Straight down. No more than that. I have a stop line now, and when I come back later with the V tool and work close up to it, the waste breaks away cleanly at the wall instead of tearing on into the part I need.

Small discipline, and it saves the piece. I carve acanthus in several traditions, and every single one of them has a place where the leaf must stay rooted. Find yours before you start removing material near it.
Should you sand a carving?
No, and the reason is worth saying plainly, because there is nothing wrong with sandpaper in woodworking generally. Sand a carving and you are left with the shape only. The form survives. The carving does not.
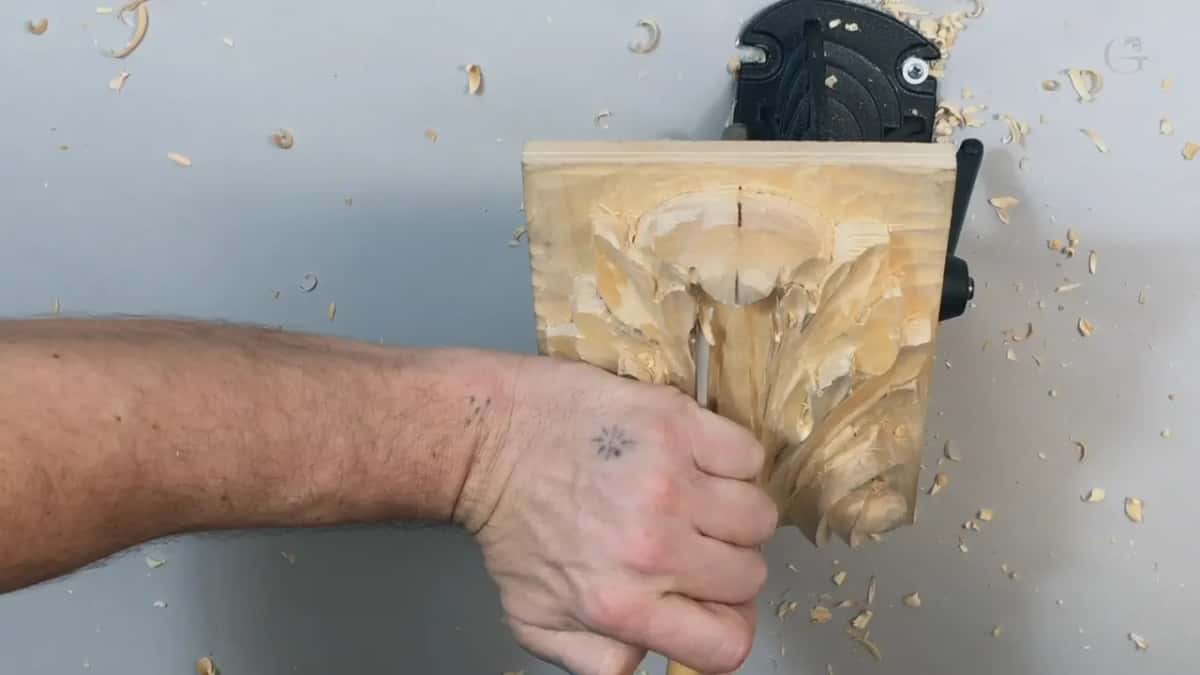
Tool marks are the evidence of the hand. A surface carved by a gouge catches light in a hundred small facets and a sanded surface catches it in one dull sheet, and any carver can tell the two apart from across a room. Yes, sanding by hand is still work done by hand. It is not the same thing at all.

The ridges stay. A leaf comes out more honest with them, and every ridge throws its own thin line of shade, and those lines are half of what makes an acanthus leaf beautiful in the first place.
How many ridges is too many?
Too many is what I have in front of me right now, and I will thin them out without removing them all. Roughing leaves a ridge at the edge of every pass, and after an hour of shaping there are dozens, running at every angle, agreeing with nothing.
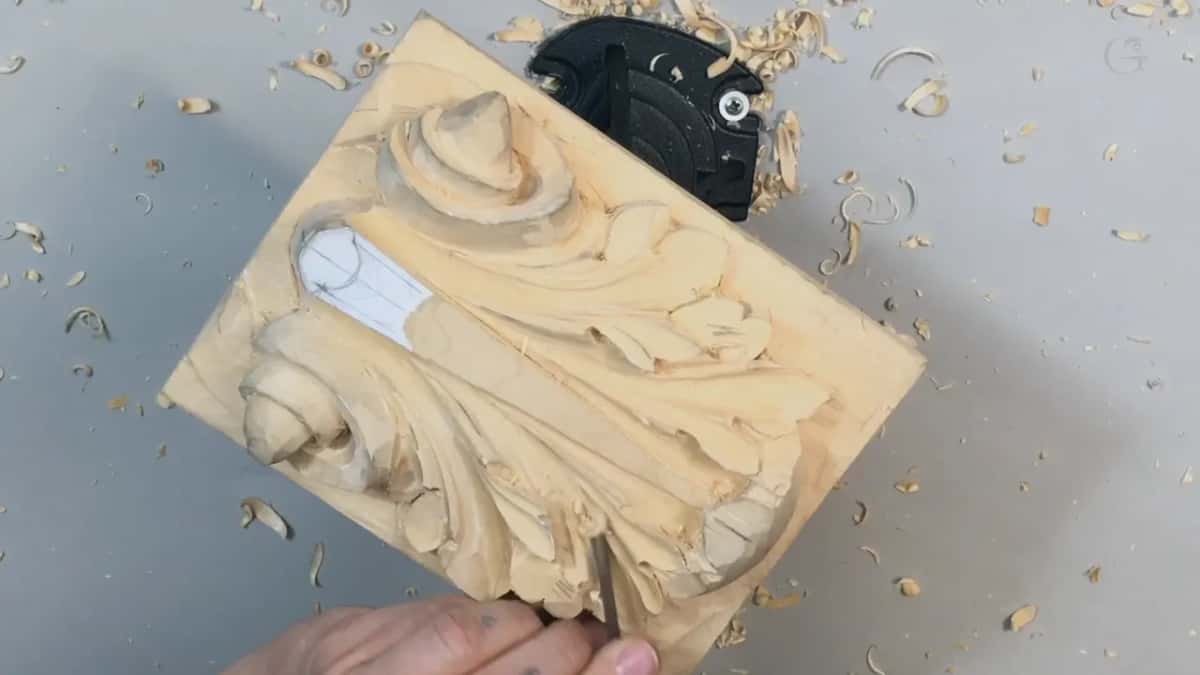
The repair is a different sweep and a longer stroke. Where four passes with a 6 mm tool left four ridges, one stroke of a broader sweep across all four leaves a single ridge that follows the movement of the leaf. Goal, right there. Fewer marks, each one longer, each one running with the flow rather than across it.
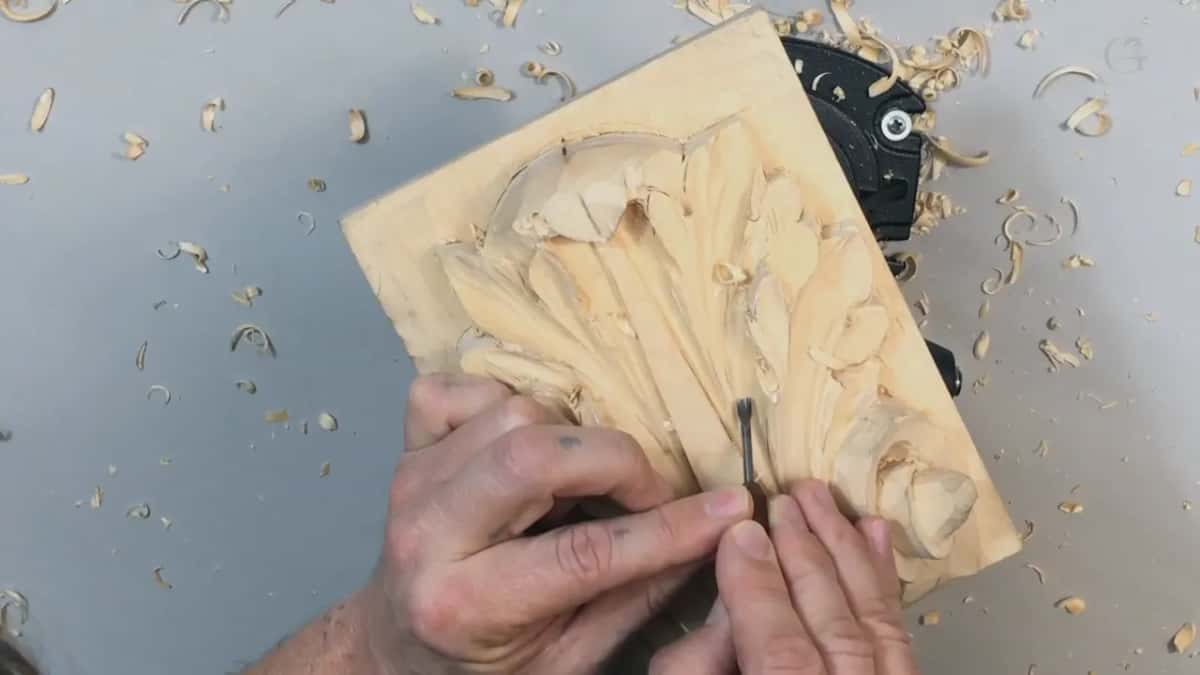
Long is the operative word. A ridge that travels the whole length of a lobe reads as intention, and a short one reads as an accident, and the eye knows the difference without being told. I chase length harder than I chase smoothness.
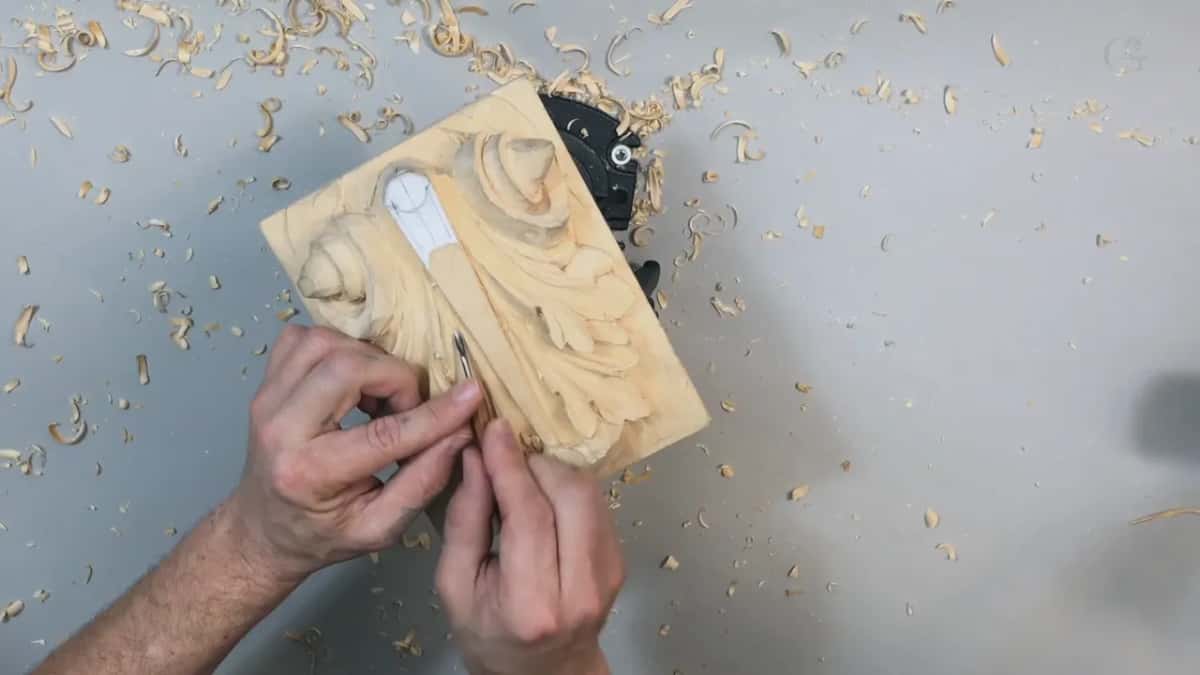
Grain gets a vote. Push against the fibre and it lifts instead of shearing, so I rotate the panel and come back the other way rather than force it. A properly sharpened edge makes grain direction much less punishing than a dull one does, which is one more argument for time at the stones.
How do you carve the shadow inside an eye?
Angle the gouge down into the hollow instead of scooping it flat. An eye carved level reads as a dish. Tilt the blade going in and the far wall tucks under itself, so the shade gathers in there and pours out toward you.

I use the 3 mm number 8 for this and dig further than most people are comfortable digging. You can already see it on the camera, and the lighting in my shop comes from both sides, which flattens everything. Picture the same leaf beside a window with one source of light coming across it. The eyes go black and the pipes stand up.

Not the final treatment, mind you. Symmetry has to be settled first, and I can see one side sitting slightly higher than the other as I work. Proper undercutting waits until the shapes are right, and that discipline is the whole subject of the next workshop.
Is extreme undercutting worth the risk of breaking the piece?
In my hands, always. I am extreme about undercutting and I believe the extreme version is where the beauty comes from, and I know perfectly well that plenty of good carvers disagree with me.
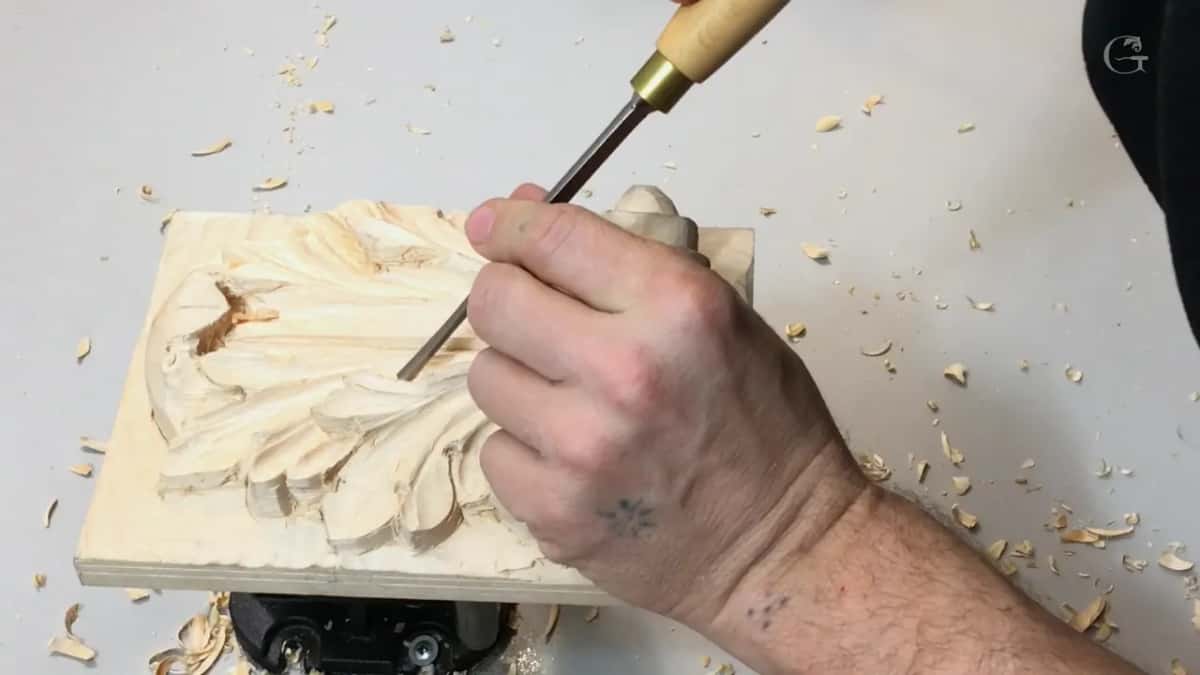
Their objection is fair. Remove enough material and the leaf becomes fragile, and fragile things break, and a panel that took you three weeks can go in half a second. Nobody is wrong about the physics.
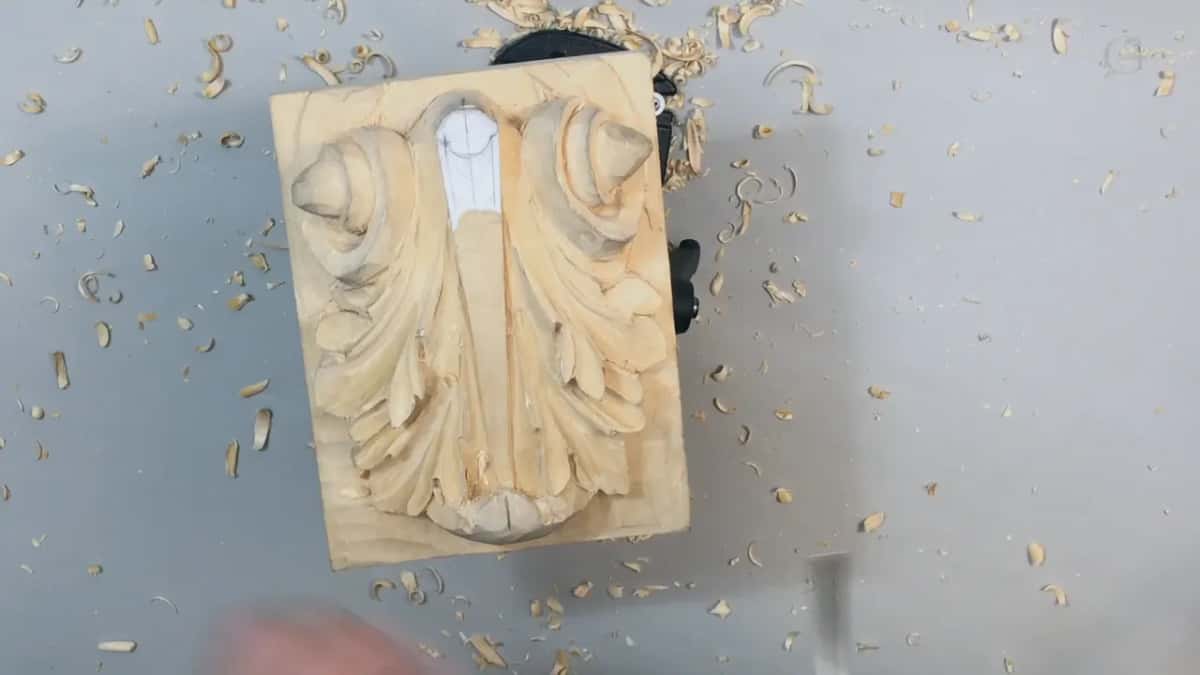
You can break anything, and that is my answer. A crystal glass is fragile past any argument, and that fragility never stopped a single soul from making beautiful things out of crystal. Nobody suggests we blow thicker, safer glass instead. The fragility is part of the deal. You handle the piece with respect and you get a leaf that floats off the ground with daylight running underneath it.
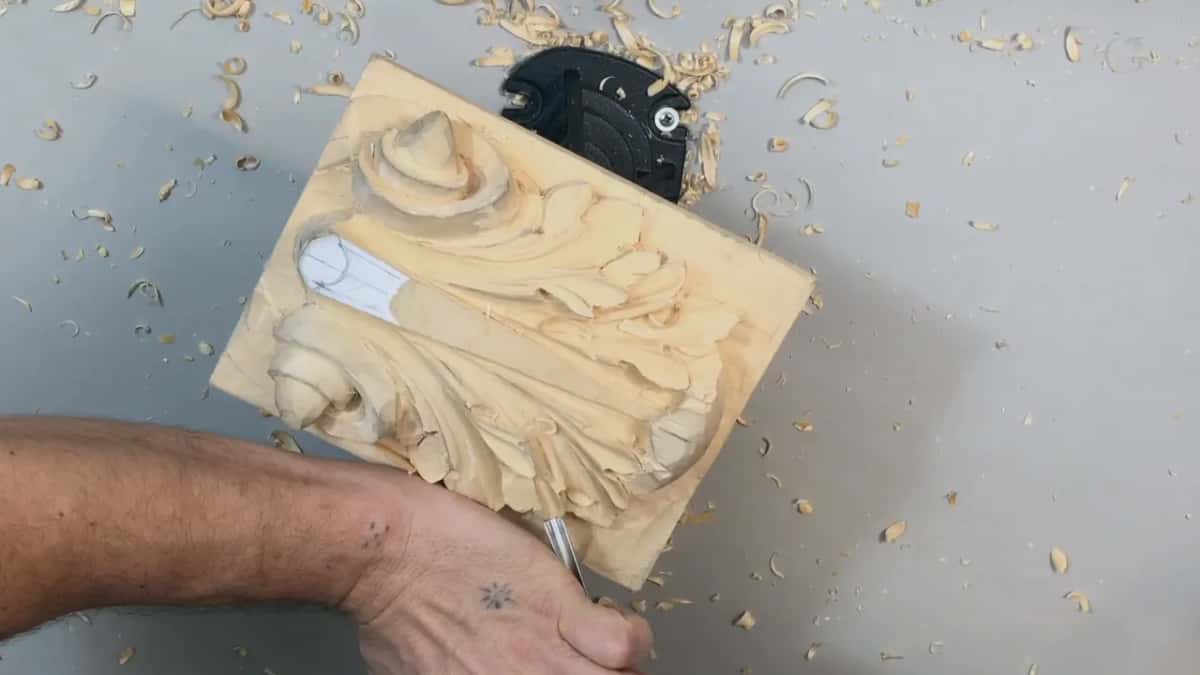
The practical rule is simpler than the philosophy. The more material you take away, the more fragile it becomes, so the order of operations changes as the leaf thins. Heavy work first while the wood is strong. Delicate work last. Undercut late.
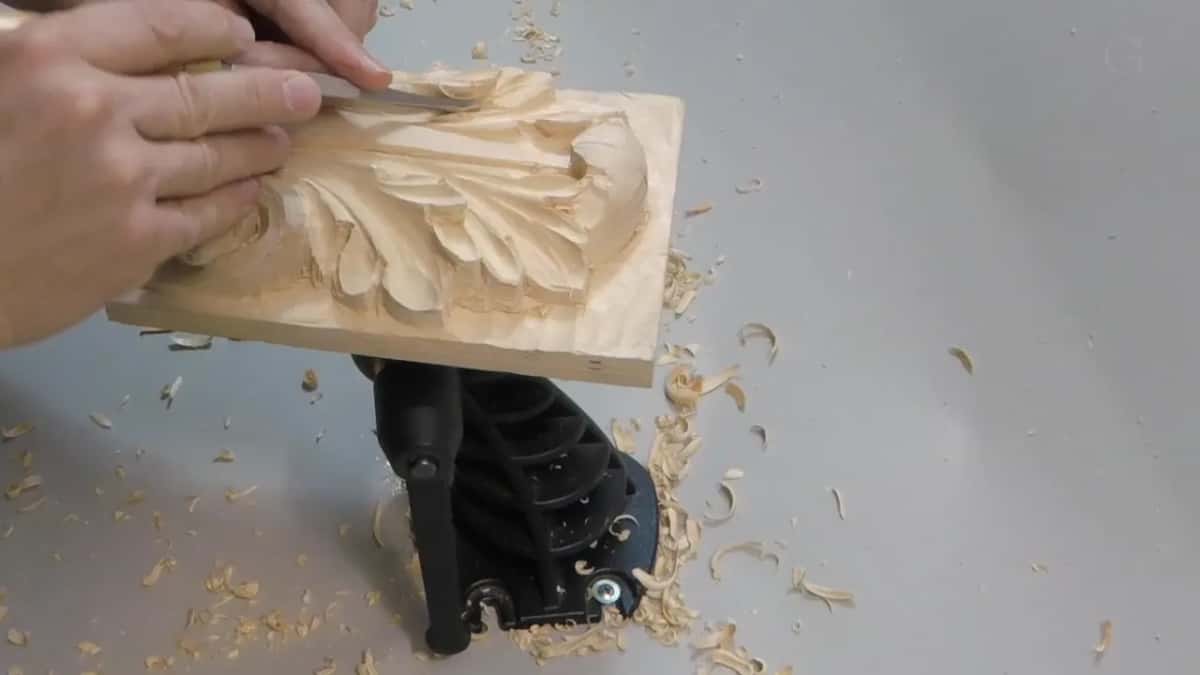
And be careful with the tool as much as the wood. Forcing a gouge into a fragile section is how both of them get damaged, and I would rather take many gentle passes than one that costs me the leaf. Slice, do not push. Rotate the handle a little through every stroke and let the edge shear its way in.
Am I making sense to you?
Honestly, I stop and wonder about that in the middle of these workshops. I said it out loud while I was digging into the second eye, that I hope this makes sense, because carving shadow is a hard thing to explain with a camera pointed at a small dark hollow.
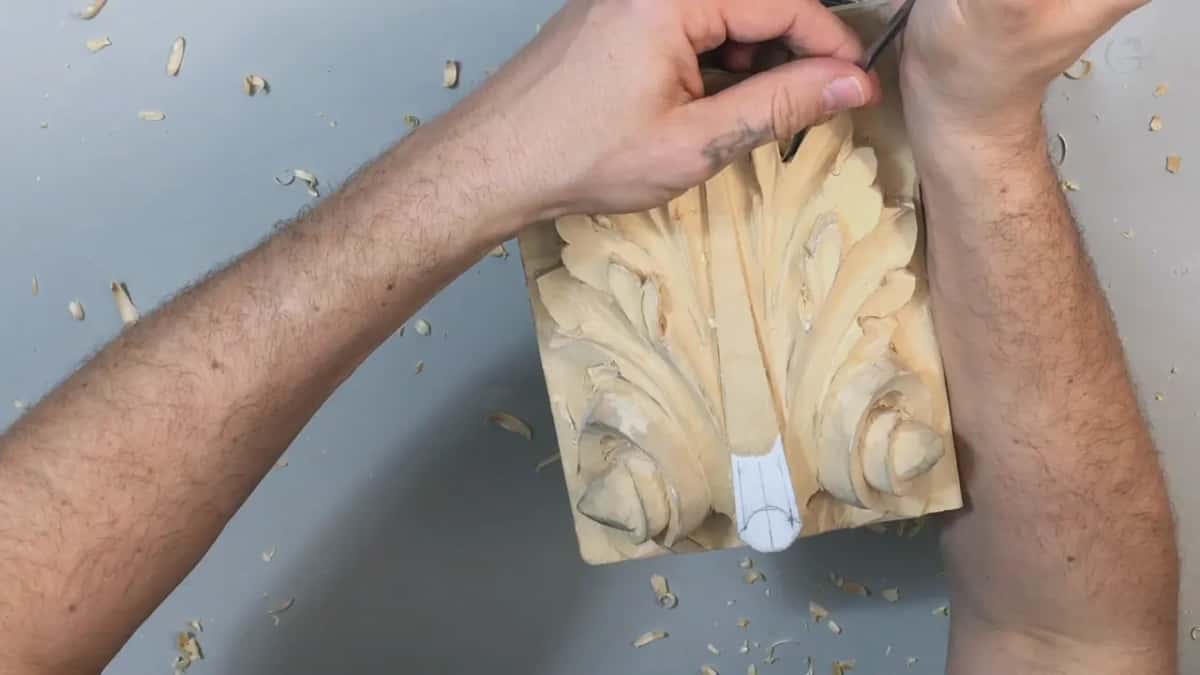
Please ask me questions. Write to me, or leave them in the comments under the video, and I will answer them inside a workshop where everybody can hear the answer. The whole point of filming this is to show you the way I do it. Not the only way. My way, after forty years at the bench, and you are welcome to argue with any of it.

What I am reaching for, and it is hard to photograph, is a leaf that ends up hanging in the air. Undercut far enough and the edge stops belonging to the board behind it. Worth every careful pass it costs.

My small gouges for this run an eighth of an inch, then three sixteenths, then a three thirty second that is barely wider than a pencil lead. Any small gouge you own will carve these shadow lines, in basswood at least, and you do not need the whole set to follow along.
What carves a pipe rounder without flattening it?
Reach for a fatter sweep on a back bend and run it across the top. The 28 at six millimetres exists for exactly that, and it is why more than one bent tool hangs in my rack.

A number 5 sweep smooths. Sweep 8 rounds. Run the 8 over the crown of a pipe, turning the tool as it travels, and the tube fills out and looks more like something that grew. Then the small gouge goes back in beside it to reopen the shadow line the rounding filled up.
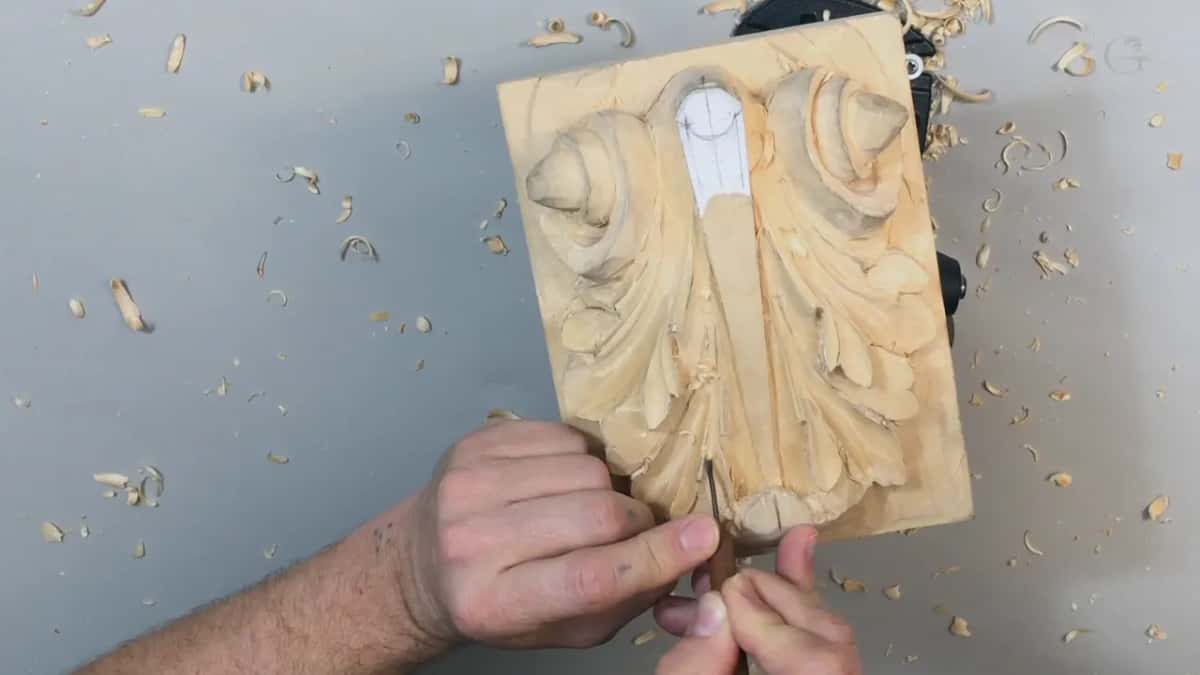
There is a slight undercut in this too, though I would not call it a true one. Rolling the gouge over as it quits the pipe tucks the bottom edge under just enough to catch a line of dark. The real undercutting comes later, when the shapes are settled and the piece can afford to lose the material.

Watch the valleys while you do it. A wavy line down the side of a pipe shows up under raking light like a dent in a car door, and I take those out with a plain number 5 the moment I notice one.
Do I need drawings in front of me for this?
I work without them. You may not want to yet, and there is no drawing anywhere on my bench during this workshop. I know where each pipe travels and where each eye lands, and I am not producing twenty identical panels for a job, so small variation costs me nothing.

If I miss by a millimetre or two, no harm done, as long as the leaf still reads as a Roman acanthus and not as something invented. Real test, that one. Not fidelity to my pencil line, but fidelity to the ornament as the Romans shaped it.
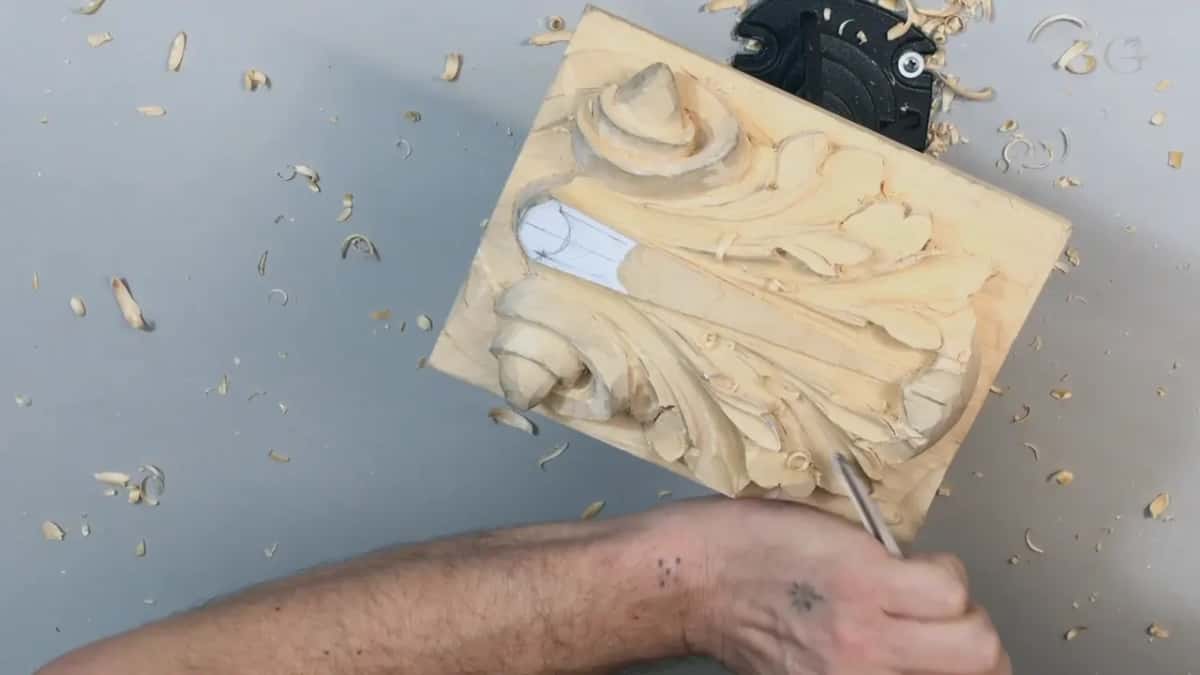
Beginners should keep the drawing close for a long while. Put it aside the day you notice you have stopped looking at it, and not one workshop before. Drawing the leaf on a grid is where this whole series started, for exactly that reason.

One last thing on tools, since the stamps started us off. A knife cleans an edge that no gouge will reach, and mine comes out at the end of every session for the rough places along the outline. Then the V tool takes the last of the waste that sits in the way, and the leaf is ready for the next stage.
Would you like to stop guessing at the stamp on a gouge? Tired of hoping the shadow turns up instead of carving it deliberately? Shall we carve?
This workshop sits inside the Roman acanthus series, and tuition opens all of it along with everything else in the library. Prefer a bench beside mine and my hands on your work? We run workshops in person too, and you can see where to begin if you are new here.
How it's done
- Relieve the tension first. One careful stroke of a three millimetre V tool beside a thin edge gives the fibre somewhere to go before a wider blade arrives and splits it.
- Build a wall where nothing may be undercut. Stand a wide number 1 chisel vertical along the boundary and take two or three strokes straight down. Waste later breaks away at that line.
- Read the stamp before you reach. First digit gives the shape, second gives the sweep, the figure after the slash gives millimetres. A 28 at six is a back bent sweep 8, a quarter inch wide.
- Thin the ridges with a broader sweep. Where four narrow passes left four ribs, one pass with a wider tool across all of them leaves a single rib that follows the movement.
- Angle the gouge into every eye. Lean the blade down inside the hollow so the far wall tucks under itself. A level scoop gives you a dish and no shade at all.
- Round a tube with the fatter sweep. Run a sweep 8 back bend over the crown, turning the tool as it travels, then reopen the dark line beside it with something small.
- Tool marks stay on the surface. Sandpaper flattens the facets and the leaf goes dull under raking light. Fewer ridges, each longer, beats a sanded surface.
Frequently asked questions
What does the first digit on a Pfeil gouge mean?
Shape family. A 1 is a straight chisel, a 2 marks a back bent tool, and the second figure gives the sweep of the edge. Whatever follows the slash is the width in millimetres, regardless of which country sold you the tool.
Does a V tool have to be ground to 45 degrees?
Any angle works for relieving tension in a panel. Sixty and ninety both do it. What changes is the width of groove you get for a given depth, and that makes no difference at all to this particular task.
Is it wrong to sand a wood carving?
Sanding flattens the facets that catch light, so the form survives and the carving does not. Any carver spots a sanded surface from across a room. Leave the marks your gouge made and the leaf reads as honest work.
What to carve next