
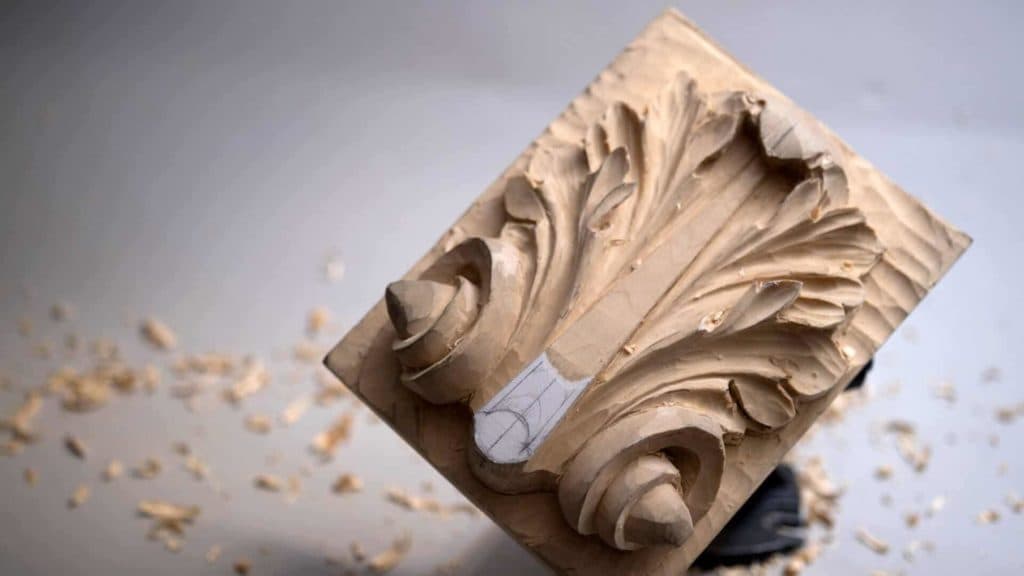
Alexander Grabovetskiy, woodcarver, School of Woodcarving · Published 2018
How do you carve the pipes and eyes on a Roman acanthus leaf?
Quick answer: Refining the pipes and the eyes of a Roman acanthus is a job for small gouges. I match the two halves by eye, set each eye with a 1/8 inch number 8, and clear the wood between two pipes with that same 3 mm tool. A 9 also fits there, but a 7 does not.
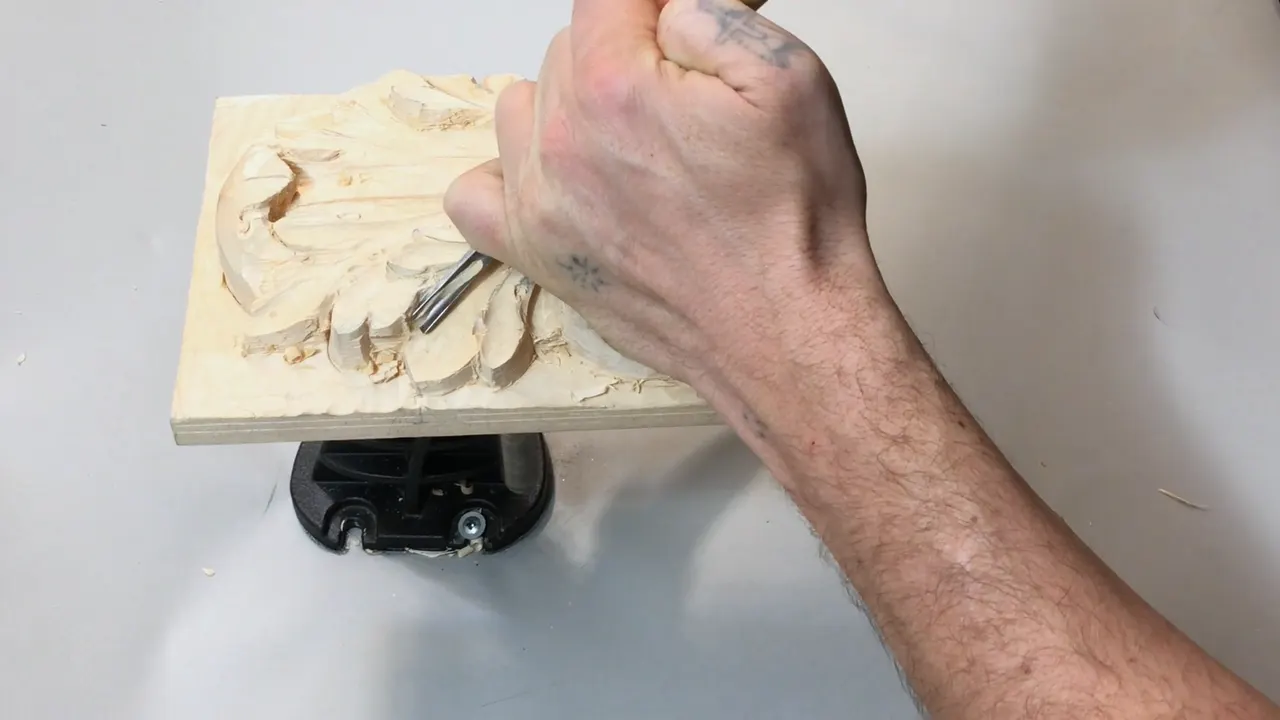
Carving the pipes and eyes on a Roman acanthus is refining work. I check both halves by eye, set each eye with an eighth-inch number 8, and clear what sits between two pipes with a 3 mm gouge. An 8 fits in there, and a 9 fits too. A 7 will not.
Do you want the two halves of your leaf to match? Would you like each pipe to stand out, with a dark line beside it? Then watch which small gouge goes where in this lesson.
I'm going to be honest with you. Most of this lesson is small work with small tools. And every move makes some type of shadow. As I told you before, wood carving is all about light and shadow. This lesson picks up right after the hollows of lesson 6, on the same leaf and the same panel.
What this lesson does to the pipes and the eyes
- Symmetry gets checked by eye, with no drawing, by matching how far each pipe reaches.
- The gap separating two pipes takes a 3 mm gouge, a number 8 or a 9.
- Eyes start with an eighth-inch number 8, then go deeper.
- Tiny gouges leave a better line of shadow.
- Ridges on a pipe come off with a number 5 upside down, or with a back bend.
- From straight above, after a turn of the vise, you can see which half is still off.
How do you carve the eyes and pipes on a Roman acanthus leaf?
Start around them, then go small. Before I touched a pipe in this lesson, I made sure one section of the leaf was done right. I took a quarter-inch number 9 (6 mm) and made a couple of passes along the side of my pipe, the same on both sides.
Then I changed direction and came at that spot from the other side. It comes out cleaner, better.
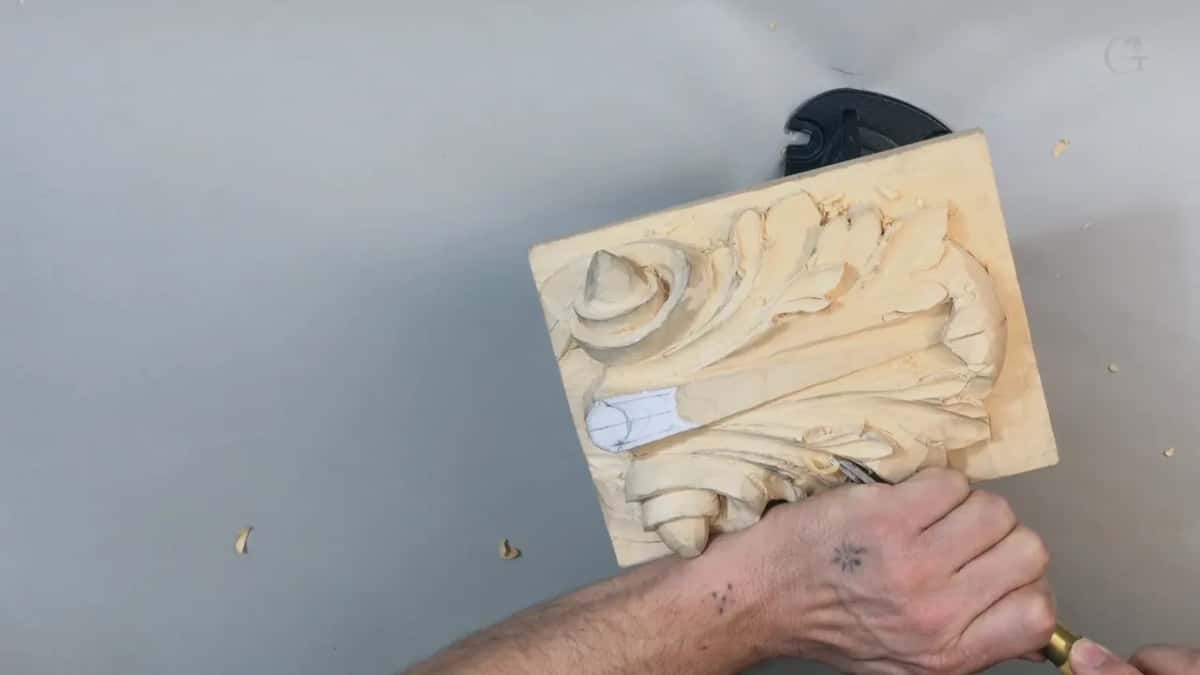
Next came the eye. For that I picked up a small number 8, an eighth of an inch (3 mm), made by Dockyard. I swapped it for a slightly different one of the same size, the one with a fingernail.
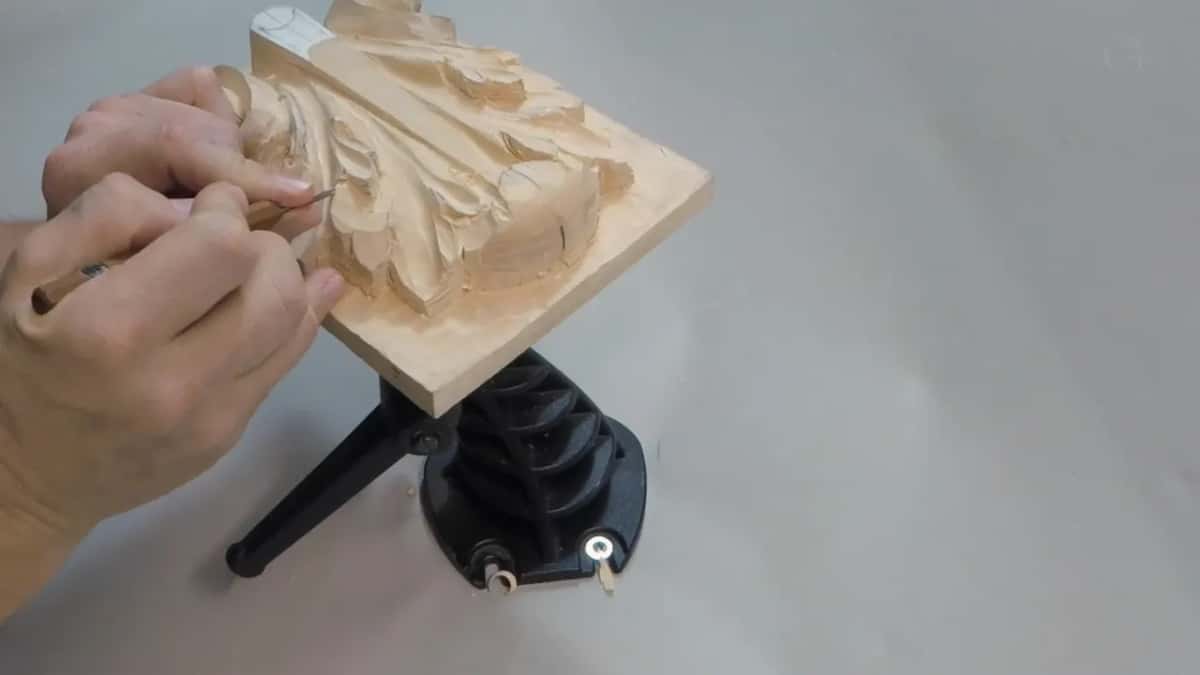
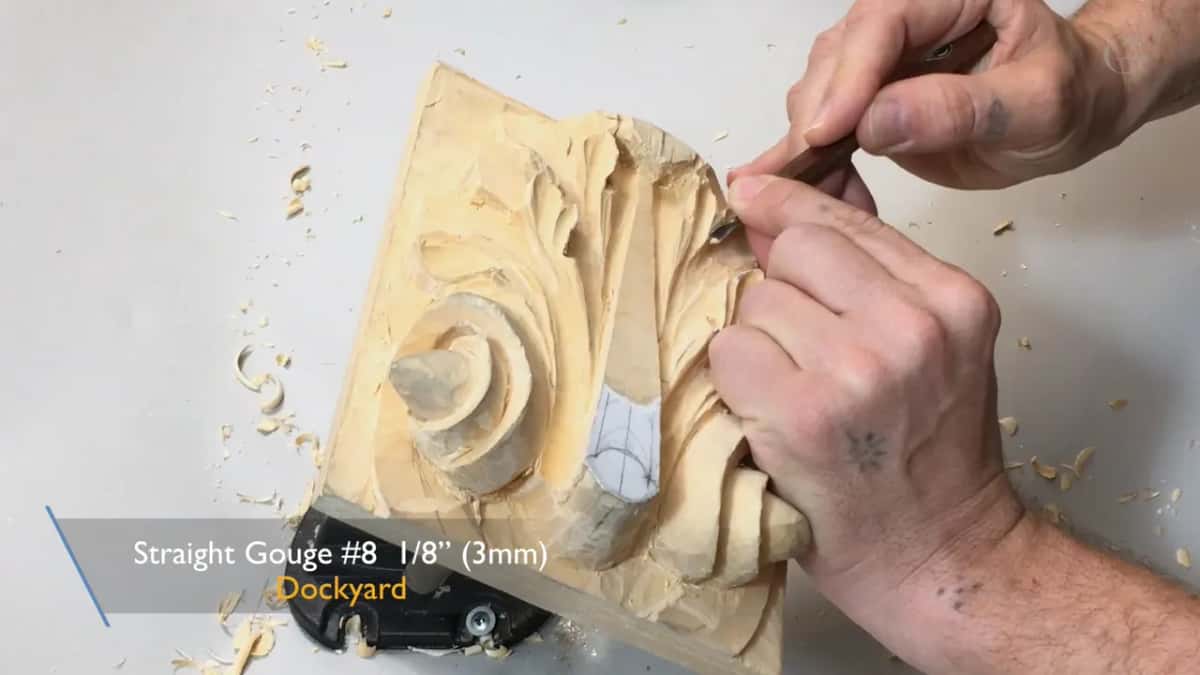
That looked good. But the overall shape of that section did not make me happy, so I picked up a bigger gouge, a number 3 at 12 mm (1/2 in), and set the overall shape. For the transition beside it I went smaller, maybe a number 5 at a quarter inch, just to make it smoother. I left it like that for now.
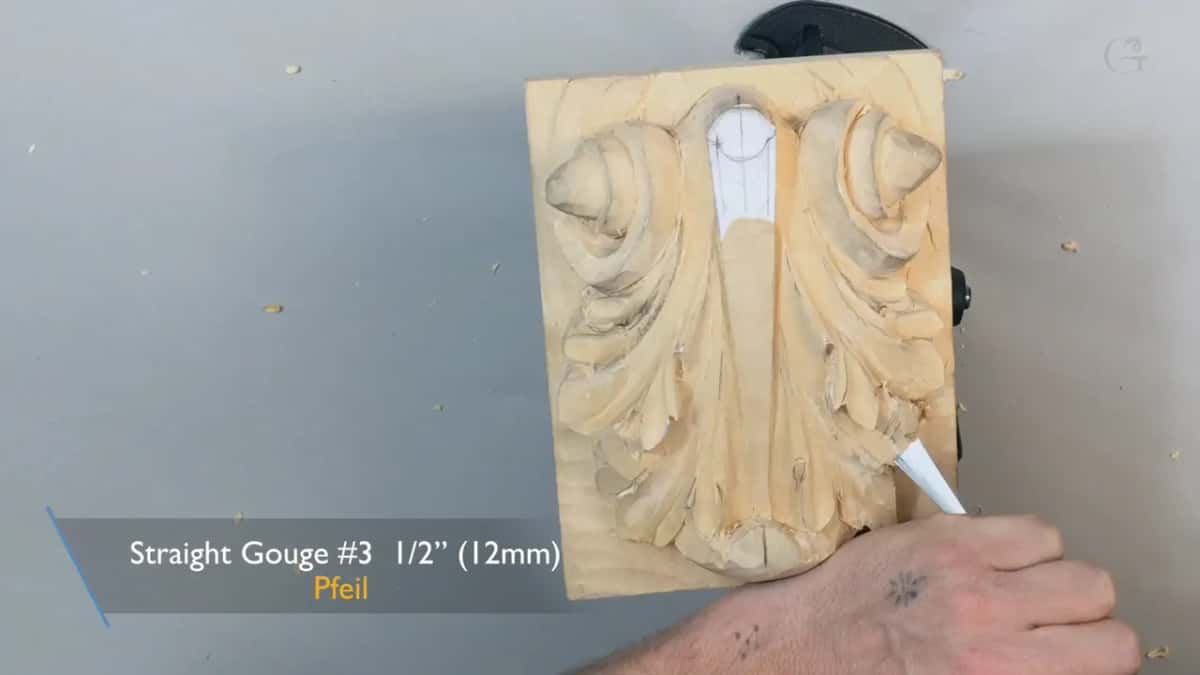
The next part went back to the main movement of the pipes. My number 9 there is not really a quarter inch, more like 5/16 of an inch, close to 8 mm. I went a little deeper, because I think it looks better that way. On the other side I tried a bigger one, about 10 mm (3/8 in), still a number 9.
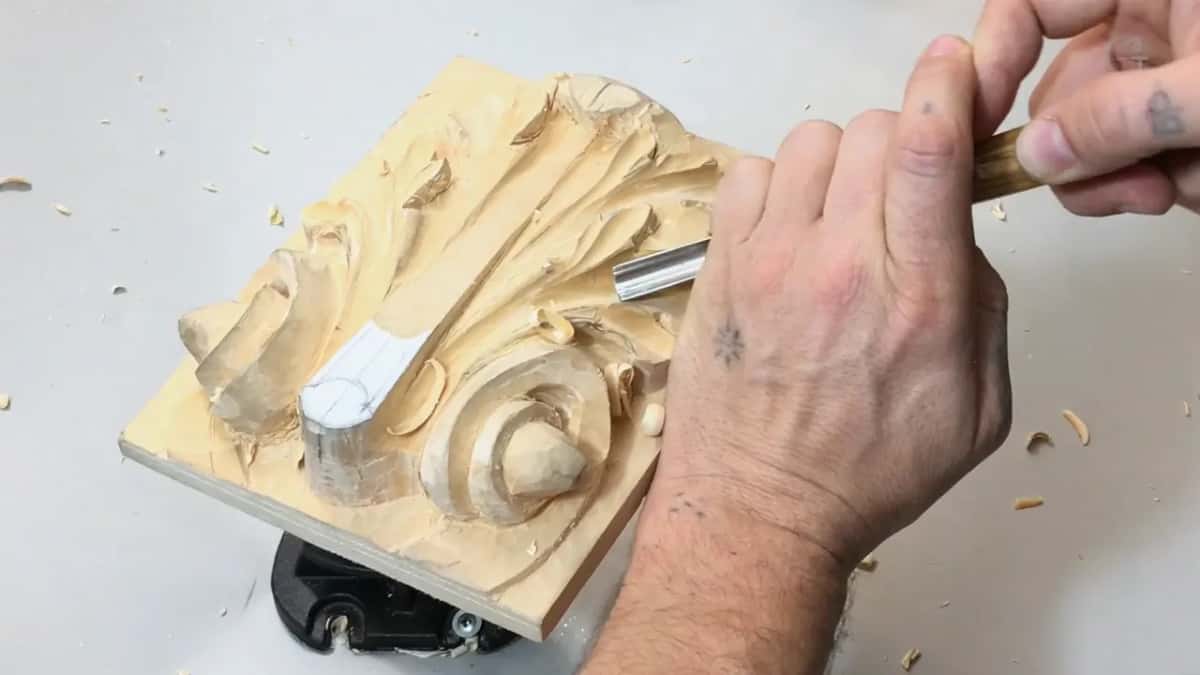
Actually, the pipes are a really big deal, especially on a carving like this, an acanthus carving. Those pipes are really important. Back in lesson 3 the job was not to lose them. Here they get refined.
Why check the symmetry by eye instead of the drawing?
Logically, I can see my movement, so I just eyeball it. I don't have to look at the picture. One pipe goes all the way to a certain point, so the pipe on the other side should reach about the same distance.
And this piece is supposed to be symmetrical. Pipes, eye locations, movements, flow, all of it. The grid and the drawing did their job back in lesson 1, and now my eye takes over.
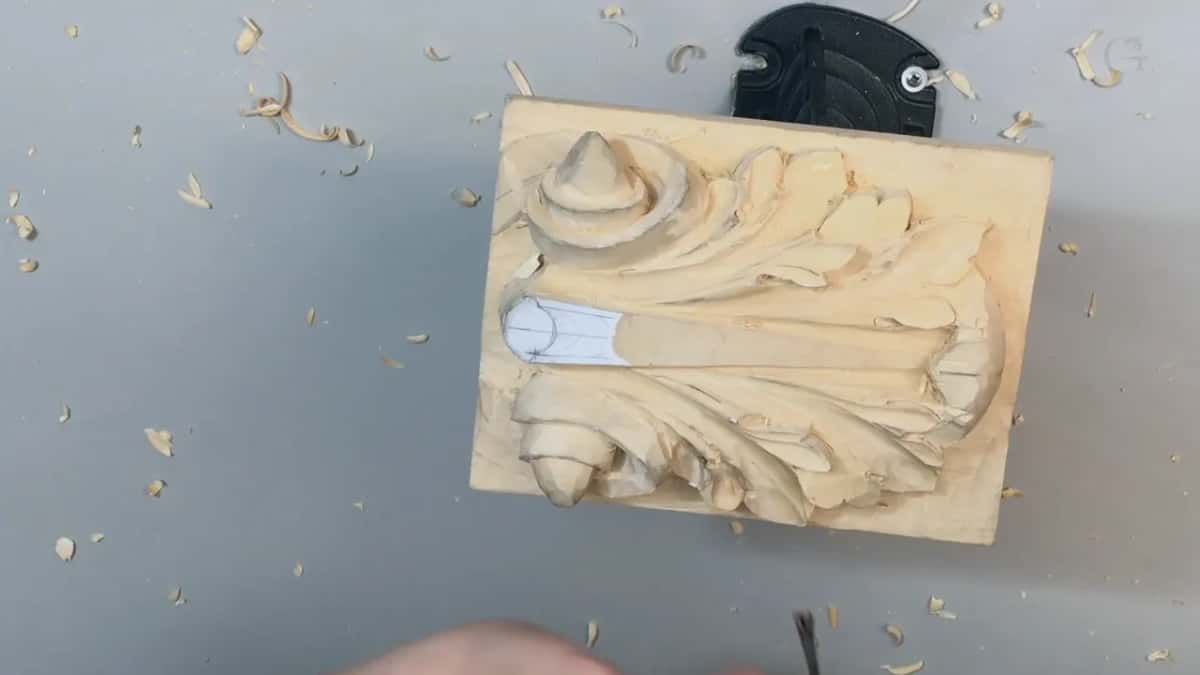
Late in the lesson I gave another reason I like this vise. I was looking from an angle, but I can always rotate it and look straight down. From there I can see exactly what is going on, and if I'm off somewhere, it's much easier for me to fix.
One side was not really symmetrical yet. Not a big deal. Still, I would like to see it close to how it was designed in the first place, so I cleaned that a little bit.
Then the checks. I've got my eye and I've got another eye, and those are on the same line. After that I went for the high point, the high reach, on this pipe and on that pipe. A small gouge, about an eighth, refined the movement. I was happy on one side and not too happy on the opposite side, so the small tool went back to work there.
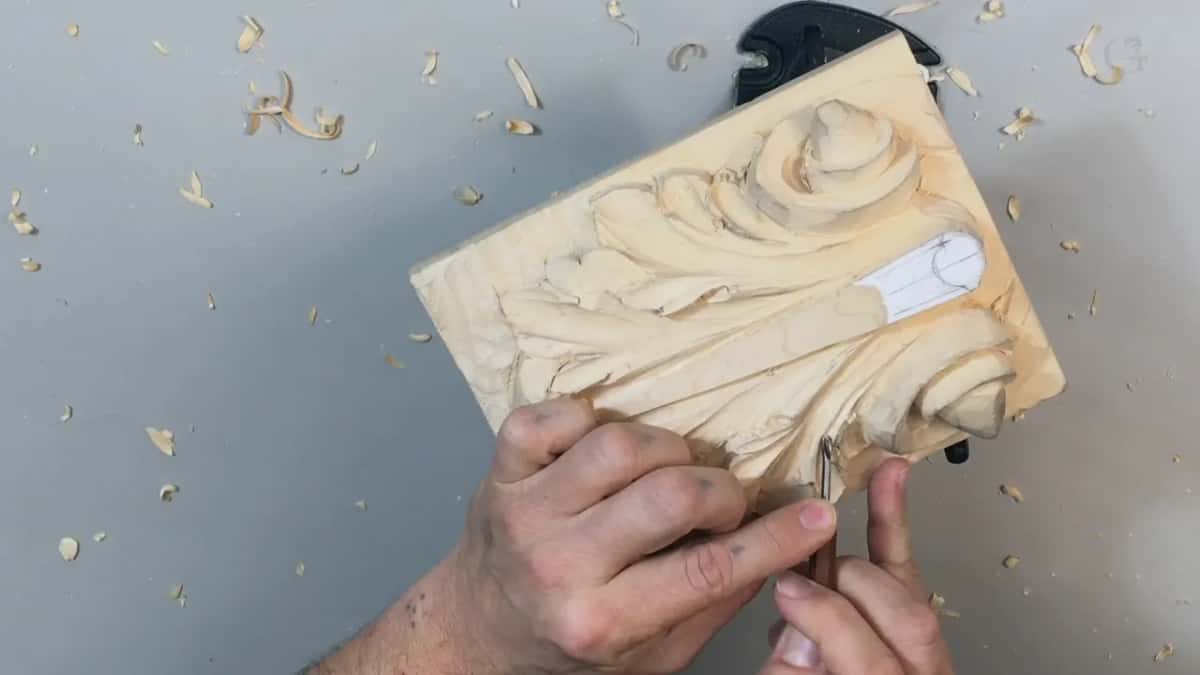
Which gouge fits between two acanthus pipes?
An 8 fits, and a 9 fits too. Sweep 7 does not. Here's a pipe and there's a pipe, and the material between them had to come out. I used what was already in my hands, a number 8 gouge at 1/8 inch, 3 mm.
That number is the sweep, the curve of the edge. A little earlier, on the left side of one pipe, the small Dockyard was the only tool I could probably fit.
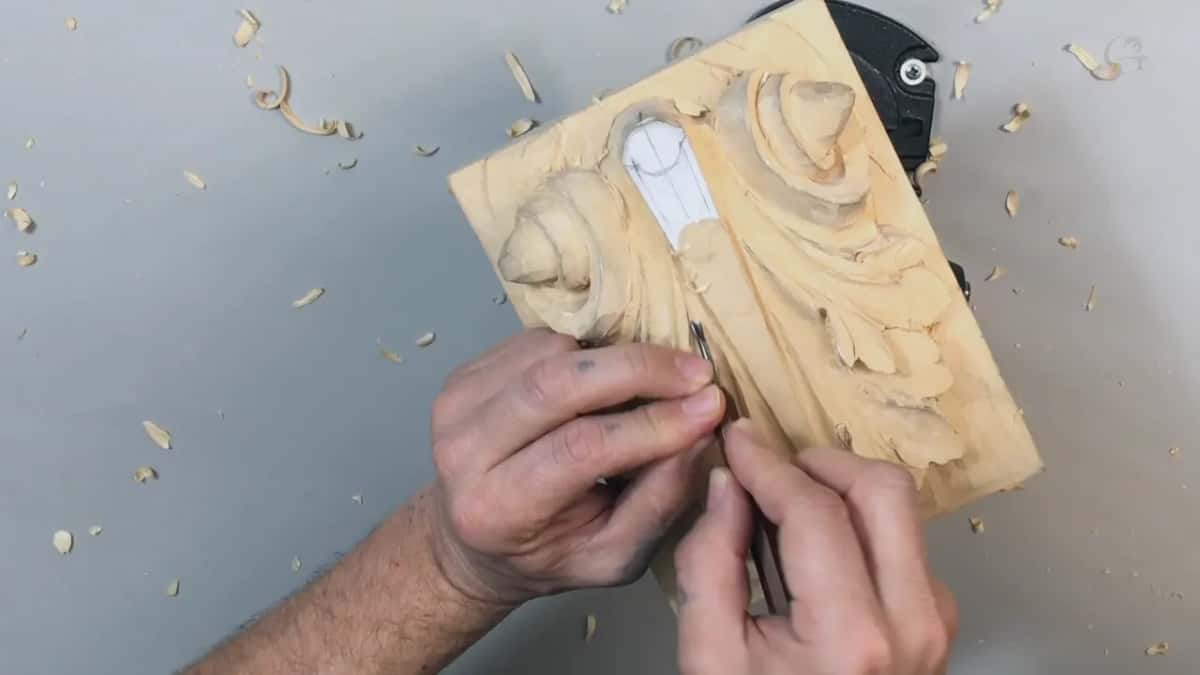
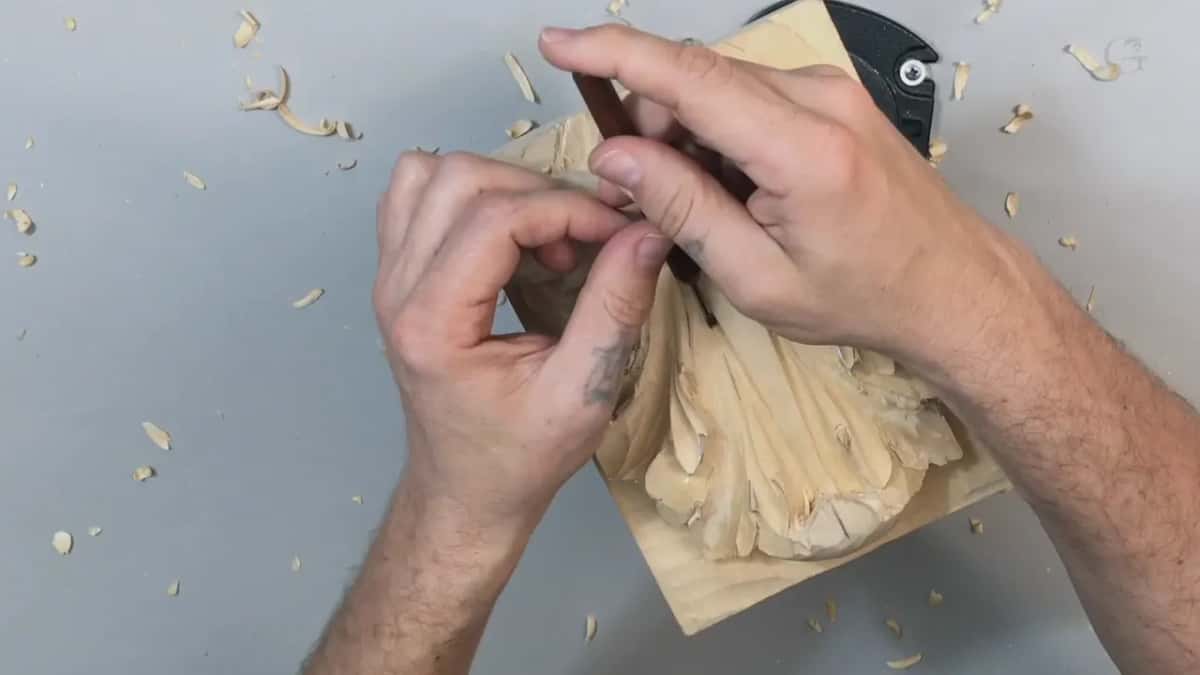
And believe me, those details do matter. They really matter. Carving is all about the smallest, tiniest details. Even a preliminary pass, not the final one yet, helps me see what exactly is going on and get my movements right.
What does a fingernail grind do on a small gouge?
A fingernail grind lets the edge slice, so I can rotate as I go and get a much cleaner pass. If you don't know what a fingernail is, look at two gouges side by side. One has a straight edge. The other has a rounded edge, like a fingernail.
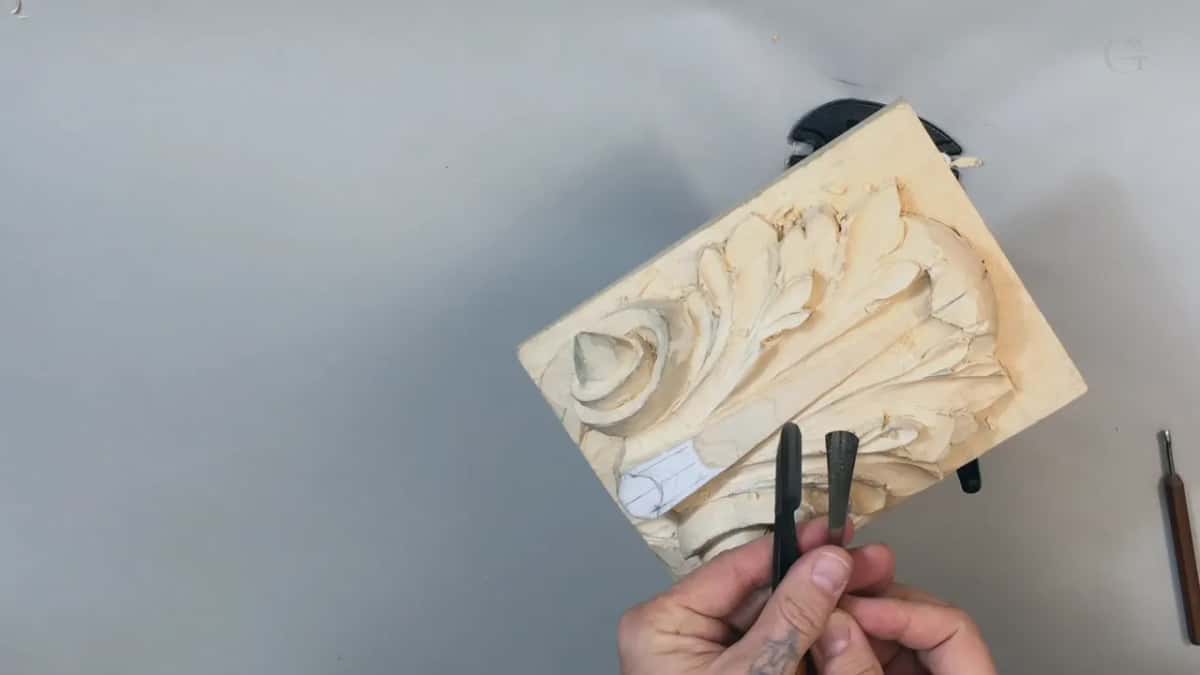
On my small ones I have exactly the same tool twice. Both are the same size, an 8, but one of them has a fingernail. That's what I did when I sharpened it.
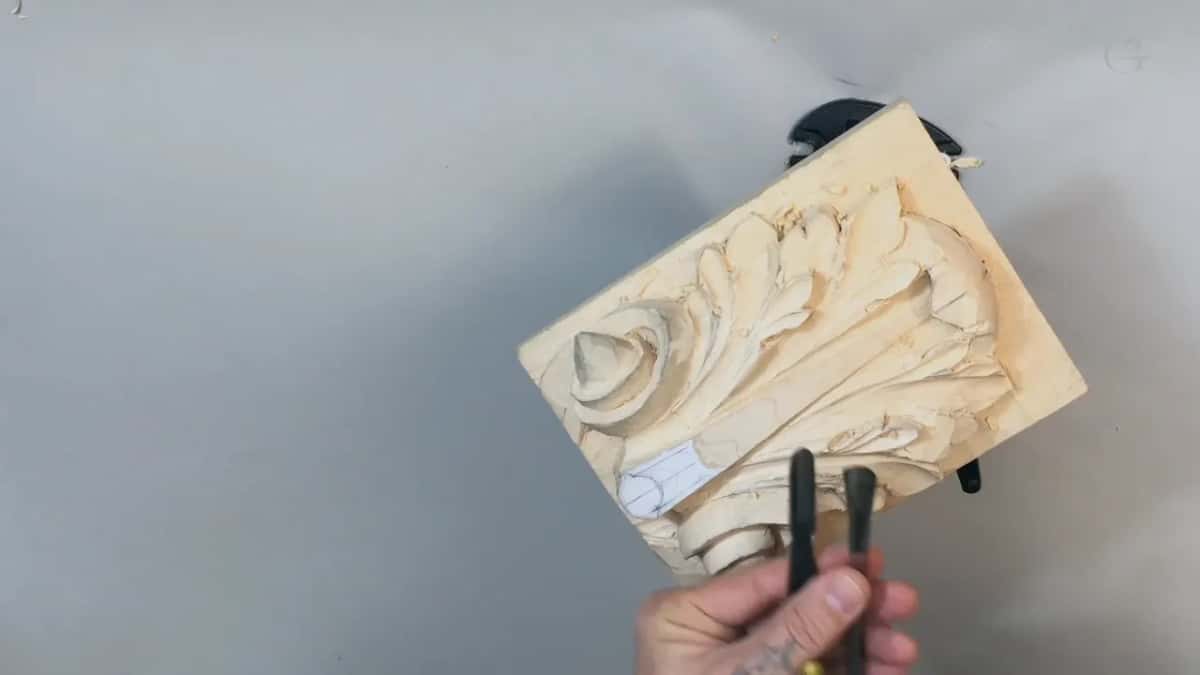
You don't have to have that. You will still be able to use a normal straight one. I kind of like that idea, though. The fingernail one carved inside the eye, and the eye on the other side got exactly the same.
Why hold your hand so close to the edge?
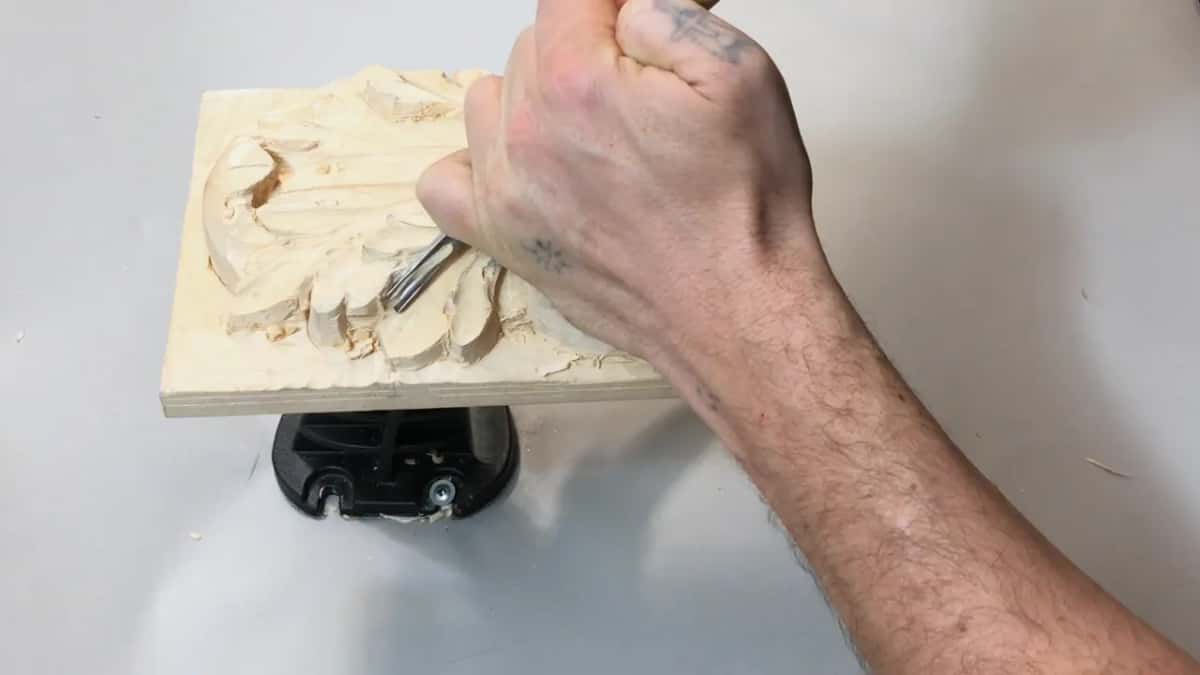
Control. I'm always holding my hand really close to the edge of the tool. That way, I can control it more accurately.
The closer to the edge I hold it, the more control I have. I can actually make really long, continuous passes all the way if I need to, and that is good.
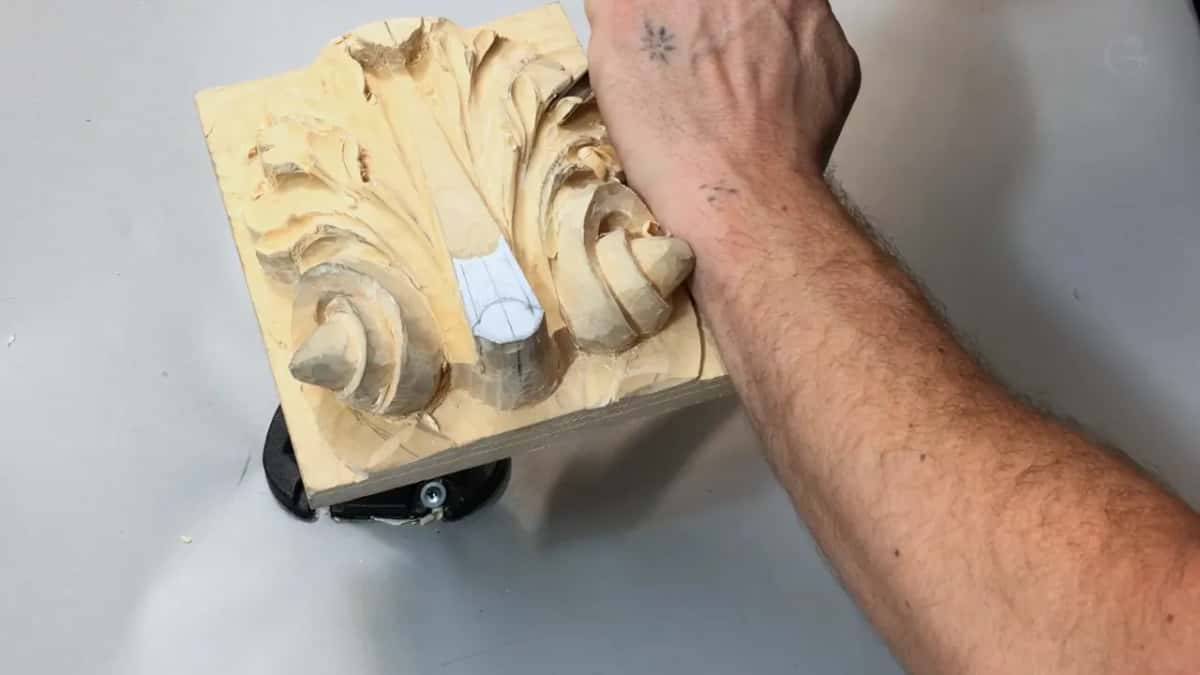
Then there's the grain. When I set the overall shape with the number 3, I needed to attack from a different side, I said, because of the direction of the grain of the wood. On one side in the next part, I said I could probably go against the grain. Absolutely no problem with that.
How deep do the eyes go now?
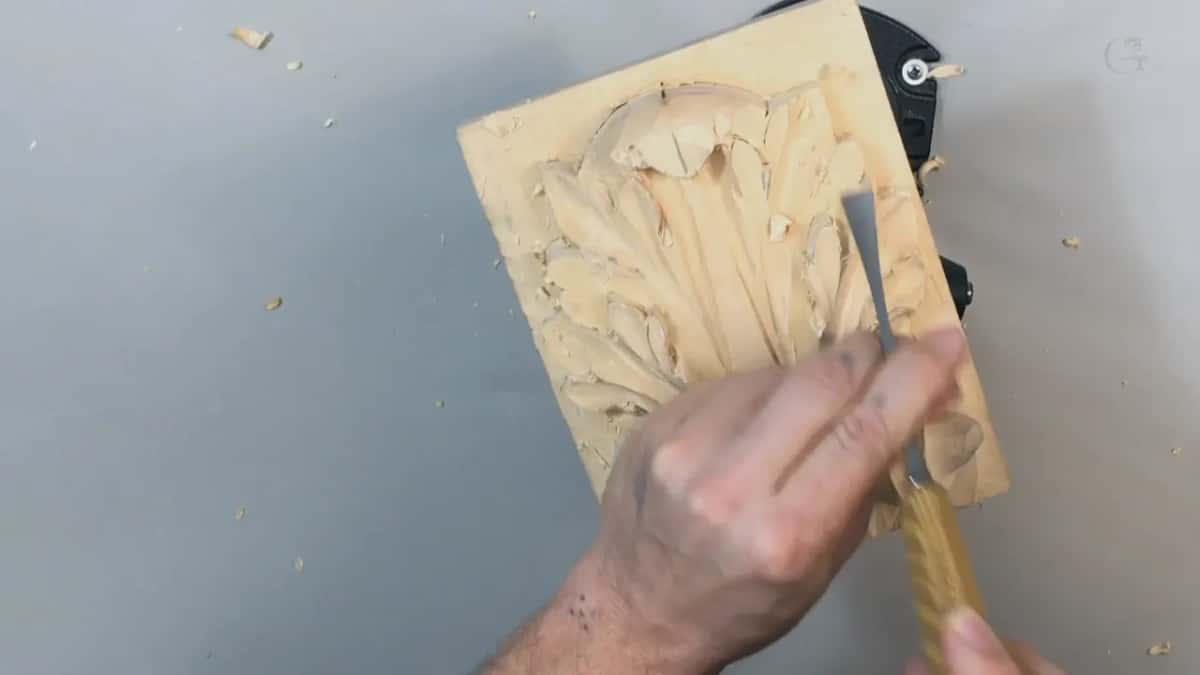
Deeper than they were. Near the end of part four, I refined one section of a pipe and made a deeper excavation at the eyes, so I could distinguish them and see what's going on. Then the same on the other side.
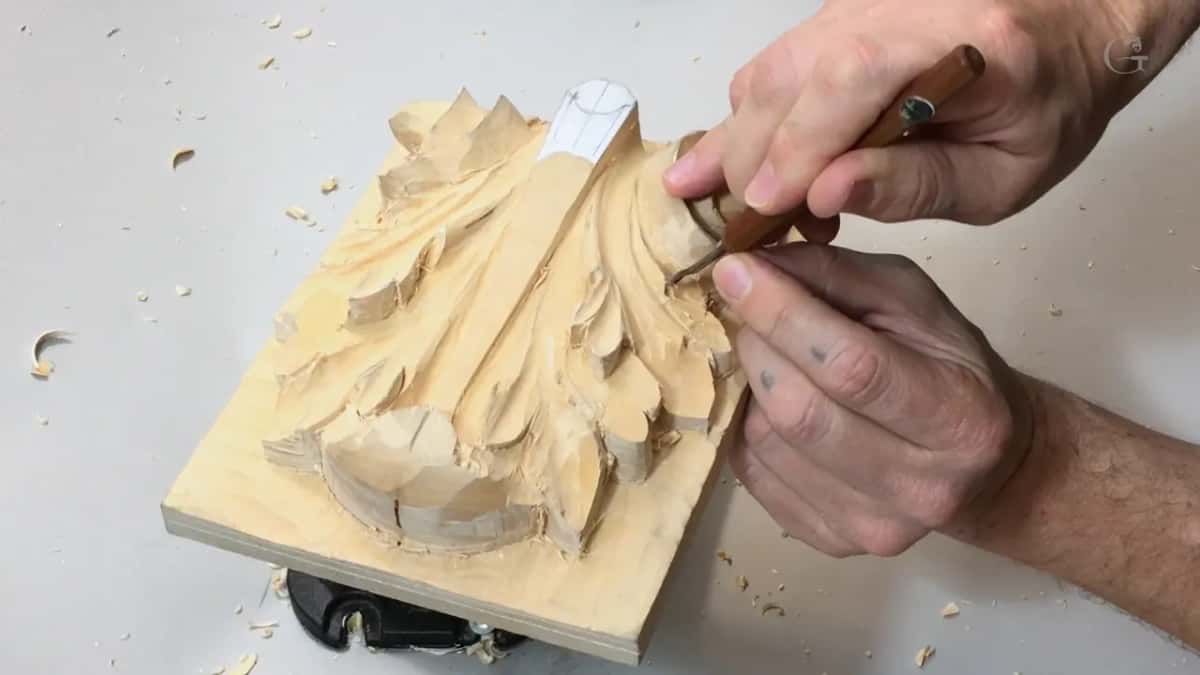
The eyes are not finished here. Later on, I said, maybe I would do something unique at those eyes and the pipes, something that, as I put it on camera, was introduced to the acanthus in the Roman era. That was for future workshops.
In lesson 12 I came back to it. The artists and sculptors in history, I said there, added some return on those eyes, so each one looks like it's coming from inside out.
The leaf itself waits too. Later, once I undercut, we extend this leaf underneath, and then it makes sense. Right now it doesn't make too much sense. It gives a three-dimensional feel, and not just a feel, because it's going to be a real three-dimensional leaf, and you'll see that from the side.
What do the tiny gouges add to a pipe?
A better shadow line. After that 3 mm number 8 I went smaller still. I have several of those tiny, small gouges, and one is just a 16th of an inch, about 1.6 mm. I thought about which one to use and took maybe the 3/32, about 2.4 mm.
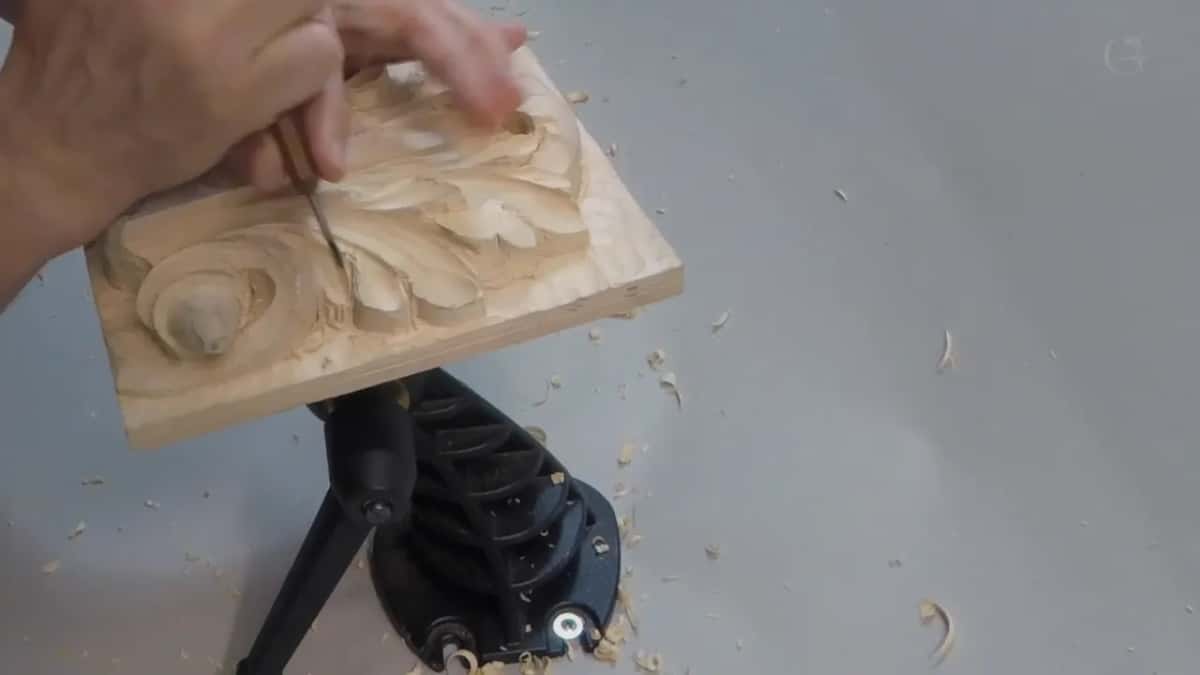
Just because I made that pass with a smaller tool, it gave a better shadow line. I could see it already. Again, it's all about the light and the shadow.
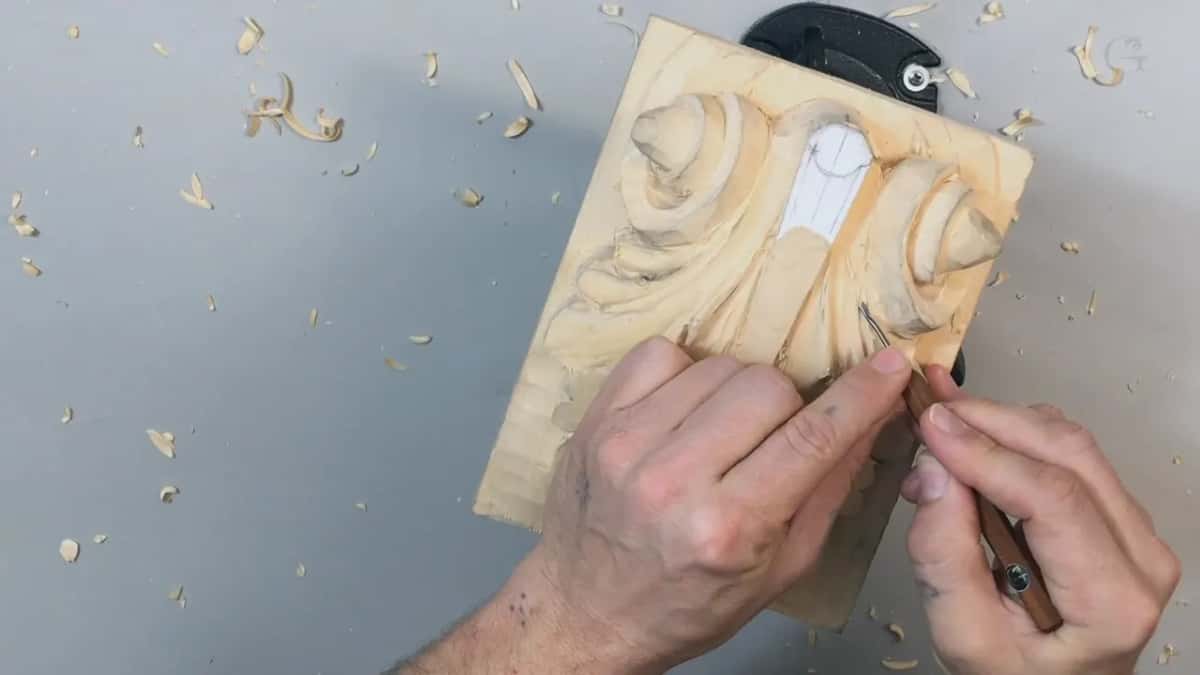
In fine art, light matters too, and so does color, and a whole philosophy grew up there about the colors. In wood carving you don't use too much color. Yes, you can shade some areas, but we're not talking about color here.
Sometimes I even exaggerate those pipes. Instead of only rounding them like a convex, I make a little undercut with a small gouge, maybe a 16th of an inch or a 3/32, on one side, sometimes on both sides, just to create the shadow line. It's too early at this stage, but you will understand what I mean.
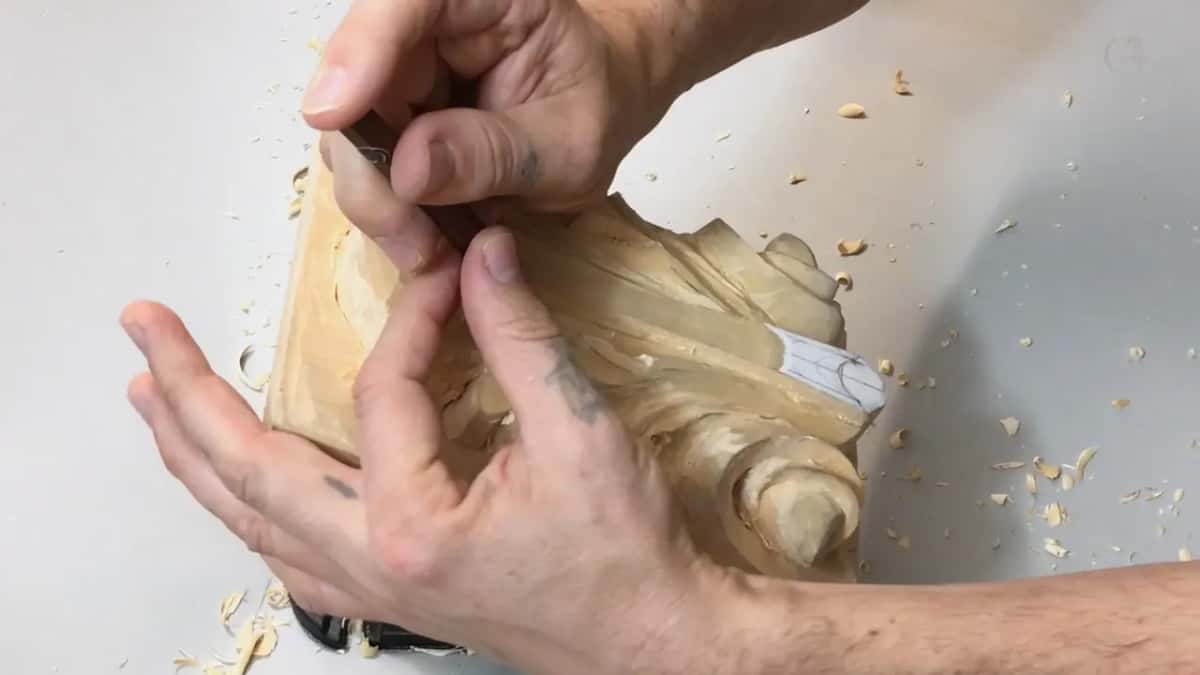
You don't need tiny tools like mine. Any small tools will work, especially in this stage. This is not micro carving. For micro carving, yes, definitely, I would use just micro tools, like the one I pick up in lesson 14, less than a millimeter. But not in this case.
Did Grinling Gibbons put a finish on his carvings?
No. I was talking about England in part three. Carvers there in the 14th and 16th century never even stained, I said, while German carvers did stain their work.
I showed in another workshop how they took walnut shells, boiled them, and used that as a stain.
Later, in the time of Grinling Gibbons, he never stained his work. Not even wax. The wood stayed natural and white, with no finish on it whatsoever. There was no stain and no shellac.
How the light hits and what shadow it makes, that is the idea. To judge how deep a pass should go, I keep rotating. That's why I like that vise. I can turn it and see how the leaf looks under different light, and it helps me decide whether to carve deeper or not as deep. Every move, every slice, really matters. Believe me.
Do you need a back bend for the pipes?
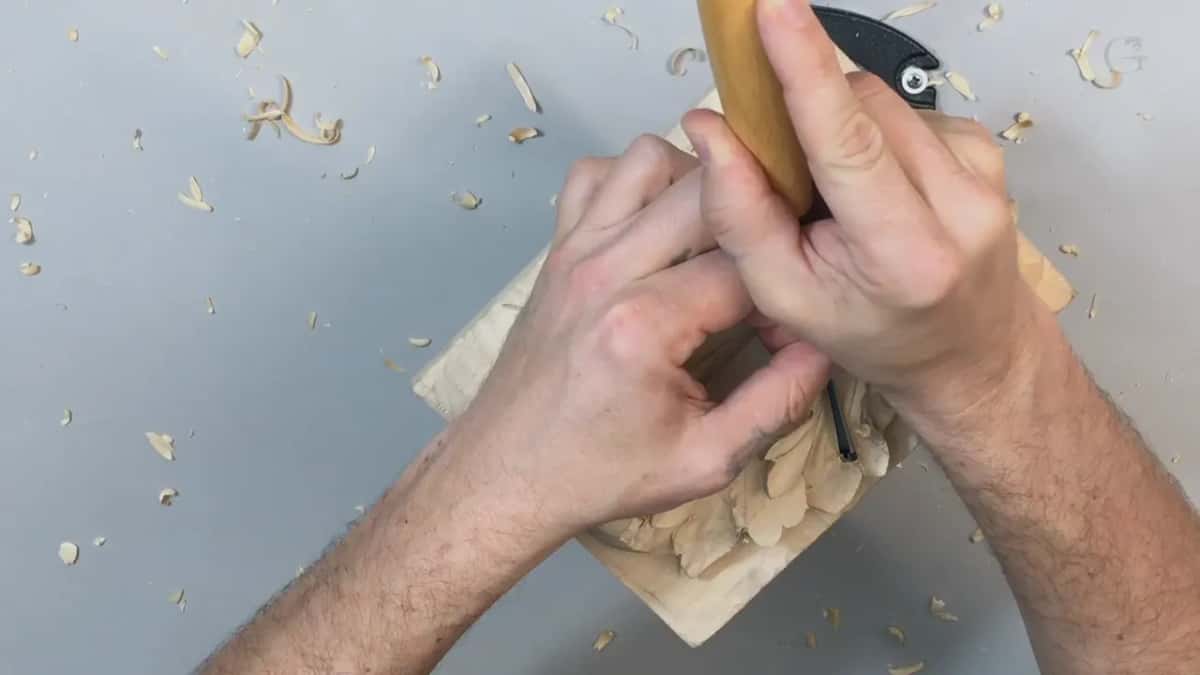
You can get by without one. In part three I took a number 5 and used it upside down on the pipes, just to smooth them out, because you could see the ridges and they were not too nice. I could rotate and hit them from the opposite side.
Right there I said I probably should use a back bend. A back bend would help me a lot. But it was all right.
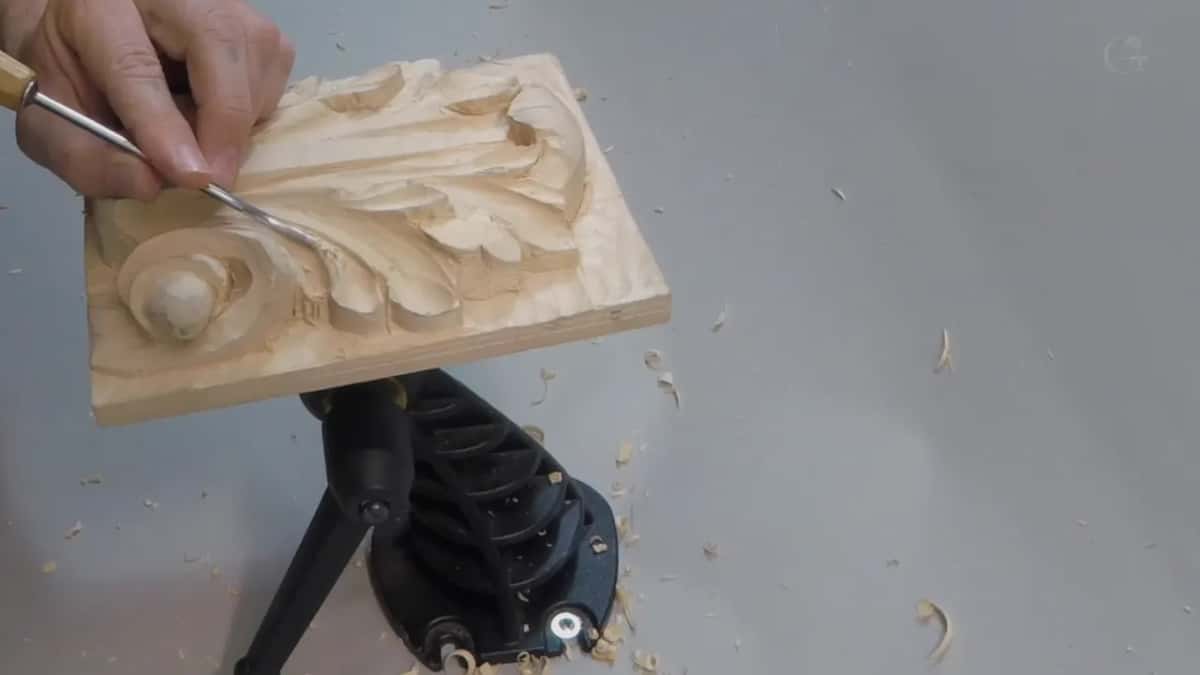
Later in that part I did take one. Mine is a 3 mm back bend with a number 5 sweep. It's marked as a 25, but the sweep is still a 5, equal to a number 5 straight gouge. I use it because it's just easier to reach. With a straight gouge I sometimes have a limitation. This one raises my handle higher, and it has a gooseneck, so I control it much better and my passes come out cleaner and nicer.
It's not something you really have to have. I said it again in part four, that a straight number 5 achieves the same result. But personally, I use a lot of back bends.
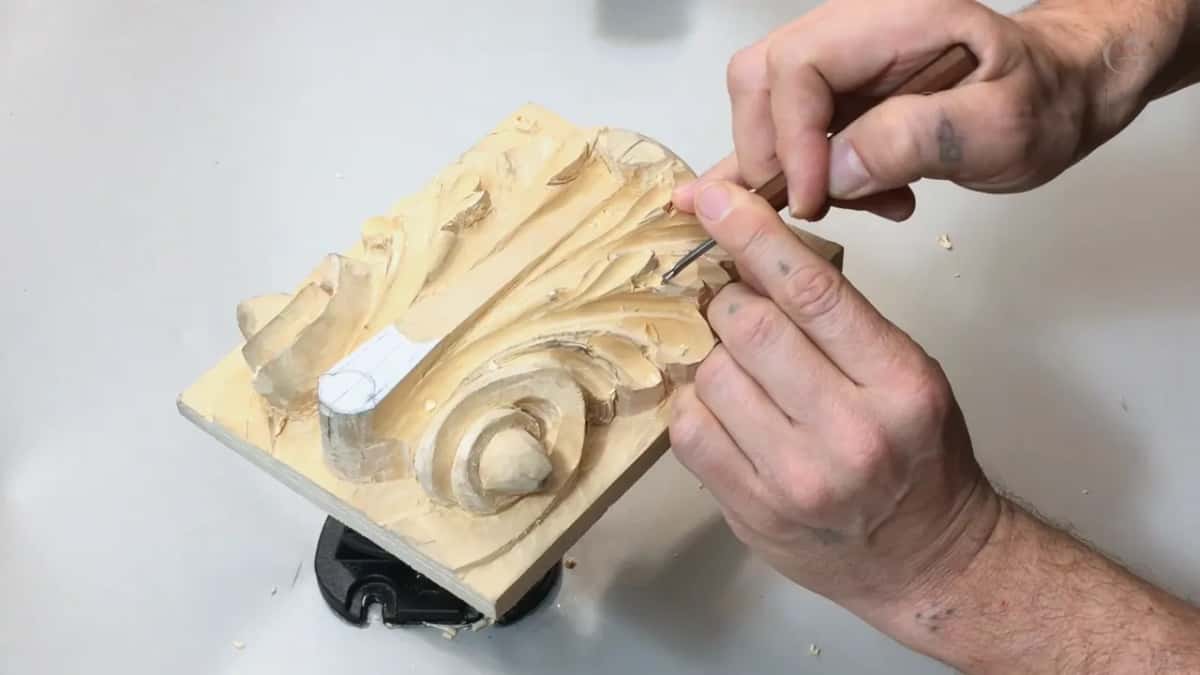
Ridges get the same care. One ridge in part two was almost not noticeable, but it should not be there. It was kind of high, so a number 5 went along the whole movement. Two more ridges had to go in part four, so I lowered one and took out the other, and a tiny gouge, about 3/32 of an inch, took material off the sides.
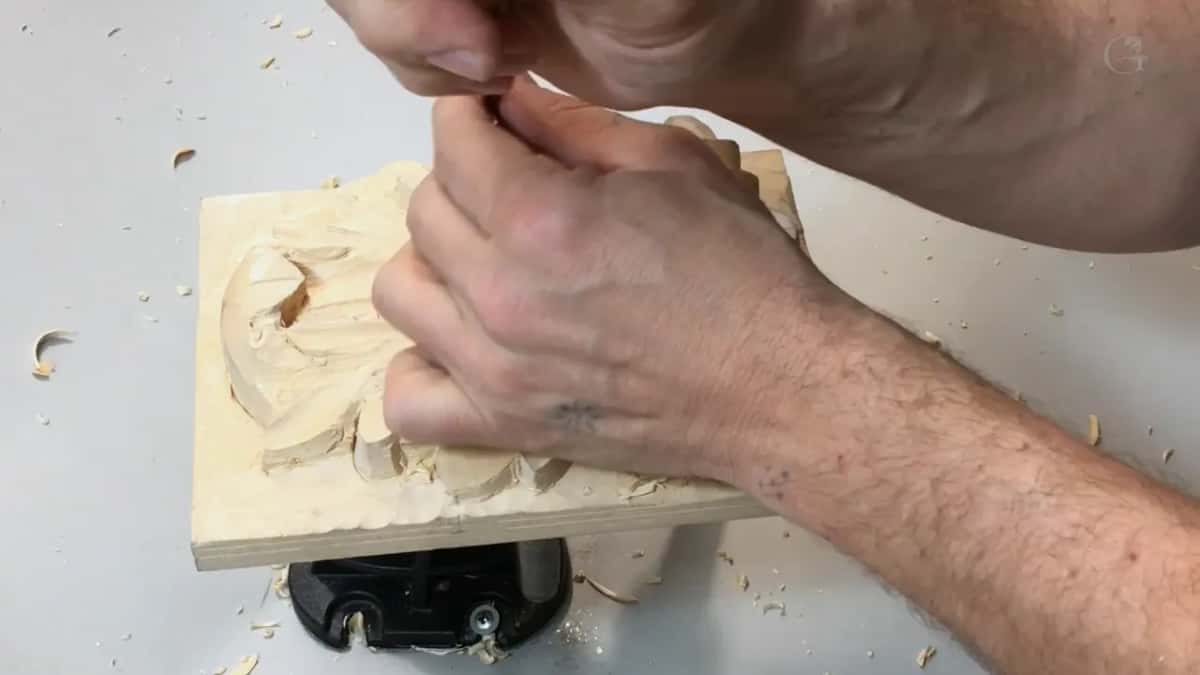
For the outside movement I took a number 7 at 14 mm (about 9/16 in) on both sides, so I could see exactly what was going on. Any number 3 or number 5 would work on one side, I said in the last part. I had a number 3 on my table, although a number 7 was probably better in that case.
Which tools did this lesson use, and where?
| Tool | Where | Note |
|---|---|---|
| Quarter-inch number 9 | a couple of passes along the side of a pipe, early on | from the cleaner side, 6 mm |
| 5/16 inch 9 | the main movement of each pipe, taken a little deeper | close to 8 mm, not a quarter |
| Dockyard 1/8 in | the left side of a pipe, then the gap separating two pipes | sweep 8, 3 mm, the small one |
| Fingernail number 8 | carving inside the eye with a slicing action as I rotate | my own grind, and only optional |
| Half-inch number 3 | setting the overall shape of one section again, from the grain side | the bigger gouge here, 12 mm |
| Straight number 5 | smoothing transitions and ridges, even turned upside down on the pipes | quarter inch for the transition |
| 3 mm back bend | flow lines where a straight gouge hits its limit on reach | marked 25 but a sweep 5 |
| Wide number 7 | the outside movement of the leaf, the same on both sides | or about 9/16 inch, 14 mm |
| Tiny 1/16, 3/32 | a thin shadow line beside the pipe, with a little undercut | roughly 1.6 mm and 2.4 mm |
How many carving tools do you really need?
It depends. The whole idea that you can get by with a minimum amount of tools, maybe it's good. But I really don't support that idea. The more tools you have, the more unique work you are able to do. That is true.
One gouge and one knife will carve beautiful work, and I have done exactly that. But it still limits you.
One of my heroes in wood carving is Grinling Gibbons. I said on camera that I know for a fact he kept collecting tools, and that you can see the progression of his designs, much more complicated work he couldn't do before he got some tools.
Now, money is a big part of it. I do understand that. It's also about motivation, what you really want to do in your life. If it's just a hobby, maybe you don't need really complicated tools, and you can do without them. But if you want to do some unique work, I would suggest you get all the carving tools you can.
Some carvers say they use 10 or 12 tools on a regular basis. Maybe that is true for them. Not my case. I've got lots of tools, and I'm using most of them. Sometimes I reach for different tools for the same task. You get bored with the same tools, and sometimes you want to challenge yourself.
Near the end of the lesson I said a V tool is a good idea in spots like that. It's one of the friendliest tools you can have, because there's a lot you can do with it. A carving knife can solve the same task. So that's really handy to have on the table, or the workbench, I should say.
Can you hold a small gouge? And can you turn a panel so you look down on it from straight above, the way I do on my vise? Then you can do this stage, since any small tools will work here. The whole Roman acanthus course is open with tuition, the next one is lesson 8, and if you are new, you can start here.
How it's done
- Compare the two halves. Eyeball the reach of each pipe against its partner on the opposite side, without the picture in front of you.
- Clean the flanks. Run a 6 mm number 9 beside every pipe, approaching from whichever direction leaves a clean surface.
- Put in the eyes. Use a small number 8 at 3 mm, then do the other eye the same way.
- Clear between pipes. Lift out the wood in that narrow gap with the same 3 mm number 8. That size in a number 9 also works; a 7 is the wrong choice here.
- Smooth the ridges. Turn a number 5 upside down, or grab a back bend, and draw it along the pipe until the ridge is gone.
- Go smaller for the line. Switch to a 1/16 or 3/32 inch gouge and carry a thin line along the pipe's side.
- Look down from overhead. Rotate the vise so you face the panel squarely, then fix whatever half still looks off.
Frequently asked questions
Should a small carving gouge have a fingernail grind?
No, a normal straight gouge will still do the job. I put a fingernail on one of my two eighth-inch 8s when I sharpened it, because the rounded edge slices and lets me rotate during a pass. I like the idea, but you can carve this leaf without it.
Why dig the eyes of an acanthus deeper?
A deeper eye is easier to tell apart. Late in part four I dug them deeper, to tell them from the rest and see what was happening on the leaf. In a later lesson the eyes get something more, a return that looks like it comes from inside out.
Can you carve an acanthus with only one gouge?
Yes, and I have done it with just one gouge and one knife. You can make lots of beautiful carvings that way. But a small kit still limits you, and more tools let you do more unique work. Grinling Gibbons kept collecting tools, as I said in this lesson, and his designs grew with them.
What to carve next