
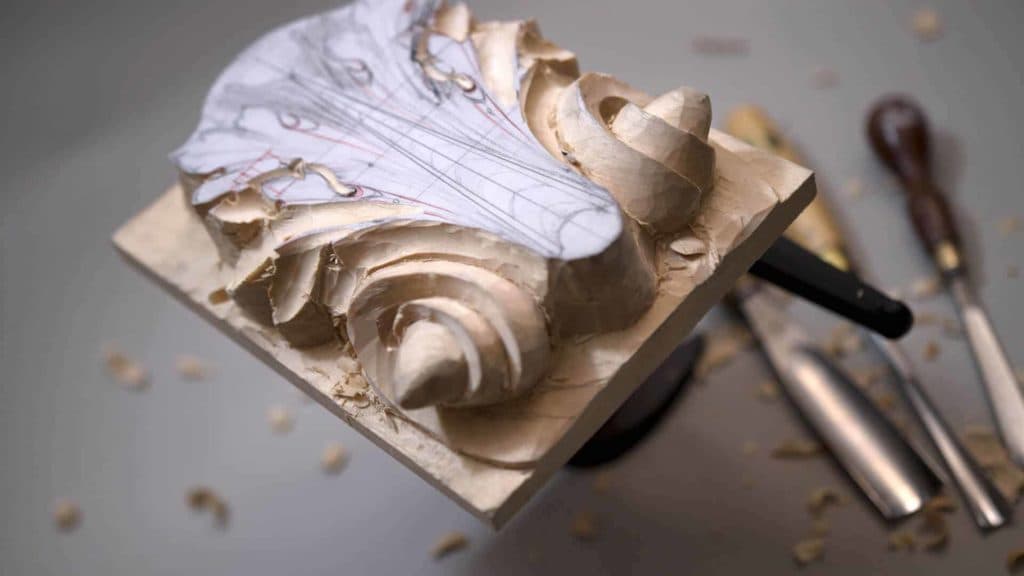
Alexander Grabovetskiy, woodcarver, School of Woodcarving · Published 2018
How do you stop a relief carving losing its design?
Quick answer: Keeping the design of a relief carving is a habit of putting the lines back while the wood comes off. In this Roman acanthus lesson I check a leaf point against its partner on the grid, mark a small pipe in red, press the eyes in early, and send my number 3 straight in once more for reference.
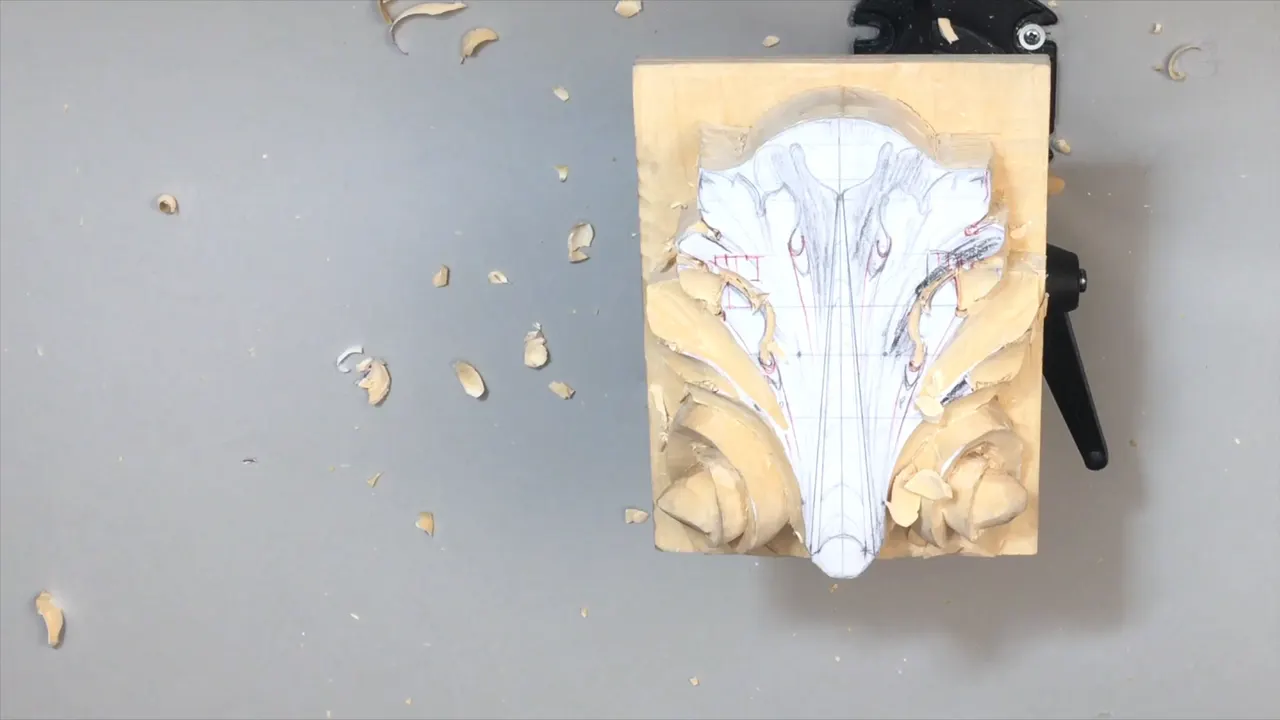
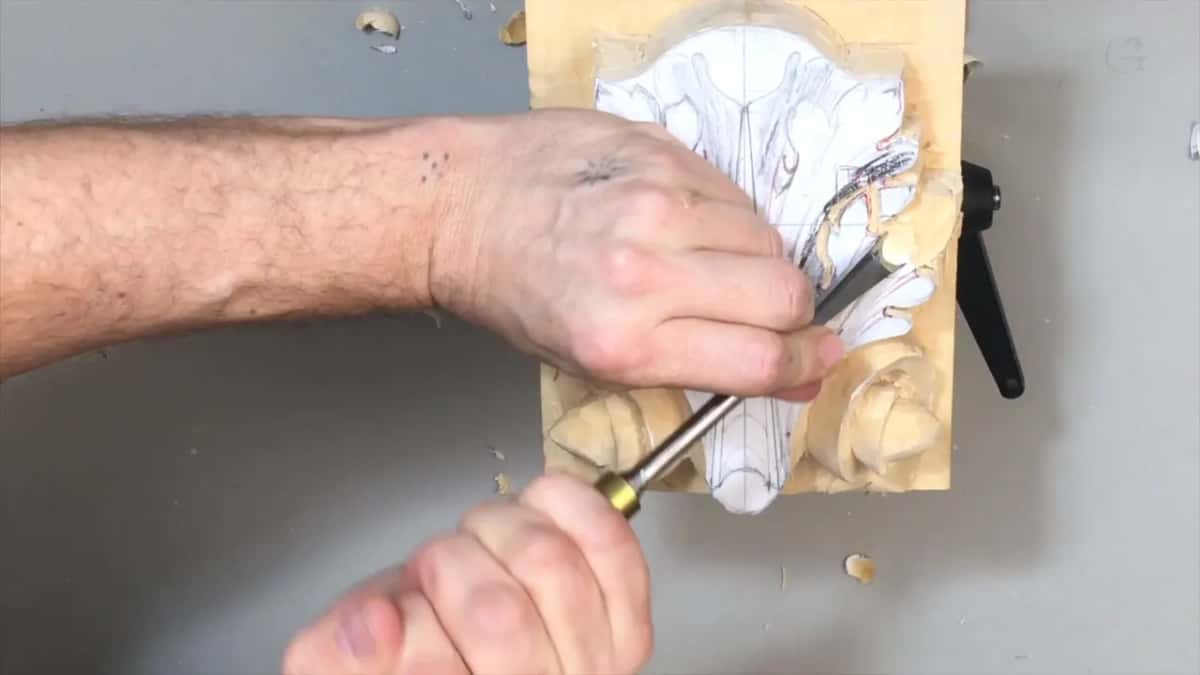
Keeping the design, in this lesson, is re-establishing my overall picture again and again while the wood comes off. The piece is a Roman acanthus leaf carved in relief. Today I concentrate on one section, where this leaf will overlap, and I want to make sure I am not losing my overall design.
Wikipedia's page on the acanthus calls it one of the most common plant forms used for foliage ornament in the building tradition that came out of Greece and Rome. Mine is the Roman one, and this is lesson 3 of the Roman acanthus course.
Can you hold a gouge upright? Can you see where a drawn line runs along the edge of a leaf? Then you can keep both halves of this leaf on their lines, the way I do here.
We're still going to work on the whole piece, and later we return to those volutes. Right now it's more or less a rough form, an overall shape.
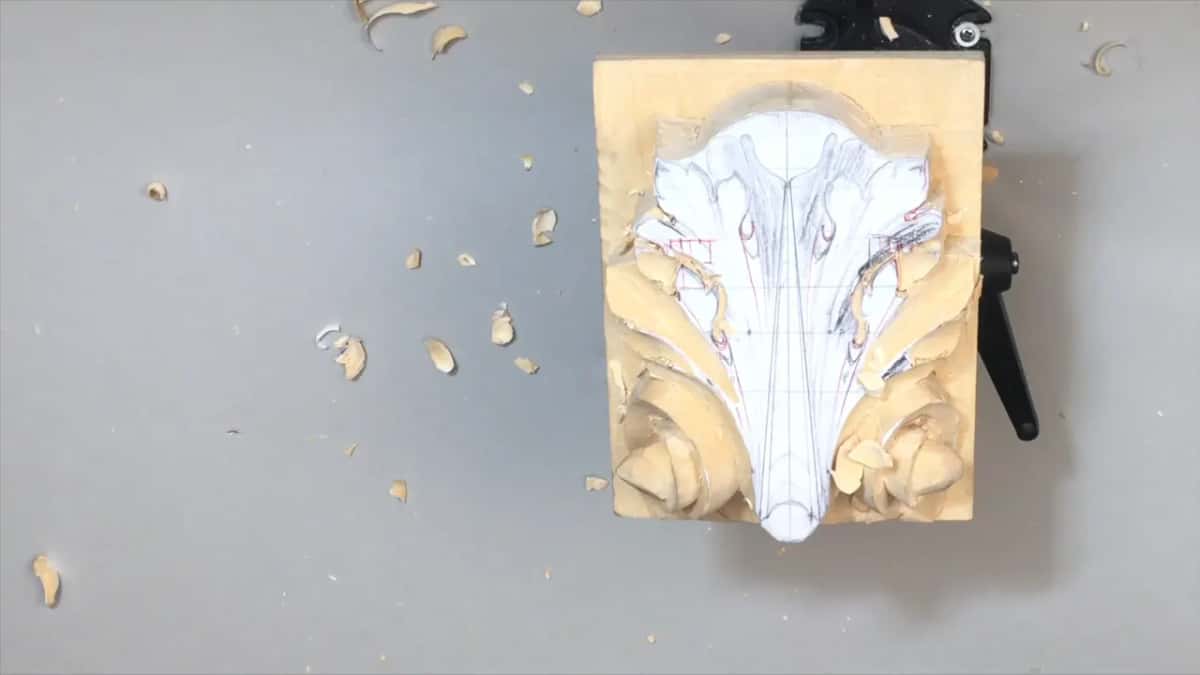
What I do in this lesson to keep the lines
- The grid on the paper checks each point against its twin on the other half.
- A gouge laid on the drawing shows if its curve fits.
- Gouge or V tool first, chisel second.
- Red marker on a small pipe I'm afraid to lose, and a tiny gouge pressed straight in with a wiggle.
- The eyes go in early.
- After a heavy pass, the number 3 drops in again as a reference.
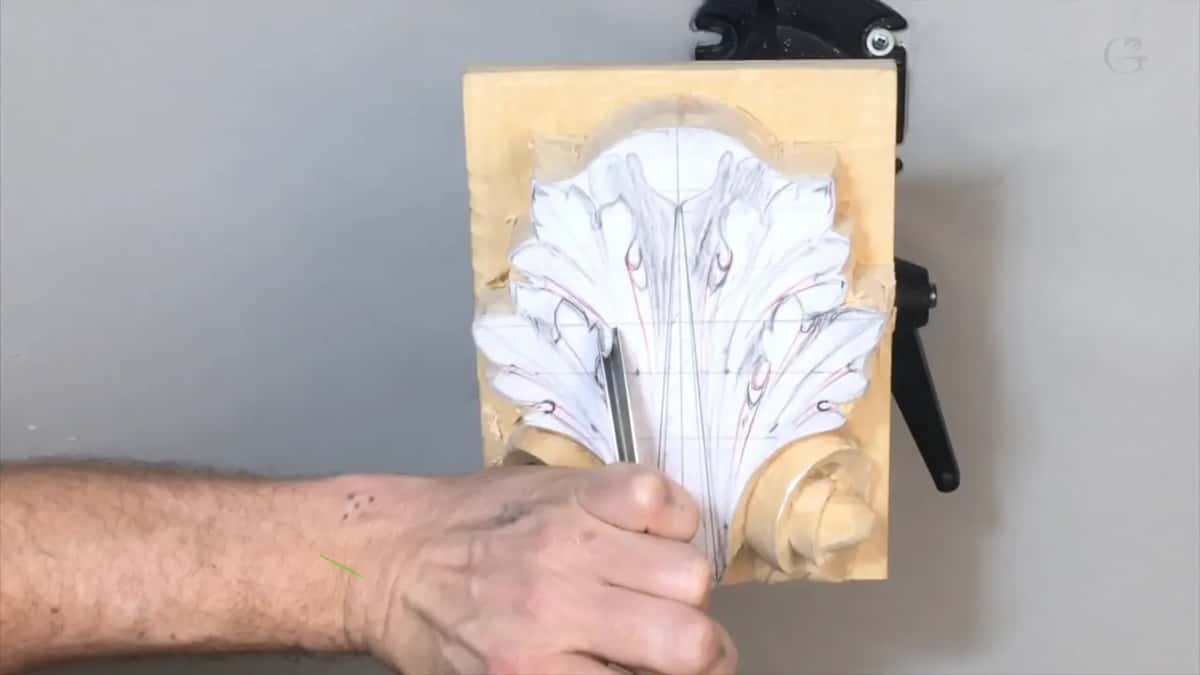
Why does a relief carving lose its design while you carve?
Details go first. Yeah, we're going to lose lots of the details that were originally drawn, I said on camera, but we're still going to be on the same lines if we take a careful approach. The drawing sits on paper, applied right on top of the block back in lesson 1, and you can see bare wood through it wherever a gouge has been.
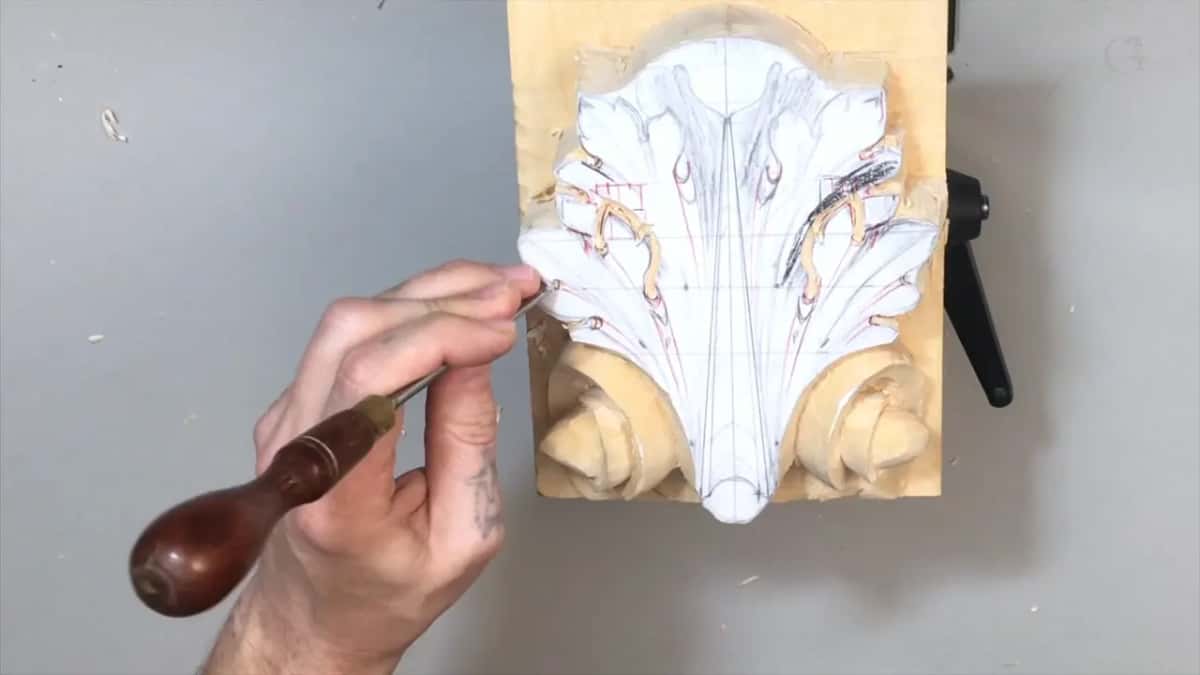
Near the start I took a number 15, 6 millimeters (about 1/4 inch), and went around both sides of this section. I'm getting pretty close to the final design there, and I'm okay with that.
So the details can go. The lines can't, and a lot of this lesson is me putting them back.
How does the grid check a carving halfway through?
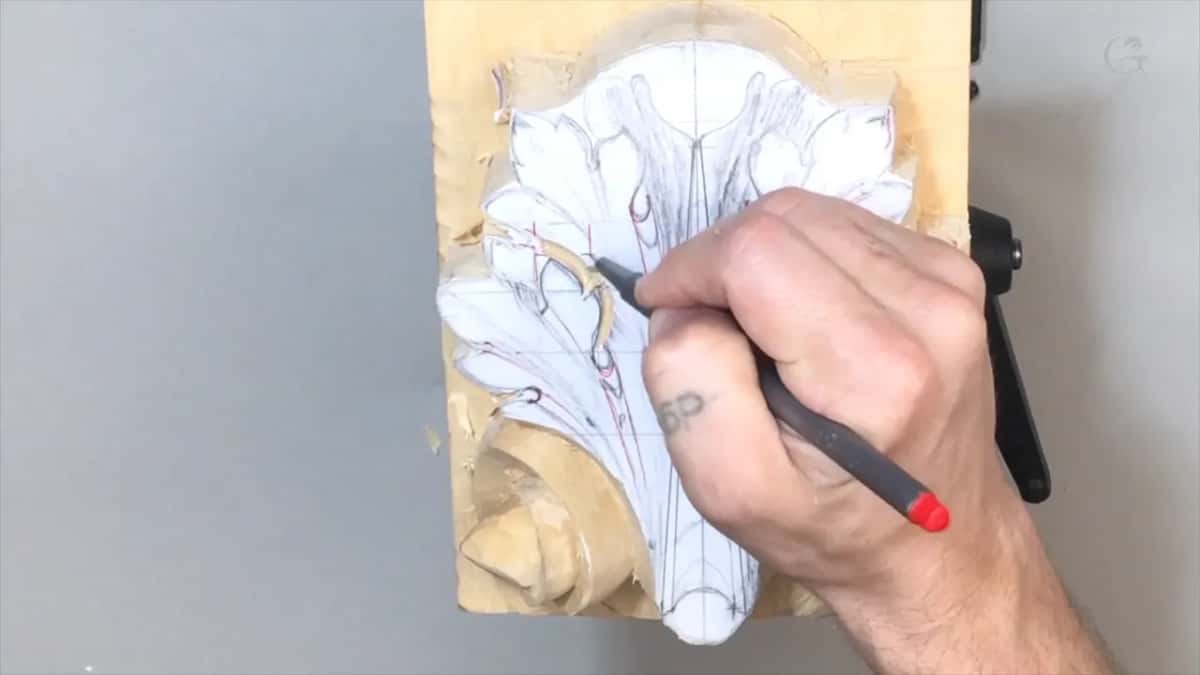
One point at a time. That grid we created actually helps me to see. On this section, the point of one leaf sits right on a line, and the point of its partner on the other half should sit the same way, right on the line.
Spaces work the same way, and I took a red marker to explain what I mean. Take one space of the grid and divide it right in half, and a point is going to hit right in the middle of it. Divide it in four parts and the point lands at about three quarters. That's easy to figure out, and on the other side the point sits approximately at the same position.
Two lessons later, in lesson 5, I lean on the same trick. It brings back the movement of a pipe: from a point on the original drawing you go downhill about five millimeters (3/16 inch), and the point is right there. Again, the grid is actually helping me to recreate the movement.
And I'll repeat myself. If it's not completely accurate, don't worry about it. You're still a human being, and you can't work like a machine, although you can try to. But I believe it won't look as nice, and the reason is further down this page.
Which leaf goes underneath which?
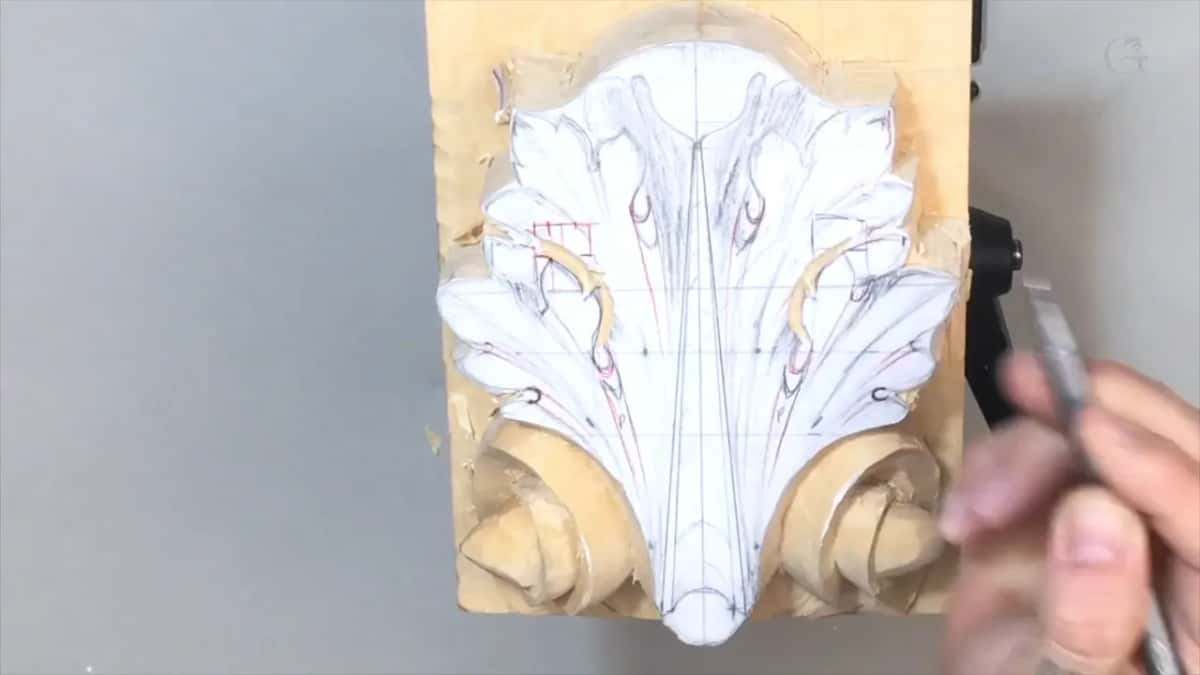
It's in the drawing. Back in lesson 1, right after the flow lines and pipe lines, I said those leaves are going to overlap. Now, in wood, I have to keep it straight: this leaf goes underneath that one, and the other side will match. That part of a leaf will go underneath this part.
I'm careful not to make any mistake there, on this side or on that one. Later, with a number 7 in hand, I said it again: this leaf passes under that one, or sticks out from inside out, and this one does the same.
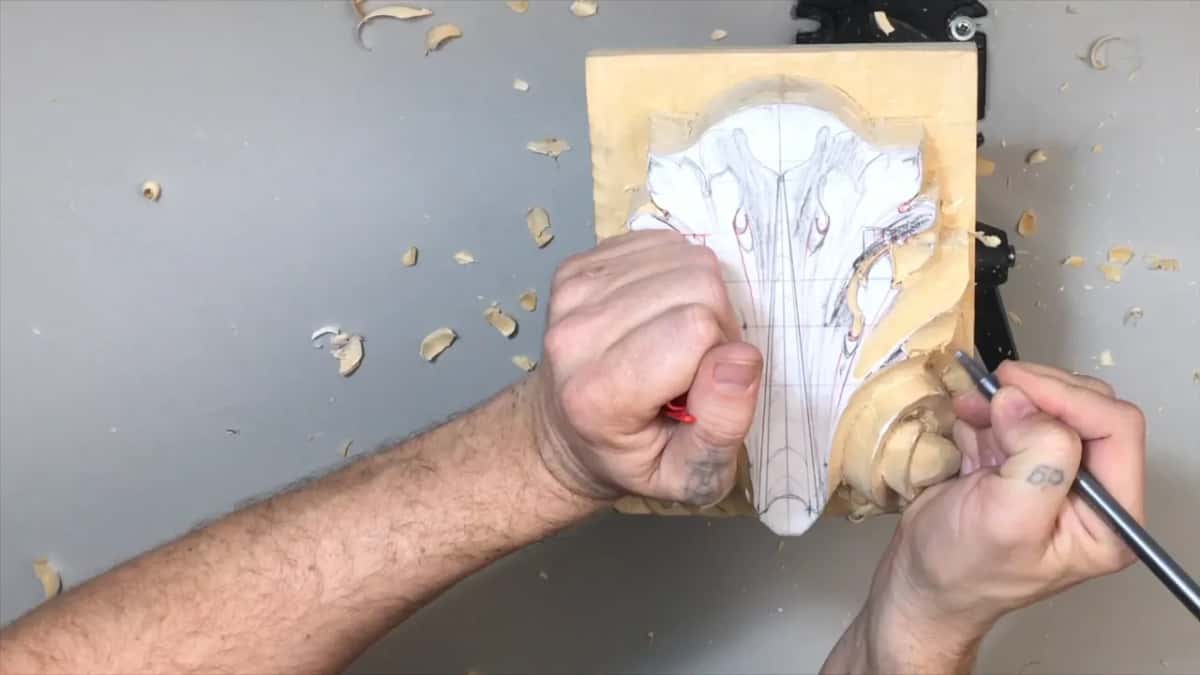
And again, I don't want to lose my pipes, the lines I marked in red when I drew the leaf. Really important not to.
How do you pick the gouge that fits a curve?
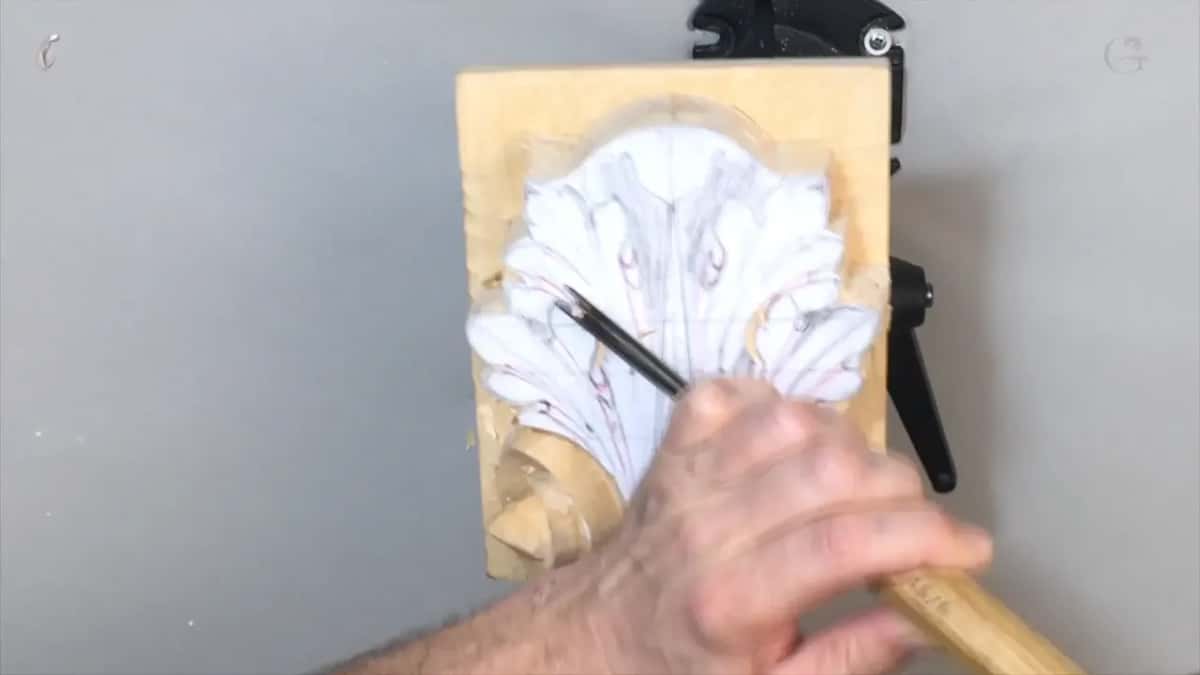
Put it on the line and look. I took a number 3, half an inch (13 mm), since I thought it was going to match the movement. And yes, it does. When I place my gouge right on the leaf, you can see I'm pretty much on the same line I drew.
The tool card on the screen agrees with me: straight gouge #3, 13 mm.
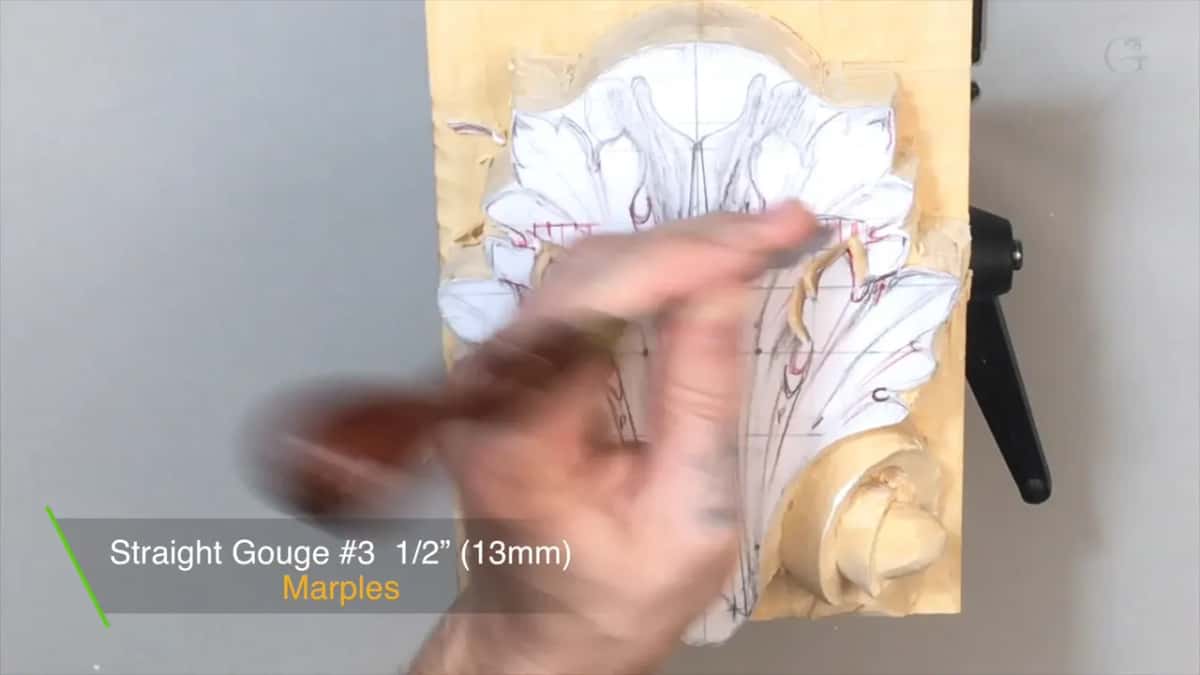
Then I mark it, just preliminary, and think out loud about which way is best. This way, probably. I drive it a couple of times down and repeat it on the other side.
What makes a chisel smash the fibers?
You're pressing on them. Don't overdo it, I said, because when you just drive the chisel inside like this, the fiber is kind of smashing on both sides.
That's why I don't recommend doing it every time without first using a V tool or a small gouge. On this leaf I had used the gouge along the line already. Then I put the very same number 3 on the line and drove it, and you can see the fibers on the right-hand side are not smashing. They come away, and this side comes out really clean.
Skip that step and the damage hides for a while. The last lesson of this course puts it this way: it looks good, until you look tomorrow and those fibers come back, and then it looks like a really rough cut.
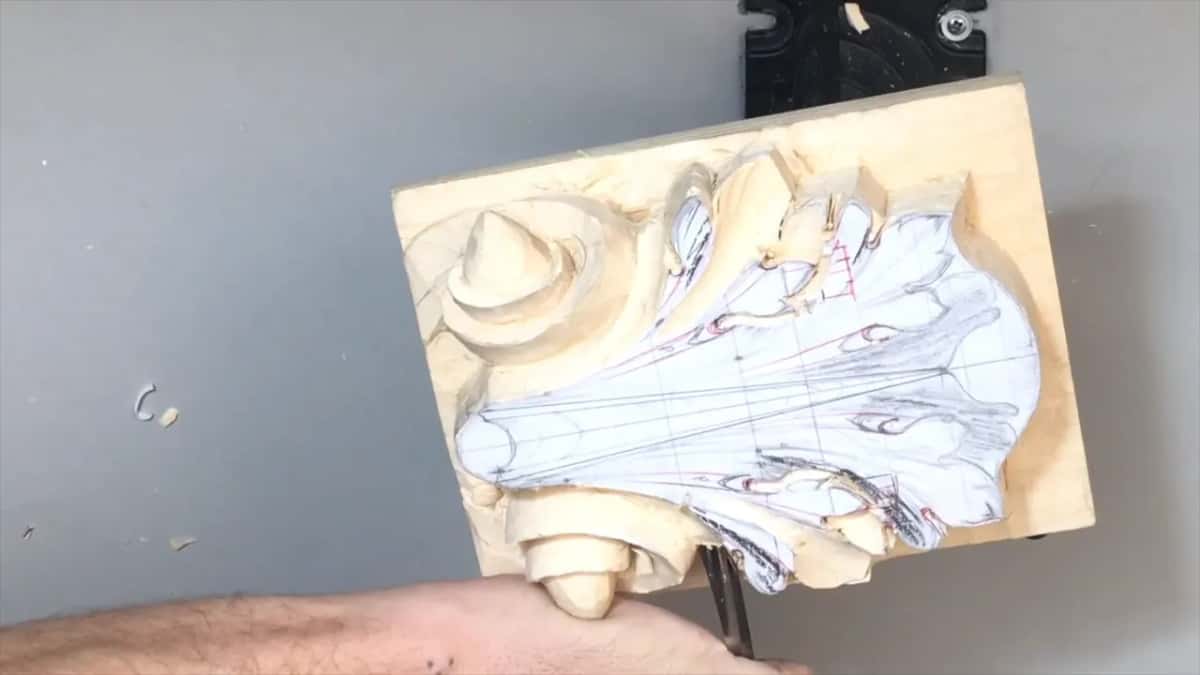
What saves a small pipe from disappearing?
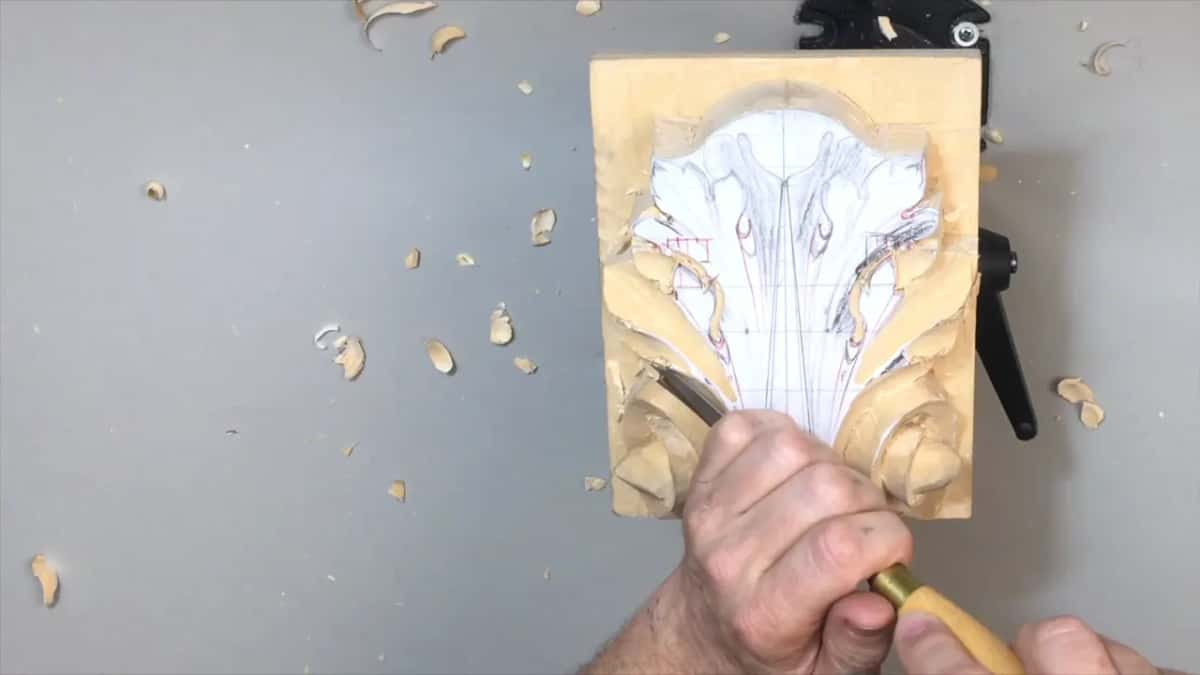
A mark, then a tiny gouge. Like I said before, my pipes have to survive, and for that I need a small gouge. I use a really tiny Dockyard gouge, about one eighth of an inch (3 mm), and it's not numbered, but I would say it's closer to a number 8.
It doesn't have to be Dockyard. Any other brand will do.
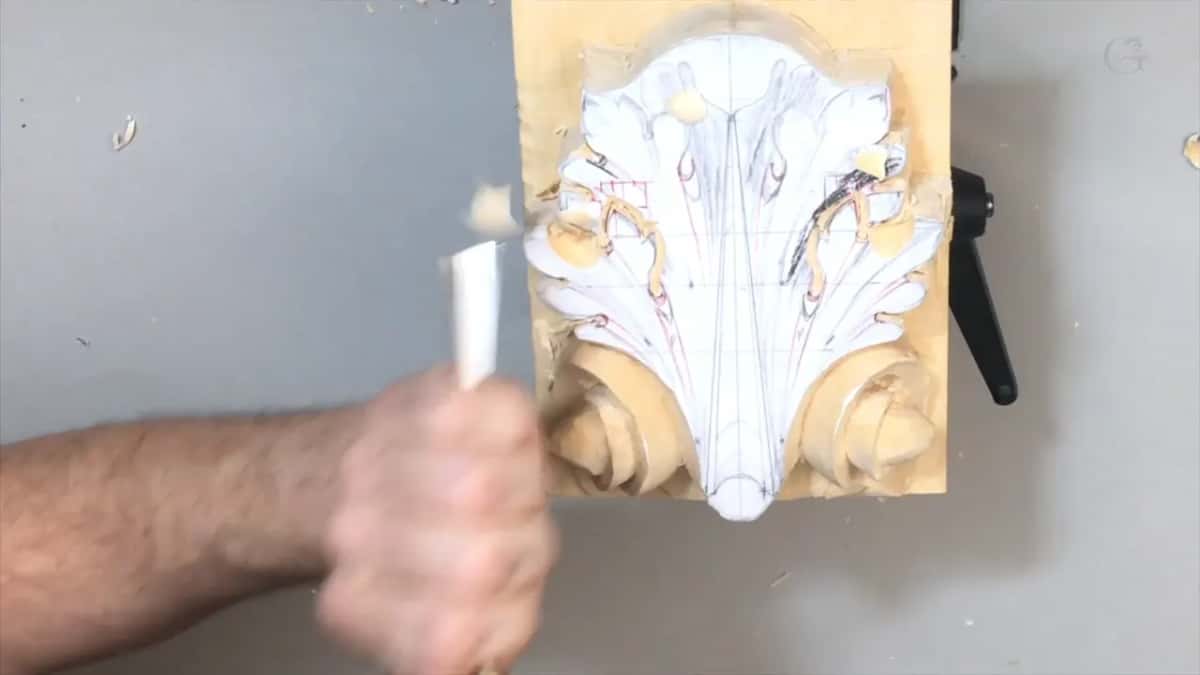
I do one side first and then the matching one. Next I take it straight down with a little wiggle, just a slight wiggling, and hopefully you can see that on the video.
A bit later there was another small pipe, and I put a red mark on it so it would not get lost. Then the same small gouge again, the same number 8, about three millimeters. Press it and wiggle it straight down. Don't force it, and don't go too deep with that.
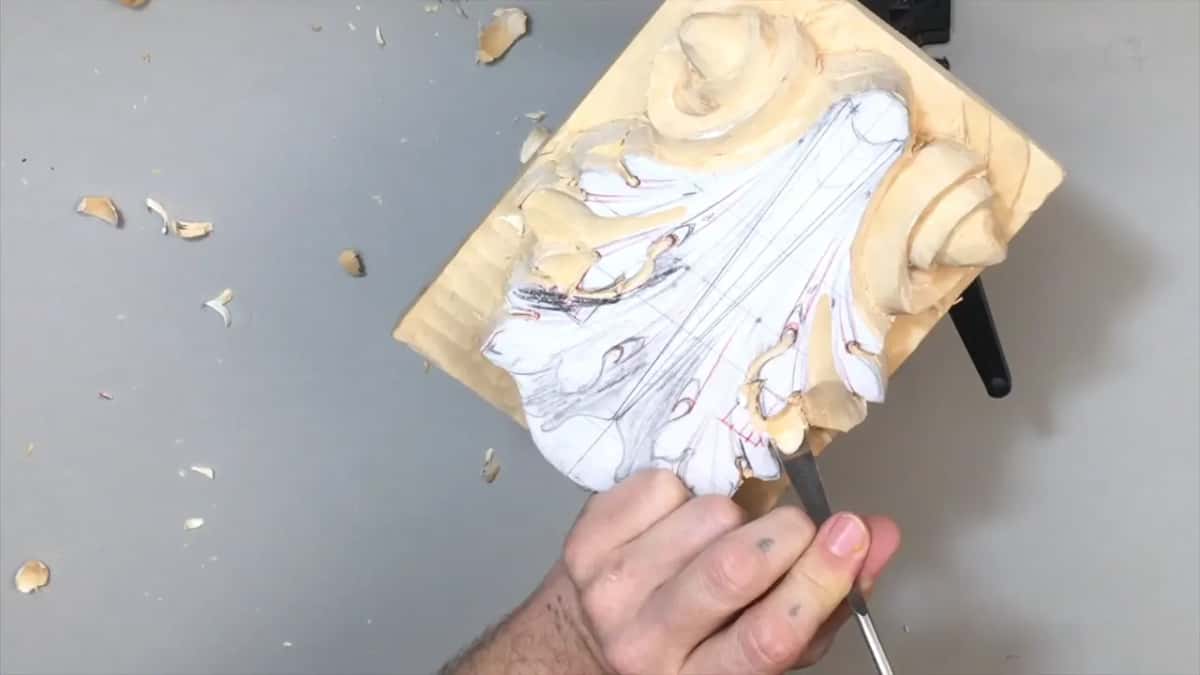
In lesson 7 I come back to the pipes and the eye locations, and there they all have to be symmetrical.
Why set the eyes before you can see them?
I already have the tool in hand. After the second pipe came a number 5, 12 millimeters (just under 1/2 inch), and with it I established my outline, just preliminary. Again, not too deep, only the main movement.
Then, since I had that same tool in hand, I set the eyes right away, a few spots. Right here goes an eye, and here another one. I pressed one of them a little farther, and there are two more, four on this section. I'm making sure I don't miss those eyes.
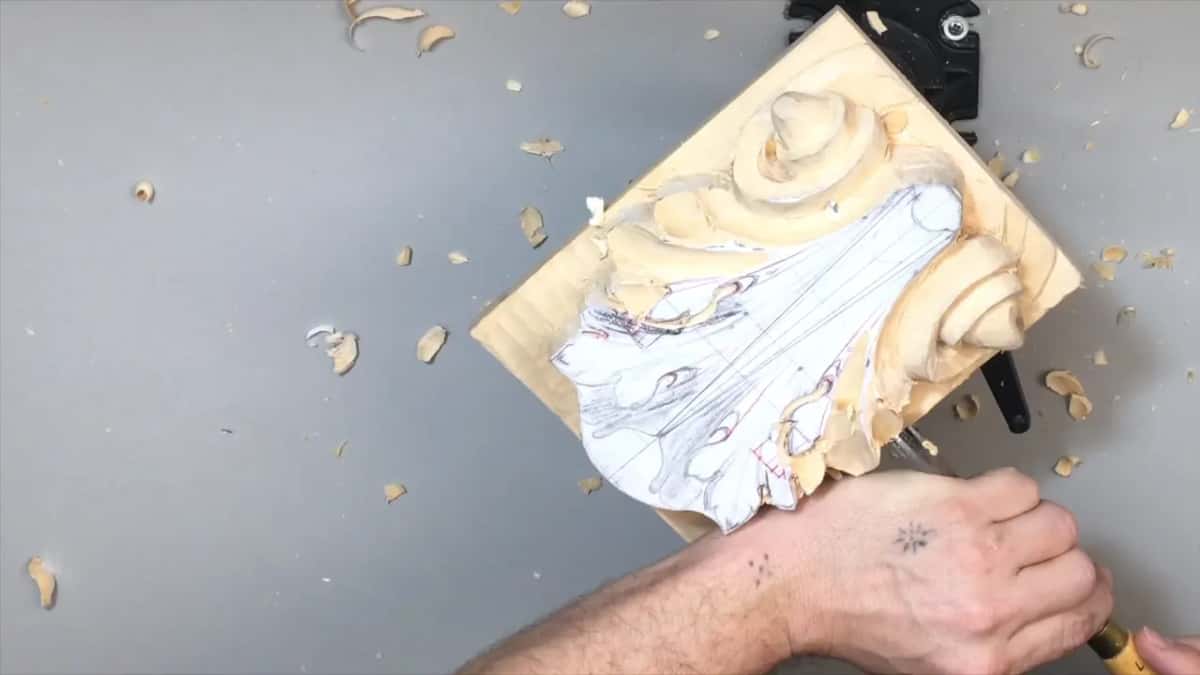
Don't worry if you can't see yet where the final eyes will sit. Since we already pre-established the movement, we can always push it even farther, or deeper, should I say, and later on the final picture gets a lot easier to make.
At the very end of the lesson I re-established my eyes with the same tool as before.
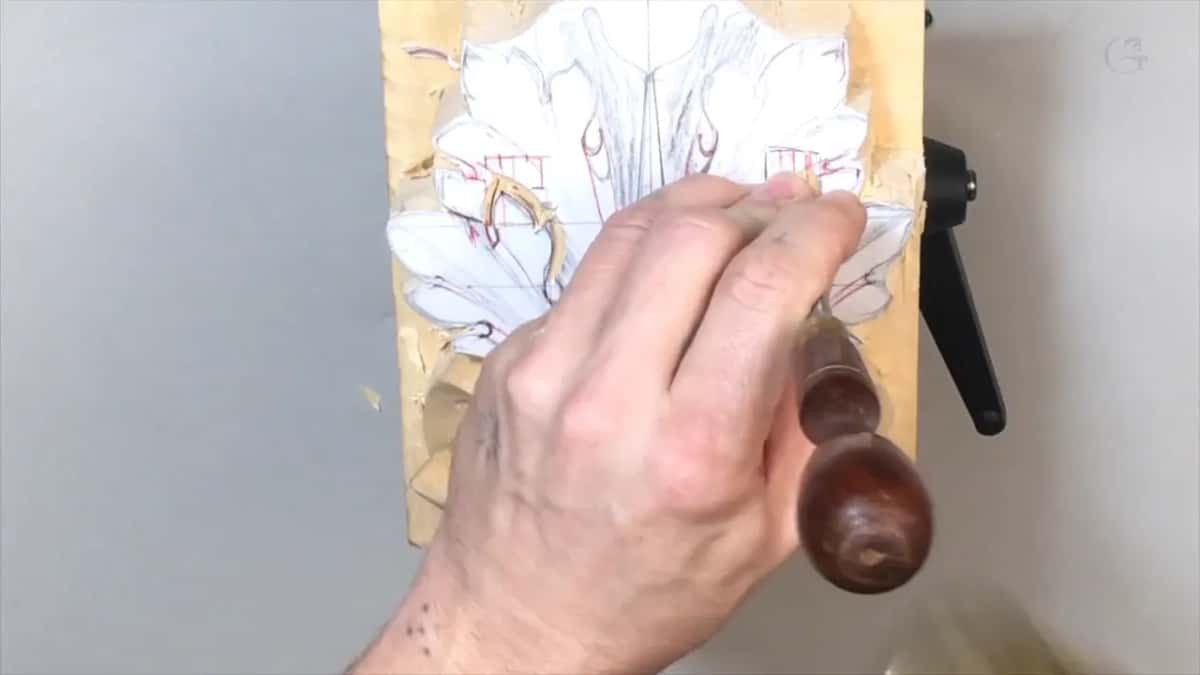
How deep should a section go at this stage?
Roughly halfway, and only approximately. First the same number 3 went around my outline once more. And please don't worry if it's not too accurate right away, because you still have lots of wood, lots of material. I call it a lot of meat yet.
The piece is really thick, so you should not have any problem. Lesson 2 gives the number: an inch and 7/8, about 48 mm.
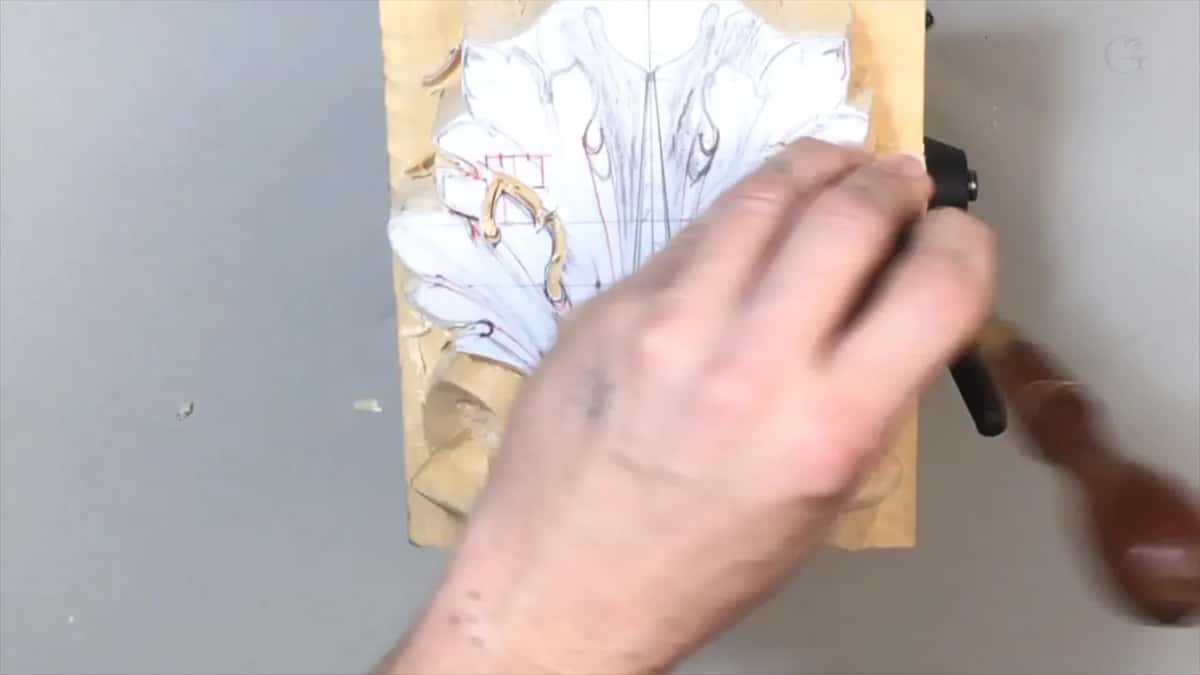
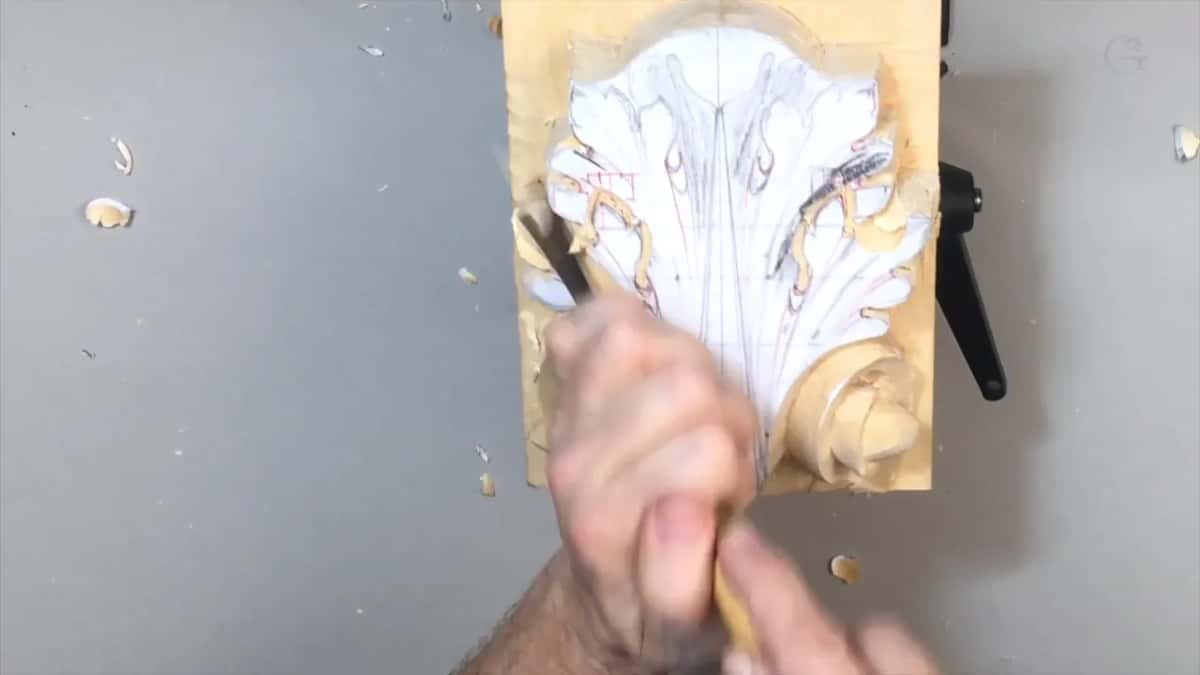
Then a half-inch number 7. In my case it's by Ashley Iles. A couple of passes this way, then the other side the same way, and the number 3 once more, driven a little deeper to clean the sides.
With the number 7 again I lowered this section about halfway, probably half an inch (about 13 mm) deep from the top down, I would say, though again it's just approximately. The other side got the same.
| Missing | Remedy | Tool |
|---|---|---|
| A small pipe | A red mark first, then pressed in and wiggled | Dockyard gouge, close to a number 8 |
| The eyes | Pressed in early, a few spots right away, before the final picture shows | Whatever tool I'm holding |
| The outline after heavy passes | Taken straight down again, just for a reference | The half-inch number 3 |
| Division lines between sections | Cleaned with a V tool so I can see better | Small V tool, number 12, 8 mm |
| Depth on the two halves | Keep an eye on how low each side goes | Ashley Iles number 7, 13 mm |
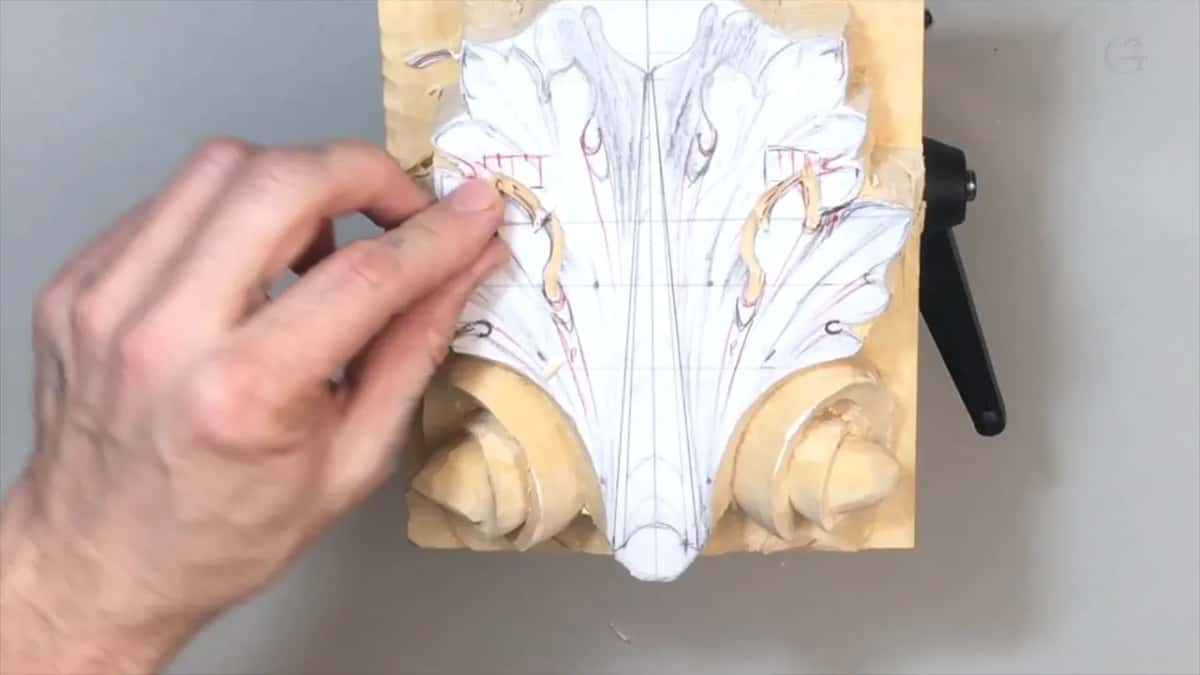
Why drive the number 3 down a second time?
To keep the overall picture. Right after lowering, the overall picture was my worry, so I ran my number 3 straight down once more, just for a reference.
The last part of the lesson has it again. There I said I want to re-establish my overall picture, so the tool goes down on both sides, all the way, and cleans them.
Just make sure you don't undercut when you're going straight down. It has to be a truly straight down cut. Really important. Otherwise, you're going to lose the overall picture.
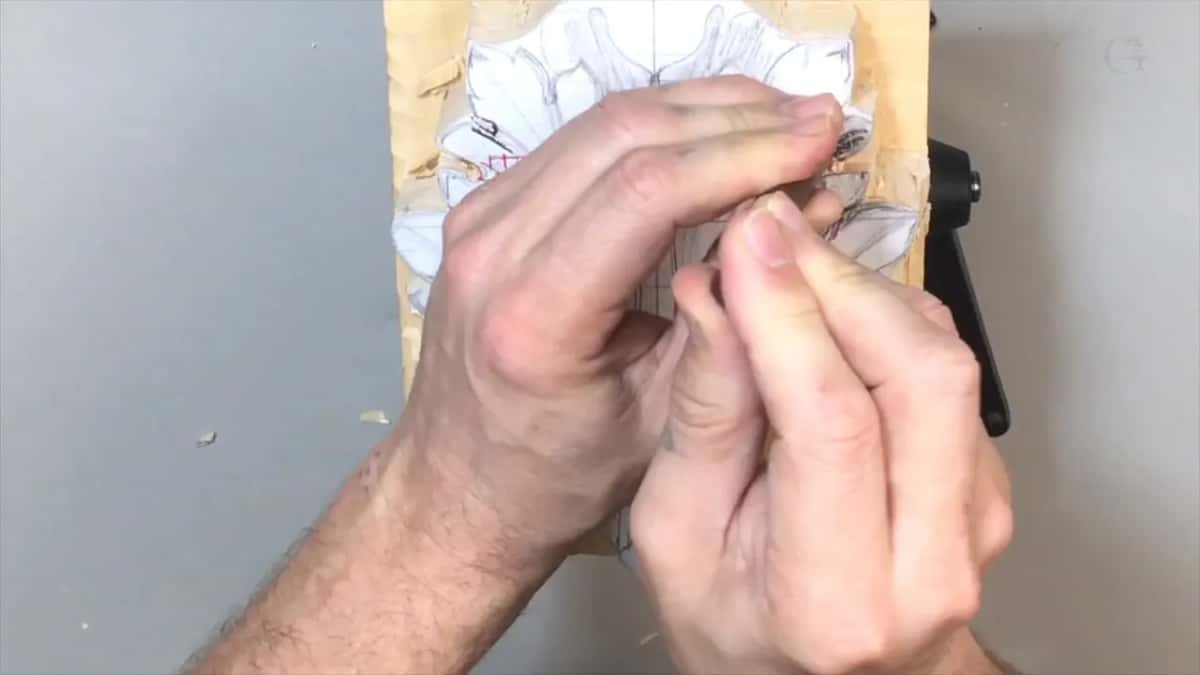
Near the end the number 3 came in from two sides. A mallet isn't needed in this case. I can just press down.
What does a V tool add after the heavy passes?
It lets me see the lines again. I take a small V tool, a number 12 and 8 millimeters (5/16 inch), but any V tool will do. I'm using it for cleaning.
First I re-establish the division line between those two sections. Later the same V tool makes my division cut right here, and a matching one on the other side. That way, I can see much, much better.
After that second division cut, the number 7 took a much cleaner pass, and the V tool went over it once more.
Is it all right to carve against the grain?
On rough work, with really sharp tools, yes. When I lowered the next section, the wiser way would have been to carve with the right direction of the grain, which here means from outside in. And I know I'm breaking that rule all the time, against the grain, with the grain.
As long as you have really sharp tools and it's not the final form, it really doesn't matter. On the final pass, yes, go with the grain. That's not always possible, believe me. You wish, but it's not always possible.
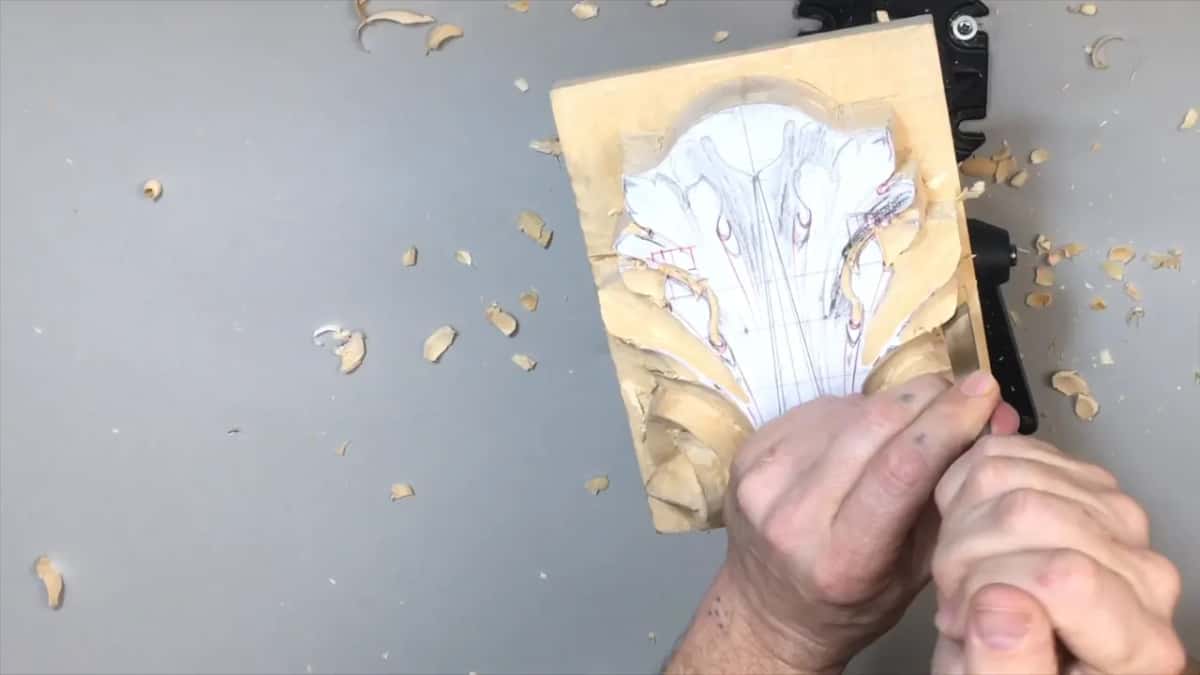
Later, in the last part, I said it again: of course it would be much easier if I just came at it from outside in.
When is a section deep enough?
When it matches its partner. Keep an eye on how low you go on your sides. You can see that I went lower on one side than the other, so that means I have to come back to this side again.
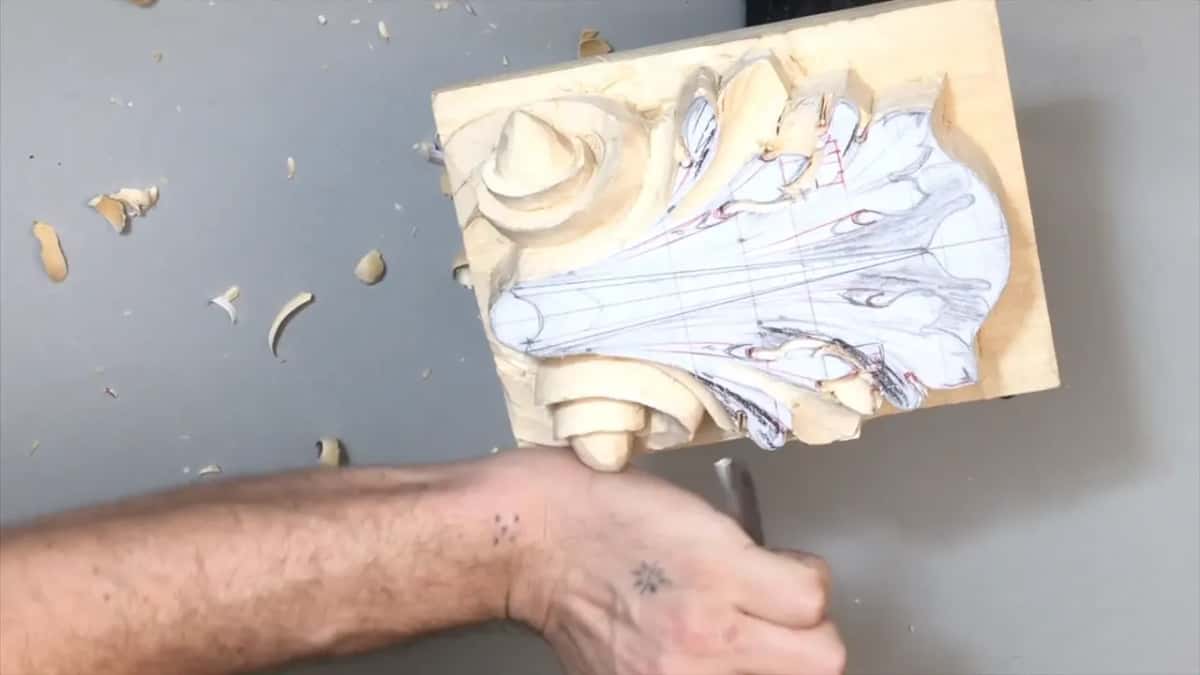
After that, I check that my point right here matches the other side. I think it's good. I don't want to overdo it. Maybe slightly lower. I think it's enough.
When the number 3 had gone straight down again, the shapes started to show. Here is my eye. There is my leaf.
Why do some carvings look perfectly smooth?
They were probably sanded completely. When you look at some carvers' work, the carving looks really smooth and nice, and you wonder how in the world they achieve that smooth result. It's possible to get semi-smooth with chisels, but not a really perfectly smooth surface.
Some of it is culture. A couple of southern countries, like Italy, really like smooth carvings. But go north, to England and Germany and other countries, and you're not going to find those surfaces really smooth, because that's in the culture. You leave chisel marks, and those marks are what makes the carving beautiful. You don't use any sandpaper.
In lesson 8 I said there is nothing wrong with sandpaper, but believe me, it's better to leave those ridges. They're just more authentic. And in lesson 15, when the inside of the leaf still looked rough, I still wanted to see some tool marks on mine, just not as many as I saw right then.
Do you have a gouge and a red marker? Then carve this section with me. Every lesson of the Roman acanthus course is open with tuition, and lesson 4 picks up where this one stops.
How it's done
- Go around both halves. Take the number 15, 6 mm, around the section on both halves, working them together.
- Check each point on the grid. Find where a leaf point falls in its grid space, at the middle or about three quarters across, and put its twin at roughly the same spot on the far half.
- Fit the gouge to the drawn line. Lay the number 3 on the leaf. If its curve sits on your line, mark it lightly and drive it down a couple of times on each side.
- Relieve before driving. A small gouge or V tool goes along the line first, and only then the chisel, so the fibers come away instead of smashing.
- Save the small pipes, place the eyes. Put a red mark on a pipe, press the tiny gouge straight down with a slight wiggle, and set a few eyes right away with the tool you are holding.
- Lower, then take a reference. Bring the section down about halfway with the number 7, matching both halves, then run the number 3 down again.
- Compare depths and clean the divisions. Watch how low each side goes and bring the shallow one down to match. A number 12 V tool of 8 mm then re-establishes the division lines so you can see better.
Frequently asked questions
Does a mallet belong on a very small gouge?
Better not, with a tool that small. For the tiny Dockyard gouge of about an eighth of an inch, I would not recommend any mallet, though if you're careful you probably could. Still, it is better to keep a mallet off really tiny, small tools.
Which tools does lesson 3 of the Roman acanthus use?
Number 15 at 6 mm and number 3 at 13 mm come first, then a tiny Dockyard near a number 8, about 1/8 inch, and a number 5 at 12 mm. Later I use an Ashley Iles number 7 of 13 mm and a number 12 V tool at 8 mm. The red marker comes out twice.
Should you carve one half of the leaf at a time?
I don't. I'm concentrating all the time on both sides, because it's easier for me not to make mistakes that way, and in this lesson almost every move on one side gets repeated on the other right after.
What to carve next