
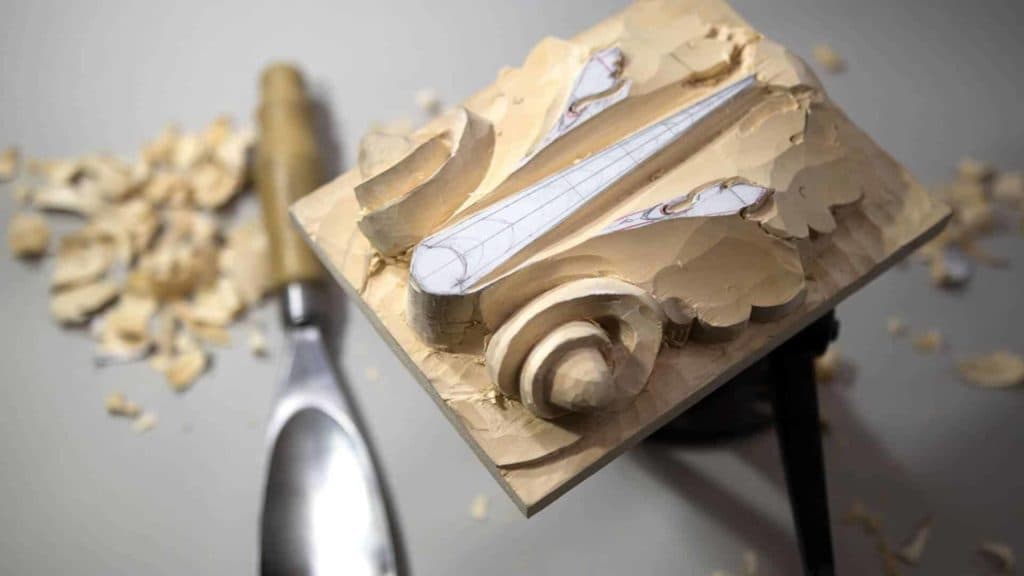
Alexander Grabovetskiy, woodcarver, School of Woodcarving · Published 2018
Which part of a carved acanthus leaf should be highest?
Quick answer: The high point of this Roman acanthus leaf is its center. Lesson 4 lowers the side sections so they slope downhill, one pair after another. Before that, a number 12 V tool makes preliminary cuts and small eyes get poked in, so the main picture survives the lowering.
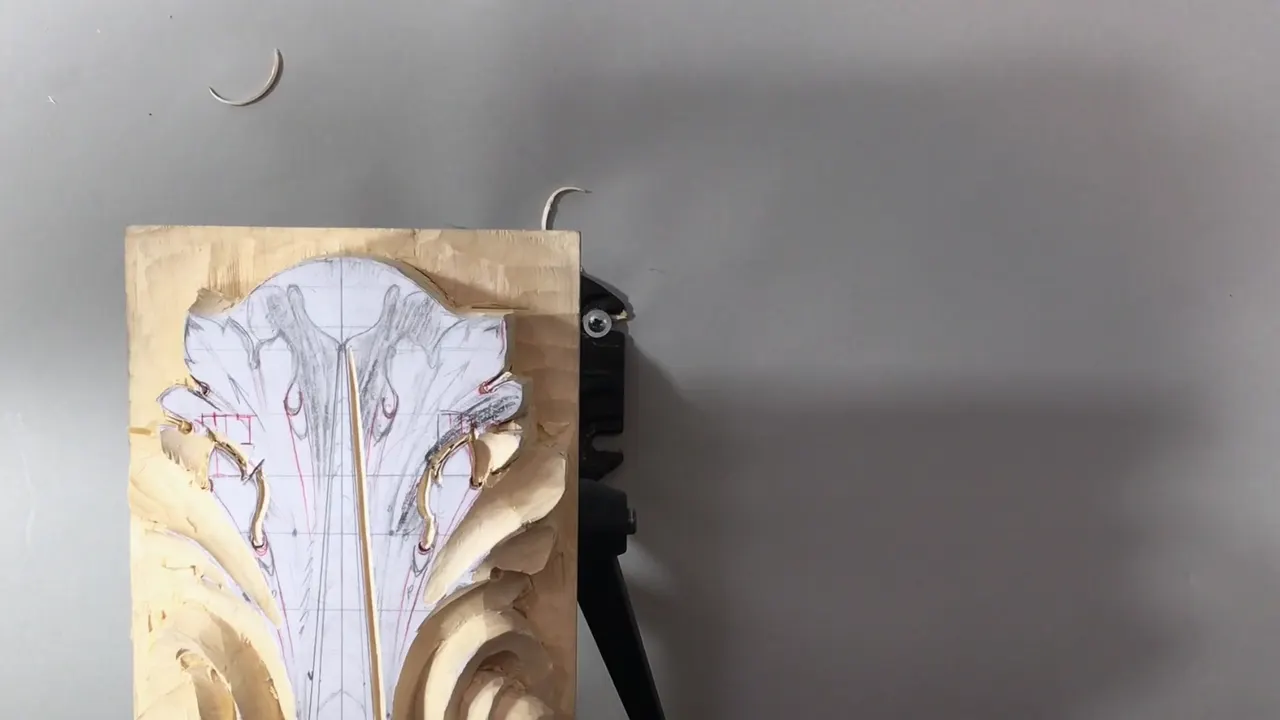
The high spot on this acanthus leaf is the center. My center is going to be the high spot, somewhere right here, so the first job of lesson 4 is to lower down this side and that side. Next I move to another section and lower it as well. This section goes downhill, and that section goes downhill.
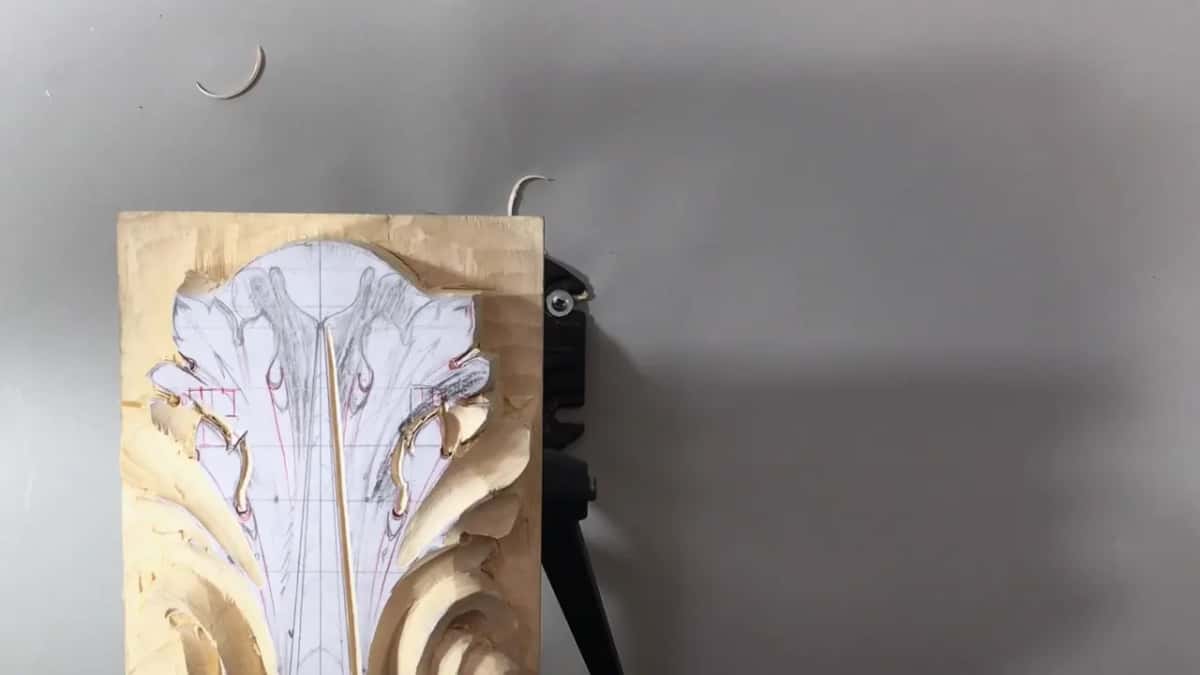
It sounds simple. My concern is the drawing, because lines, eyes, pipes and the small subdivisions all sit on the paper, and the paper goes when the wood goes. This is lesson 4 of my Roman acanthus course, and in it I lose an eye more than once and put it back.
Do you want the leaf in the wood to match the leaf on the paper? Would you like to find every eye again after a wide gouge has passed over it? Then watch the order I work in. The preliminary cuts go in first, and the lowering comes after them.
By the end of this page you will know where the high point goes, which tools I used, and how I got back the eyes I lost.
What lesson 4 does to the leaf
- The center stays the high spot, and the sections on both sides go downhill from it.
- Before any lowering starts, a number 12 V tool, 8 mm (about 5/16 in), makes the preliminary cuts.
- Small eyes get poked in early.
- Driven straight down on the lines, the V tool keeps the subdivisions, so the original design is easy to find later.
- Big gouges, up to a 2 inch (51 mm) number 7, take whole sections down.
- The lesson stops about 13 mm (1/2 in) below the top, and that is plenty for now.
Which part of a carved acanthus leaf should be highest?
The center, on this Roman leaf. Everything I lower in lesson 4 runs downhill from it: this side, that side, then the next two sections.
On paper it started in lesson 1. When I drew the leaf there, I established the upper part. I call it a curl part. It's going to curl forward, and that's going to be our high point.
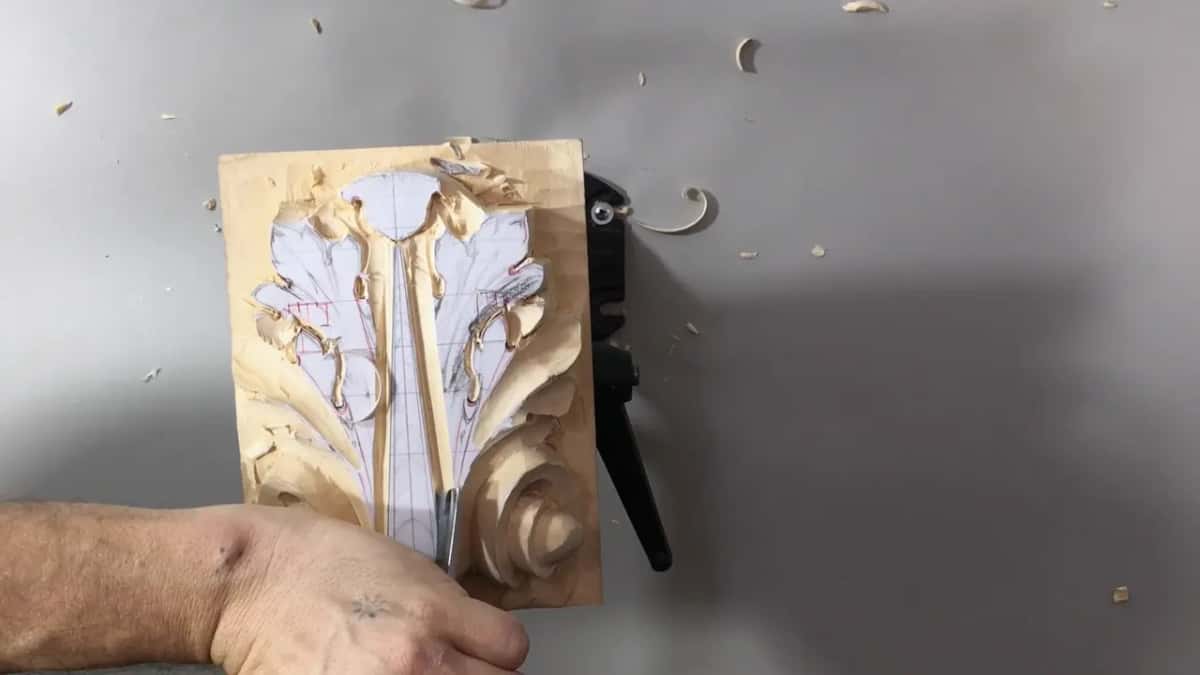
High is not forever, though. Later on, the whole center will go downhill. But still, I don't want to lose the main picture, and that's why I'm doing preliminary cuts before anything else.
I said much the same on the Corinthian acanthus leaf. I see the center line. It's my high point, and from there it goes downhill this way and downhill that way. On that leaf I wanted to keep the pipes high as well, and I marked them with my red marker. And when I mean a high point, I mean somewhat the same height the piece has right now.
Carving the Greek acanthus leaf, I put it this way: I established my middle line, or center line, first, and then I worked on my sides, trying to keep an eye on the high point or high ridge.
A high point can also run too long, and lesson 6 has one. Right here, I said, I've got too long a high point, or high ridge, which should not be. My high point should be just at those spots, and the rest of it has to flow downhill.
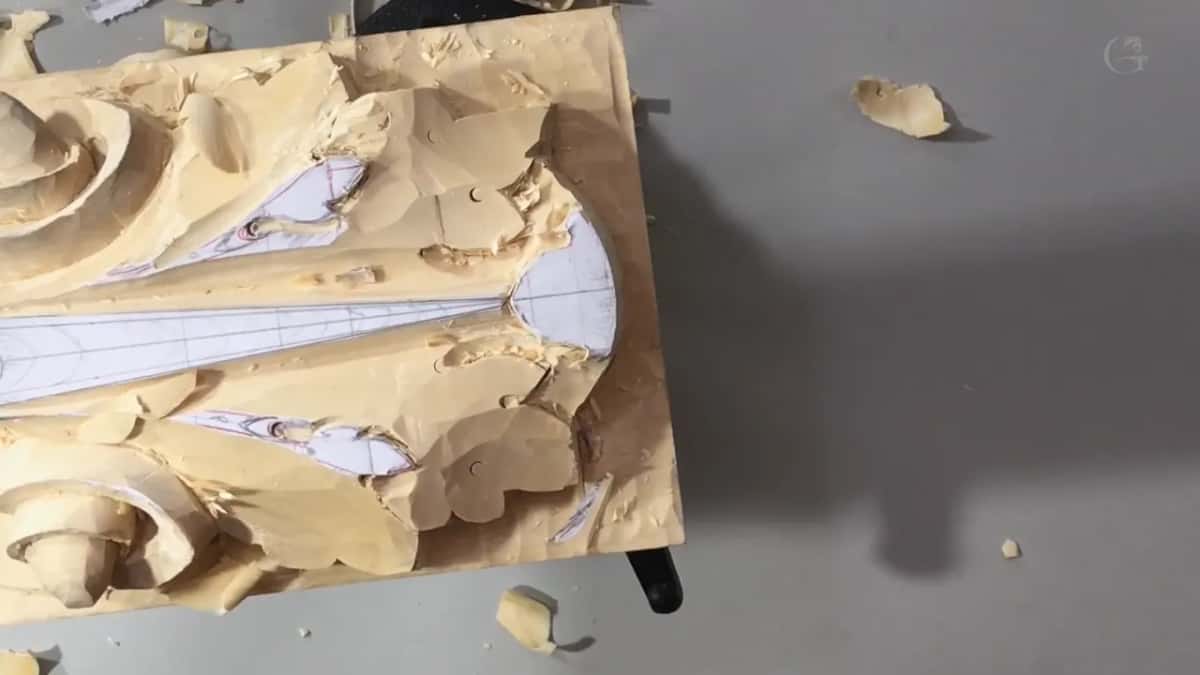
Why make a preliminary cut before lowering the sides?
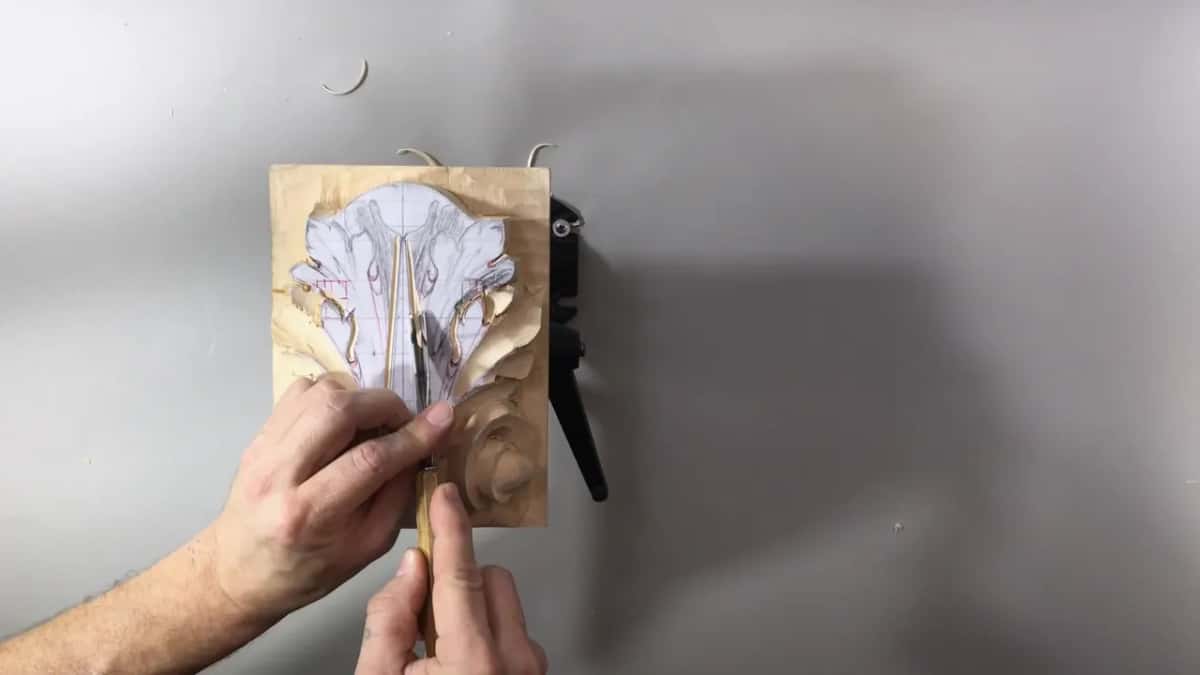
To keep the lines. My concern is that I really have to make sure the lines are accurate when I work around this center part, and the tool for it is a V tool.
At first I take a number 12, 8 millimeters (about 5/16 in), and I make my preliminary cut. Lesson 16 is where I sort out the numbers: from number 12 till about number 16, that would be a V tool, and V tools come in different angles.
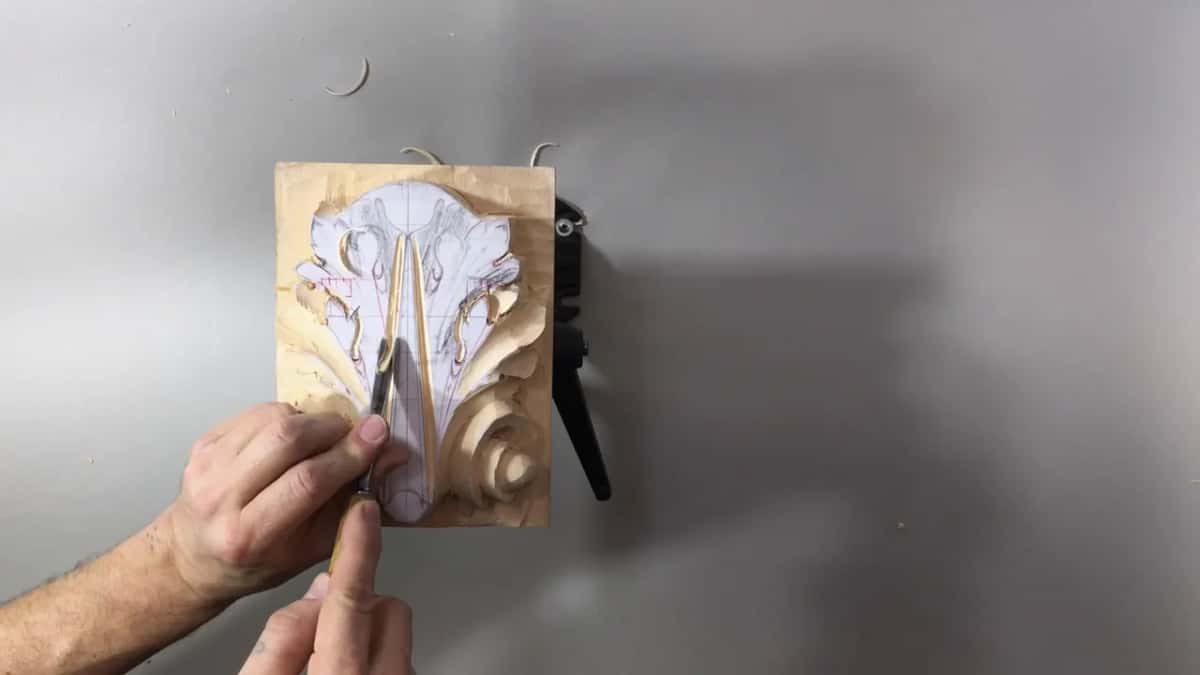
Pay attention here, because I've got two lines. Line number one and line number two, and the same on that side, one and two. The outside line is the one my V tool runs really close to. Just be careful.
I could use a mallet for this. The left-hand half gets exactly the same, with the same number 12, and I make those passes a little deeper.
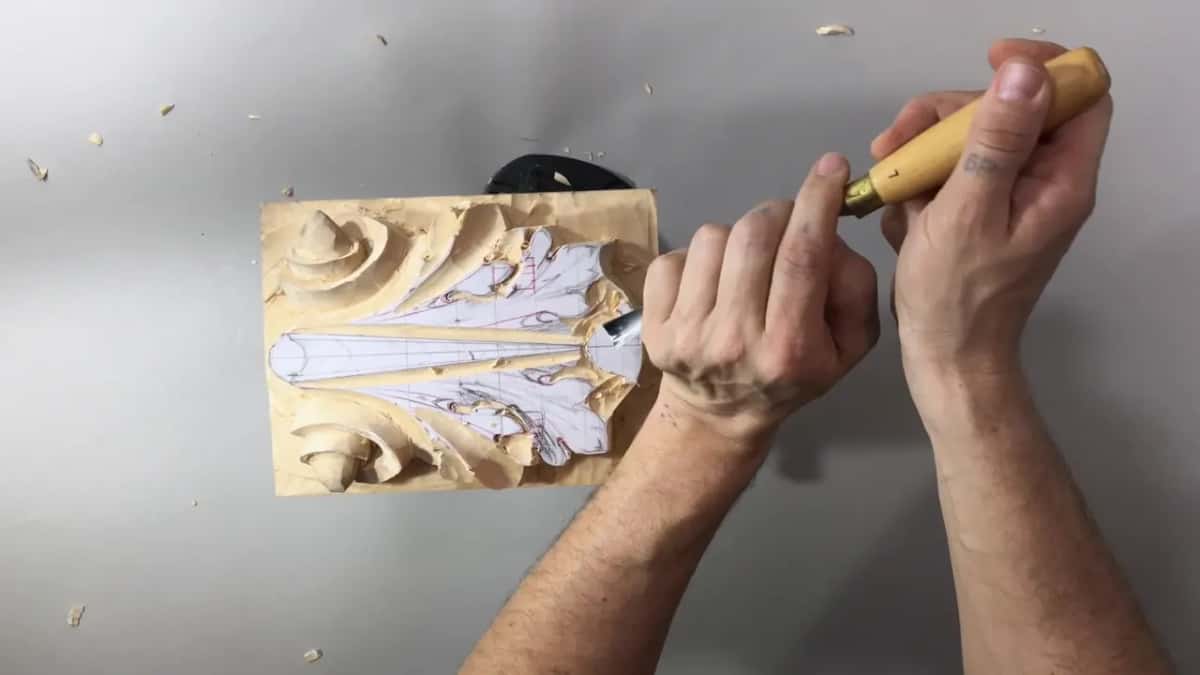
Next, with the same tool, I go around the return. The leaf is going to flip this way, and I just outline it, and then I go that direction too. Please note, right here is my final cut, and the same will be right here, too.
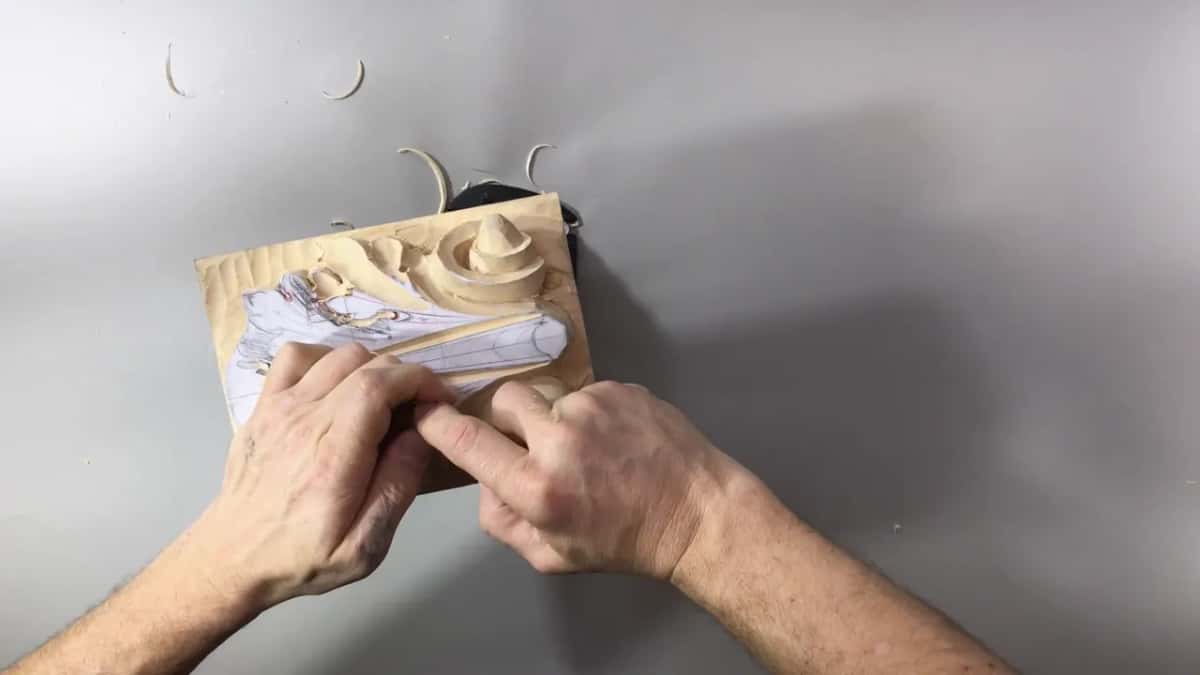
Should a stroke with the V tool be long or short?
As long as possible. You can see that in one pass we did a really long one. At this stage it doesn't really matter, but if it's possible, I'll do it, and at the final stage it's always a good idea to try for one continuous stroke.
Any V tool will do for this. I'm using 60 degrees. You could use 45 if you have one, even 90, and it's still going to work.
For the cavities I could probably use a number 7 instead. But here it's just a preliminary pass through my waste, with a mallet and the same number 12, and it'll be much quicker.
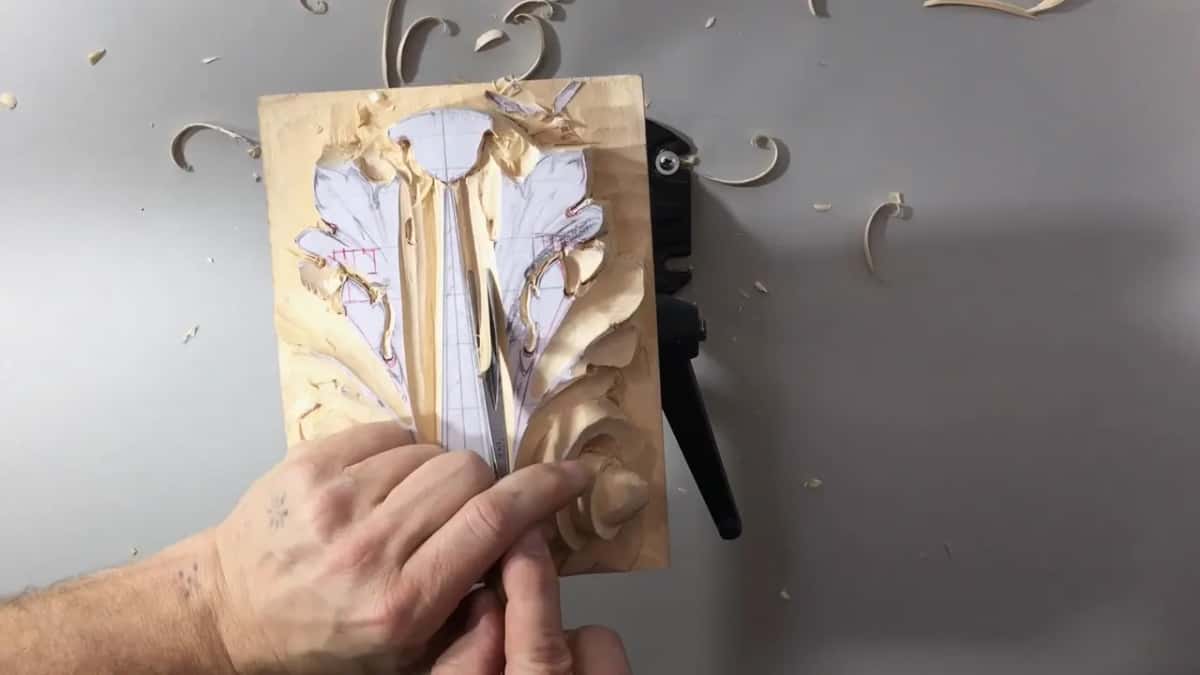
My Greek leaf lesson gives the difference in plain words. I like a 45 degree V tool, because I can get really into the tiniest spots without damaging the sides, and 60 will work also. With 60 degrees I would remove much more material at once from both sides.
How do you keep the eyes from getting lost?
Poke them in early. I take the same small gouge I used before, and I establish a preliminary eye. It's not the true eye yet, because it will be lowered down later on. It's just for me.
A few minutes later I go back to the eye with the small gouge and make it a little deeper, more obvious for myself.
For the passes beside that eye, I just look for the tool that will fit. Number seven fits perfectly, so it goes in on both sides. Don't worry about the wood just around it, because I still have to take that out.
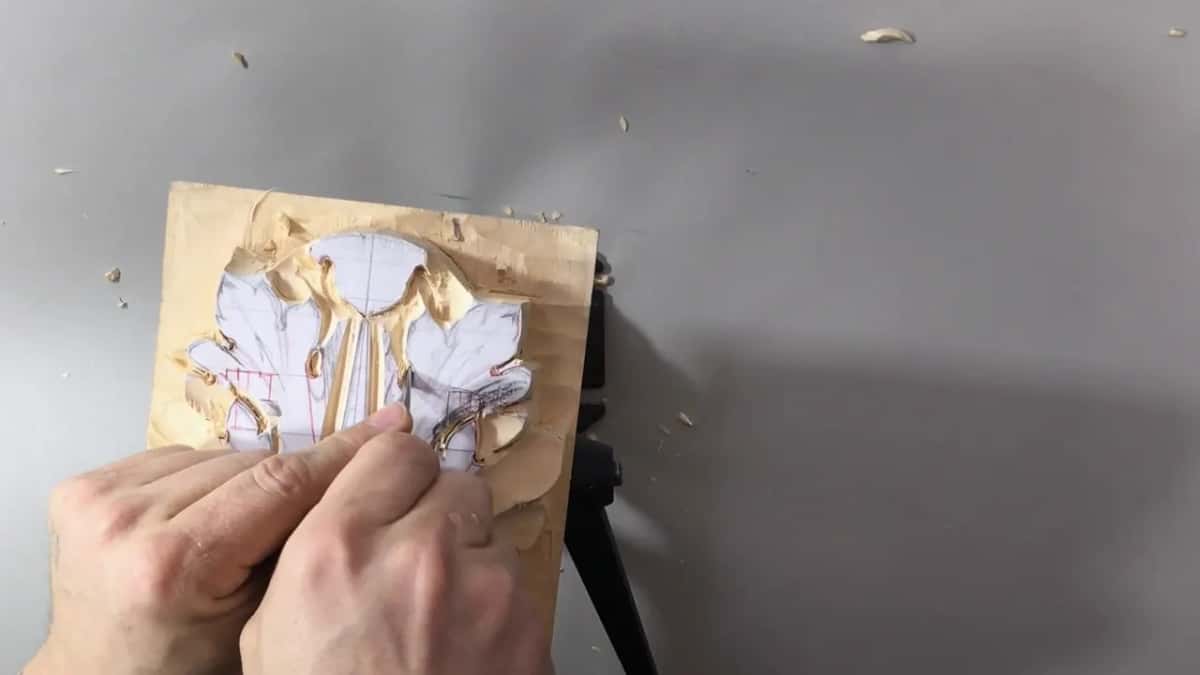
Around the next couple of eyes I keep an eye on my grid lines and my distances, since I want to be as close as possible to the original design. I make one pass, then turn my tool the opposite direction and take out the extra. Any small tool works here, and mine is a tiny number 7, about 3/16 of an inch or 5 millimeters.
It happens anyway. After the big gouge takes it almost all the way down, it looks like I lost another eye.
Before going too far, I reestablish it. I'm just eyeballing my grid, trying to find those lines and make them parallel, and I can see this point: if it goes straight up, I have to stay about 1/8 inch (3 mm) away, approximately. Here is my eye. Before it's too late, I take my small gouge, number 8, an eighth of an inch, and put the eye back.
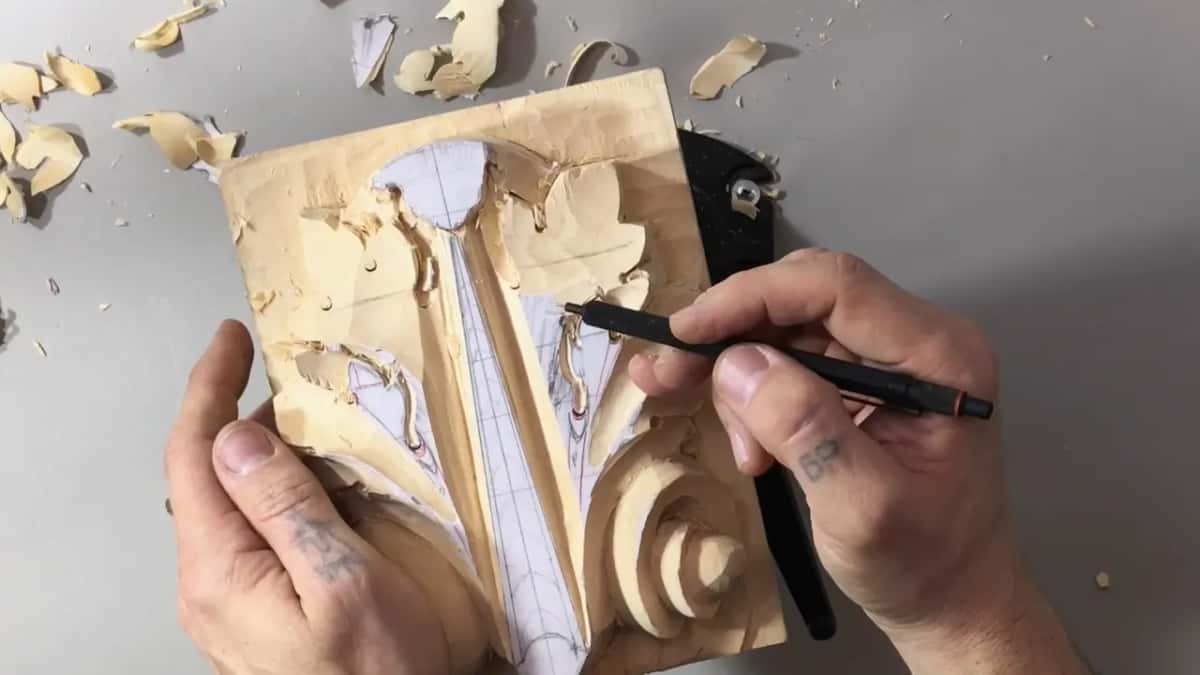
I can find the eye position because I poked those areas early. You can see it while the big gouge works, too: we established the eyes early, so you can easily see them. Near the end I almost lost one more, somewhere right here, and there was another one.
A small number 8 like that turns up again later in this course. In the last lesson, cleaning up concaves, I give it a name. Dockyard is just the brand: Micro Carving Tools by Dockyard, the number eight, about 1/8 of an inch or 3 millimeters.
Is a knife quicker than a gouge for following the pattern?
Much quicker, for this job. As an alternative to the gouges I could use a number 12 knife. It's one of my favorite knives. The idea is exactly the same: I just follow the pattern with that knife, and that's actually a much, much quicker way to work around.
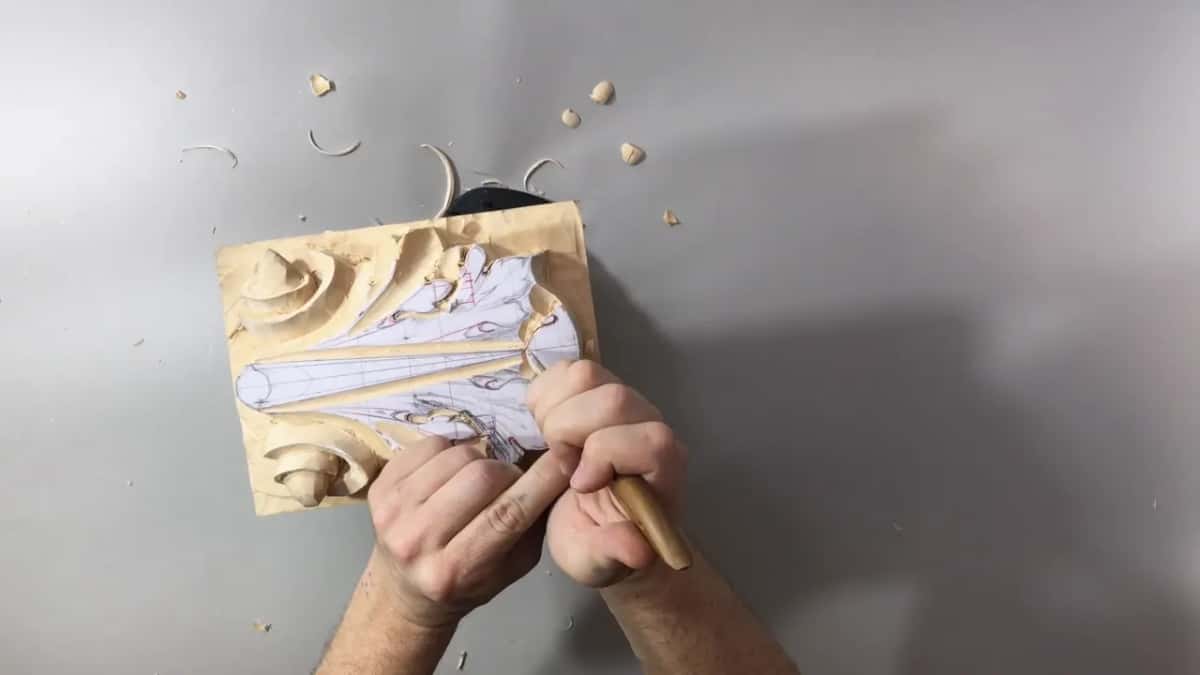
Afterward I take the number 7 again and remove even more. That is not my final depth yet, and that's why I'm not afraid.
Which tools went where in lesson 4?
Here is where the numbered tools went in this lesson, with my own words about each.
| Tool | Job | Remark |
|---|---|---|
| V tool, 8 mm | Preliminary cuts first, then the return and the subdivisions | Any V tool will work. |
| Tiny 7, 3/16 in | One pass, then turned around for the extra waste | A really small, tiny tool |
| Half inch number 7 | Excess material first, then deeper passes on both sides | I could go even deeper |
| Number 6, 20 mm | A couple of straight-down cuts, then cleaning the inside | Fits perfectly in this case |
| Number 3, no size given | A straight-down cut at one eye, and some cleaning | Same one I used before |
| Eye gouge, number 8 | Putting back an eye I lost during the lowering | Before it is too late |
| Two inch number 7 | Taking whole sections of the leaf down much faster | Much quicker carving for me |
| My number 12 knife | Following the drawn pattern instead of working with gouges | One of my favorite knives |
How do you lower a section without losing the pipes?
By keeping track of where they are. With a number 7, half an inch or 13 mm wide, I remove some of the excess material, and I have to make sure I'm not losing the location of my pipes. Later on I can always come back and reestablish a pipe. But the idea is that this leaf goes from inside out and flows like this, so I need to take more material from the middle.
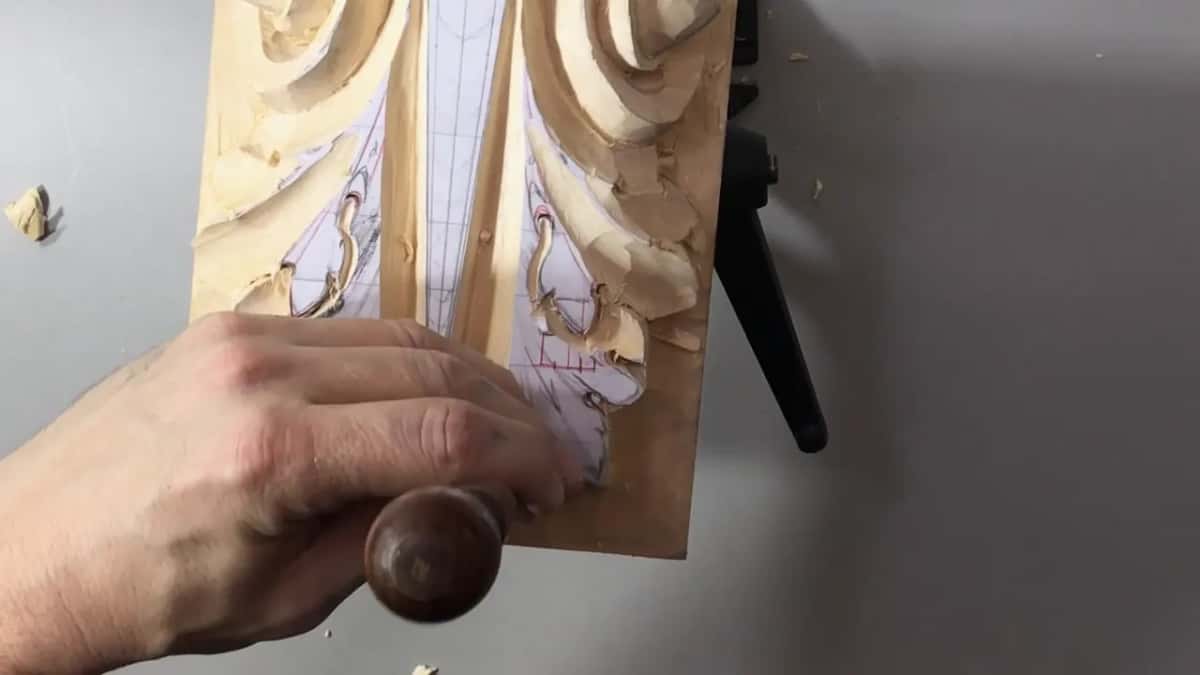
Near the end of the lesson I lower one more spot the same way, as long as I don't lose my pipes, which I should not. There it would be much safer to carve from the outside in.
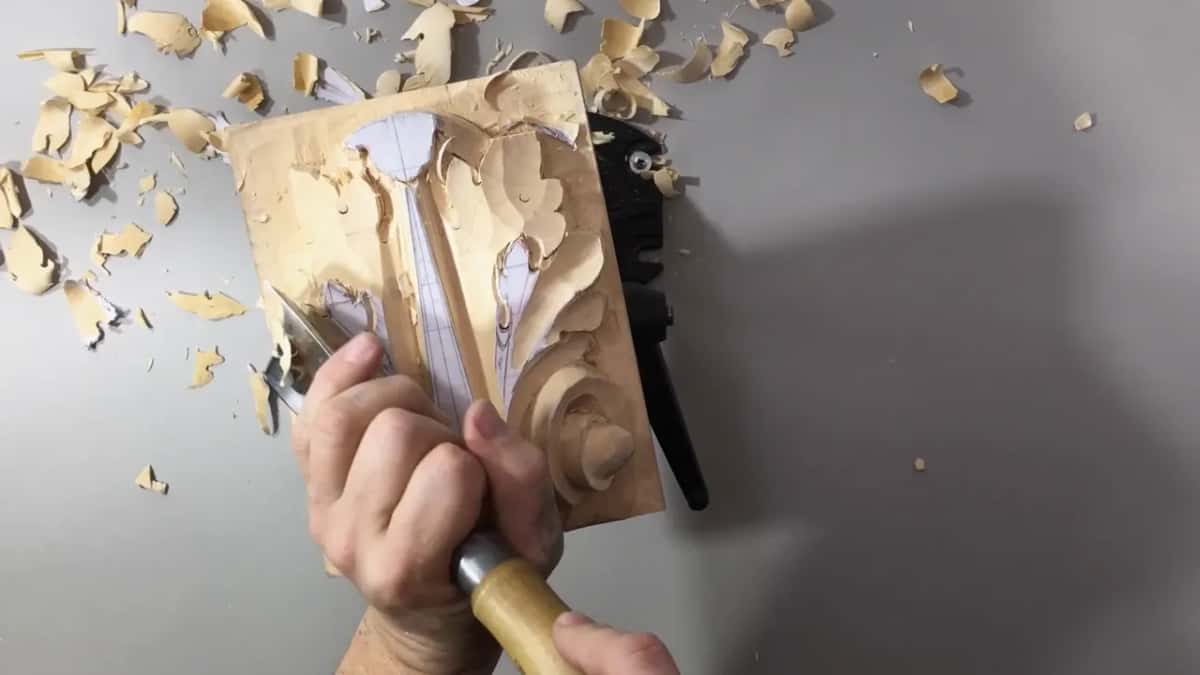
Sometimes a pipe does get lost. In lesson 5 I could clearly see where the pipes would sit on the left-hand side, but I had completely lost one pipe on the other side, and I needed to recreate it.
The pipes come back again in lesson 7. Refining them there, I wanted a high reach on this pipe and that pipe, so I took a small gouge, like an eighth of an inch, and refined the movement.
Why does one side of the wood start to split?
The grain does it, together with the direction I carve in. With the number 7 I warn you first: just be careful when you carve with the grain. A little later you can see it happen.
I'm working along the grain here, and this side is starting to split. Attacking it from that side would be easier, and much cleaner. But I don't really worry about it too much, because it's not my final cut yet.
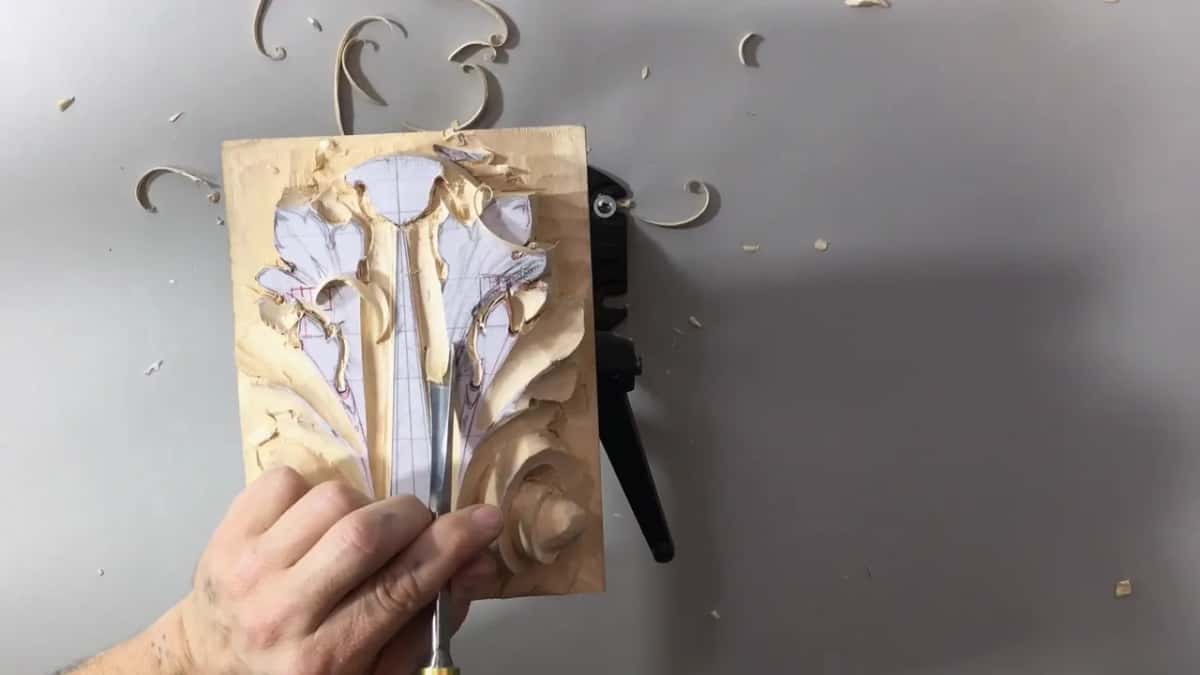
On the Corinthian leaf, at the same stage, I put it more strongly. It's really important to work with the grain and understand the grain, and you can see that when I work in the right direction, it comes out really clean.
On my Greek leaf I had to change my direction because of the grain, so I rotated and started removing from the other side.
Why drive the V tool straight down on the lines?
To keep the subdivisions. I don't want to lose my subdivisions on those leaves, and that is really important, not to lose those. So I take the same V tool, in my case it's number 12, position it right on the lines and drive it down.
Make sure you're driving it straight down. Don't undercut, don't angle it, just keep it perpendicular right to the bottom.
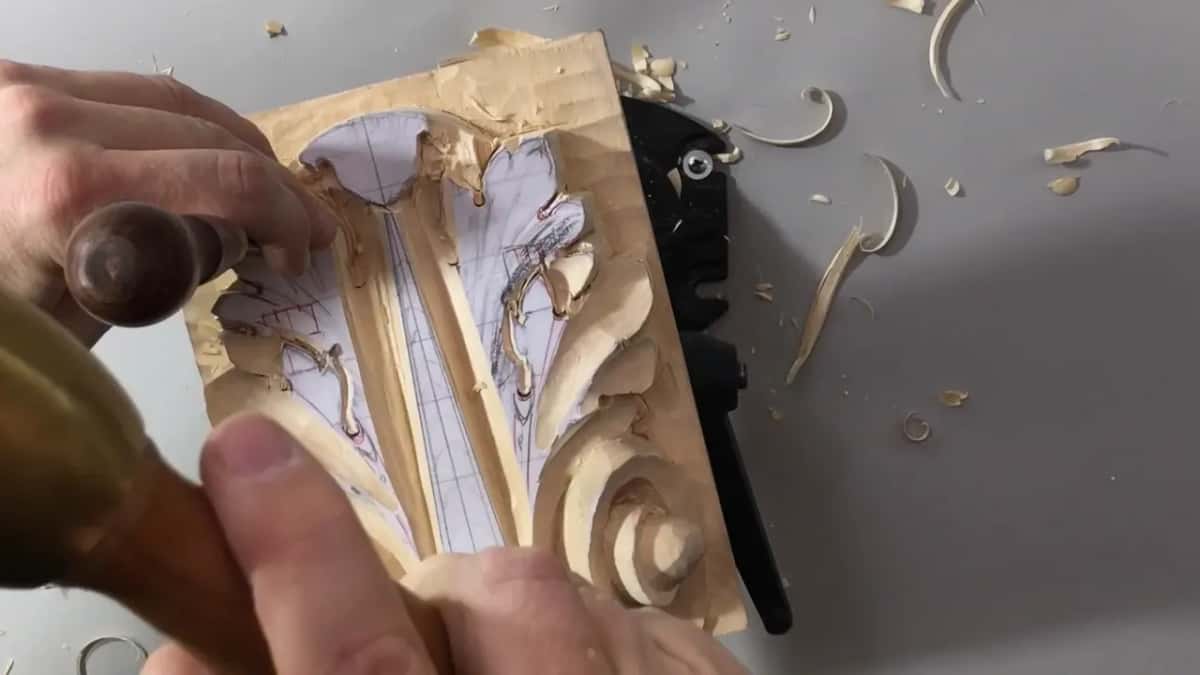
The reason I'm making those straight-down cuts is that later on it will be much easier for me to find the original design.
Gouges do the same job where they fit. A number 6 at 20 millimeters, or 3/4 inch, fits perfectly in one place, so it makes a couple of straight-down cuts there, and later I use it for the cleaning inside. At one eye I take a number 3, the same number 3 I used before, and make my straight-down cut again.
Then the half inch 7 goes back in for deeper passes on both halves, and I could actually go even deeper.
What does a big gouge do on this leaf?
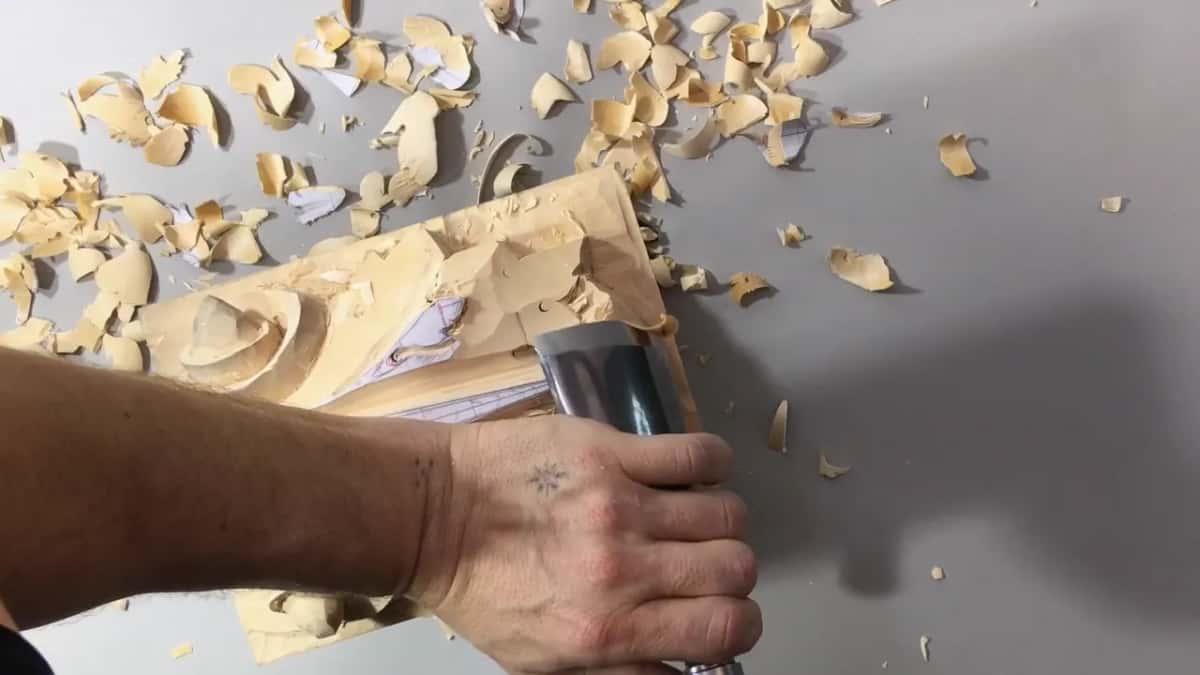
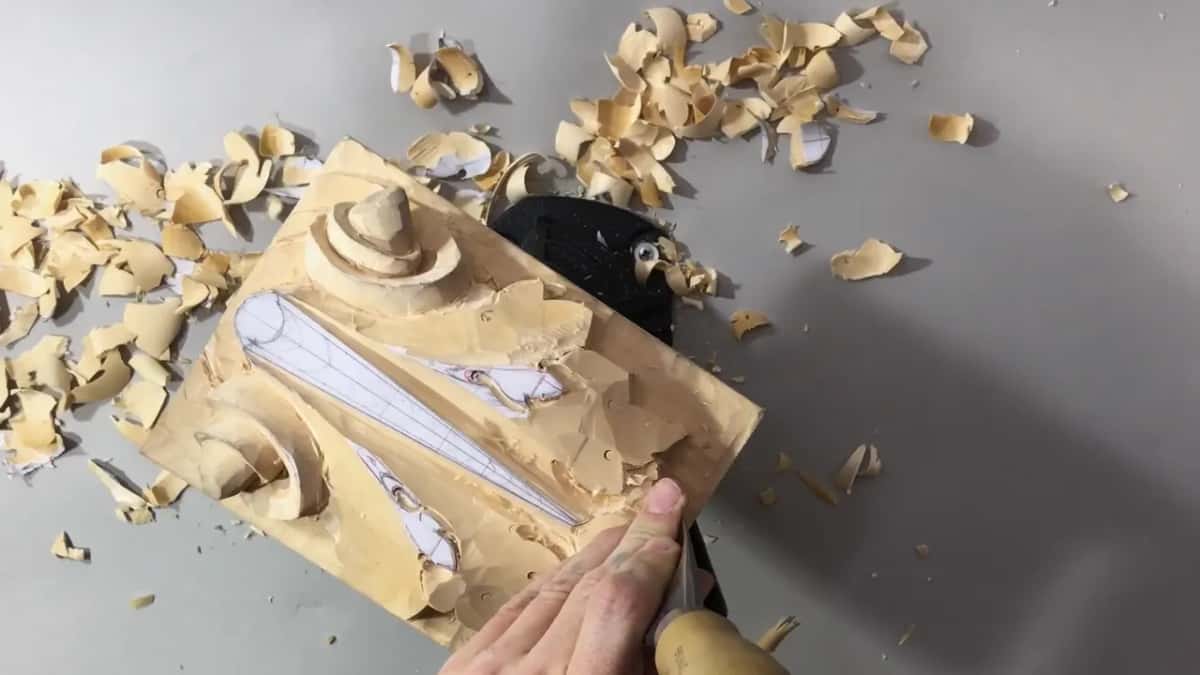
Whole sections of the relief come down fast. Next I lower this section of the leaf, and on the opposite side it's also going downhill in that direction. A bigger tool, if you own one, is much more helpful.
For example, I could use my number 7, the 2 inch (51 mm) one, in a case like that, and the carving goes much quicker for me.
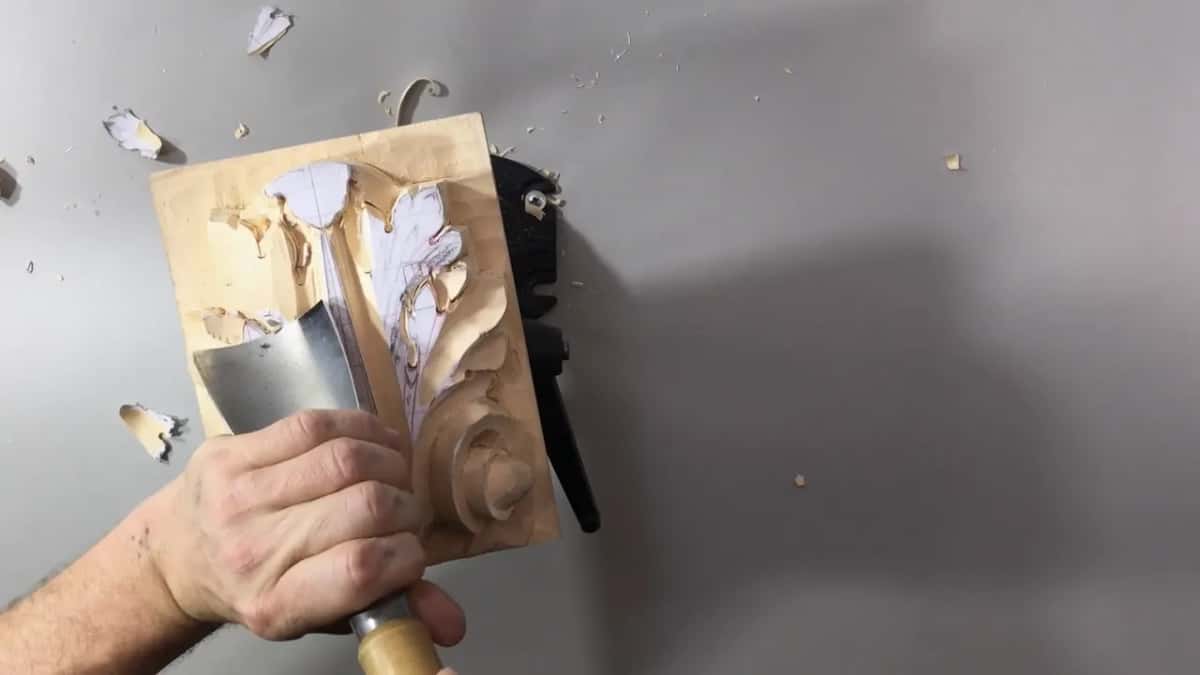
Earlier in that same part, with the number 7, I removed wood from the left and right side, and that's what the dovetail tools are good for. I can get in with one side of the gouge, with just one corner, and make my pass.
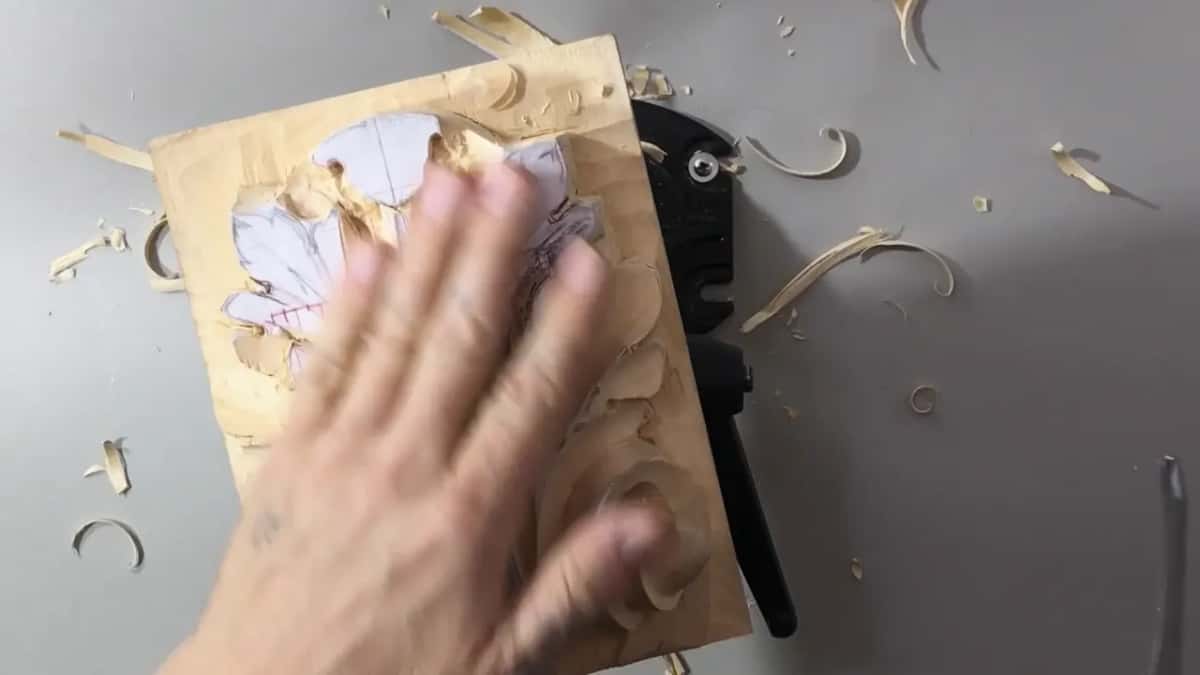
You could probably use smaller tools. But like I mentioned before, if you have bigger tools, you can always use just the point of it or a corner of it, and get kind of deep.
I go almost all the way down with the big gouge.
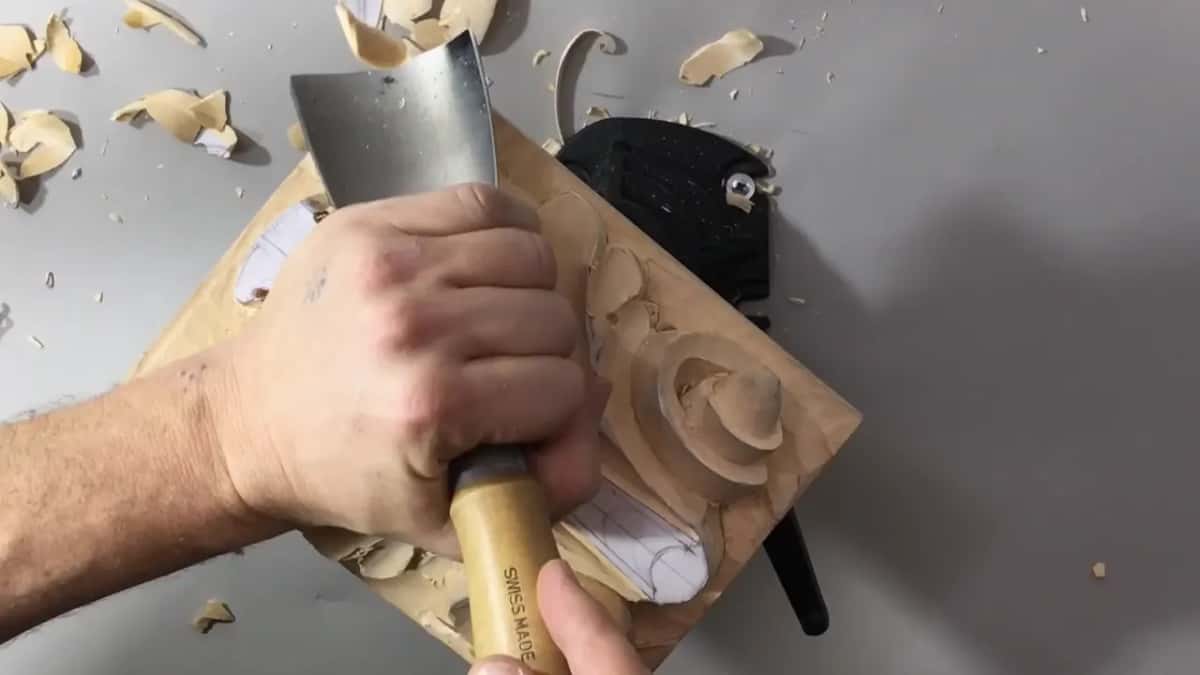
At the end, while the big gouge is still in my hands, I go around everything with it. There is one more way, too, if you own a gouge like mine: just drive it straight down.
How deep do you carve in lesson 4?
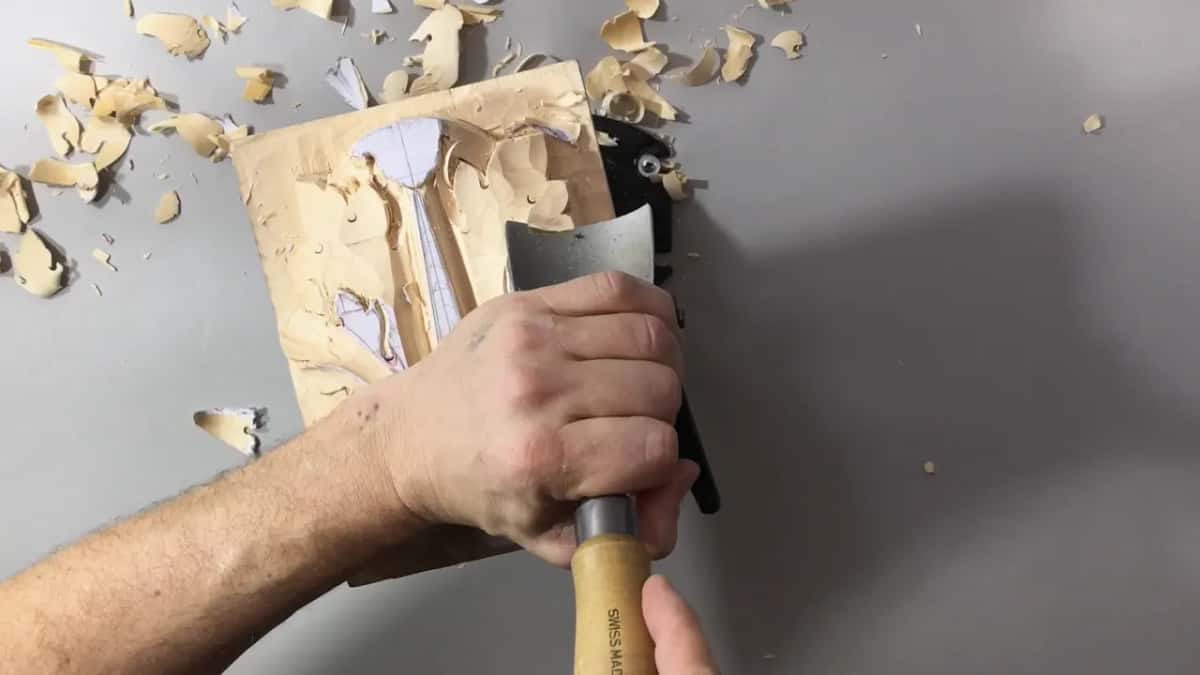
About half an inch (13 mm) from the top down, and I could actually go a little deeper. That should be plenty for now. I make it a little nicer, and the lesson ends there.
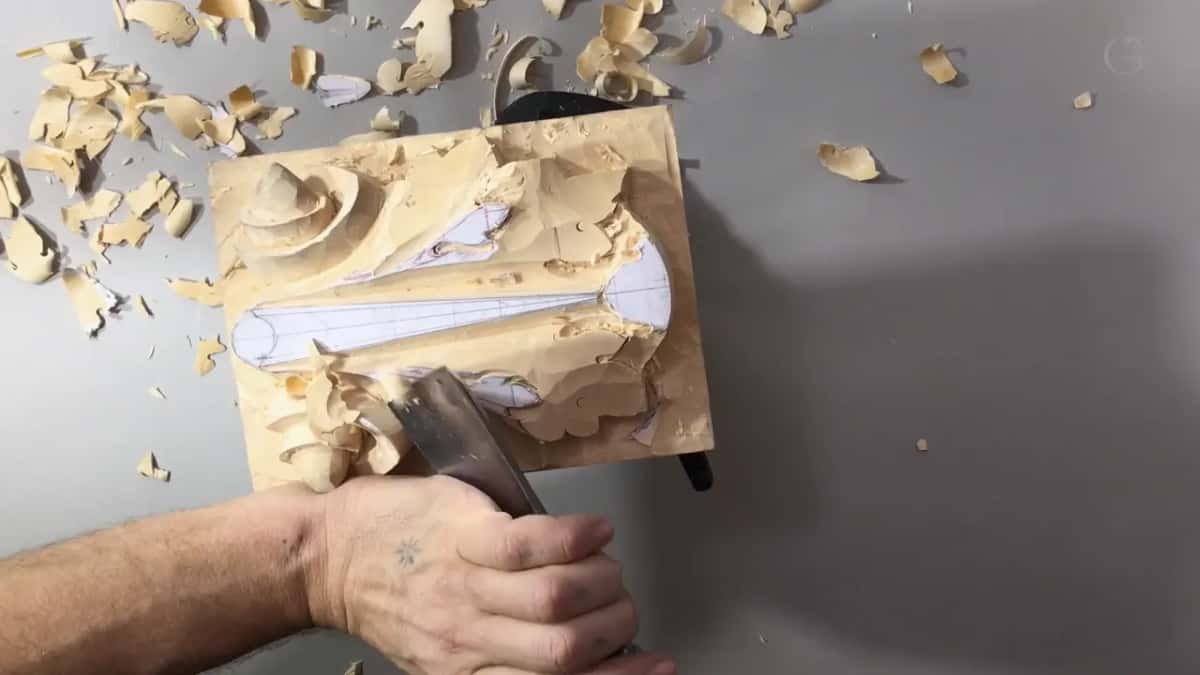
When two sides of a relief have to match, there is a way to measure it. In lesson 13 I watch my second line, how much material I've got above it, and where the high point is. I had about a quarter inch (6 mm) on each side, and I said I could go maybe a 32nd of an inch (about 1 mm) lower, but no more than that. So it's a good idea to check and recheck.
Later, in lesson 9, I'm careful not to damage the high point, and I say why: I'm able to fix it later, but it's better not to damage it. Even in the last lesson the middle line is still the high ridge, and I want to keep it.
Every lesson of this Roman acanthus course is open with tuition, starting with the first drawing. If you want to carve this leaf with me, at your own bench, Access starts here.
How it's done
- Pick the high spot. On this leaf, the high spot is the center. Every section beside it gets lowered so it runs downhill from there.
- Make the preliminary cuts. Keep the V tool near the outside line on both halves, and go a little deeper. A mallet is optional.
- Outline the return. Go around the spot where the leaf flips, both directions, using that same V tool.
- Poke in the eyes early. Mark each eye with a small gouge before the big tools come out. Each one is only a mark you can find later, not the true eye.
- Drive the V tool in vertically. Set the V tool right on each subdivision line and drive it down perpendicular. Don't undercut it, and don't angle it.
- Lower the side sections. Take the sections down with the biggest gouge you have, use its corner in tight places, and keep track of the pipes the whole way.
- Stop when it is deep enough for now. Roughly 13 mm (1/2 in) below the top was plenty for this lesson. Any eye that gets lost on the way, put back before going further.
Frequently asked questions
Where is the high point on a Roman acanthus leaf?
Right at the center. Lesson 4 lowers the sections on each side so they run downhill away from it. The whole center comes down later too, which is why the preliminary V tool lines go in first: they hold the main picture while the wood around them leaves.
What is a preliminary cut in wood carving?
On this leaf, a preliminary cut is a V tool line put in before any lowering, so the main picture survives the work. I used a number 12 at 8 mm, running right along the outside line of both halves. Those passes went a little deeper. A mallet is optional.
Does the angle of a V tool matter for early work?
Not much at this stage. Mine was 60 degrees, and 45 or even 90 would still do the job. In the Greek acanthus course I said a 45 gets into the tiniest spots without damaging the sides, while a 60 takes more material at once.
What to carve next