
Alexander Grabovetskiy, woodcarver, School of Woodcarving · Published 2018
What is the law of progression in wood carving?
Quick answer: Progression is the design rule that repeats a single ornament, larger each time, running it down to the heaviest mass of the composition. Three returns on this Roman leaf measure roughly ten millimetres, thirteen, and finally twenty, with the largest closest to the base.
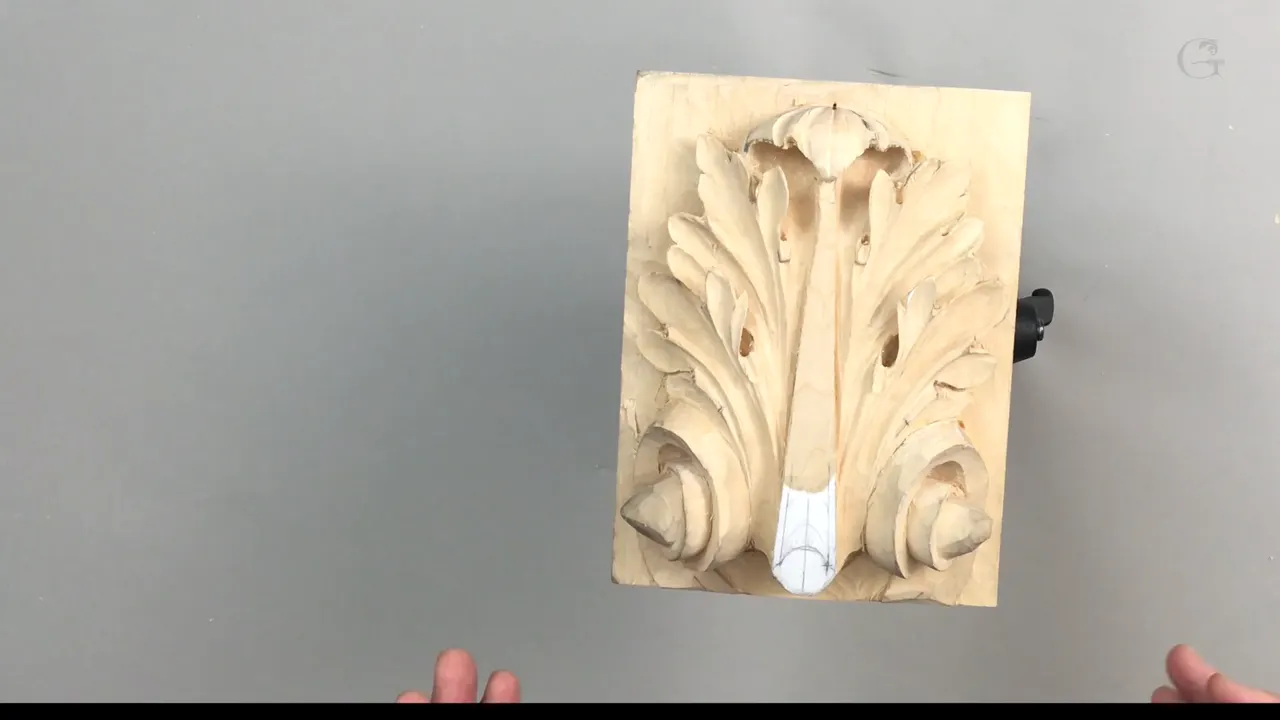
One acanthus leaf carries the same ornament three times at three different sizes, and that is progression. Romans grew each return as it travelled toward the heaviest mass at the base. Around 10 mm high on the leaf, then 13, then a full three quarters of an inch lower down. Same shape, larger every time.
Carved a leaf where every detail came out the same size and wondered why the thing read flat? Looked at a Roman capital and felt movement in the ornament without being able to name what was moving? What moves is not inside any one detail. It lives in the gap between their sizes, and once you see it you cannot stop seeing it.

Key takeaways
- One ornament, repeated bigger each time, running down to the heaviest mass on the panel.
- Mine run 10 mm, 13 mm and a full 20.
- Eyeball the sizes. A paper strip carries each mark across to its twin.
- Bigger returns get a boat front, not a round end.
- Leave the pipes filthy. Clean them early and you clean them twice.
- Guessed a size wrong? Take it down smaller and nothing at all is lost.
What is the law of progression in ornament?
One element repeated at growing sizes, arranged so the growth runs toward the heaviest part of the design. Musicians would call it rhythm. Carvers before me called it progression, and the Romans built entire capitals on it.
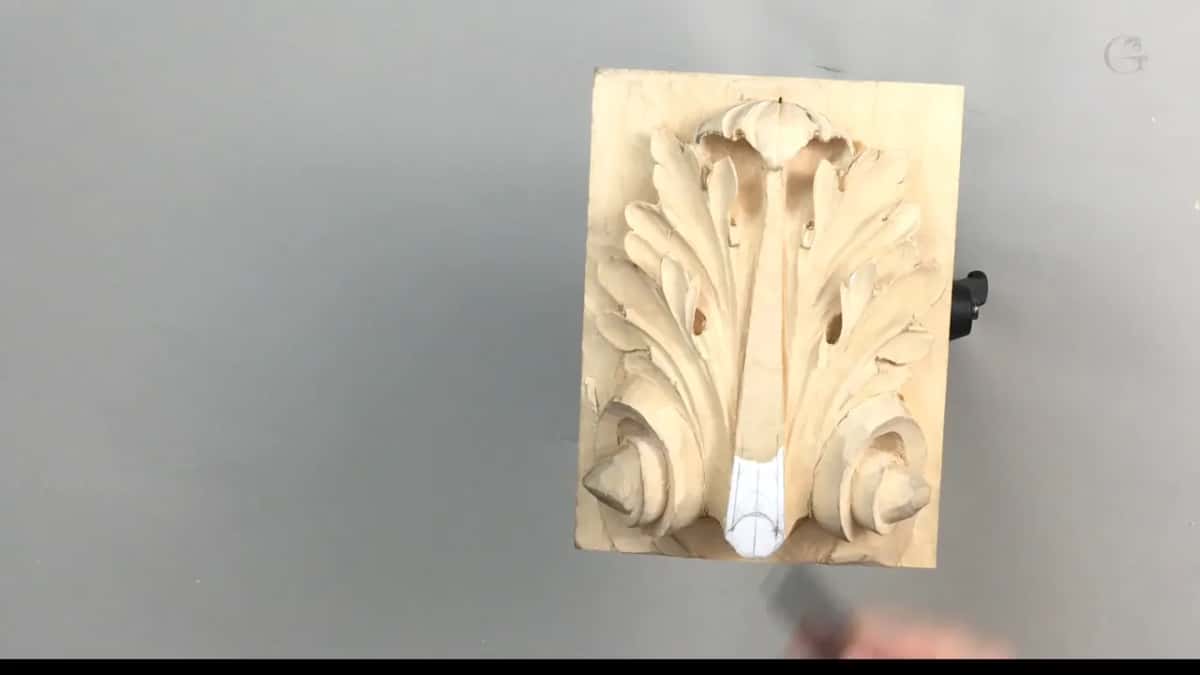
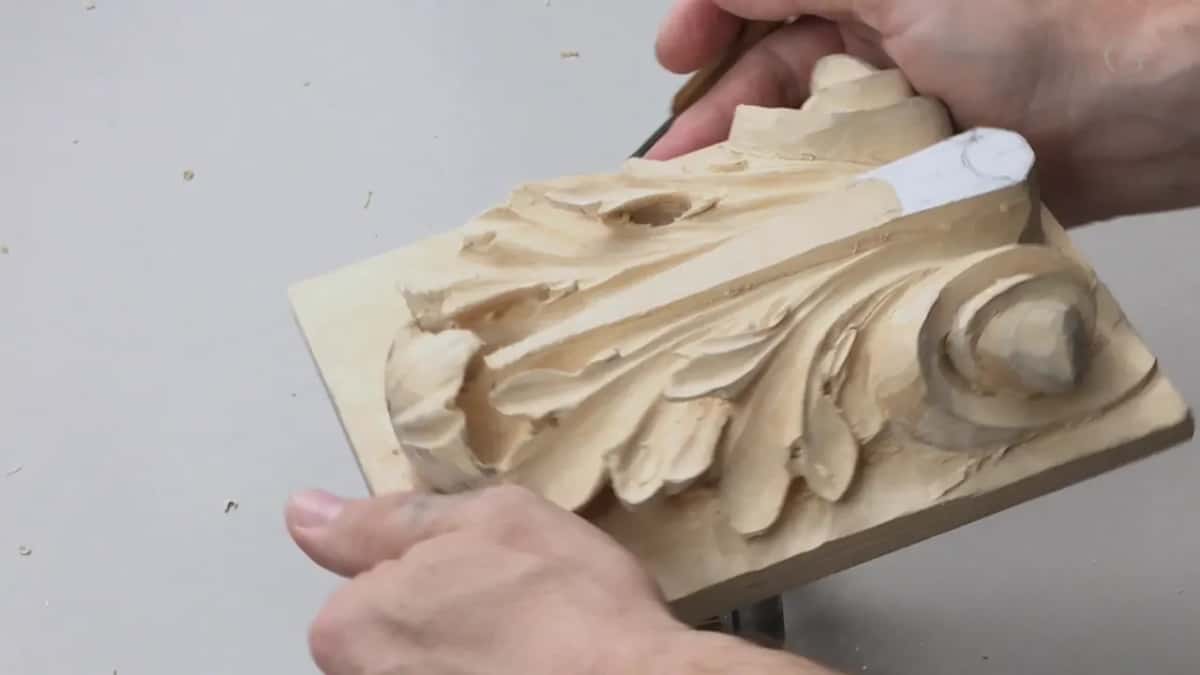
My panel shows it plainly. One pipe carries a return running about half an inch from its eye out to the edge, so 13 mm. Its neighbour is shorter at 10 mm. The third one jumps to a full 20, which is nearly double it.
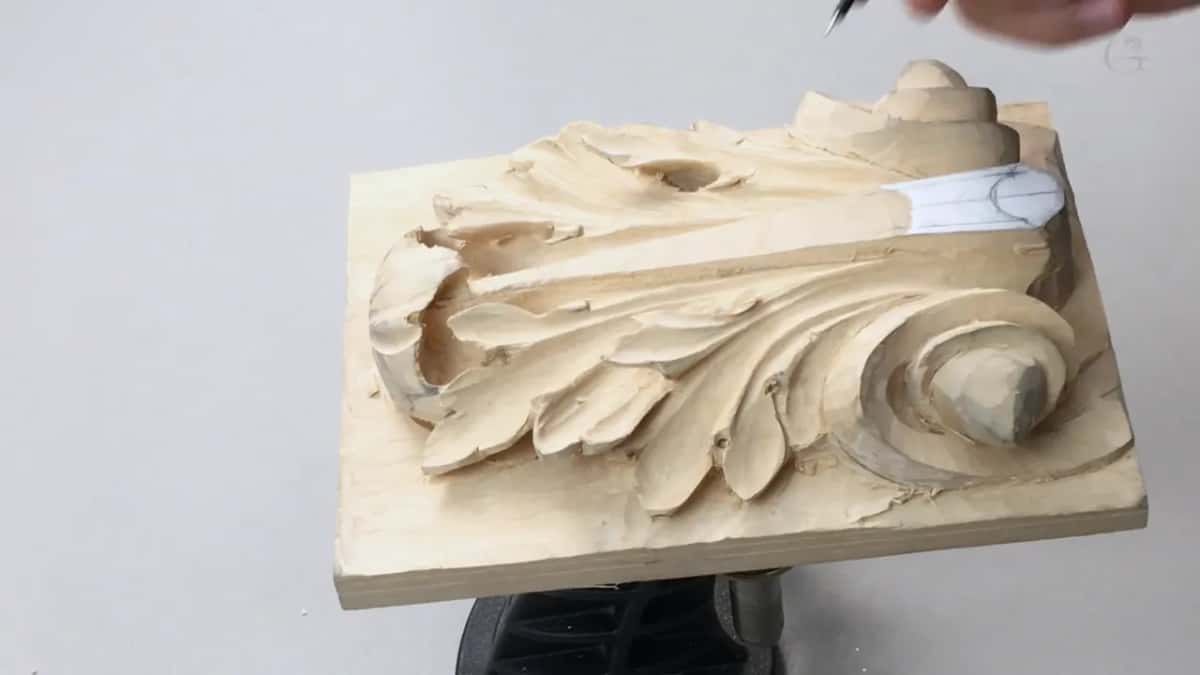
Why the biggest sits lowest has a reason. Heaviest mass on this acanthus collects at the bottom, so each detail grows as it comes down to meet that weight. Put the order the other way round and the leaf argues with itself.

Nothing here is measured against a rule book. I am eyeballing all of it, and if that 20 mm ends up bugging me when I look at the panel tomorrow, I can always make it smaller. Not a big deal at all.
Look at what your eye does with three of them together. Identical returns read as a pattern stamped onto the leaf. Growing ones read as a single shape travelling somewhere, and travel is exactly what a flat panel is not supposed to be able to manage.
How do you match the two sides without measuring?
Judge it by eye and check afterwards, which is the slow way to build an instrument you will need on curved work where no ruler reaches. Feeling the size first and verifying it second teaches your eye something. Measuring first teaches it nothing at all.

Uncomfortable with that? Take a strip of paper. Lay it against the end of the eye, pencil the length onto the edge of it, then carry that scrap across to its twin on the other side. The two spaces come out equal and no arithmetic happened anywhere.

Shape matters as much as length on the bigger ones. A small return can finish round. This large one finishes more like the front end of a boat, a soft point rather than a curve, and that difference is visible from across a room even though it measures a couple of millimetres.

Then it gets subdivided in three, same as the smaller ones did. Each third takes about 5 mm, call it 5/16 of an inch, and a quarter inch each keeps you safe if you would rather not crowd it. Three parts read as folded. A single undivided one reads as nothing more than a scoop.
Why leave the pipes dirty this long?
Every detail you establish later forces you to clean that same surface again. I have not touched the pipes or the eyes on this design yet and by now you can probably see the logic. Cleaning at the start means cleaning twice, and nobody is paying me for the first round.
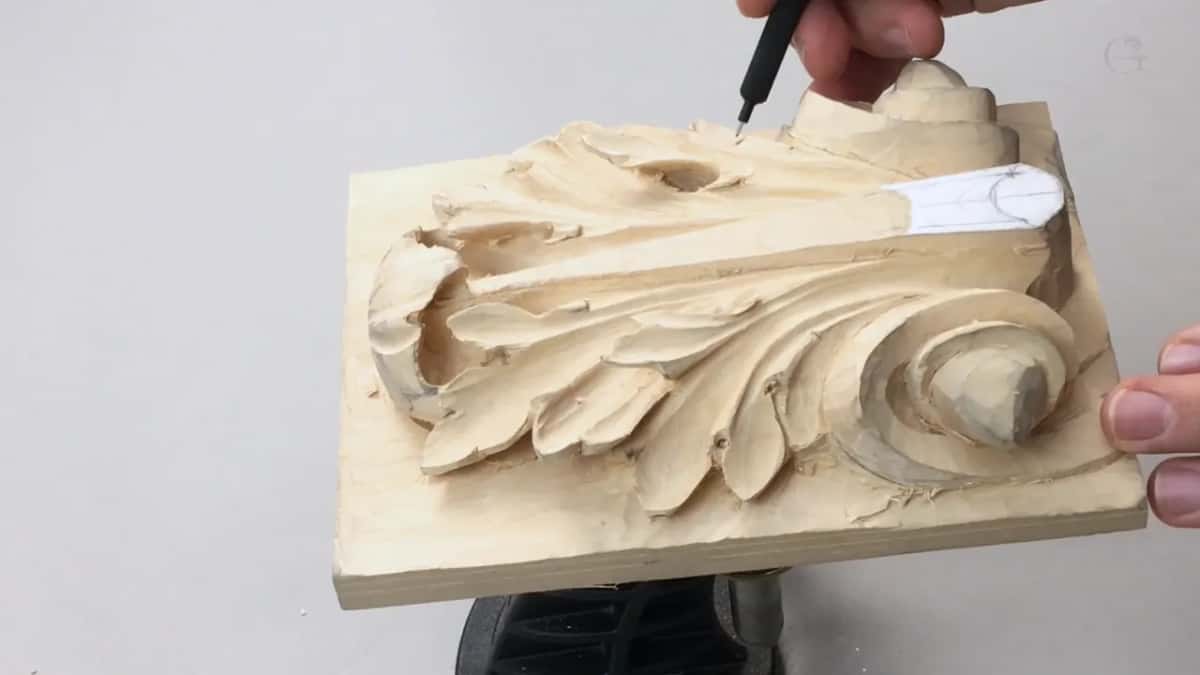
There is a second reason, and it is the one that saves pieces. Uncleaned wood is wood you still have. Leave some meat around every element and a mistake becomes a correction instead of a glue joint.
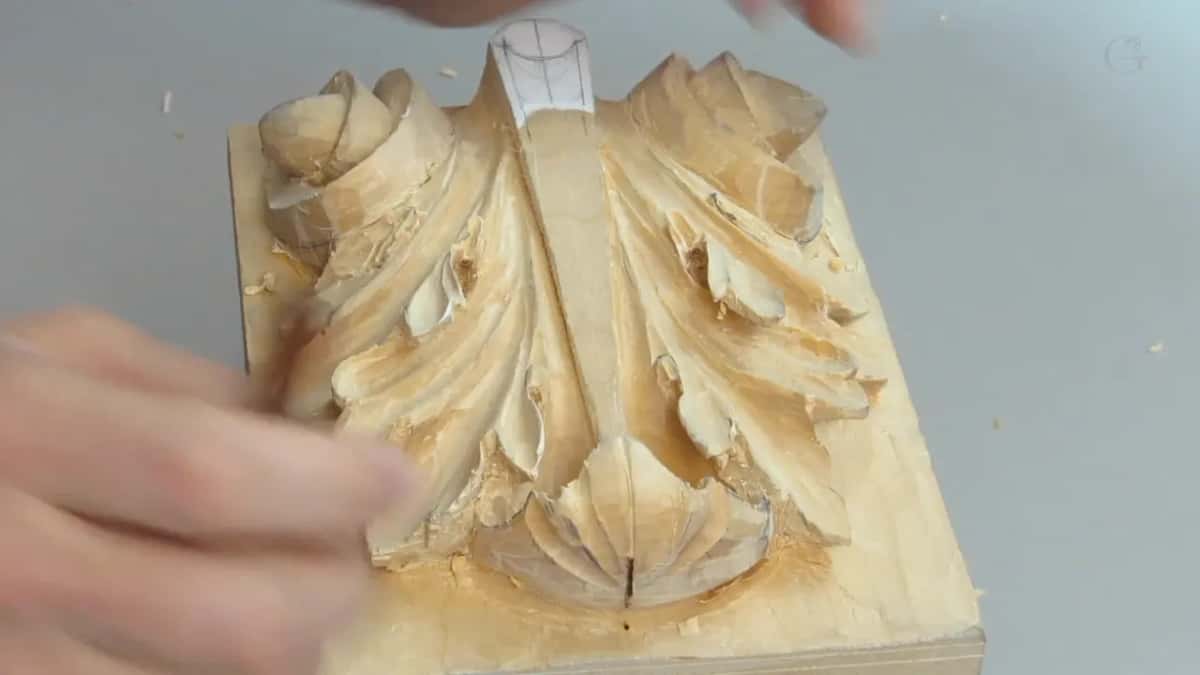
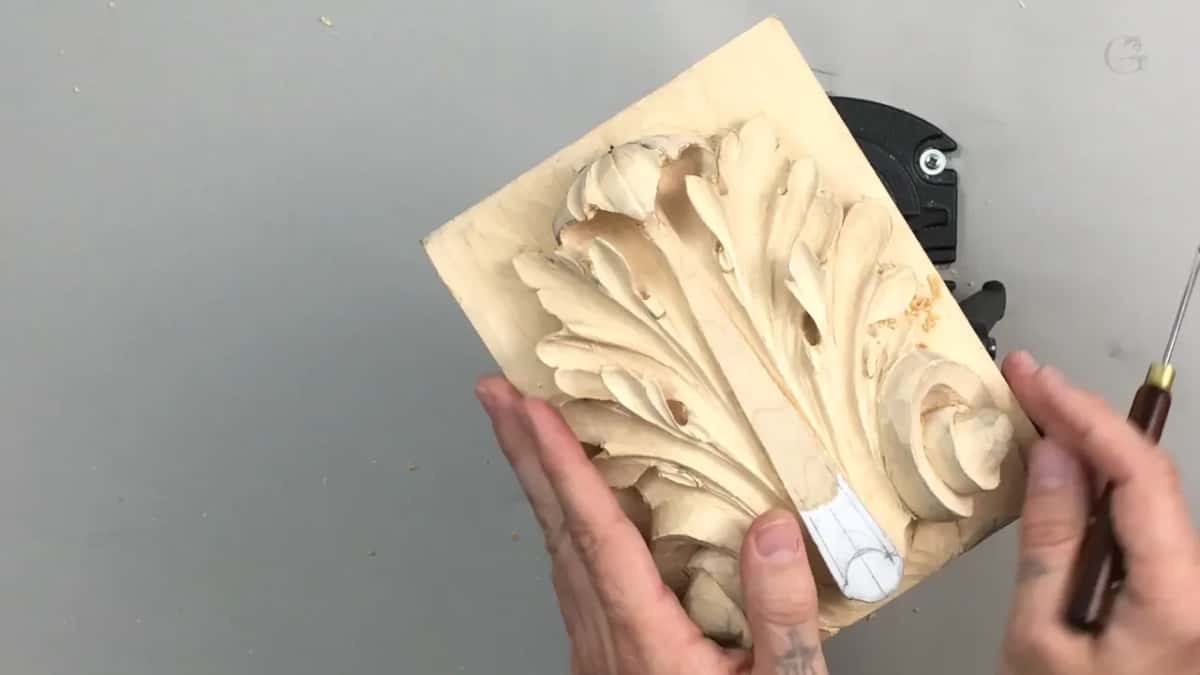
Watch what happens to the pipe once I start lowering the wood around it. It almost vanishes. That is fine, because I know where the main movement runs and I can put the pencil line back whenever I want it.

Beginners panic at this exact moment. The drawing disappears, the shape looks wrong, the surface is a mess of half finished forms, and the instinct is to stop and tidy. Keep going. The drawing lives in your head by now, and a lost line comes back.
How deep does the preliminary work go?
About 3/32 of an inch, and an eighth would not hurt. On the smaller elements earlier in this series I simply poked the gouge straight down. This bigger one earns a V tool first.

My V tool takes a careful cross cut across the return, right on the mark, about 3/32 deep to start. Then I go back over it and take it deeper still, most of the way to an eighth.

The same tool can run right around the whole boundary if you want it to, which saves reaching for anything else. Careful at the far end though. The eye is sitting there unrefined and I have no intention of damaging it before I have even started on it.
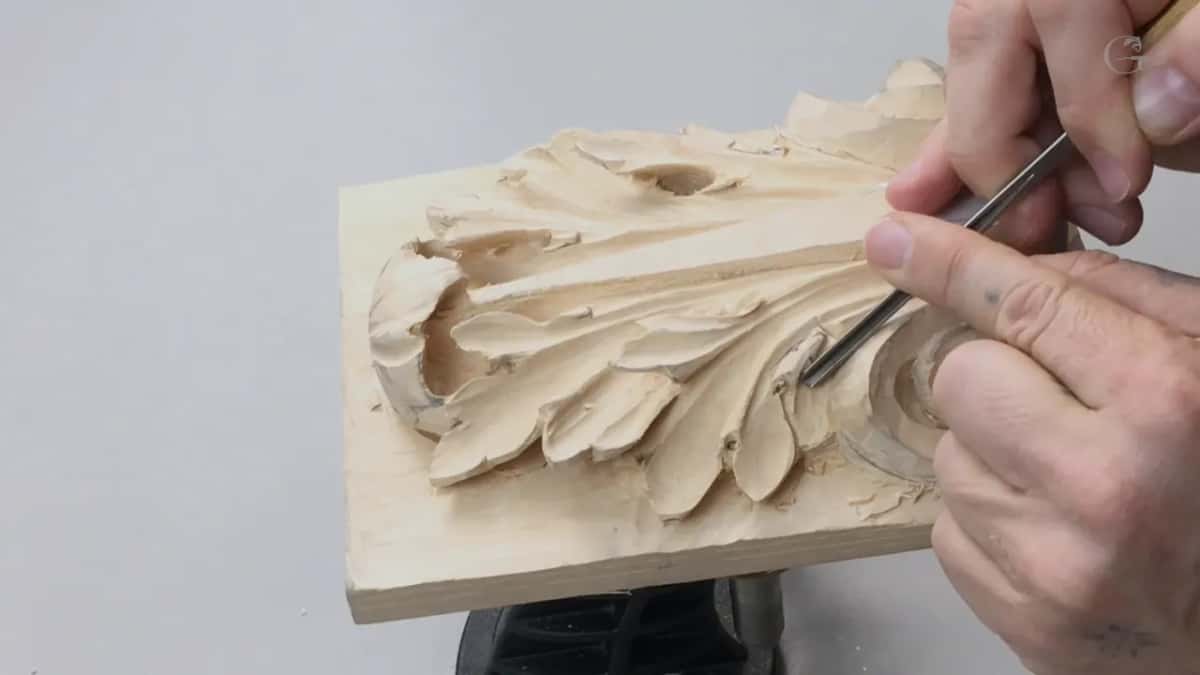
So the cuts stop short. I escape early on every pass, deliberately leaving the last few millimetres uncarved near the eye, and come back for them when that area is ready. Rushing into a shape you have not built yet is how good panels get ruined.
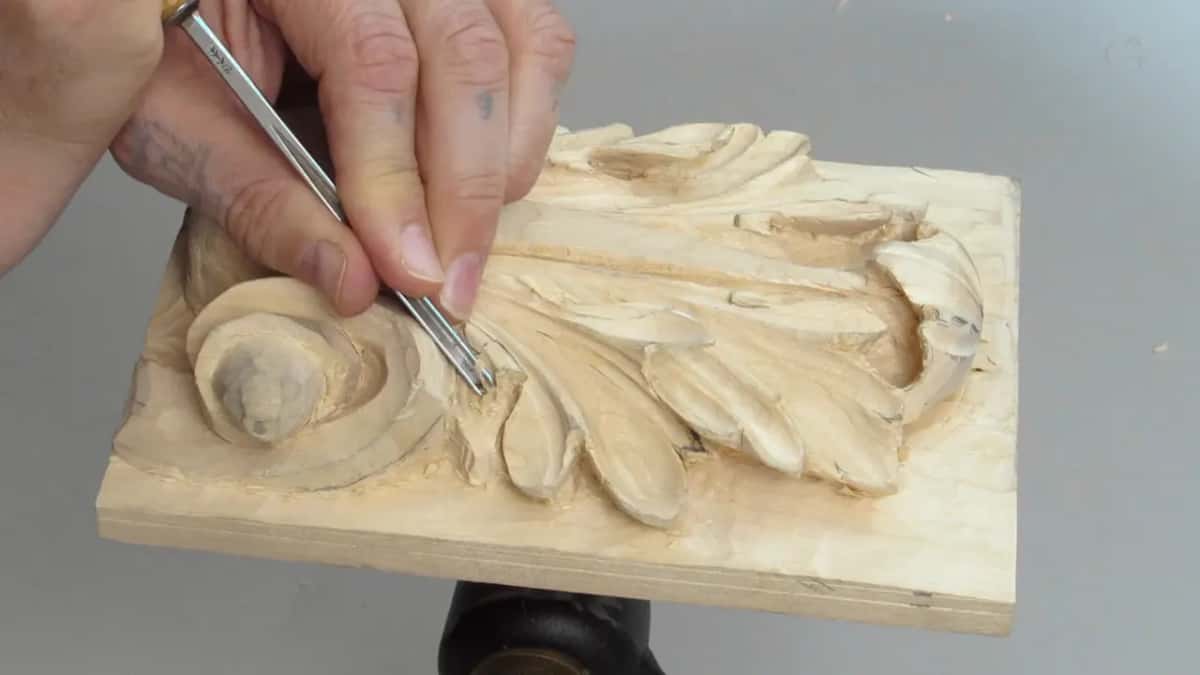
| On the leaf | How far the return runs out from the eye | Shape at its end | What I pick up for it, and what I pick up next |
|---|---|---|---|
| Top pipe | 10 mm, three eighths of an inch | Round, nothing clever | A gouge poked straight down, which was all that one needed |
| Second one along | Half an inch, which is about 13 mm | Round again, and the smaller returns on this panel all finish that way too | Sweep 7, four millimetres |
| Third down, sitting nearest the heavy base of the leaf | Twenty millimetres | A boat front, pointed not curved | V tool first, then a number 3, then a knife for the ridges |
| Each of them | Divided in three before any tool goes near it | Each third gets hollowed separately | A 3/32 gouge, started at the eye side and worked slowly toward me |
| Under everything | Barely anything at all, and that is the whole point | Shade, and shade alone | A veiner small enough that you squint to find it afterwards |

Which tool reaches between two designs?
A micro number 3, an eighth wide, and mine is an Ashley Iles from the Peter Benson collection. Design sits on the left of this return and more design sits on the right. A big tool would wreck whichever side it came in from.
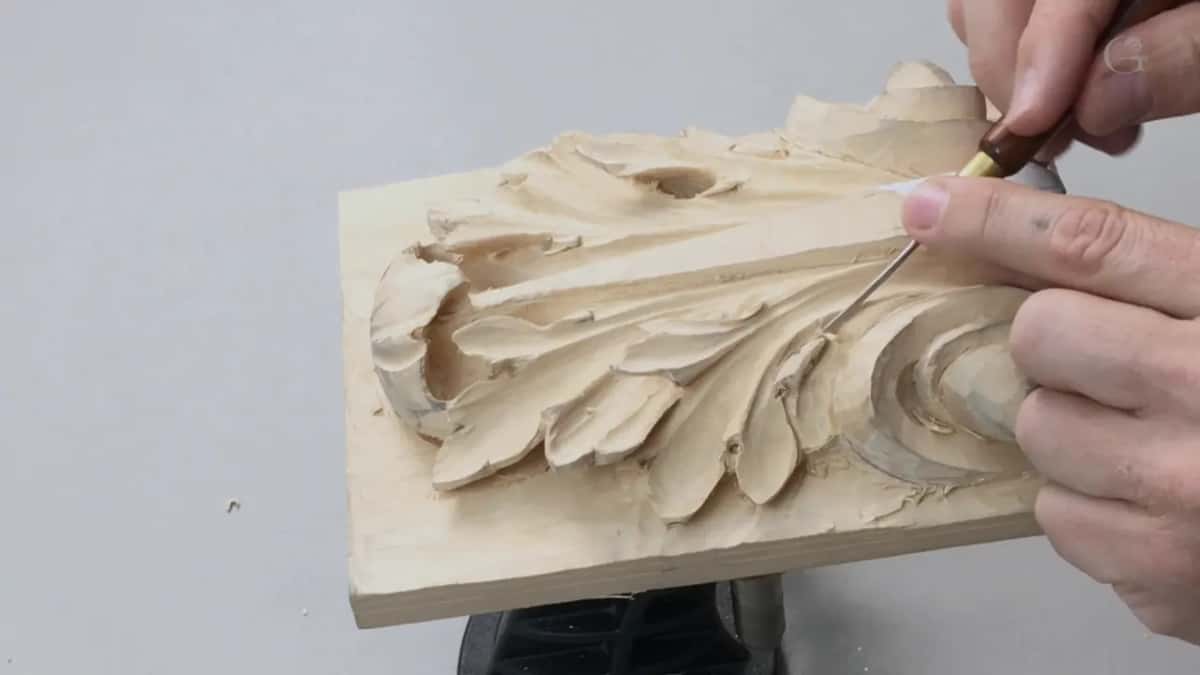
Small tools are not about delicacy. They are about clearance, the same way a back bend is about clearance. The number 3 lowers both pipes by an eighth without once touching what stands beside them.
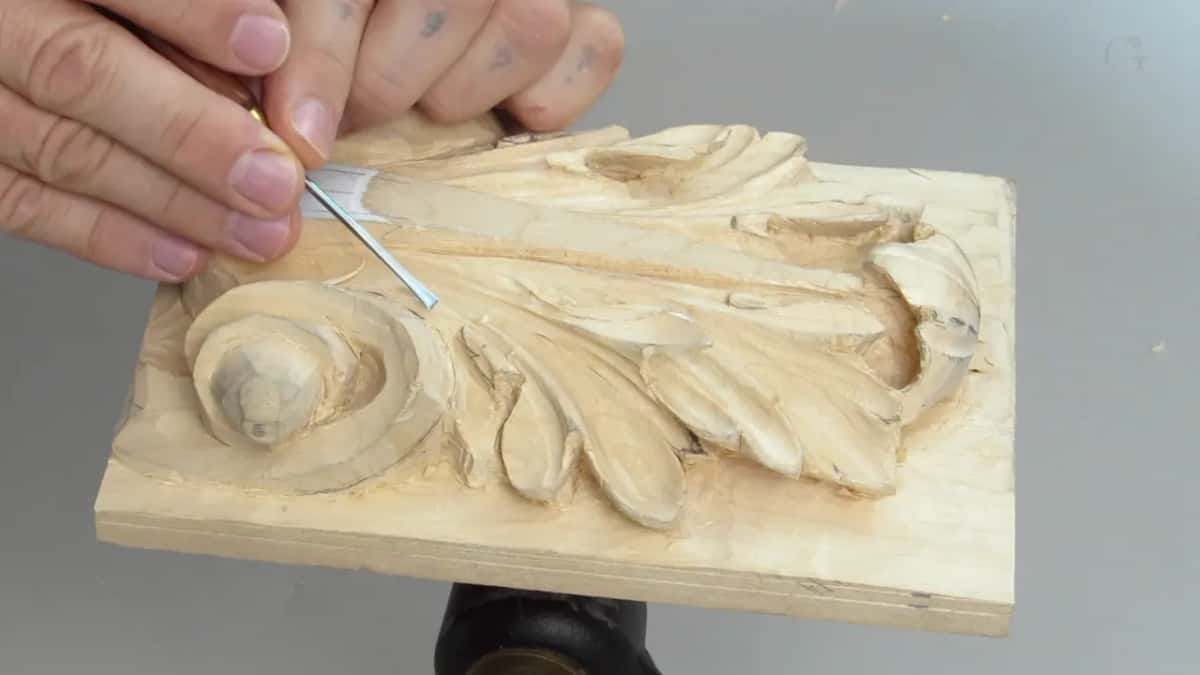
That same tool then marks the subdivisions inside the return. Later, when the undercutting starts, those get refined properly. Right now everything is preliminary and looking a little rough is the correct state to be in.

A 3/32 gouge does the hollowing. I start at the eye side and travel toward myself, little by little, hollowing the middle of each third so the return curls. Small details, and they do matter more than the big ones by the time a panel is finished.

What does a dull gouge do at this scale?
It crushes the fibre instead of shearing it, and at this size you cannot press hard enough to hide the difference. Watch my hands on the video. Almost no pressure goes into the wood anywhere in this passage.
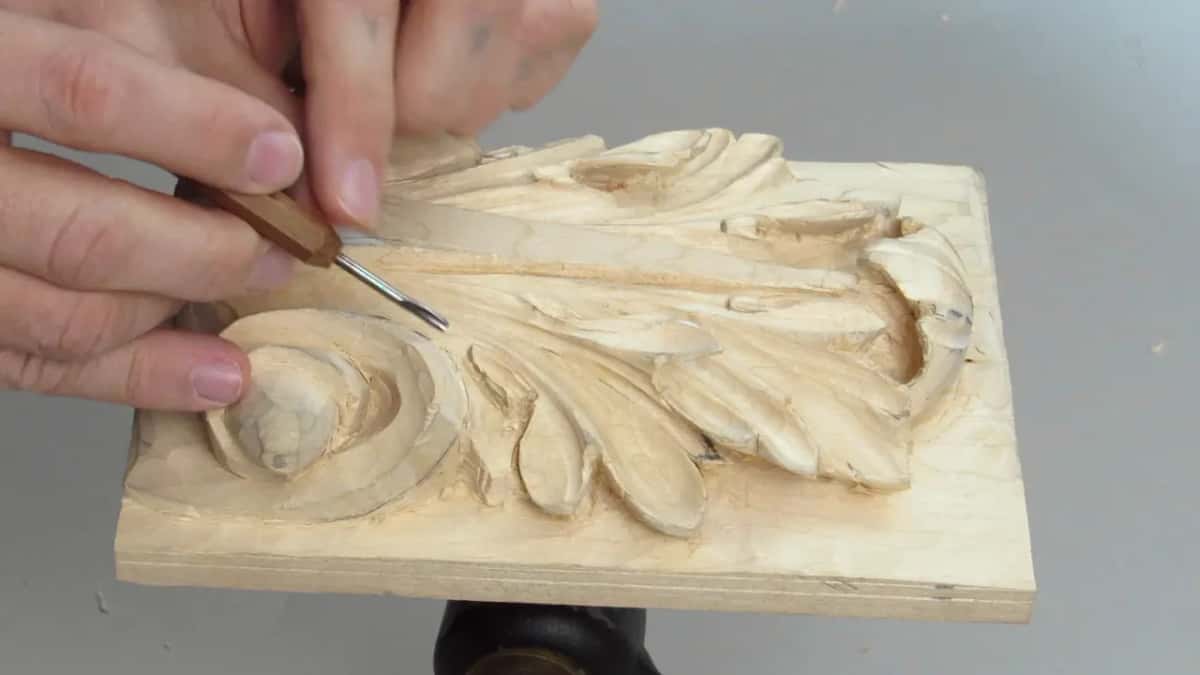
The fibres in these hollows sit very close together. A sharp edge slices between them. A dull one smooshes them into each other, and there is no sanding that back out afterwards, which is why sharpening stops being a chore at this point and starts being the whole job.

Grain direction decides which way each pass travels. My grain runs one way through this section, so I attack the return from the side that shears cleanly and I come at its twin from the opposite end. The fibre decides, never my convenience.
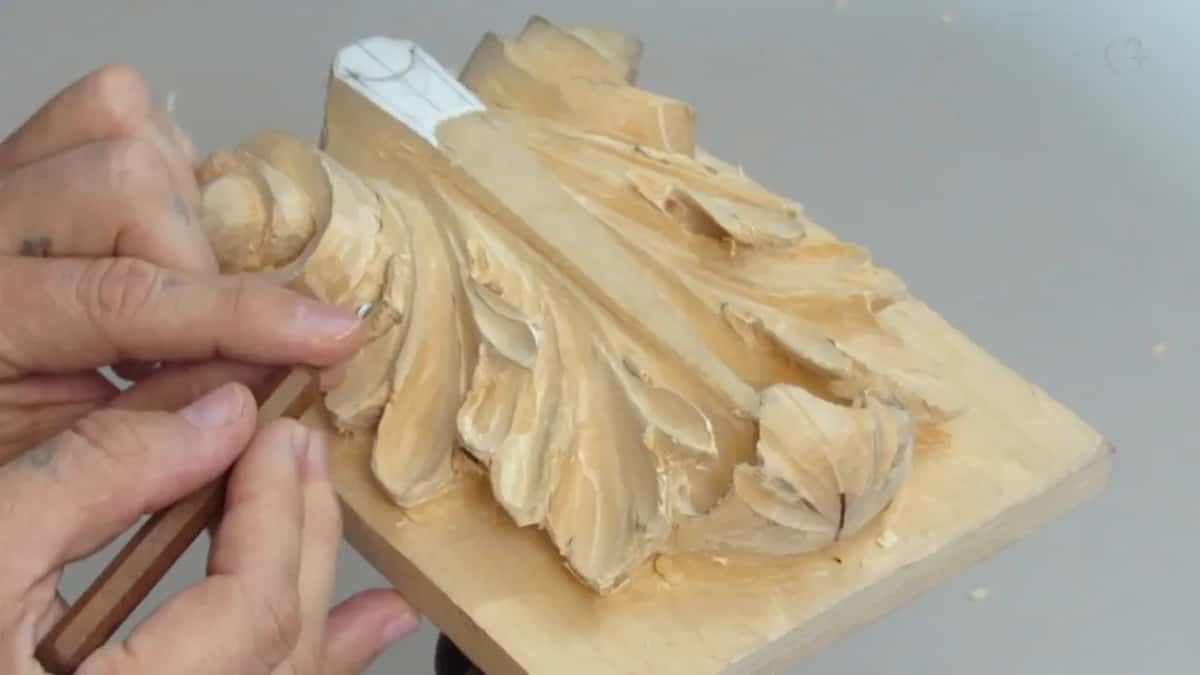
Illusion is the word I reach for and then take straight back. Those sections of leaf really do run underneath this one, so the shade is not a trick played on anybody. It reports where the wood went.
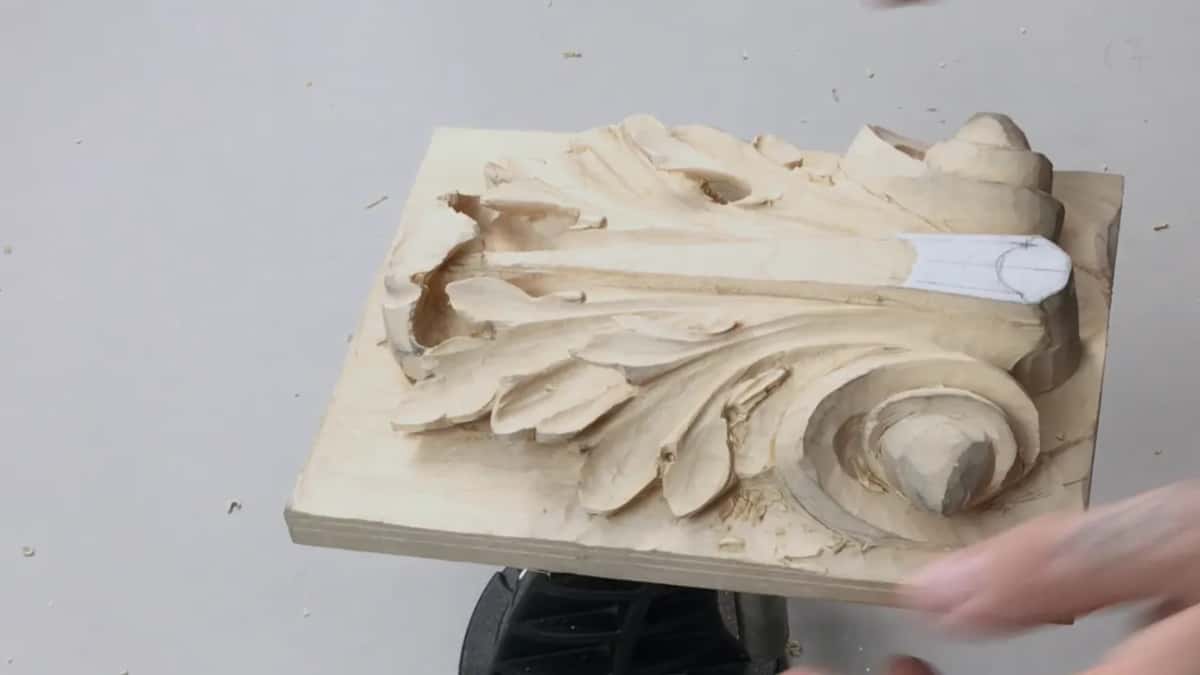
How do you check you have not gone too low?
Measure what is left above your second line, on both sides, and compare the two numbers. My panel has about a quarter inch standing above that line on the left and the same quarter inch on the right, so the two halves agree.

That number is also my budget. Knowing I have a quarter inch tells me I can afford to go perhaps 1/32 lower and no further, because below that the high point stops being the high point and the whole balance of the leaf shifts.
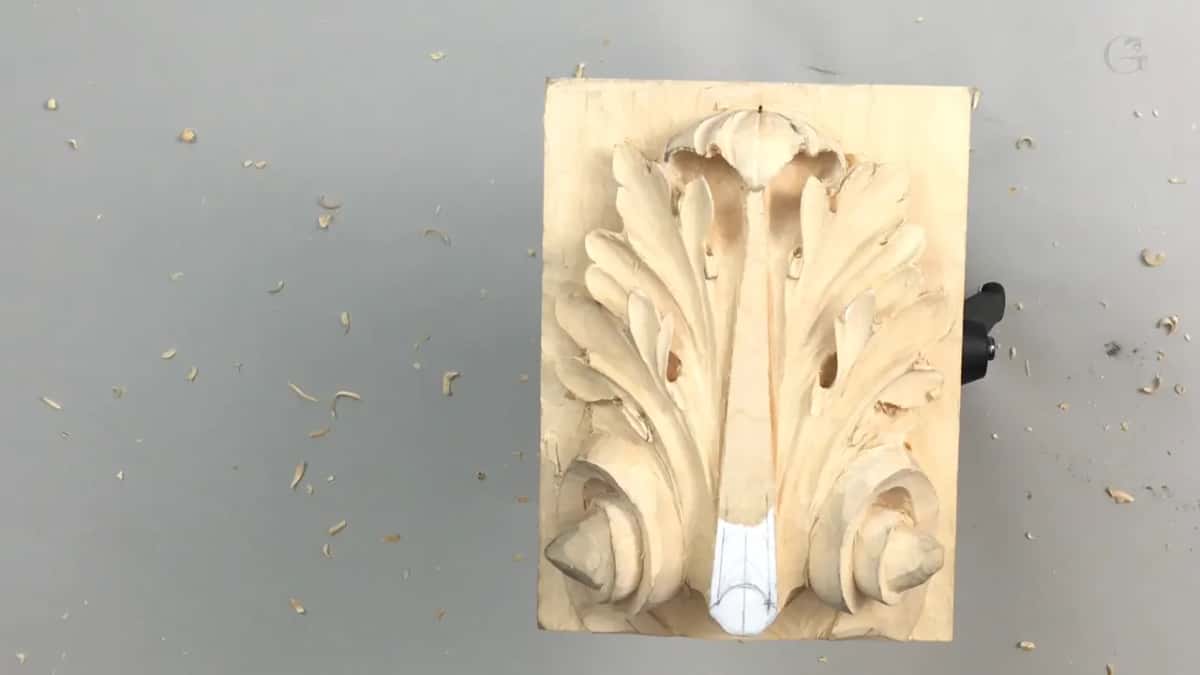
Second lines deserve a word for anyone arriving here midway. Mine is the pencil line marking how far down the background sits, drawn before any carving began, and every depth on this panel gets judged against that line instead of against the face of the board.
Check, then check it again. Two minutes with a rule now is cheaper than finding out at the finish that one side of a symmetrical leaf sits a millimetre proud of the other, which is the sort of error nobody spots until the light hits it.

Too much material standing anywhere gets taken down with the same sweep 7 at four millimetres from earlier in the workshop series, working both sides of the leaf in turn so neither gets ahead of the other.
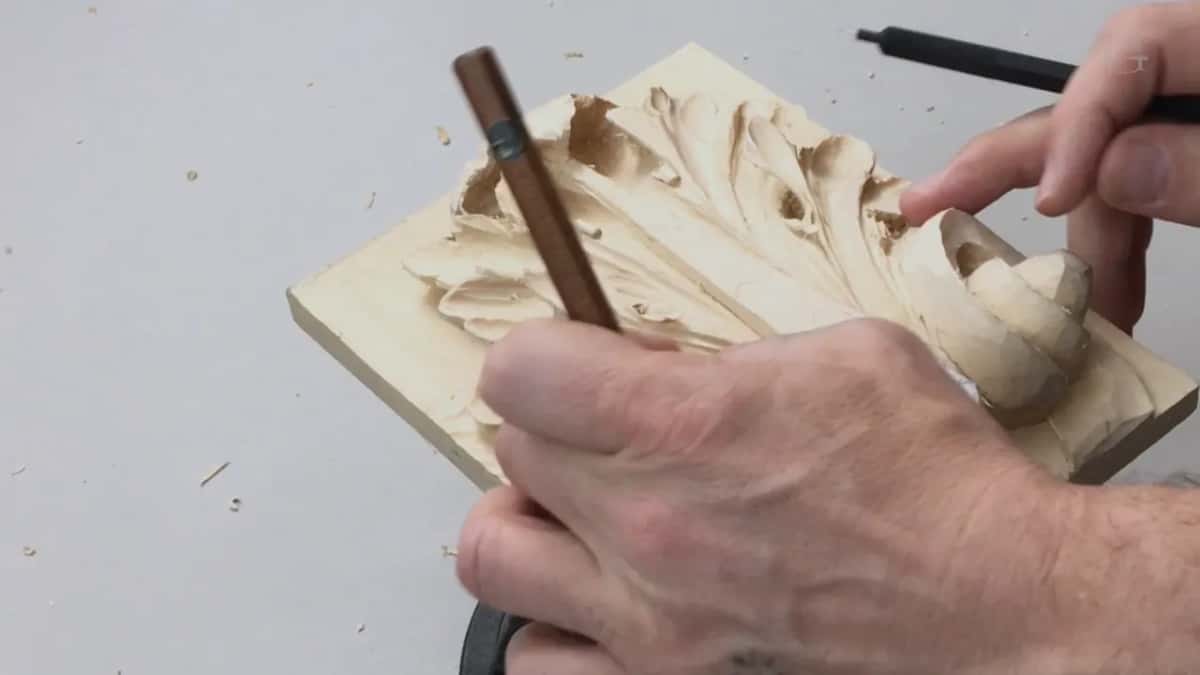
Why does rushing cost more than it saves?
Breaks. On production work I have to move quickly, since I cannot afford to spend a week on one leaf, and I still come down on the side of careful over fast. That preference was bought with mistakes.
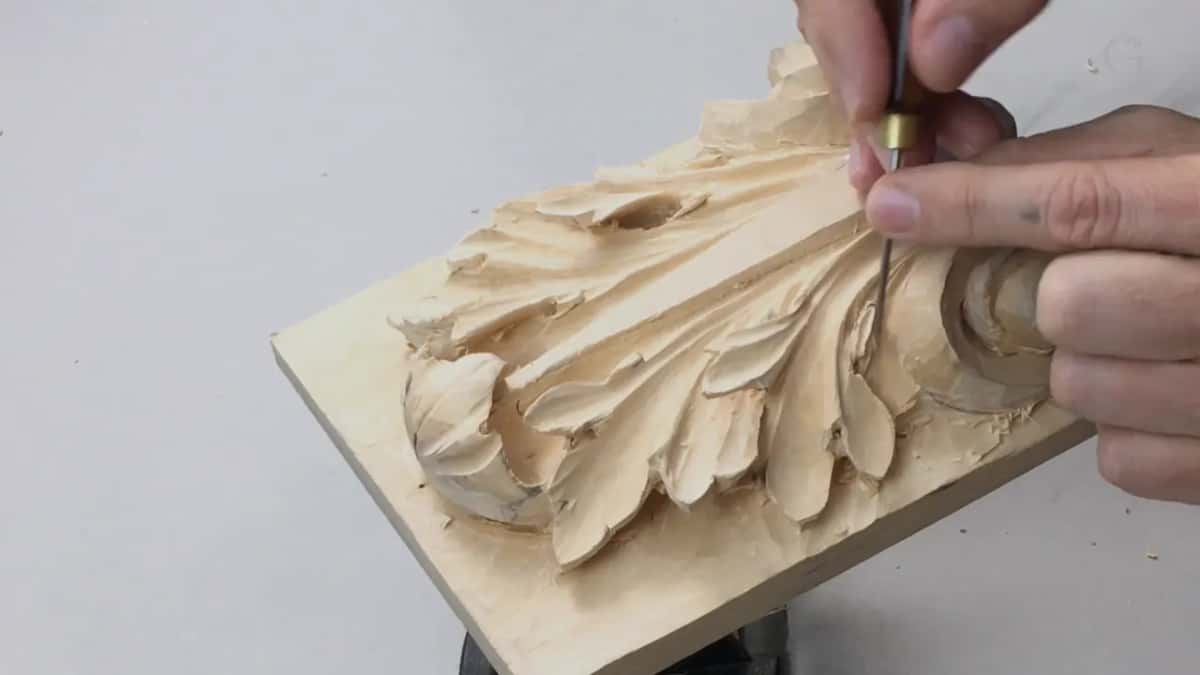
I have rushed too much and I have broken pieces doing it. Then the break gets glued back, and a glued break in ornament this fine is never as good as the wood was. Nice is not the word for it.

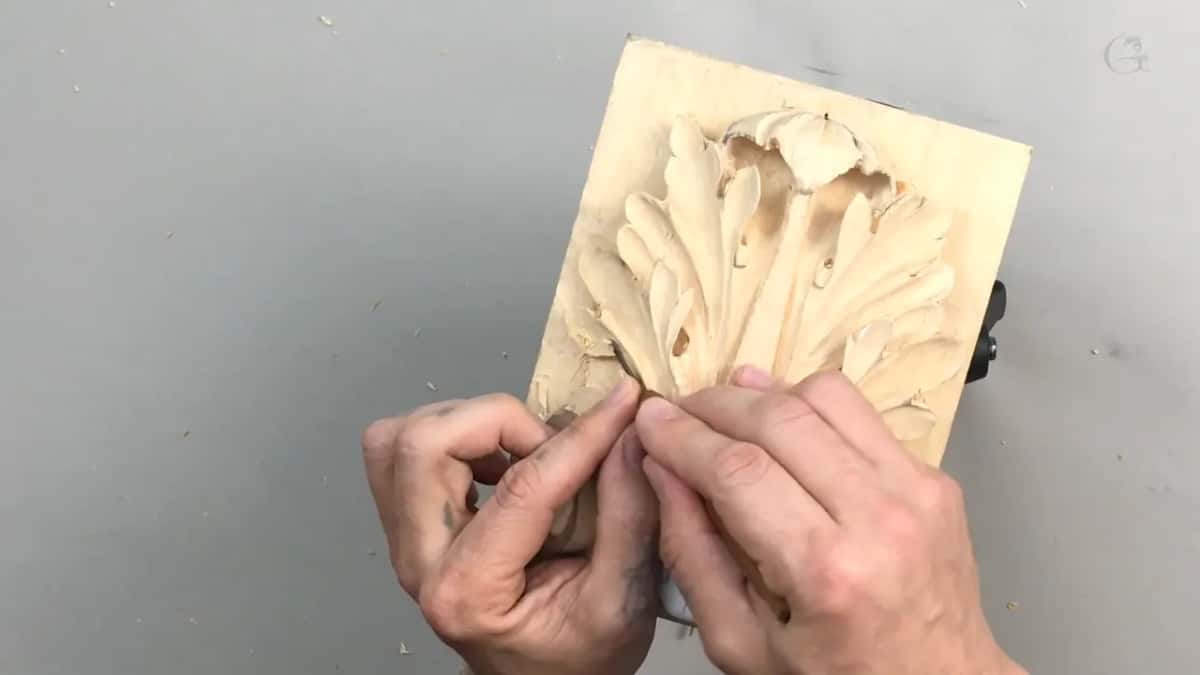
The eyes look messy right now and that is the honest state of them. Refining one takes a number 8 at an eighth of an inch, then a number 3, then a 1/16, little by little, and there is no version of that sequence that goes faster than it goes.

Between those three sizes my hand moves constantly. Eighth, 3/32, sixteenth, back again. The rack matters here more than anywhere else on the panel.
Who carved the hardest ornament in history?
Ornamental carvers did, and history divided the trade more sharply than most people realise. Ship carvers took the big boats through the 17th, 18th and 19th centuries. Others carved for vehicles.

Inside carvers worked the houses, and they split again into two. One half handled mouldings and capitals, everything structural about a room.
The other half worked ornament, and Grinling Gibbons is the name everyone reaches for. Ornamental work is the most difficult of the lot, because you spend your days on the tiniest details anybody ever asked a gouge to make.

This return of ours belongs to that family and it did not stay Roman for long. The detail came back in the Renaissance, and by the time you reach Rococo the returns are everywhere you look.

My goal on this panel is a piece of art rather than a furniture part, even though you could put it on furniture tomorrow. Nothing else explains why I am spending this long on details a quarter of an inch wide. I want the end result to be beautiful, and basswood will hold every one of them.

Then the last pass runs the transition downhill, blending the new work into the surfaces around it, and a carved leaf stops looking assembled from parts.
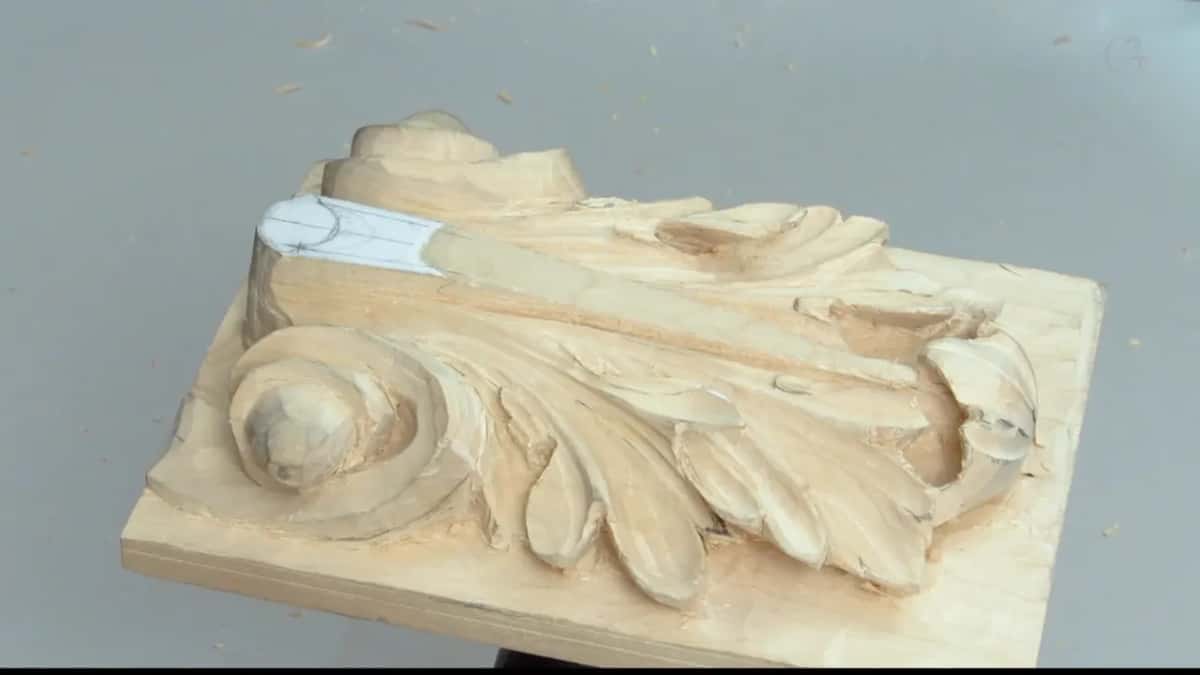
Would you rather see these sizes chosen in real time, with the camera close enough to watch the pencil land? Shall we carve?
This workshop belongs to the Roman acanthus series, and tuition opens it alongside the rest of the library. Workshop twelve carved the small return, the Greek leaf obeys a different rhythm entirely, and the design principles behind progression have a course of their own. Want me beside you instead? We teach in person, and beginners start here.
How it's done
- Set the sizes before any tool touches wood. Mark one return at 10 mm, its neighbour at 13, the third at a full 20. Growth runs down to where the leaf is heaviest.
- Carry each mark to its twin. Lay a paper strip against the end of the eye, pencil the length on it, then carry it over to the matching side. Equal spaces, no ruler.
- Give the large one a boat front. Small returns finish round. This one ends in a soft point like the bow of a boat, which reads differently from across the room.
- Divide the band in three. About 5/16 of an inch per part, or a safe quarter inch if you would rather not crowd it. Three parts fold. A single one just scoops out.
- V tool the boundary first. Run a cross cut on the mark, 3/32 deep, then deepen it toward an eighth. Escape short of the eye and leave that area alone for now.
- Lower the pipes with a micro number 3. An eighth of an inch wide, Ashley Iles Peter Benson. Design stands on both sides and anything bigger damages whichever side you enter from.
- Check both sides against the second line. A quarter inch of material above that line on each side means the halves agree. It also tells you that 1/32 is all the depth you have left.
Frequently asked questions
What does progression mean in a carved ornament?
Repeating one element at sizes that keep growing, arranged so the growth heads into the heaviest mass of the design. Musicians call the same idea rhythm. On my own leaf those sizes go ten millimetres, thirteen, twenty, and the biggest of the three sits right down at the base.
Should the returns on one leaf all be the same size?
Making them identical is the common beginner instinct and it flattens the whole thing. Grow them instead. The biggest mass on the panel sits low, so the detail has to build as it travels down toward it.
Can you carve symmetrical details without measuring?
Eyeballing is the skill worth building, because curved surfaces arrive where no rule reaches. A piece of paper marked against one eye and carried over to the other side covers you meanwhile, and costs nothing.
What to carve next