
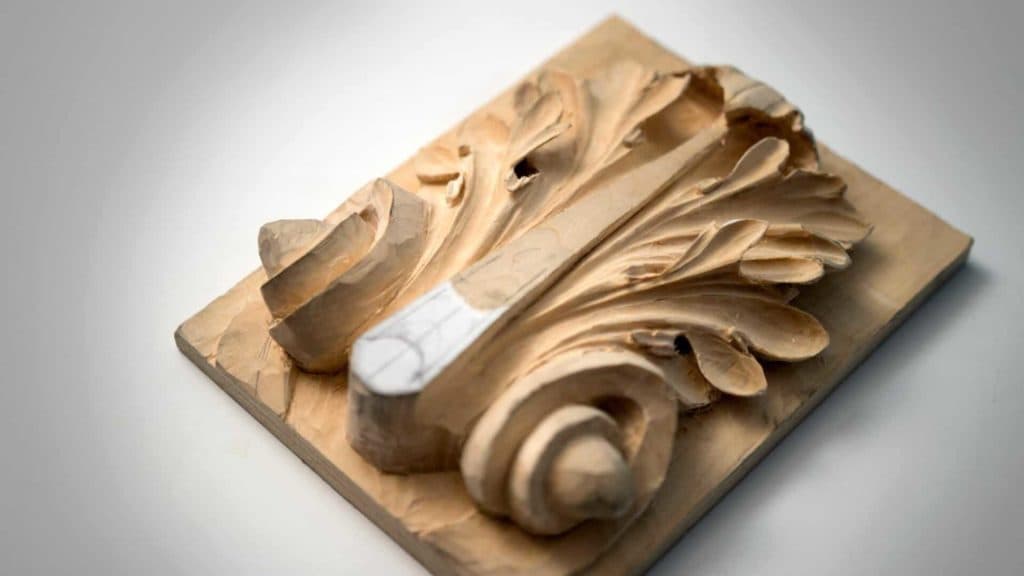
Alexander Grabovetskiy, woodcarver, School of Woodcarving · Published 2018
What is the smallest tool used in wood carving?
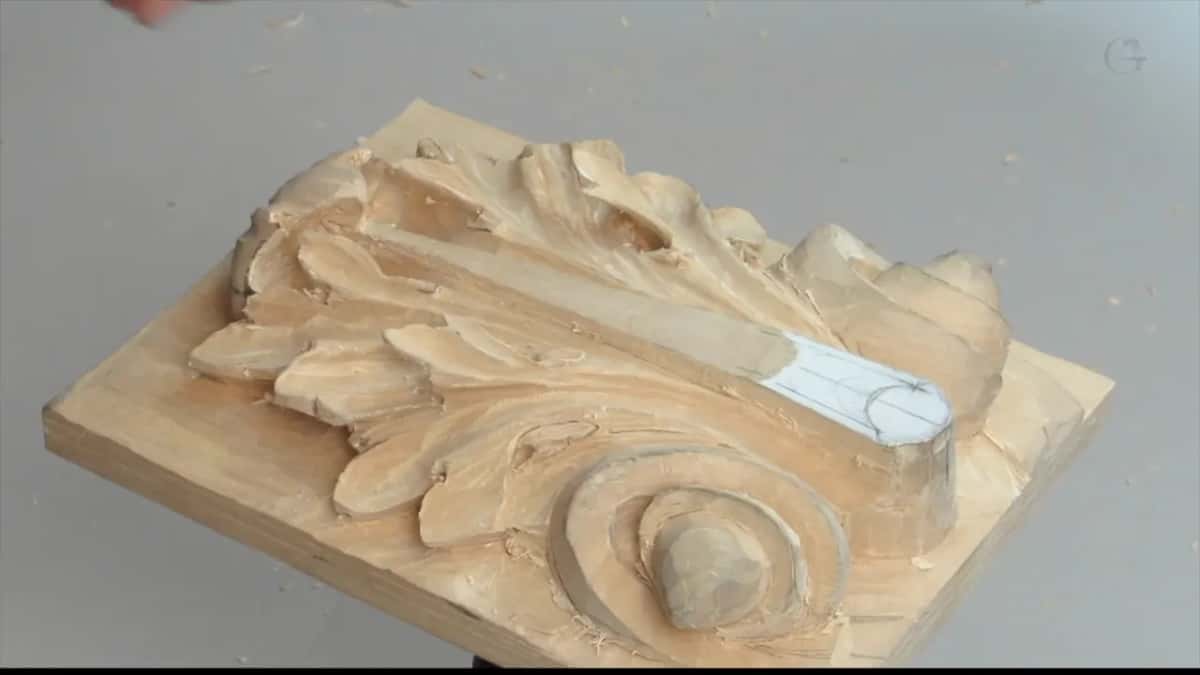
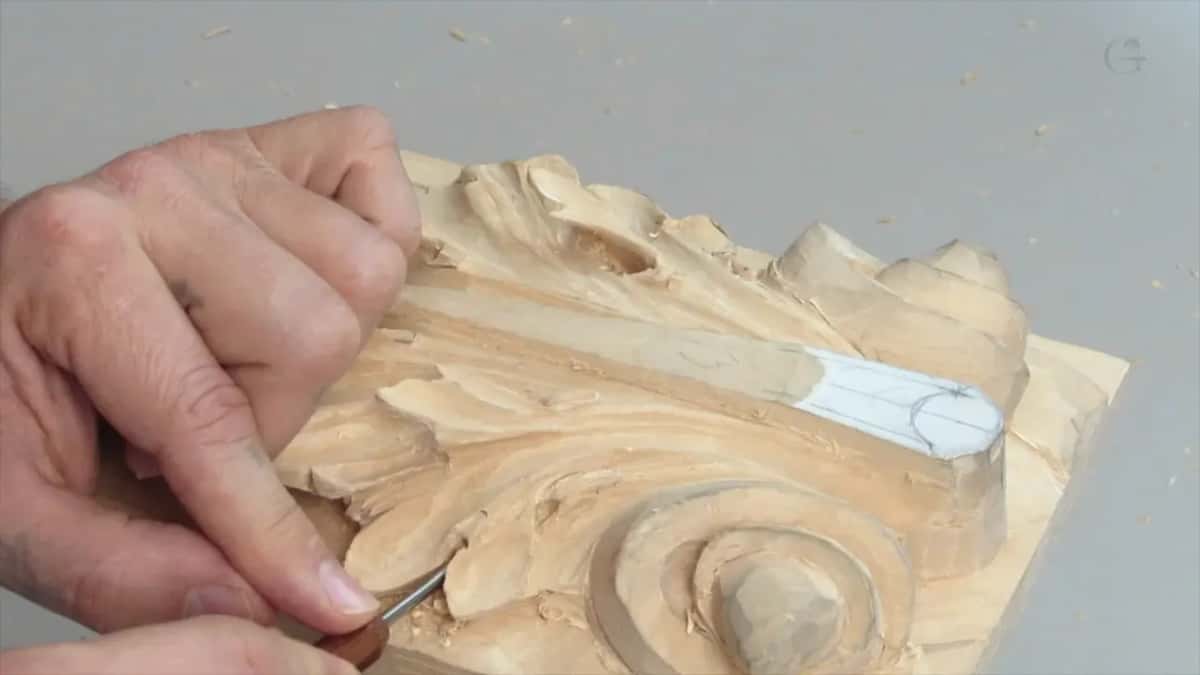
Quick answer: The smallest carving tool in this Roman acanthus lesson is a micro veiner, under one millimeter wide, roughly half of one, and U-shaped. I dig underneath a tiny return with it so the return throws a deeper shadow. And I wiggle it in, slowly.
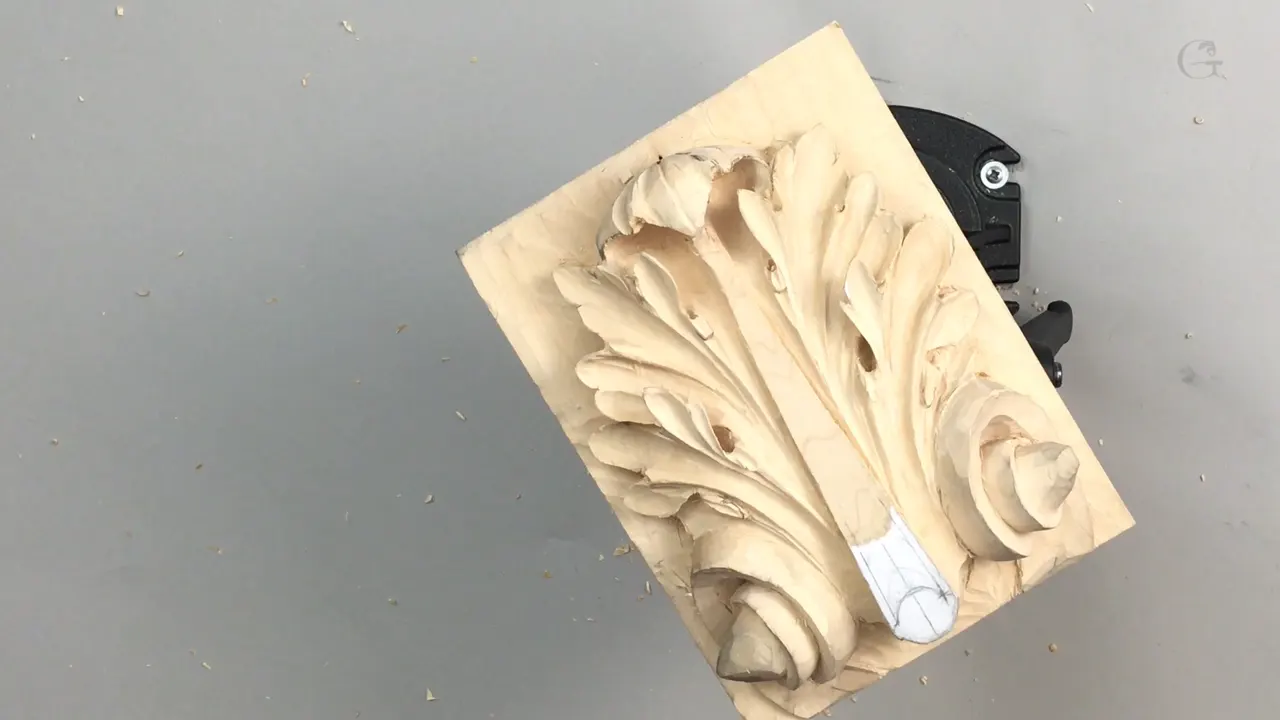
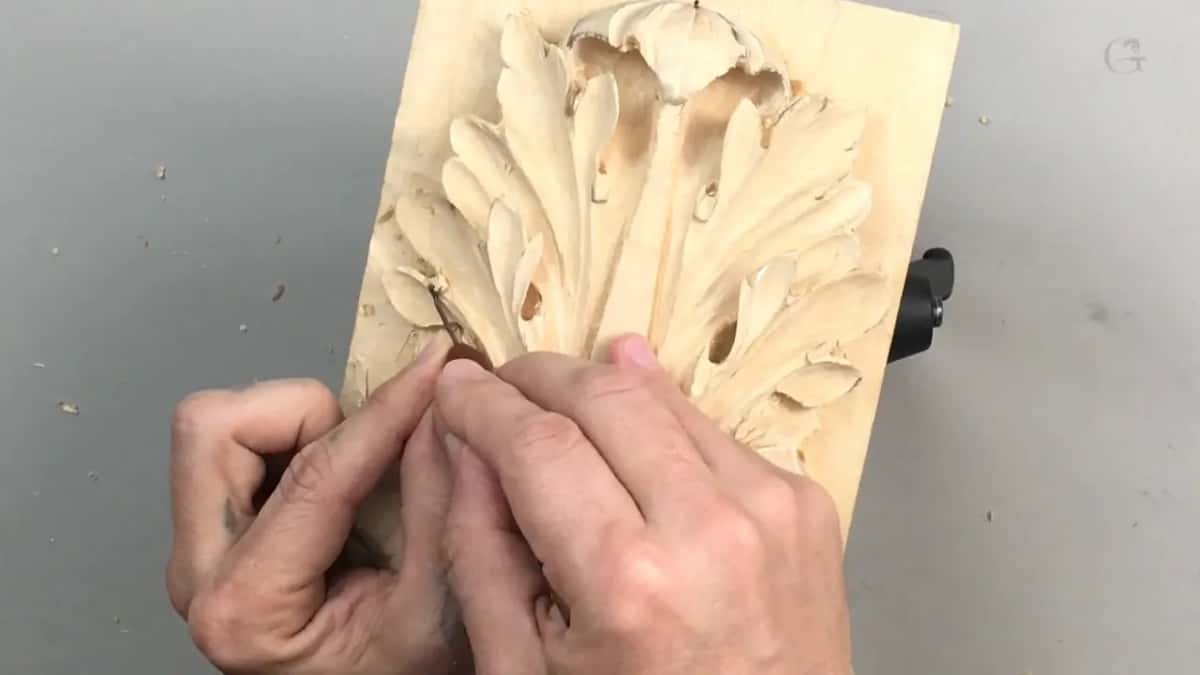
The smallest tool used in wood carving that I pick up in lesson 14 of my Roman acanthus course is a micro tool, less than a millimeter, maybe just about half a millimeter (about 0.02 in) across. It has a U-shape. It's a veiner, not even a gouge, and I use it to start digging underneath a small detail I want to undercut.
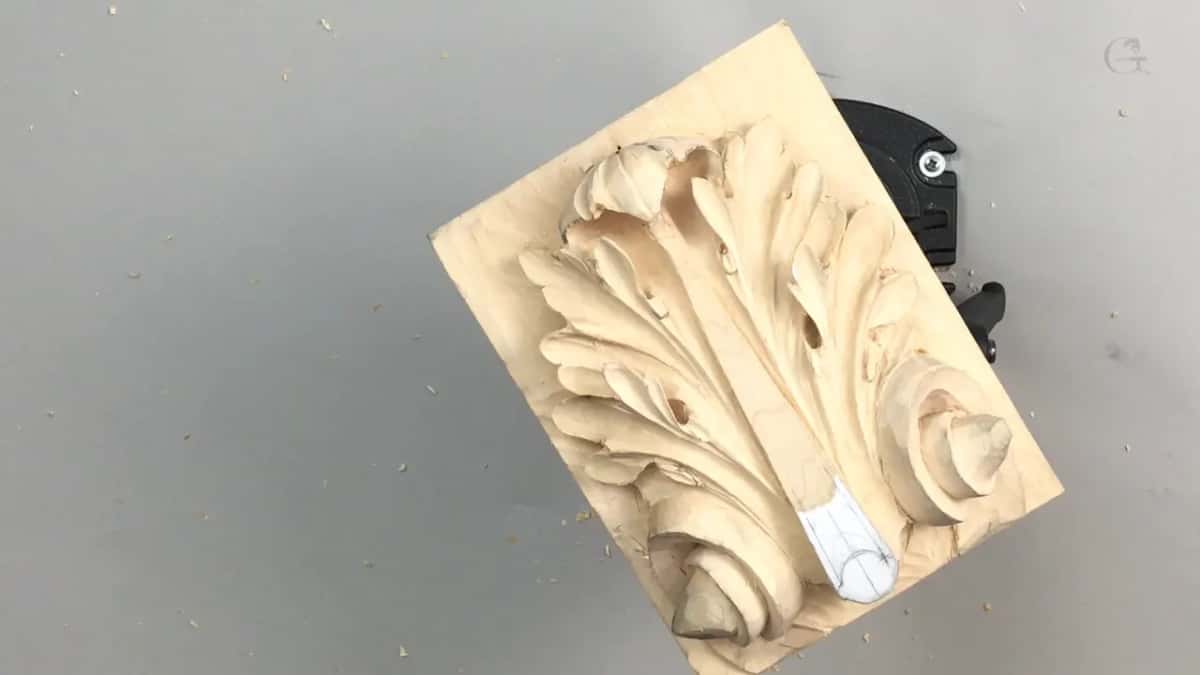
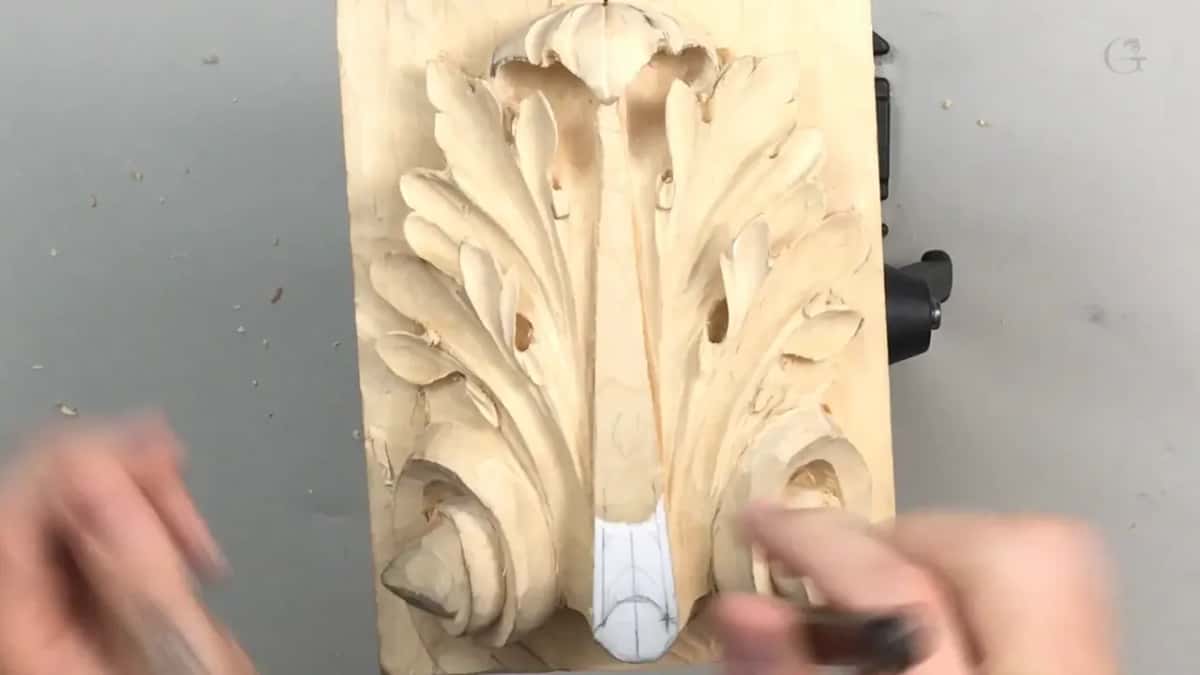
Ever carved a little return on a relief leaf and found it still looked flat? Wanted a dark line under it, and nothing in your roll was small enough to get there? Then go slowly with the smallest tool you own. In this lesson I go under tiny details, and at this size they break easily.
Every size I named is down here, with what I said about that size in my other courses.
The micro veiner in six lines
- My micro tool has a U-shape, and I call it a veiner.
- It digs under a detail so the dark gets deeper.
- Slightly wiggle it. Don't press, and don't force it.
- A sixteenth-inch gouge works right beside it, in the middle and on the sides.
- A knife marks cleaner than a pencil.
- Rough spots get recut, and for that your tools need to be really sharp.
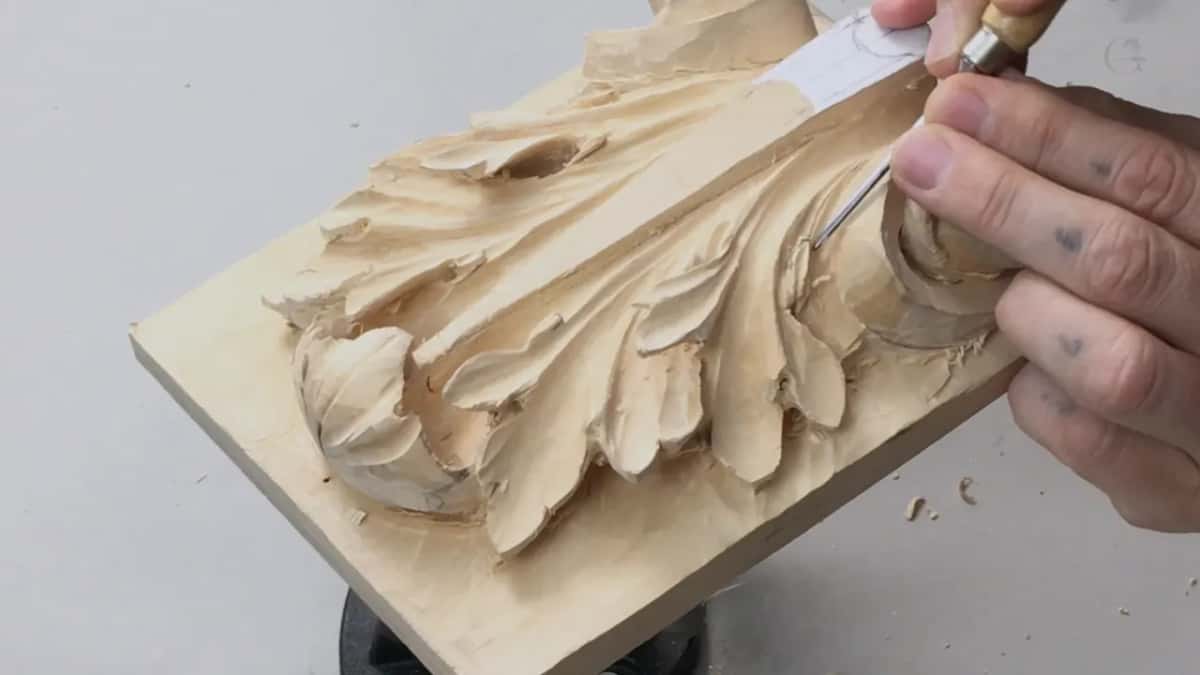
How small is the smallest carving tool I use?
Less than a millimeter. Right at the start of this lesson I call it just a micro tool, maybe half a mil across, a U-shape veiner and not a gouge at all.
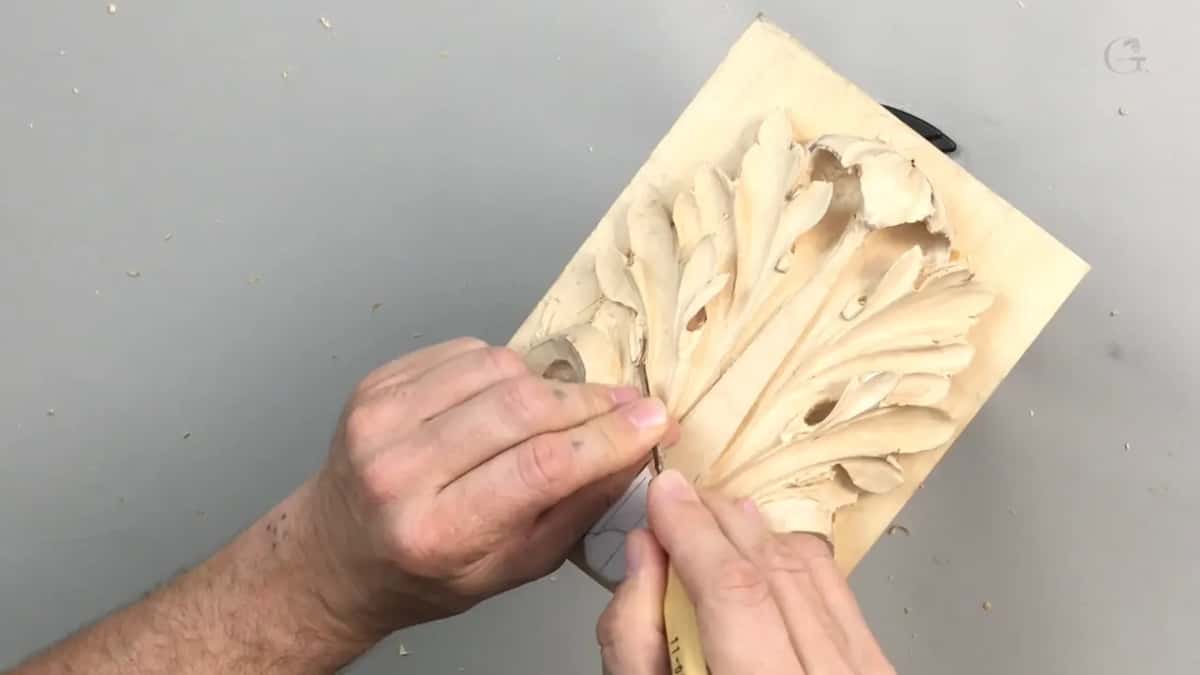
On another carving the same size starts a whole row of tools. In lesson 67 of my Venice Room course I said that for that part of the wood carving almost all of my tools were number 11s, from half a millimeter all the way to 30 millimeters (about 1 3/16 in). For the list of tools, I told you there, just get all of the number 11s.
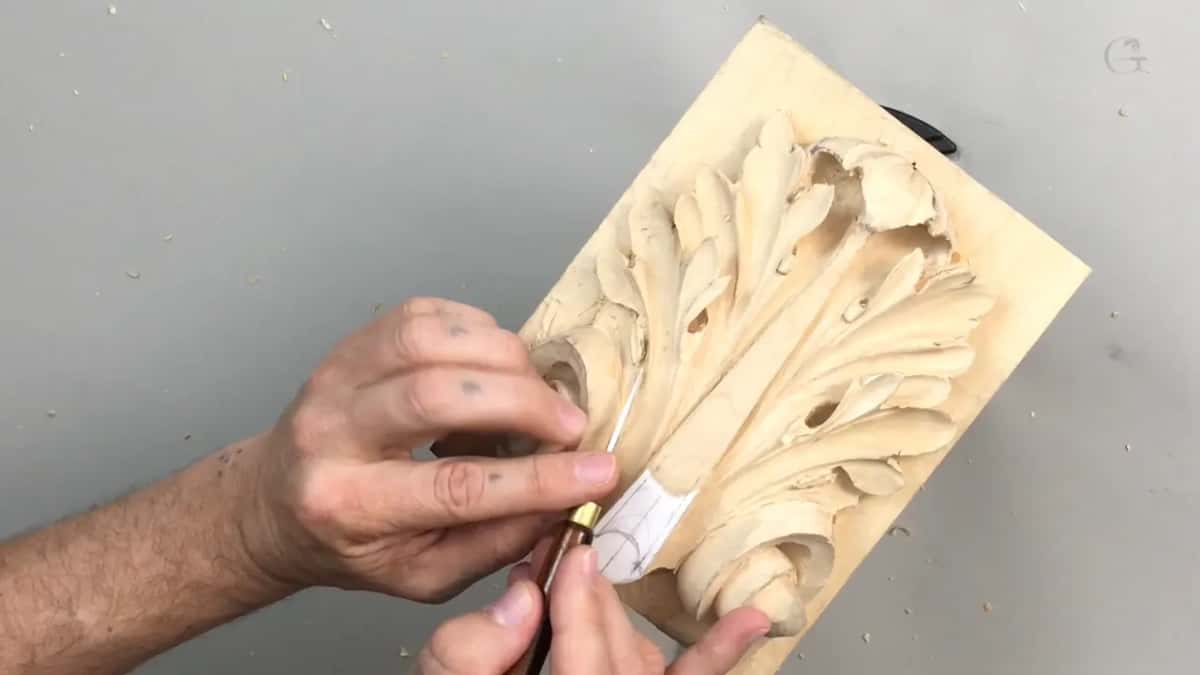
What does a half millimeter veiner do on the leaf?
It digs underneath. Like I said before, I would like to undercut this detail too, so I just start digging under it with the micro tool. Why the undercut waits this long on the leaf is the story of lesson 9.
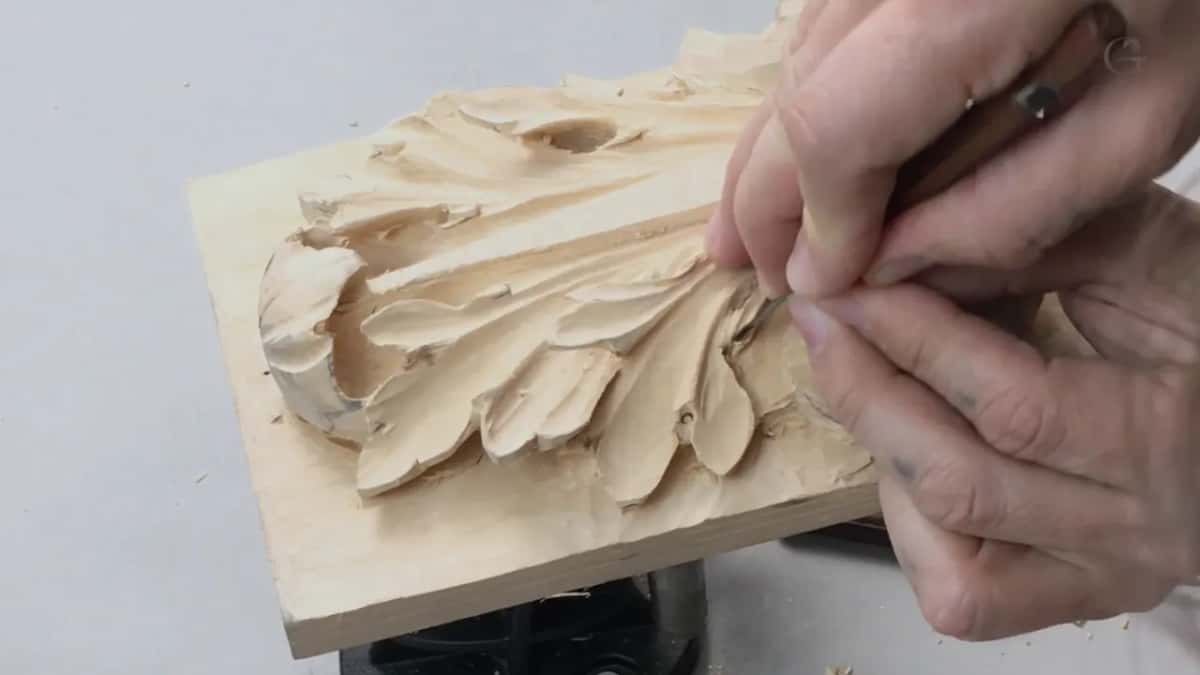
I had already done it on other ones, and I overdid some of it. So be careful not to overdo it. Just take your time.
Go underneath, and it gives a much deeper shadow look, and you can probably already see how it creates the shadow.
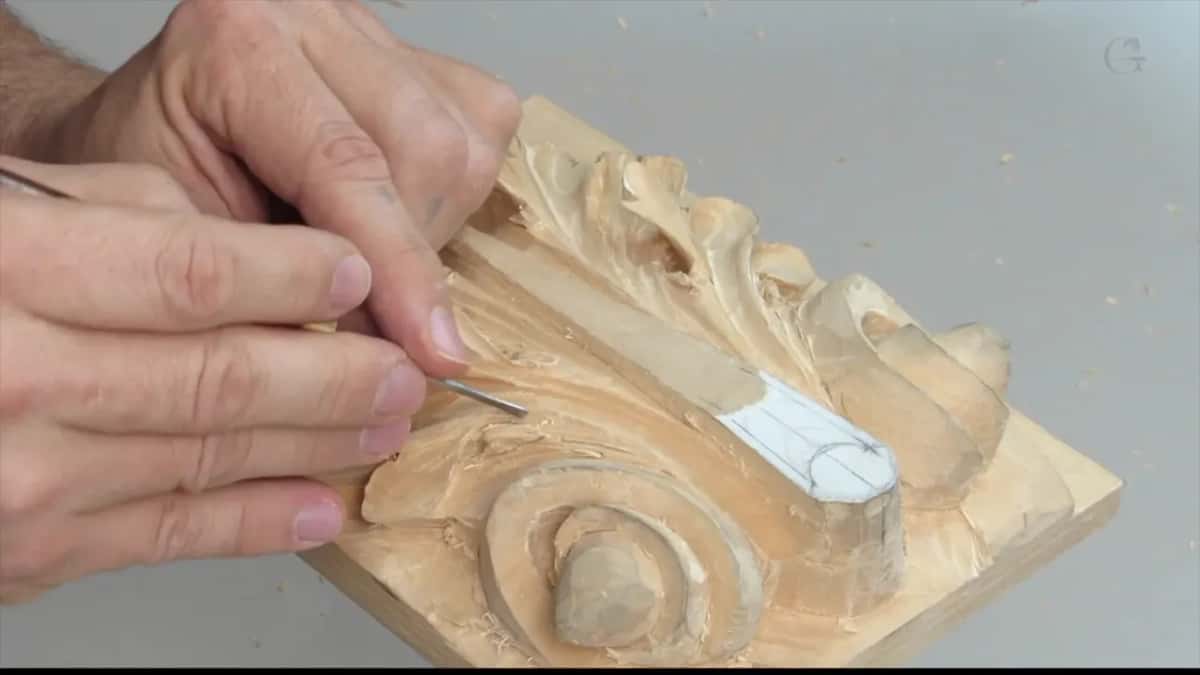
Then I approach it from the opposite side. Probably I could use the number 3 again for that, and after it I came in from the side as well.
Later, a small gouge goes even deeper in the middle. Mine is a sixteenth of an inch (1.5 mm). Inside that I could run the micro tool too, maybe half a mil, just to try to create the shadow.
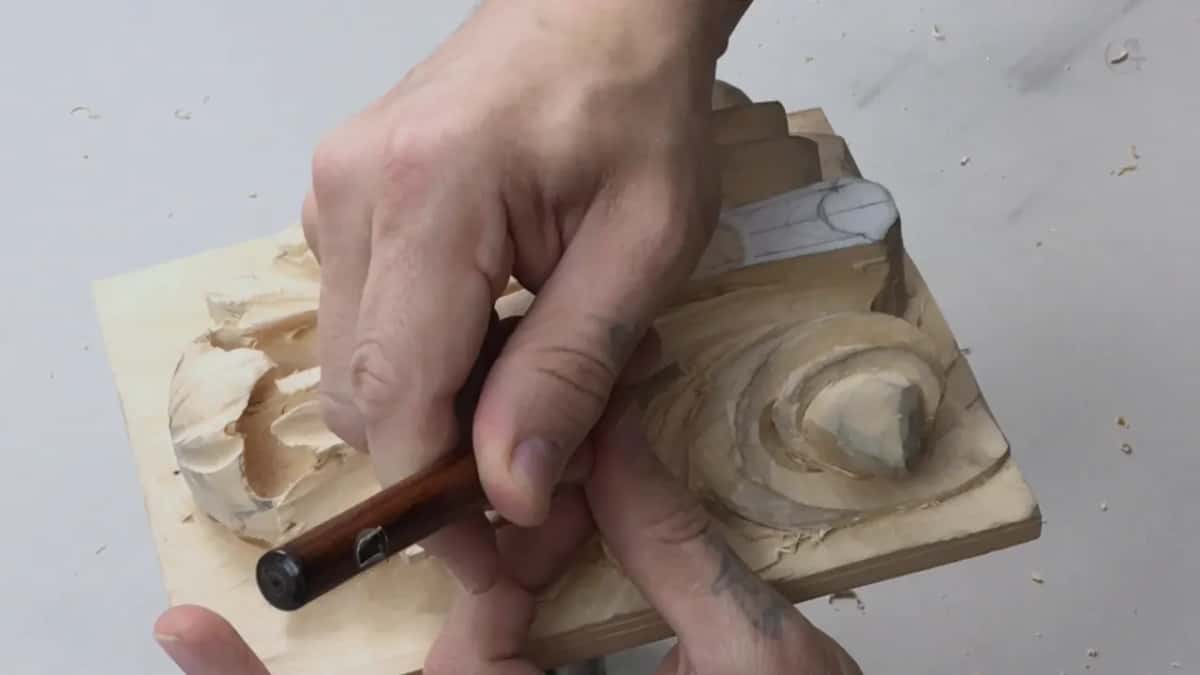
I know maybe I'm saying too much about shadows. But the shadow's really important. Painters have a word for that game of light and dark, chiaroscuro, and Wikipedia's page on it is worth a look.
After that, the sixteenth digs in the opposite direction, toward the eye, and I carefully remove the waste. I don't want to overdo it.
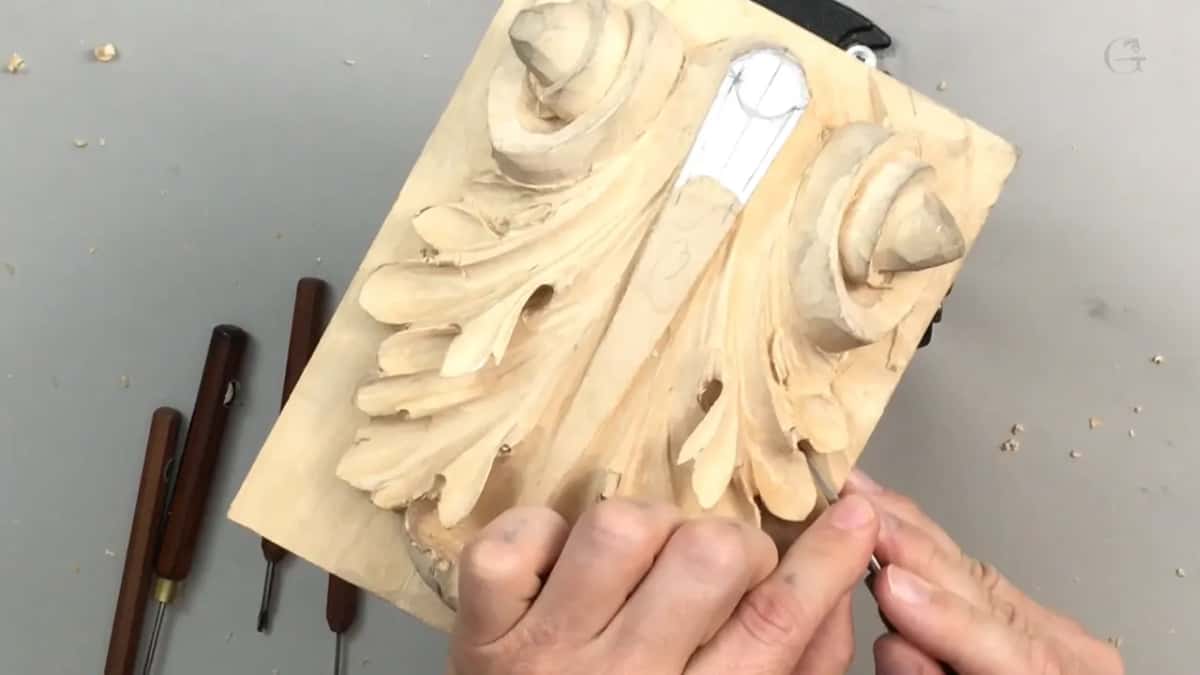
The half millimeter comes back next, and I come at it on this side for my channel. I have to be really careful. It's already creating a really deep shadow.
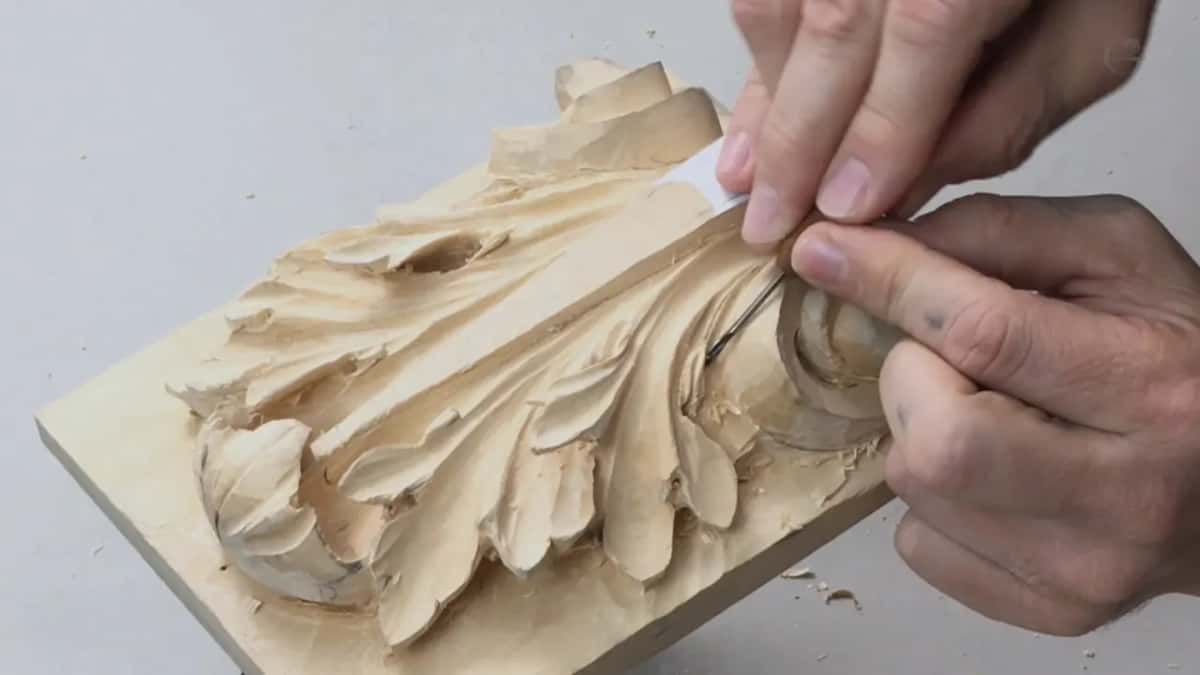
The sixteenth comes back once more to refine those sides. And that's almost like jewelry work at this stage, believe me, it's so tiny and so micro. But I like it.
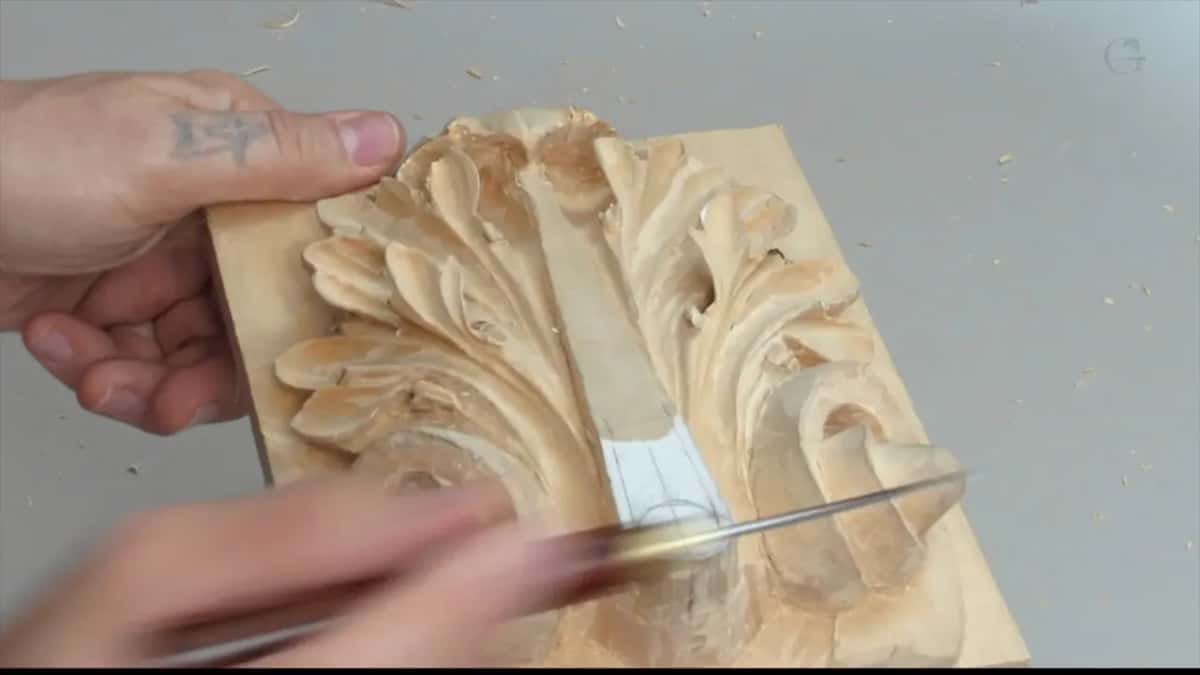
Last in that first video, I take those edges a little bit and make them softer.
How do you hold back with a tool this small?
Quietly. When I'm doing tiny details like that, I am quiet, because I'm afraid that if I breathe, even that is going to break it. And I'm making micro passes.
I'm slightly wiggling the veiner as it goes in, too. The wiggle helps me make the channel.
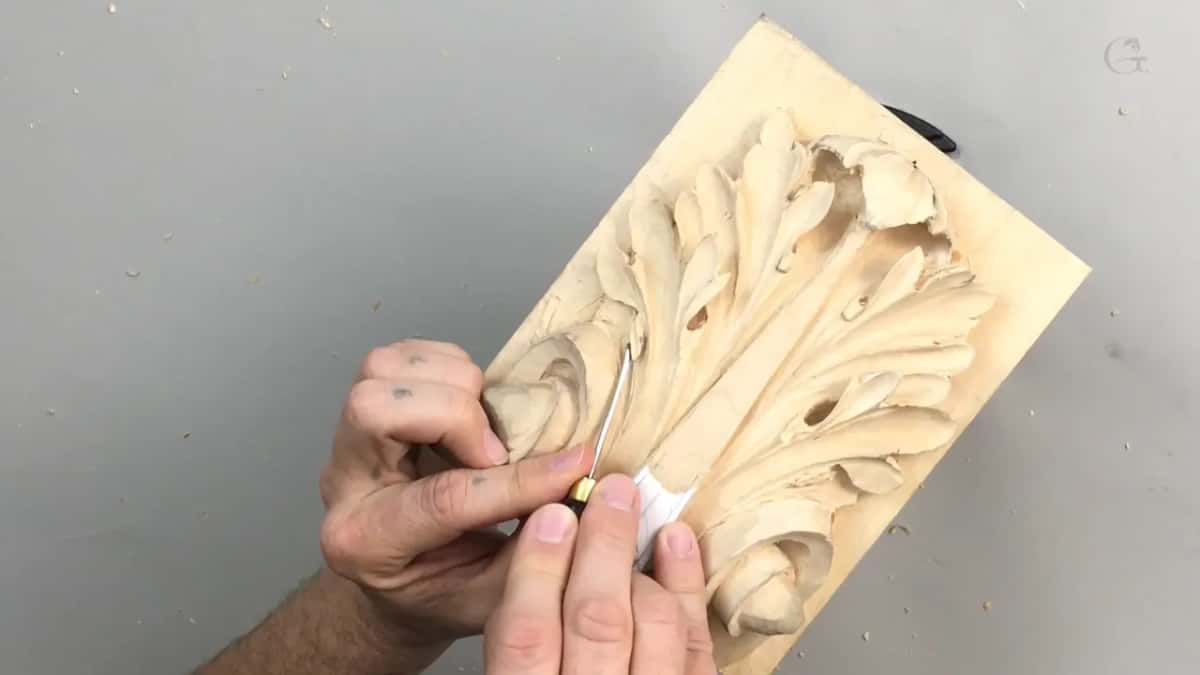
There is almost no limit to what you can do with the tiny, small tools. The only limitation is that if you force it, you will overdo it, and I do that all the time. Believe me, I am also guilty of overdoing it.
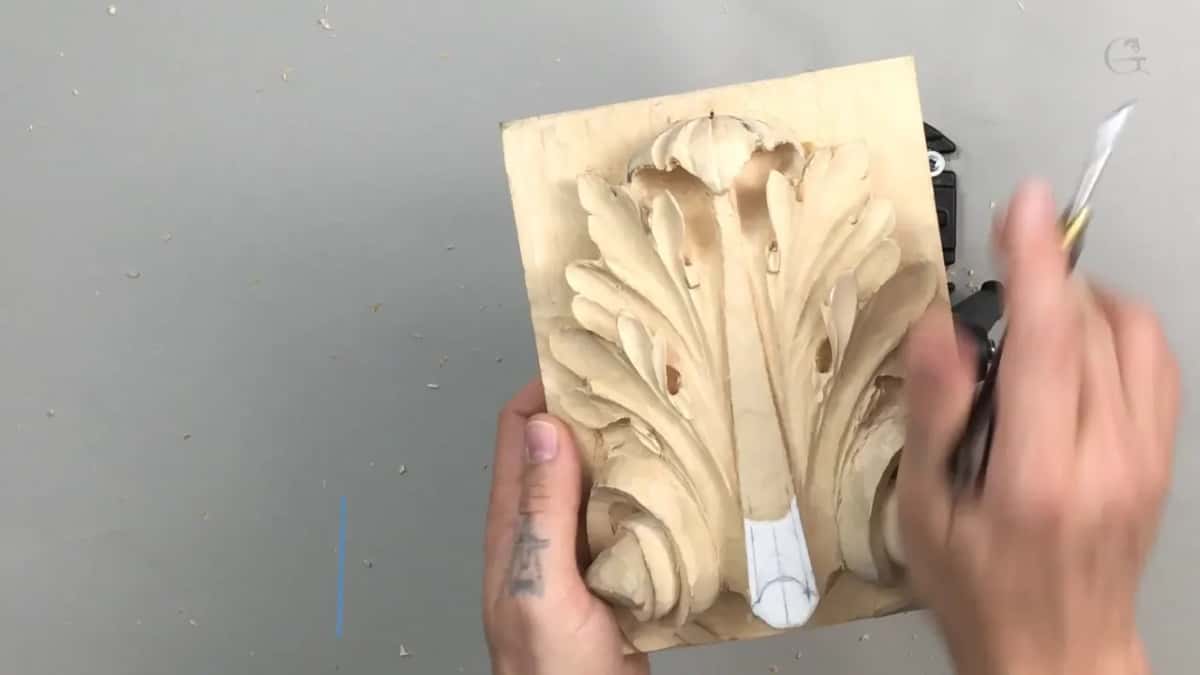
It happened right on camera in the fourth video. I did the second side of a return the same way, and of course, I overdid it.
One spot there was kind of a picky area. That doesn't mean it's impossible to get the material out, it means you need to be really careful how you do it, and again, it's all about patience.
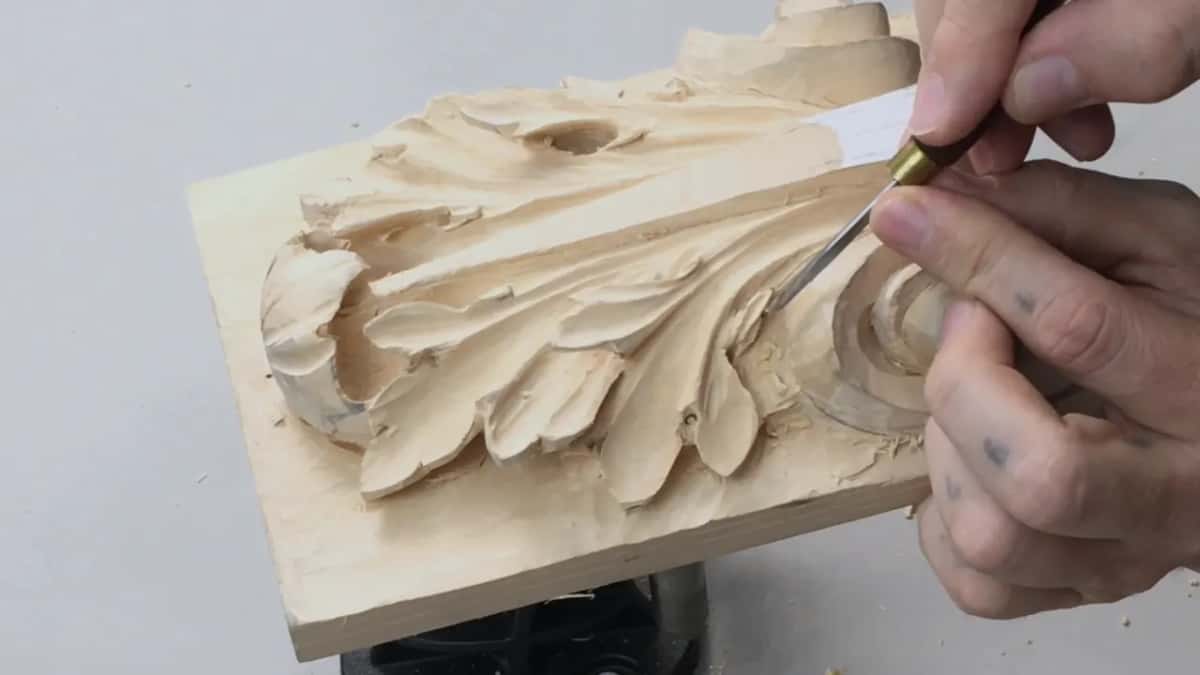
Excavate, approaching from both sides, and don't press too much. Believe me, it is fragile, and believe me, you could break it.
On a panel in lesson 65 of the Venice Room I had the half millimeter in my hand and said the same thing in fewer words. I have to control it. I don't want to break anything.
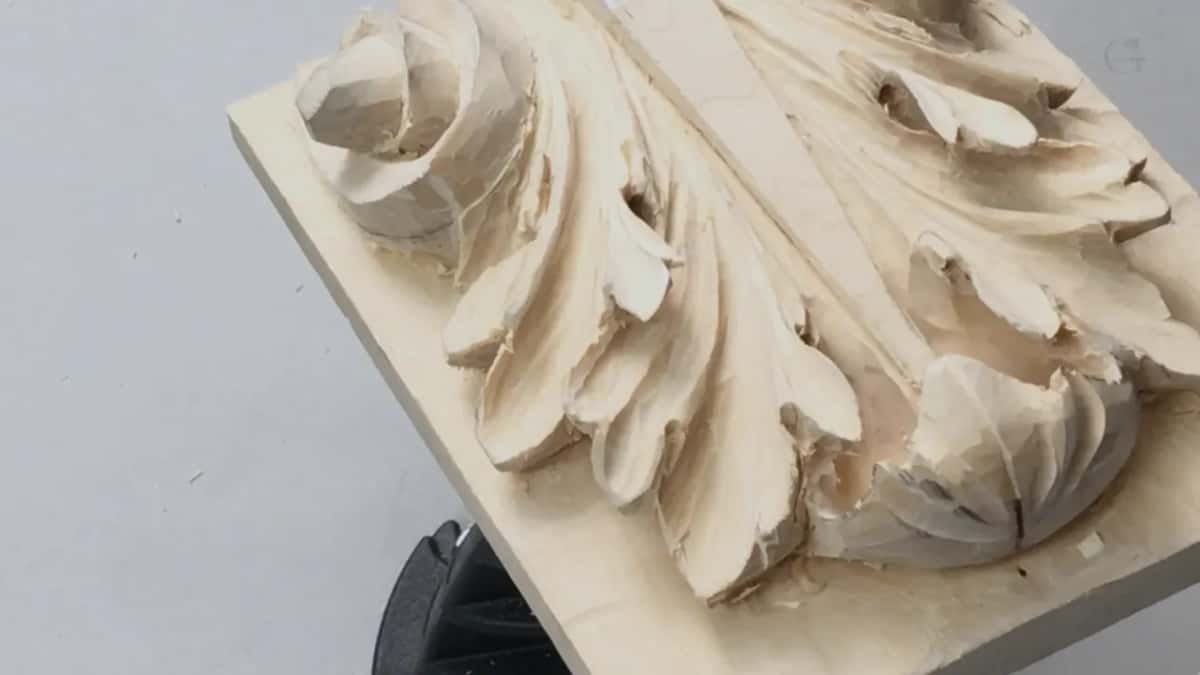
Which small tools sit beside it in lesson 14?
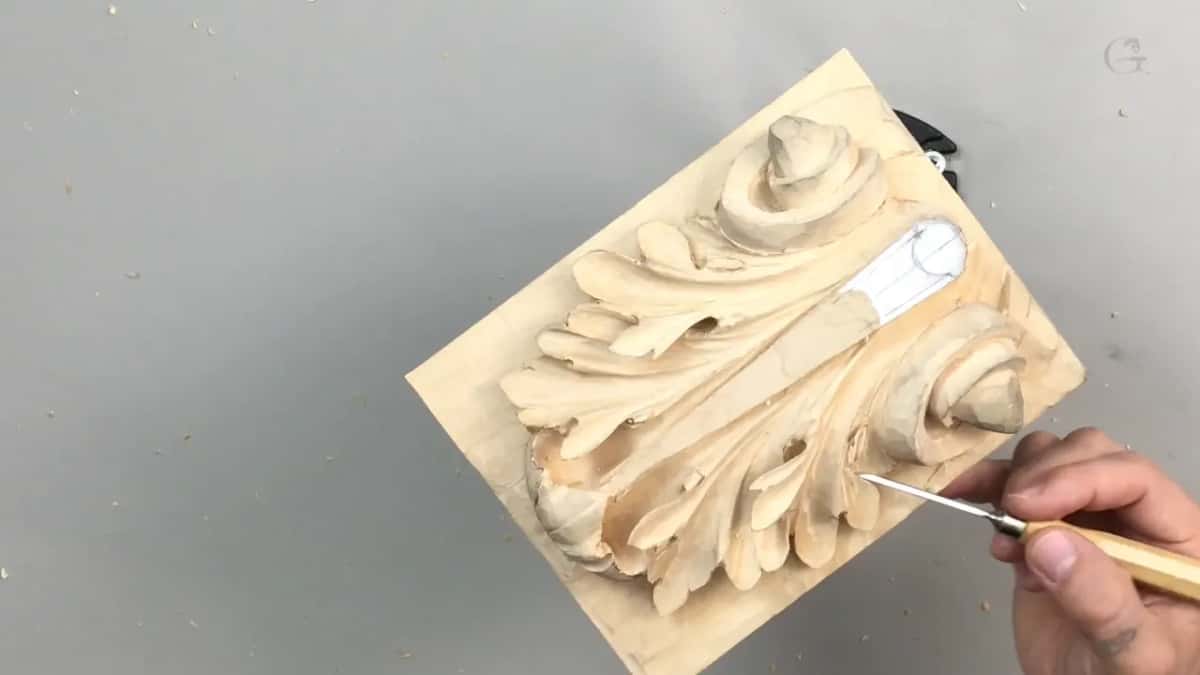
Here is what came out in this lesson, in the order I first picked each one up.
| Tool | Job | When |
|---|---|---|
| Micro U-shape veiner | Dug underneath the detail, then the channel | First video |
| Number 3 gouge | Opposite side, pencil marks, softening, the round | Four videos |
| Peter Benson knife | Small enough to make really tiny details | Opening video |
| 1/16 in gouge | Deeper in the middle, then the sides | Four videos |
| Small number 8 | A little deeper, then the preliminary form | Second, third |
| #9, 10 mm | Long concave out to the edge, an eighth deep | Second video |
| Number 7 gouge | Made it cleaner, later took a ridge out | Third, fourth |
| #15 V tool, 3 mm | Quarter inch return, preliminary lines 3/32 deep | Third video |
The knife is one I like to use for tiny details. It's a Peter Benson by Ashley Iles, from the Peter Benson Collection, and I can always use this tiny, small knife to create some really tiny details.
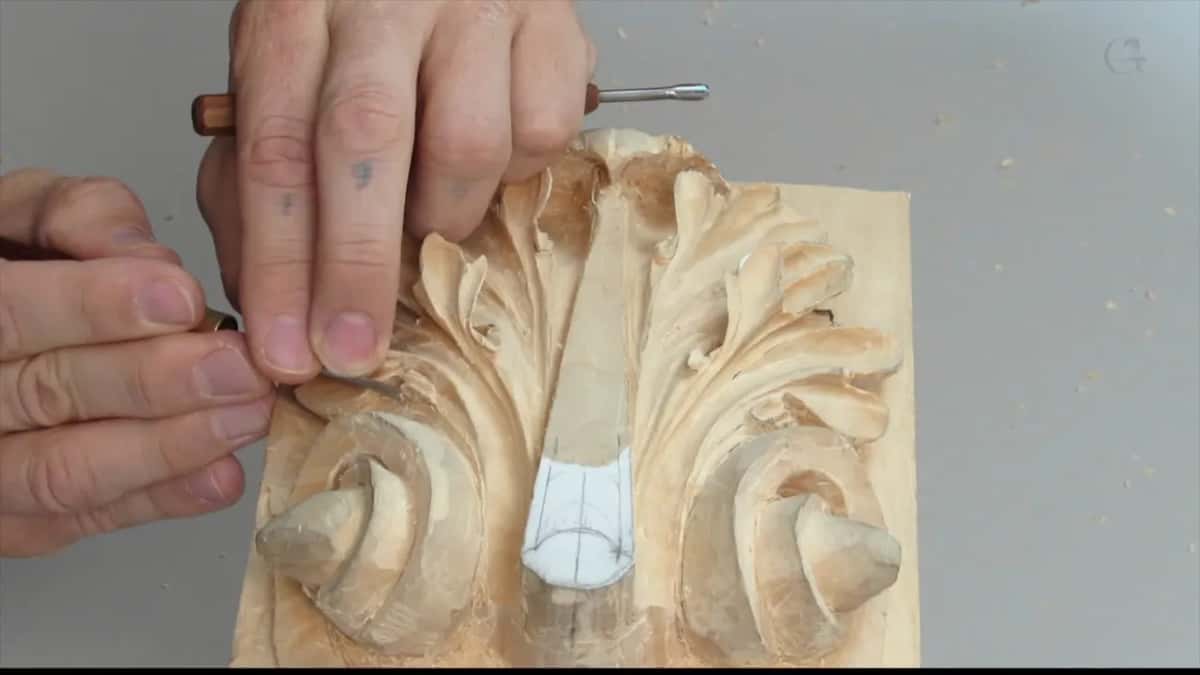
The on-screen cards add sizes, too. The number 9 card reads 3/8 in (10 mm), the size I said out loud, and the number 7 card reads 5/32 in (4 mm).
Why mark with a knife and not a pencil?
The second video opens with me cleaning pencil marks with a number 3. I try not to use a pencil when I'm doing just the production work, because it's hard to clean and your piece becomes more dirty.
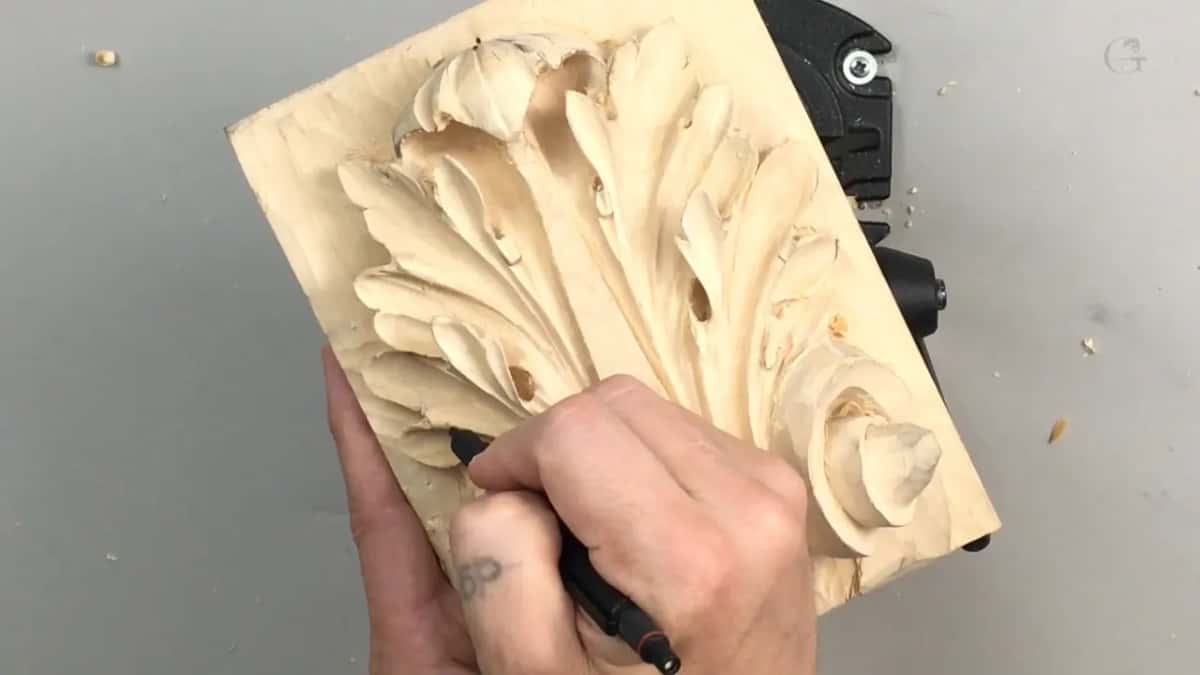
Here I'm using one just for the purpose of showing what I'm doing. But please, try to use a knife as a marking, even if you have to mark something. It's going to look much cleaner.
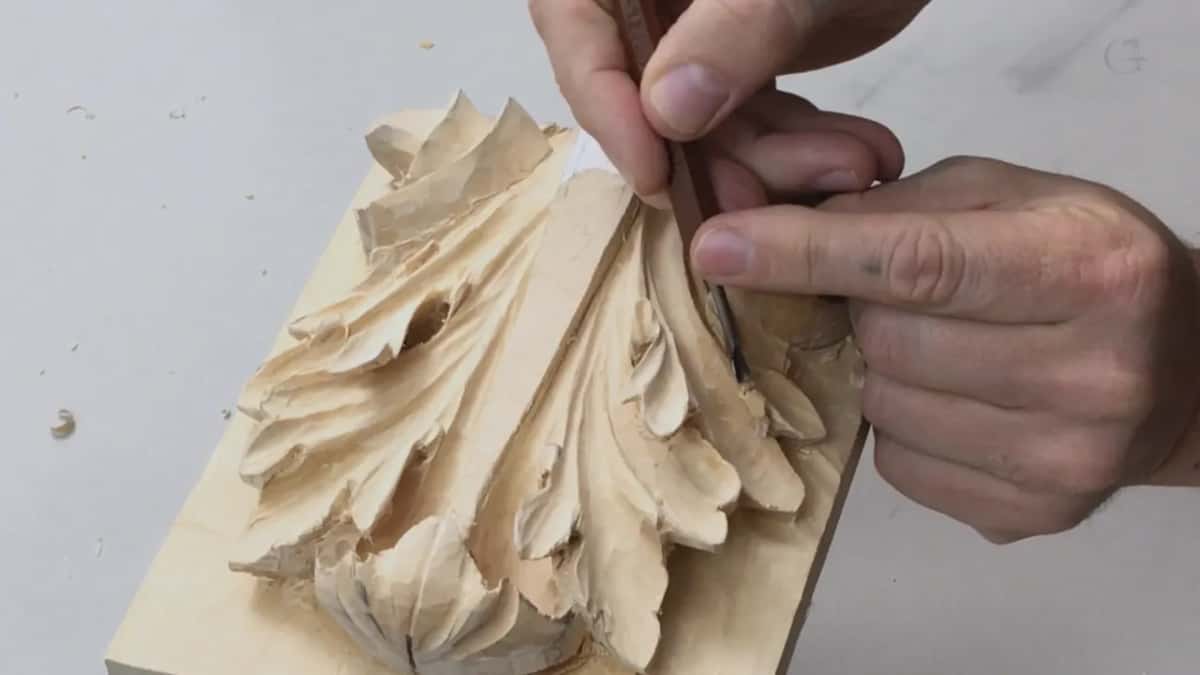
Then the sixteenth makes a little deeper excavation on the sides of the pipe, and the number 3 again makes it a little softer. It's still going to be noticeable. You can tell it is a pipe.
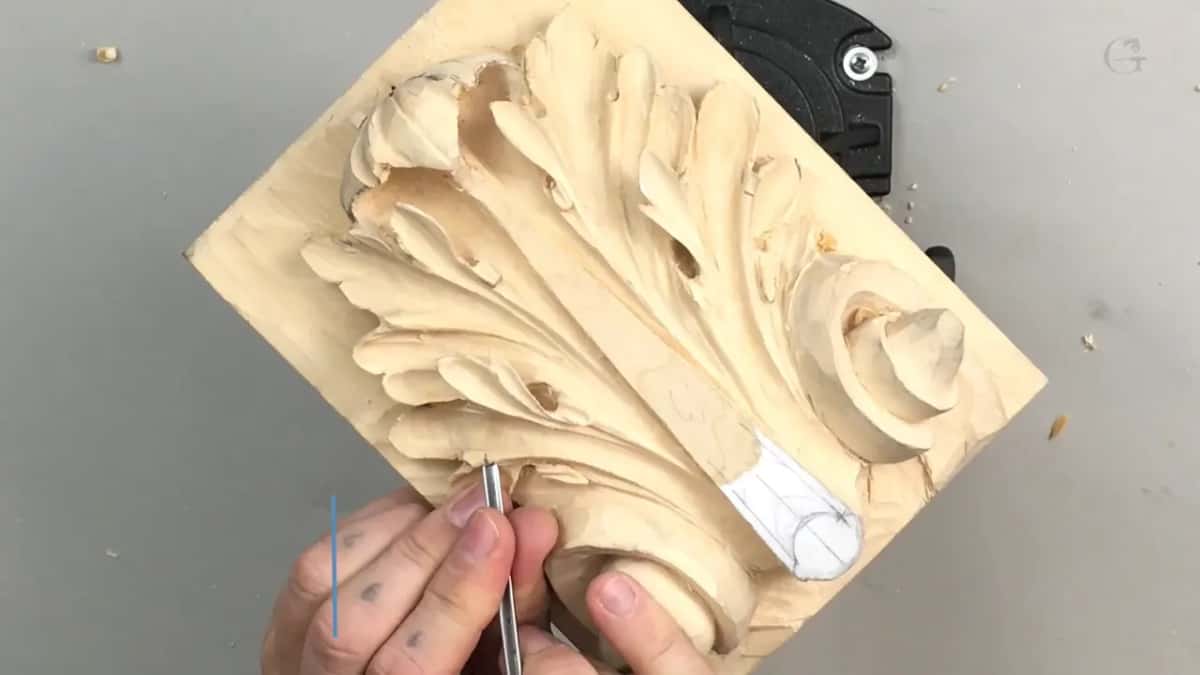
A number 8 takes it a little deeper, maybe from this side, and again, I'm careful not to overdo it. After that it's just a matter of refinement.
How deep should the long concave go?
About an eighth of an inch (3 mm), on both sides. Partway through that same video I thought it was a good idea to make a concave on this leaf going all the way to the edge, and I wanted to be at the same point, which is going to be my center.
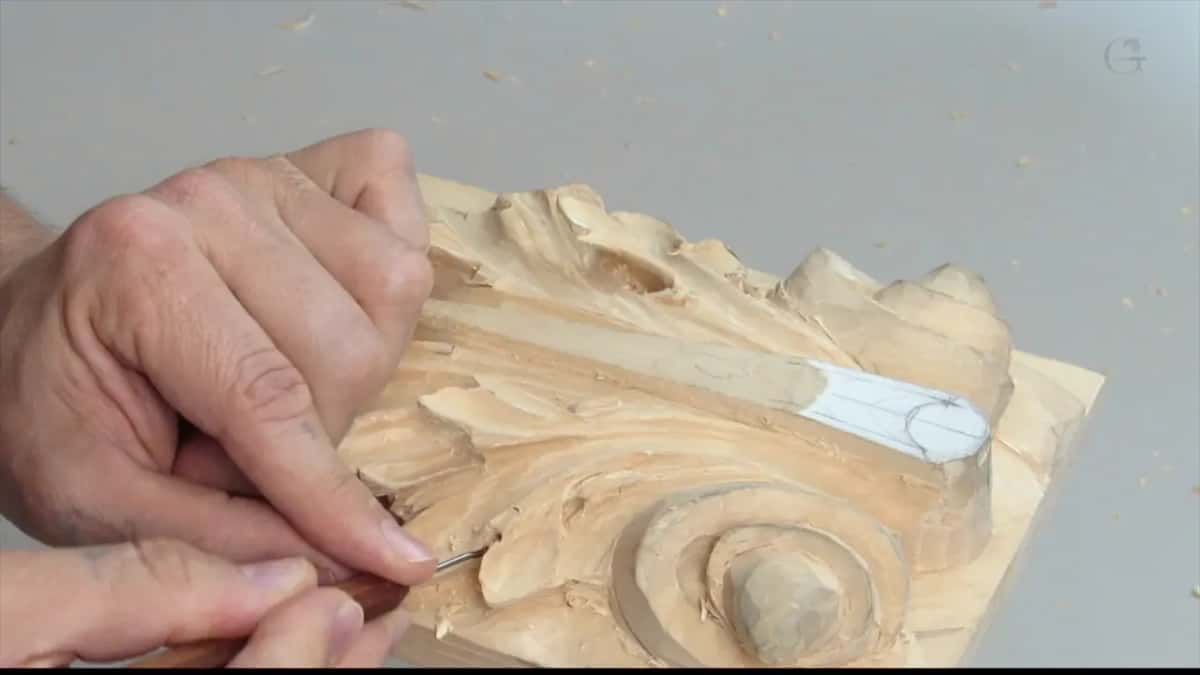
I took a number 9 for it, the 10 mm one. Carefully, again.
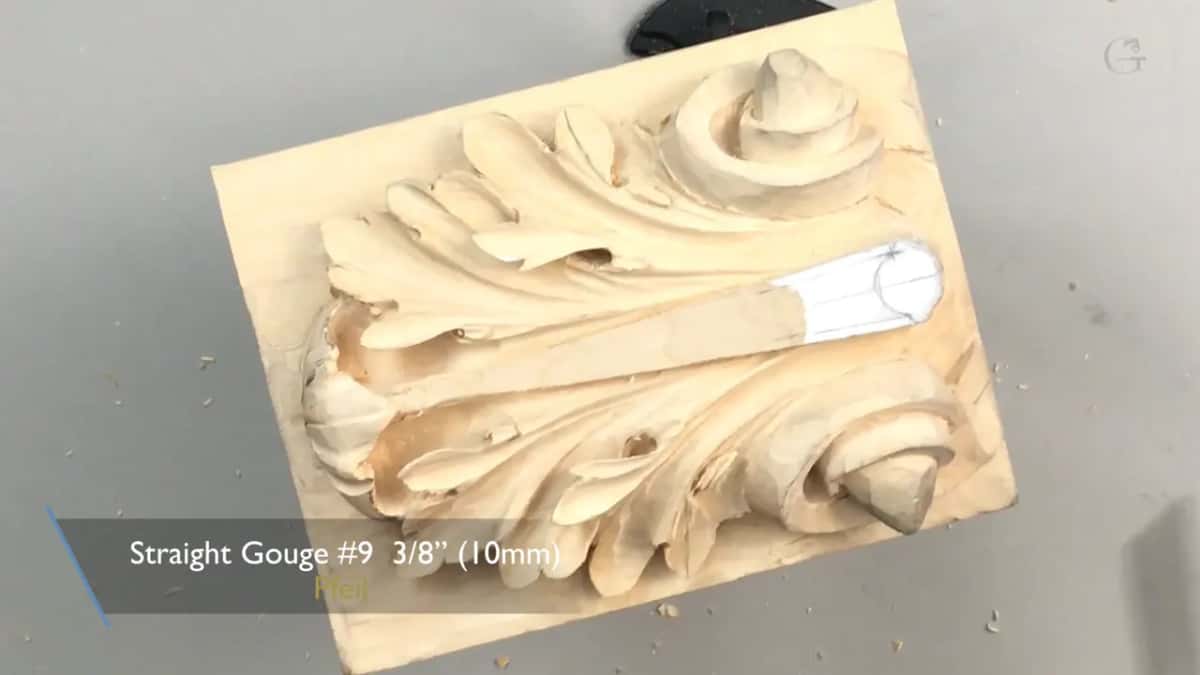
Be careful, and don't go too close to the edge, because we already undercut it a little bit. It's not a big deal if you do. But it's going to look much cleaner and nicer if you don't.
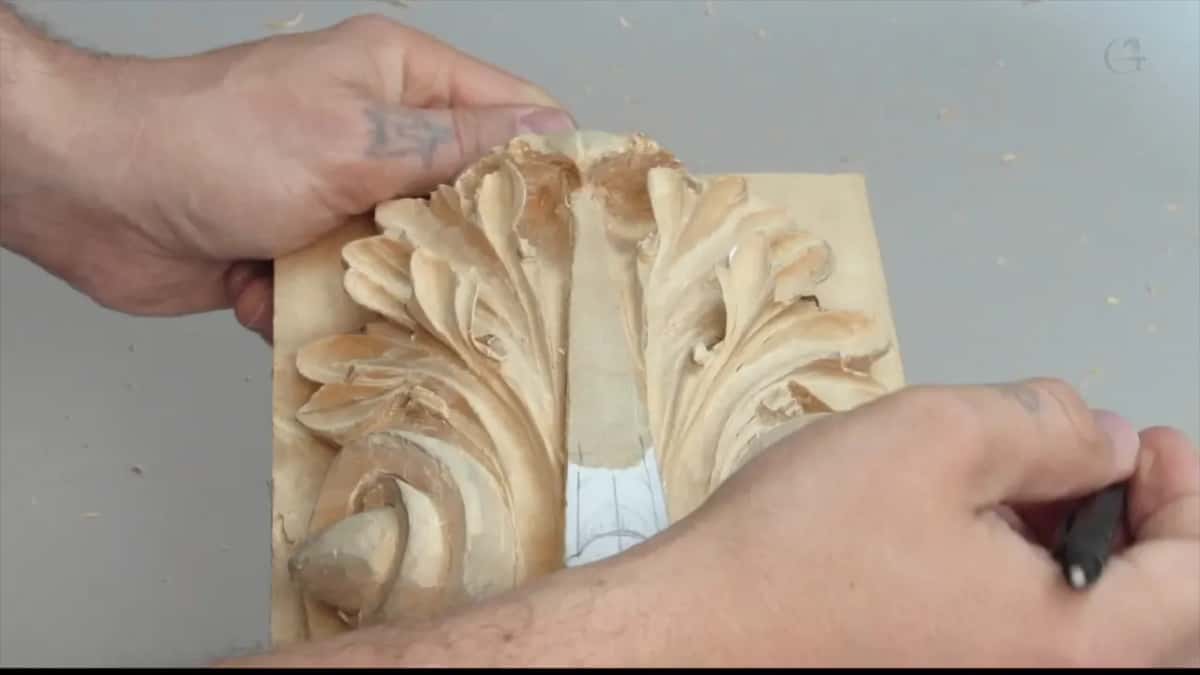
That's how deep I went with my concave, and the opposite side got the same.
One area I didn't worry about yet, because it wasn't refined and the eye and the return there were still to come. That's why I had left it kind of rough before.
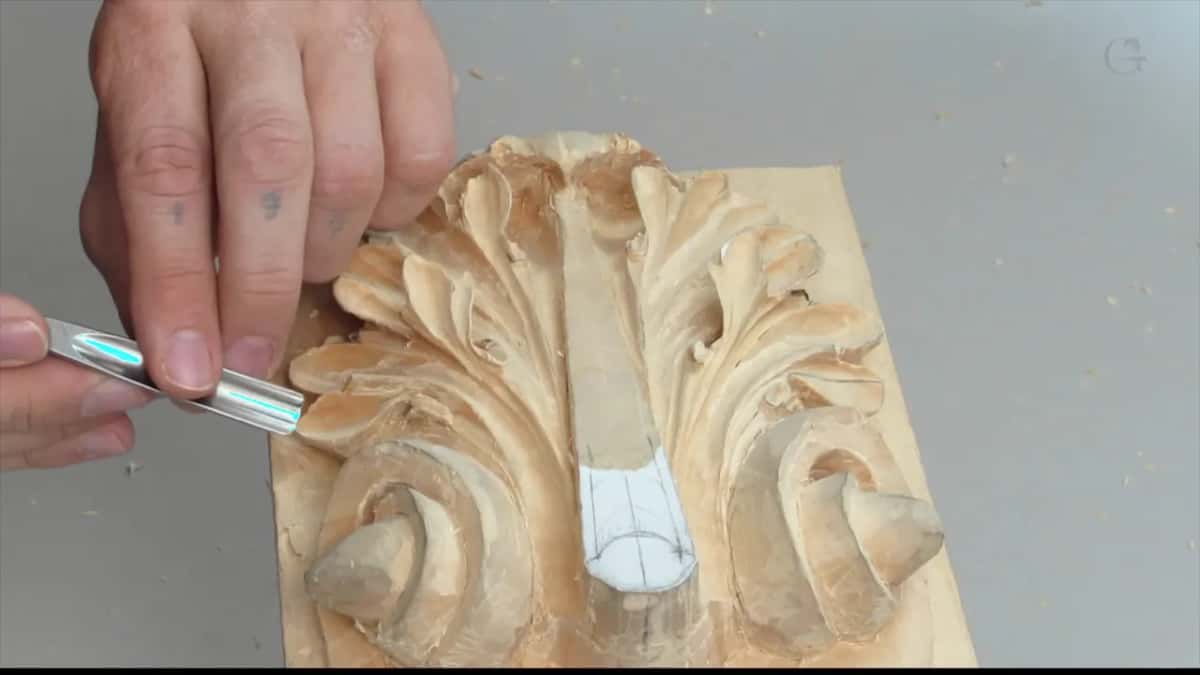
How do you check that both halves of the leaf match?
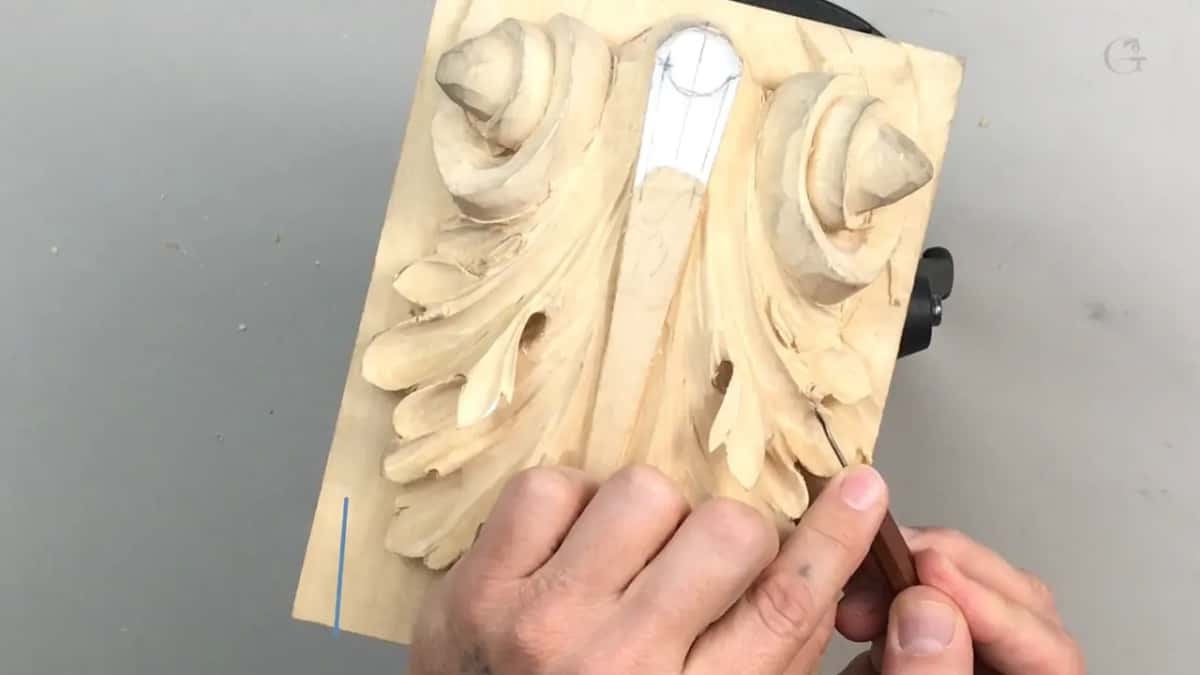
Look straight at it and eyeball it. In the third video I needed my overall form to be the same on both sides, so I looked straight to it and, again, just eyeballed it. Back in lesson 1 I called it a symmetrical acanthus leaf.
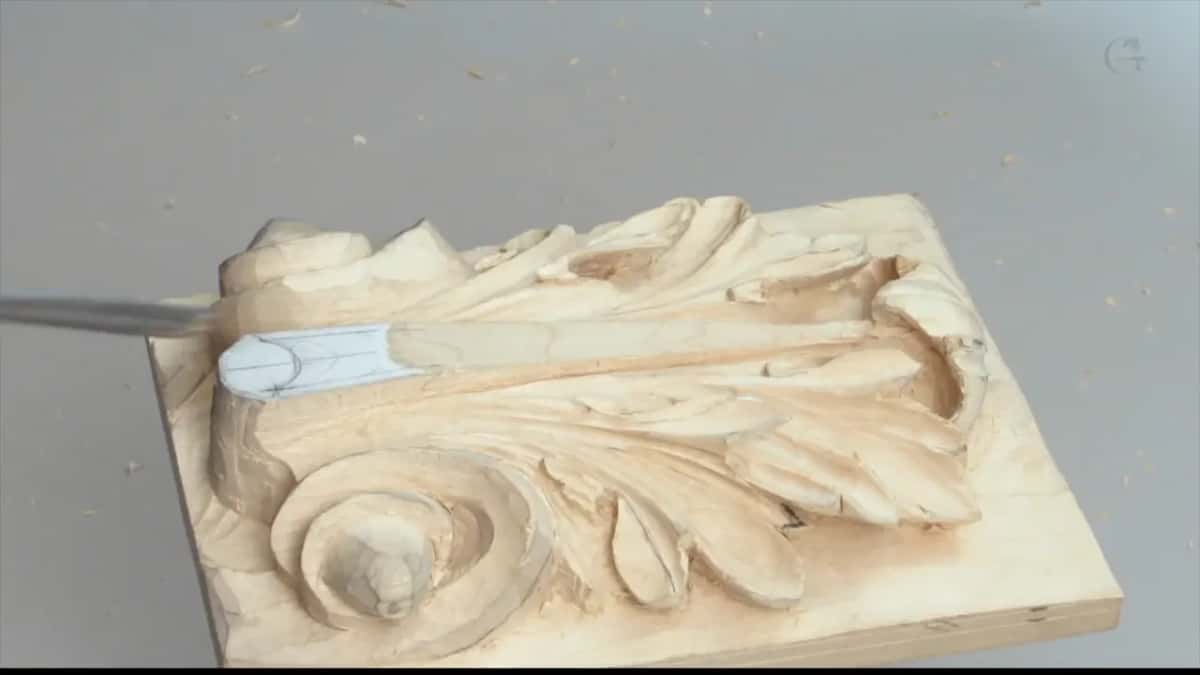
Next I refined and repeated the same movement on the other side. For that I'd probably need the number 3, although just a simple knife will work also.
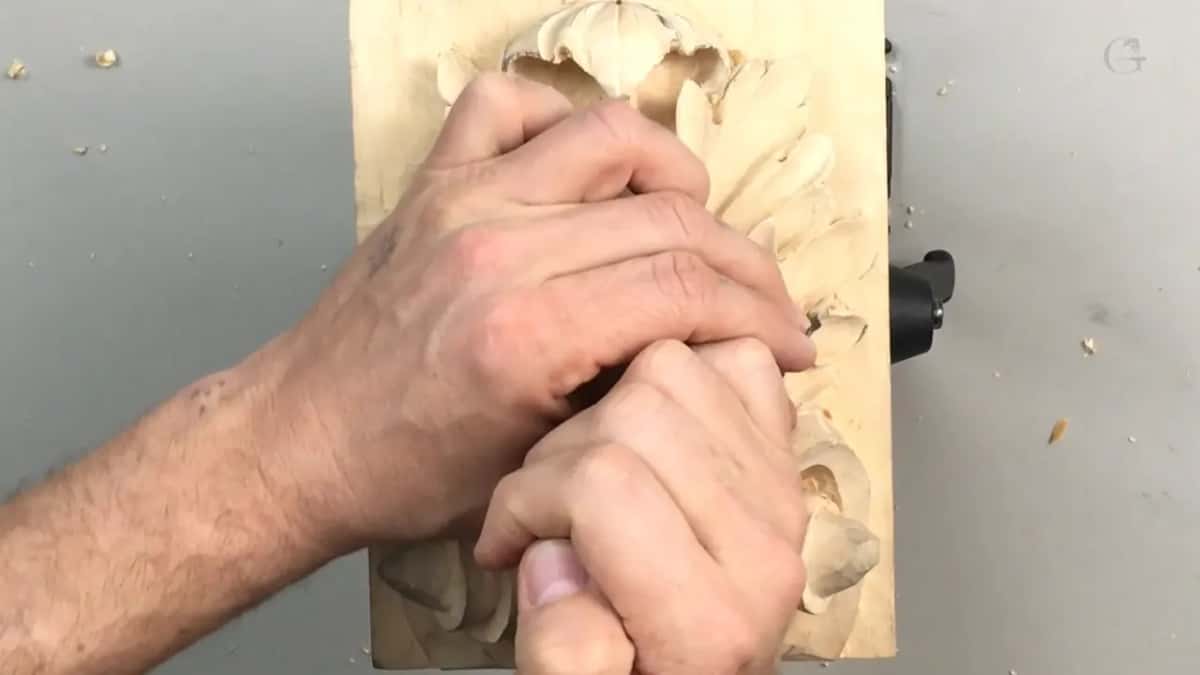
I looked at it, and it looked pretty much the same. A number 7 right there made it a little cleaner. It's better now, I said.
When does a pipe get just one simple return?
Those pipes in the third video got one, because I chose not to subdivide them in three. I did a straight, small single return instead, and about a quarter inch (6 mm) long was enough.
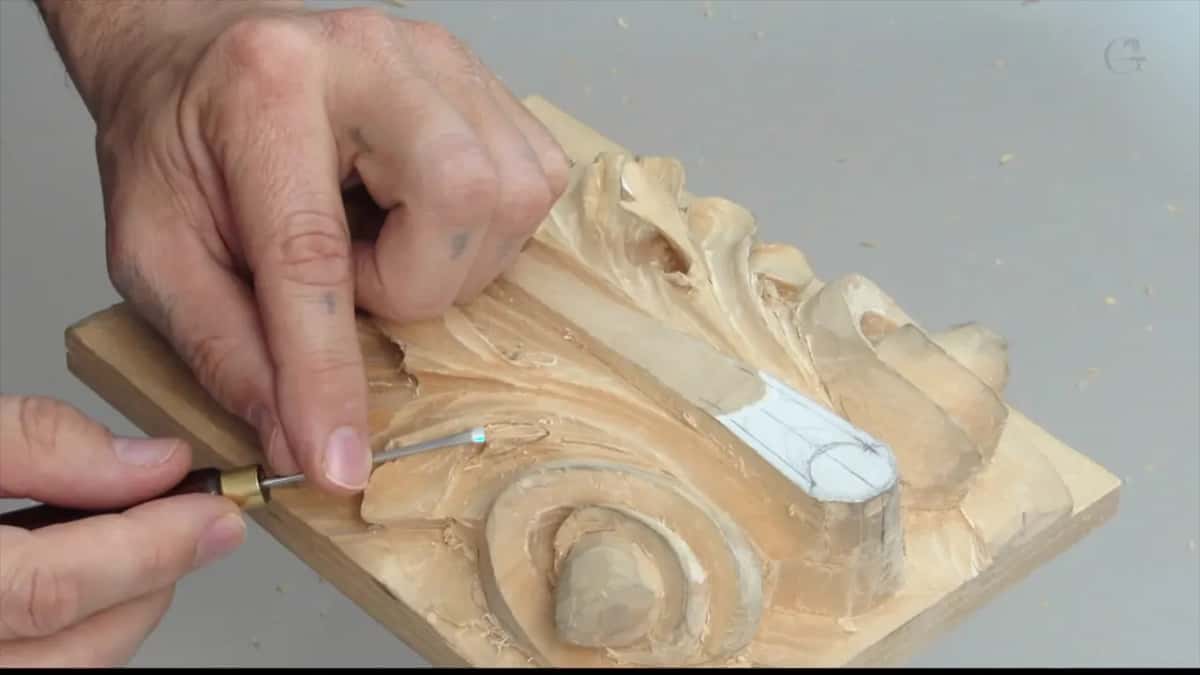
I drew the lines and took a small V tool, number 15 and 3 mm (1/8 in), but any V tool will work. My preliminary lines went about 3/32 in (2.4 mm) deep.
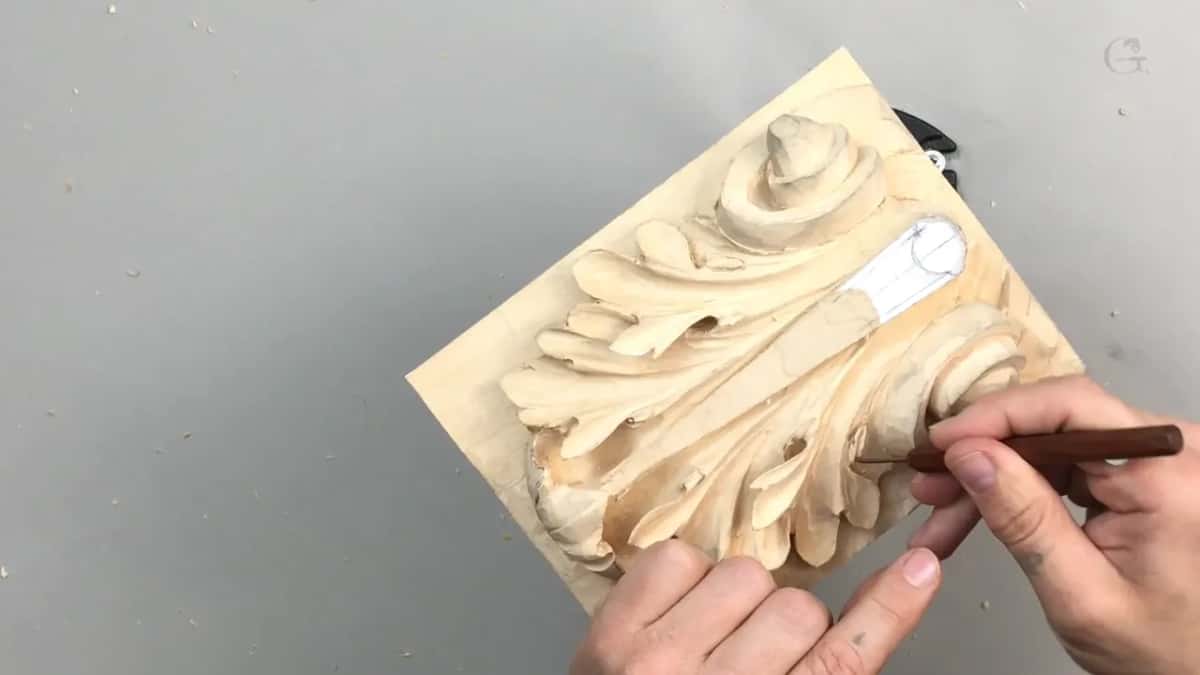
Then a small number 3 carefully lowered it down, just like that, on both sides. That 3/32 is measured from the top of this return down.
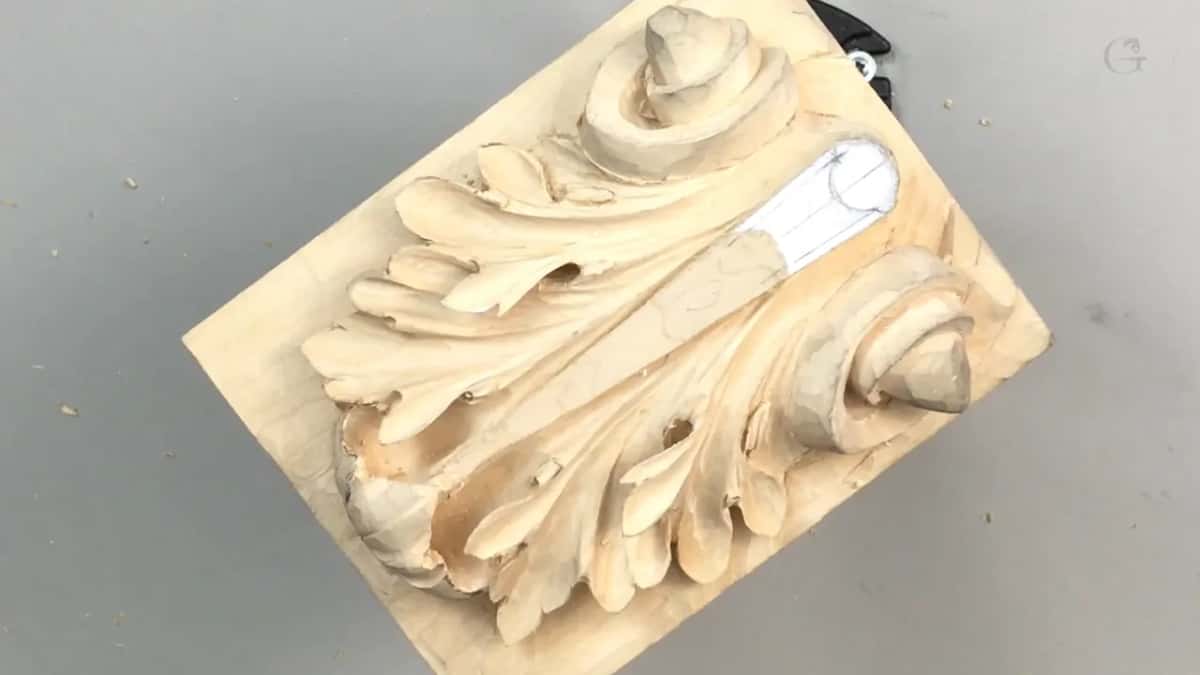
I picked up a small number 8 next and then said, well, hold on, let me do something else first. A preliminary form came first, with exactly the same number 8 gouge we used for the eyes, and the same on the other side.
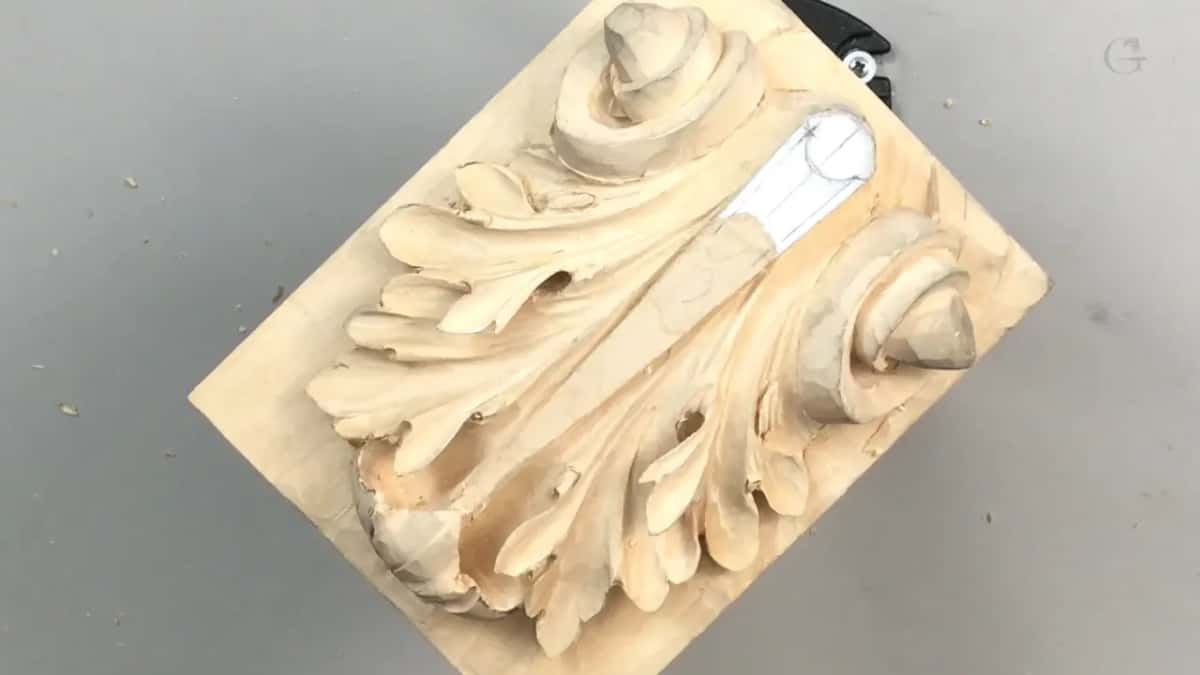
A smaller one followed, maybe 3/32 of an inch (2.4 mm), or maybe even smaller than that, to work on my details. Little by little I dug on the inside of my eye.
Well, I shouldn't say my eye, I should say of the eye of this acanthus leaf, which sounds better.
What makes a return look like it comes from inside?
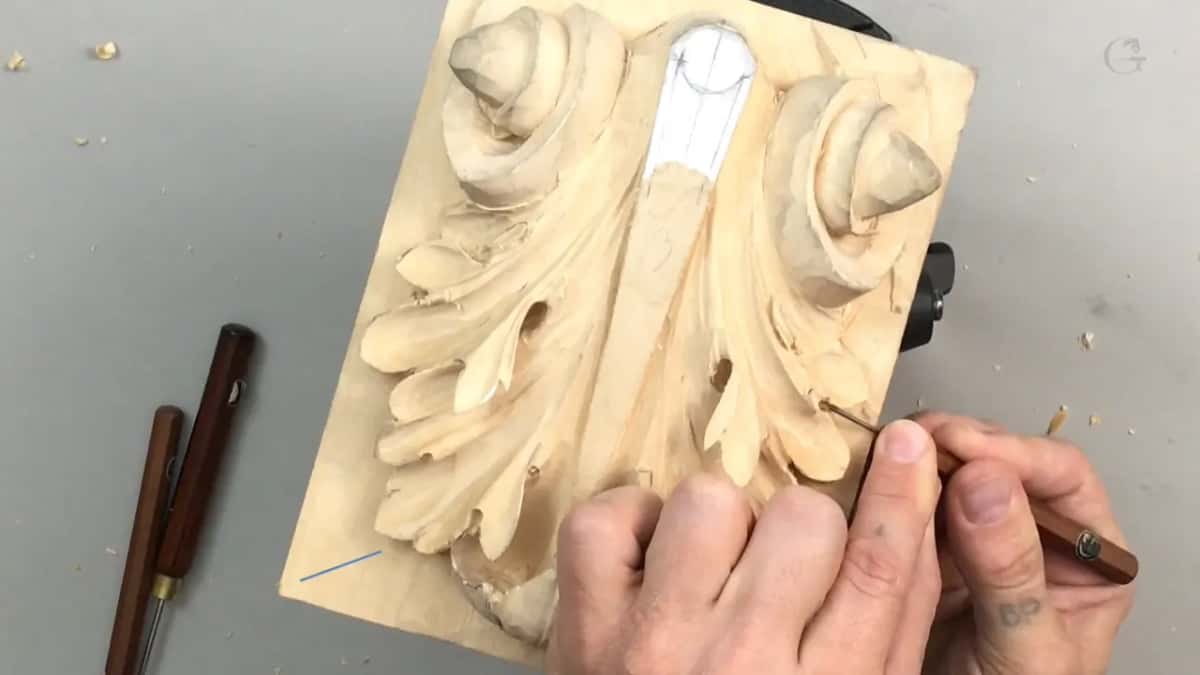
A sixteenth worked along its sides. In the fourth video I took a small gouge, just about 1/16 of an inch, a millimeter and a half, and approached from the sides of this return, because the idea is that you make an illusion, like it is coming from inside, outside.
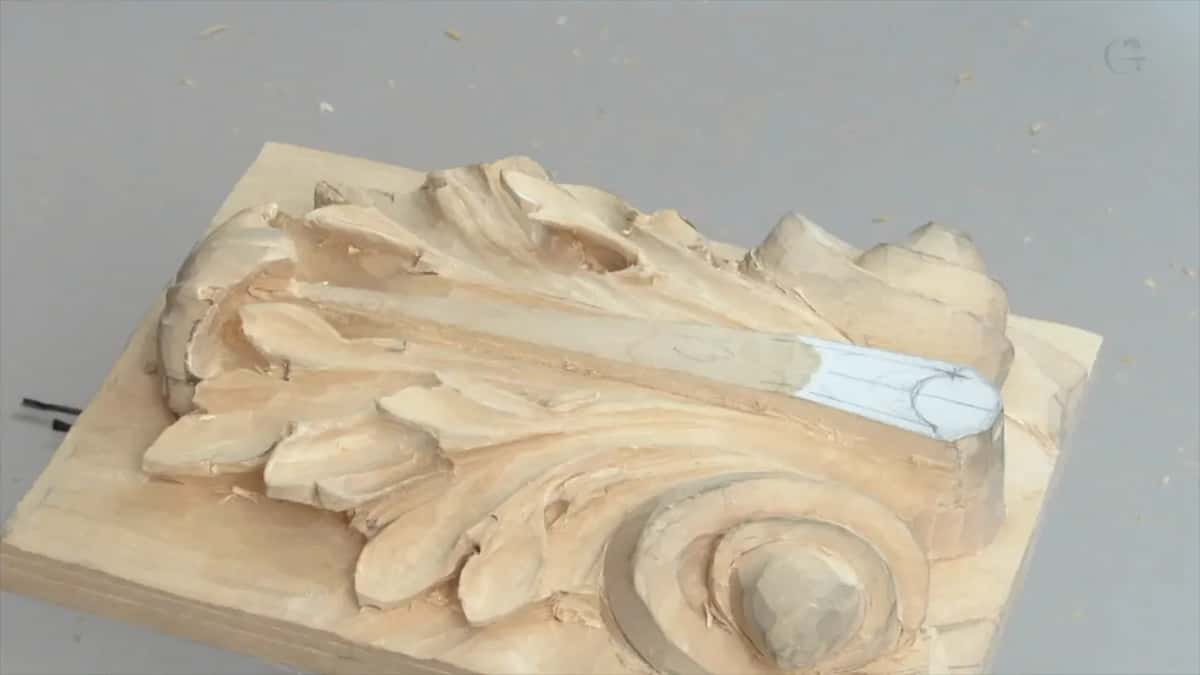
Earlier in that video I had tried a bigger tool, and then said maybe I can get even bigger now. Yep.
Before the sixteenth, a small knife had tackled the sides. After it, I said of course I could use even the half-millimeter veiner in that area.
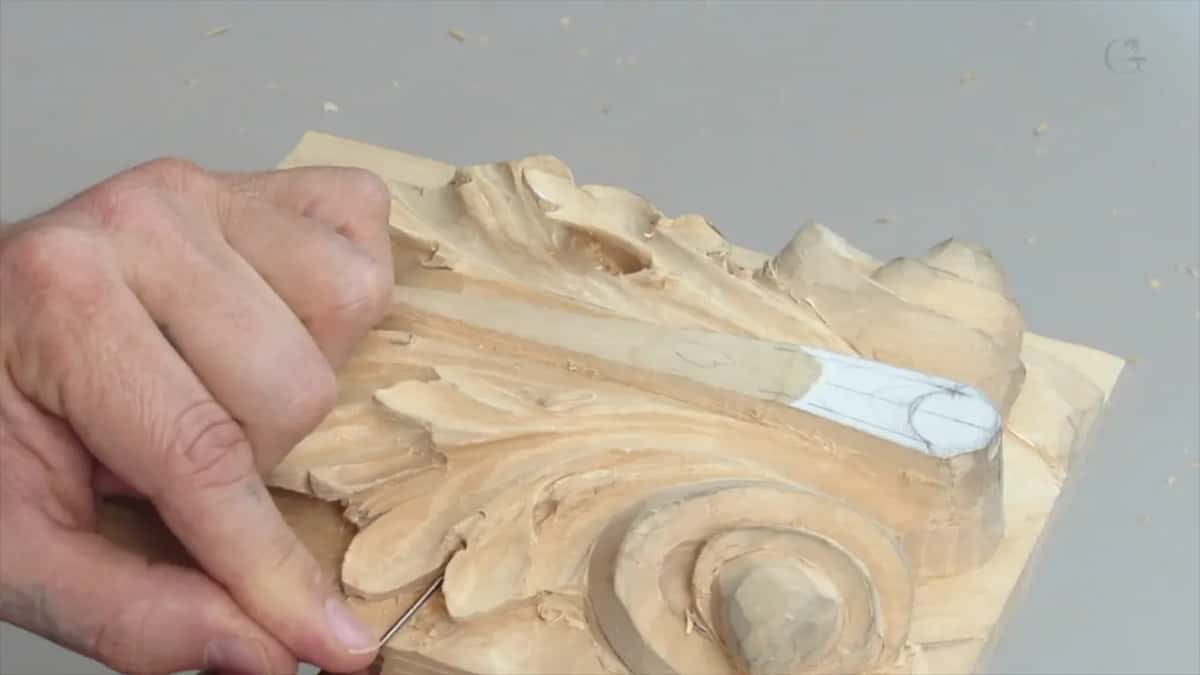
Then the sixteenth again, carefully, really carefully. Work your way in. Like I said, in this stage it's almost like jewelry, so you can easily break it.
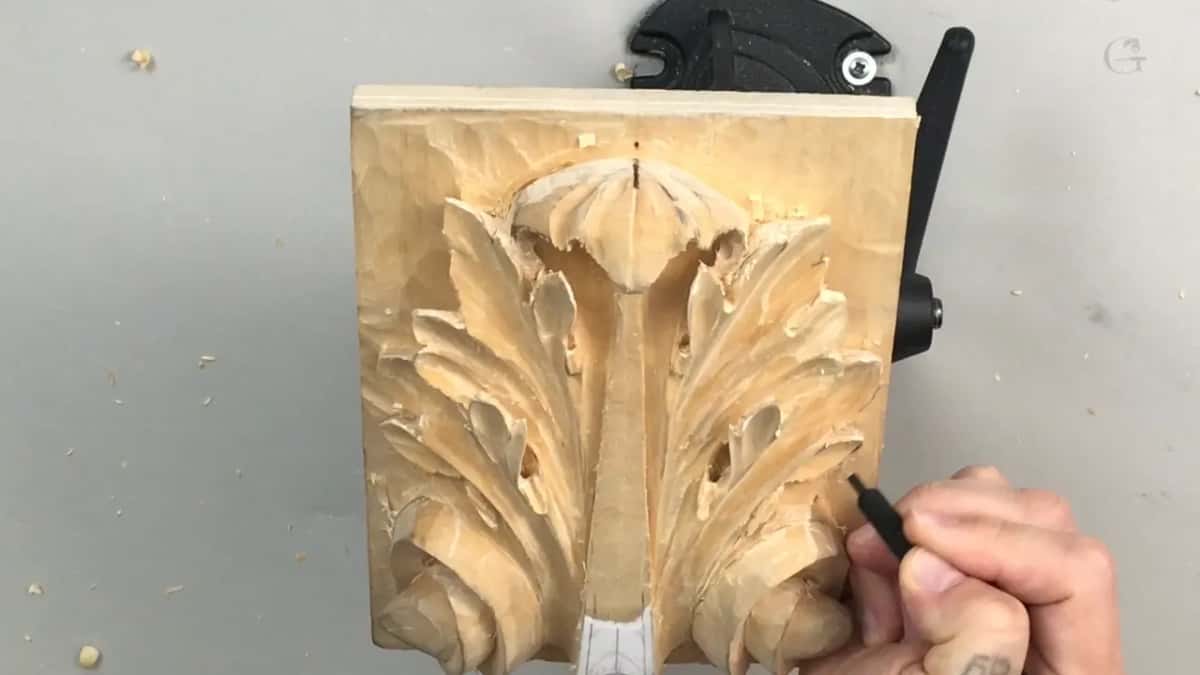
That ridge came out under a number 7, approaching on this side.
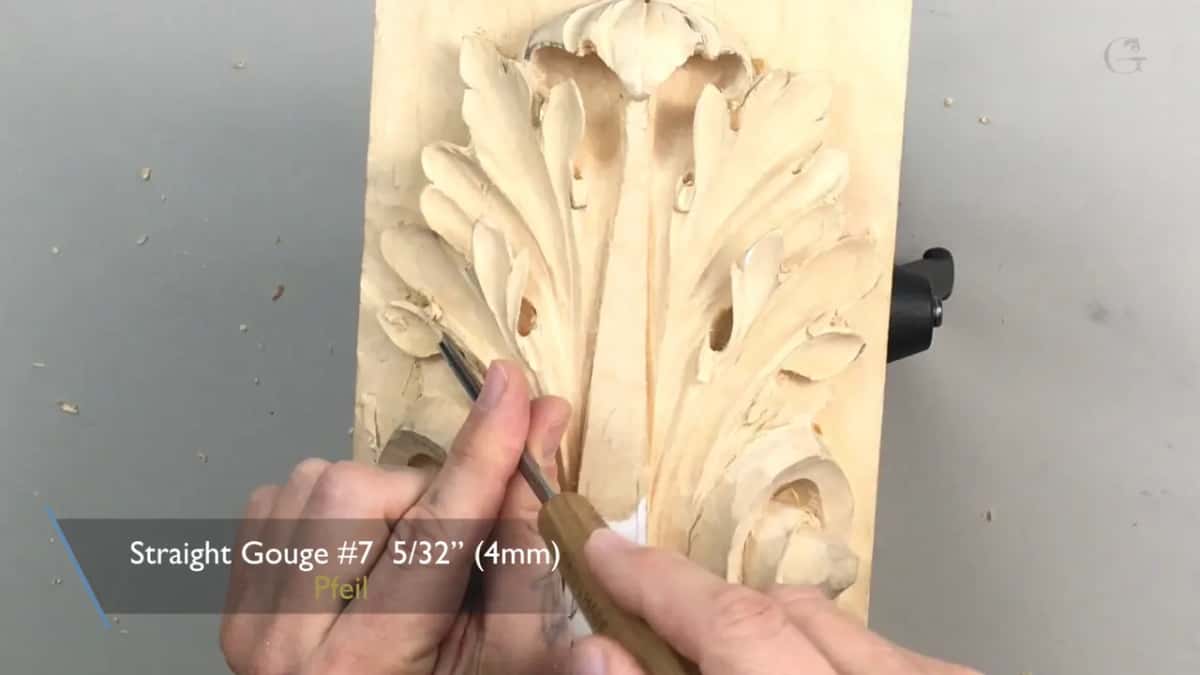
What should you do when the surface looks rough?
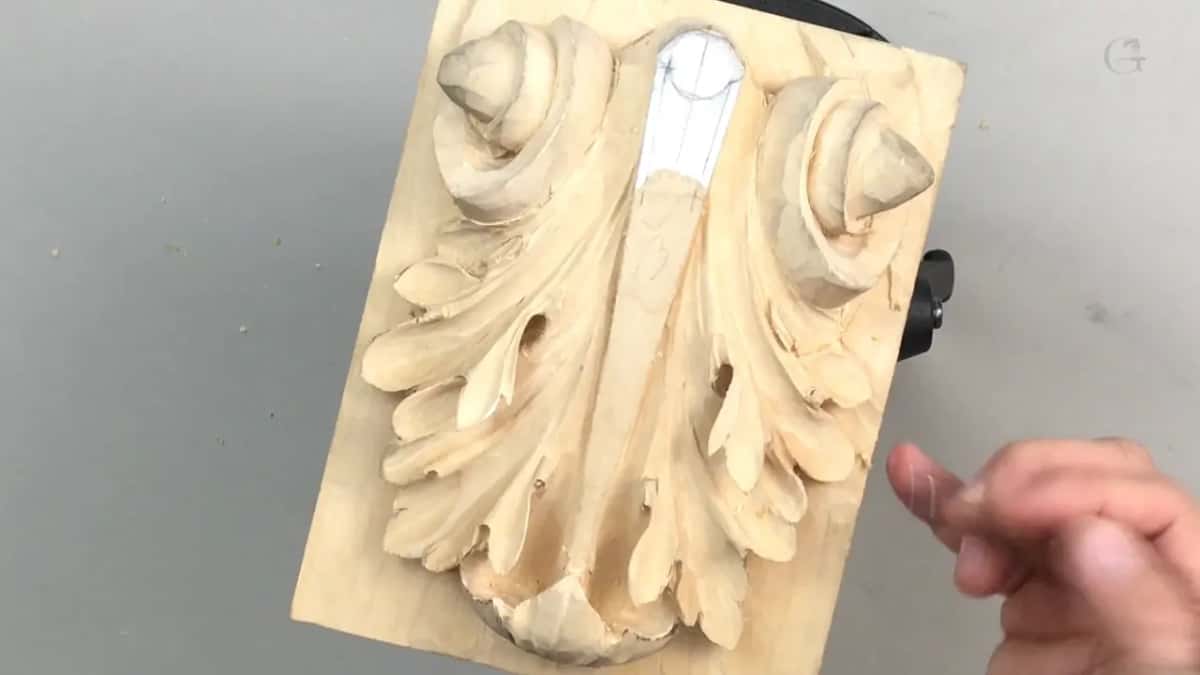
Don't panic. My last video of the lesson starts with a number 3, refining my pipe to make it a little deeper on one side, and I have to make it round.
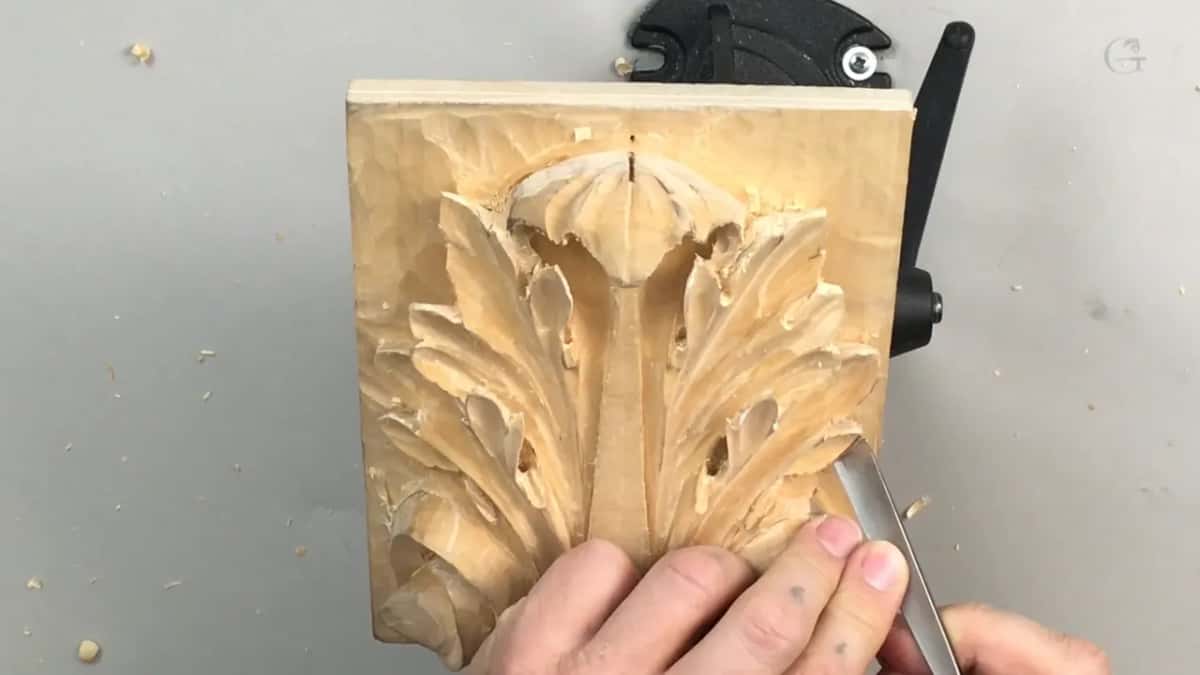
If you see some roughness at this stage, take your time. Recut it and make it nicer if you need to, you can always do that. But make sure your tools are really sharp. That's probably the key, and sharpening has a whole course of its own at my school.
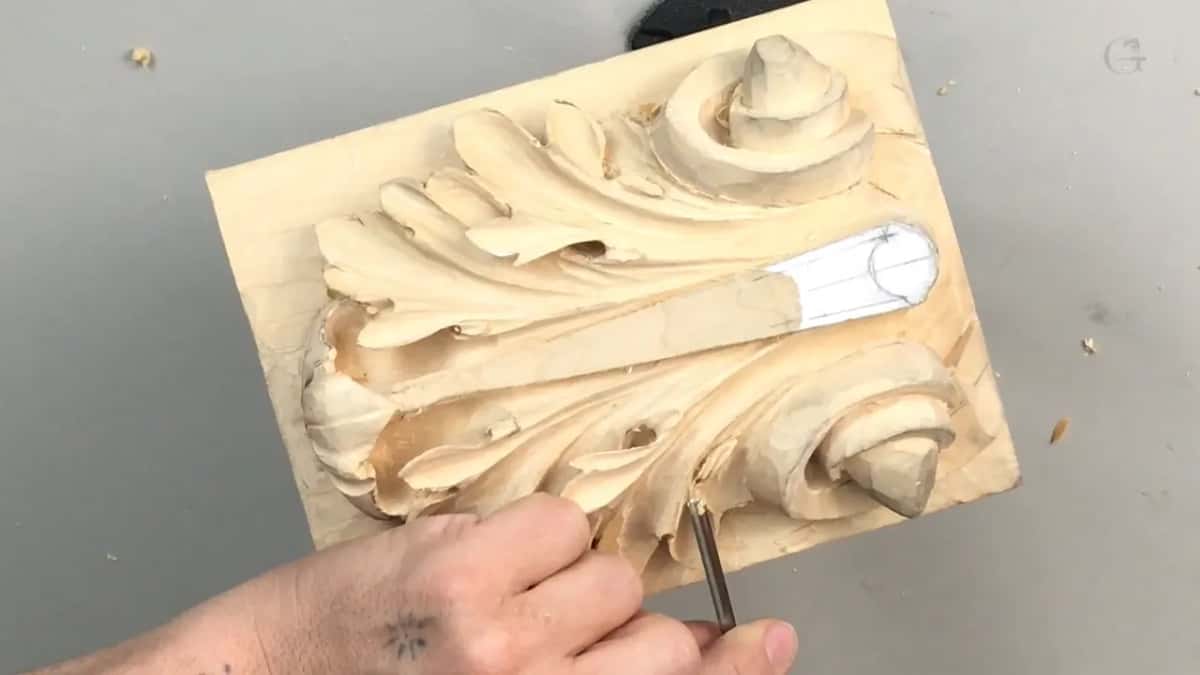
I left it like that for now and slightly refined that side. The knife came next and lowered this section and this section, and the small sixteenth went in from the sides.
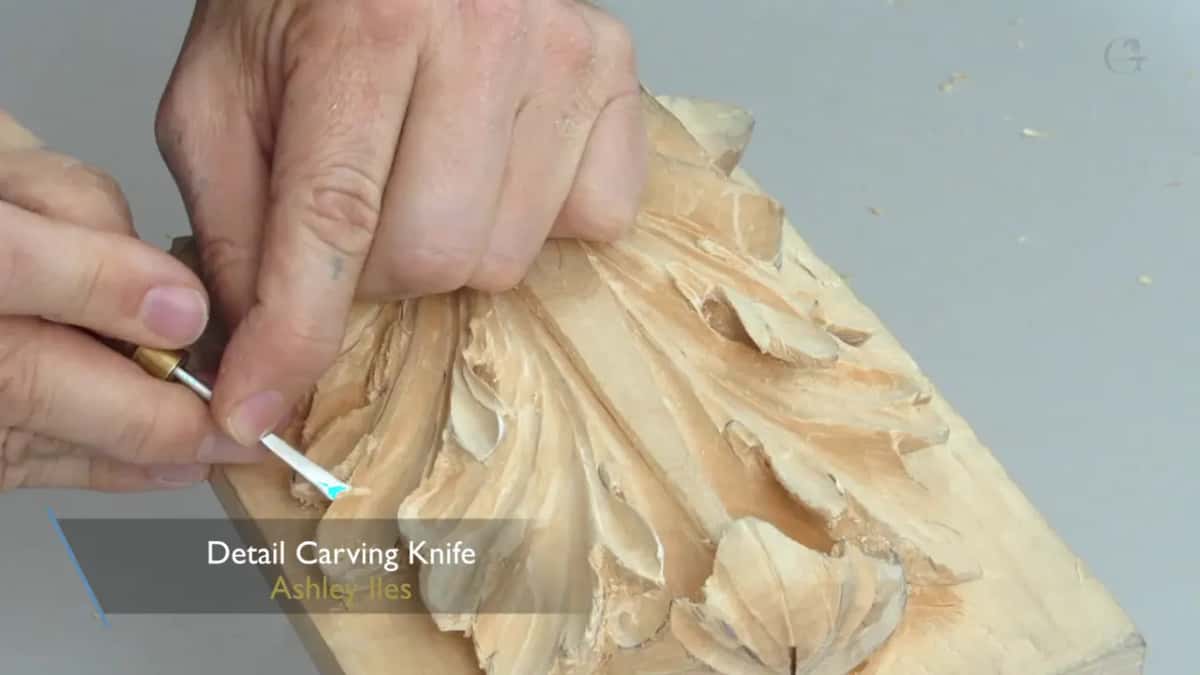
And I'm going to leave it like that for now. That's how the lesson ends, and the leaf goes on in lesson 15.
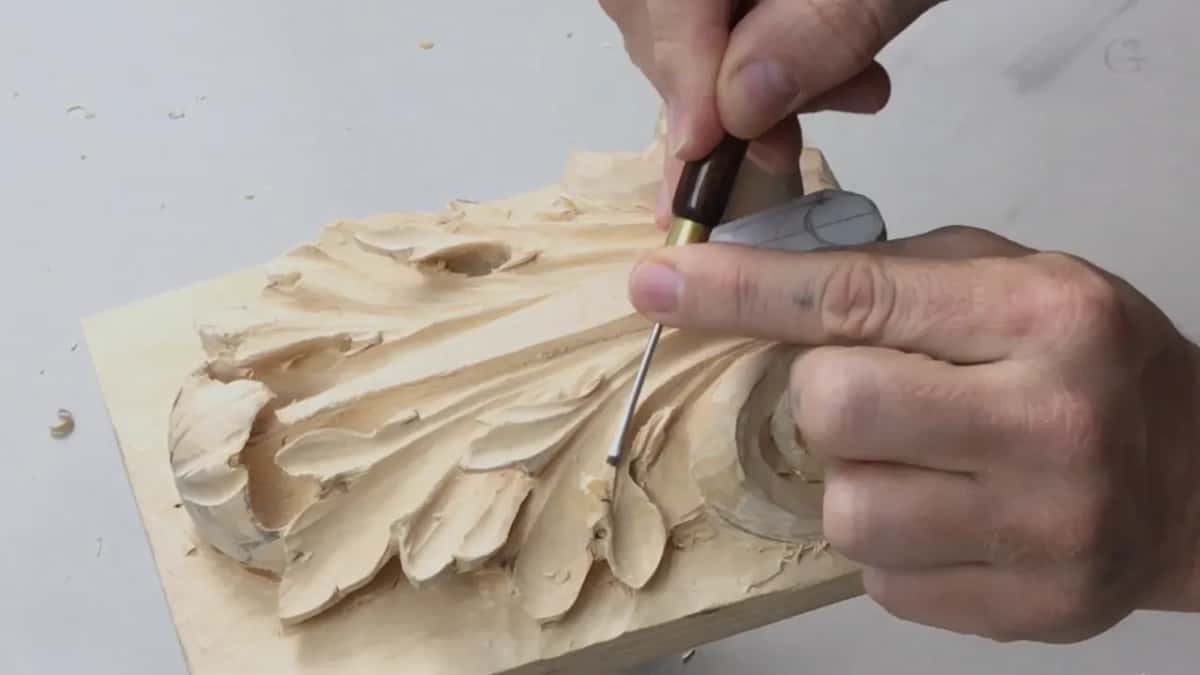
Do you need micro tools for a Roman acanthus?
Not at every stage. Back in lesson 7 of this course I told you that you don't have to have tiny tools like I do. Any small tools will work, especially in that stage. That was not micro carving.
On the micro carving, yes, definitely, I would use just micro tools, I said there. Lesson 14 is where one comes out.
Small tools like a Dockyard can do exactly the same job if you don't have a half millimeter. That's what I said on the chamomile and bow rosette. Excavate as deep as you can, and attack it from all the sides you can.
Lesson 69 of the Venice Room is where I said it doesn't have to be a micro tool. Any tool will work, even full size. I just love them. I like how it feels to work with them.
The ones I named there were Ashley Iles tools. Really thin metal, I said, and it goes right through the fibers with no problem.
In lesson 77 I was using a Peter Benson detailing tool by Ashley Iles and said it's not really a micro tool, but those tools are made to work on details. Not necessarily just that brand, either. They're all different, and it's not the only brand.
That one has a really small handle. It's really comfortable to hold, and it feels almost like holding a pencil between your fingers.
And in my Grinling Gibbons class in Maine I put it this way. I wouldn't start from tiny tools, but definitely, definitely, I would buy them and keep them in my arsenal.
Why is the half millimeter one of my go-to tools?
A half millimeter makes a big difference, I said once, and it is one of my go-to tools. That was on the lesson 65 panel. Right then there was absolutely no dark spot, and I said pay attention, because in a second you will see one.
On the chamomile rosette I said it another way. I really like to use a half millimeter number 11, and if you've been a member of my school for a long time, you already know I'm using it all the time, on furniture style, decorative style and ornamental style carving. I just love it.
Want to sharpen a tool that small? My sharpening course has a lesson on how to sharpen micro tools.
Got a little return on your own leaf that still sits flat? Every lesson of this Roman acanthus course is open with tuition, and the lesson before this one is lesson 13.
How it's done
- Dig under the detail. Take the micro veiner and start digging underneath the part you want to undercut. Go slowly.
- Come from the other side. Work the same spot from the opposite side, then sideways. Your number 3 helps there.
- Recut the middle. Run a 1/16 in (1.5 mm) gouge down the center, then the veiner inside it for shadow.
- Wiggle, never force. Slightly wiggle the tool as it goes in, and don't press too much. Forcing it is how you overdo it.
- Soften the edges. Take the edges a little bit and make them softer.
- Recut what comes out rough. If a spot comes out rough, recut it with a really sharp tool.
Frequently asked questions
How small do carving veiners get?
Mine go under one millimeter. The micro tool in lesson 14 is roughly 0.5 mm, U-shaped, and on a Venice Room panel I said my number 11s ran from that size up to 30 mm, about 1 3/16 in.
Is a micro veiner the same as a gouge?
Not quite, in my words. I said the U-shaped one on this leaf is a veiner, not even a gouge. My other courses give that size a number, a half millimeter number 11, and on one rosette I said I just love it.
Why use a knife instead of a pencil for marking a carving?
Pencil is hard to clean, and your piece gets dirtier. I try not to use one in production work, and in this lesson it was only there to show you what I was doing. A knife mark looks much cleaner.
What to carve next