

Alexander Grabovetskiy, woodcarver, School of Woodcarving · Published 2020
Do you need to stain a wood carving?
Quick answer: Staining a wood carving is a choice. People who saw my work online asked how I painted and stained it, and I had used no stain at all. The dark spots came from carving alone, and a stain can add an even richer look.
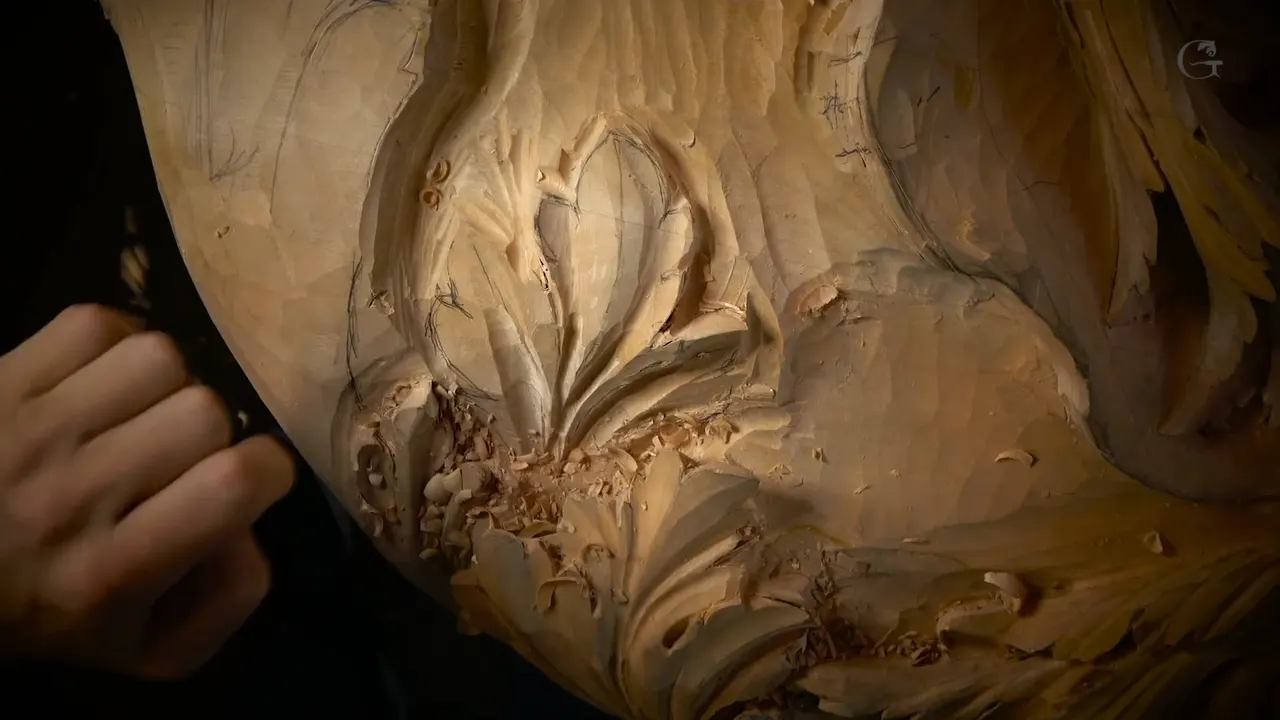
A wood carving stain is optional, because the dark and light on a carved panel can come straight out of the carving. Some people saw my carving on the internet and asked me how I painted it and how I stained it. I had done neither.
Do you like a carved leaf that looks deep from across a room? Would you like that look on your own panel before anybody opens a can of stain? Then come into workshop 65 on my Venetian panel with me, where those dark spots went in one hollow at a time.
I'll give you the tools and sizes I used for it.

What made my panel look stained
People asked me about the stain on a carving that had none.
Carving alone made its shading.
A 0.5 mm tool turned a pale spot dark.
One excavation went deeper because the light hits from one side and I needed that shadow.
Stain can make the look even richer.
This panel will be painted, so before a deep hollow I work out how a brush can reach it.
Why did people think my carving was stained?
Those dark spots did it. People had seen some of my work online, and when they asked how I stained it, I didn't follow, so I asked them what they meant. Well, they said, it has the dark and light spots.
I told them I didn't stain it at all. I know how to attack the wood and how to play with the shadows and the light, and that let me make the whole look by pure carving. What they took for stain was shadow.
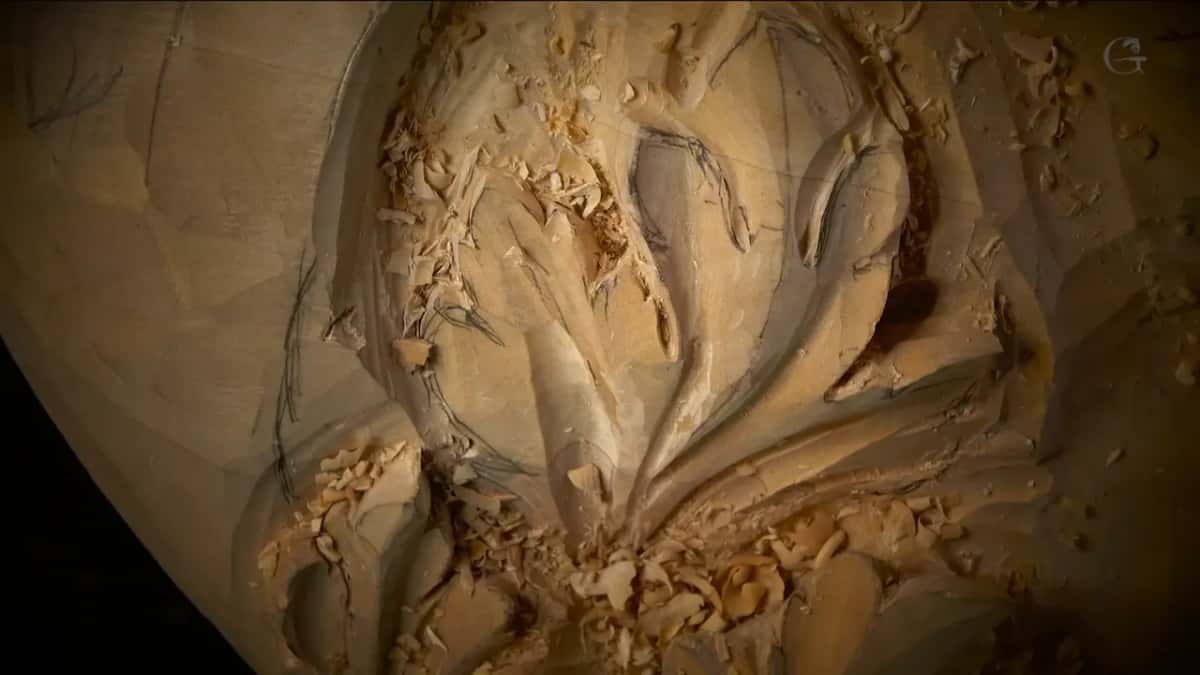
I'm going to be honest with you. In the same breath I said that with stains you can get an even richer look. The two sit side by side.
If you watched our project with the box for the Bible, you know exactly what I mean. Near the last workshops of that course I show how I blend everything and exaggerate the shadows. On camera I told people I would highly encourage them to watch it.
Where does the dark in a carving come from?
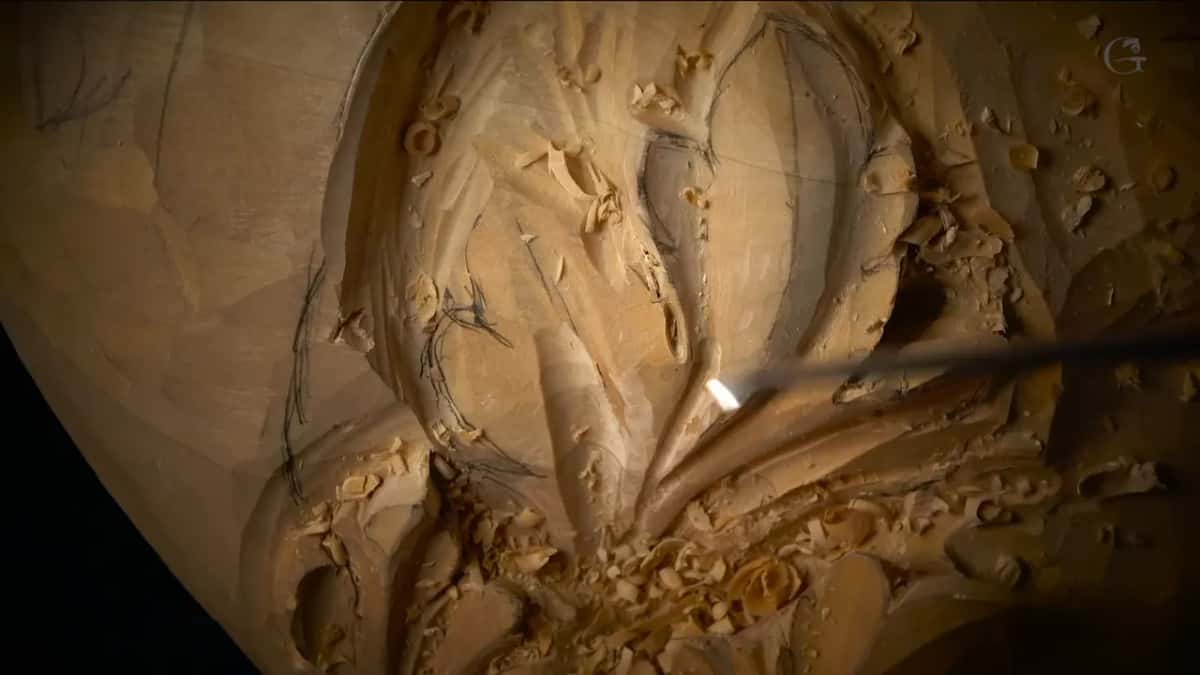
It comes from depth, and from which side the light hits. Late in workshop 65 I dug a little deeper under one leaf, and I explained why as I went. The light source was going to hit from one side, and I needed that shadow casting. So I went deeper.
Earlier that day I checked how much wood was left on one section before going in again. There was plenty, so I could get deeper and give it more shadow.
The workshop started the same way. One point gave me a choice. I could keep it attached to its leaf as an extra support, or go all the way through and open it up. I kept the connection, since I think it gives extra strength, and deepened the shadow a little more instead.
Then a back bend went under a leaf there, with a mallet helping. You can't see it on camera, but from the bottom you really see that inner part of the leaf. That's really important for me, to make it beautiful.
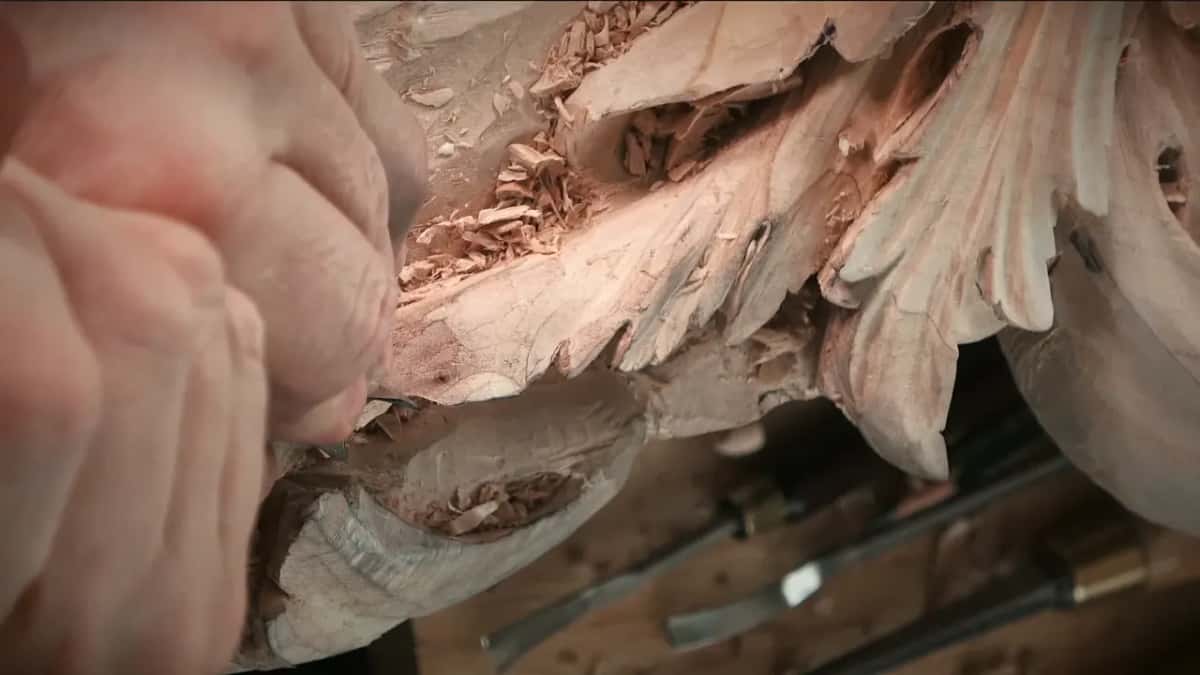
In another part of the day I compared two sections of the same leaf on camera. The one I had worked looked much better. The other looked a little too dull, because it had none of that shadow play yet, so it got the same treatment next.
A little later I said every element should be like a frame with the shadows, or it won't look nice. Look at the whole panel and the deep excavations all around each part do the framing. Right next to that, one detail was beautiful and still dull, because nothing framed it. Two main things matter there, the light and the shadow. Painters call that pairing chiaroscuro.

Sometimes you can't see the shadow while I work. Under my work light it hides, and I promised it would show once I turned that light off. There's more on shadow in Part 5 of this room, workshops 50 to 61.
How small can a tool be and still make a dark spot?
Half a millimeter did it, about 0.02 in. I wanted one more separation, a really small one, a tiny one, and I said it would still show. Right then there was no dark spot anywhere on that part. Pay attention, I said to everyone watching. A moment later it was there.
Every pass had to stay under control, because I didn't want to break anything. Half a millimeter makes a big difference, and that little tool is one of my go-to tools.
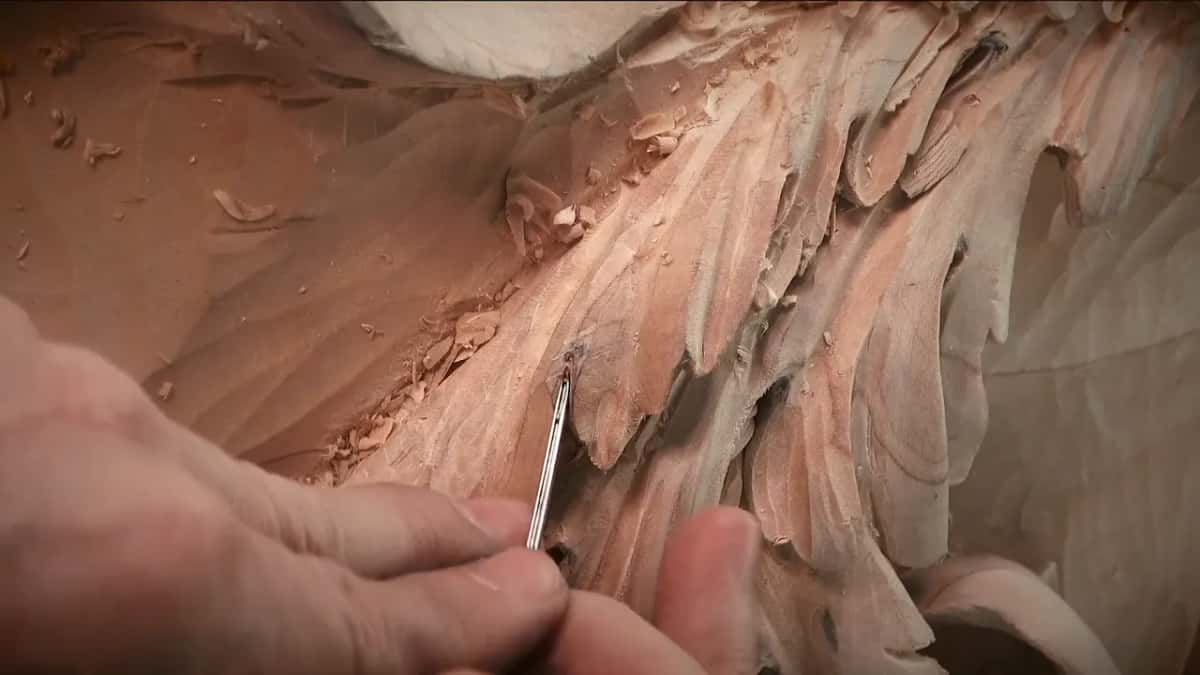
In one eye of the acanthus I went from a 3 mm #11, about 1/8 in, to a 2 mm one. The 2 mm left a bump on the side that I didn't want to see. Then I said two millimeters was too big as well, and went down to one, or about 0.04 in. All of them were #11s, and that small one was a Pfeil. All I needed there was a shadow.

For the next two eyes I dug one spot and then the other with a 2 mm #11, to darken them and give them that pop. I said a 1 mm would give an even better shadow. For some extra subdivisions I took a 1.5 mm #11, a sixteenth of an inch, and called it a beautiful tool out loud.
Depth has a limit, too. For one big eye I started with a 7 mm #11, a little over 1/4 in, then took a 12 mm veiner to give that spot a really good shadow. When I went to take the eye deeper still, it was already too deep, so I had to switch to a smaller tool.
What does a wood carving stain add?
A richer look, in my words on camera. Past that line and the pointer to the Bible box, workshop 65 says nothing more about stain, and I won't invent more here. Nothing in this workshop puts a stain on the panel. What it does show is how the dark gets carved into this panel.
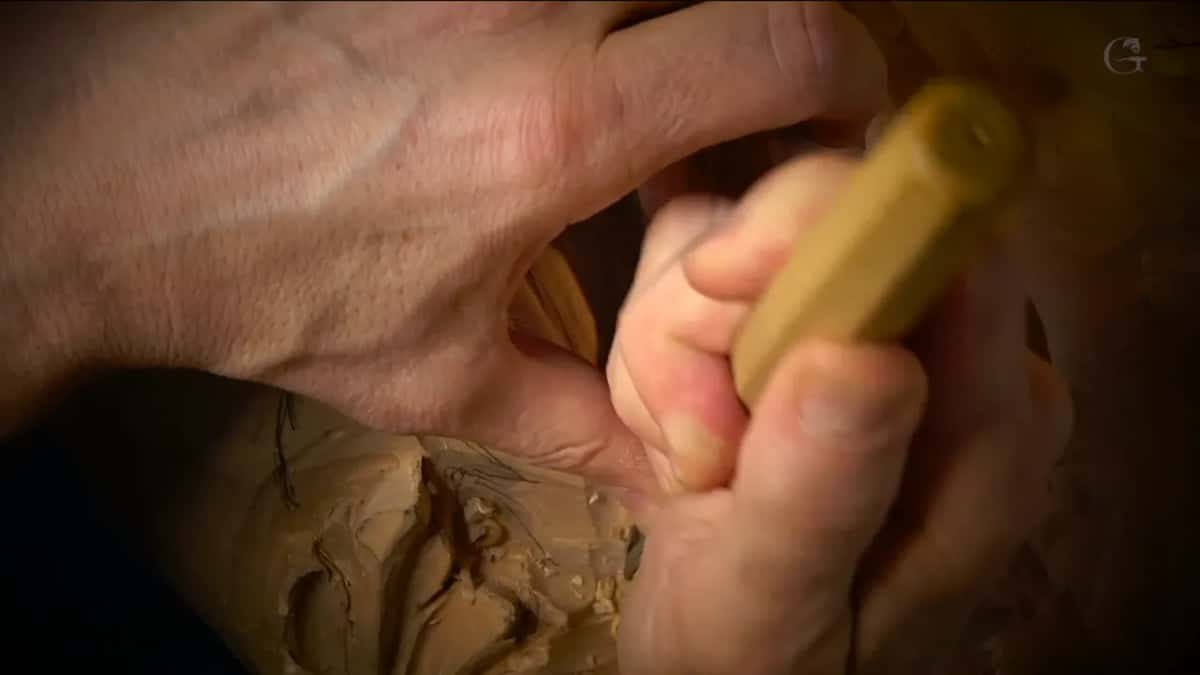
This panel is going to be painted. Right at the start of the workshop, after a really deep excavation, I asked myself out loud how I'd finish it and how I'd paint that stuff. Easy, I answered, with the artist brush. Before I do some things, I have to think about how the piece will be finished.
Later I told everyone watching that I wish there were such a thing as airbrush wood carving, where you stay away with your tool and still paint something.
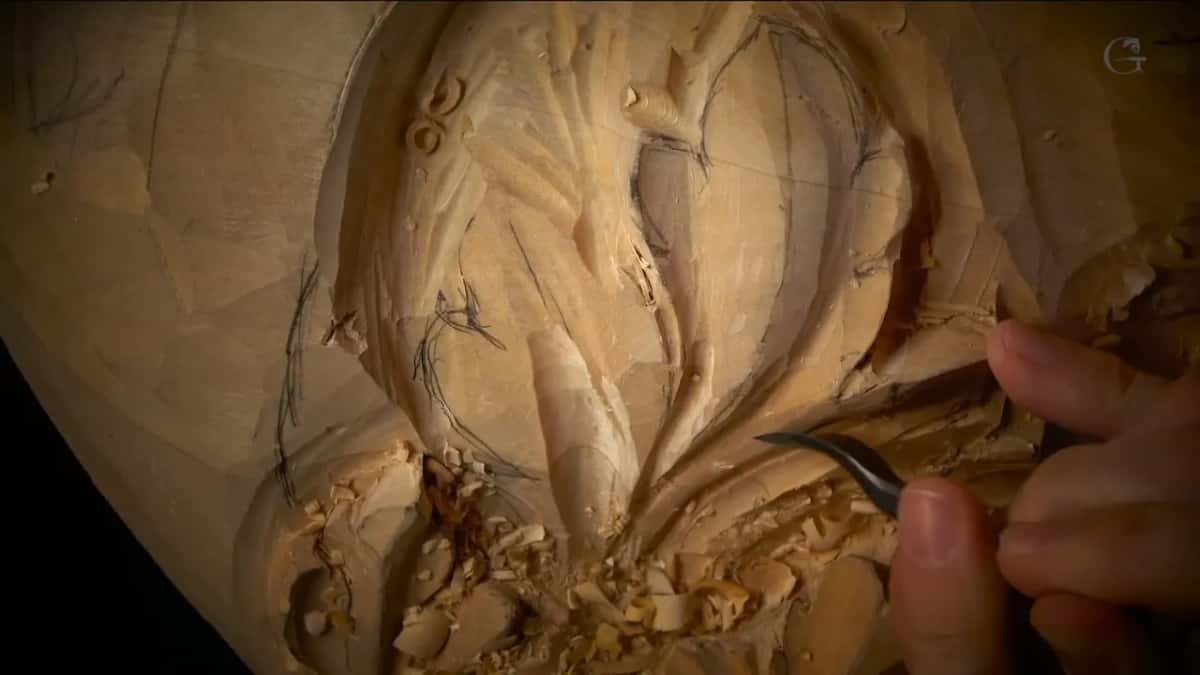
If that makes sense to you now, start here and pick your first course.
Why did the old carvers make the pipes so big?
For the gold leaf. Venetian carving had those really exaggerated pipes, and I asked people to understand that it isn't always like that, only in this particular case. Calling it Venetian isn't quite accurate either, because the Venetians inherited those pipes from the Byzantine style.
The Byzantine carvers developed those really big movements for gold leafing. Gold is a yellow-brownish color, and they still needed shades and shadows in it. That's why they have exaggerated eyes and exaggerated pipes, and why the style grew its own beauty. Beautiful was the only word I had for it.
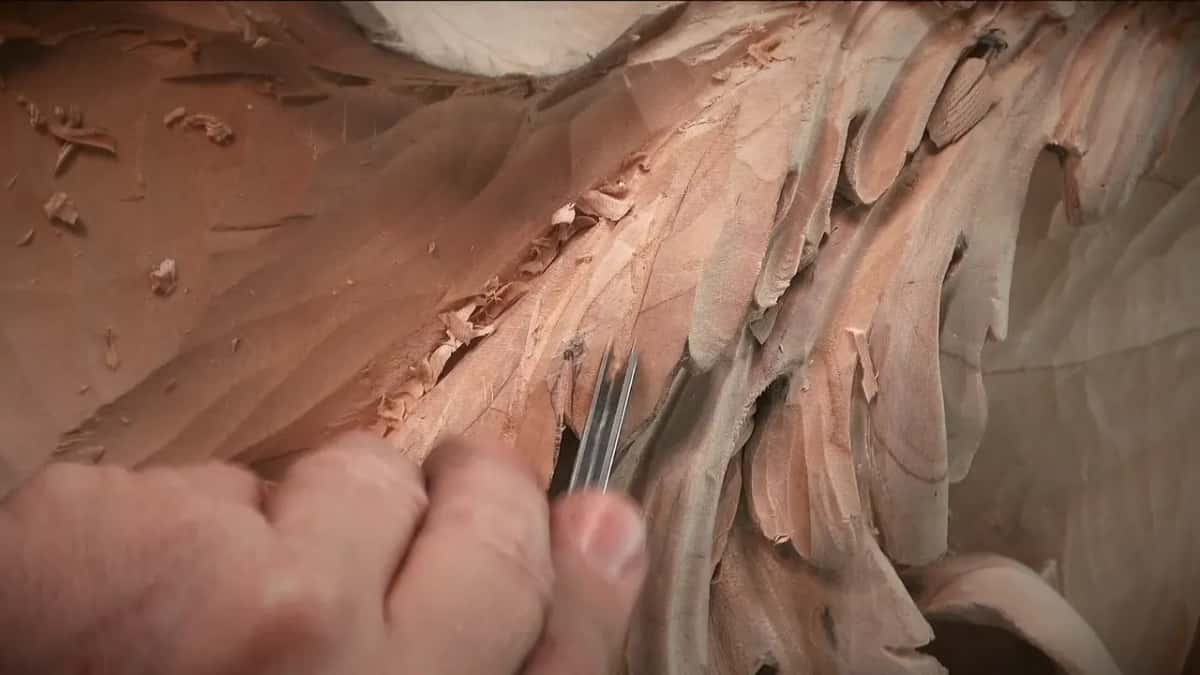
Not every acanthus is the same, either. I said so while I carried one concave right up to a point beside a pipe that wraps as a half round. In this case I did it, and not always.
One color of gold over everything, and the shading still had to come from somewhere. It came from the carving. On my panel I pushed one pipe to look even more exaggerated with another concave beside it. You should see the difference already, I told the camera, because it gives a lot more interest and a lot more dimension. Later I made a pipe on the other side a little more exaggerated too. Big, I said, but a beautiful movement.
The older leaf has its own course, Carving Byzantine Acanthus, and the Venetian acanthus head was carved back in Part 2 of this room.
Does the finish off the gouge matter?
I like the finish that comes straight out of the gouge or chisel, because it leaves beautiful marks. I've tried rifflers and rasps. They're easy to learn, and I guess it's okay to use them, and I might use them again, but the finish they leave hasn't won me over yet. So I stay with my traditional way, without sanding or shaping.

That way asks for a really sharp tool. At one point mine didn't look super sharp, so I picked up a back bent that I had reshaped as a skew, and it sliced much better. You can't buy that tool, by the way. It started as a normal back bent, and I reshaped it to my taste.
Earlier, my #5 back bend needed sharpening. I honed it off camera, and it was better, but still not there, so I did it one more time. After I took it to the felt in my workshop, it carved perfectly, even against the grain, and left a really good surface.
Some passes have to go against the grain. That's okay with a super sharp tool, and you can see it still leaves a good finish, but I still have to be careful. On one pipe I carved in the opposite direction because there was no other way to attack it, and the finish wasn't really nice, which has to do with the grain. At another point I took a smaller tool just to stop the fight, because I don't want to fight with the wood.
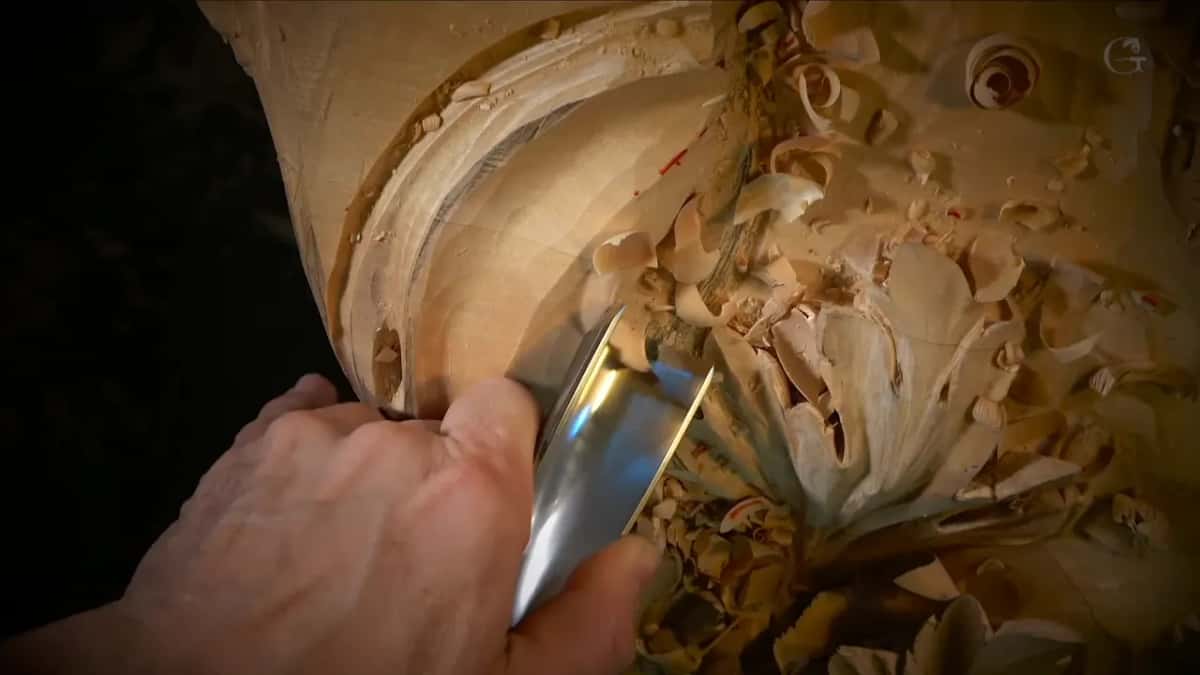
Sharp lines I blend away, because I don't want to see them. On the main movement I wanted fewer tool marks, so I went from a 12 mm #11 to a 20 mm (about 3/4 in) and then a 30 mm, about 1 3/16 in. Concave, convex, concave, I said, and it was beautiful.
Which tools did the shading in workshop 65?
These did the shading.
| Tool | Job | Place |
|---|---|---|
| Back bend gouge | Went underneath the detail with a mallet | Leaf underside |
| Half millimeter tool | Opened a dark spot where none showed | Tiny separation |
| Three millimeter eleven | Dug a deeper concave beside the pipe | Pipe side |
| One millimeter Pfeil | Took over when two millimeters was big | Acanthus eye |
| Quarter inch nine | Rotated out plugs to frame the detail | Detail frame |
| Two millimeter eleven | Darkened two spots to give them pop | Two eyes |
| Twelve millimeter veiner | Gave the big eye a good shadow | Big eye |
| Thirty millimeter eleven | Left fewer tool marks on the movement | Main movement |
In inches, the 3 mm is an eighth, as I said on camera, and the 12 mm is about half an inch. The quarter inch #9 is close to 6 mm. A mallet went behind the back bend, where everything else was in my way.

What happened when I rushed?
I broke a piece. One tool was a little too big for the spot, so I took a #5, and on that pass the piece broke. I rushed it, and I shouldn't have. A little earlier I hit one separation with a skew and hoped it wasn't going to break, and it didn't.
But that mistake was easy to fix, and not too late to fix. I brought that part slightly downhill with the overall movement and kept the two sides consistent. A quarter inch #9 scooped it out by rotating, going downhill. Nobody is going to know that was a mistake, I told the camera. Only you.
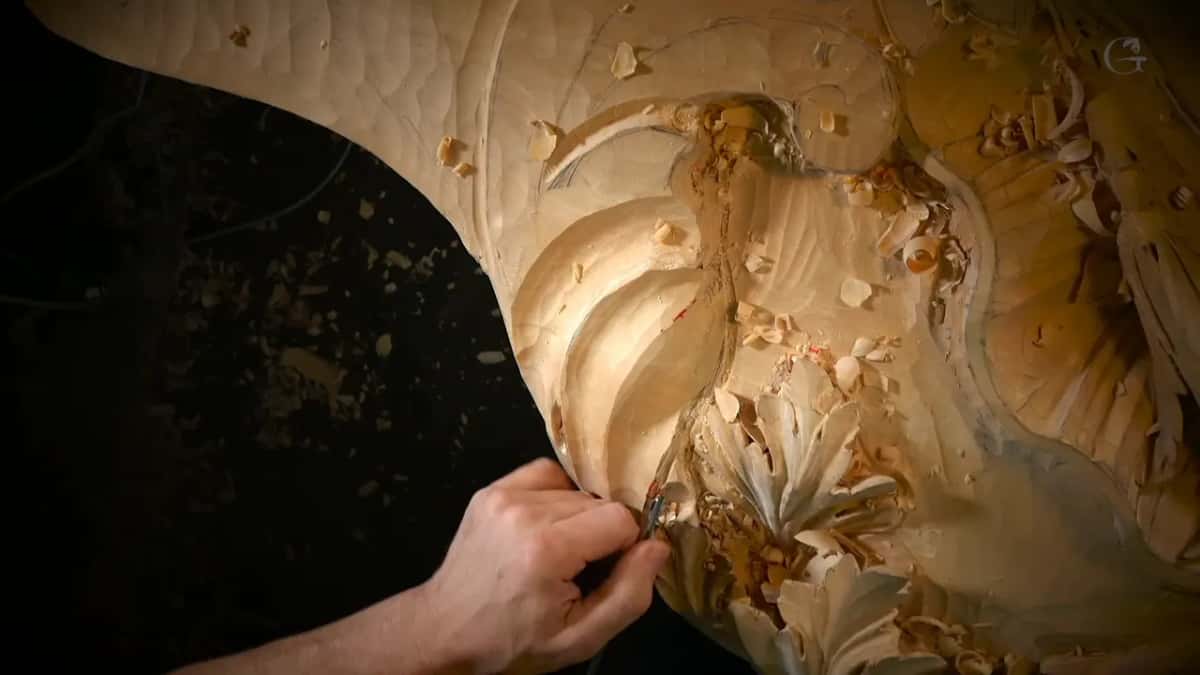
The downhill move even gave the leaf some extra movement, so I actually didn't do too badly. The room goes on in workshop 66.
Who is this workshop for?
Anyone who wants to see where the shading comes from on a real panel, pass by pass. I showed the side view so you could feel how big the piece is. From where I stood, it runs 10 feet (about 3 m) up, all the way to the ceiling. Some flowers still go on later, in several spots.
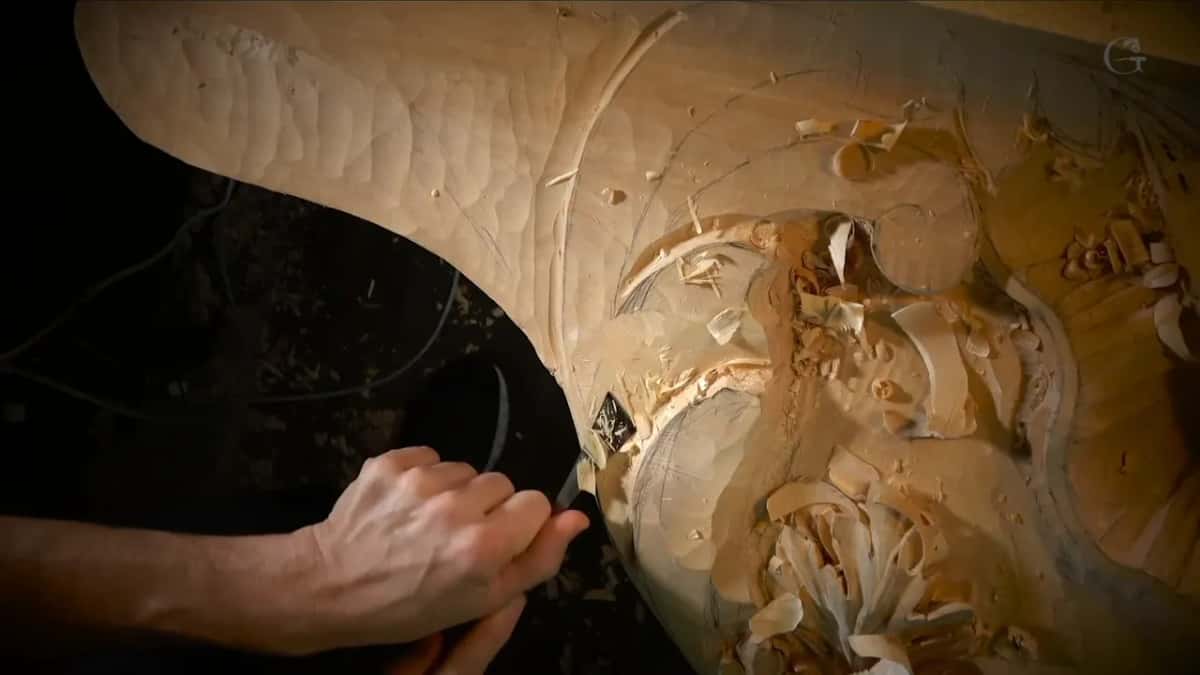
This section took me longer than it should have. It isn't a hard area, but I was streaming too much, I guess, and I lost productivity. If I go quiet in the video, forgive me and just watch what I'm doing. Sometimes I'm thinking and forget I'm supposed to talk.
Would you like to watch that dark come into a leaf, and hear why each tool went in? Then Part 6 of the Venice Room is waiting, with this workshop and eleven more. Workshop 64 comes right before it, and the whole panel started back in Part 1. You can look around first on the lessons map, read who I am, or come to a class in person.
How it's done
- Think about the finish first. Before a really deep excavation, ask how the piece will be finished. Mine gets paint, and an artist brush can reach it.
- Check the wood left. Look at how much material is still there. Where there is plenty, go deeper and give it more shadow.
- Dig for the light. Find the side the light will come from. Then excavate so that side casts a shadow into the hollow.
- Frame each element. Give every part a frame of shadow, or it won't look nice. On one detail I rotated out a plug from each side with a #9 a quarter inch wide.
- Step down in size. When a veiner is too big for an eye and leaves a bump on the side, go smaller. Mine went from 3 mm to 2 mm to 1 mm.
- Blend the hard lines. Soften any hard ridge and don't leave sharp lines behind. Keep the tool really sharp, so what comes off the gouge stays clean.
Frequently asked questions
Did workshop 65 put any stain on the Venice panel?
None goes on during this workshop. What I say about stain there is that I used none on the work people asked about, and that a stain can make the look richer. The panel itself gets paint later, and an artist brush will reach its deep parts.
Where did the big Venetian pipes come from?
From the Byzantine carvers, as I explained while carving. Gold is yellow-brownish and all one color, and they built big movements, with oversized eyes and pipes, so the gold leaf would still show shades. Venice took those pipes over, so calling them Venetian is not quite accurate.
Which course shows the richer look a stain can give?
The box I carved for the Bible. Near its last workshops I show how I blend everything and exaggerate the shadows, and I pointed people there from workshop 65 right after saying stain can add richness. If you watched that project, I said, you will know exactly what I mean.
What to carve next