
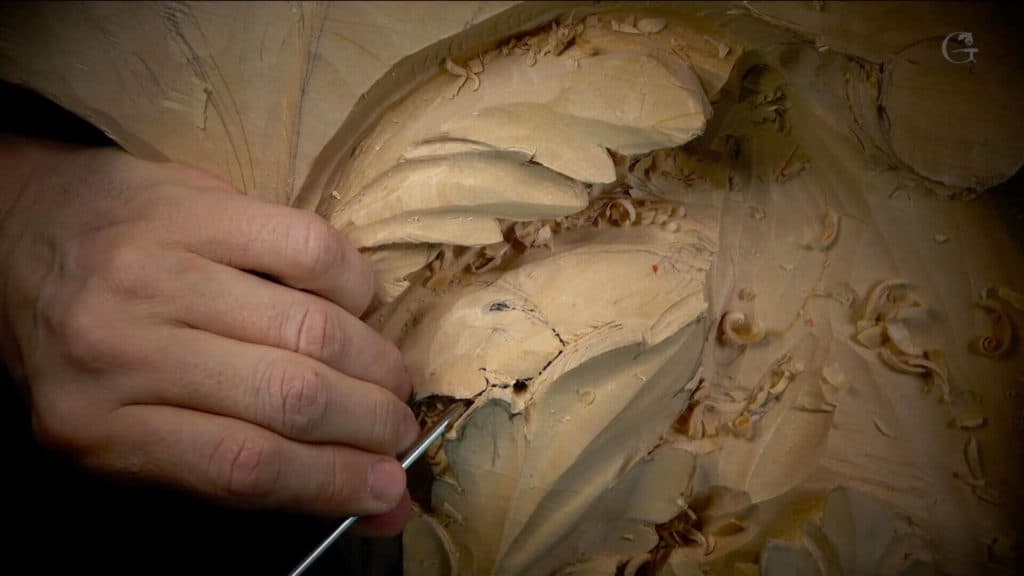
Alexander Grabovetskiy, woodcarver, School of Woodcarving · Published 2020
Should you carve a thin leaf completely free of the wood behind it?
Quick answer: A connection point is wood you leave on purpose, one small place where the thin carved part still holds on to the wood behind it, so it stays solid. In workshop 66 I kept one under a thin curl over a dark hole on a Venetian panel, and tried to keep it out of sight.
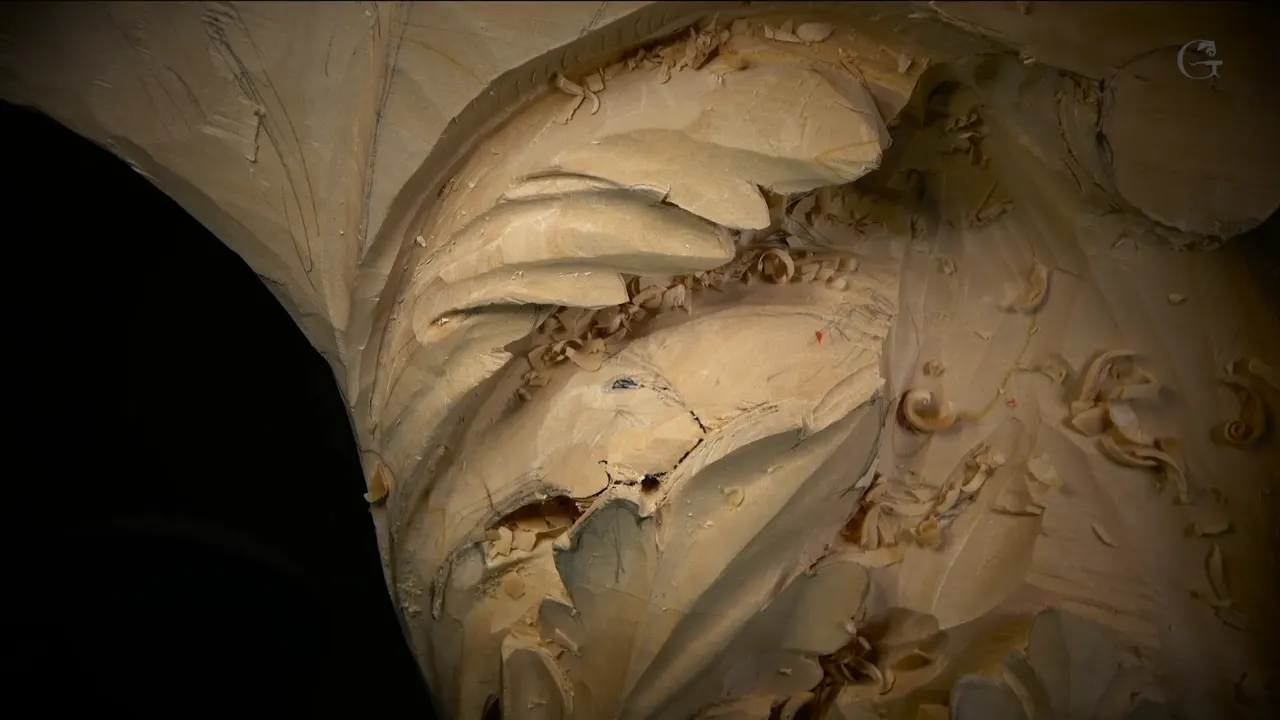
A connection point is a small spot where a thin carved piece is still joined to the wood under it, so the piece stays solid. On delicate wood carving the thin part does not have to come completely free. In workshop 66, on a Venetian panel headed for a ceiling, I left one under a thin curl that sits over a hole I dug all the way through, and then I tried to hide it.
I want that spot almost invisible. Anyone looking up at the finished panel should find a really dark shadow with a light curl over it, and never the little bit of wood that holds the curl on.
Do you like a carving with a thin leaf that seems to lift off a dark hole? Would you like it to stay whole while you carve? Then come along through workshop 66, down to the one spot of wood I chose to keep.
What kept one thin curl whole in workshop 66
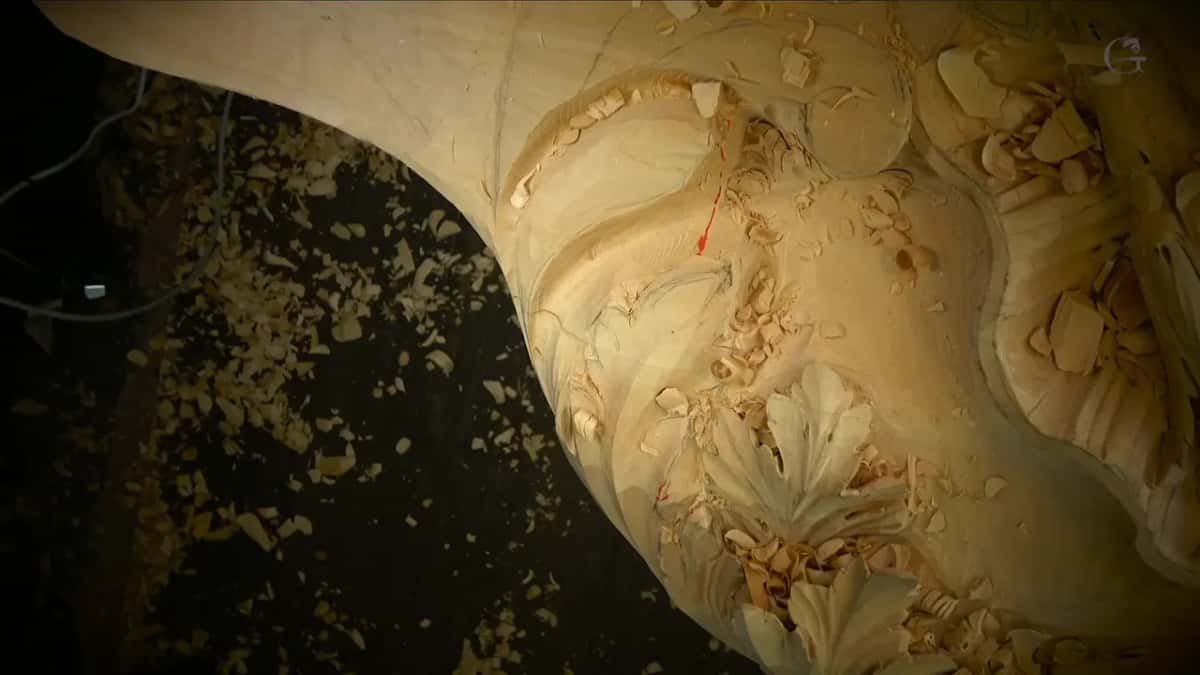
Under one thin curl I dug a hole right through, to get a dark spot.
One small spot stayed joined, so the curl stays solid.
I tried to keep that spot where the human eye can't get to it, and said so with a 2 mm (1/16 inch) veiner working right beside it.
A gouge stamped #4 that is really almost flat shaped around it, with a mallet behind it.
The hollow under the big curl reached 2 7/8 inches (73 mm), and flowers get mounted in there later.
Keeping it was a big if.
What is a connection point in wood carving?
One small bit of wood, left at the place a thin carved part still meets the wood it grew out of, while the wood around it is carved away. I told the camera a connection point could go right there, and then it's going to be solid. The two parts stay kind of connected together. Maybe that's exactly what I should do.
Then came the harder part, keeping it without making it too obvious. I stopped to think. Then I reached for a mallet.
If you have never held a gouge, start here, because this curl comes from workshop 66 of one long room.

Why did this thin curl need one?
I dug a hole under it, right through, and that left the curl thin. Near the end of the workshop I undercut a little beneath that separation leaf with a small #11 of 2 mm (about 1/16 in). Not too much undercutting, though. My goal was only to bring the leaf a little closer underneath and curl it down so it goes in.
It wouldn't be visible from that position. Still, I wanted it to look nice, and I was kind of happy the way it curls and goes in.
So I picked up a marker to explain the plan to you. There would be an eye, another separation right there, and this part excavated all the way through, to give me a dark spot. Without that spot, the curl would not have the pop look I wanted. It makes a small piece of openwork beneath it.

My small #9 did the digging, and I came at it from this side and then from that one, until the two openings joined into one hole. Got to be kind of careful there, I said, but it was okay.
I'm going to be honest with you. Some of that was maybe not even needed, since the spot will not be very visible anyway. I just kind of like doing it.
After the hole I cleaned everything underneath toward it, carefully, since the grain was running the wrong way for me. A quarter inch #5, about 6 mm, started it. Then a slightly bigger tool seemed better, and a #6 sweep was the one. Going that way, my tools really must be really sharp, and sharpening has a course of its own.

How thin was the wood left over the hole?
About six millimeters, maybe even less, about five, so a quarter inch or 3/16 of an inch. I judged it with my finger below, against a point on top. That is the thickness I was leaving.
No need to go any thinner. I really needed some solid wood there, otherwise the curl would be too fragile. Right away I said that was not a big deal, and that is the moment the connection point came into my head.
By then the hole was already giving me a really dark shadow. Really, really dark. Beautiful. Shadow was the big subject of workshops 50 to 61 on this same panel.

Where do you hide a connection point?
Out of reach of the human eye. I wanted to keep it and still make it almost invisible, somewhere a person looking up at the panel cannot get to. Right after that I said it was somewhere right there already. Before that, keeping it at all was a big if, and still a big question.
To shape around it I took the mallet and a #4 of about 12 mm (1/2 in). The stamp says #4. Really it carves just like a #3, almost flat. With the same tool I hit the other side too, to make it a lot nicer, and then a 2 mm #11 veiner took over there.

The undercut underneath wasn't finished either. Later on I will undercut a little more, because that part still shows when you look from the bottom. Earlier I had made one concave show from the bottom on purpose, by lowering that side a little. That way it reads from all the positions.
Which tools did this delicate wood carving take?
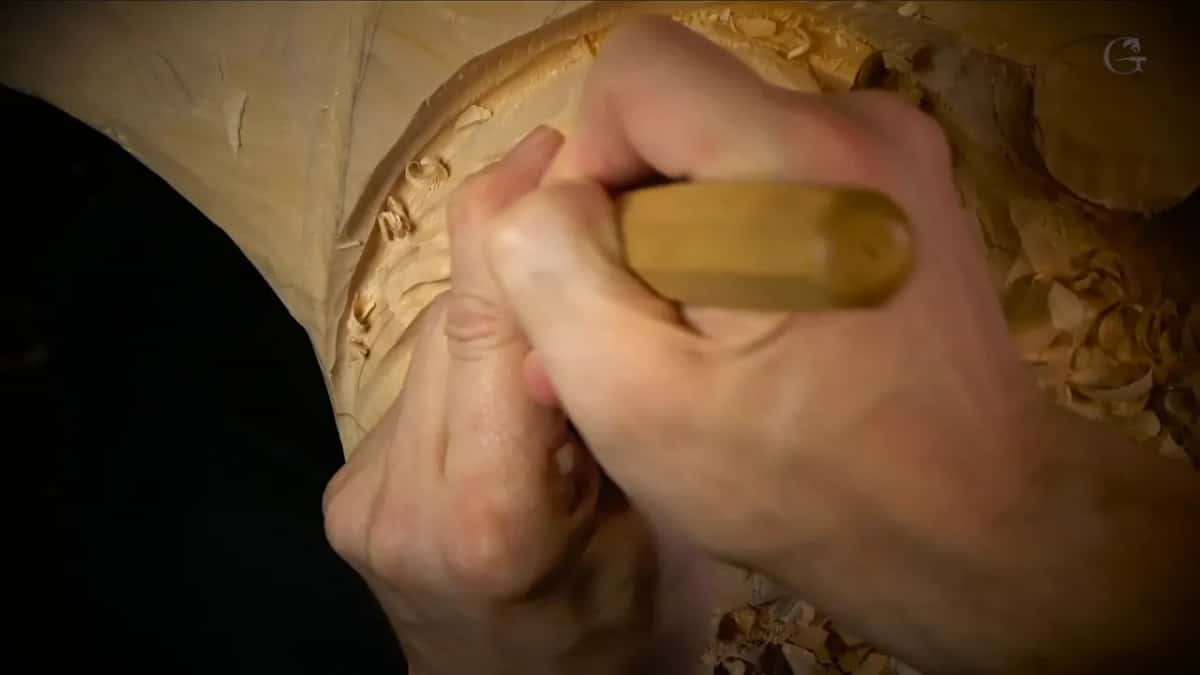
Mostly #11s, the smallest a 2 mm veiner and the biggest a 30 mm one, plus a few flatter gouges and a mallet. In tight spots I used the smaller tools first and cleaned up with the bigger ones. The table runs in the order I used them, big curl first and hidden spot last.
| Tool | Job | Place |
|---|---|---|
| The skew | Curled the piece down at the start | Big curl |
| Thirty millimeter eleven | Chopped down deeper, without any fear | Deep hollow |
| Twenty millimeter eleven | Took over once the thirty felt too big | Same hollow |
| Small nine, 3 mm (1/8 in), Ashley Iles | Rotated in from both sides until they met | Dark hole |
| Quarter inch five, 6 mm | Began digging underneath, careful of the grain | Under the curl |
| Number 6 sweep | Worked better, being a little bigger | Toward the hole |
| Almost flat four, 12 mm (1/2 in) | Stamped four, but carves like a three | Round the spot |
| My mallet | Helped that nearly flat gouge along | Same place |
| Two millimeter veiner | Ran right beside the spot I kept | Connection point |
Where straight tools stopped reaching in the deep hollow, a 15 mm (5/8 in) #9 spoon and a medium bend #8 took over, and the tools course covers bent shanks.
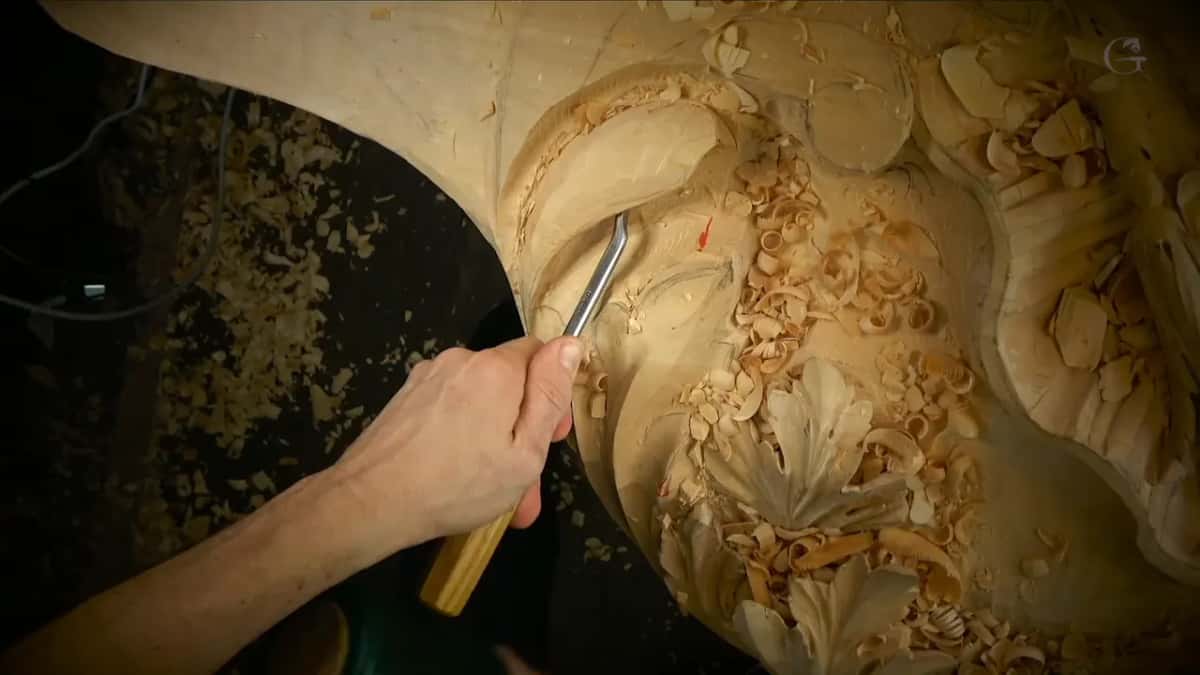
How did the hollow under the big curl get so deep?
I dug it on purpose, for a deep shadow. Early in workshop 66 I had a piece sticking out from underneath, and an idea. I could make it curl from underneath and expose the lower part, which would create a deep shadow. I wasn't sure I should, and I asked myself out loud why I was thinking so much that day. No idea. But I kind of liked the idea of wrapping, and that side will be seen, so a deep shadow made sense.
I outlined it first and went much deeper, and yes, I knew it looked extreme. But it was okay. About an inch down, I thought that was maybe not even enough for the shadow, so I went to 25 mm, then 30 mm or so.
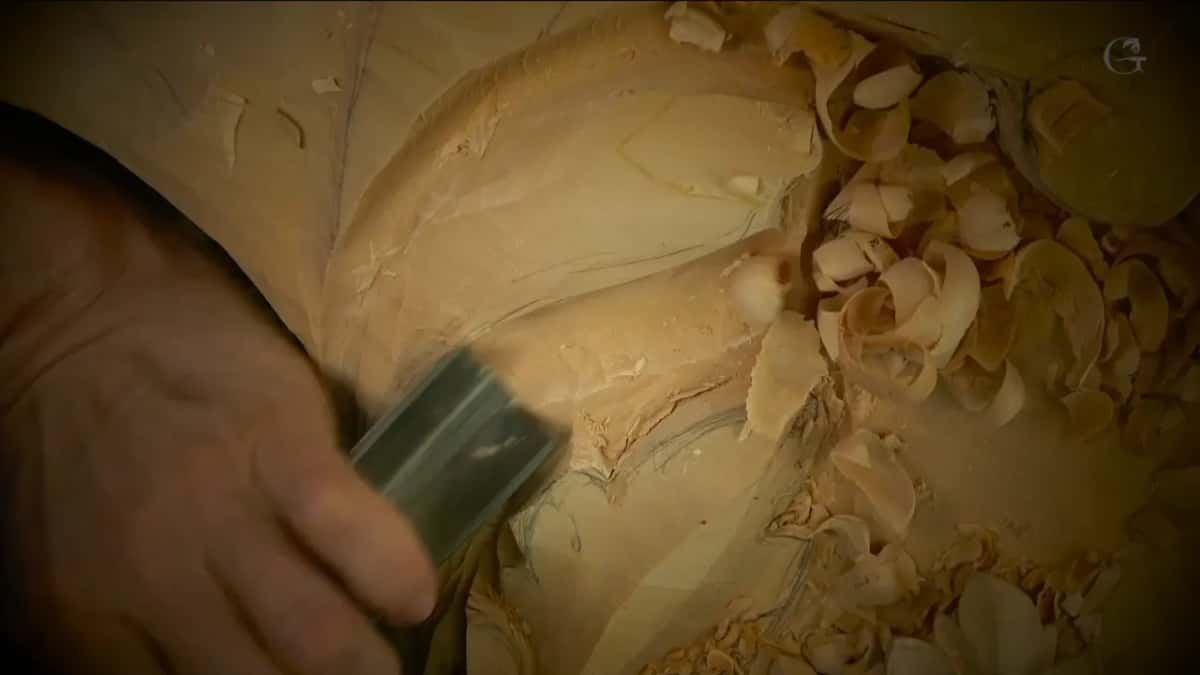
The 30 mm #11 went back in without fear, and when it got too big I switched to 20 mm, three-quarters of an inch. Then I set the boundary of that movement, and after that I was safe to chop around it with no problem.
Partway through I guessed the depth, almost three inches, then two and a half, then about 60 mm, because looking straight down it is really hard to see. The depth was 2 7/8 inches (73 mm) to be exact. Really deep. This is the high relief of workshop 62, four workshops on.
At the start of the next part I saw my glue line. Another inch and seven-eights was still below me, about 48 mm, and that told me I was safe. I could go even deeper. I didn't need to.
Inside the movement I had one spot deep, deep, about an inch, where the camera couldn't see it. Simple stuff, I said. I just dig in.
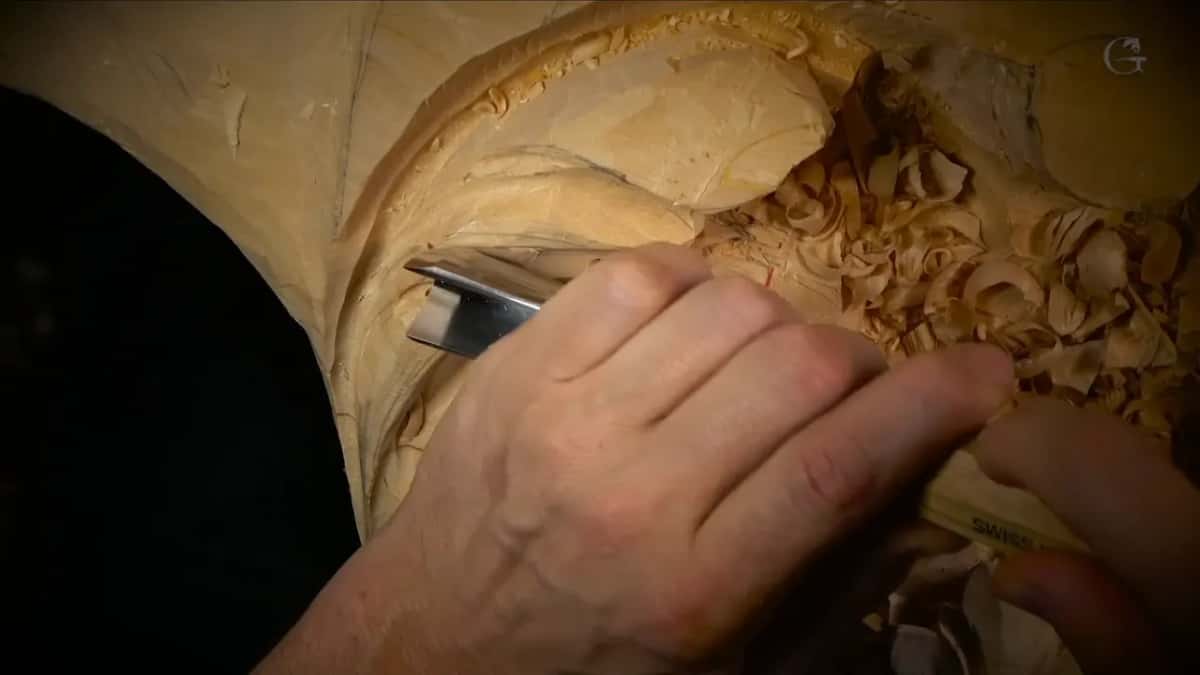
Another spot on the opposite side was kind of deep too, so the two counterbalance each other, and I was not afraid. Flowers get mounted in there later, which is why going deep did not scare me, and part of that area only needs mounting space. I needed to be mindful of how much material was left on another side, though. That looked okay.
What else did I refuse to lose that day?
Several spots, and I named each one on camera. Early in the workshop I kept from going too deep near the lower part, because that part I didn't want to lose. Near an upper ridge I held back too, since going too deep there would be a mistake. The piece poking out from underneath got the same care. I cannot lose it, I said, and I don't want to lose it.
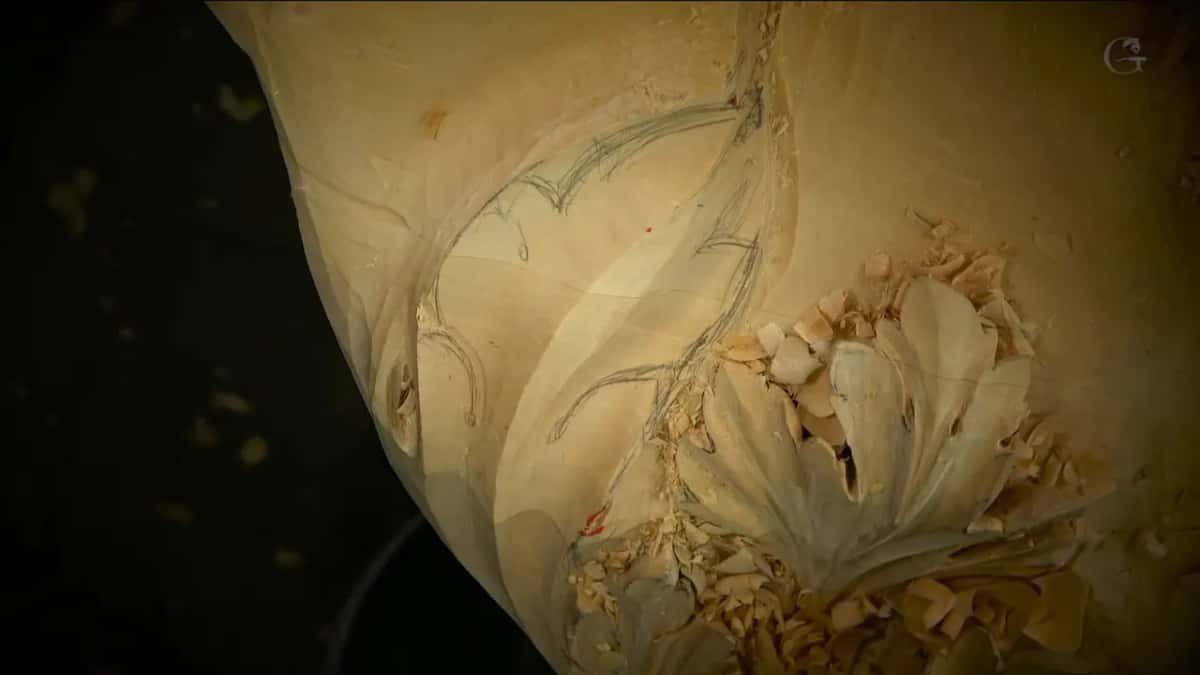
Then, down in the big hollow, came a high spot, one of the tougher places of the day. Breaking it was the last thing I wanted. Still solid, though, and I had not undercut anything there yet.
Later, carving an eye of the acanthus, I said why. That area stayed without an undercut at first, because I really needed the depth. I can always undercut, I said, but doing it early would be a big mistake. Because I had extra material, I could make something beautiful.

In the deep hollow I even broke the rule and went against the grain, because I really needed that movement. That pass was also along the grain, so I could not overdo it. And a raised part was in the way.
Toward the end I went deeper, but not too deep, because there is always a way to overdo it. All that inside shows from below, and I couldn't mess up the inner movement. At one pipe I stopped short, because I still needed some of the thickness.
Early on the leaf looked a little choppy, and I said not to be afraid, because it was going to look good. Not everything came through clean, though. I hit a raised-up concave once, and that was no bueno. I fixed it with the big tool again.

Thin wood can let go in other ways too. Stabilizing a fragile edge with thinned glue is in the Roman acanthus course, and why a shape breaks on its second side is in the grape onlay lesson.
How do you pry with a gouge and keep the edge whole?
Give the tool something to crank against that is not the edge you care about, another piece of wood if you have one, something like a cookie, or your own finger. I was deep in the hollow with a 7 mm spoon veiner (about 1/4 in) and a leverage point on a big chunk of wood, so I was pretty much safe to crank. Even so, protecting the edge is always better, I said, so it does not get damaged.
A cookie would not work in my spot that day. It was still a good idea.
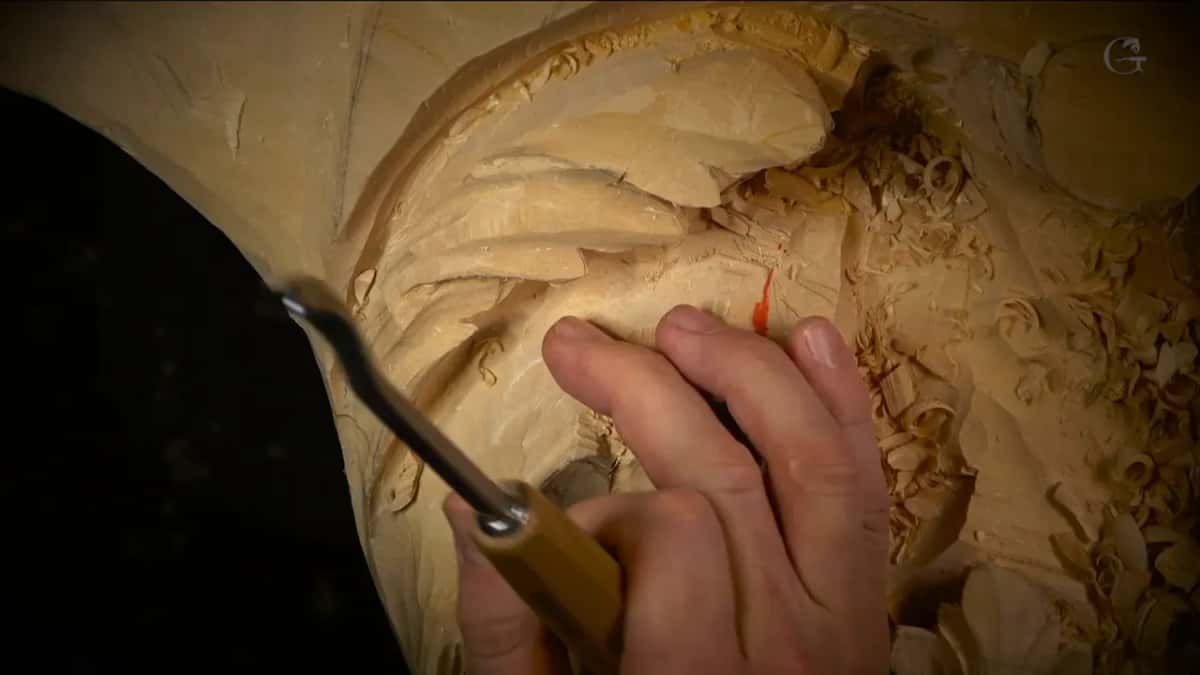
Once a detail is finished it matters even more. I didn't want to push too hard on that edge even though it was not developed yet, and when you already have the detail done, you really don't want to mess it up.
The piece I was prying out wasn't hard to remove. Just a matter of cleaning, really.
Later I readjusted the lights so I could see much better. In one tricky area I hoped my head would stay out of the camera.
Where can you watch the whole curl come out?
All twelve parts of workshop 66 are in the Part 6 course, including the 2 mm veiner working beside the spot I kept. Some of the work I did off camera, and I told you so.
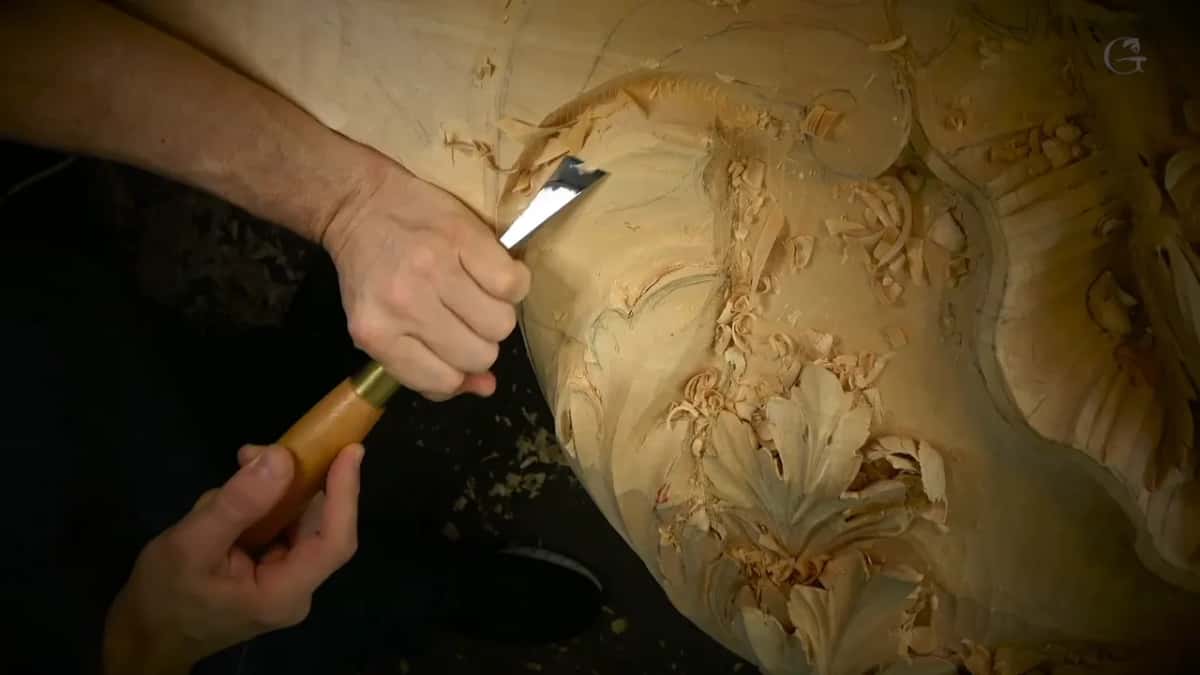
Do you want to see where my finger goes when I judge that wood? Would it help to hear me decide, out loud, what stays? Then open the map of every lesson and find this room, or go back to workshop 65 and on to workshop 67.

This room began back in Part 1, one panel carved workshop by workshop. By the end of this one there was lots of mess on the side, which was okay, since that mess cleans up with no problem. Along the way I dropped a tool, and later my mallet.
How it's done
- Open a dark hole from two sides. Rotate a small #9 into the wood, with a mallet if it helps, first one side and then the opposite one, until the openings join.
- Clear the underside. A narrow #5, then a #6, working gently, because the grain runs the wrong way there.
- Judge the wood with a finger. Put a fingertip beneath the curl and judge the wood above it. I stopped at about 6 mm (1/4 in), maybe 5 (3/16 in), and went no thinner.
- Leave one spot joined. Pick a place where the curl still meets the block and leave it be. That keeps it solid.
- Hide it from the eye. Shape around the spot with an almost flat gouge and a mallet, then a 2 mm (1/16 in) veiner, so nobody looking up finds it.
- Save some undercutting for later. The underside still shows from below, so a little more undercutting comes afterward.
Frequently asked questions
Can you carve a thin curl against the grain?
I did on this one, because there was absolutely no access from the opposite side. My tools had to be really sharp for it. Working that way was not convenient, though that did not make it impossible, and I said the curl would still look nice.
Which gouge opens the dark hole under the curl?
A small #9, 3 mm or 1/8 of an inch, turned in by rotation, and a mallet sometimes helps as well. Mine was an Ashley Iles, though any brand works if it is a true #9, half a circle. A #8 will also do the job, but I like the #9 better.
How do you know what a viewer will never see?
I look at it from their point of view. From one position nobody could catch the longer line I had in mind, and a corbel on the side will block the other view, so I said there was no reason. I carved the longer line and the deeper shadow anyway.
What to carve next