
Alexander Grabovetskiy, woodcarver, School of Woodcarving · Published 2020
What is a #3 gouge used for?
Quick answer: A #3 gouge is a shallow carving gouge, and in one Venetian workshop mine did the jobs the deep tools left behind. It softened a sharp ridge next to a pipe, cleaned tight details at 3 mm, evened out a hollow, finished an undercut on an angle, and took a slope at one inch.
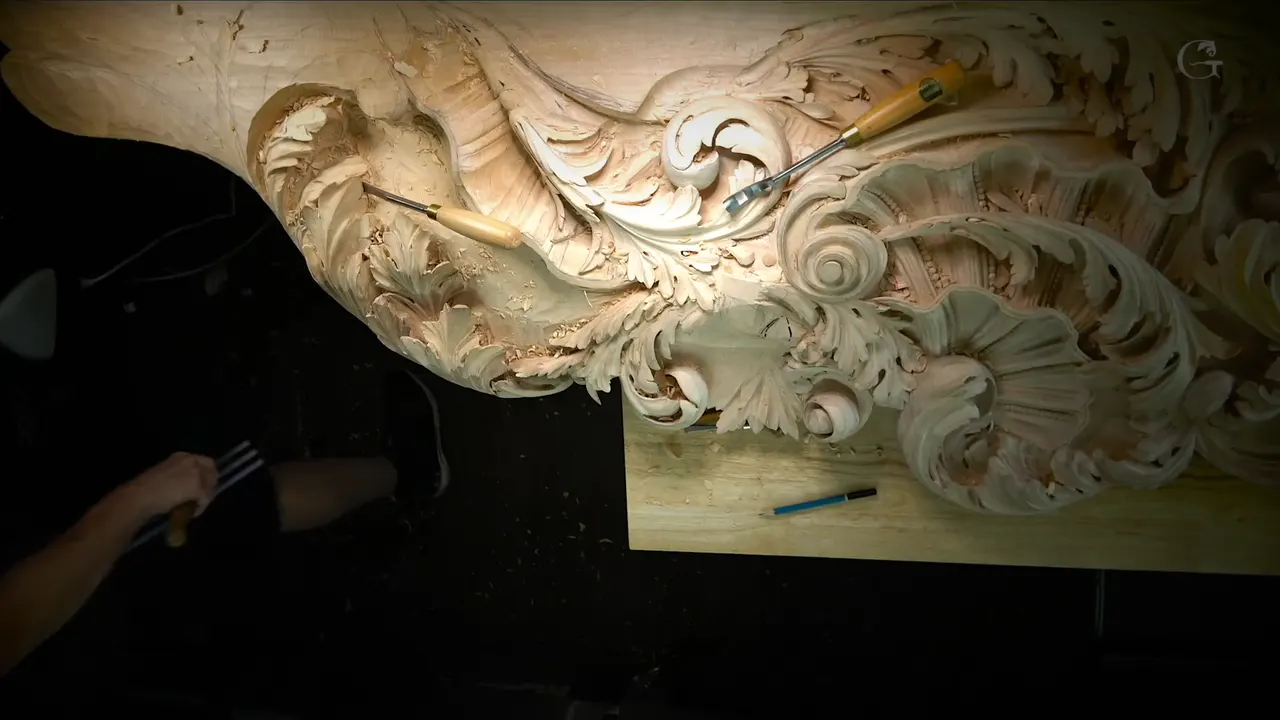
A #3 gouge is a shallow gouge, only a little curved across its edge, and in workshop 67 of the Venice Room it took off what my deeper tools left standing. On a relief panel that goes up on a ceiling, I picked up a #3 six times. It blended a sharp ridge beside a pipe and cleaned a small detail. It smoothed a hollow a bigger tool had made too wide, went in almost flat to finish an undercut, knocked high spots off a surface, and took a slope where a #6 did not work.
Have you ever dug a nice hollow and then found a hard ridge running along its edge? Would it help to see what I pick up next, and what I tried first when it did not fit? Then follow the #3 through this workshop with me, one job after another, in the order they came.
Most of the steel I used that day was #11s, from half a millimeter (about 1/50 in) all the way to 30 mm (about 1 3/16 in). I even told the viewers that if they wanted the list of tools, they should just get all of the number 11s. The #3 came in after them.
Six jobs a #3 gouge did on this ceiling panel
Blended a sharp ridge along a pipe, right after a 10 mm (3/8 in) hollow.
Cleaned small details, twice, at 3 mm (1/8 in).
Smoothed a hollow that a 15 mm (0.6 in) tool had left wide.
Finished a deep undercut on an angle.
Knocked sharp ridges off, so I had a clean surface before the next movements went in.
Took a gradual rise at one inch (25 mm) after a wider #6 would not.
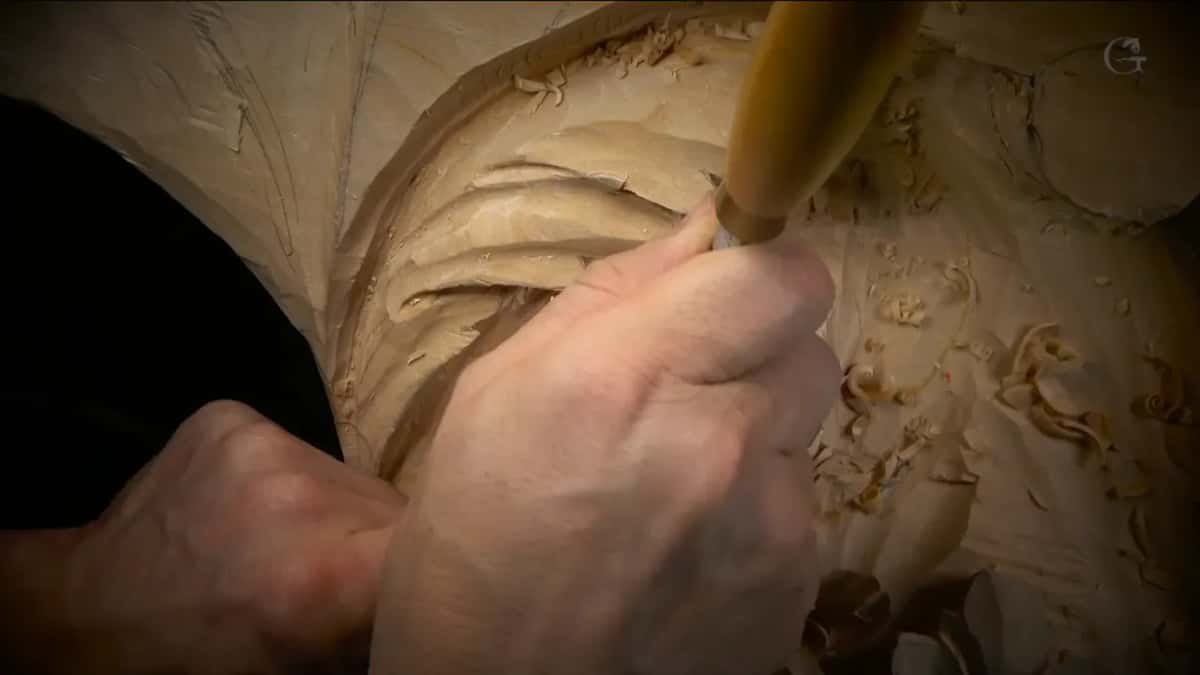
Can a #3 spoon soften a ridge beside a pipe?
My #3 spoon did, in the second part of workshop 67. I had just dug a hollow along a pipe with a 10 mm tool, after one I tried turned out a little too small. That hollow had to run all the way to one point. It did not have to be too deep there, I said, but I still wanted to give it some movement and some interest.
What it left was a sharp ridge. I told the viewers I didn't really need to see that ridge. Absolutely no reason for it.
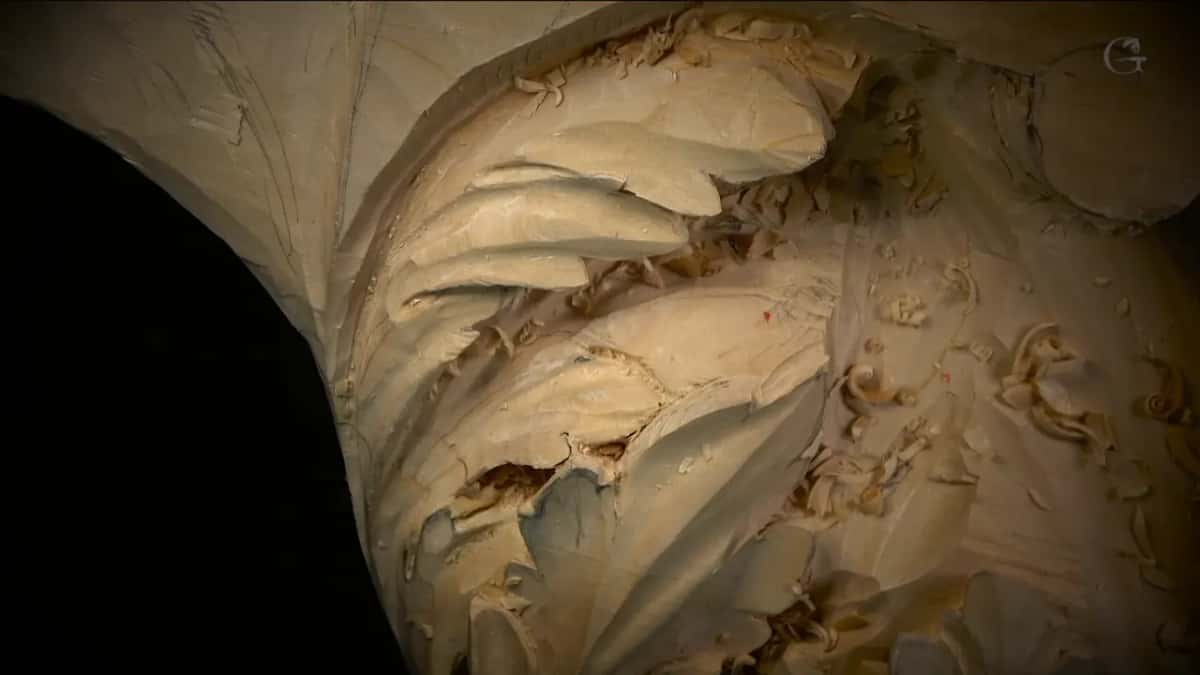
So I took just a spoon, number three, to blend it a little. I softened that side of the pipe with the same tool too. One little guy in there still bothered me. Later I said that, in my opinion, it's not bad.
Next came a bigger tool, 15 mm, a little less than 5/8 of an inch, to soften the overall movement. Can you see all the shadow play, I asked the camera. They are obvious, I said, and if you don't see them, I guess that's not my problem, because I can see them. I also wished out loud that I had never put marks in there, black marker too, since that spot is really not convenient to clean. Before that part ended I refined the edge and touched up underneath, a tricky area again because of the grain, and said I could clean the inside off camera with no problem.
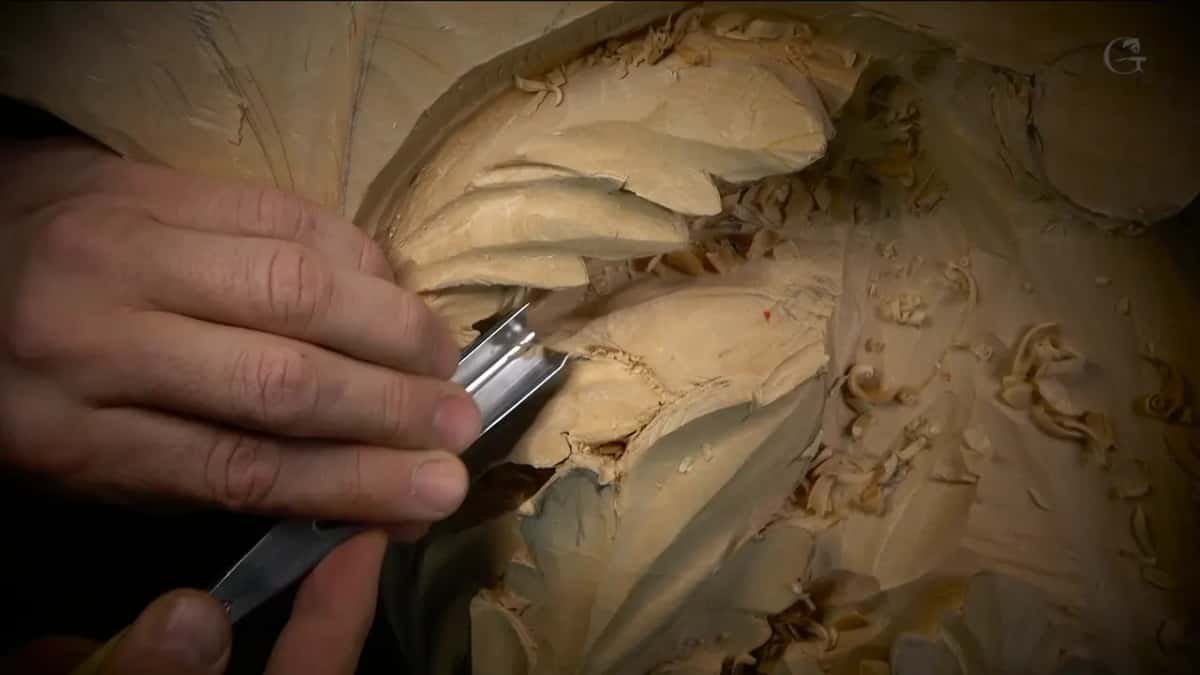
How small does a #3 get here?
Three millimeters, an eighth of an inch, and that size came out twice. The third part had me cleaning a movement where I had made some notches and never took care of its true form. A micro tool went in first, from the Peter Benson collection by Ashley Iles, and I made a point of saying the name correctly.
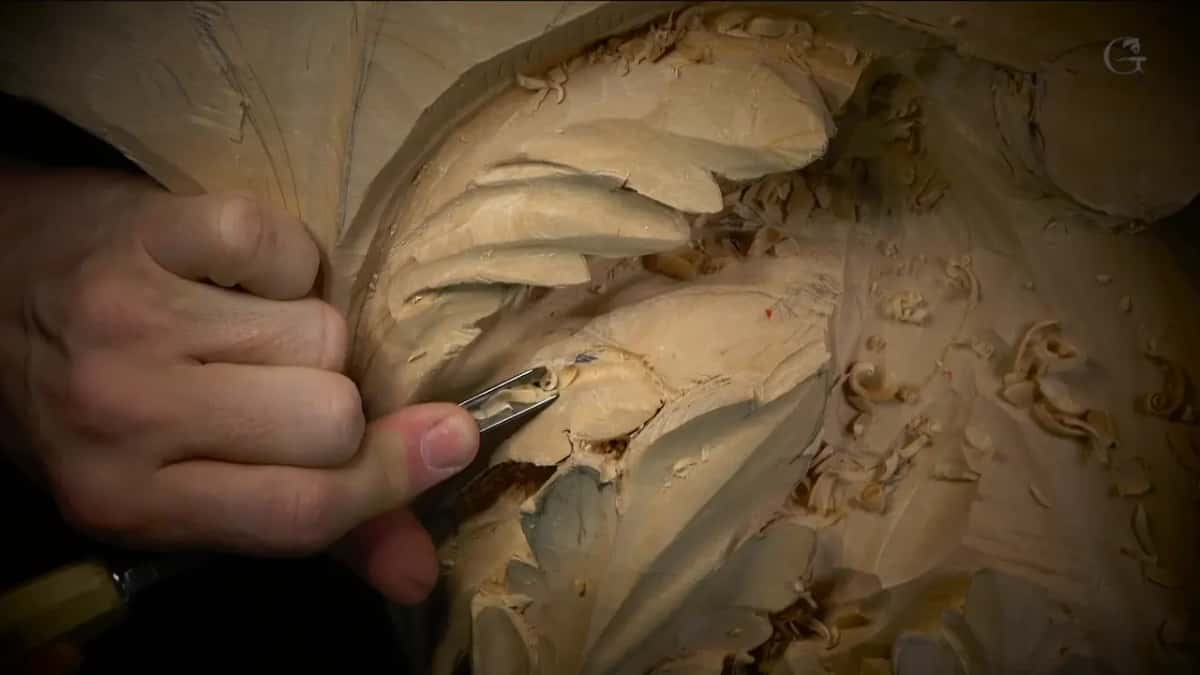
Maybe a smaller tool, I said, about one-eighth of an inch, three millimeters. Number three. I needed to clean everything in that spot, so I went in, and then in even deeper. Wonderful. After it a #5 went in, and from the right position the spot looked actually not that bad at all. Cleaning sometimes takes the longest, I told them later in that part. It does take the longest, and most of it can happen off camera, because nobody has to watch hours of it.

The fourth part opened with me worried about my beautiful finish. Did I damage it? Looks like I did, but that's okay. I said I would cheat a little and use half a millimeter, grabbed one millimeter by mistake, and then went back to the half to clean all that stuff out.
Later in the fourth part the same size came back. A #7 of 14 mm (about 9/16 in) fit one area absolutely perfectly, and I angled it slightly to make an extra separation. A smaller number three, three millimeters again, made that detail a little nicer after it. That is somewhat what I want to see, I said, and I said I would spend more time later to clean inside everything.
What comes after a hollow gets too wide?
That job went to a 6 mm #3, about a quarter inch, in the sixth part. I was setting a concave that started at one point and ended somewhere else, and it had to give me a really nice motion. I took a bigger tool for that, 12 mm, half an inch. Not easy, and I said so, because everything was in my way, and I could not come at it from one side since the grain runs that direction.
Every project has some areas like that, I told the people watching, really inconvenient ones. And I actually like those challenges. Finding the right angle kind of makes that work really interesting. I used a big tool there because it gives me a lot nicer, cleaner, wider pass. After that I went bigger still, 5/8 of an inch, 15 mm, to make it even wider. Part of that hollow I carved toward myself, which I told everybody watching not to do, since it is not the safest way.

Then that tool was a little too big now. I needed to switch to a smaller one, so I went with a 6 mm number three to blend a little nicer. Yes, and that is good.
Nobody should pay attention to the facets it left, I said, since I would clean them a little later. Once I set the overall movement, I can hit it again with the same tools and just kind of ride and shave everything.
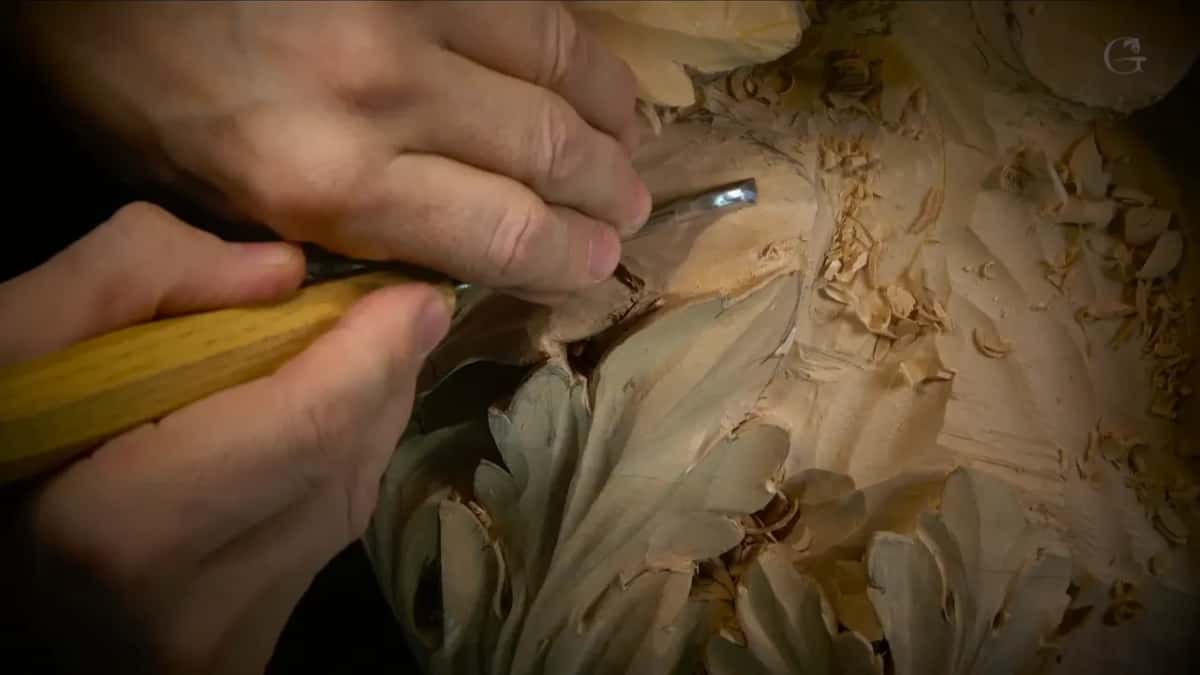
Is a shallow sweep gouge any good for undercutting?
Mine was, twice, in the eighth part. The first time I was starting my movement in undercutting with the number three, and I showed the camera my little finger resting against my palm as a reference, only if it's safe.

The second time came after plug cuts with a quarter inch #9, about 6 mm. Here's my plug, I said. Beautiful, right? I asked the camera how many times I had said beautiful. I didn't know. But I think it's a good word.
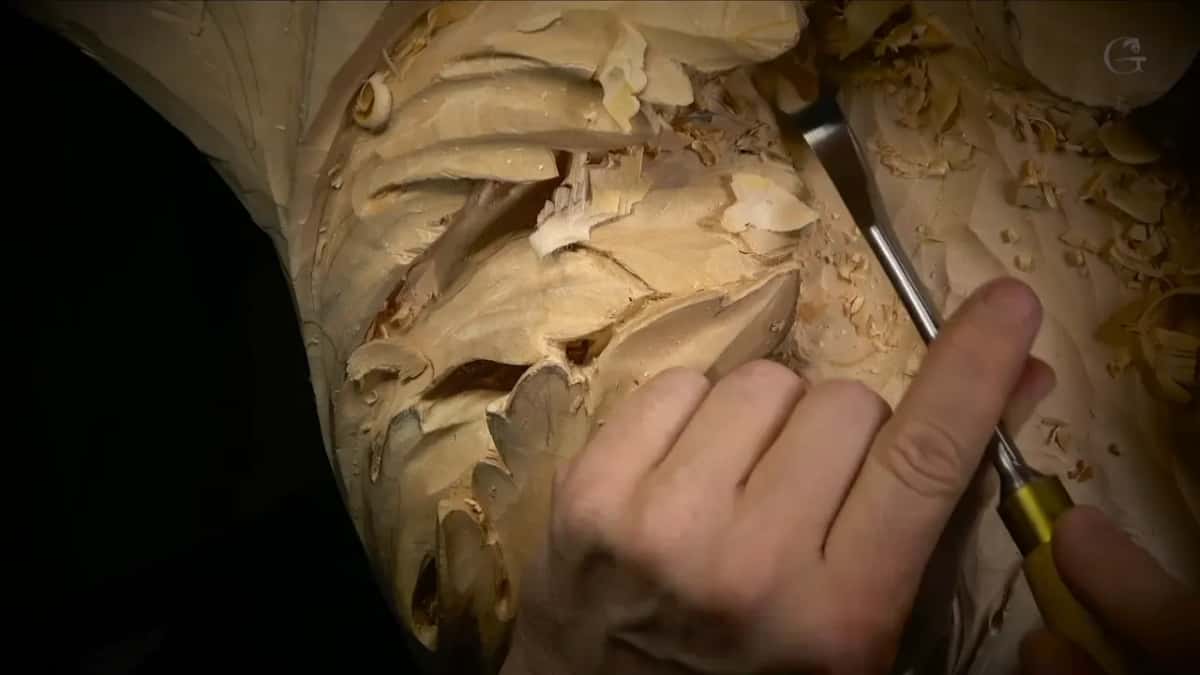
I did not want those plugs too deep. One spot was already raising my tool, which meant the angle was really deep. It's not the end of the world, I said, but I really don't need to. So all I did was take the number three again, go in on an angle, and go in. The tool was almost lying down already. I know on the camera you don't see it, but it's already angled, a really deep undercut, and all that was left for me was pretty much cleanup.
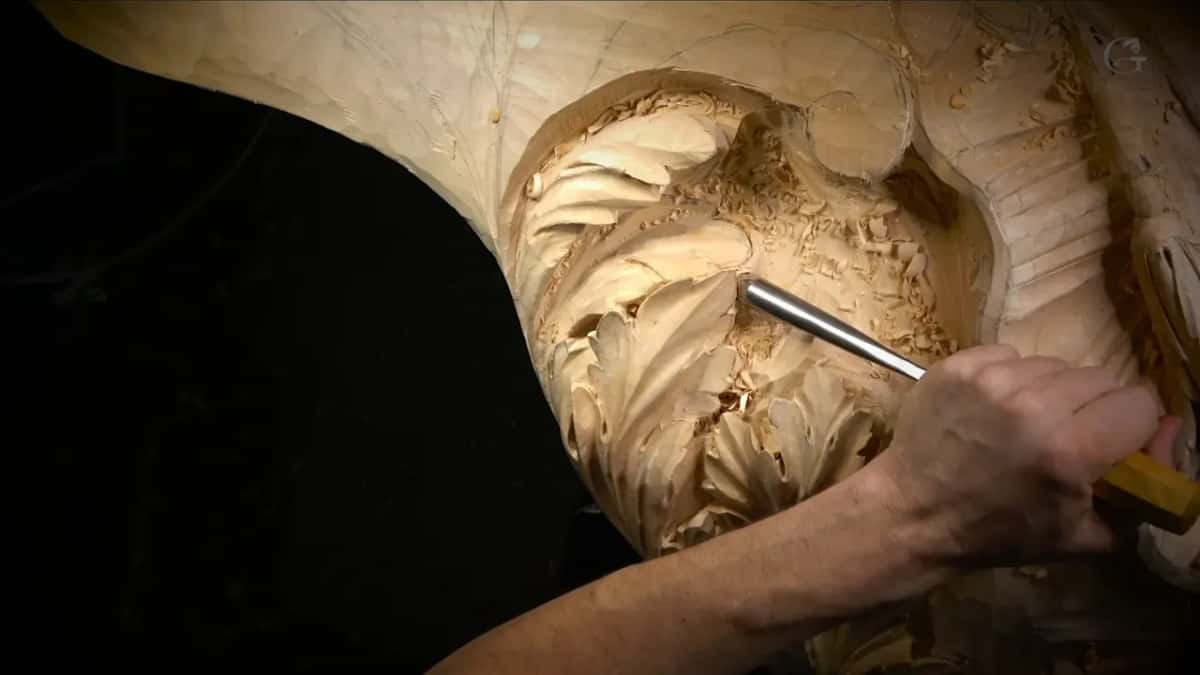
Those undercuts make a whole world of difference. Right after, a number six of about 12 mm, half an inch, went in to clean, and I noticed it was getting a little dull. I honed it for a moment and it was much better. How to get an edge like that is its own subject, and the sharpening course covers it.
Why knock off high spots before the next movement?
I like to work on a clean surface, and I said so in the eleventh part. The middle line had a really pronounced stem by then, and the next step would be the overall movements. First the surface had to get cleaned up, since right then it didn't make an appealing look. Let me use number three, I said, and get rid of some sharp ridges.

My hand was covering the view while I worked. What can I do, I asked the viewers, since that was the only way. Then I stopped myself. Well, actually, not true, I said, I could use something different. The something different turned out to be the same number three, going the other direction, and it did the trick. It actually does, I said.
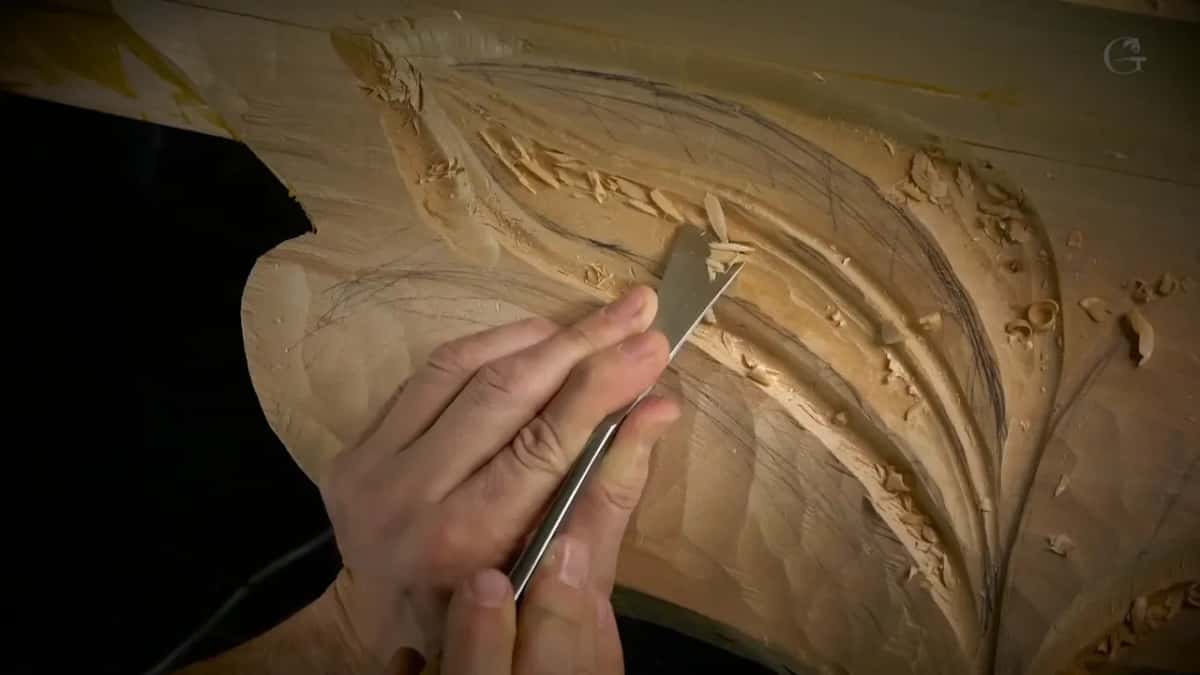
I kept it away from my middle line. Knocking off those high spots doesn't create a big difference, as I told them, but I like to work on a clean surface. Earlier in the workshop I said maybe a skew could clean up and create my canvas, and I called it always good practice, because that way you can see exactly what needs to be done. After the #3 in the eleventh part, a 7 mm #11, just over 1/4 in, went right on top of those fibers, really without pressing.
Where did a one inch #3 beat a #6?
On a rise that had to go gradually, in the last part of workshop 67. I thought I was ready to develop that side, and then I saw I was not. A number six, or maybe a five, I said, and it was a six, took off some ridges with a nice long pass. Next I tried a bigger six, 15 or 16 mm, about 5/8 in, to make it gradual. That's not going to work, I said.
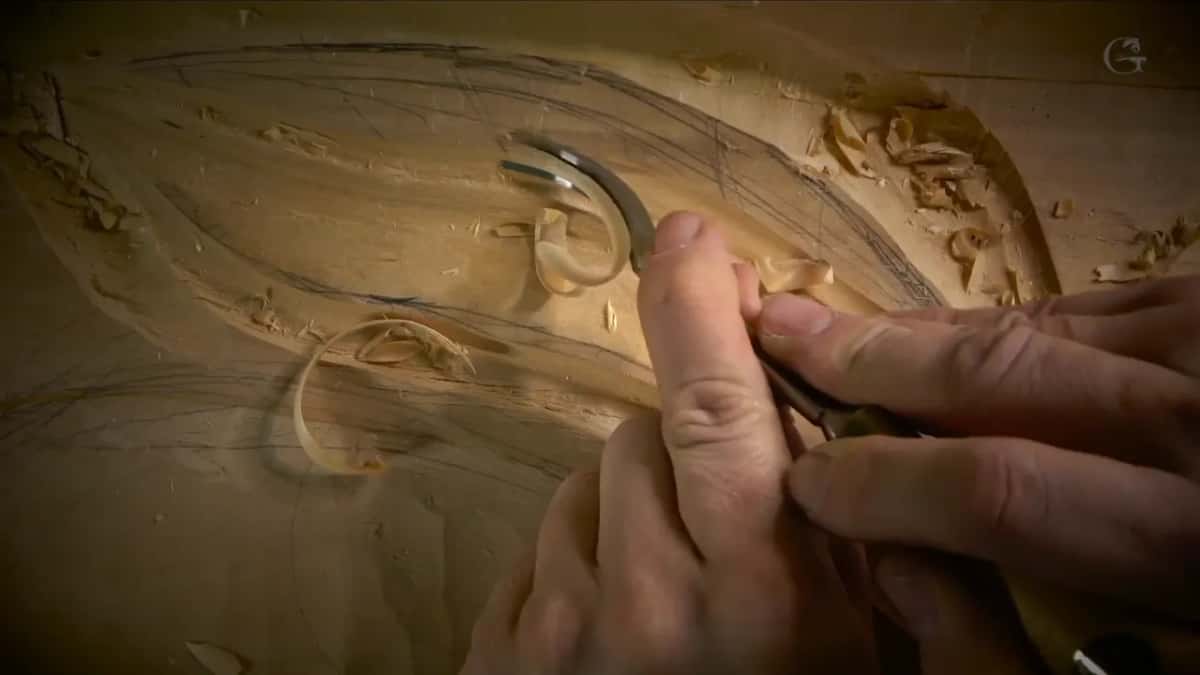
I didn't stop to explain what went wrong with it. I just asked myself which other tool, and said maybe number three, let's see if it works. Number three and one inch. That works really good, actually. The rise was moving up gradually, exactly what I was after, and after it a 7 mm #11 went right on top of the fibers, not pressing too much. A ridge was still in my way, so a skew took it off against the grain. I said I didn't worry about it, since most of it is waste anyway.

Every #3 from workshop 67 in one table
Here they are in the order I picked them up.
| Which #3 I took | What I had done just before it | What it left |
|---|---|---|
| Spoon number three | Dug a hollow along one pipe side | Softer ridge beside pipe |
| An eighth inch | Cleaned notches with a Peter Benson tool | A deeper, cleaner spot |
| Same small size | Made one extra separation using a #7 | Nicer detail, somewhat right |
| Six millimeters, blending | Went wider with a 15 mm tool | Facets left for later |
| Size not said | Cleaned up with a #6 spoon gouge | Undercut started, finger resting |
| Same number, angled | Made plug cuts with a small #9 | Really deep undercut already |
| Went another direction | Found my own hand blocking the view | Clean surface to work |
| One inch wide | Tried a wider #6 that would not | Slope gradually moving up |
How does the #3 fit with the other numbers?
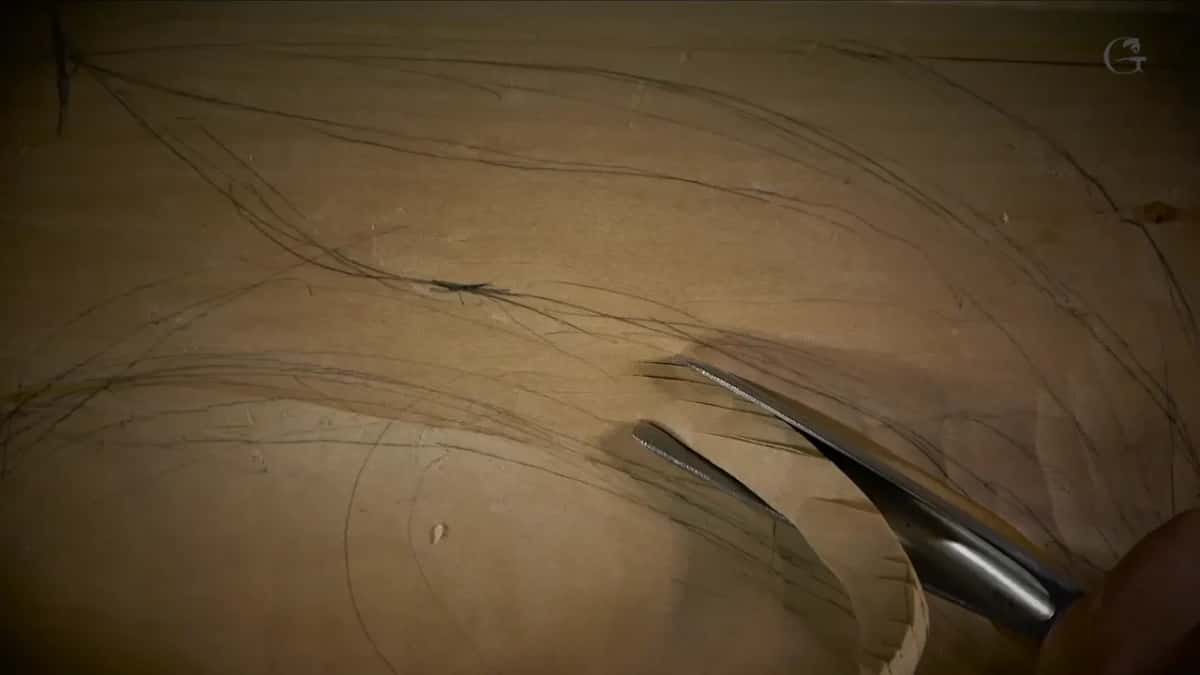
Every number on a carving gouge names its sweep, how far the edge curves, and the page on gouge numbers and the one on sweep both go through it. On this panel the #3 did not work alone. The #11s outlined and dug, including an 18 mm one with a bigger mallet when a new section began on the other side. A half inch #9 made a plug cut under a leaf, and I said that tool has a tendency to go deeper, which I did not need.
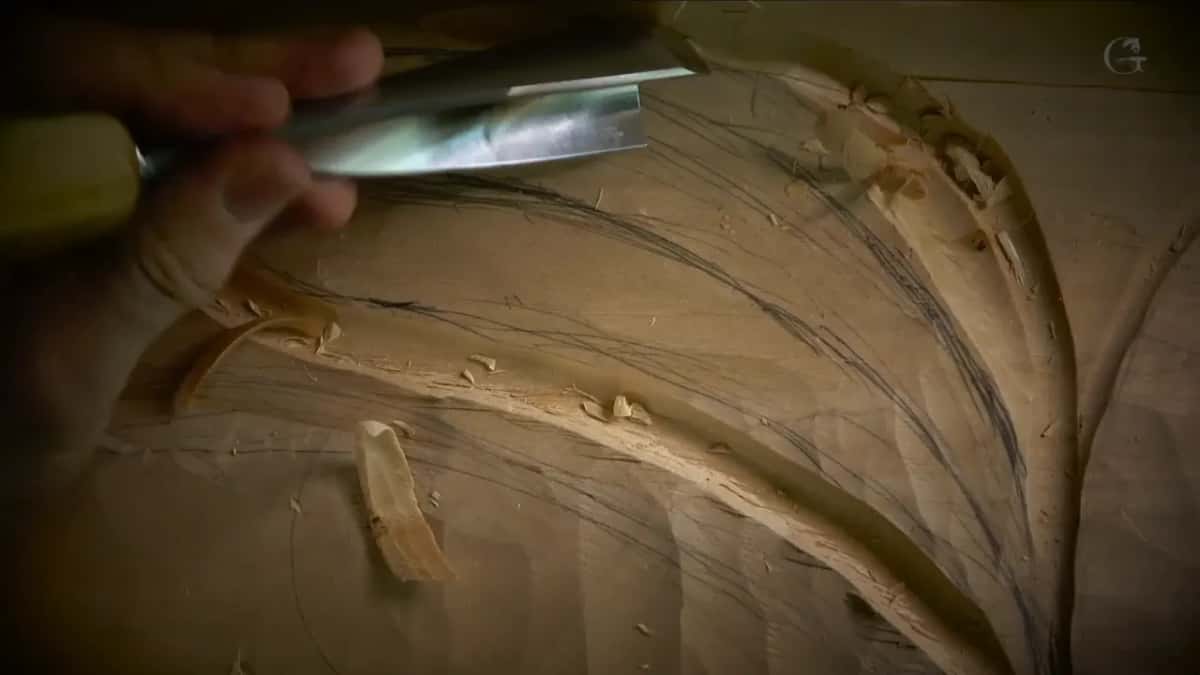
I took a #5 more than once, and the first time I had to be really careful, because I did not want to break it. After the #9, a #6 spoon of about 12 mm cleaned up. And the #3 kept coming back between them, each time something else had left a ridge, a facet or a slope that needed to go gradually.
The #3 can work upside down too, and workshop 40 shows it. The acanthus leaves on this Venetian panel took months of wood carving work, and the jobs above are what one day of it asked of a shallow tool.

Want to watch the #3 at work on this panel?
Would you like to see that ridge go soft beside the pipe while I carve it? Would it help to watch the one inch #3 take the slope after the #6 failed there? Then start here, and find this room in the map of every lesson.
Workshop 66 comes right before this one and workshop 68 right after, and workshop 62 opens this part of the room. More than once I apologized to the viewers for covering the work with my hands, and once I said I hoped my head was out of the way of the camera.
How it's done
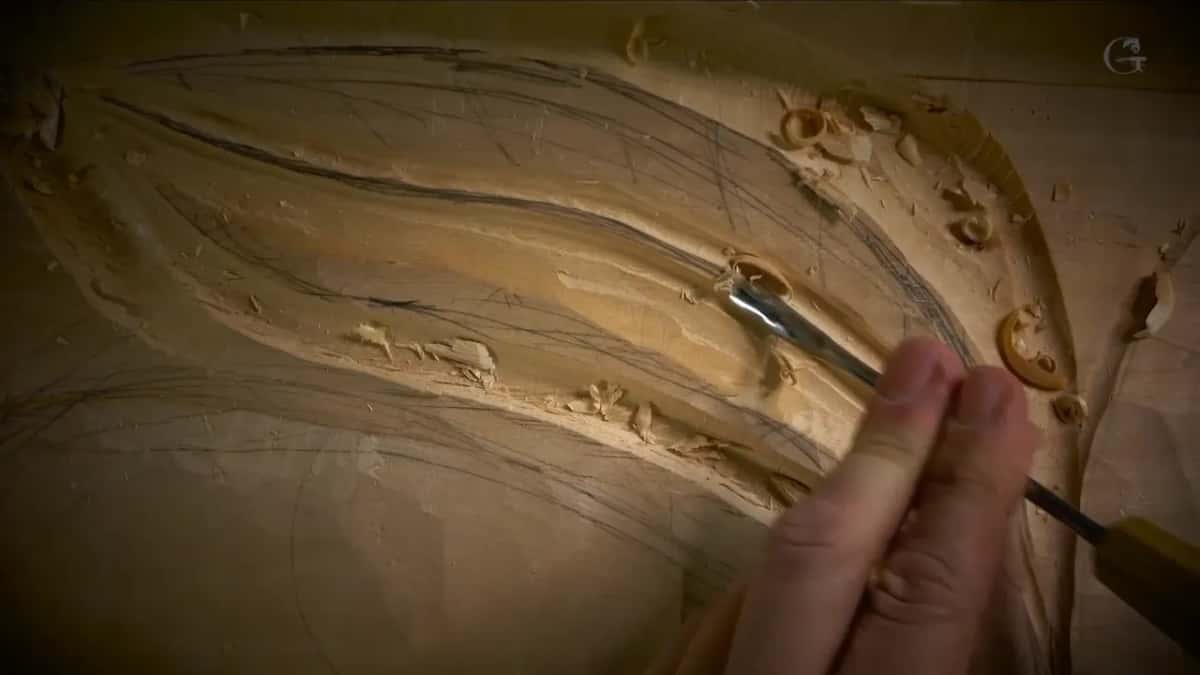
- Blend the ridge a hollow leaves. When a hollow by a pipe leaves a sharp ridge you don't need, blend it with a #3 spoon, then soften that side of the pipe too.
- Go small in a small detail. Take a 3 mm #3, 1/8 in, into the spot, and go in deeper if it needs it.
- Switch down when the tool gets too big. After a 15 mm (0.6 in) tool widens a hollow, change to a 6 mm (1/4 in) #3 and blend.
- Angle it into the undercut. Where a neighbor keeps you from going deeper, lay the #3 over on an angle and go in.
- Clear the high spots first. Knock the sharp ridges off with the #3 first, and if your hand is in the way, go the other direction.
- Try one inch on a gradual rise. If a #6 won't make the rise gradual, try a #3 of one inch (25 mm).
Frequently asked questions
Which sizes of #3 came out in workshop 67?
Three widths got named on camera: 3 mm or an eighth of an inch, 6 mm, and one inch. A spoon #3 did the first ridge, and I never gave its size. A few more times I only said number three, then kept going.
Can a #3 go deep?
Deep enough, in the right spot. The 3 mm one went in, then in even deeper, to clean a small area. During the eighth part a #3 on an angle finished an undercut I called really deep, though the hard digging went to #11s and a #9.
What follows a #3 on your panel?
Twice in workshop 67 a #11 of 7 mm, a hair over a quarter inch, came next, gliding over the fibers without much pressure. Once, after the first ridge, a bigger 15 mm tool softened the whole movement instead, just under 5/8 in across, and then I asked whether the camera could see the shadow play.
What to carve next