
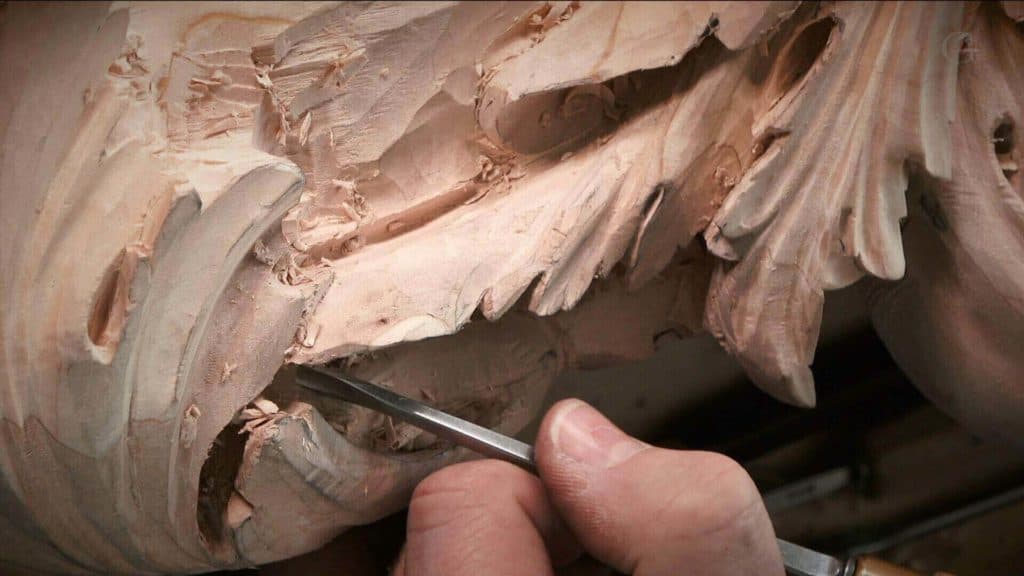
Alexander Grabovetskiy, woodcarver, School of Woodcarving · Published 2020
What is a #9 gouge used for?
Quick answer: A #9 gouge is a deep, half round gouge. On one Venetian ceiling panel I used mine to open holes for shadow, clean up a damaged side, and lift a concave that framed a pipe. A #9 bent backward rounded another pipe, and in one narrow place only an #11 would go in.
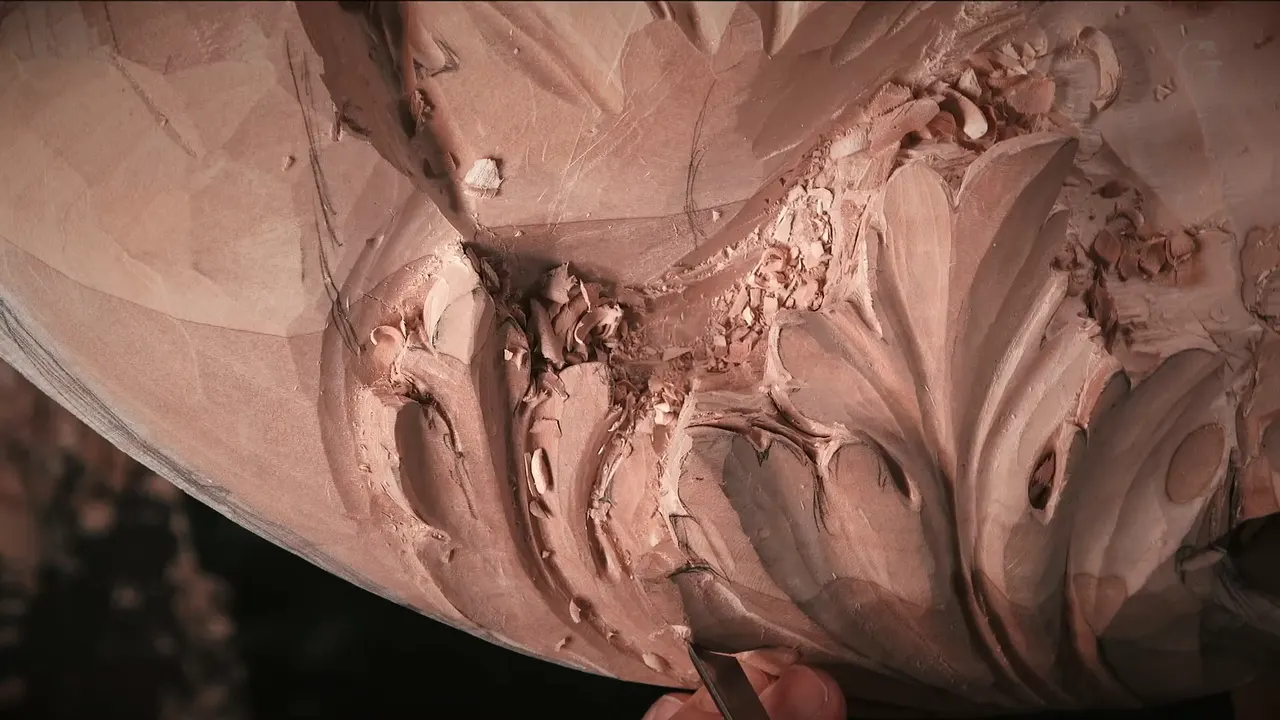
A #9 gouge is a half round gouge, and on a carved relief panel it does a lot more than dig holes. In workshop 64 of the Venice Room, mine cleaned up a damaged side, raised a concave that framed a pipe with shadow, and, bent backward, gave another pipe a rounder shape. Early on it also went back over wood a first pass had smooshed. Once, it would not fit at all. In one tight spot next to a pipe, an #11 had to do that job.
Would it help to see a #9 at work on a real architectural panel? Would you like to hear why I picked it up each time, and why I put it down? Then follow it through workshop 64 with me, one job at a time. I carved it live, streaming during the lockdown, and I told whoever was watching that the stream kept putting me behind. I still had production work to get done, and other projects were waiting on me.
What my #9 gouge did in workshop 64
Cleaned a side I had damaged, with a super sharp edge.
Lifted a concave upward beside a pipe, so a shadow framed it.
Rounded a pipe with a bent-back blade.
Opened holes for shadow in three sizes, and the quarter inch, 6 mm, is my favorite.
Dug beneath a leaf's edge from multiple positions.
Could not get into one cramped place by a pipe, where an #11 went in instead.
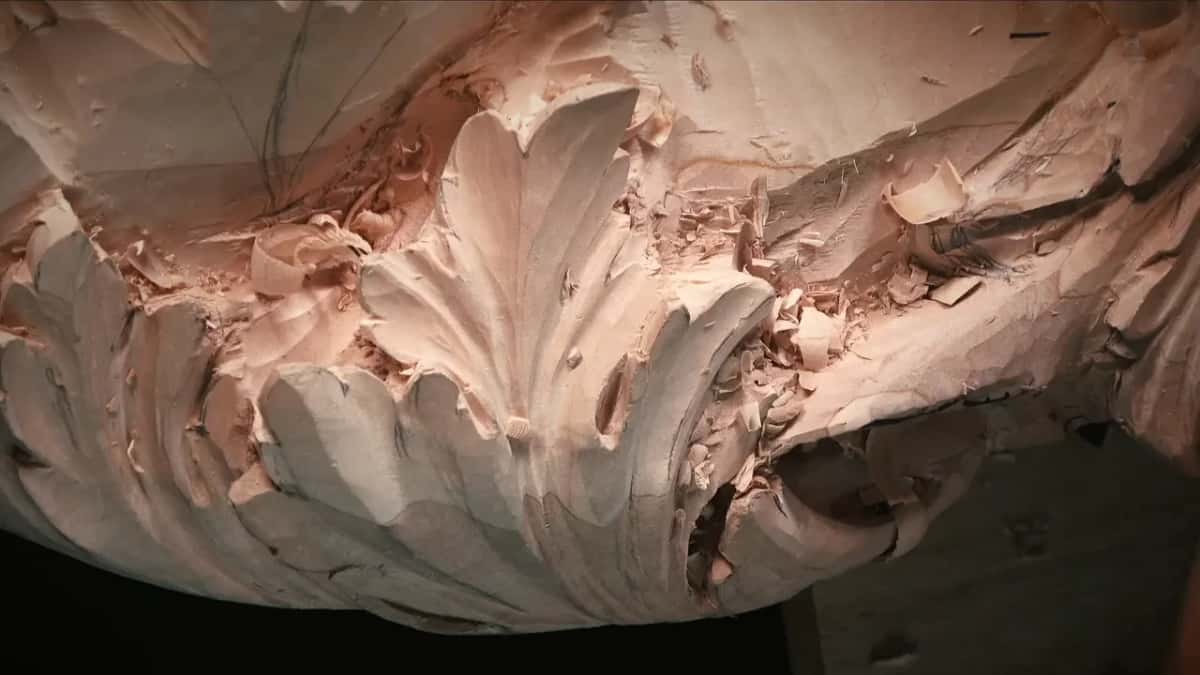
Back in workshop 41 of this room I said the #9 is actually half a round, and in workshop 42 I called it a true half round in that case.
Can a sharp #9 clean up a side you damaged?
It did on this panel. The workshop opened with me saying I could at least see the light at the end of a tunnel, and soon after I was taking care of a surface with the back bend, a little better each pass. That was when I saw I had done it in the wrong direction. No bueno. When you do it the wrong direction, sometimes that stuff happens, and I had to go deeper and come back, which damaged the side right next to it.
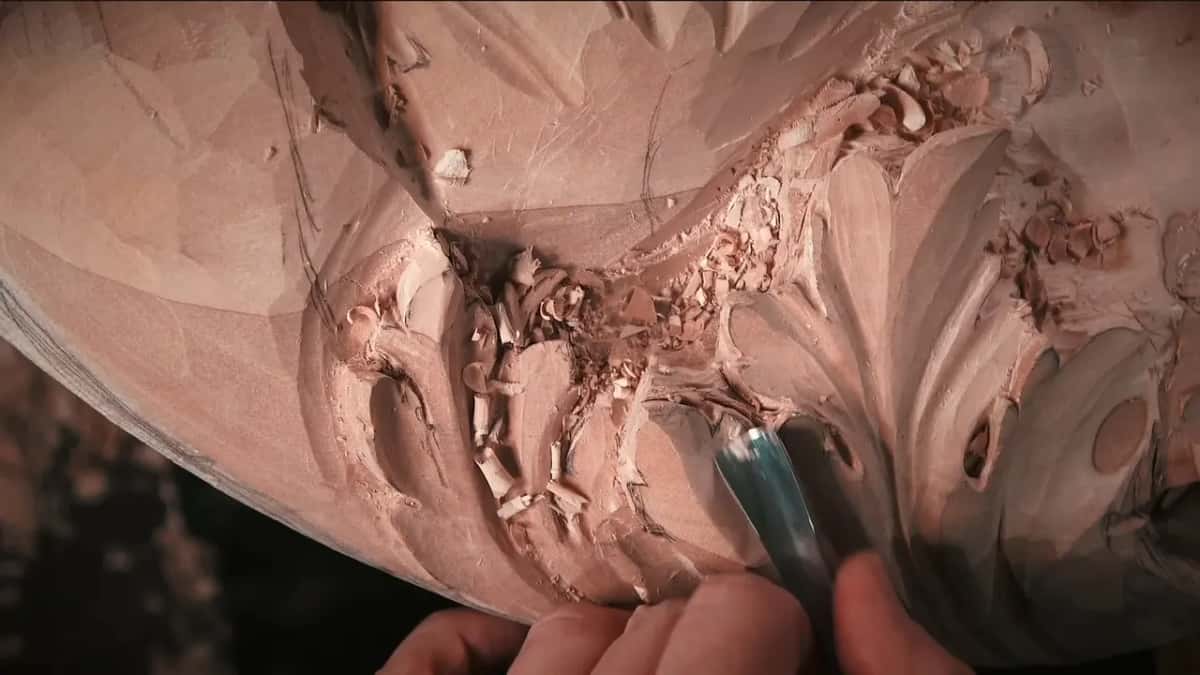
I told the viewers that was absolutely okay, because I could clean that side, and I said what I would clean it with, the number nine, just a super sharp number nine. A small section showed up while I worked on it. That was absolutely okay too, I said. I looked it over after that, called it good, said it made me happy, and saw a couple more spots to clean up.
Right after that I added one more division, since without it that section did not make much sense, chopped a little piece off, and gave it a relief cut.
How does a #9 frame a pipe?
It lifts a concave upward along the pipe's other side, and the shadow that pops in there becomes a frame. I was really after shadows that day. There was an eye, so logically there was supposed to be a pipe, and I wanted my pipes exaggerated. I had just given one side of a pipe its convex with a back bend, a number 5 sweep of 6 mm, a quarter inch. A little deeper would be better, I decided, because it gives a beautiful motion for the human eye. The other side was not done yet. It needed a concave going upward, and I said I had to be careful how I did it.
My favorite #9 was dull by then, and I said so, and that I would use a different one. I could have taken an #8. Well, I'll use nine, I said, and I did.

On camera I said I was kind of breaking a rule, because I could not come at it from that side. Everything was in my way. So the tool had to be super sharp.
A Dockyard micro tool took over from there, and it gave me a nice result. One extra line from a tool mark stayed behind, and I decided to just leave it.

The other side of that pipe ran against the grain, so it needed a different tool, and a super sharp one. I grabbed a number 2 of 6 mm, a quarter inch, and touched it up. I said I had stropped it, then caught myself. I had honed it on 6,000-grit sandpaper, because I did not want to round that edge and really needed it super sharp. It worked really well, and I rounded the pipe and took away the middle.
After that the pipe had to run right to one point, with the convex following the movement downhill. My goal there was a really smooth transition, going up the form really slowly, and a smaller Dockyard, 3 mm or an eighth of an inch, went in to clean it, because I did not need too many lines there.
What does a back bent #9 add?
A rounder, more pronounced half round on a pipe. I reached for one when I did not like how one point was casting its shadow, and hit the sides of the pipe with it a little. On one side the grain runs the wrong way for that, which is kind of dangerous. So I stopped. I didn't want to overdo it, and what was left looked really good to me.

Before that, in the same part, I had been rounding everything up with the back bend, little by little, not forcing anything, and moving the shape downhill so it looks like it flips. The #9 version came out only for the sides of that one pipe. Afterward I blended a ridge I did not need and carved a more exaggerated concave on one side, just to give extra pop, while I kept an eye on how much material I had left. I really love details like that one.
Where will a #9 not fit?
Right beside one pipe, in a spot so tight that I told the camera an #11 would go in, and neither an #8 nor a #9 would. So the #11 went carefully along the side of that pipe to redo the pass.

Other spots were close calls. Earlier, in a tight place, I was not sure the quarter inch #9, 6 mm, would fit, and I said so out loud before it went in. When a tool is too big, I said later, you can always switch to a smaller one and keep excavating with that. The same thing happened with #11s in the third part of this workshop. A 7 mm, just over 1/4 in, was too big to get underneath, and a 4 mm, a little bigger than an eighth of an inch, went in. Even that 4 mm was a little too big for the inside, and then I saw the inside already had deep shadow and was clean.
Position mattered once as well. A knife I reached for would not work in one spot because of the position, so a short bend took over, a number 5 of 8 mm, a little bigger than a quarter inch. The first eye of the acanthus in this workshop was dug with a 1.5 mm #11, a sixteenth of an inch, and I said all it took was pretty much one tool.
Which sizes of #9 came out on this panel?
Three that I named, and the quarter inch is my favorite. A new hole started with a #9 of about three-eighths of an inch, close to 10 mm. Then I switched to my favorite, about 6 mm. For the deepest part I went in with one of 1/8 in, like 3 mm, and late in the workshop the quarter inch, a #9 6 mm gouge, came back to go under a leaf.
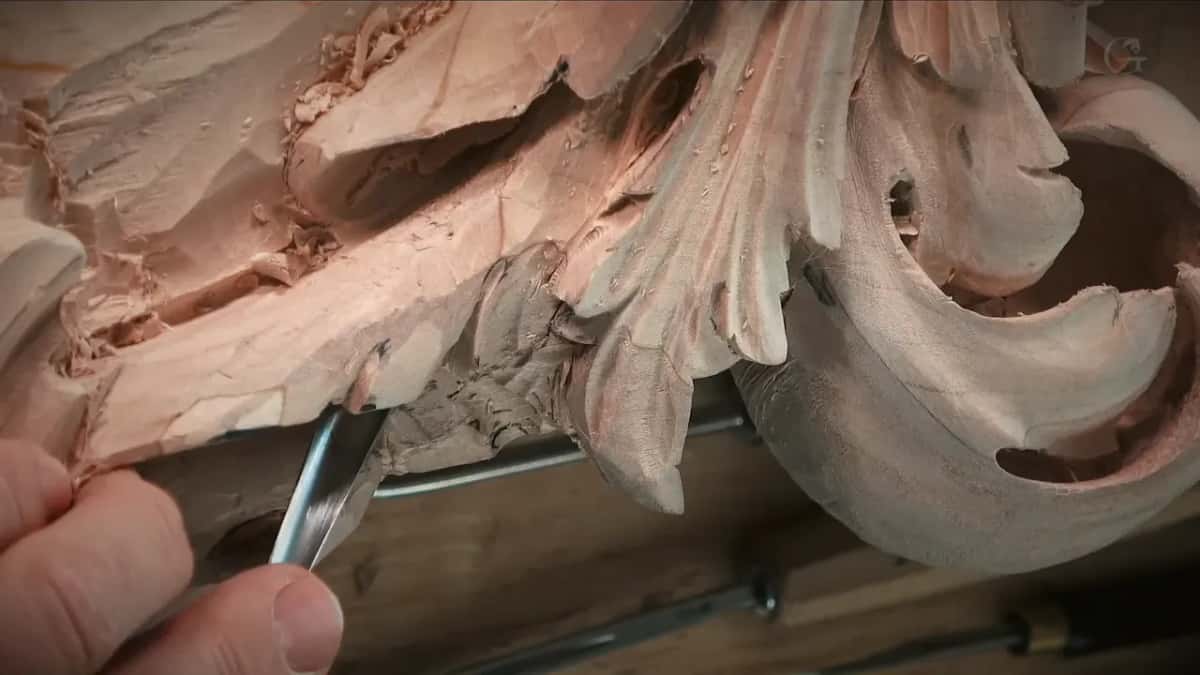
I go smaller as a hole gets deeper, because otherwise, as I said on camera, it will not look nice if people look inside and see the finish.

Those holes were plug cuts, and Part 5 of this room and the page on carving a hole through a panel cover the method, so here is only what workshop 64 added. Where the space was tight I skipped the full rotation and gave the #9 half a turn from one side, then half a turn from the other. On the next hole the angle had to match, because digging the other way would bring it too close to the undercut, and that would be no bueno. In the last part I came at the underside of a leaf from several angles so I would not destroy its edge. And two holes I meant to keep apart, so a ridge underneath would give strength, got connected a few minutes later anyway, no problem.

One more thing about gouge sizes came up in the same workshop. I held up a bent #11 stamped 11a/10 and said they call it 10 mm, but it is bigger, almost 12, closer to half an inch. But that's okay, I said. The most professional makers don't even mark a size, and it's always just approximate. Even Pfeil, sold by its size, is not accurate, as I had just shown.

These are the main #9 moments from workshop 64, in order.
| Which #9 | What the tool did on this panel | Where |
|---|---|---|
| Super sharp nine | Cleaned a side I damaged after a wrong-way pass | The damaged side |
| Quarter inch, 6 mm | Fit a tight spot, turning half a rotation per side | Under a wrap |
| 3/8 in, near 10 mm | Started a deep hole with its angle matched | A new area |
| 1/8 in, 3 mm | Went deeper so the inside would look nice | Same hole |
| A different nine | Lifted a concave upward to frame a pipe | Pipe side |
| Back bent nine | Rounded a pipe and stopped where the grain ran wrong | Sides of a pipe |
| Same quarter inch | Worked under a leaf from several angles | Near the end |
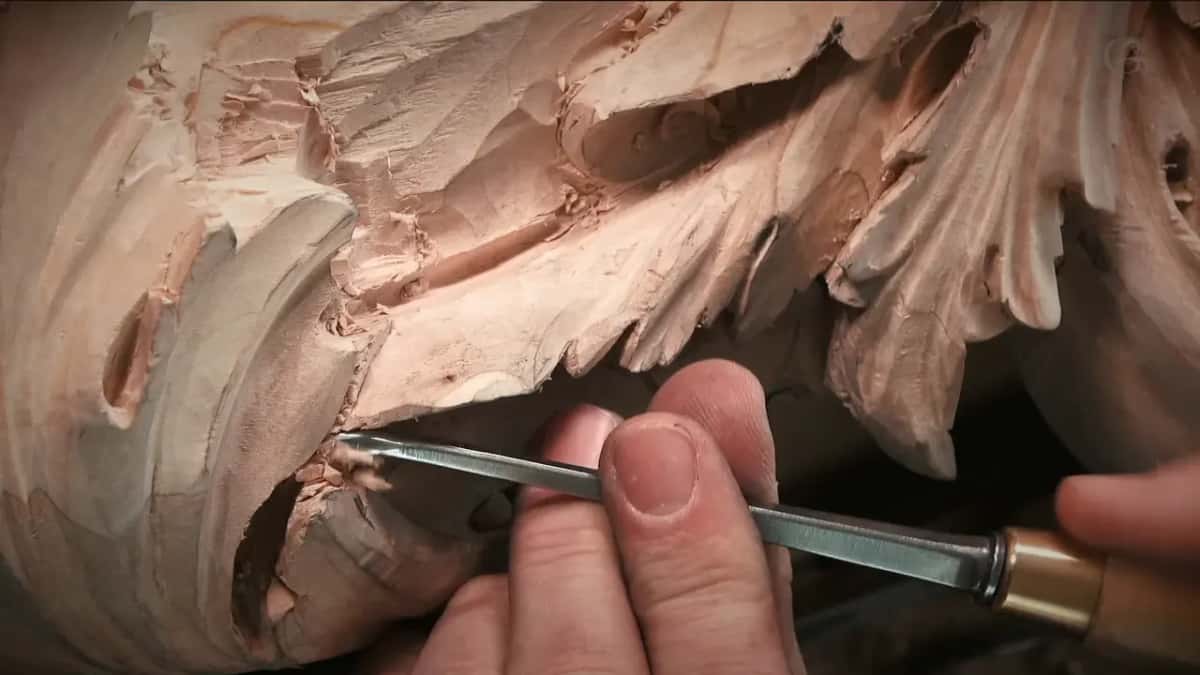
When did an #8 take the job instead?
Three times in workshop 64. The first one is marked 8, I believe, but it feels like a 7, and that brand, made in Russia, is my favorite right now. It touched up passes that were not smooth yet. The second #8 went into a concave that had to go right underneath a wrapping part. The third, a bigger #8 of about half an inch, around 12 mm, came out because I really needed to pop a pipe. For the holes, I said, an #8 works too, but I kind of like the nine. How far round each one goes is its own lesson, on a half round molding in Part 5, and the #7 has a page of its own too.
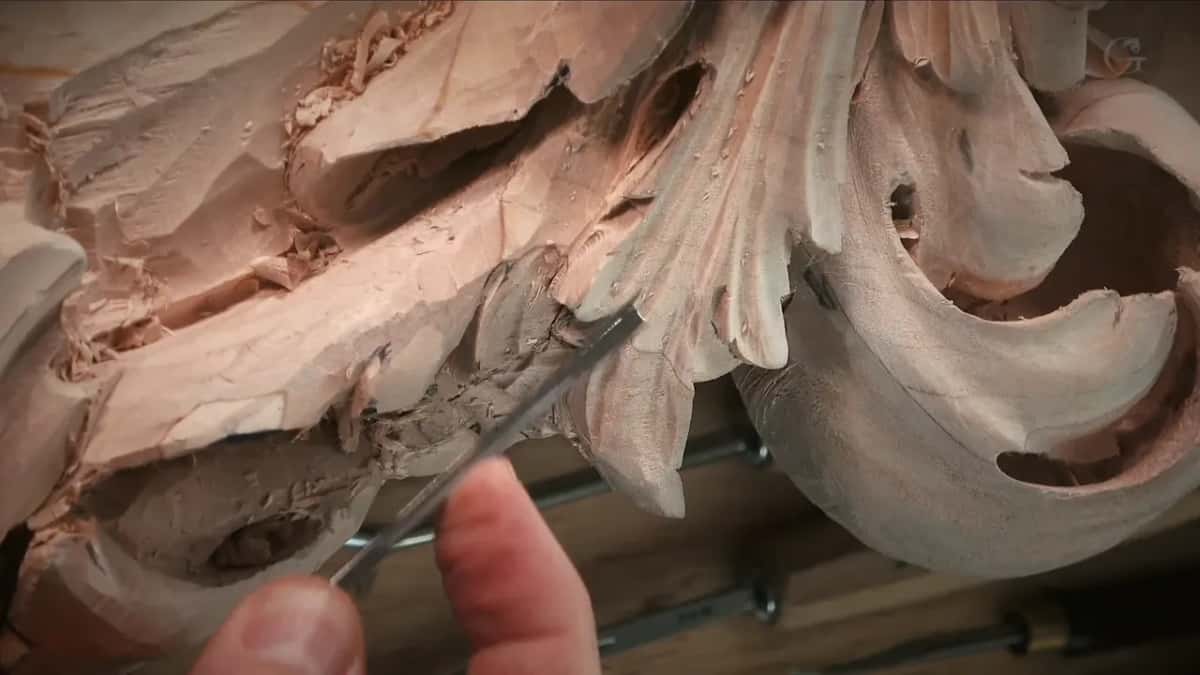
Which tools finish what the #9 starts?
Smaller #11s, a spoon and a back bend, at least in this workshop. After the #9 opened one hole, I switched to a spoon #11 of 7 mm, just over a quarter inch, and said why. A smaller tool would leave extra marks, and the 7 mm could lie in the previous pass and match it. Then a 4 mm #11, about 5/32 in, dug the junk out, like a shovel. Next I undercut the part that was going to cast a shadow, since that shadow mattered to me, and said I need it, and I'll get it.
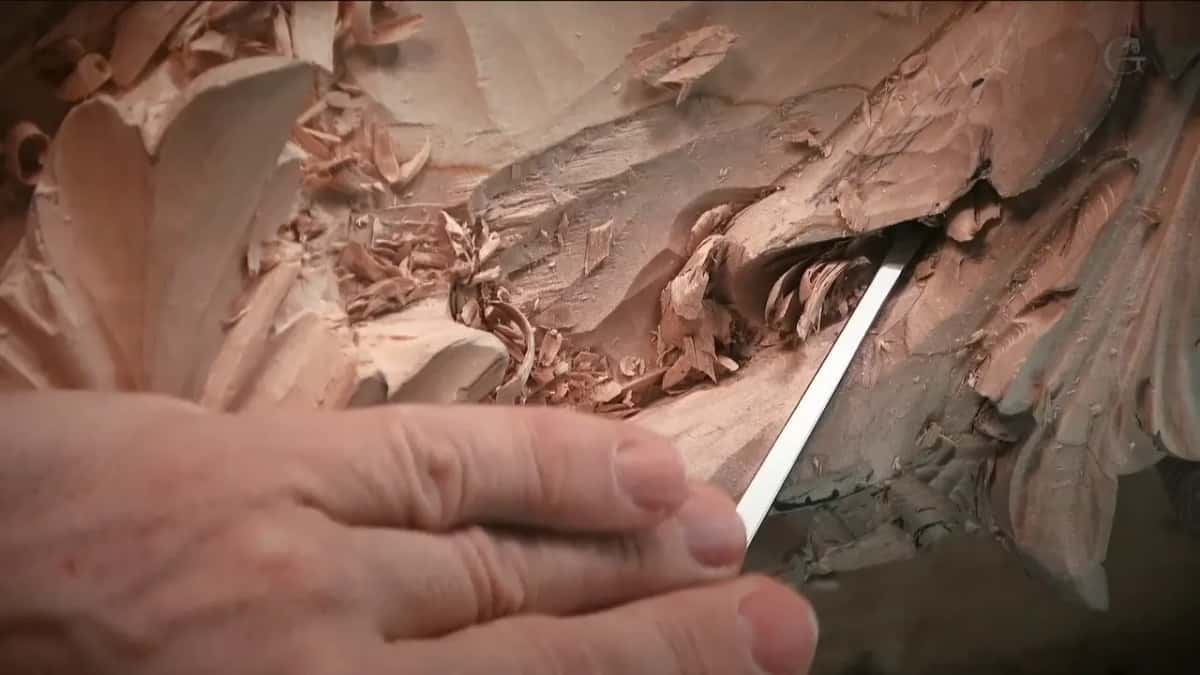
How deep to go was its own question. I could go as crazy as I wish, I said, but then I create another problem, how I'm going to finish it. So only to a certain degree.
Later a number 2 back bend, almost flat and less than a number 3, 6 mm or a quarter inch wide, went right to the hole again for an even deeper shadow. A 2 mm #11 veiner, a bit over 1/16 in, dug out the mess I had just made, and I blended the inside a little more, even where you can't see it. I asked the camera if it could see how deep that shadow was, and called it just a gorgeous shadow.

Under that leaf in the last part, the hole opened all the way through, which is a beautiful effect, but I did not want to lose the detail underneath. So a smaller #11 veiner went in the same way, right through the hole, to outline that movement.
Where can you watch the #9 at work in this room?
Would you like to watch that pipe get its frame of shadow while I carve it? Would it help to hear me reach for the #9, doubt it, and pick it up anyway? Then start here, and look for this room in the map of every lesson.
Workshop 63 comes right before this one and workshop 65 right after, and workshop 62 opens this part of the room. I also said many sections of this project can be repeated, and many of its techniques practiced just on small pieces of wood. More than once I apologized to the viewers for working off camera, or with my hands in the way.
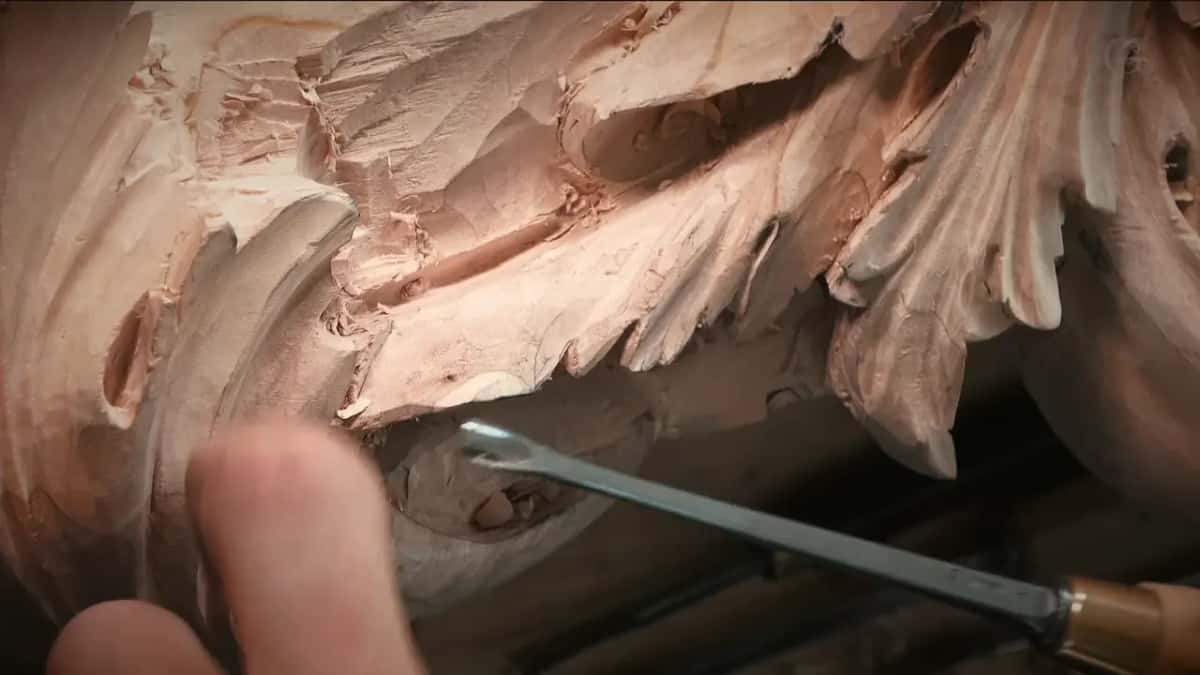
Close to the end I said a hanging detail still had to ship overseas, so I could not make it too weak.
How it's done
- Clean a damaged side. If a pass in the wrong direction leaves a side damaged, come back with a super sharp #9 and clean it.
- Convex one side of the pipe. A number 5 back bend, 6 mm (1/4 in), did it for me, and a little deeper was better.
- Lift a concave upward on the other side. Use a #9 there, and the shadow it pops will frame the pipe.
- Keep the edge super sharp. When you can't get at the wood the way you want, keep the tool super sharp.
- Swap a dull #9 for another. When your favorite goes dull, pick up a different #9 and keep carving.
- Round the pipe with a bent-back #9. Touch its sides lightly, and stop where one side goes into the grain.
- Let an #11 into the tight spot. Where neither an #8 nor a #9 fits by the pipe, run an #11 carefully along its side.
Frequently asked questions
Which size of #9 do you like best?
The quarter inch, about 6 mm, is my favorite, and late in workshop 64 it went in beneath a leaf. For a fresh hole I began with one near 3/8 in, roughly 10 mm, and went deeper still with an eighth inch one, about 3 mm.
Why does a #9 have to be so sharp?
Twice in workshop 64 I said so. When everything was in my way and I could not come at a concave from that side, the tool must be super sharp, I said. And when a side got damaged after a wrong-way pass, a super sharp #9 was what I cleaned it with.
Is there a back bent #9?
I used one in workshop 64, when a pipe needed a more pronounced half round. I hit its sides a little, and on one side that meant working against the grain, which is kind of dangerous, so I stopped before I overdid it.
What to carve next