
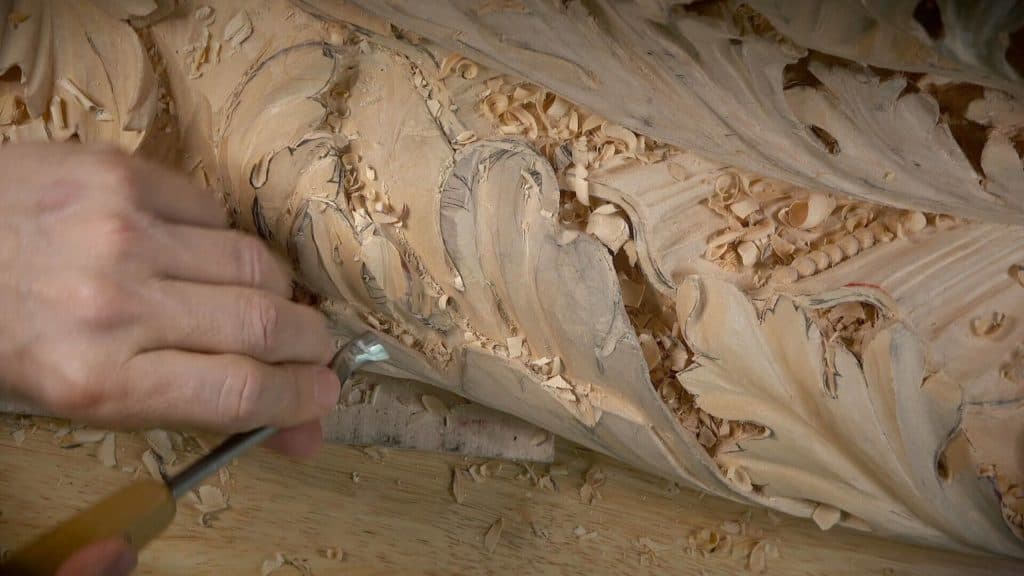
Alexander Grabovetskiy, woodcarver, School of Woodcarving · Published 2020
When should you carve a curl into a leaf edge?
Quick answer: A leaf curl is an edge turned back on itself. I choose one when a side still has spare thickness, when a slip has damaged that spot, when a section runs long with too little curliness, or when I want a darker shadow beside it. Each of those came up in one workshop.
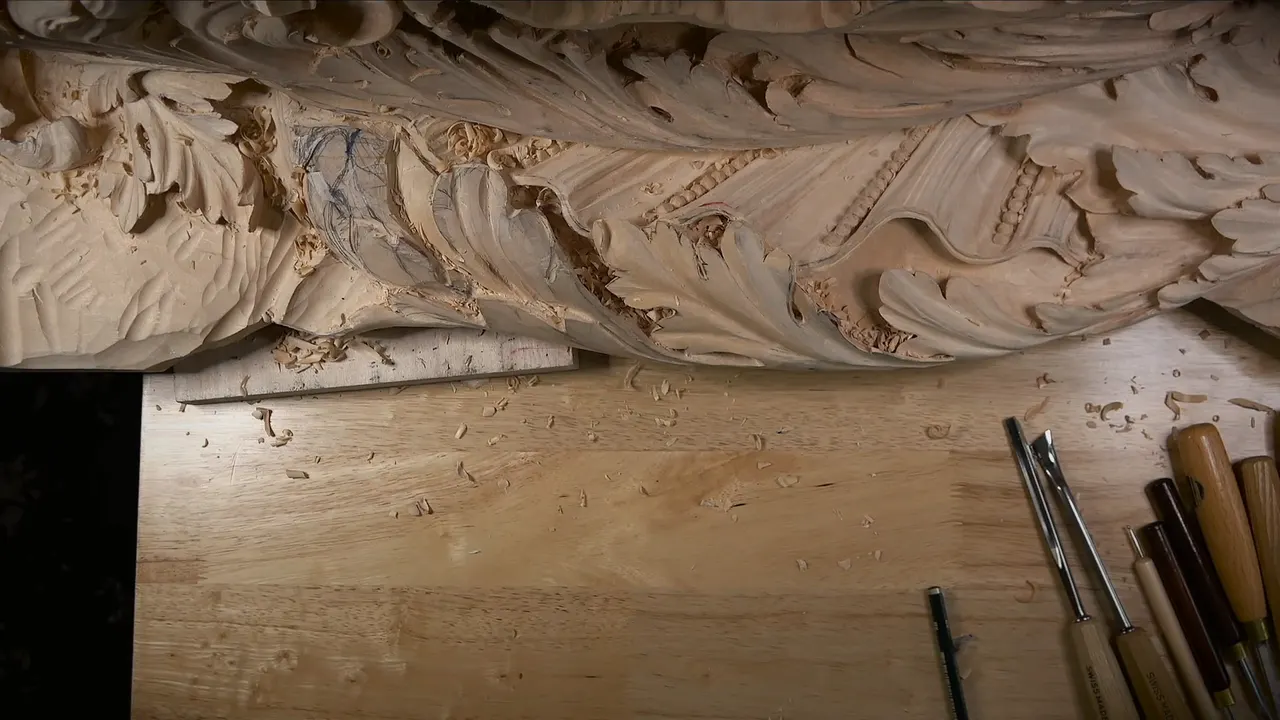
A curl on a leaf edge is a part of the leaf rolled back from underneath, and I carve one when a side still has thickness to spare, when a slip needs a new job, or when a flat stretch wants a deeper shadow. Anyone asking how to carve a leaf in relief meets this choice sooner or later, usually halfway through, with a gouge already in the hand. In workshop 73 of my Venetian ceiling panel I made it four times.
Have you ever carved a leaf where every lobe came out clean and one edge still sat there flat? Did it bother you? Was there still wood left on that side? Then come through workshop 73 with me, moment by moment, and see what the wood told me each time.

Four reasons I rolled an edge back in workshop 73
One side had enough thickness for a small curl, so I tried one.
A slip in part 4 damaged one spot, and I curled it.
A section ran long and needed more curl, and two extra notches gave it that.
On the hardest section, a curl let me dig a darker shadow.
Little material was left on the last section, and there I talked about a convex and a gradual concave instead of any curl.
Is there enough thickness left for a curl?
Thickness comes first, before any tool touches the wood. It came up in part 2. I was ready to put extra divisions, separations I should say, into pretty much every lobe of the acanthus, and I stopped at one side. I do have enough thickness on this side, I said. Should I leave it flat like that, or could I create some kind of curl?
I didn't do too many curls on this carving. That was the honest reason to hesitate. But I thought it would look really nice, not big, just a curling back effect, and with the thickness sitting right there, why don't I do that?
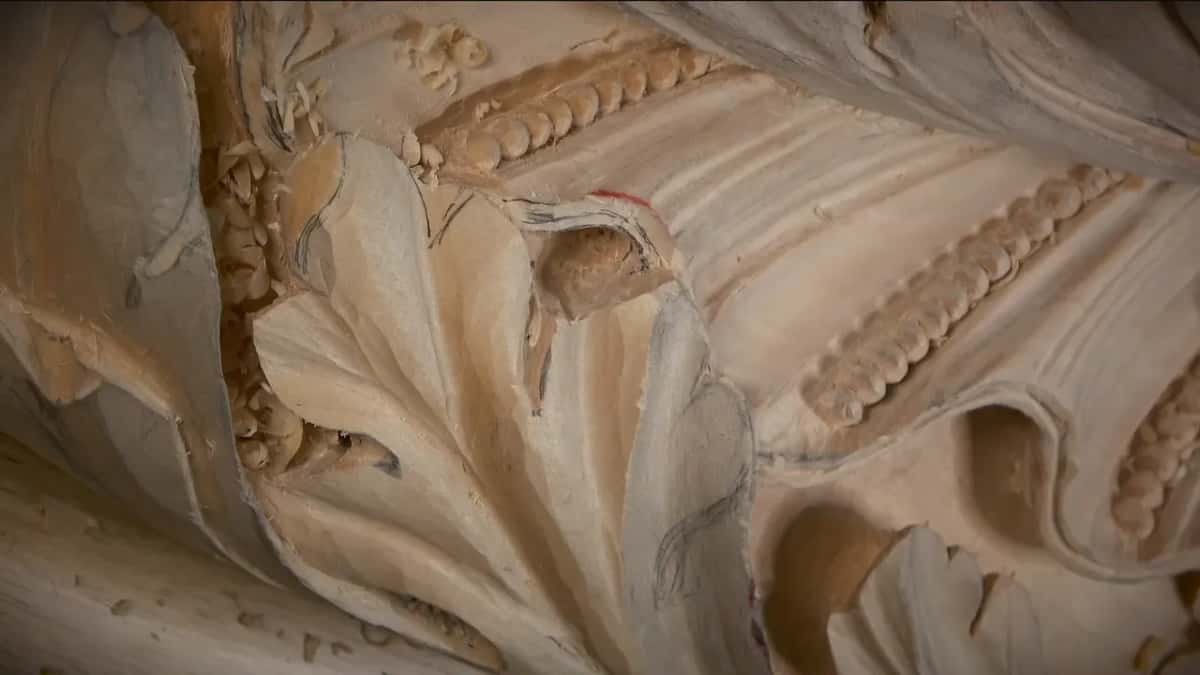
I also said I could just leave it like that. Both answers were open for a minute or so, and then I picked up the tool.
Now compare the last section of the same workshop, part 12, where I said it plainly while I worked: got to be careful, don't have too much thickness left, not much material left. There I went for a convex and then a gradual concave, going against the grain with a back bend because it was the only way I could work, and no curl came into it at all.
Thin wood changes a lot more than this one choice, and workshop 70 is the lesson where I dealt with it spot by spot.
What tool rolls the edge over?
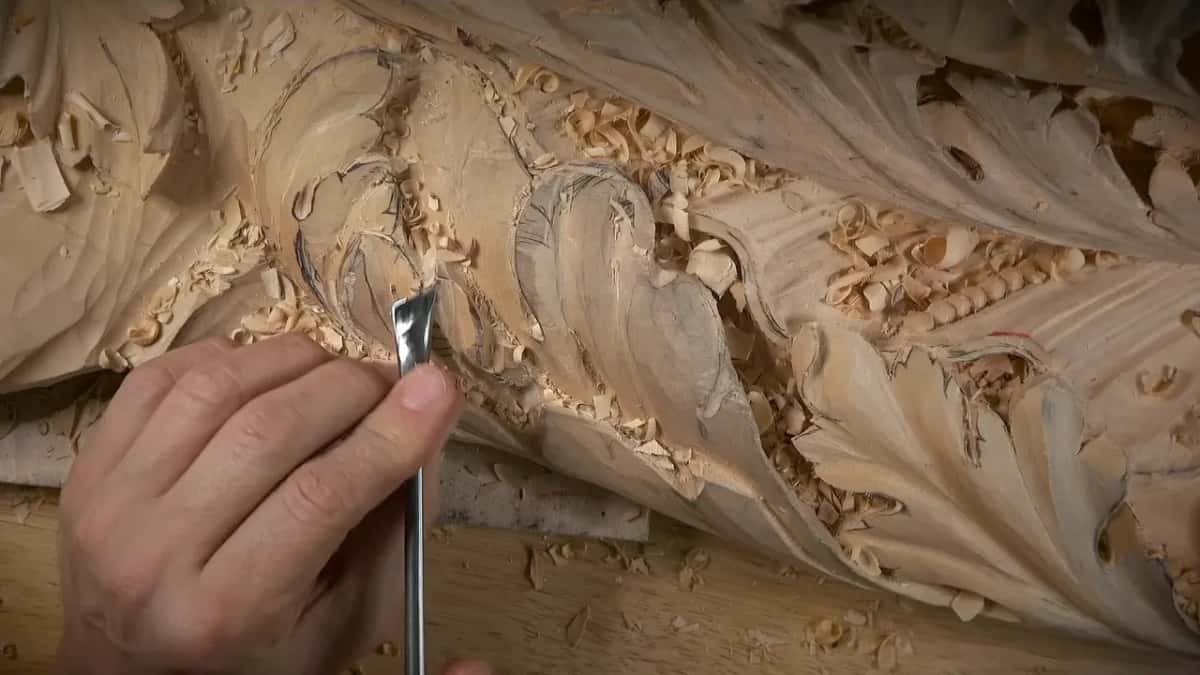
The same tool I had just used, a back bend. On this panel it was a #5 sweep, half an inch wide, 13 mm, and I used it for that rolling effect, like rolling from underneath. I said I thought it would look really beautiful.
Then came the harder part. Next was work on the inside, without losing the overall feel of the convex. The lobe rolls under and runs one way, yet the top of it still has to read as one full swell, and I did not want to lose that.
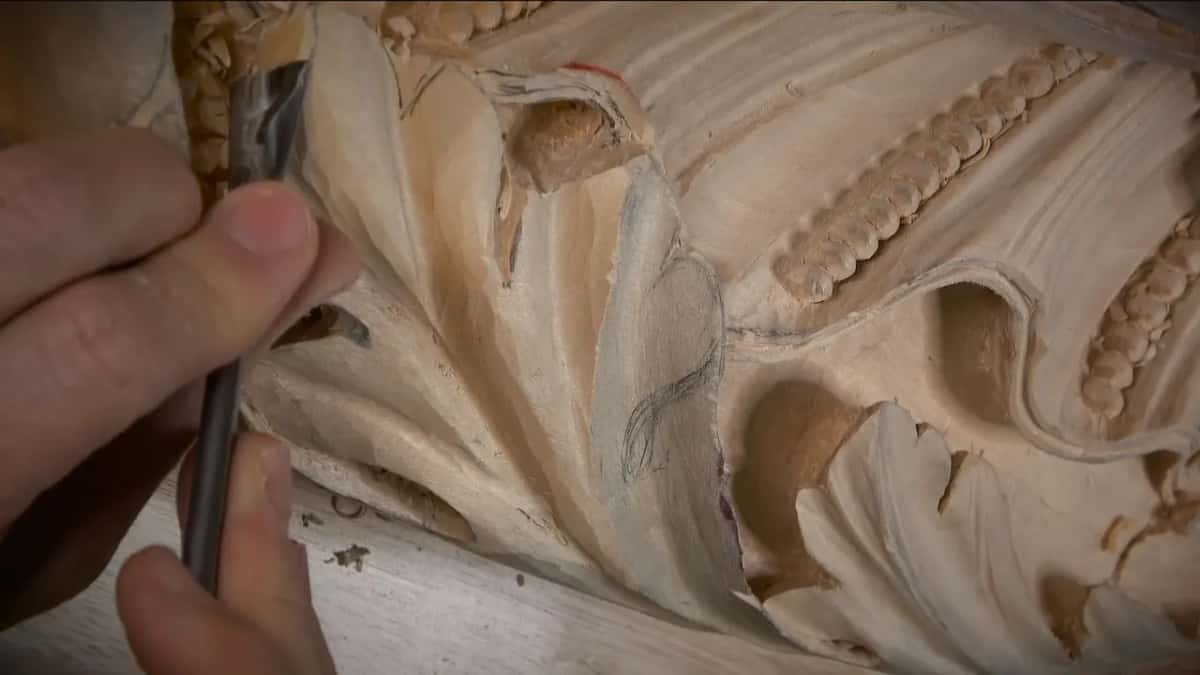
For that I took a micro tool made by Dockyard. Dockyard is just a brand. This one is 5 mm, 3/16 of an inch, and it isn't marked with a number, but it feels almost like a #8. A small tool like that lets me go little by little.
A ridge was in my way in a few spots, so I couldn't use the full potential of the tool everywhere. It has to blend nicely somehow, I said, so I kept going slow.
How far should a curl go?
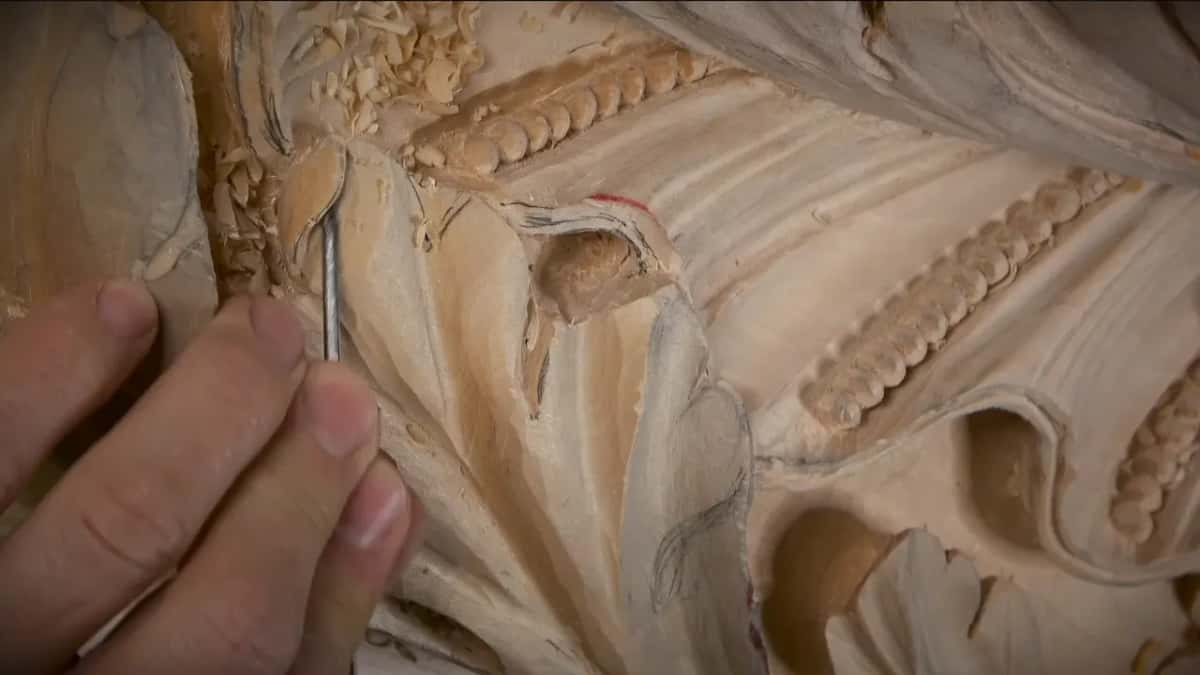
Further than my first try. After a few passes it already felt like it was curling, and I blended it with the back bend, the same half inch. I could have stopped right there. I told the camera I wasn't really happy with that yet, and that we needed to take it a little more to the extreme.
To push it I needed a smaller tool. By the way, I said, number 11s would give me exactly the same result. I took a 2 mm (about 1/16 in) #11 veiner, a really tiny one, and dug a little deeper. A little deeper shadow. A 1 mm (about 1/32 in), I added, would go deeper still.
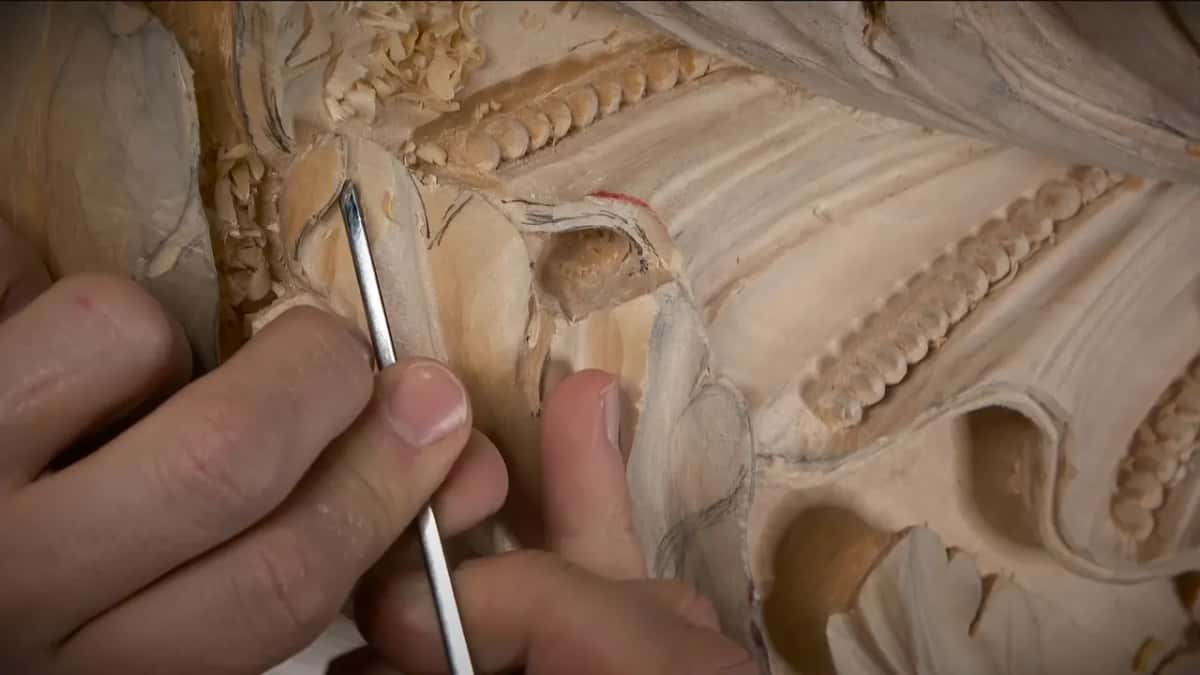
There was a limit, of course. Part of my tool was landing on a hump, and I could not excavate beyond it.
At the start of part 3 I looked at it again: it was probably already giving me a beautiful shadow. I don't need to do too much, I said, although that section still needed blending a little better, with the Dockyard #8 and a short 1 mm #11.
I kind of liked the overall idea. Personal, of course.

Can a slip become a curl?
Part 4 had me working toward a future eye, with the same #5 for the curvature. I said out loud that I could not do that too quick. About half a minute later I said it: oh, no, that is not good. I had said I have to be careful. I wasn't too careful.
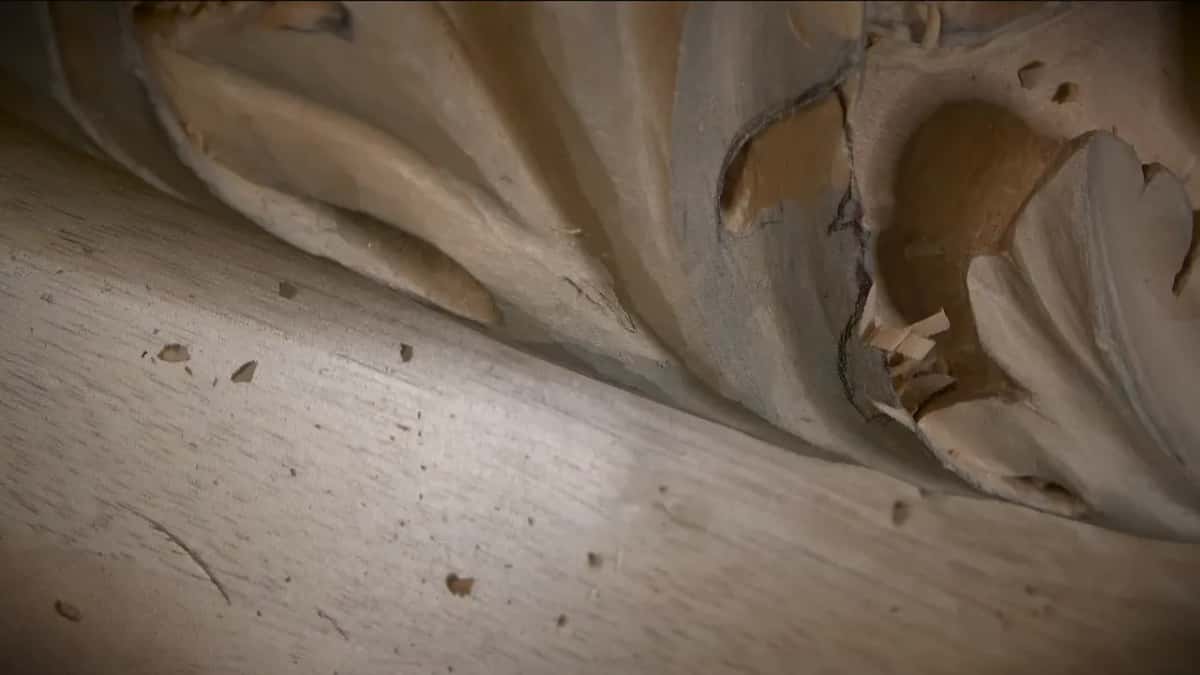
It's not like the end of the world, I said, and the fix was a curl. I'll just curl it. It's still going to be visible. Then I took the curl right to the shell beside it, and said it would be okay.

That is the whole story of that slip, and it took less than a minute of the recording. The damaged spot stayed on the leaf and became the start of the curl.
Keeping a mistake instead of carving it all away is a wider subject, and a lesson on acanthus over moldings is built around it. Every lesson of this room, slips included, sits behind one tuition plan.

What does not enough curliness look like?
A section that runs long. Those were my own words in part 5: it's a little too long, and it's not enough curliness, I would say.
It started with a notch. The plug cut I had just made, about 10 mm (3/8 in) deep, was already giving me a beautiful shadow, except I had messed up earlier, right there. See that notch? It did not look too good. So I made an extra notch, then probably another one just to blend it nicer, and let that part go underneath.
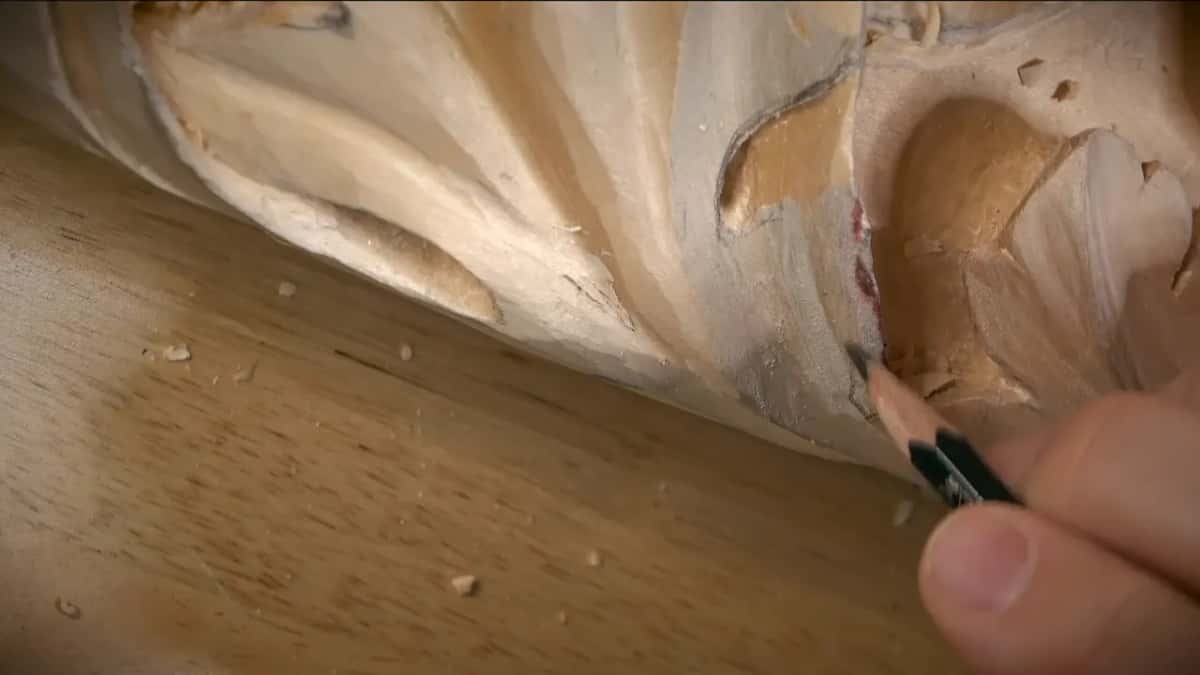
The movement did not change. I kept the invisible line and the same movement, and only those sections came out.
I went in with the tool I slice with, really controlling each pass without pressing too hard, because I can make a mistake and break it again. The next part went the same way, slicing almost like bread, not pushing, little by little, attacking from two sides. If I exaggerate it, the movement is like using a hand saw.
Can a curl buy you a deeper shadow?
The biggest decision of the workshop came in part 9, on a section that just didn't look right yet. Maybe I should curl it somehow, I said, and a few seconds later: I will curl it, and I'm going to open up this section.
Then the doubt. Or maybe not. It might be a little too much excavation. And if I don't like it, it's going to be a little too late.
I started around it first with a #11 veiner, which made more sense to me, and stayed really careful where the shell was.
That shell runs under the leaf in this spot. Earlier, in part 3, I had called the area next to it kind of dangerous, because part of my shell goes underneath, and I took it down a little at a time.
Then I said what I was after: if I curl it this way, it gives me the ability to create a much deeper shadow in this section, and a more interesting look.
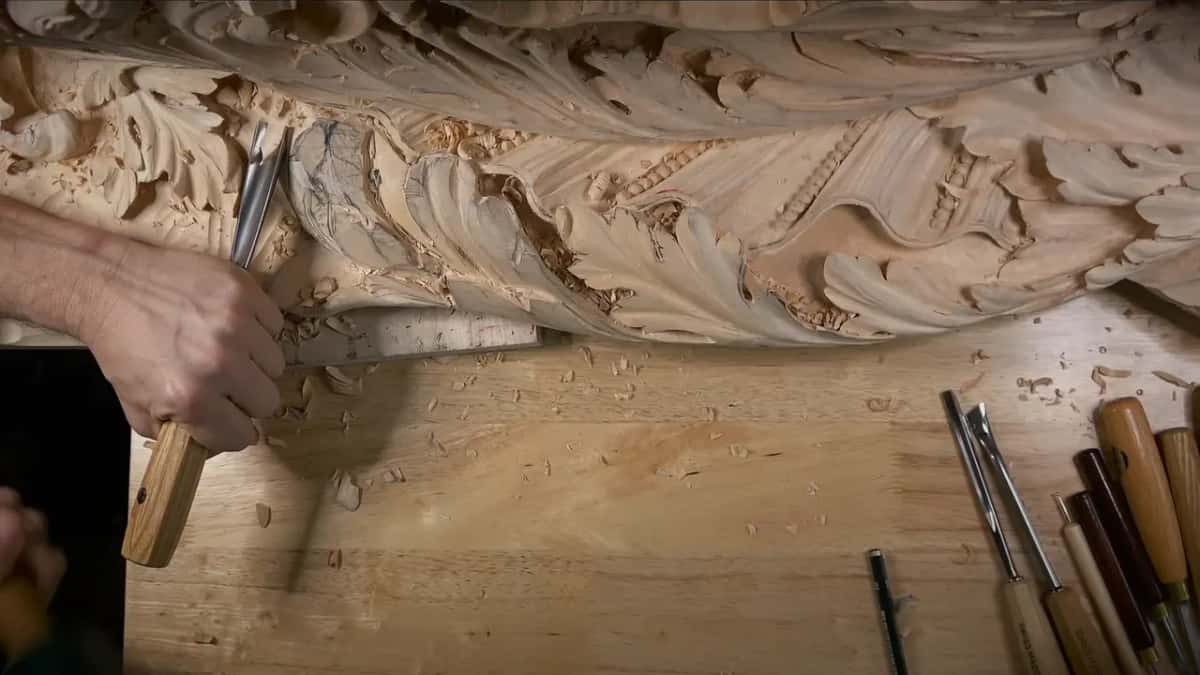
For the deep part I took a #9, 3/4 of an inch, 20 mm. I stopped before I hit the wall, because it gets harder to clean, and if you damage it, it's usually deeper than you want. After that my old trusty skew chisel chopped around, since the curl needed a roundness or it would not make sense.
Before taking the rest out, I stopped. Let me think first, I said, before making too quick decisions about how much to take out and how much to keep. I kept a little bigger section than I meant to at first.
Painters call that play of light and dark chiaroscuro.

How to carve a leaf without losing its movement
Every curl in workshop 73 sat inside a movement I had already chosen. Back in part 4 I said that movement was really important to me, like an invisible line going all the way, even while I didn't like the section itself.
The same question opened part 8. So where will my end point be? The end, end. I found a really good taper area. The first job, I decided, was a concave beside a convex, a big round feel. Only after that did I say it might be a good idea to soften up that area, remove one section completely, and get the curl that way.
Which lobe goes under which belongs here too. Logically, I said in part 4, the lower part should go underneath the line. And if I don't like it, then it's a problem, and I have to live with that.

Bigger moves than these exist. A leaf that flips fully over on itself came in workshop 16 of this room, a part that seems to grow from underneath in workshop 13, and a flower petal curling backward is its own job on the Hashemi flowers.
What else can an edge do besides curl?
Stay flat, for one. I weighed that in part 2 before the curl, and a little something in the overall design caught my eye in part 3. Maybe I shouldn't have done that, I said, but still, I'll leave it.
Take a chamfer. After cleaning up a messy section in part 1, I mentioned a small chamfer if I wanted one, which was really common also.
Or stay round. The edge of the last section, in part 12, did not get the concave I had carved on the main body. The main body will be seen from different points, and that last part sits right on the ceiling, and I wanted it to look really good from all points of view. So it stayed a main convex, then somewhat concave, with the point in one spot.
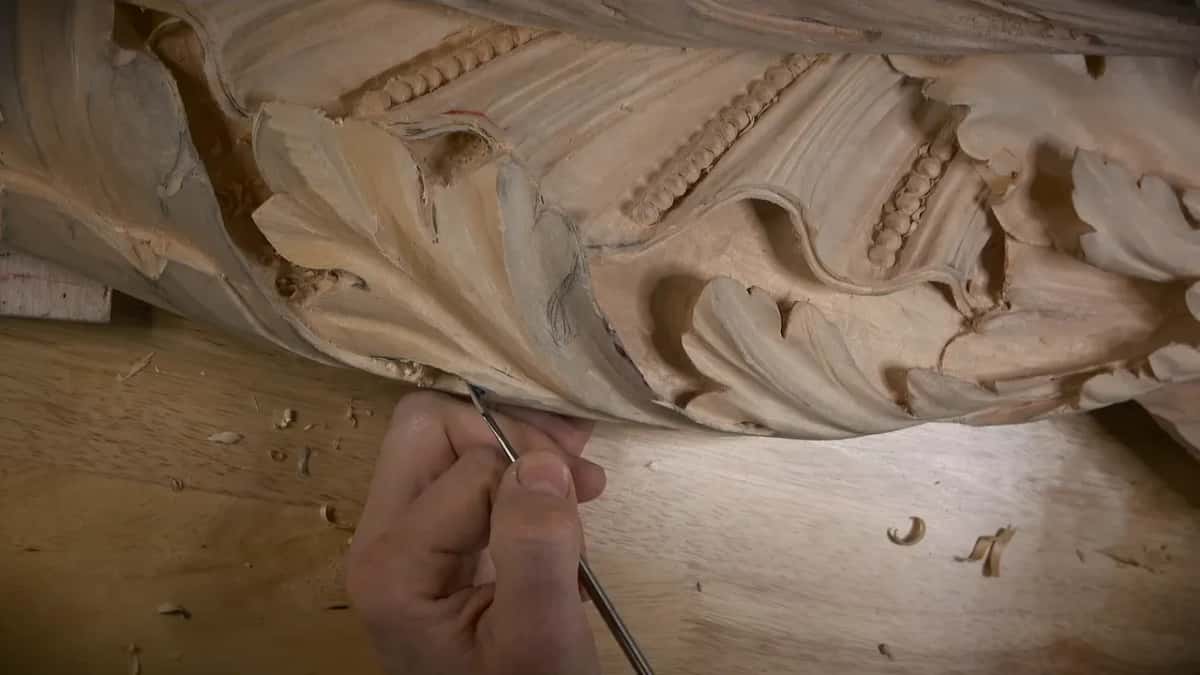
Then the tiny ones, a few small notches I made in part 6 with a 1/8 inch #3 micro tool. Maybe it's overkill, I said. But at least I'm going to know about that, even if people are not going to notice it.
Every curl decision in workshop 73, side by side
| Where | What the leaf or the wood told me | What I did |
|---|---|---|
| Side of a lobe, part 2 | Spare thickness there for a small curl | Rolled it under, small |
| Near the eye, part 4 | I was not careful enough there, and the wood paid | Curled it to the shell |
| Long section, part 5 | Too long for its place, with too little curl | Two notches, tucked under |
| Hard section, part 9 | Curling it would open room for more shadow | Curled it, then chopped round |
| Last section, part 12 | Thin by then, and seen from every side | Convex, no curl |
Read down the right column. Each move answered something the leaf showed me in that spot, and the grain had a say in which tool could do it.
Where does this sit in the room?
Workshop 73 closes the sixth stretch of this panel. If you follow the room in order, workshop 72 comes right before this one and workshop 71 before that, and the whole of part 6 is twelve workshops of the same board. The story carries on into part 7.
A thin leaf that has to stay attached to the wood behind it is a close cousin of the curl, and workshop 66 has one. The undercut and the curl often share a lobe, and ornament of this kind leans on the scroll as well.
Never held a gouge? The first steps page is where I send people before a room like this one.

Do you have a leaf on your bench right now with one edge that still looks unfinished? Is there a little wood left on that side? Pick up the back bend and look at it again, the way I did in part 2.
How it's done
- Check the thickness first. I looked at one side of the leaf in part 2, saw enough thickness there, and chose a small curl rather than a big one.
- Roll it from underneath. With a #5 back bend, 13 mm (1/2 in), I rolled the edge over.
- Keep the convex whole. Inside the curl I went slowly with a Dockyard micro tool, 5 mm (3/16 in), so the swell on top stayed.
- Deepen the shadow with small veiners. When the curl felt too timid, I switched to a 2 mm #11 and said a 1 mm could go deeper still.
- Stop when the shadow is there. Early in part 3 it was already casting a beautiful shadow, and I said I didn't need to do too much.
Frequently asked questions
Can you turn a carving slip into a curl?
I did exactly that during part 4 of workshop 73. My #5 slipped near a future eye, and I said I'll just curl it, that it would still be visible. I took the curl right to the shell and said it would be okay.
Which gouge rolls a leaf edge over?
On this Venetian panel I used a #5 back bend, a half inch or 13 mm, for the rolling effect. I also said number 11s give the same result, so for the deeper shadow inside the curl I went to a 2 mm veiner and talked about a 1 mm one.
How much thickness does a curl on a leaf need?
Enough for the size you want. One side had spare wood in part 2, so I chose a small curl, not a big one. With the wood running thin in part 12, I went for a convex and a gradual concave, and no curl at all.
What to carve next