

Alexander Grabovetskiy, woodcarver, School of Woodcarving · Published 2020
Can you use a knife instead of a gouge for relief carving?
Quick answer: Carving relief with a knife is possible for part of the work, like rounding a slope, undercutting and hooking out waste, or reaching a spot a gouge can hardly get to. A blade has no sweep and leaves facets, so on my Venetian ceiling panel a #5 back bent took the rounds and a #11 veiner blended the ridges.
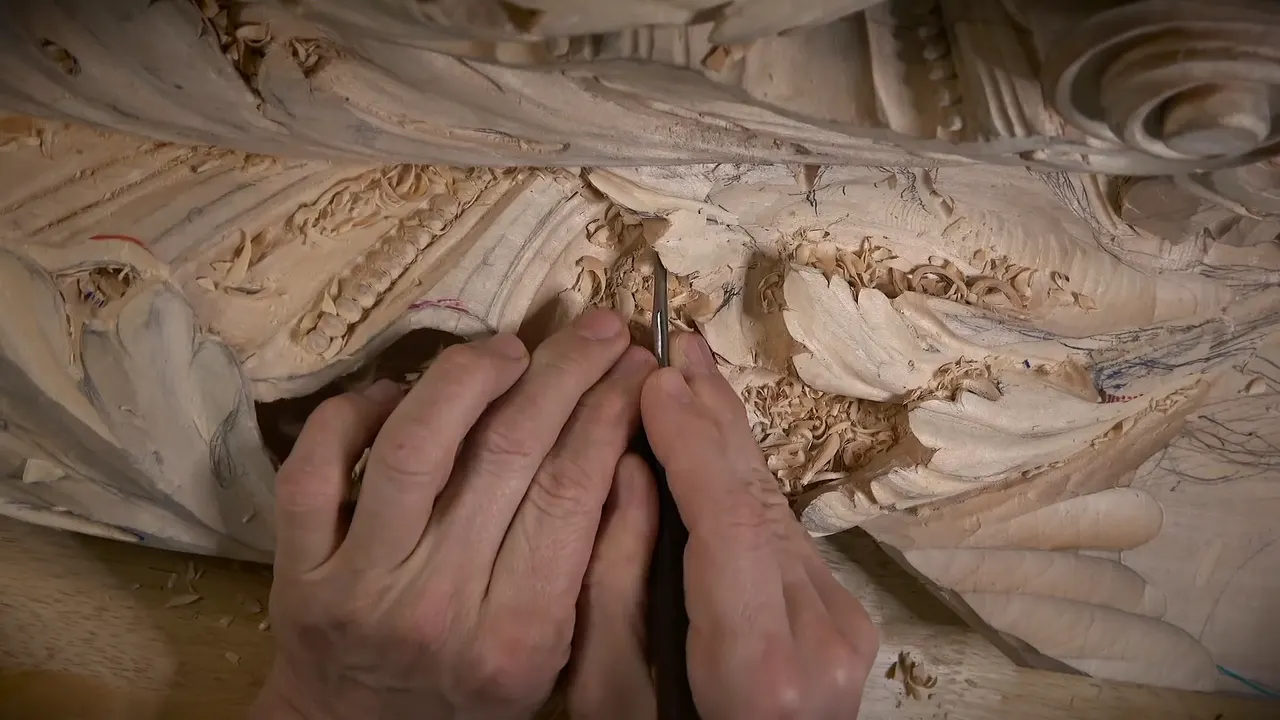
A wood carving knife is a blade with no sweep, and on a deep relief it can take over a good share of the gouge work, though not all of it. In workshop 72 of my Venetian ceiling panel I kept picking up one short tool with a pale wood handle and a thin, bright, curved blade. It's pretty much the same like using knives, I said on camera, because you can do multiple passes with just one tool.
Then the rounds came. That's where it stopped being the right tool, and two other tools had to finish for it.
Do you have a knife in a drawer already? Has a gouge ever stalled on you because the rest of the carving sat in the way? Then come through the twelve parts of workshop 72 with me, and I will show you each job the blade took and the spot where a #11 veiner and a back bent gouge in the #5 sweep took over.
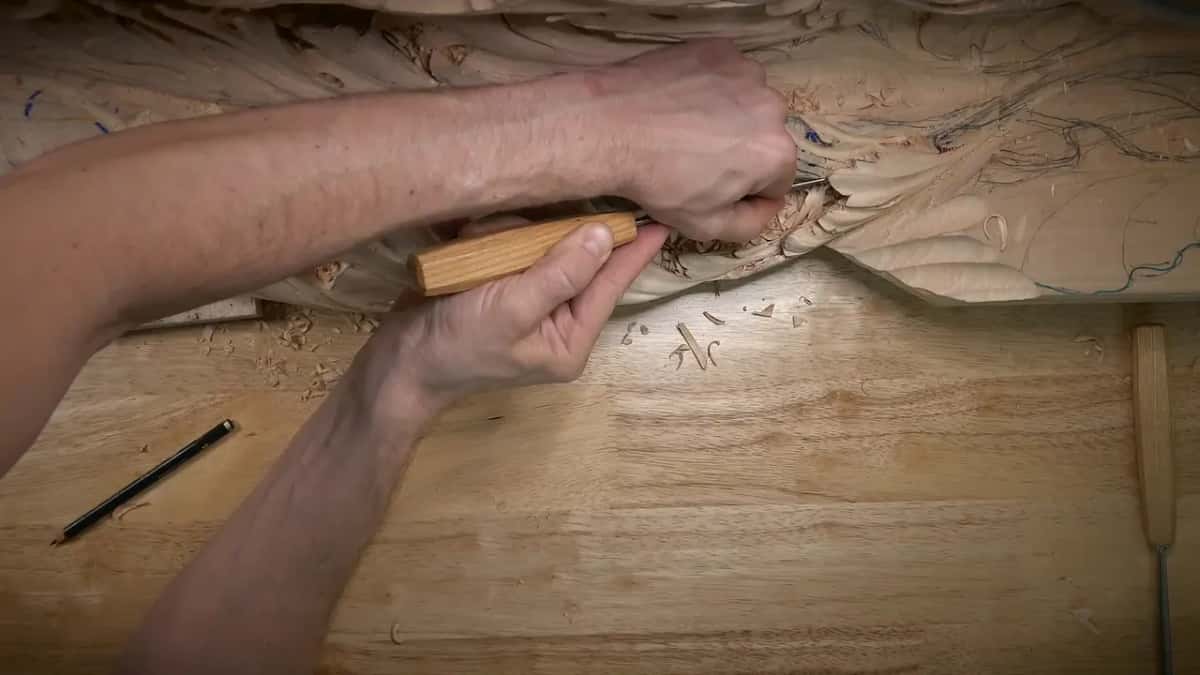
What the knife did in workshop 72, and where it stopped
Rounded a slope into a curl.
Undercut right away, then hooked the waste out of the hole with that one blade.
Reached a spot that was blocked the other way.
Has no sweep, so the rounds went elsewhere.
Leaves facets, or ridges as I call them, all over any surface it has shaped for you.
The veiner blended them.
What did the knife-shaped tool do on this panel?
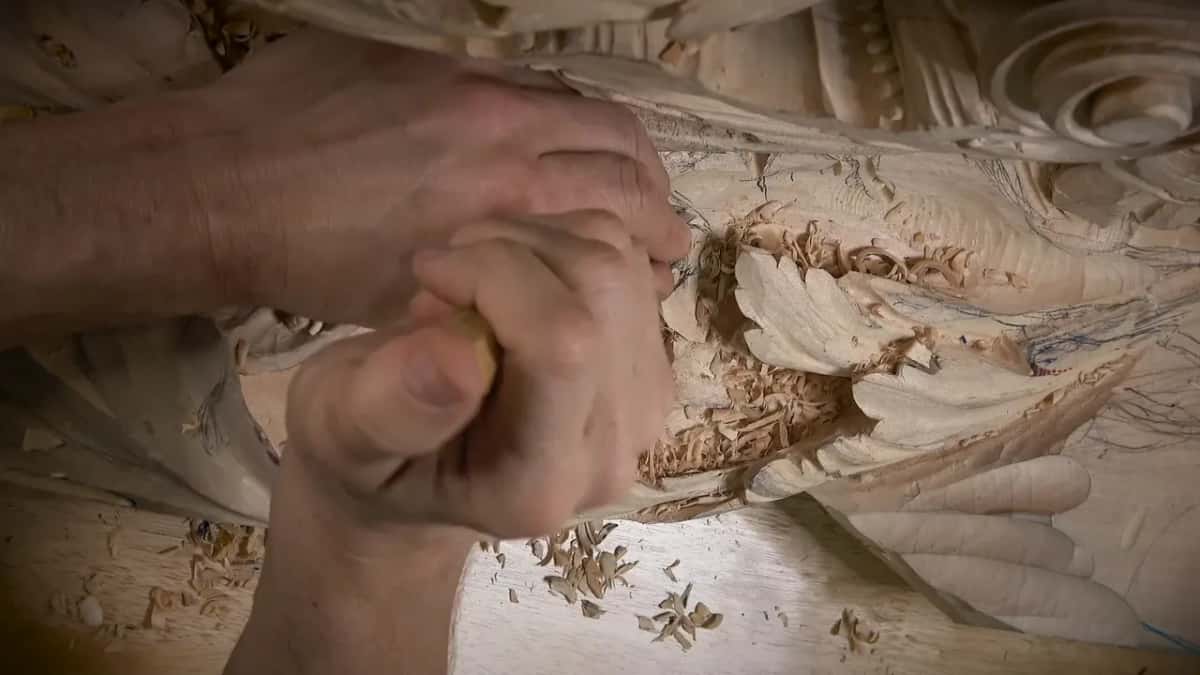
Mostly it rounded slopes and cleaned them up. Early in part 2 I wanted more roundness in one area before a concave went in beside it. I could use that tool or just a skew, I said, and it's about the same idea anyway. So the knife it was. I hit the area slightly more, and it started to curl down.
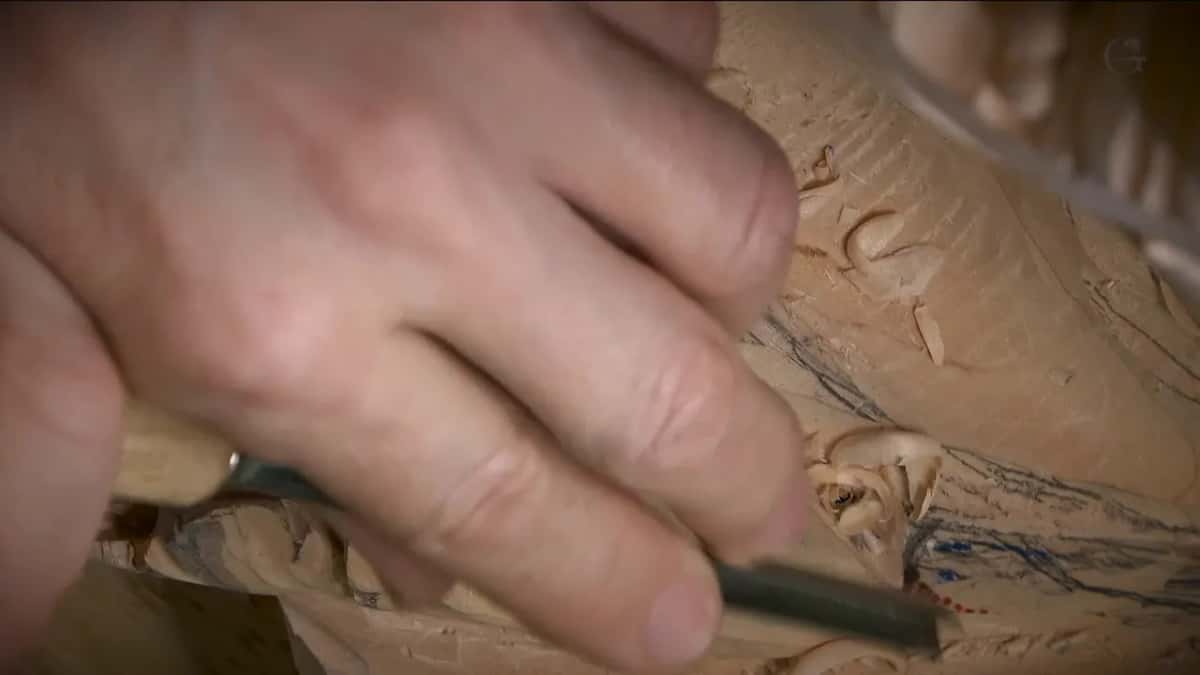
Undercutting came next, in part 3. With that tool I could undercut right away, pretty much, remove all that mess and hook out whatever I didn't need. A few moments later it gave me a convex sloping downhill, since that slope will still be seen from where this ceiling is going to be installed. Blue marker sinking deep into the wood didn't worry me there, because this ceiling is going to be painted.
It's always a helpful tool, I said at the very start of that part. Really, really helpful.
Later I went after a ridge with the blade. Not too convenient, I said, but still possible. Wonderful. And yes, I could hit the next ridge pretty much right away too.
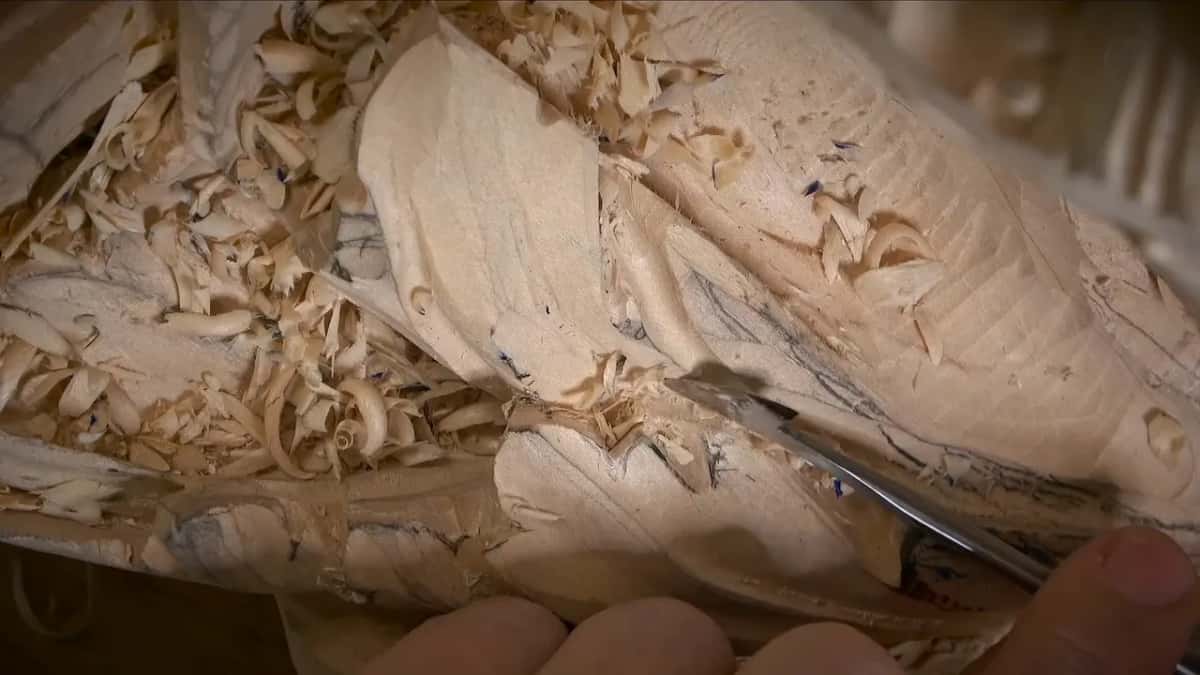
Part 4 brought it out again, right after I had said, as I have said many times, that relief cuts go in first and get angled inside like undercutting, because that is much safer. You know what, I said, I can use the knife here.
My canvas got it in part 6. I cleaned right on top of my own marks with it, and right away I could see what else to do, a slope running a little the other way. Near the end of that part it hit one side again.
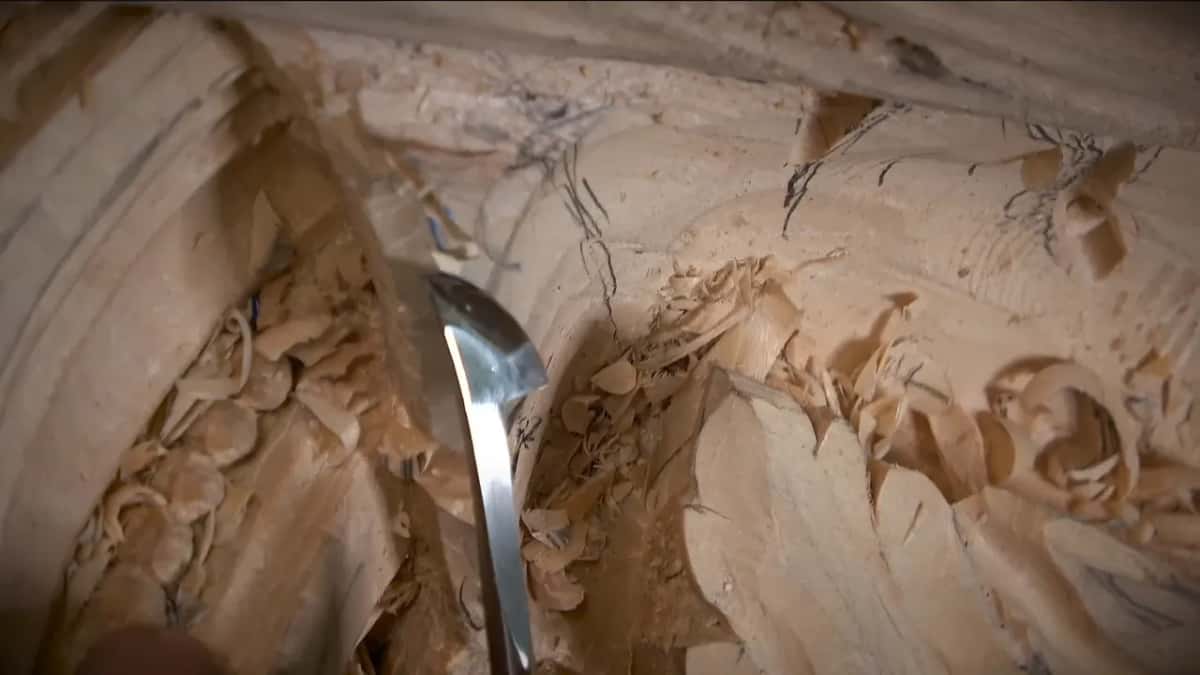
Part 8 used it once more, near a shell I didn't want to damage. After that I picked a #5 gouge of about three-eighths of an inch, like 10 mm, and made the first rough pass for a letter S movement. There the knife got the spot ready for the #5.
Why pick up a knife when the gouges are right there?
A gouge sometimes simply can't get there. Late in the second part of the workshop I had a double challenge. One was keeping my head out of the camera. The other was the carving itself, because going that way was almost impossible, something on the panel stood in my way, and I really couldn't carve against the grain there either.
Earlier in that same part, working a concave right on the side of a pipe, I had to hold my hands in a really weird position. It's not undoable, I said.
So the solution, I decided, was that knife-like tool with the pale handle. I established my shape little by little.
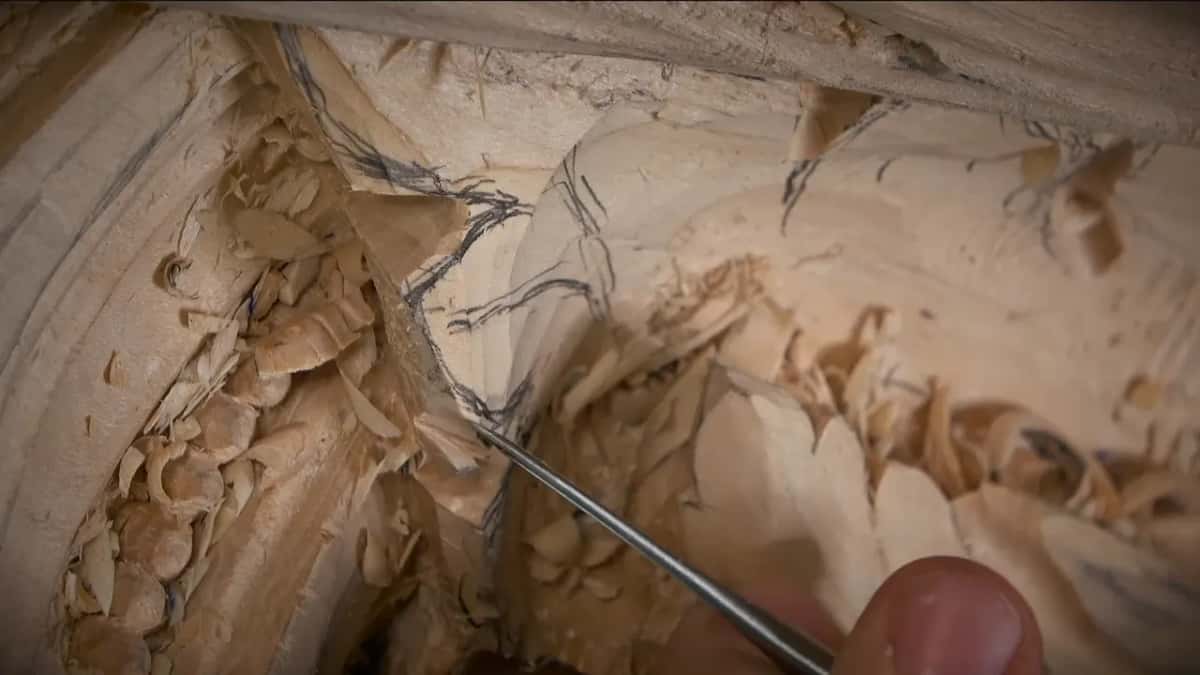
One blade makes many different passes, and on this panel it gave me rounding slices, slopes, undercuts and hooks that lift a chip out. I really love that idea, I said, and that tool kept coming back part after part.
The skew does a similar job, and in part 10 it saved a bad pass of mine. I was working with a veiner the wrong way on the grain, which didn't leave a good surface, and I couldn't come from the other side because the main body was there. I fixed it with the skew, still going against the grain, and it came out clean anyway.
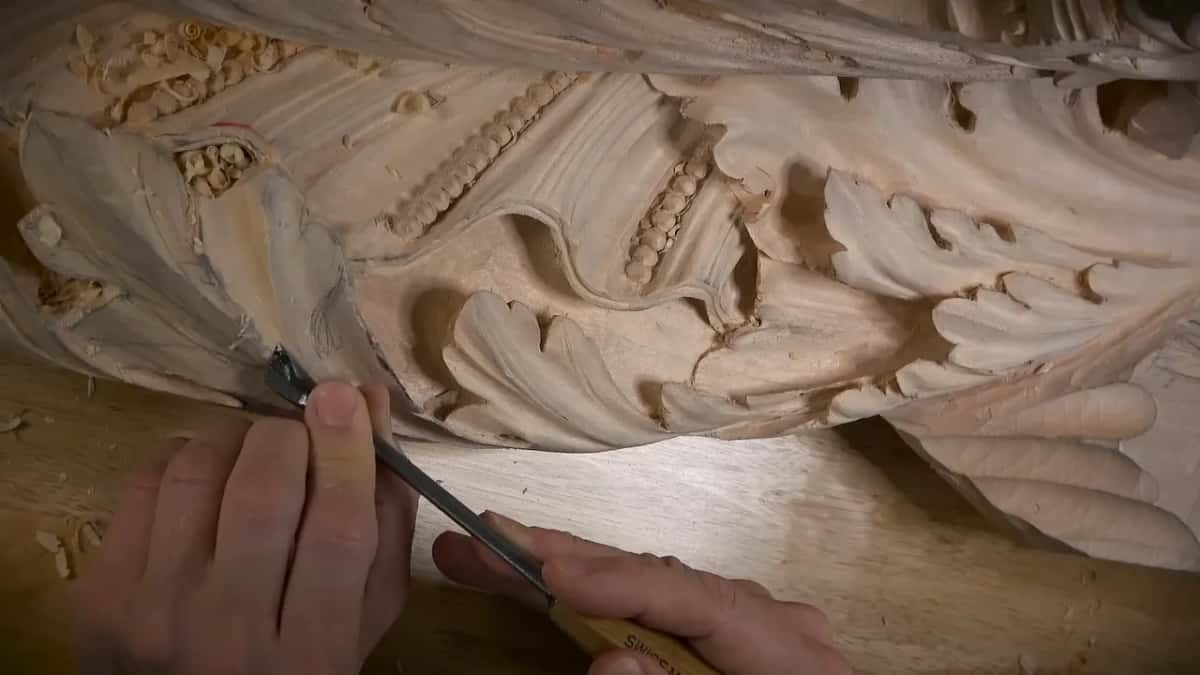
Is a wood carving knife true to old Venetian work?
I asked myself that on camera in part 5. Would this tool be authentic to the time period I'm working in? Of course it's not. That particular tool was never used back then. They used knives, and this is a form of a knife anyway, so a knife would be authentic, I would say. Knife is authentic. I said it twice.
Soon after, in that part, I said I wasn't spending time on detailing yet, because who knows, I might change some stuff. All those small areas get refined at the end.
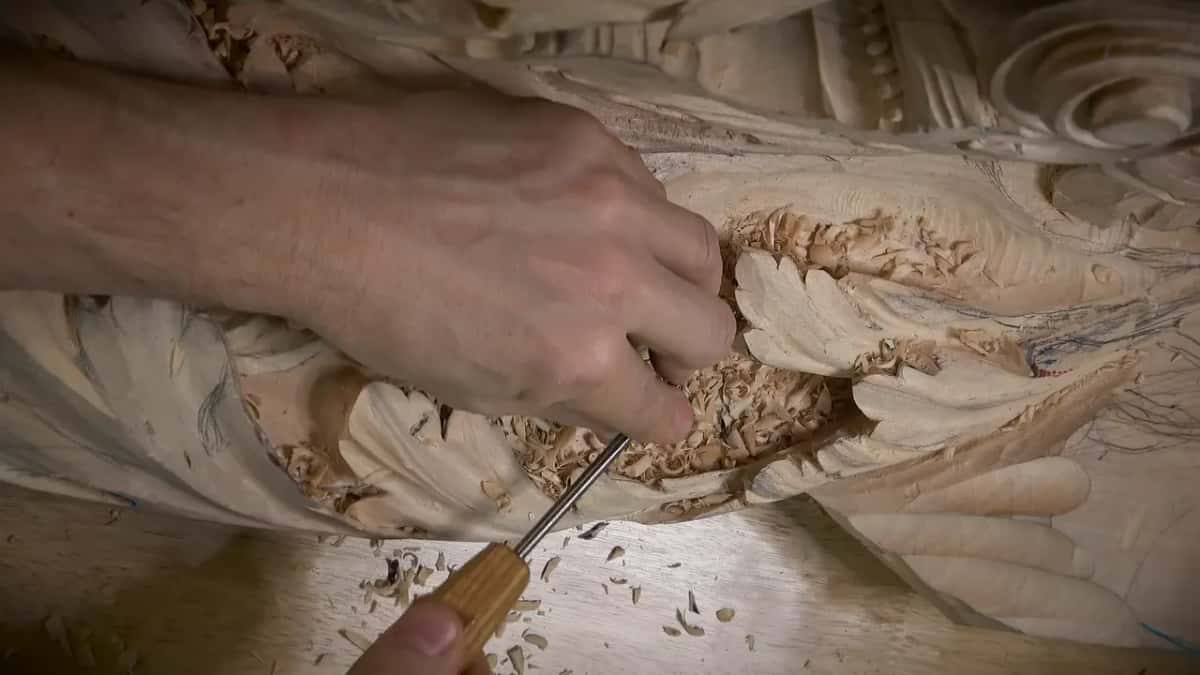
What they owned exactly, this workshop never says, and I won't guess at it. A blade on a Venetian ornament has the period itself behind it, so in wood carving there's nothing to hide about picking one up for acanthus work.
One whole course on this site is built mostly around a knife, Carving Plate with Butterflies, if you want to watch a blade carry more of the load than it does here.

Where does a knife stop being enough?
At the round. I was roughing in a convex in part 11 with a back bent gouge half an inch wide when I said I could get it done with the knife also, but a knife doesn't have that sweep. This one is a sweep number five, and I kind of like the idea that it has a sweep.
Sweep is the curvature across the end of a gouge, and in part 10 I put it just that way: a number five sweep, so the curvature.
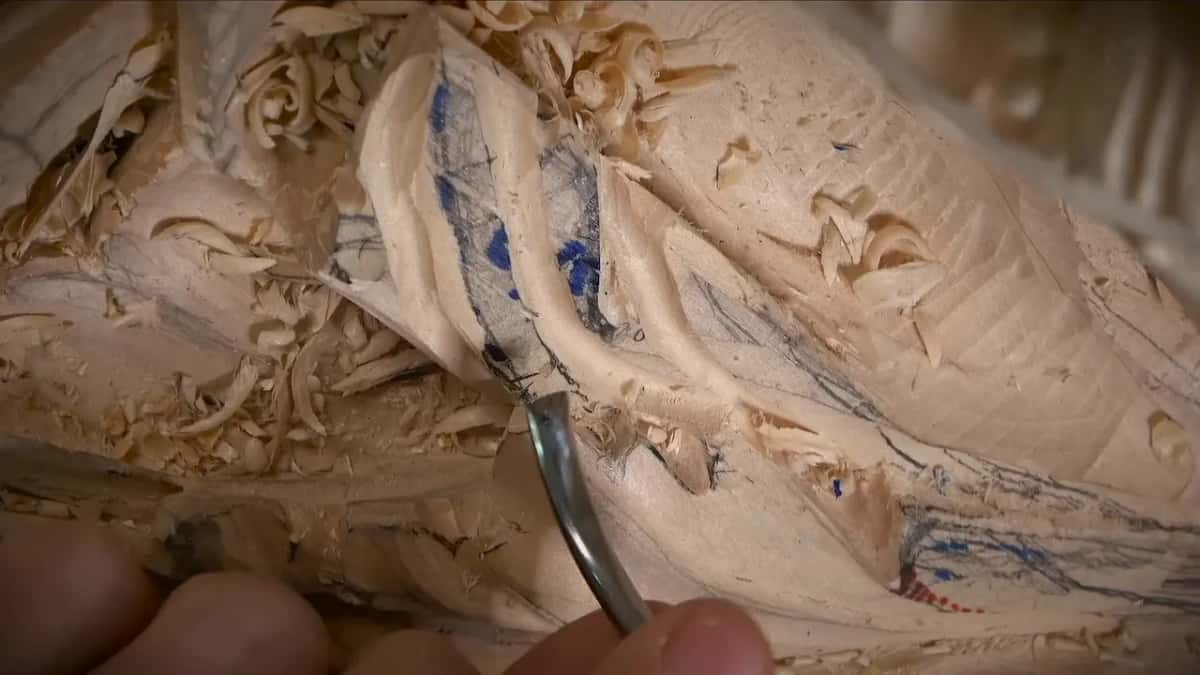
Facets are the other limit, and I named them in part 3. The only disadvantage of knives, and of that tool in this case, is that it leaves so many facets or ridges, if you wish. For me, ridge makes more sense. Ridges of tool marks, or tool marks, whatever you want to call them.
Near the end of the workshop, in part 12, I said I really didn't need sharp lines on that slope, and a #5 went back over it one more time.
What cleaned up after the knife?
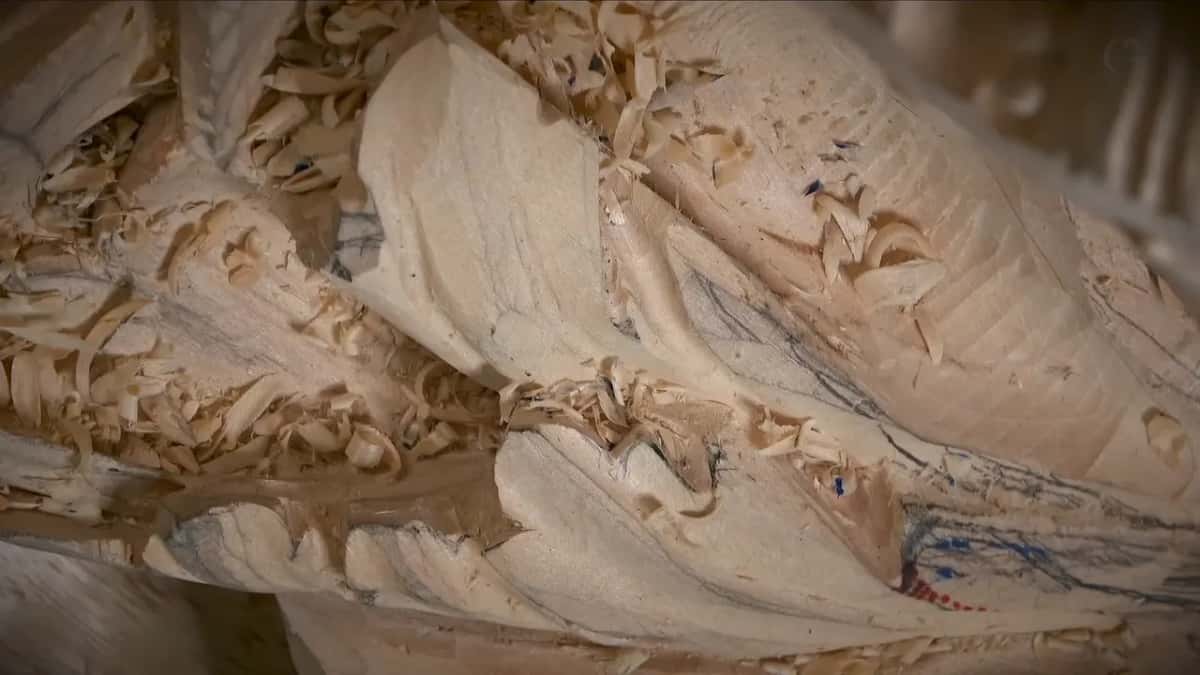
A #11 veiner, mostly. Right after naming the ridges in part 3, I blended carefully, then saw I needed a little better blending with my veiner, so I hit slightly one way and rotated it a little bit until the area came out cleaner.
At 10 mm, three-eighths of an inch, I told you exactly how hard I pressed. I'm not pushing in at all, I said. I'm just riding, barely hitting wood. Later the 7 mm veiner, a little bigger than a quarter inch, rode right on top of the chips, or whatever fibers were left, to clean them a little better.
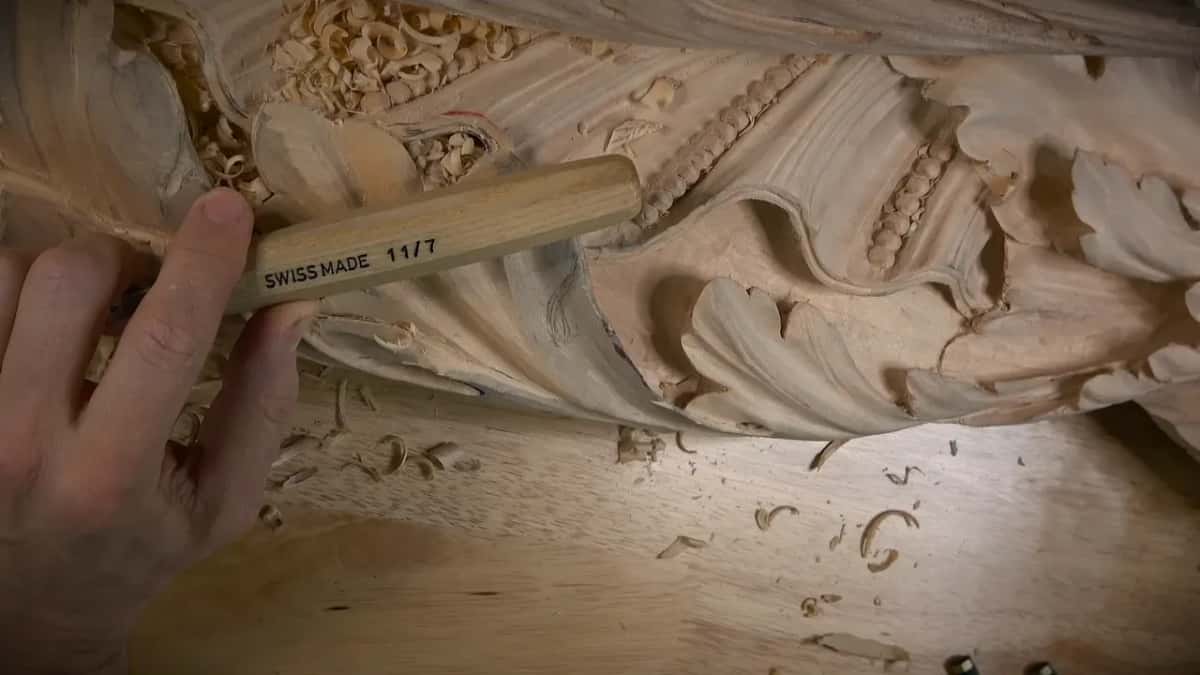
That's the good thing about the #11, I said in part 12. Using just the side of it, I can blend everything with no need to reach for a different tool.
At the end of part 10 I was doing it again with the same veiner, just riding over whatever facets I had left on that side. Two parts later a #5 of half an inch across went back over the slopes to refine the overall movement.
One more thing showed up in part 11. Looking at a convex I had just finished, I could see one side was a lot shinier than the inside, because we were changing the direction of the grain as we carved. Of course, I said, I can always take it to perfection and take out those facets completely. What I was after there was a really smooth transition, and I got it.
Why did a #5 back bent get the rounds?
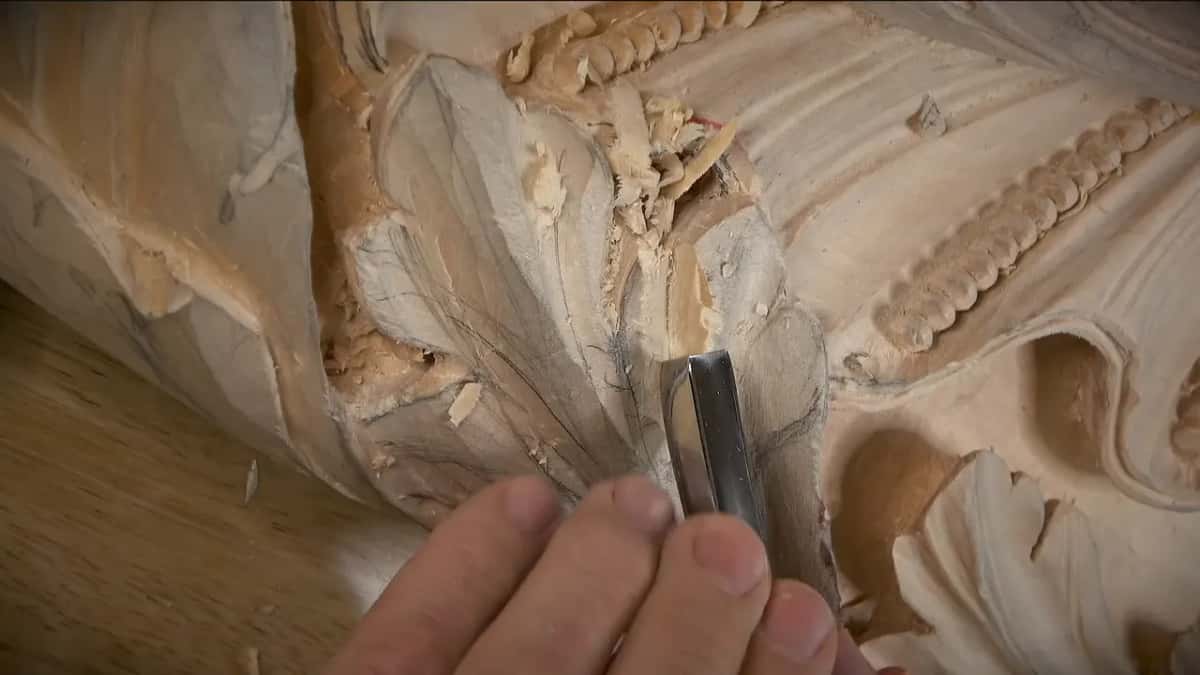
It carries the curve the knife lacks. I gave the middle of one form some convex in part 2 with a back bent of 6 mm, a quarter inch, and said maybe it was a little too big of a convex. The other side got the same sweep at 13 mm or so.
The quick way in part 9 was to pre-establish the convex with that back bend. It's not the safest way, I said, and you could see a lot of tear, the fibers tearing, but it gave me approximately the depth. Then a 10 mm #11 removed whatever I didn't need, and the surface came out much cleaner.

In part 8 I wasn't even sure the back bend would fit. Let me try, I said, I'm not sure if I'll be able to, but at least I'll try. It fitted, and the convex came out much nicer. I also worked on the back side of that tool in part 10, like a heel, to start a convex side and pre-establish the movement.
A lot of tear. Not the safe way, but really quick, as I put it in part 11.
By part 12 the same back bend was getting my pipe movement going, and the 7 mm #11 cleaned behind it. It looked like my back bent dug really deep in one place, which is absolutely okay, I said, and I only needed a slightly deeper excavation beside it. A back bent reshaped as a skew had its own day in workshop 68, and workshop 71 takes up when a bent gouge is needed at all.
Which tool did which job in workshop 72?
Here is the whole division of labor from the twelve parts, knife first, then the tools that finished for it.
| Job | The tool I picked for it | Said |
|---|---|---|
| Rounding a slope | The short knife, picked over a skew | Same idea |
| Undercutting and hooking | Same blade, straight away, no tool change | Hook out |
| A blocked spot | The knife again, slowly, bit by bit | Almost impossible |
| Cleaning the canvas | Knife once more, right over my marks | See more |
| A middle convex | Back bent in number five, 6 mm | Too big |
| Roughing a round | Thirteen millimeters of that same bent sweep | Quick, tearing |
| Blending the ridges | Veiner, number eleven, 7 or 10 mm | Barely hitting |
| An against-grain wall | The skew, where the veiner had failed | Still clean |

What else happened at the bench in workshop 72?
A small break, for one. A piece came away in part 4 because my relief cut there was too shallow and I was a little too fast, and two parts later I said that this time I'm going to relieve it really good. Even so, I had removed a whole bunch of wood I wasn't going to need anyway. That story belongs on another page.
Part 1 had opened with bad news of its own. I had lost about half an hour of video of the work I did on this area. And some of what you see finished in part 9 was carved off camera, because my head would always stick in the shot, and that's not really pleasing to the eyes.
The third part ended on a black screen and an apology from me. My recorder is the kind real broadcasters use, and it cost thousands of dollars, yet it still fails sometimes. It lets me switch on the fly, though, so I can spend my time carving for you instead of editing. Editing takes a long time, and some of you who make videos yourselves will understand me.
Most tools in this workshop are gouges, and the tools course lays out the whole family. None of them, knife included, is worth much dull. Sharpening got its own course, because it's the hardest of the three skills.
Earlier workshops of this room sit next door. Workshop 67 is the #3, workshop 69 rounds a ball where I said a knife or a skew might do it even better, and workshop 70 is about knowing when you're too deep.
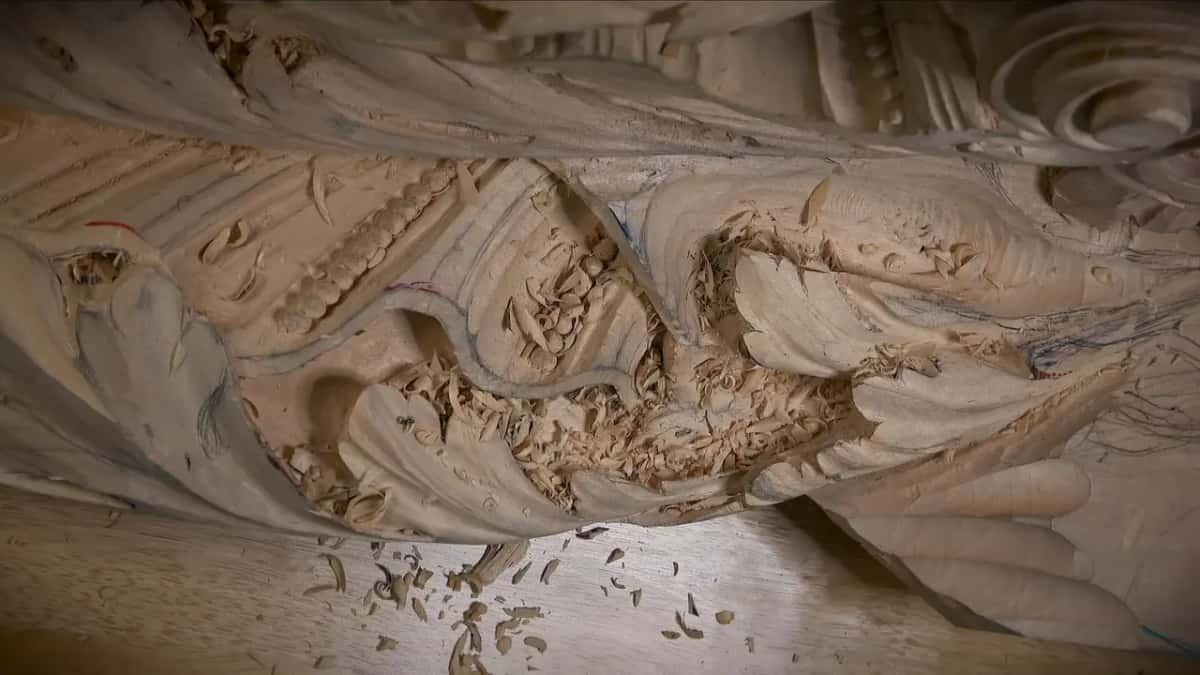
Could one small blade help on your next leaf? Would you like to watch where it earns its place and where it doesn't? Then the whole of Part 6 is open with full access, workshop 72 and the eleven around it, starting at workshop 62 and running through workshop 73. If Part 6 feels too far in, Part 5 is the stretch just before it on the same panel.
How it's done
- Round the slope with the blade. Early in the workshop I gave one area more roundness with the knife before any concave went in beside it, until it curled down.
- Undercut and hook out. That same tool undercut at once and hooked out the mess, which saved me a change of tools.
- Work a blocked spot slowly. Where the panel itself stood in my way and the grain ran wrong, I used the knife little by little instead of forcing a gouge in.
- Rough each round with the bent #5. Thirteen millimeters of that sweep gave me the depth of a convex fast. Plenty of tear, not the safest way, but quick.
- Ride a #11 veiner over the ridges. Seven or ten millimeters, barely touching, rotated a little, until the facets from the blade blended into one surface.
Frequently asked questions
Is a knife enough to carve a whole relief panel?
Not on this ceiling. In workshop 72 it rounded slopes, undercut, lifted waste out and got into a spot that was blocked the other way for me. With no sweep of its own, though, it left every round to a bent #5 and the final smoothing to a veiner.
What is the downside of carving relief with a knife?
Facets. I said the only disadvantage of knives is how many ridges they leave, which I also call facets. On a Venetian leaf I didn't want sharp lines, so a #11 went over those marks afterward, barely touching.
Did the old Venetian carvers use knives?
They used knives, I said in part 5, answering my own question on camera the same minute. My pale handled tool isn't from that period, yet a knife would be authentic, and this one is a form of a knife anyway.
What to carve next