

Alexander Grabovetskiy, woodcarver, School of Woodcarving · Published 2020
Why does wood go fuzzy when you carve it?
Quick answer: Fuzzy wood is wood that sponges under a sharp gouge rather than parting clean. On my Venice Room panel in workshop 63 it came from one darker, softer stretch of lime. Super sharp tools still left it, so I sharpened again, went really slow, and sliced through, then finished the spot with the gouge alone.
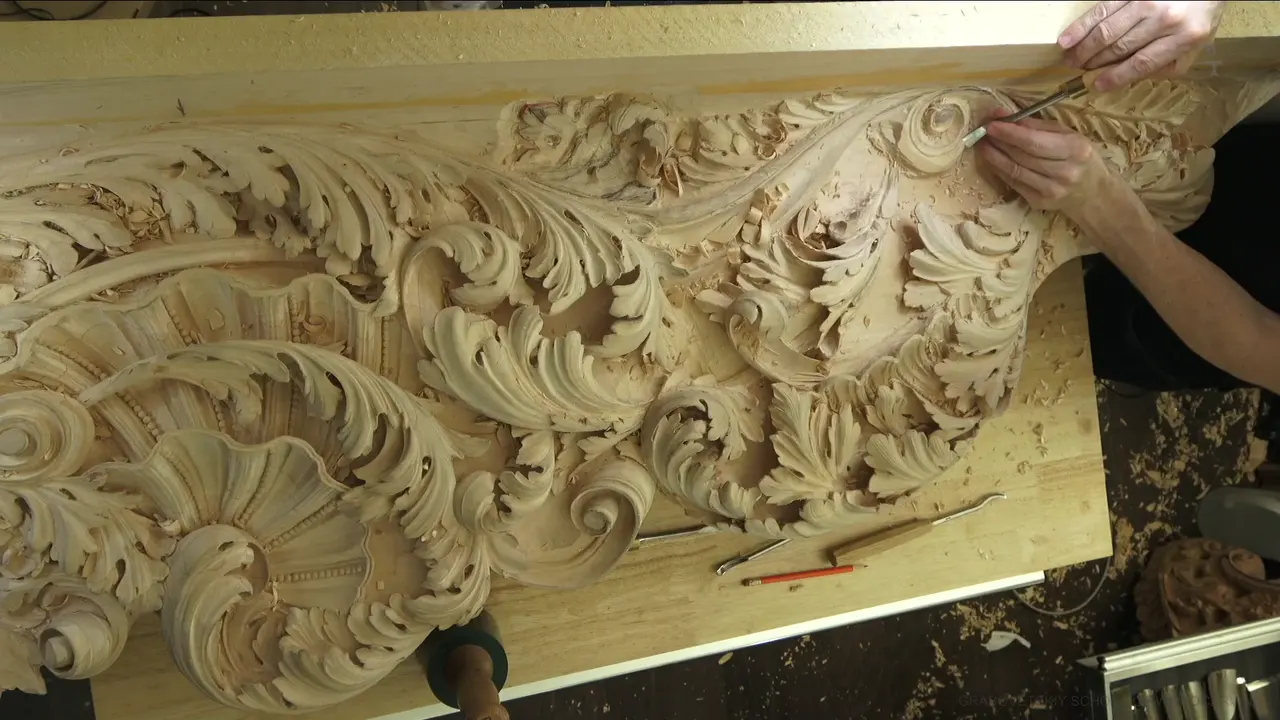
Fuzzy wood is wood that sponges under the gouge instead of slicing clean. It happened on my Venice Room board, in one softer, darker patch of lime. My own answer to why is my wood fuzzy came in workshop 63, when my tools were already super sharp. That was not enough on this spot. I made the edge sharper still, slowed my hand way down, and sliced through.
Do you want the surface to come off your gouge clean, without paper or a rasp? Would you rather fix fuzz with the edge you already own? Then follow one darker stretch of lime through workshop 63 with me.
You get the order I worked in, and the words I said at the bench.
What happened on one lime panel
Softness can change inside one panel, even when the whole panel is lime.
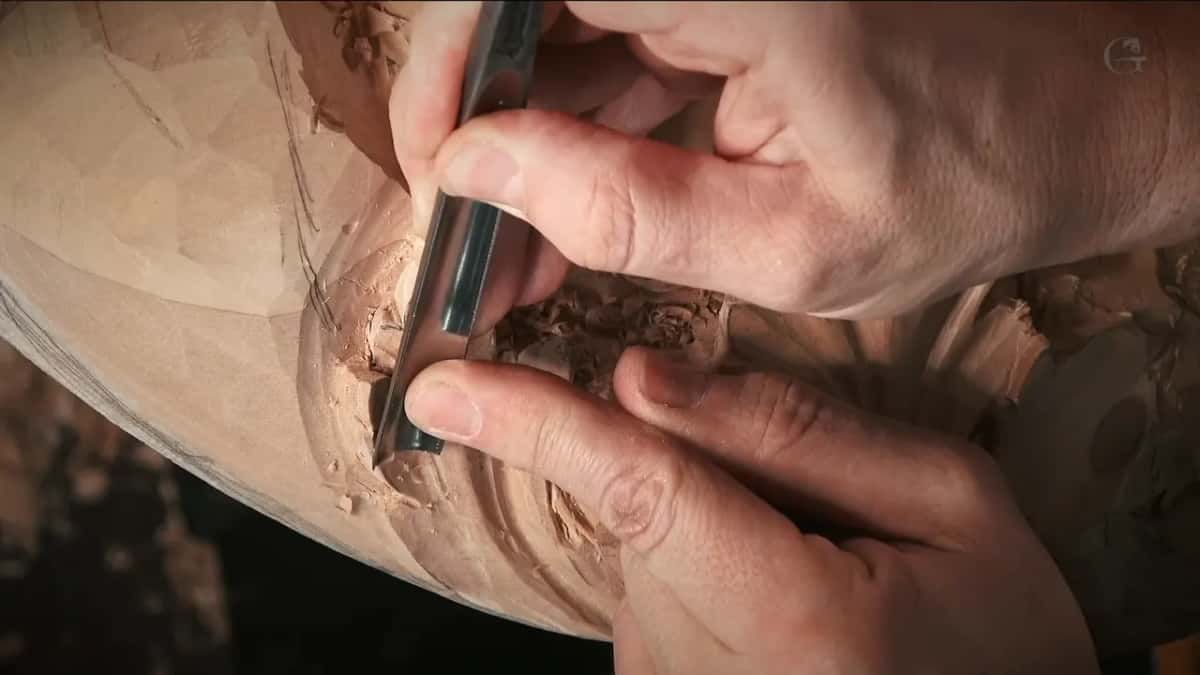
My board had a darker stretch that was the softer one, and it kept sponging until I sharpened again and slowed right down.
Then the gouge sliced through.
Grain is its own problem, answered by changing position.
The finish I was after came off the gouge, with no help from a rasp or sandpaper.
Better was enough to stop.
Why is my wood fuzzy when the gouge is sharp?
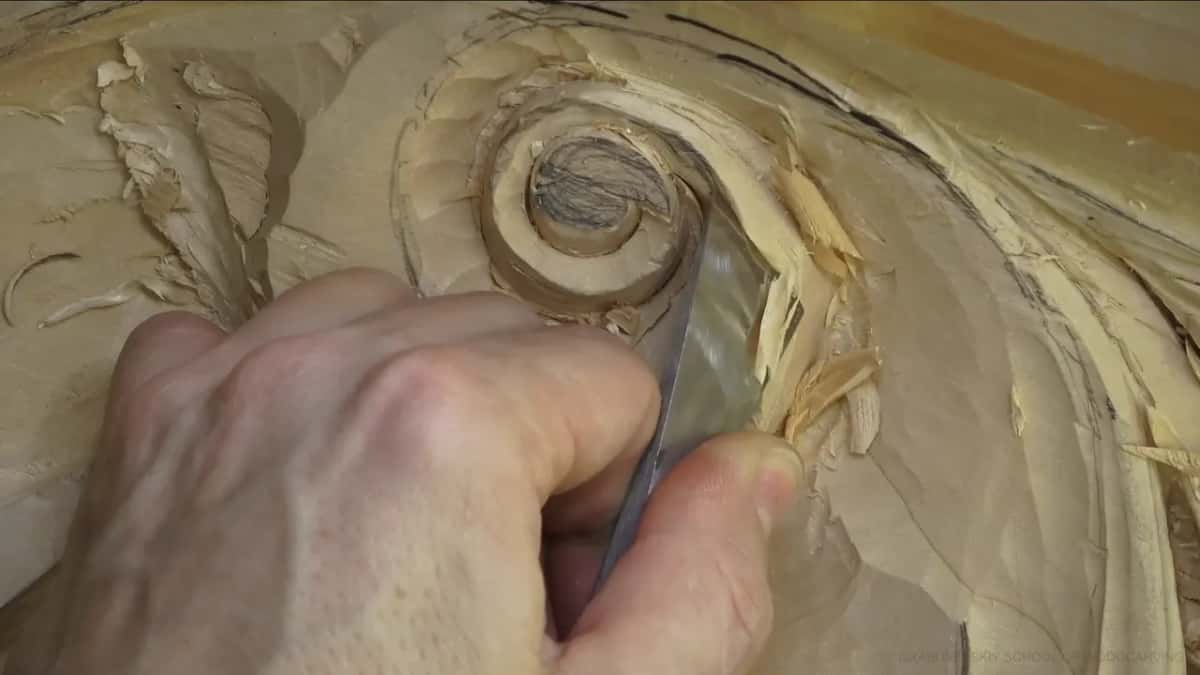
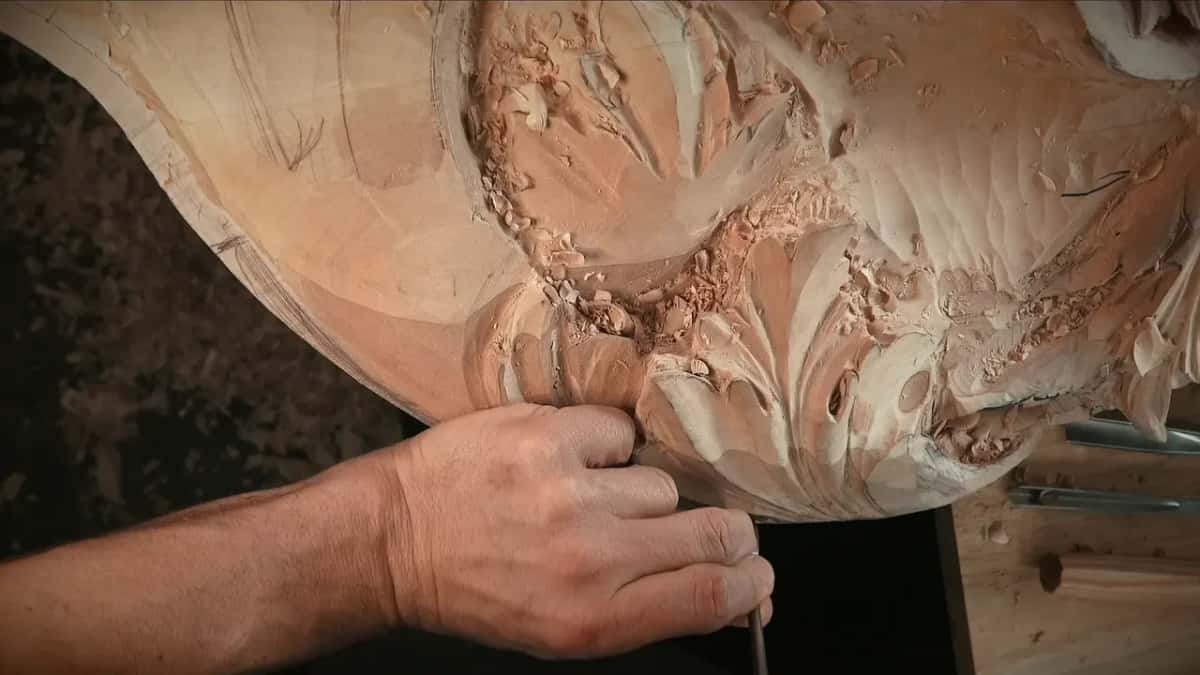
The wood in one spot can be softer than the wood around it, and on my board it was. I was near the end of workshop 63, still not too happy about the finish I saw. I like a surface straight out of the gouge much better, and I tried to take some of that finish off. I also said what else was going on. Sometimes it is the wood itself.
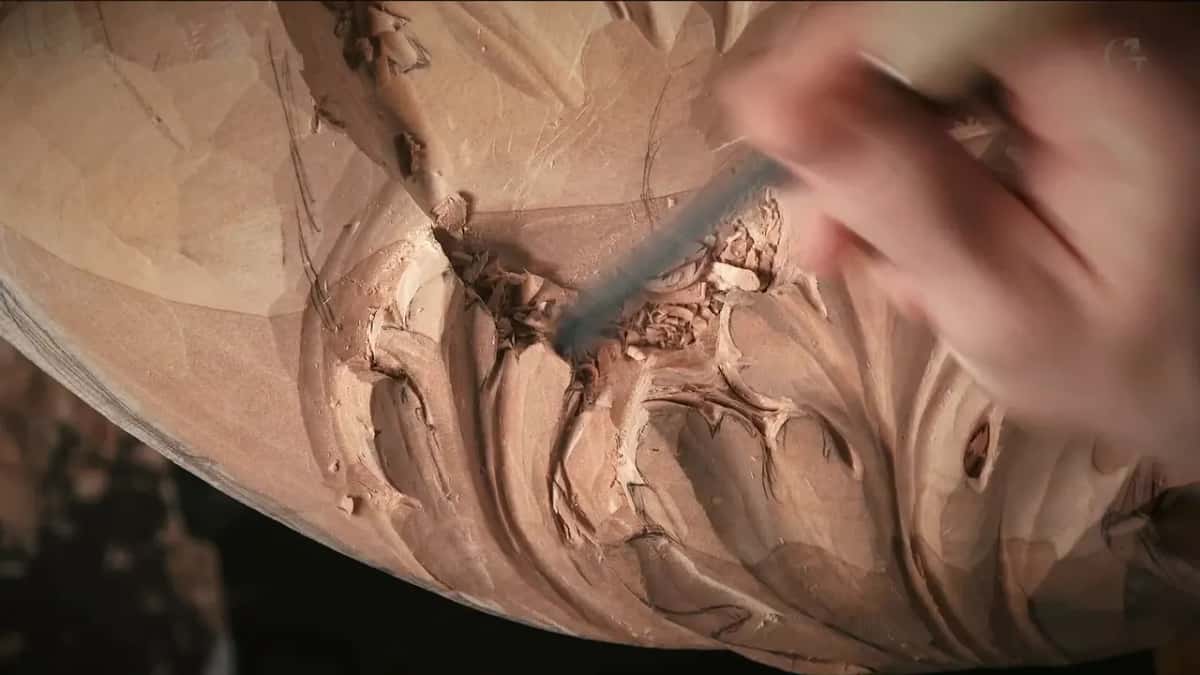
Density and softness change even inside one species, and I am talking about the same lime wood, where you can see variations of softness and see the color changing too. I could point to a lighter color and a darker color on the same piece. In my case the darker wood was a little softer. And right there it was sponging slightly, even with super sharp tools, and slightly was enough for me to call it no bueno. I said the word sponging six times in under a minute.
Lime wood for carving still varies inside one piece
This panel is lime, from the same tree genus that Americans call basswood. If you want the numbers, The Wood Database lists European lime at 700 lbf (3,100 N) on the Janka hardness scale. Its dried weight there is 33 pounds per cubic foot (535 kg per cubic meter), and the site lists basswood too. The Forest Service Wood Handbook explains wood density at length. Those figures describe a species as a whole, and my gouge was working one small spot.
Is the wood to blame, or the edge?
The edge, still. My teacher did not believe in bad wood, he believed in dull edges, and I tell that story on the page about bad wood for carving. Nothing in workshop 63 goes against him. It only adds one fact from my own bench.
Softness changes inside the same lime, and my answer to that was still the edge and a slower hand. When the darker stretch sponged, I went back to my tools first. Even super sharp had not been enough there, so the edge had to get sharper. The softness was in the wood, and the fix was in the edge.
How do you fix fuzzy wood without sanding?
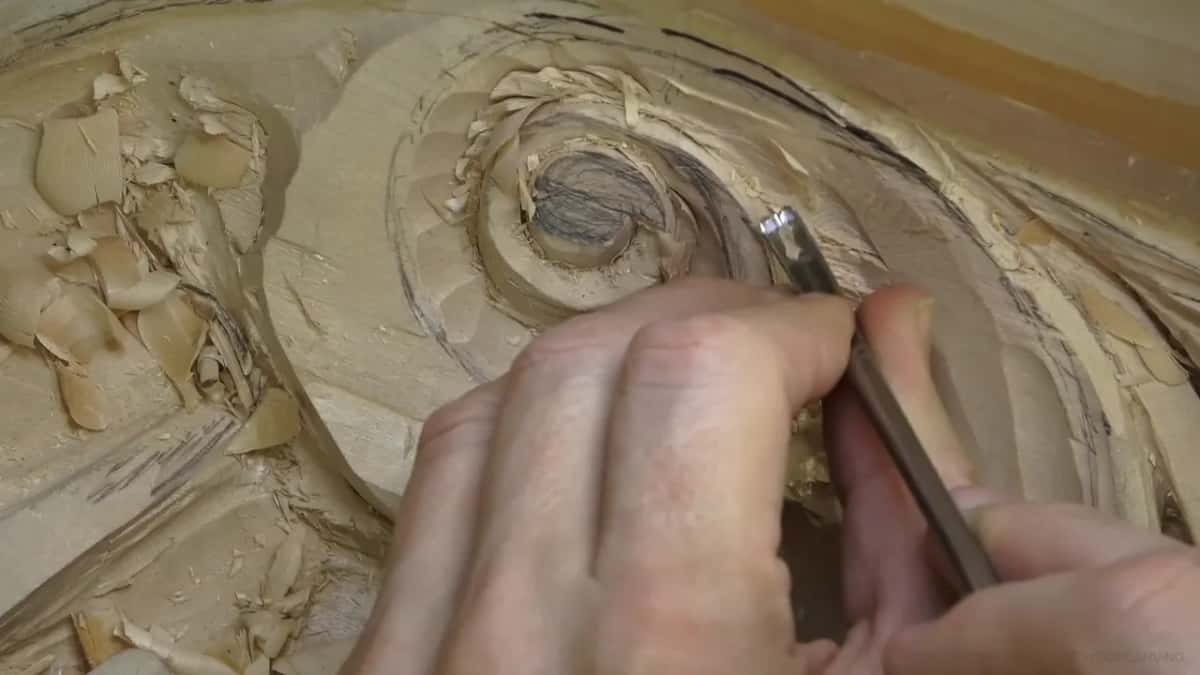
Sharpen again, and slow down. I said out loud that some of my tools had to get even sharper, and yes, that was exactly what I had to do, because otherwise it is just sponging, sponging. So I checked whether I had tools sharp enough to take care of that sponging effect. After that it was still sponging slightly.
Okay, let me make it sharp, I said, and a moment later I had that tool a little sharper. Then I took the pass really slow and sliced through. That was a #9, super, super sharp by then. After it I cleaned a little more of the area, and it was much better. Wonderful, I said.

Sharpening has a course of its own at the school, and it is the hardest of the three skills, next to design and carving. It takes years. More than once in this workshop I stopped to fix an edge.
Early on, one gouge was not that sharp, so I picked up a smaller one of the same kind. I did not want to mess up that transition, because it was a beautiful movement and it was going to give me a really nice shadow play. In the middle of another pass I said I might have to sharpen the tool, then corrected myself. Buff it, I should say. Later, on a small pipe, I buffed a tool and stropped it a little off camera, and it worked much better after. Even the chisel with all the skew angles in it needed sharpening that morning.

Down in a deep eye I had just dug, I cleaned it with a spoon veiner of about 2 mm (5/64 in) and then a gouge of about 5 mm (3/16 in). Anyone who wants sandpaper can try to sand that, I said, and it is impossible. Earlier, after one pass came off clean, I told the camera I did not have to feel guilty anymore, and I did not have to grab rasps for it. The tool was a skew gouge, a #7 about 14 mm (about half an inch) wide, and the skew has its own story in Part 5. Whether to sand a finished carving at all has a page of its own.
Why go slow in a soft patch?
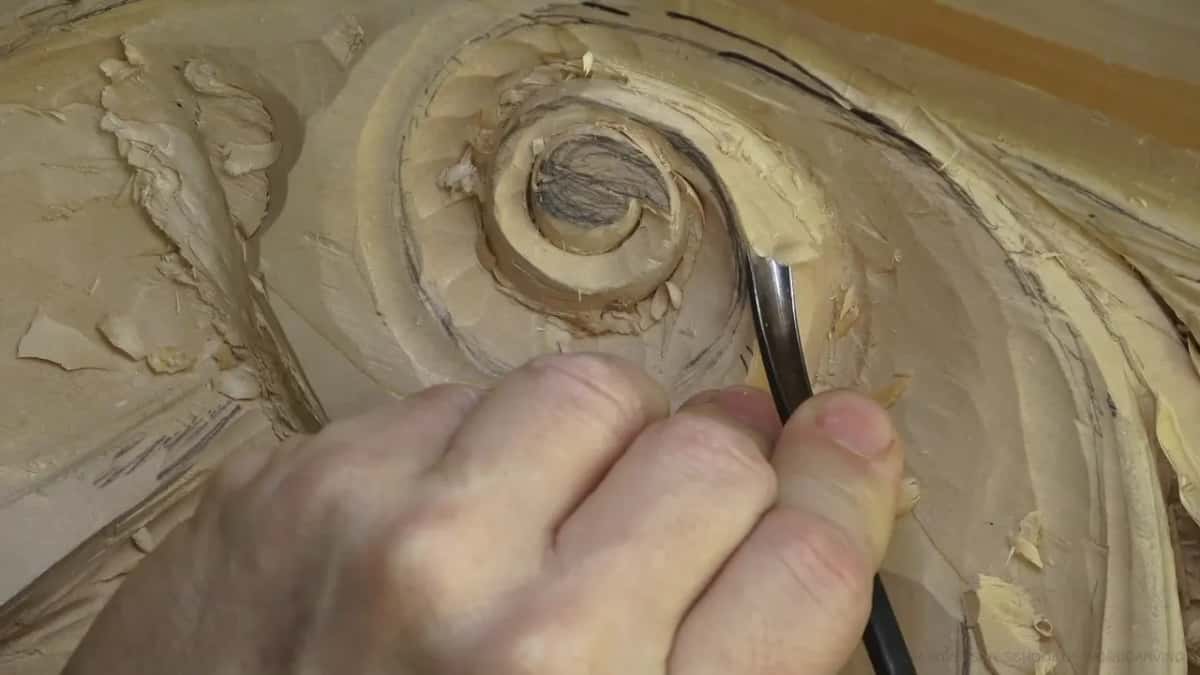
That area was really tricky, and I said so while the sharpened gouge went in. I had to be really slow with it. Slow and super sharp together is what finally sliced through the soft stretch.
Little by little is a phrase I used again and again in workshop 63. I cleaned around that way at the very start, and I dug the eye that way later, carefully. In the deep channel I said I could start with a 4 mm (5/32 in) tool and just a little less push. How speed can hurt you at the bench is another page from this room.
Part of the workshop ran under a storm. About 11 in the morning it was dark outside, after a couple of stormy days, and I brought in more lights so I could see better. We do have storms in Florida too, I said, but that one was not too common there, especially at that time. Reading your own marks under a lamp is a lesson of its own.
Some of it the camera could not show at all. More than once I said sorry, and once I begged for forgiveness, because you absolutely could not see what I was doing.

When does fuzz start to matter?
Late, in this workshop, when the piece got near its final look. Early in workshop 63 I told the camera not to pay attention, because the surface was not clean yet. It was looking rough, and I said it was not finished, just a preliminary. Even if it doesn't look too good yet, it will be good, I said. Later I said it was not done yet, but still, preliminary, I think it looks really good.
At that stage I was sculpting the main shape more than anything else, and I did not worry that it looked bad. What I checked, from the side and in three dimensions, was how tangent one line was to the rest. I even asked the camera if tangency was the right word.
Deep in one eye I said the spot would be visible, really close to a face, not too close, but still, so it had to be 100 percent beautifully done. Even on a small detail it makes sense to me to create something really nice.
Much of the cleaning in this workshop happened off camera, because it is a boring process. Near the end I said every detail you add gives the piece more of the final look you are after. That is when I started to fuss over the finish. And that is when the soft stretch showed itself.
At one point in the first part I stopped to blow the chips away. I liked the development so far.
Grain is a separate problem on the same piece
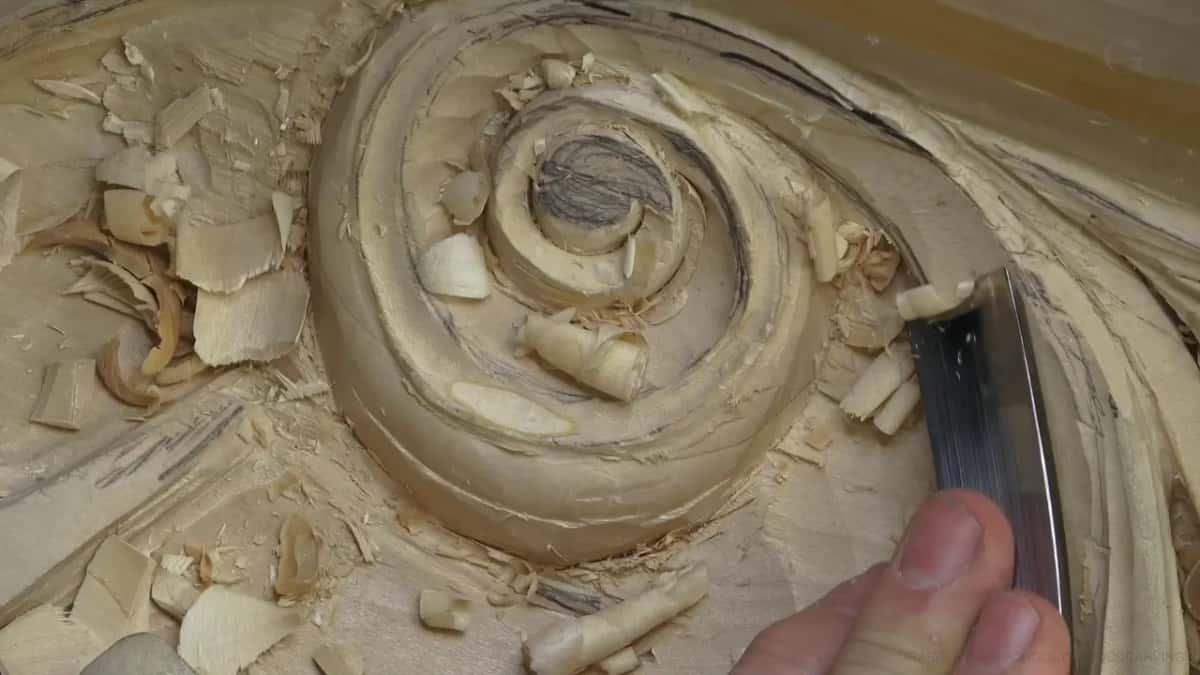
Sponging and grain are two different troubles, and on my panel they asked for two different answers. The soft stretch wanted a sharper edge and a slower hand. Later in the same part I needed to be really mindful of the grain, so I came at it from different positions.
Near the start, rolling a ridge with a back bent, I told myself to go little by little and pay attention to the grain of the wood and what it does. Later, rounding a pipe with a #7, I had to change position or I would damage it. Inside the deep eye I attacked from all the positions and even undercut uphill, to make it really deep and nice. Carving against the grain without tearing is a question I answer later in this same room, in Part 11. One side of a single pass coming out rough is another page.

Why I still want the finish straight off the gouge
Even after it was much better, I was happy with the result, but not all the way. Something really bugged me about the finish, and I said I don't like that. I wanted to take care of it with just the gouge. Twice I said it. With just the gouge.
Earlier I had cleaned a spot because I don't like to see those facets. A little later I was still not too happy about extra ridges and extra tool marks, and I said I really don't want to see them. One ridge I could not make up my mind about. Maybe it is too sharp, I said, maybe yes, maybe no. Soon after, I broke a ridge on purpose with a #5, a quarter inch (6 mm) wide, because it was just too sharp and cast a little too strong a shadow. How I clean up a whole leaf without sandpaper is another lesson.

What I did about the edge in workshop 63
These are the moves in workshop 63 that had to do with the edge or the finish, in the order they came.
| Trouble | Move | Result |
|---|---|---|
| Gouge not sharp | Picked up a smaller one, same kind | Kept going |
| Rasp or sandpaper | Skipped, since the pass came off clean | No guilt |
| Tool needed buffing | Buffed and stropped a little, off camera | Worked better |
| Sponging, soft stretch | Checked which tools were sharp enough there | Still sponging |
| Sponging after that | Sharpened it further, then took it slow | Sliced through |
| Finish still bugged | Went over it using the gouge alone | Looked better |
Four of the six rows are about the edge alone. The last three all happened in under three minutes, at the start of the final part.

When is a soft patch good enough to leave?
When it is better, even if it is not perfect. I thought a #6 might work a little better and tried it, then wondered out loud if it was too much. Then I left it alone. I could have spent all day long in that one area, and I did not want to.
Right after, I found room for a convex movement on that part and carved the divisions deeper, so they would show.
Where workshop 63 leaves the piece
Part 6 opened with workshop 62, and the room keeps going in workshop 64, both inside the Part 6 course. This is the sixth stretch of one relief panel, and in workshop 63 alone I carved concaves, a ridge I wanted to see, deep eyes and small pipes on an acanthus. The eye came out as a plug, and I said it gave me a really deep shadow.
A one-inch (25 mm) skew sloped a form, back bents rolled a ridge until it had that balloon effect, and a long bent ran a semi-final line clean and continuous, about 3 mm (1/8 in) from my first line. I used five sizes of #11 veiner, and the biggest I named was 10 mm (3/8 in), the smallest 1.5 mm (1/16 in).

Do you want to watch that darker stretch stop sponging under a sharper edge? Would you like to hear why I stopped where I did? Then see the plans for the whole school, where this room is one course.
For some reason I was mumbling that day, and I said so twice.
How it's done
- Check the edge first. Test your tools on the fuzzy spot before you blame the wood. I went through mine on camera to see which were sharp enough there.
- Notice where the color shifts. Look for a change of color near the fuzz. The softer wood on my lime panel was the darker one.
- Sharpen again. Super sharp may still sponge in a soft patch. Make the edge sharper and try the same spot.
- Go slow and slice through. Slow the pass right down and let the sharpened gouge slice through, the way I did on camera.
- Come at tricky grain from another side. Where the grain turns tricky, move and work the spot from another position.
- Finish with the gouge. Clean the spot using the gouge itself. A deep hollow will not take sandpaper anyway, as I said about one eye.
- Leave it when it is better. Stop once the patch looks better, even when a little still bugs you. I left mine alone rather than spend all day in one area.
Frequently asked questions
What does sponging mean in wood carving?
Sponging is my own name for a surface that stays woolly where the gouge went through. On the Venice Room panel I met it in one small patch of lime late in a long session, and even very sharp steel left a slight fuzz there until I went sharper and slower.
Why not just sand the fuzz away?
Paper cannot get down into a hollow like the deep eye on this panel. I invited anyone who likes sandpaper to try sanding there and called it impossible. On the soft patch, a sharper gouge and a slow hand gave me a much better surface.
Does a darker patch always mean softer wood?
Nothing in this workshop says always. I pointed at a lighter color and a darker one on my lime panel, and in my case the darker one was a little softer, which is where the fuzz showed up. One panel is all that lesson speaks for.
What to carve next