
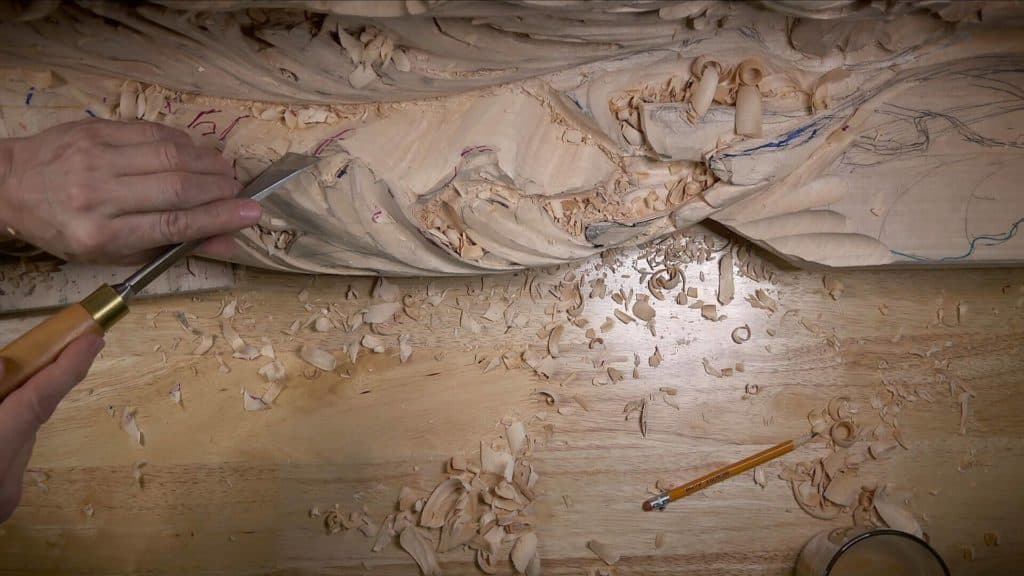
Alexander Grabovetskiy, woodcarver, School of Woodcarving · Published 2020
When do you need a bent gouge in wood carving?
Quick answer: A bent tool is what you pick up when a straight gouge cannot reach the spot, in my case because its handle hit higher parts of the carving first. In workshop 71 of my Venetian panel that meant two spoons, a long bent #11 and a skewed #5 back bent of 13 mm (1/2 in)
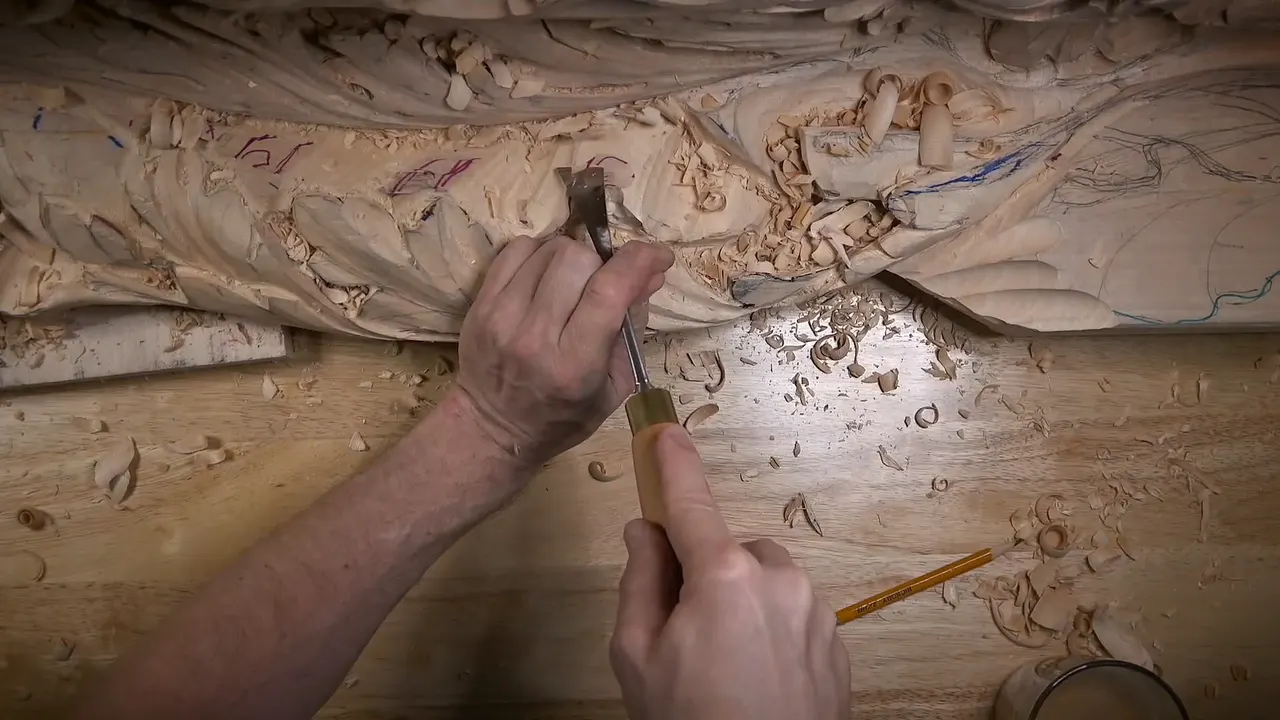
You need a bent gouge when a straight one can't get its edge to the spot you want, and in workshop 71 of my Venetian relief panel that happened again and again. Sometimes I said why. The handle kept hitting the main body of the carving in part 10, and I told you I was really limited in what tools I could use. Part 5 had a straight #11 cranking against a thin edge. Other times all I said was that the straight one won't work, and I picked up a bent one and kept going.
Workshop 71 ran mostly on #11 veiners, from 1.5 mm up to 15 mm (1/16 to 5/8 in). The bent ones came out at a handful of moments, and I'll go through them in the order they happened, each with the reason I gave on camera.
Have you ever pushed a gouge toward a spot and felt the handle touch wood first? Did you tip it up and watch the edge skate off? Then come through it with me.
Where the straight tool gave way in workshop 71
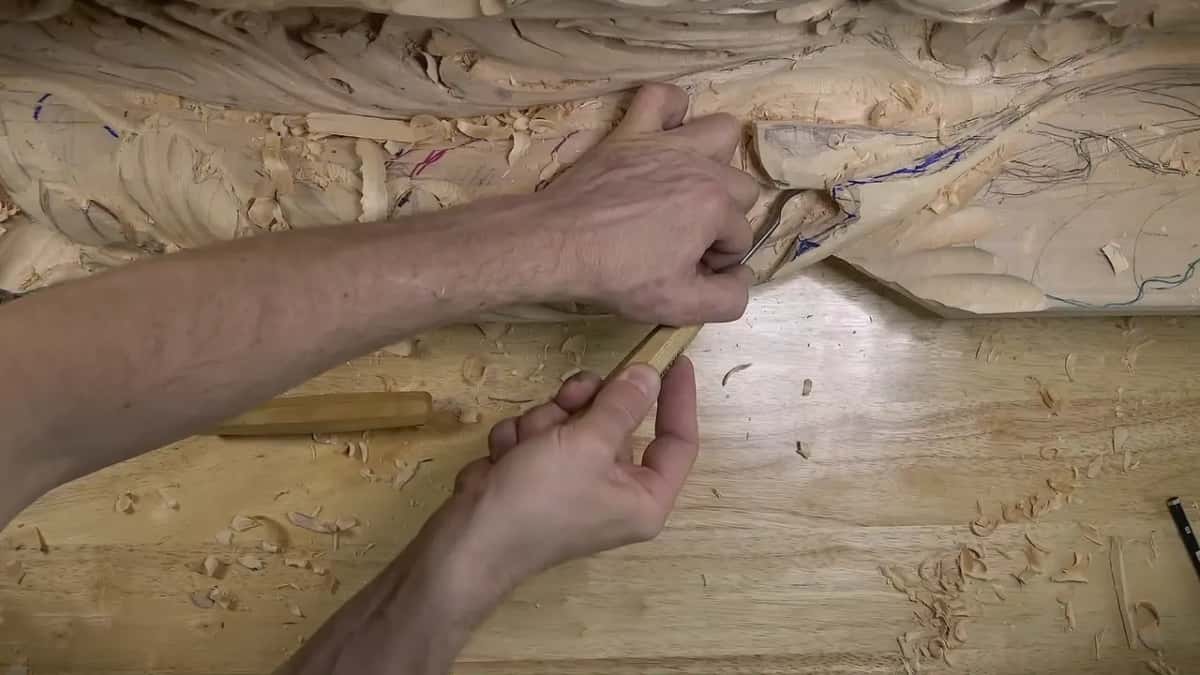
Part 1 gave a small detail to a 4 mm, 5/32 inch, spoon, and an edge went down to about 1/16 in (1.6 mm) under a 10 mm, 3/8 inch, #9 spoon.
In part 2 the skew went first, then a back bent.
Leaning a straight #11 on a thin edge was a bad idea in part 5, so a spoon took over.
A long bent #11 of 6 mm (1/4 in) went right in to a hole in part 6.
My 13 mm (1/2 in) back bent, a skewed #5, blended convexes to the middle line in parts 6 and 8.
By part 10 the handle kept bumping the carving, so the back bend took the convex.
Where did the straight tool give way first?
About a minute and a half into part 1. I wanted a little more detail in one spot, and the straight tool is not going to do it here, I said. I need a skew, I said, and then caught myself. Not a skew, I'm sorry. A spoon, four millimeters (5/32 in).
There wasn't that much wood left in that spot, and I still had to keep some of it for the cleaning I would do later, so I told you I couldn't go too deep right then.
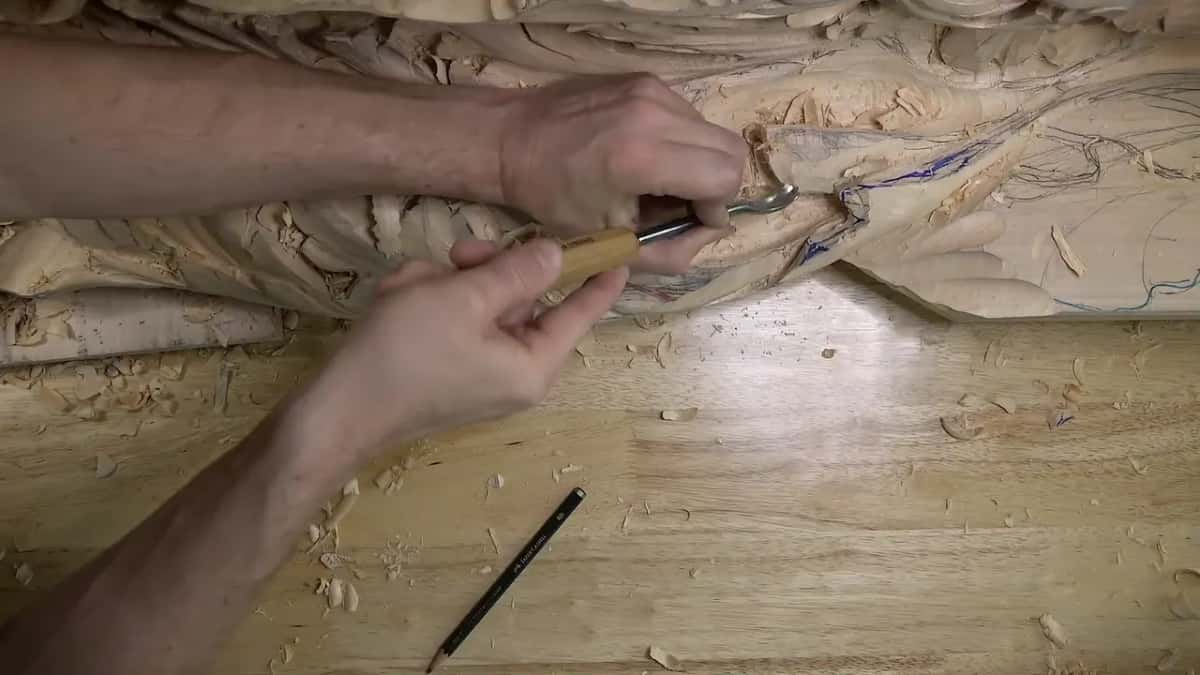
A little later the same area became what I called a shadow section. A deeper shadow was the plan. I weighed seven millimeters against ten, tried ten, and it was a spoon gouge, a number nine, 10 mm (3/8 in).
To make that part feel like it really wraps, I had to lower it all the way to 1/16 of an inch, about 1.6 mm. That was what I had left in that spot. How much wood to leave under the deep spot next to it was a big question, and I changed my answer on camera. Three millimeters at least, like 1/8 of an inch, I said. Maybe about five.
Keeping depth in check had a workshop of its own, workshop 70, the one right before this.
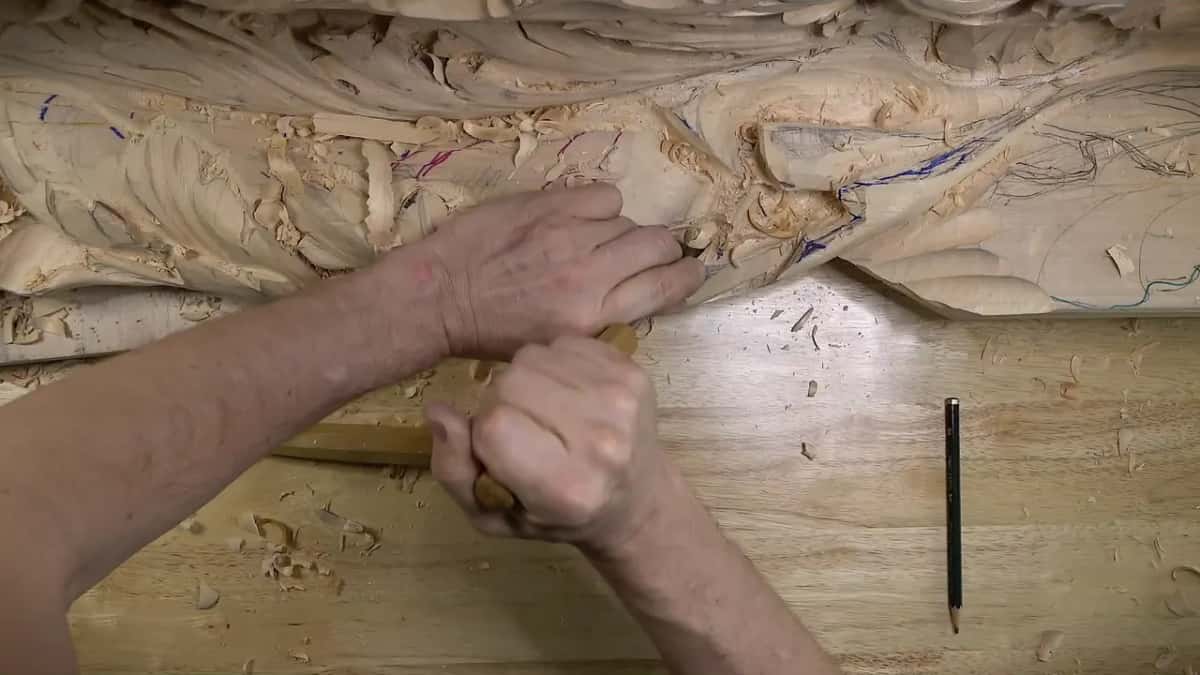
Next the spoon ran the wrong way to the grain. A little dangerous, I said, but still possible. If the tool is sharp, I shouldn't have any problem, and in my case the tool was really sharp.
And I kept checking how deep I was going, the whole time. I told you I've done that mistake too many times, getting a little too deep.
At the end of part 1 there was a small triangle to clean, and it has to flow on inside. The camera couldn't see it. I apologized, tried a different view, and took the skew to it.

Can a skew stand in for a bent tool?
For a while it did, in part 2. I opened a separation and two eyes with a 5 mm (3/16 in) #11 there, attacking from both directions, then went smaller at the start of an eye, 2 mm. By then the area was not too convenient for straight tools. Let me try just the skew, I said.
It blended the ridge where one part goes underneath the other. It felt like it needed sharpening, and I said so, and then about a minute of quiet work went by with the skew still in my hand.
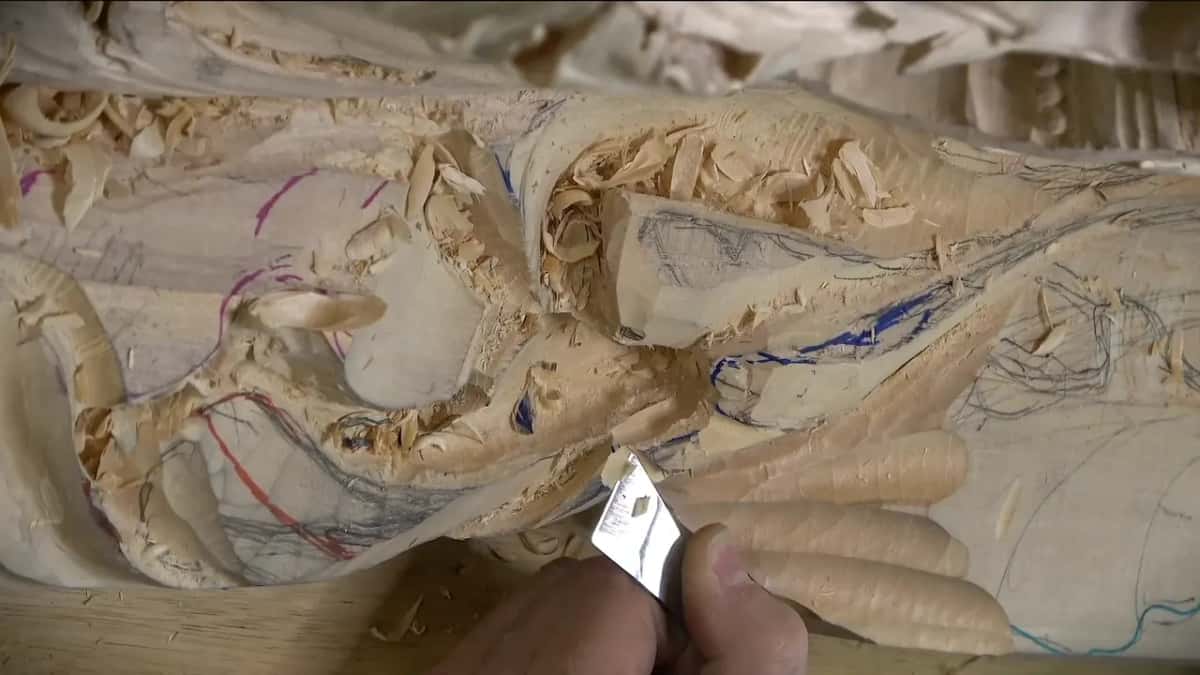
Can you detect the movement? I asked you that, because it blends in nicely, and I think it's really beautiful. Still, I wanted more roundness. A number seven or a number six could give it, I said, but that straight tool won't work. I should leave it.
I couldn't just leave it. Half a minute later a back bent came out for whatever I really wanted there, true roundness, and that finished it.
One more separation opened under a small skew in part 3. Really, really nice, I said. Part 5 of this room is all about the skew chisel, so I won't go into it here.
Something else was in the way in part 3. I made a plug cut there with the same number nine as before, a quarter inch (6 mm), and I couldn't do a full rotation, because one plane of the carving was on my way. So I went about three quarters of the way round and attacked from the opposite side. It wasn't a true round plug. About three-quarter of an inch deep, I said, and already giving me some shadow.
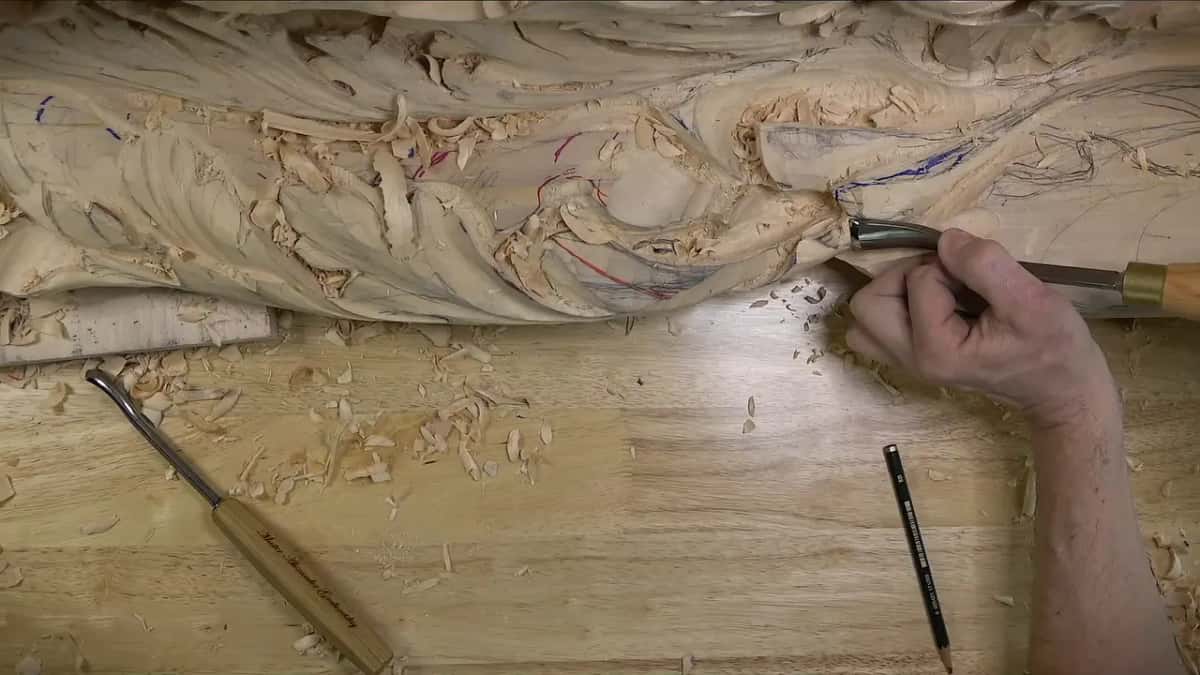
Why use a spoon gouge instead of prying on an edge?
A straight tool had me leaning on a thin edge in part 5, and I caught myself doing it. A shell was coming in that area. I kept checking how thick the wood was, and I had a 3 mm (1/8 in) #11 going in for a separation.
Then I stopped. Maybe I should use a spoon already, I said, because right now I'm cranking against this edge, which is not the best idea.
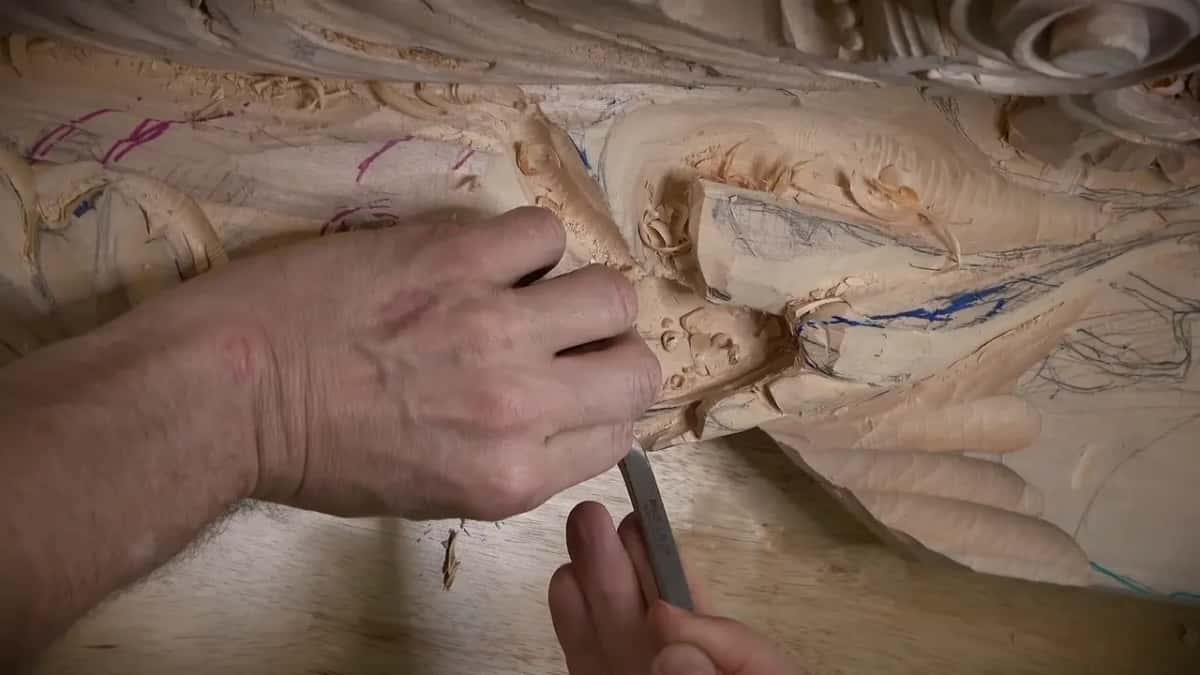
A chunk I didn't need came out next with a spoon gouge, a number six, and then I said I believed I could use a number five safely. I don't have too much material left, I told you. Have to be really mindful.
It was also hard not to cover the camera in that part. I had to stretch my hands really far.
Five parts later the same worry came back at another edge. I didn't want to use it as a leverage point, because I could easily break it, so I put my finger underneath and pushed against my finger.
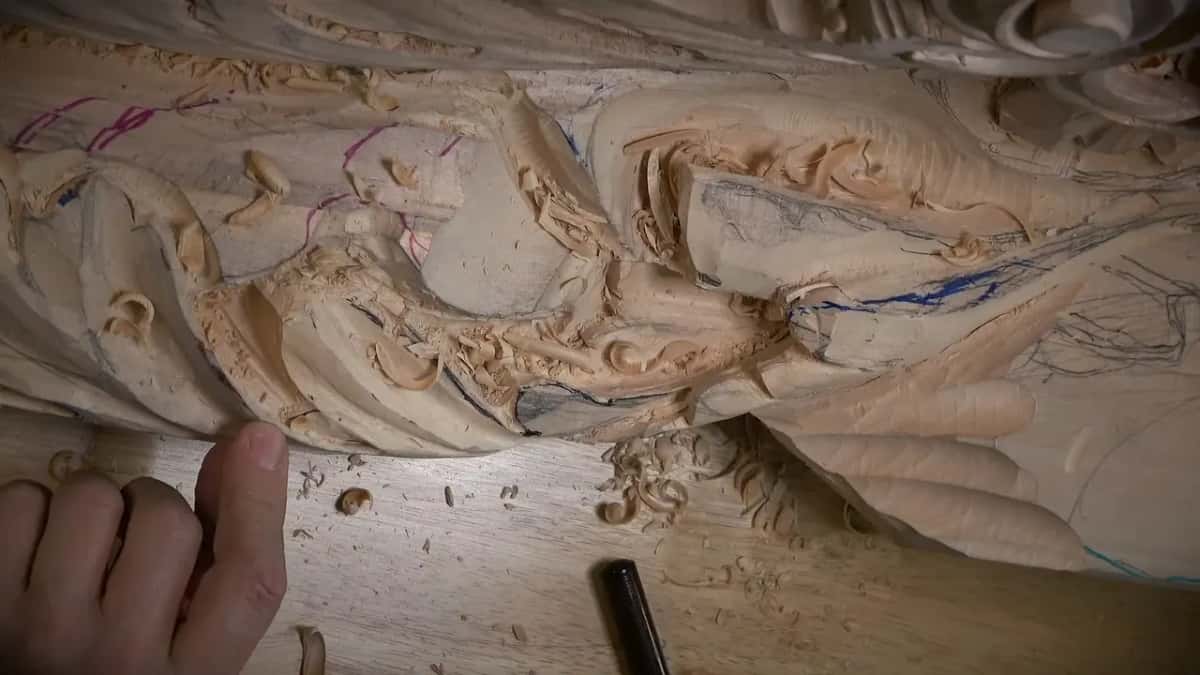
And be mindful, I said, you can break your finger that way too, if you push too hard trying to dig too deep. It's never happened with me, but I know it is possible, so be careful.
When does a long bent come out?
When the concave has to run a long way in, like the one in part 6 that ran to a hole. That part started badly. A 7 mm (about 1/4 in) #11 was a little too small, so I went up to 15 mm (5/8 in), with no more than 1/16 of an inch below me. Ai, ai, ai.
A number nine barely touched the wood after that, because I was almost at the bottom. I didn't want to make a mistake, so I left that concave for later and jumped to the other side.
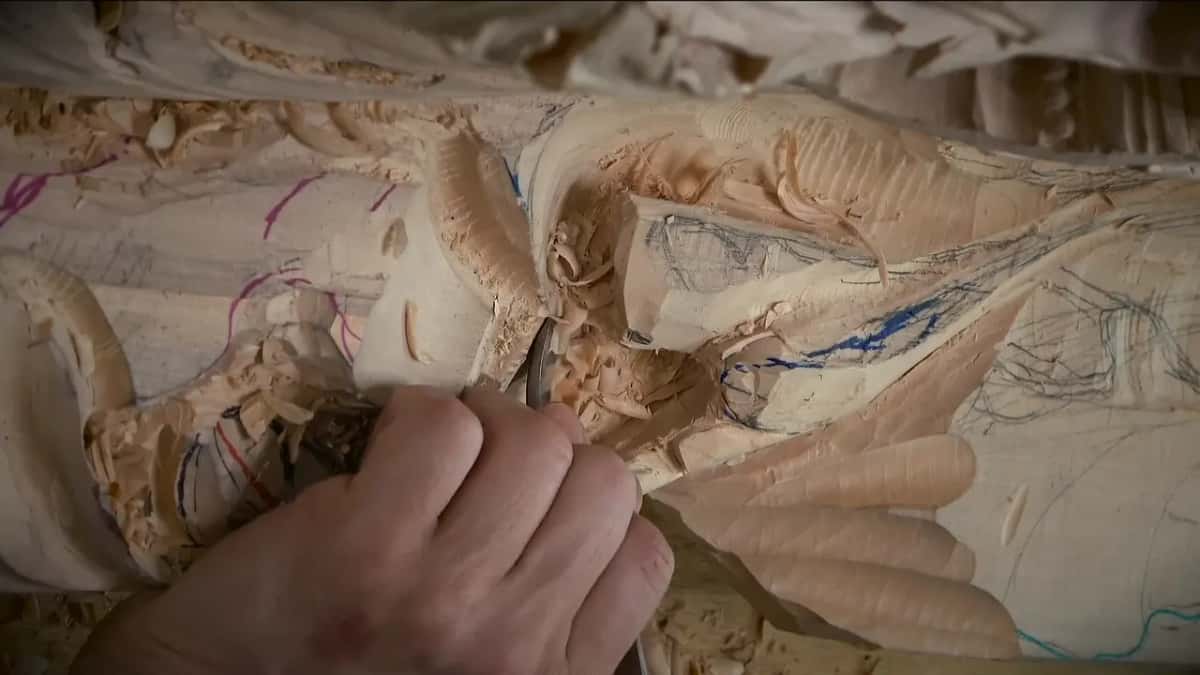
There I started with the 7 mm #11 again and said the straight tool is not going to be good there. Have to use a long bent. A #11 long bent, a quarter inch, six millimeters, was the tool I should just use, and I went all the way in to the hole with it.
The wood was a little thicker closer to one part, which I called a good thing. I left some stuff in the hole for a much smaller tool, then changed my mind and said a bigger one, maybe 10 mm, like 3/8 of an inch, would do it.
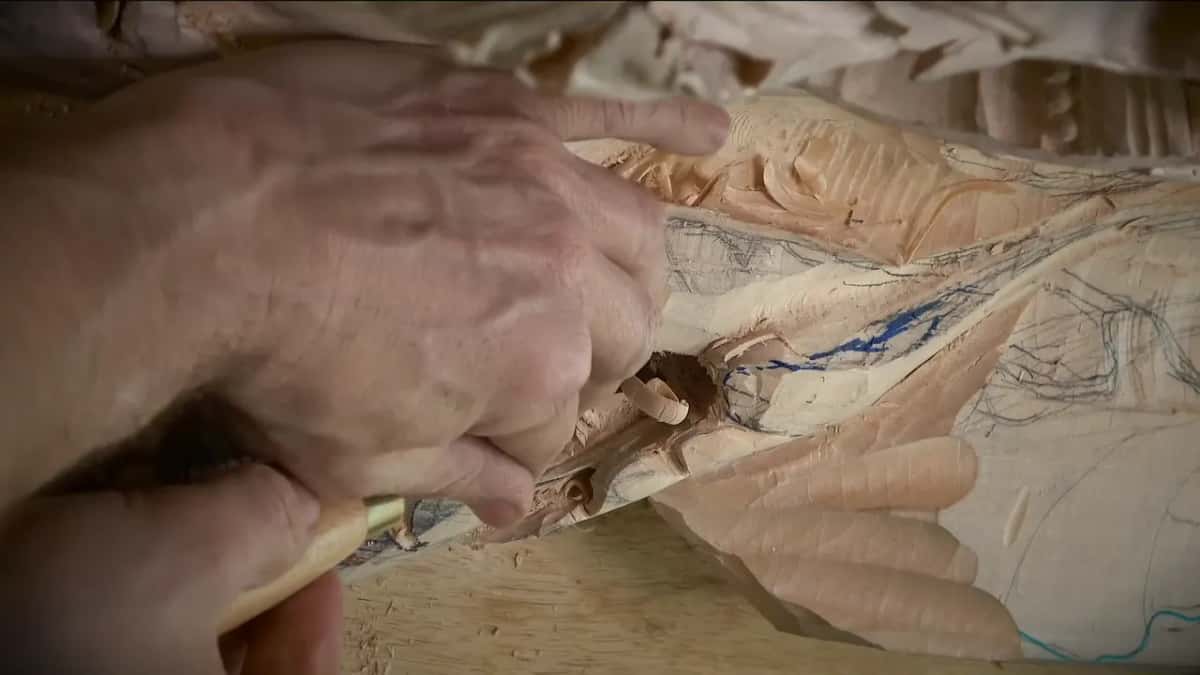
I know on a camera it just looks like, oh, you should do that. It's always easy when you're watching on a camera.
The difference between a long bend and a short bend spoon is its own lesson, in the Hashemi flowers course.
What does a back bent do on a convex?
It blends the round back into the middle, where a straight one would dig in. When part 6 was nearly over I said that was the most I could do as far as the convex goes. All it would take now was a back bend, a skewed number five, like half an inch, 13 mm, to blend and give that convex its move.
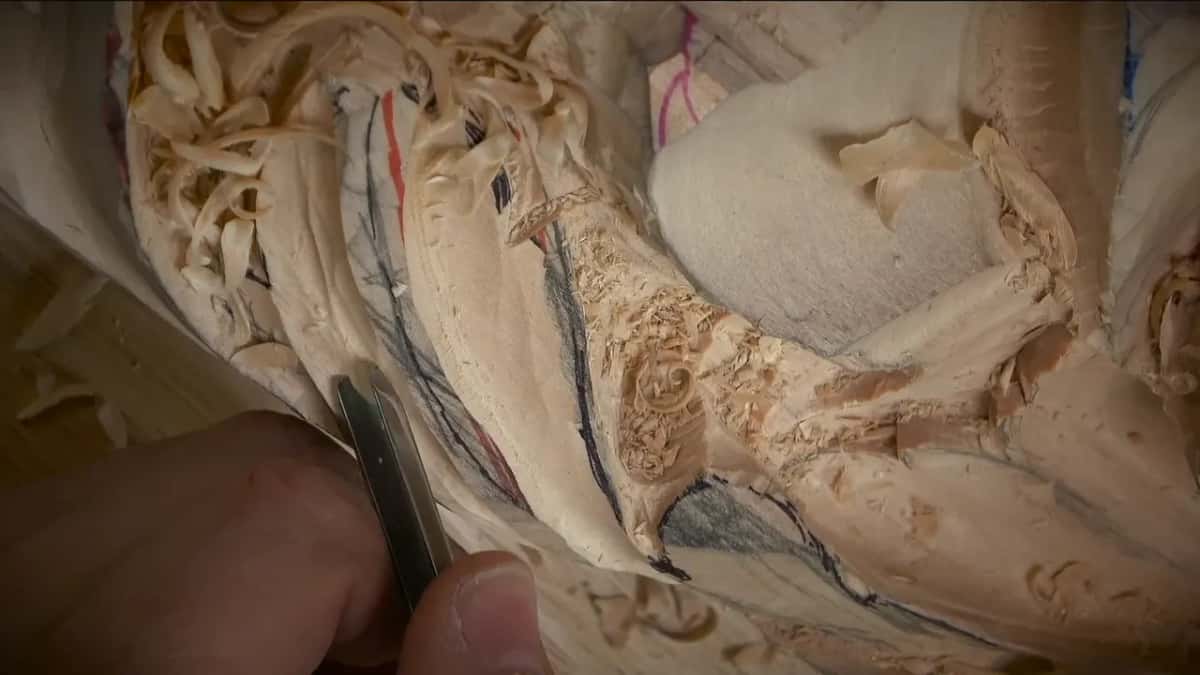
Part 8 used that same tool to blend a concave to the center line. Doing the opposite side, I had to come at it from a different angle, and that was challenging, because the main body was in the way.
One side of my tool was digging in, and I was okay with that as long as I kept a really nice middle line. Digging in only meant the pass needed to go deeper, and then it would be consistent. A #11 of about 12 mm, near half an inch, rode on top of it all for a gradual movement.
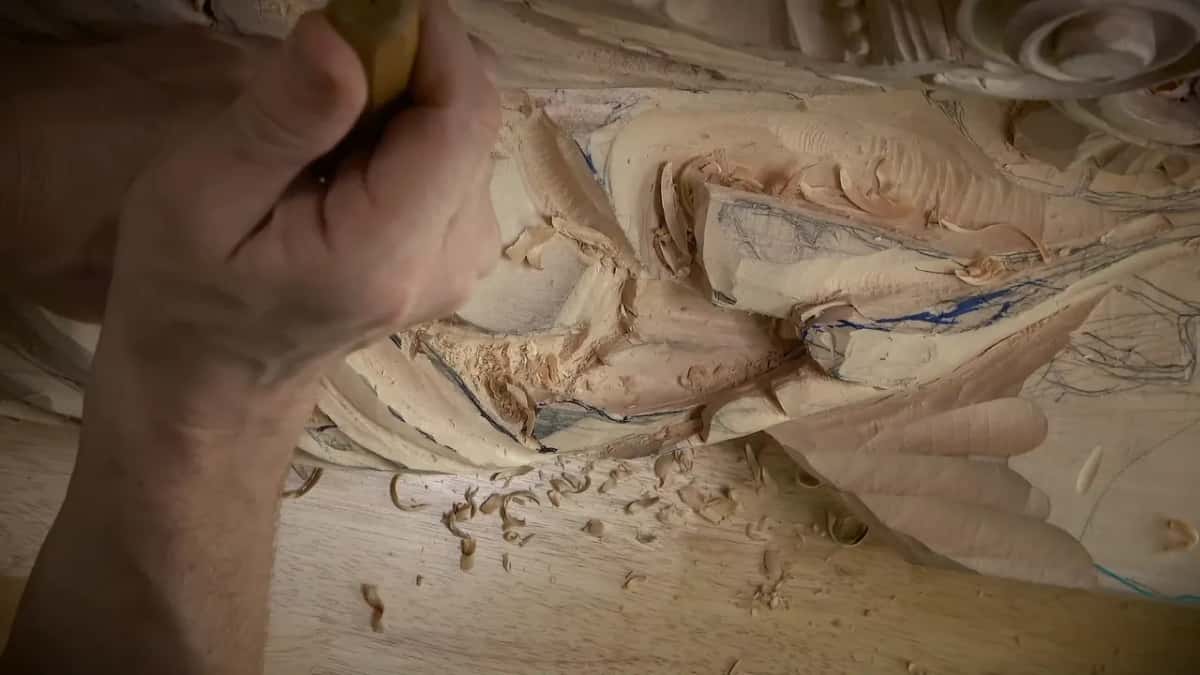
It didn't look too clean in one area. I was rubbing against the grain and the tool was not super sharp, and that is exactly the effect you get. That's just the time to sharpen the tool, I said. Sharpening has a course of its own.
The back bend rounded what became a pipe in part 9, running on and right underneath. That pipe made me really happy, and I told you so. What a back bent is for, as a family of tools, is in the back bent lesson, and my own #5 had most of workshop 68.
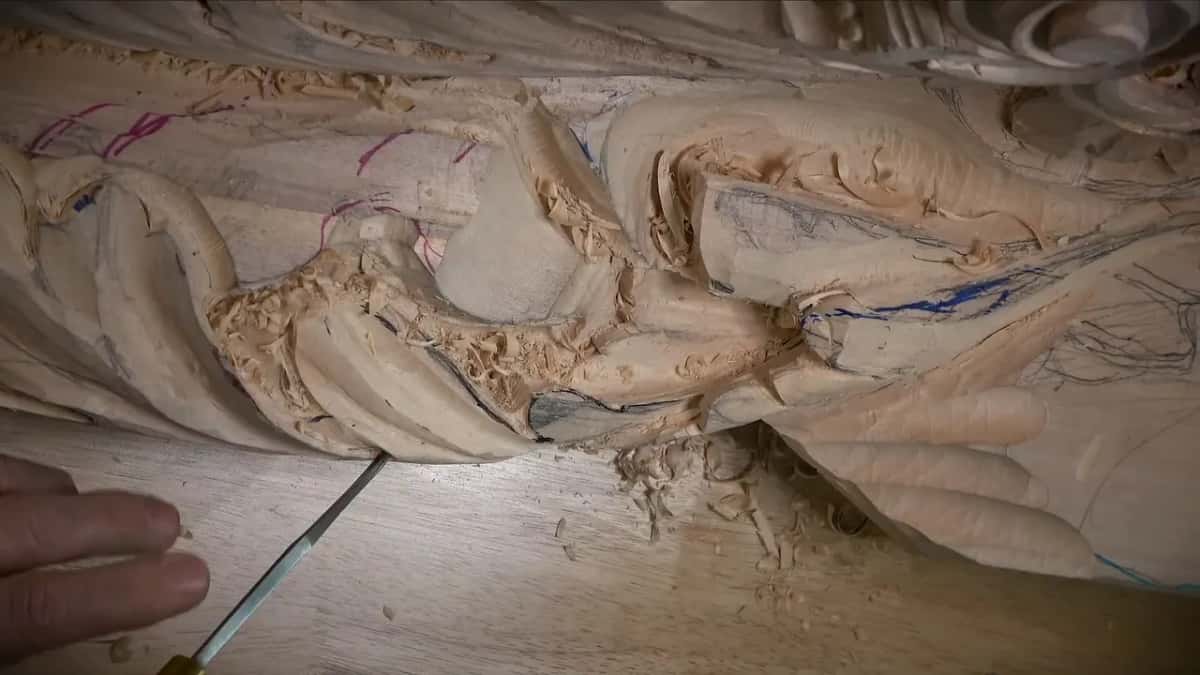
What happens when the handle hits the carving?
You run out of options. Near the end of part 10 I didn't like a line. It felt a little too straight, not natural, so I brought a curvature into it, and it was a good thing I hadn't dug too deep from the beginning, since I was changing my mind on the go.
I wanted a convex there next, and I took a back bend. And why a back bend, I asked. I was already hitting the main body with the handle. You don't see that, I told you, and I tried to show it. I'm really limited what tools I can use. Really limited.
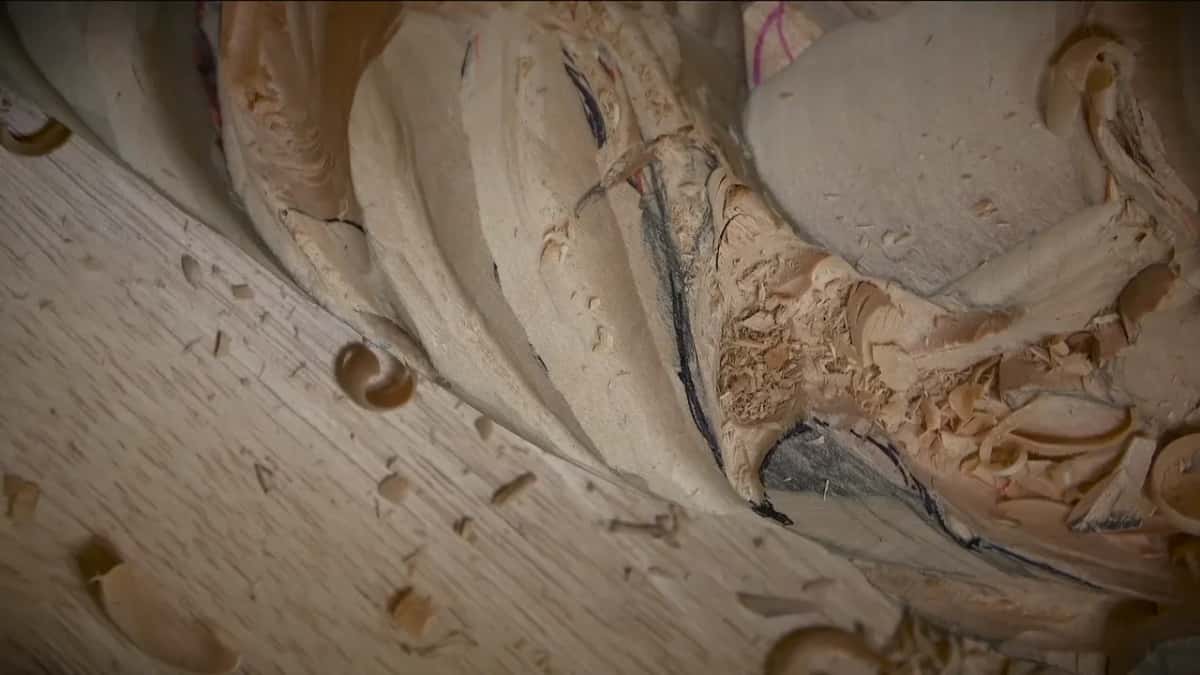
One more tool was still open to me early in part 11, one I said I can always use to go against the grain. It was really good there, though it needed a little sharpening first. The movement blended in, and I didn't need that pronounced convex after all.
Right after that I jumped on the shell, with a number nine and a mallet, because the number seven was taking too long. That shell carries on in workshop 72.
A skew started the shell's convexes in part 12, because it was much quicker, and near my main movement I switched to a number seven so I wouldn't damage it. Better to work a little safer, I said.
Every bent gouge from workshop 71 in one table
The rows follow the parts, with the reason in my own words where I gave one.
| When | Bent tool | Why |
|---|---|---|
| Early in 71.1 | A 4 mm spoon, one small detail | Straight wouldn't |
| Later that part | A 10 mm #9 spoon for shadow | Deeper spot |
| End of 71.2 | A back bent after the skew's blend | True roundness |
| Midway through 71.5 | One spoon, then a #6 spoon gouge | Thin edge |
| Second half, 71.6 | A #11 long bent, 6 mm wide | Long run |
| Parts six, eight | A skewed #5 back bent, 13 mm | Convex blend |
| Close of 71.10 | A back bend, then one more tool | Handle hitting |
Sizes and sweep numbers for the rest of the rack are in the tools course.
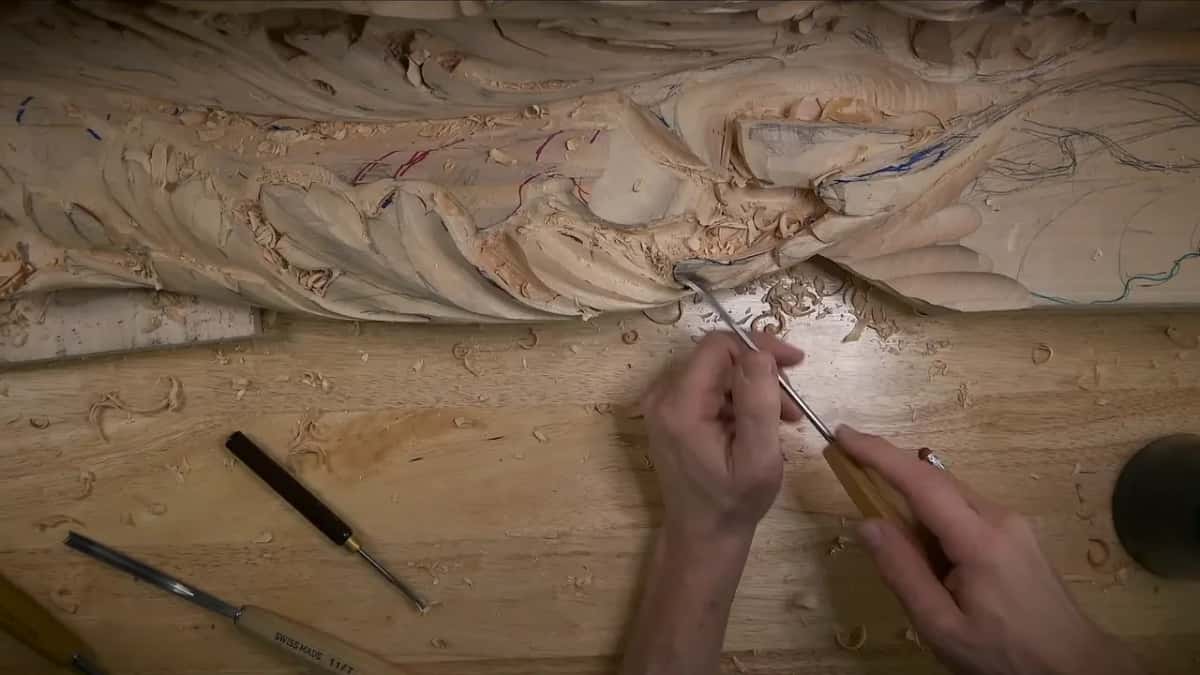
Want to watch the handle hit the carving yourself?
All twelve parts of workshop 71 are in the Part 6 course, including the moment the handle ran into the main body. A lot of the other talk in there is small stuff. Why I ask if you can see a movement, and then answer myself, of course you can see it, otherwise there is no reason to make a video. The vacuum cleaner I said would suck the junk out of a deep hole later.
One hollow in part 9 I called the eye of Argus. Part 12 left room for a bead molding with a bevel of about 45 degrees all around.
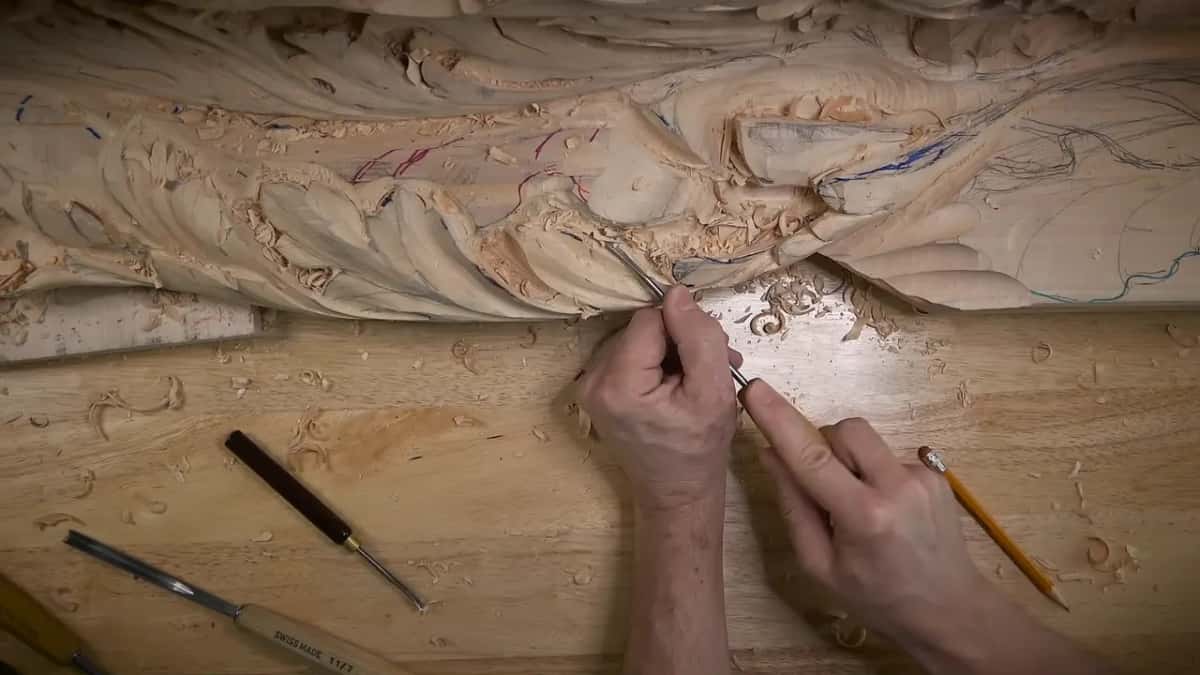
Do you want to see how a spoon reaches a spot a straight tool can't? Would it help to watch me switch mid-pass? Then open those twelve parts in the course, look over the map of every lesson, or start here if you have never held a gouge in your life.
How it's done
- Notice when the straight tool fails. If the straight gouge will not do the detail, stop and change tools. I switched to a spoon of four millimeters.
- Take a spoon for the deep shadow. For the deeper spot I took a #9 spoon, ten millimeters (3/8 in), and kept checking the depth.
- Stop cranking on a thin edge. If a straight #11 is levering against an edge, go to a spoon, or keep a finger underneath.
- Run a long bent into the hole. Toward a hole, a long concave went in with my 6 mm #11, a quarter inch, the long bent one.
- Blend the convex with a back bent. Bring the convex to the middle line with the skewed back bent, a #5 of 13 mm. Sharpen when the surface turns rough.
Frequently asked questions
What is a spoon gouge good for?
Reaching down where the straight one will not go. In workshop 71 the smallest spoon, 4 mm (5/32 in), took a small detail the straight tool could not. A #9 spoon of ten millimeters, about three eighths of an inch, deepened a shadow, and a #6 spoon cleared a chunk beside a thin edge I did not want to lever on.
Can a skew chisel replace a bent gouge?
For a blend, sometimes. The skew smoothed the ridge where one part tucks under another in part 2, and I liked it. For the roundness I wanted after that, I said the straight tool would not work and picked up a back bent.
Why did the handle get in the way?
The carving itself stood higher than the spot I was working. Late in workshop 71 the handle bumped into it again and again, and I told you my choice of tools was really limited there, so the convex went to a back bend.
What to carve next