
Alexander Grabovetskiy, woodcarver, School of Woodcarving · Published 2020
What is a #5 gouge used for?
Quick answer: A #5 is a shallow gouge, between the deeper #6 and #7 and the flatter #3. On one Venetian panel I used it to shape rounds: to hit a side my #7 only partly reached, to take facets off a pipe as a back bent, and, with a one inch blade, to set a shadow spot.
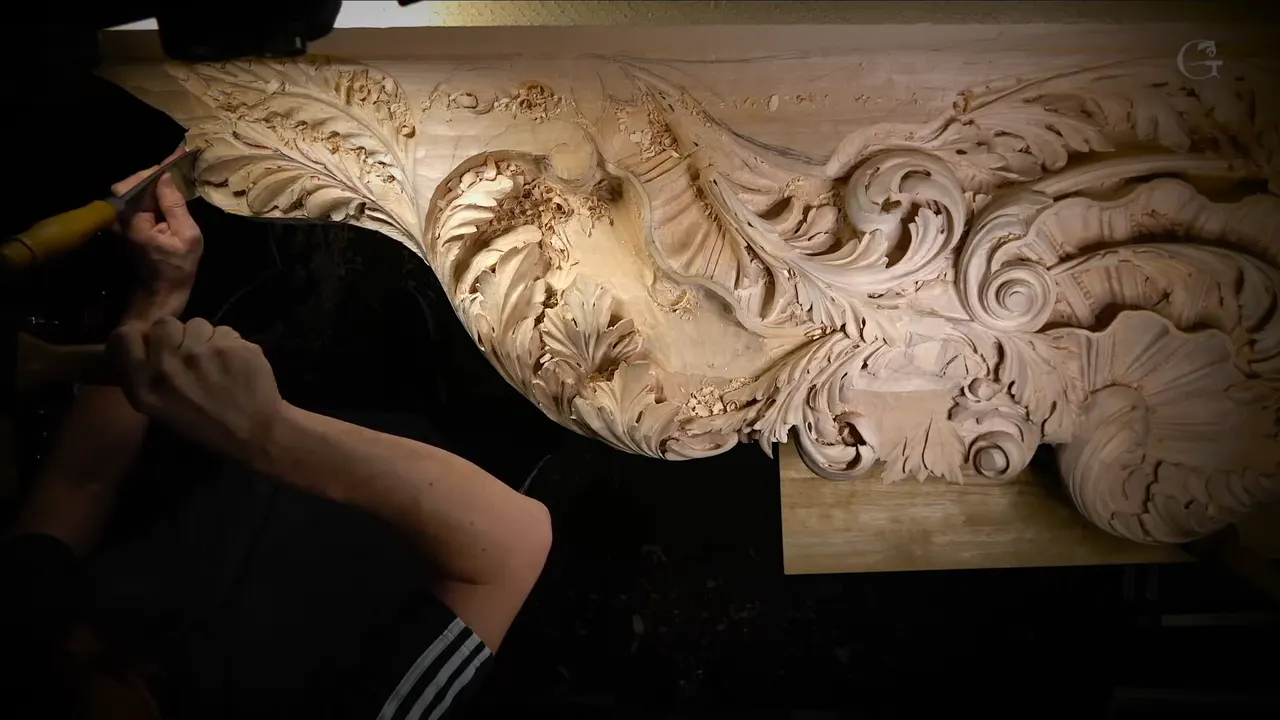
A #5 gouge is a fairly shallow gouge, flatter than a #6 or a #7 and rounder than a #3, and in workshop 68 it was the tool I kept reaching for on the convex side of a form. The panel is Venetian work for a ceiling, carved in relief, and the #5 came out again and again, straight and back bent, narrow and wide. Once it lost the job to a #7.
There are two jobs in this workshop. First I finished the hollows and rounds of a form I had already begun. After that came a new acanthus, probably the most simple one. Most of it will be hidden.
Have you ever carved a hollow and then stood there wondering how to round the side right next to it? Would you like to see which gouge does that on a real panel, and where it stops being the right one? Then come along through workshop 68 with me, one #5 at a time.
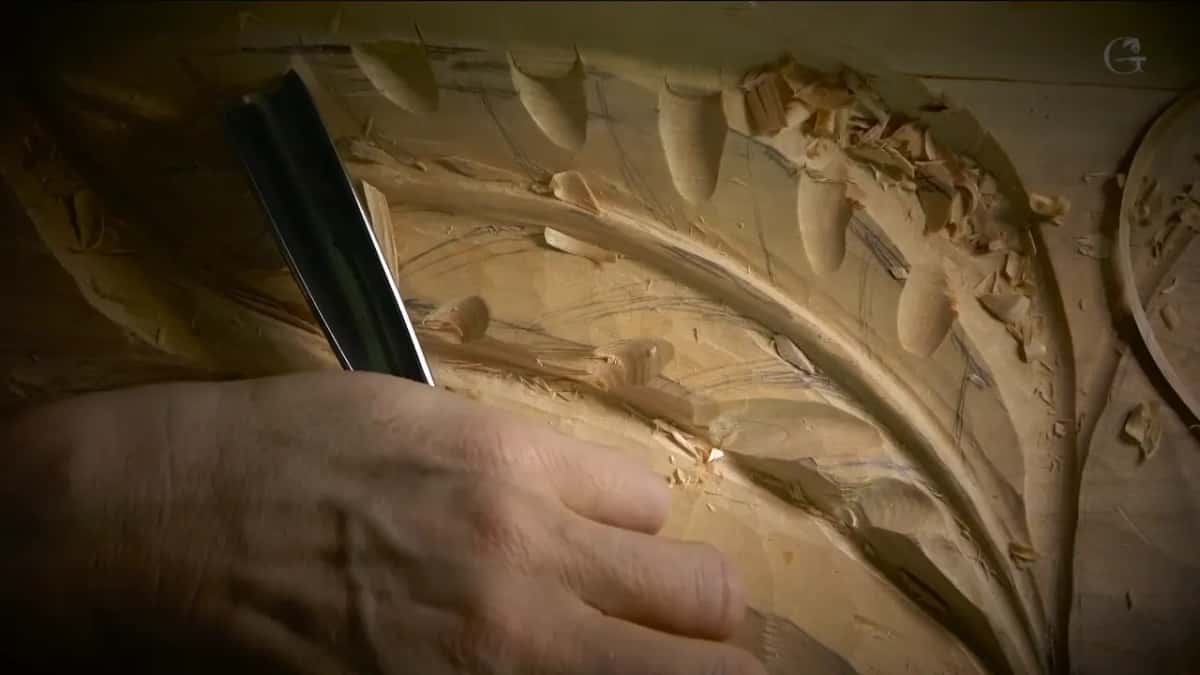
A short list of the #5 moments in workshop 68
On one form my 14 mm #7 went only so far, so I tested a #3, said no, and found the #5 really good.
My #5 back bent has a skewed edge, and it slices much like a knife.
Even where a straight tool could reach, the bent #5 left a much cleaner convex.
It took facets off a pipe.
One inch wide, about 25 mm, a #5 set a shadow spot.
For new divisions I chose a #5 over a #6, and later I gave one side to a #7 an inch wide.
Where a #5 gouge sits between the #3 and the #7
Lower number, flatter tool. I talked about it that way on camera, with no chart, just a flatter gouge each time. My #7 of 14 mm (about 9/16 in) could only go to a certain degree on the opposite side of one form, and I said I would need something shallower. A number six, or number five even, or maybe even number three.
Listen to the order. Six, then five, then three, each one flatter than the tool before it, because I needed something shallower to hit that side. Right in the middle of that hunt sits the #5. It is not deep like the #9 I used for holes and pipes in workshop 64, and it is not nearly flat like a #3. This is wood carving by eye.
On this panel it shaped rounds. In workshop 68 the #7 and the #11s dug the hollows, and most of the rounds beside them went to a #5.
Why the #3 lost and the #5 stayed on the first form
I tested the #3 first and looked, and I said no, that is not going to be good. I gave no reason and moved on.
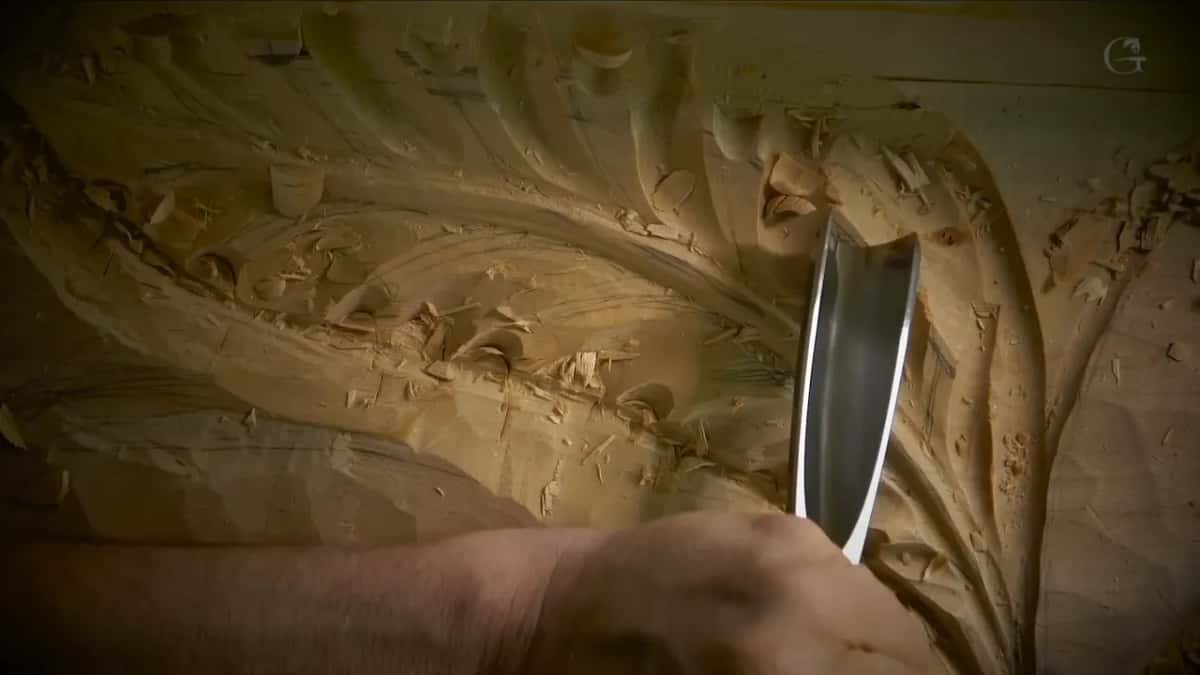
Next I said let me check number five, and number five was actually good. Twenty seconds later I said it again, number five is actually really good, and I kept going on that opposite side with it.
Right after, it was time to clean up a little, otherwise it's too much mess. That job went to a smaller #6, like a quarter inch (6 mm). And I stopped there. The final cleanup I'll do a little later, because I still had to do the acanthus.
Inside the hollows I used a 10 mm #11 spoon to tidy things, and I told you a #11 or a #9 would do the trick there, exactly the same. Where I was catching the grain, I changed position and came at it from the opposite side. It's better to take time and make sure you're not making a mistake, just removing whatever needs to be removed.
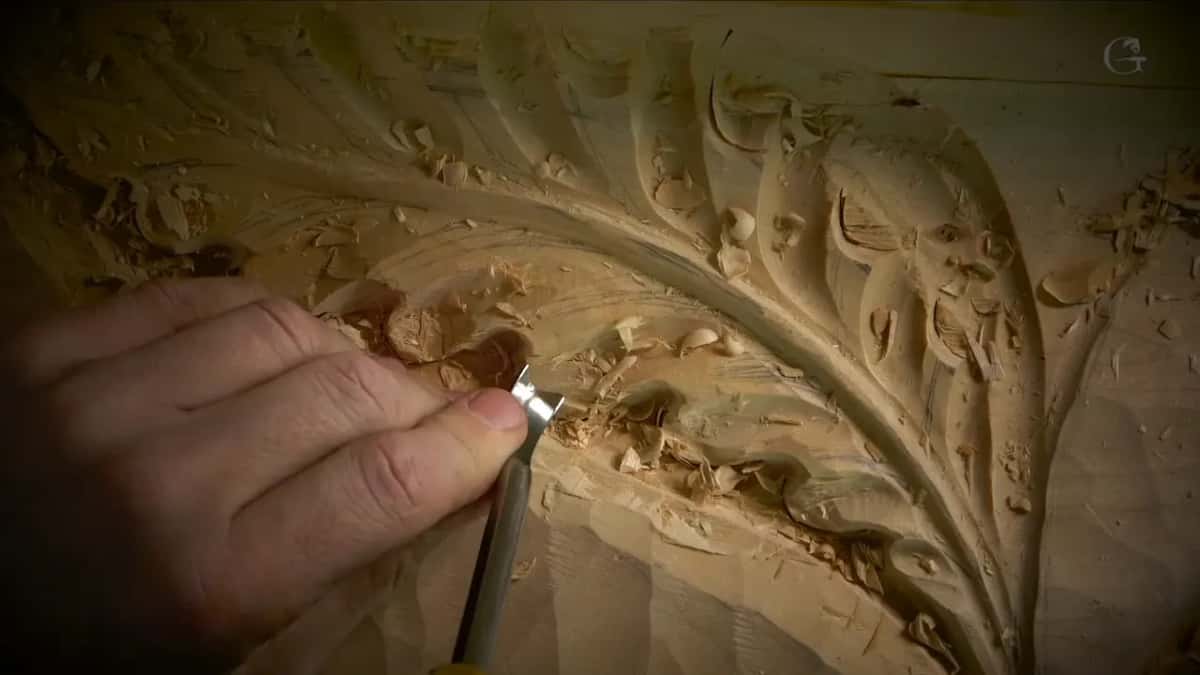
My back bent #5, reshaped into a skew
Then, still on that first form, I thought maybe I should use even a skew. A skew for the convex.
What I picked up is a back bent. It's just a normal back bent, a #5 sweep back bent, but I reshaped it as a skew, and it just serves me. Those few words are all I said about how it came to be. Grinding a skew is a subject of its own in the tools course, so I won't pretend to teach it here.
What I did say is why I like it. I can slice a lot better with it, just the same as you would use a knife, and you get a cleaner surface.
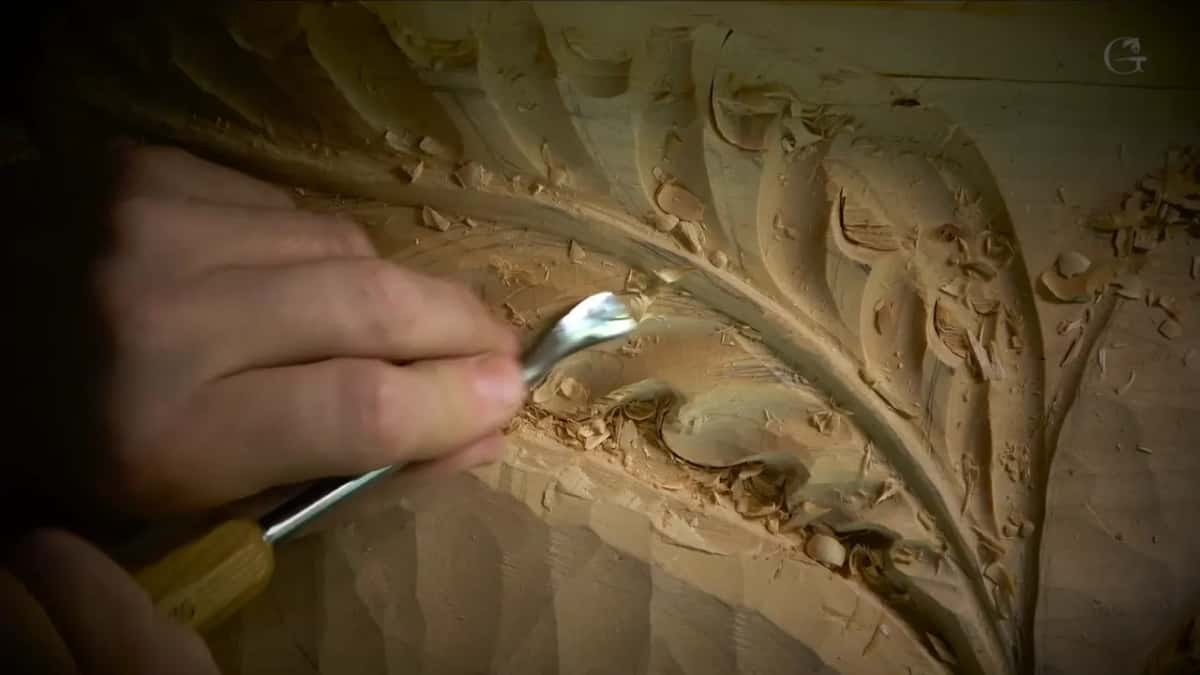
Earlier I had tried a 5/8 in back bend (about 15 mm) on those convexes. Maybe it's a little too big, I said, and a moment later, yes, that is too big, I need a smaller back bend. A back bent is its own family of tools, and the back bent lesson covers what that shape is for.
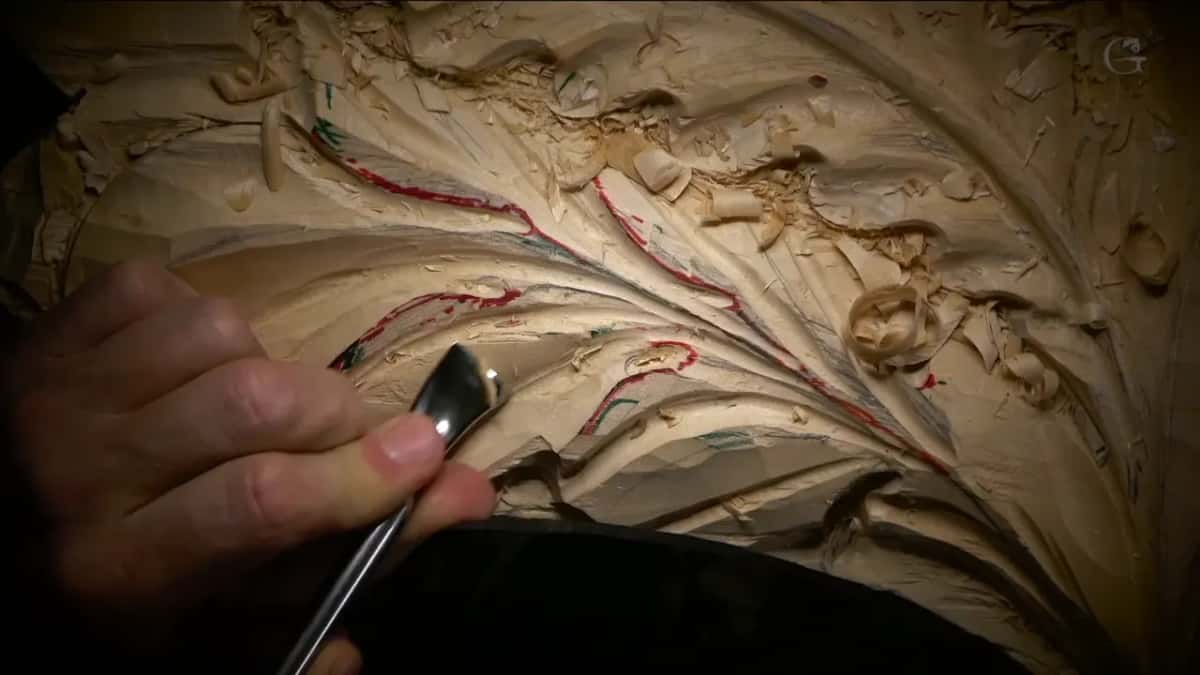
Straight or back bent on a convex you can reach?
Back bent, even there. Later in the workshop I had a side where I could hit it with a back bend, and then I changed my mind out loud. Maybe not even a back bend. I could use a straight tool, because I did have accessibility. It was accessible for me. And maybe with a number five, which would give me a really beautiful convex.
So I tried the straight one. It was still not convenient, I said, and it still had a limitation. I would still use a number five, but back bent.
I showed you, and I said see, it gives a much cleaner result. The limitation itself got no more detail from me, and I won't invent one for you. Then I wasn't sure if I should or not, but I made one part a little lower so it would be more pronounced.
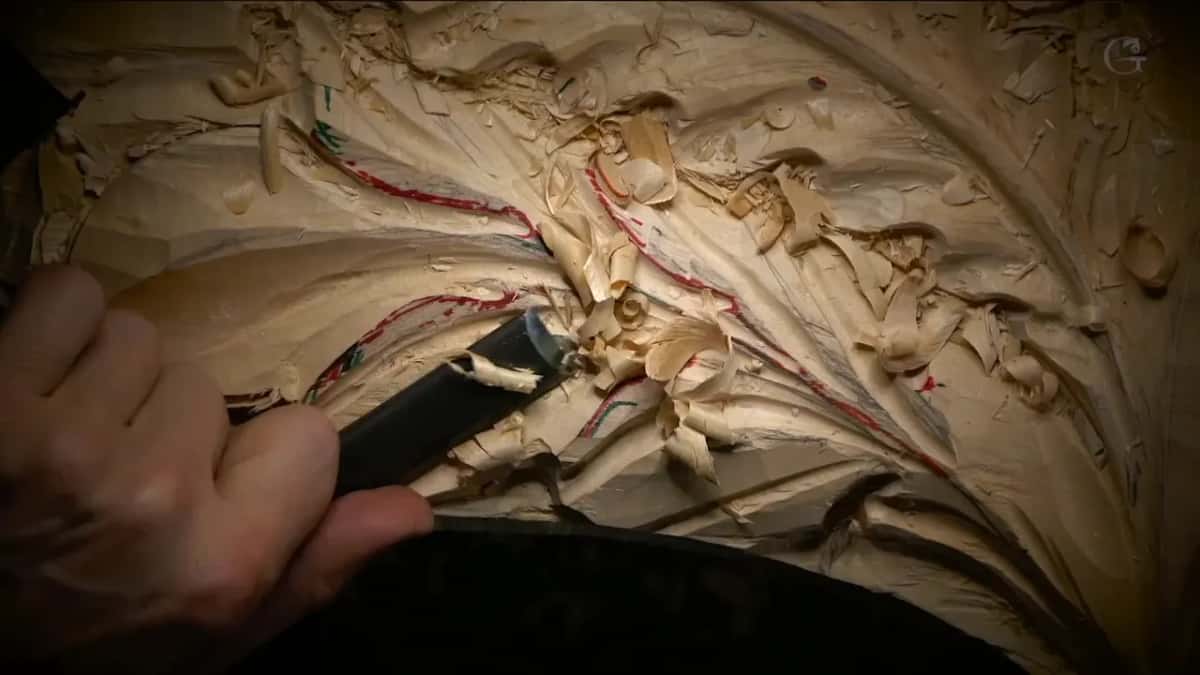
Just before that I had been using bigger tools, a 15 mm #11, about 5/8 of an inch, which, I said, looks bigger in real life, and even a 30 mm #11 (1 3/16 in) for a really nice movement. I said it looks messy, but it's okay, just steps, little steps to the final thing. The #5 came in after them to make the round.
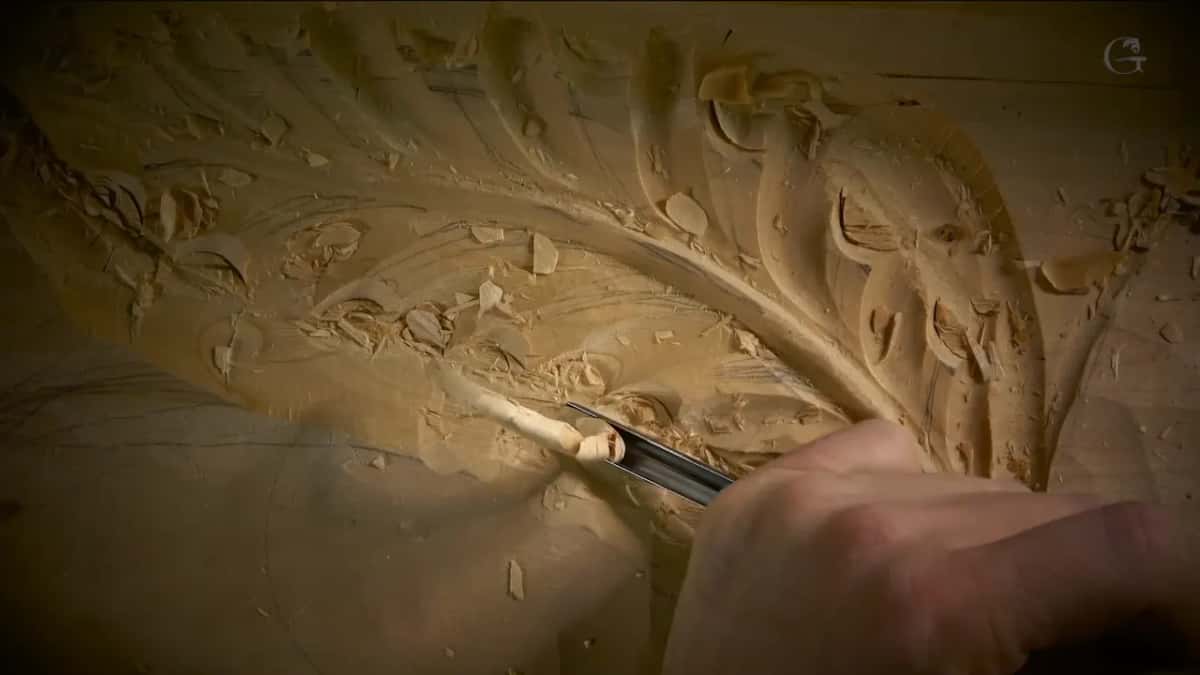
Facets off, and a pipe rounded over
Early in the next part I didn't worry about how clean the surface was, because I still had divisions to make. Just preliminary.
Maybe, I thought, I could hit that with the back bent, maybe a number five back bent. With it I can get rid of all those facets right away, all those tool marks, and kind of round the side of that future pipe.
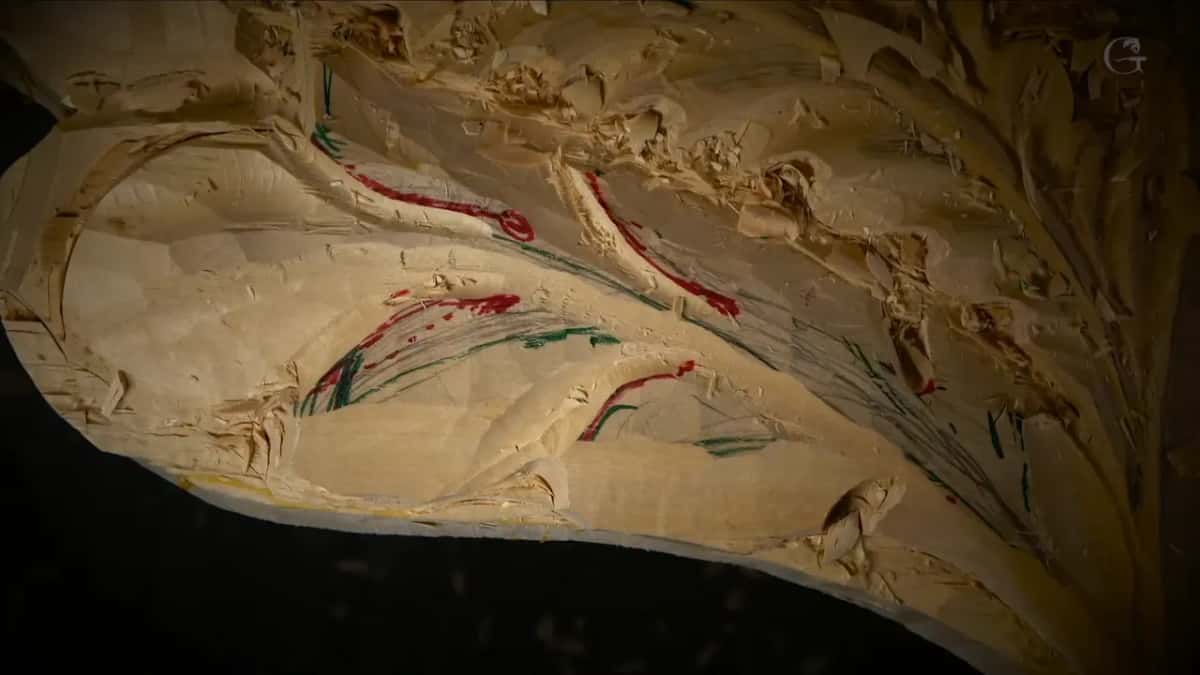
Right after, I had an idea. I could make a deeper shadow on one side and just leave a piece sticking out. More organic. And if I'm not going to like it, it's too late anyway. I went ahead, since it was a good spot, actually, for showing some shadow.
At the very end of the workshop another ridge still bugged me a little, and I was not too happy with it yet. Maybe it's a little too early to be bugged, I said, and I reached for a back bent there too, because it's most logical.
I liked the overlapping idea there. For a while I was not sure about the opposite side, and then after one more look I said yes, I think I do.
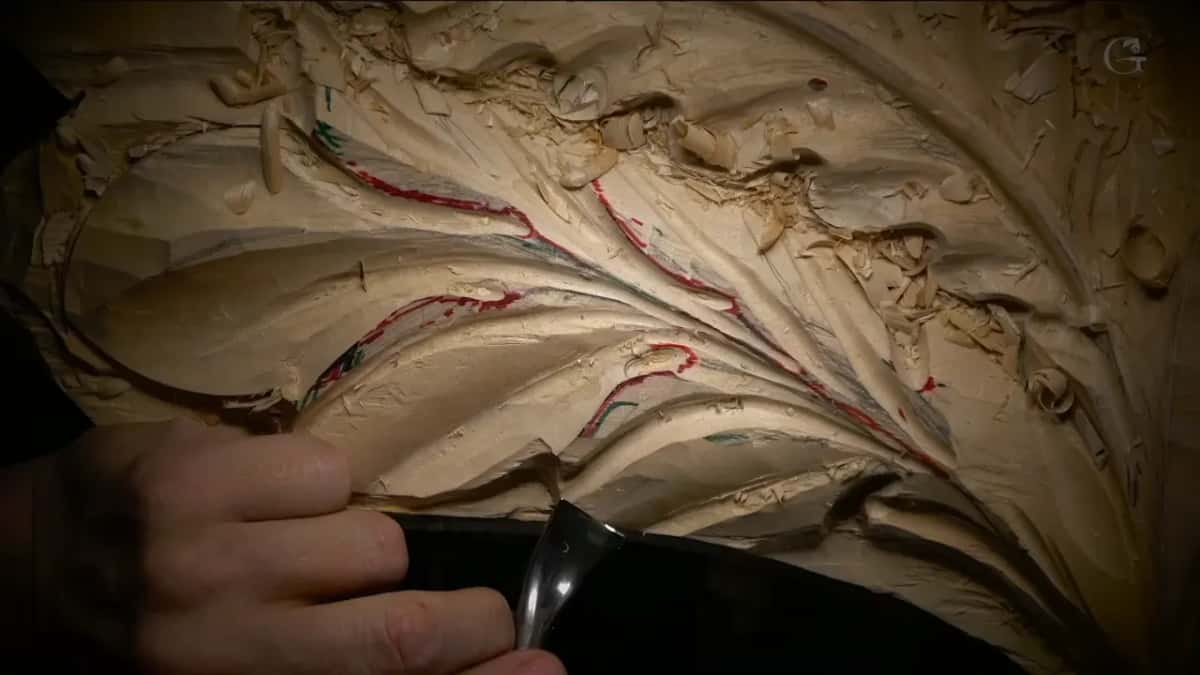
A one inch #5 for a dark shadow spot
Near the end of part nine I wanted a dark spot, a shadow spot, and picked the #5 again, this time about one inch wide, to establish that movement. Within a few passes I said it was already showing up, and I moved the middle line down a little.
In part ten I named it once more. Again number five, and one inch, approximately 25 millimeters, something like that. Doesn't have to be exact.
And I asked you if you could see why I did not go all the way to the first layer. I left approximately an eighth of an inch, about 3 mm, at the bottom, because later on I'm going to clean it up. If I go too deep, that leaves tool marks on the layer, and I don't want to see tool marks there. Not like it's wrong to have tool marks. But not everywhere. Then I extended one piece, so this side and that side came out equal.
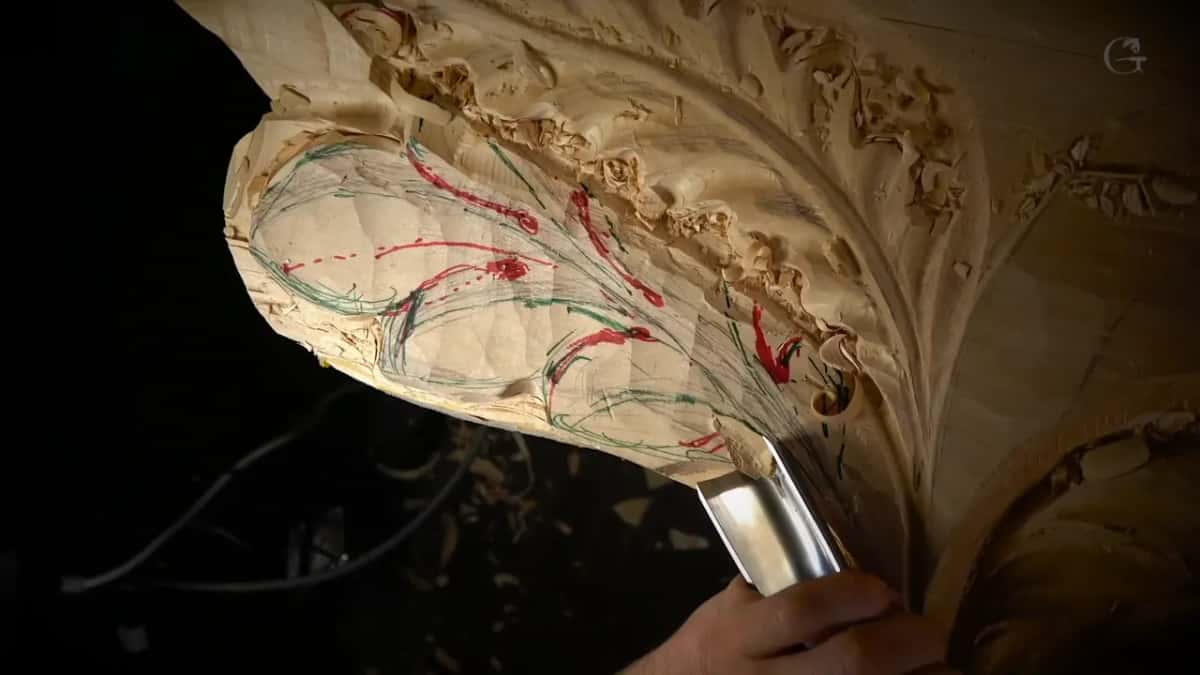
That first layer matters on this acanthus. It has two inches (about 50 mm) of thickness, and that thickness will be my connecting point to a corbel later. Most of it will be hidden, which is why I carved it simple. Simple, but still nice.
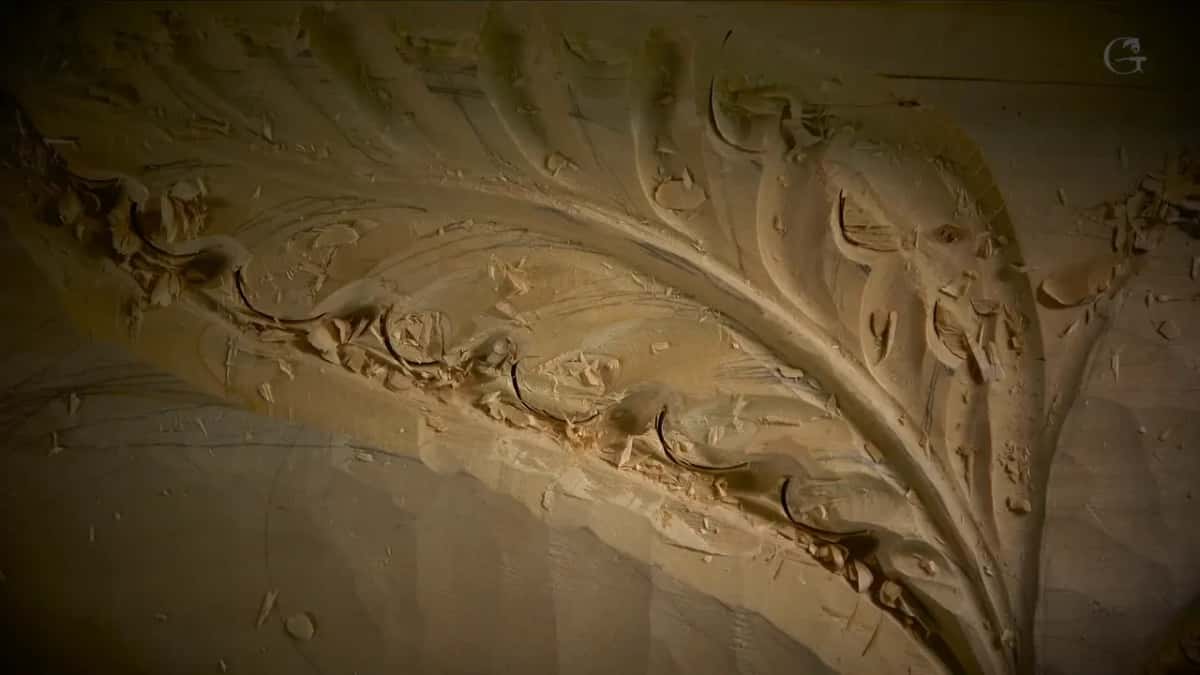
Number five or number six at the end of a division?
First I said a number six. Either would work, number five or number six, I said, but I think number six will work better, like 5/8 in. I didn't want to go too deep, because I really hate making those tool marks, and I've made them too many times.
A minute later I changed my mind. Let me get number five. Number five, I think, is going to be better in this case, number five that way and number five this way.
Two numbers apart. In that spot the flatter one got the job.
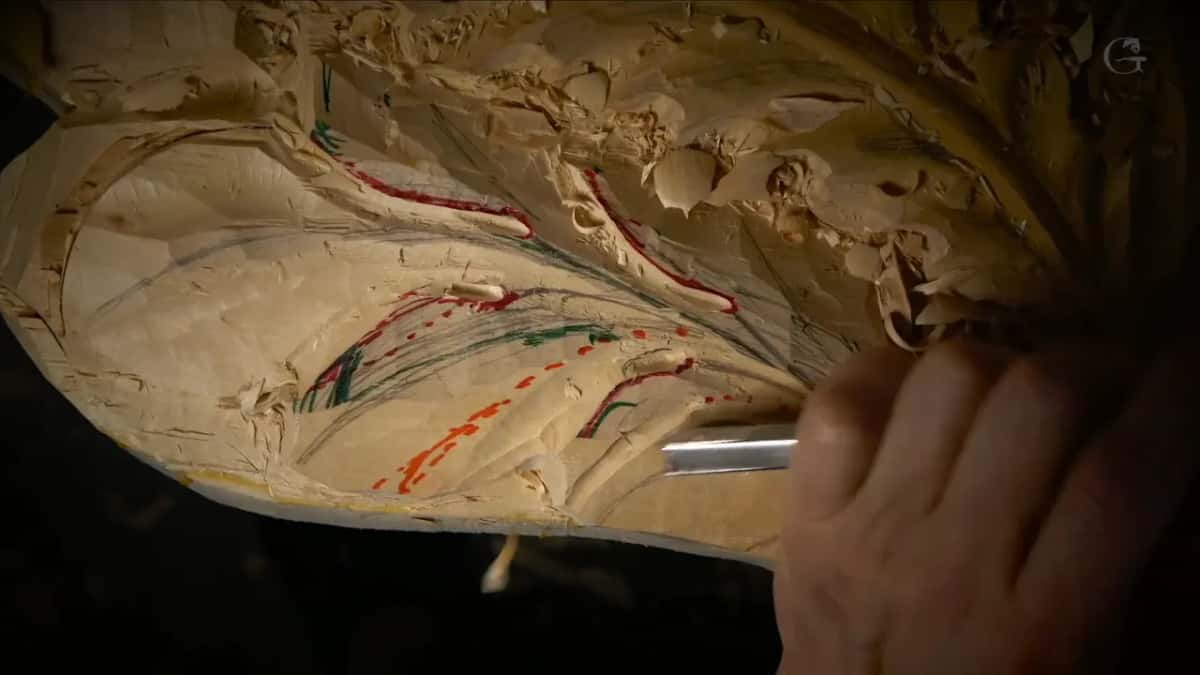
Around there I said on camera that it's nothing complicated at all, just the same thing all the time, at least in this style of acanthus. A French one is even more beautiful, and I told you to wait for it.
Somewhere in there my pencil disappeared on me, too. I found it.
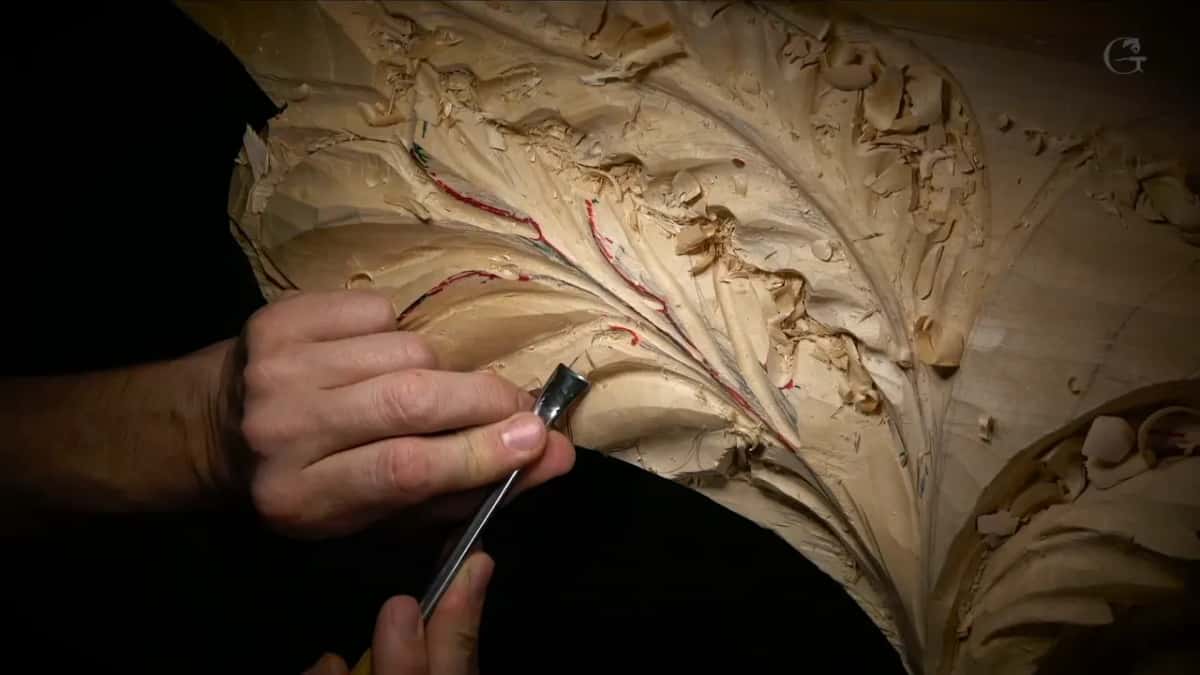
Where the #5 gave way to a #7
A little later I needed to chop one side. I took a number five, a small one, approximately 5/8 of an inch, about 15 mm, and said even half an inch would work, but I would just use the 5/8.
A few seconds in I stopped. But number five, it's not the best tool for it. I should take a number seven, one inch (25 mm), and go gradually up.
That is the honest end of this story. So the #5 lost that side, and I said so out loud and changed. The deeper #7 has its own page, from workshop 43. By the end of the part I asked you if you could see the acanthus being born, almost.
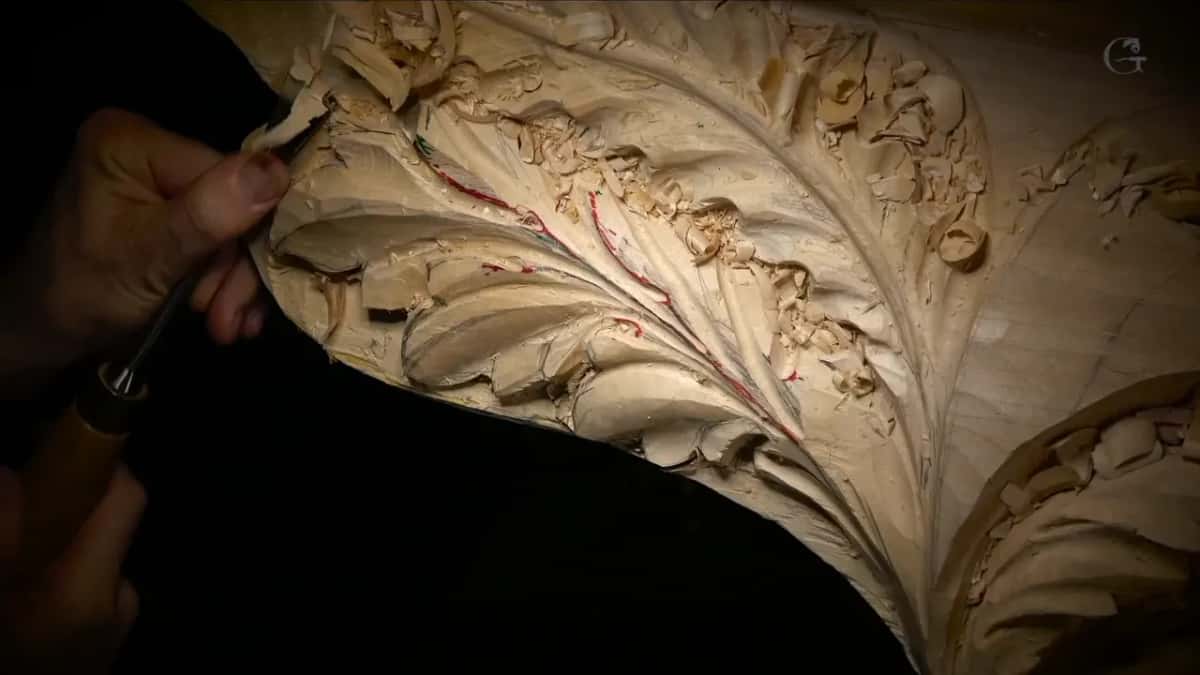
What the rest of my bench did around the #5
The #5 never works alone. It comes after the deeper tools and before the cleanup. Here is the run of tools around it in workshop 68, in the order they came out.
| Where it happened | The tool I picked, with its size | Kept it? |
|---|---|---|
| After the seven | Tried a #3 on the opposite side | Turned down |
| Same side, again | Picked up a #5 and checked it | Really good |
| Cleanup right after | A smaller #6, like a quarter inch | Cleaned up |
| Convex, first form | Skewed edge on my bent #5 gouge | Slices better |
| Reachable convex side | Straight #5 first, then the back bent | Bent won |
| Future pipe side | The back bent #5 taking facets off | Rounded over |
| The shadow spot | Widest #5 here, one inch, 25 mm | Showing already |
| New leaf divisions | Number six first, then five instead | Five better |
| Chopping one side | Small #5 of about 5/8 inch | Wrong tool |
| Going gradually up | Then a one inch #7 took over | Seven won |
In the first part a mallet made some of those hollows quicker, and for the new outline I wanted a little heavier mallet. Around all of that, a 3 in (76 mm) #7 chopped the new acanthus outline down, and #11s up to 30 mm did the hollows. A quarter inch #3 helped in the cleanup. Keeping every one of those sharp is the hardest part, and sharpening has a course of its own.
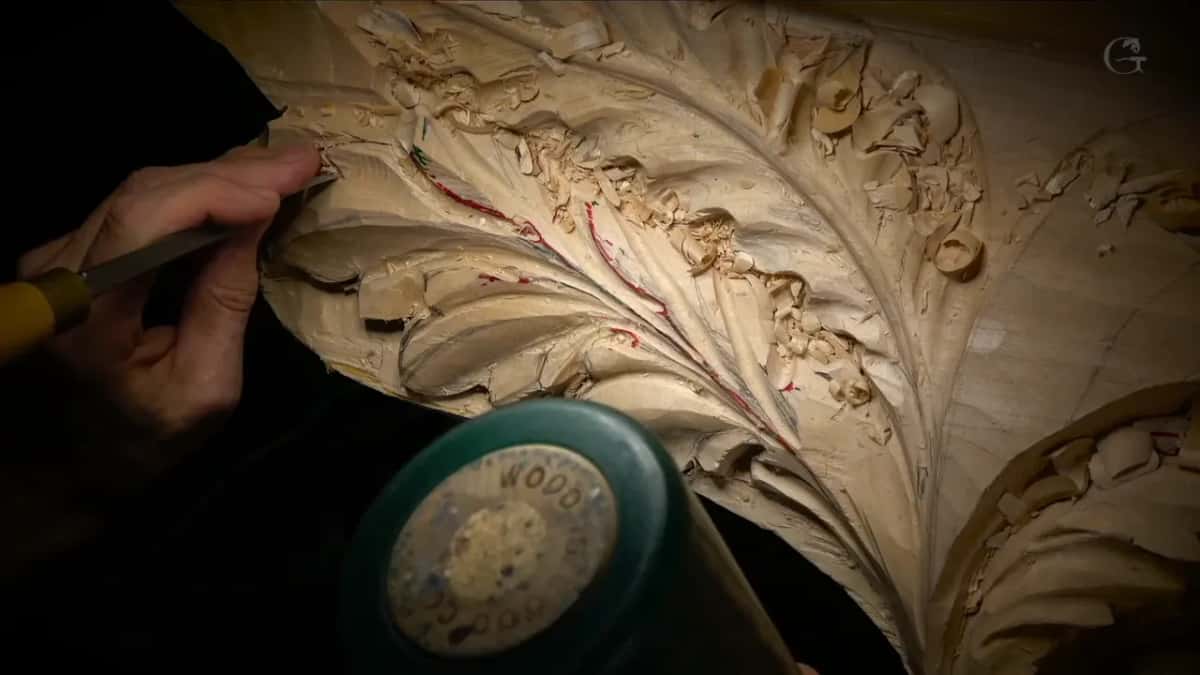
Workshop 68, twelve parts, and the rest of the room
Every #5 moment above is in the twelve parts of workshop 68, in the Part 6 course, with the straight #5 and the back bent side by side. Some of it I did off camera, because otherwise my head is all you would see, and I told you so.
Do you want to watch the facets come off that pipe? Would it help to hear me pick a tool, put it down and pick another? Then start here. Or open the map of every lesson and find this room, go back to workshop 67 or go on to workshop 69, where the dividing goes on.
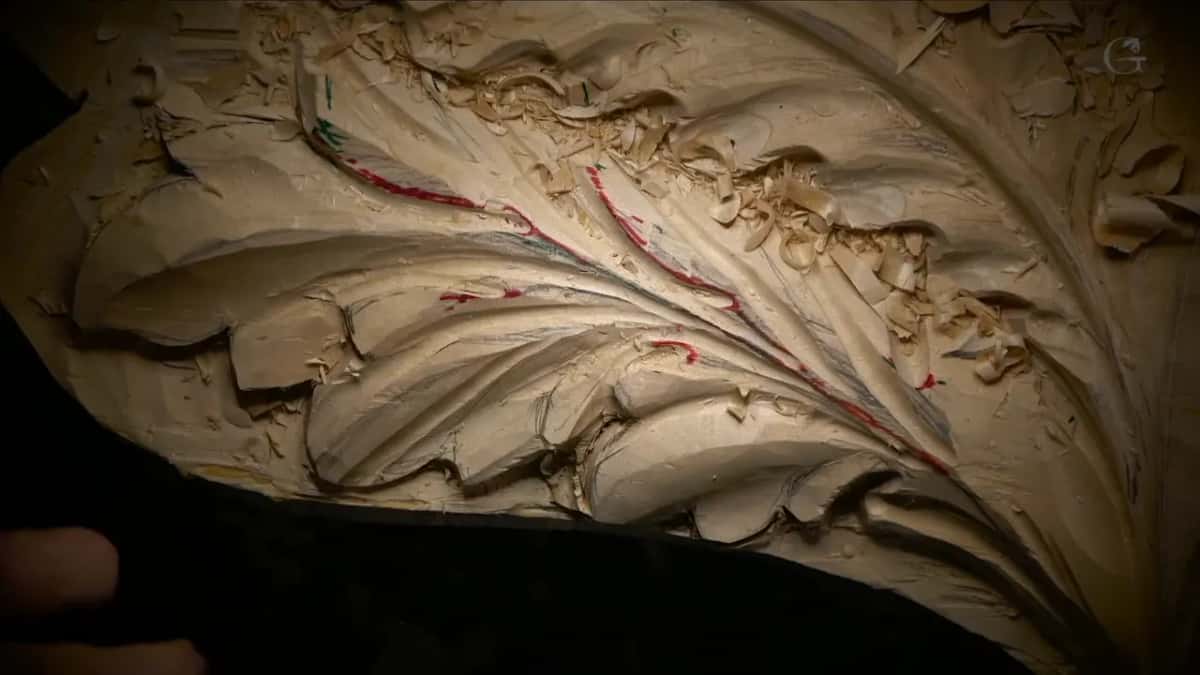
This panel has been growing since long before Part 6. Part 6 opened with the high relief of workshop 62, and the shadow work filled workshops 50 to 61. At the very end of 68 I said it is all about dividing more and more.
How it's done
- Test flatter when the #7 stops. My #7 reached only part of one side, so I tried a #3, did not like it, and checked a #5, which was good.
- Clean the mess a little. I tidied up with a quarter inch #6 (6 mm) and left the final cleanup for later.
- Slice the round, back bent tool in hand. Mine has a skewed edge, so it slices like a knife and leaves a cleaner convex.
- Take off the facets. The same bent tool took off facets, then rounded the side of the future pipe.
- Set the shadow spot. With a one inch #5, about 25 mm, I established that movement. I left roughly 1/8 in (3 mm) above the first layer to clean up later.
- Change to a #7 for the climb. Where the #5 fell short on one climbing side, a #7 of one inch took over and went gradually up.
Frequently asked questions
Is a #5 flatter than a #7?
Flatter, and shallower too. When the #7 of 14 mm stopped short on one form, I asked for something shallower and named a #6, a #5 and even a #3, in that order. The #5 turned out really good for hitting that opposite side.
Can you reshape a #5 back bent into a skew?
Mine is. A normal back bent in the number five sweep, skewed, and I said it just serves me. With the skew edge I slice a lot better, the way a knife slices, so a round comes out clean.
Which widths of #5 came out in workshop 68?
Two widths, mainly. One about an inch, roughly 25 millimeters, marked out a dark spot for shadow, and I said the size doesn't have to be exact. Then a narrower one, near 5/8 inch, chopped one side, and I said half an inch would work as well.
What to carve next